

Transcripted Summary
In this subchapter, I'll show you how to integrate Applitools to our existing Cypress project and give a demo on how to use the Applitools Contrast Advisor.
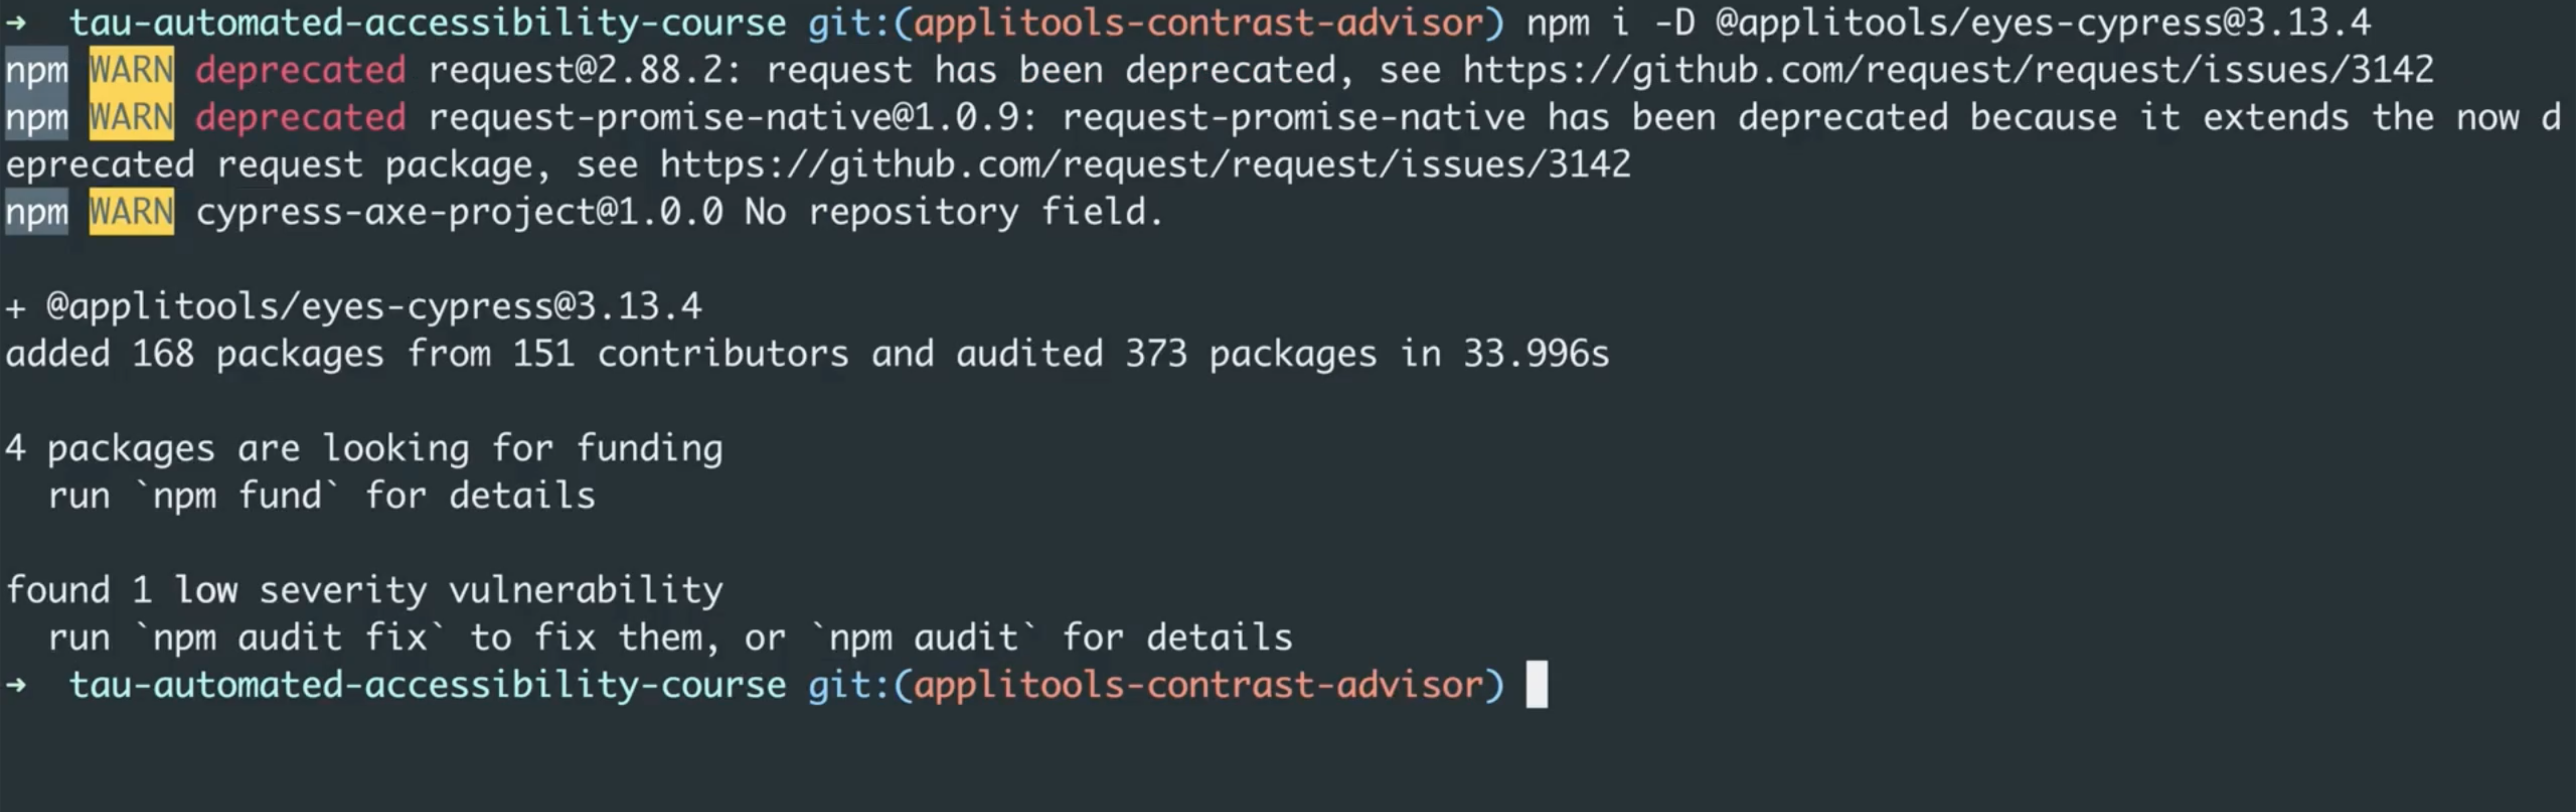
The first thing that we need to do is we need to install the Applitools Eyes-Cypress package and add it as a dev-dependency to our test project.
The command that we'll be using is the one that you can see on the screen, which is
npm i -D @applitools/eyes-cypress@3.13.4
Once that's installed, in order to set up Applitools with Cypress, you can either run
npx eyes-setup
command, which will create all the required files and additional code automatically to your project.
Or you can also add those in manually.
For this demo, we'll do it automatically as it's convenient and faster.
I've switched to my terminal here.
So now I'm going to just type the command that you saw on the previous slide.
I'm going to hard code the version number here as well, which is going to be 3.13.4 so I know that this course will also work in the future.
Let's just wait for the installation to finish.
And once that's complete, you should see a message here that the Eyes-Cypress package has been added in.
Now let's type
npx eyes-setup
and notice that you'll see this message displayed on your terminal.
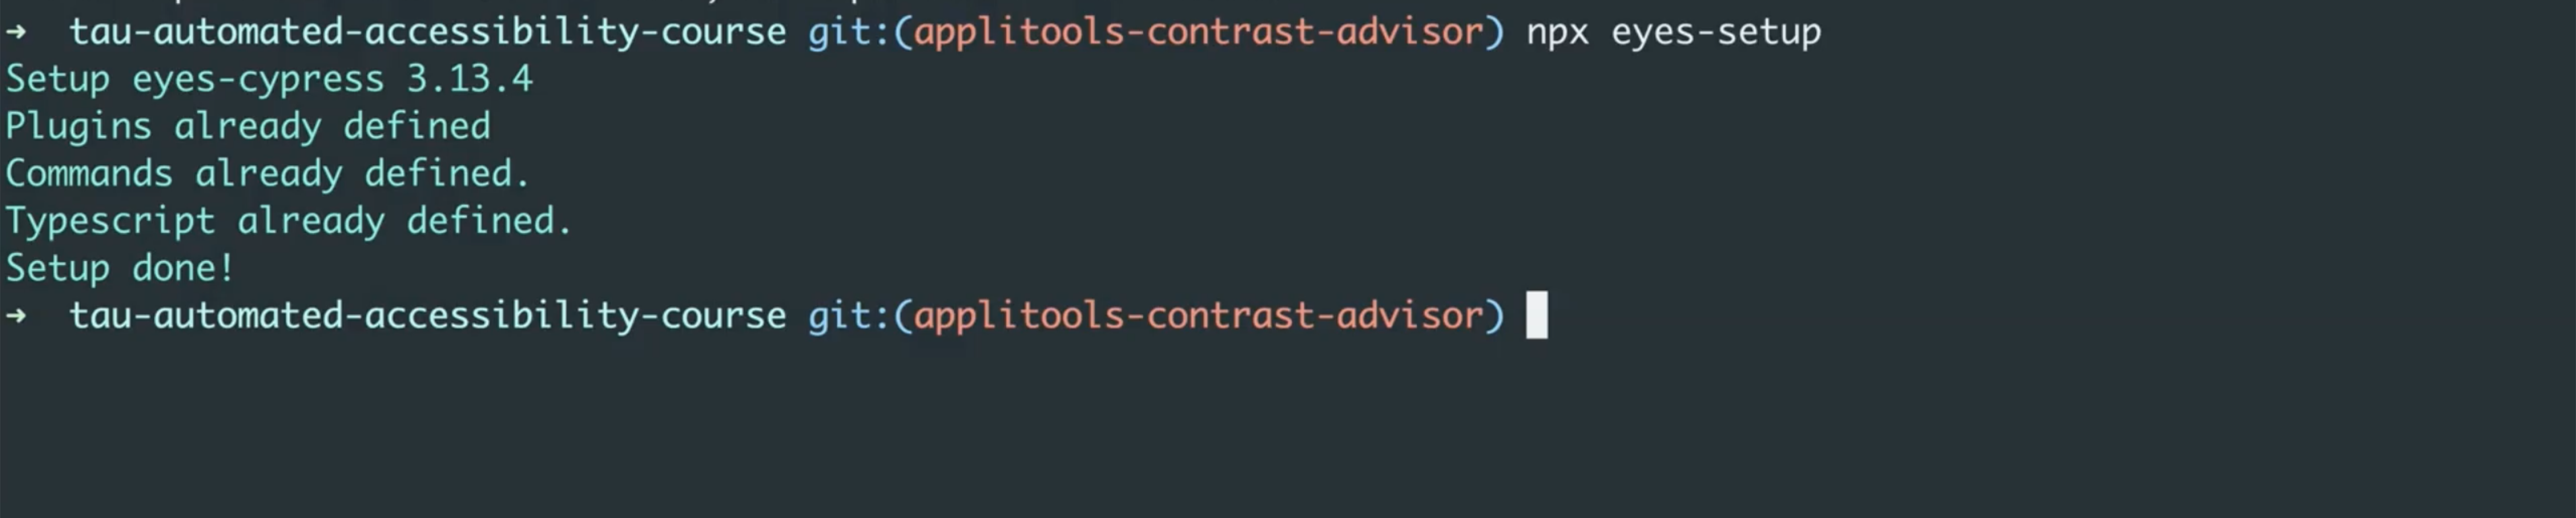
I've already set up Applitools on this project previously, which is why you saw these messages that the different files have already been defined.
If it's your first time setting it up, you should see similar messages that these files have been created.
Now let's switch back to Visual Studio Code and let's inspect the new files and code that got added in.
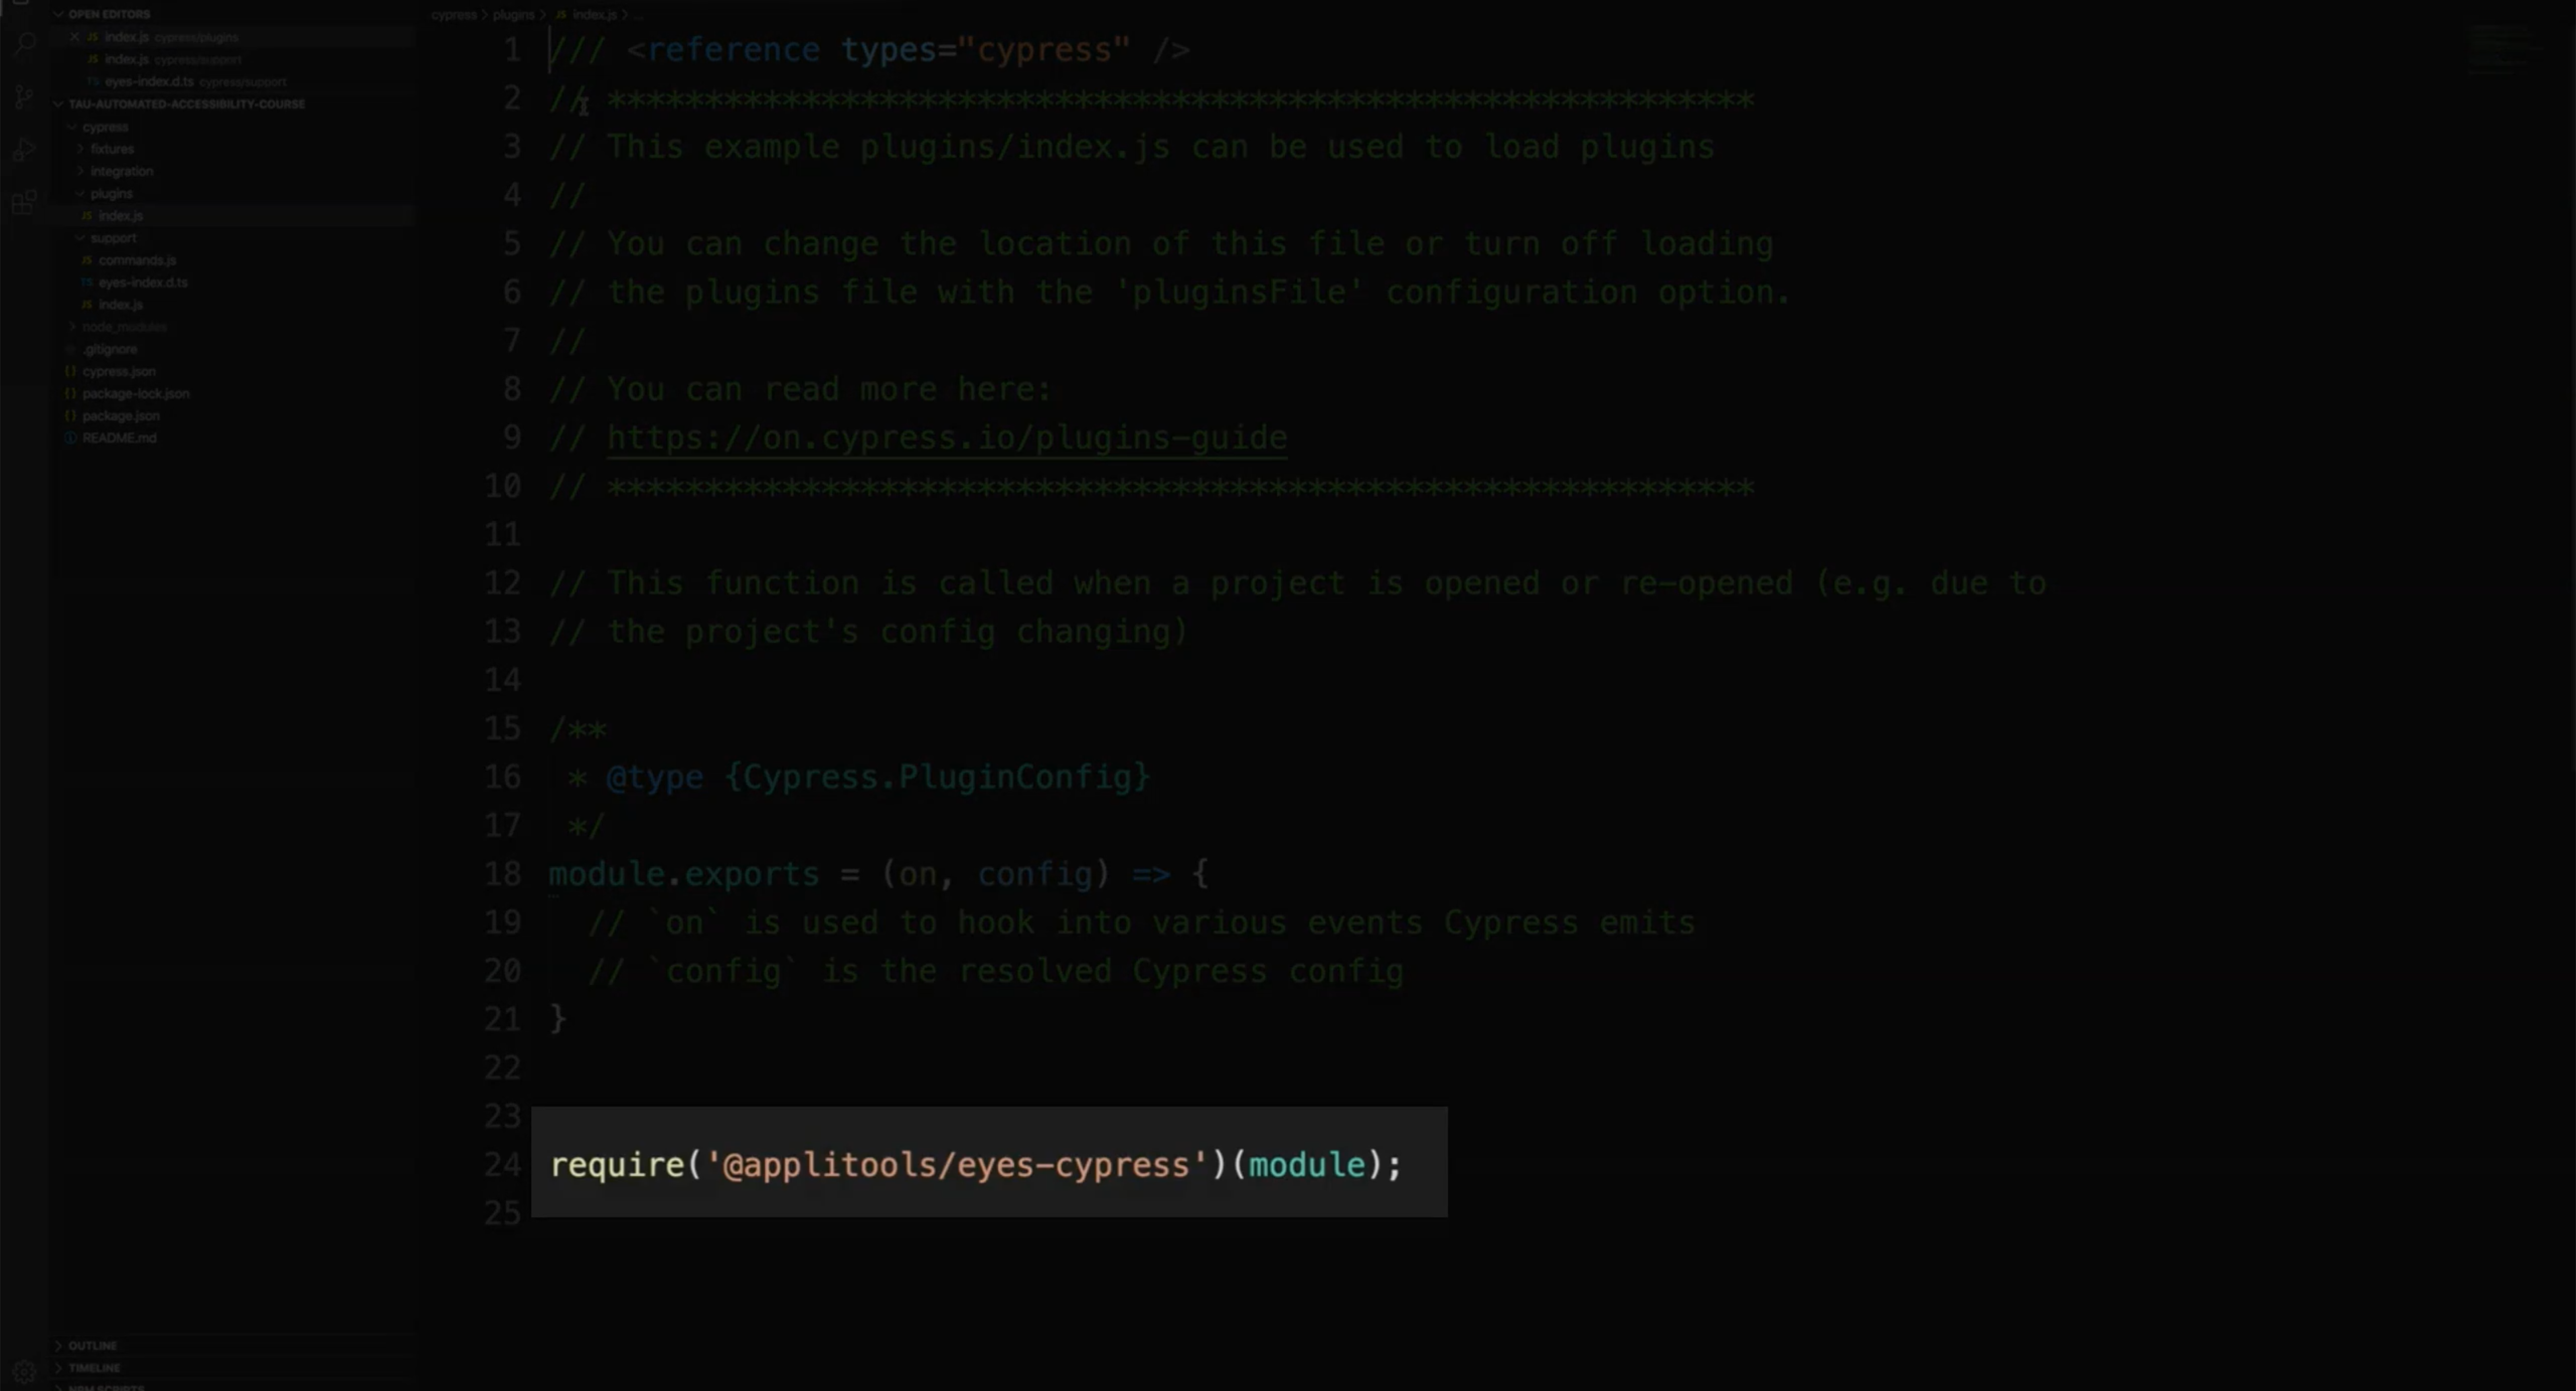
The first thing that got updated is the plugins/index.js folder. Since Eyes-Cypress is a plug-in itself, we need to require its plugin so that it can be loaded in our test project.
Since we need to use new commands from this plugin, the support/index.js file also got updated with this import statement here, which will allow us to use the new commands from the Eyes-Cypress plugin.
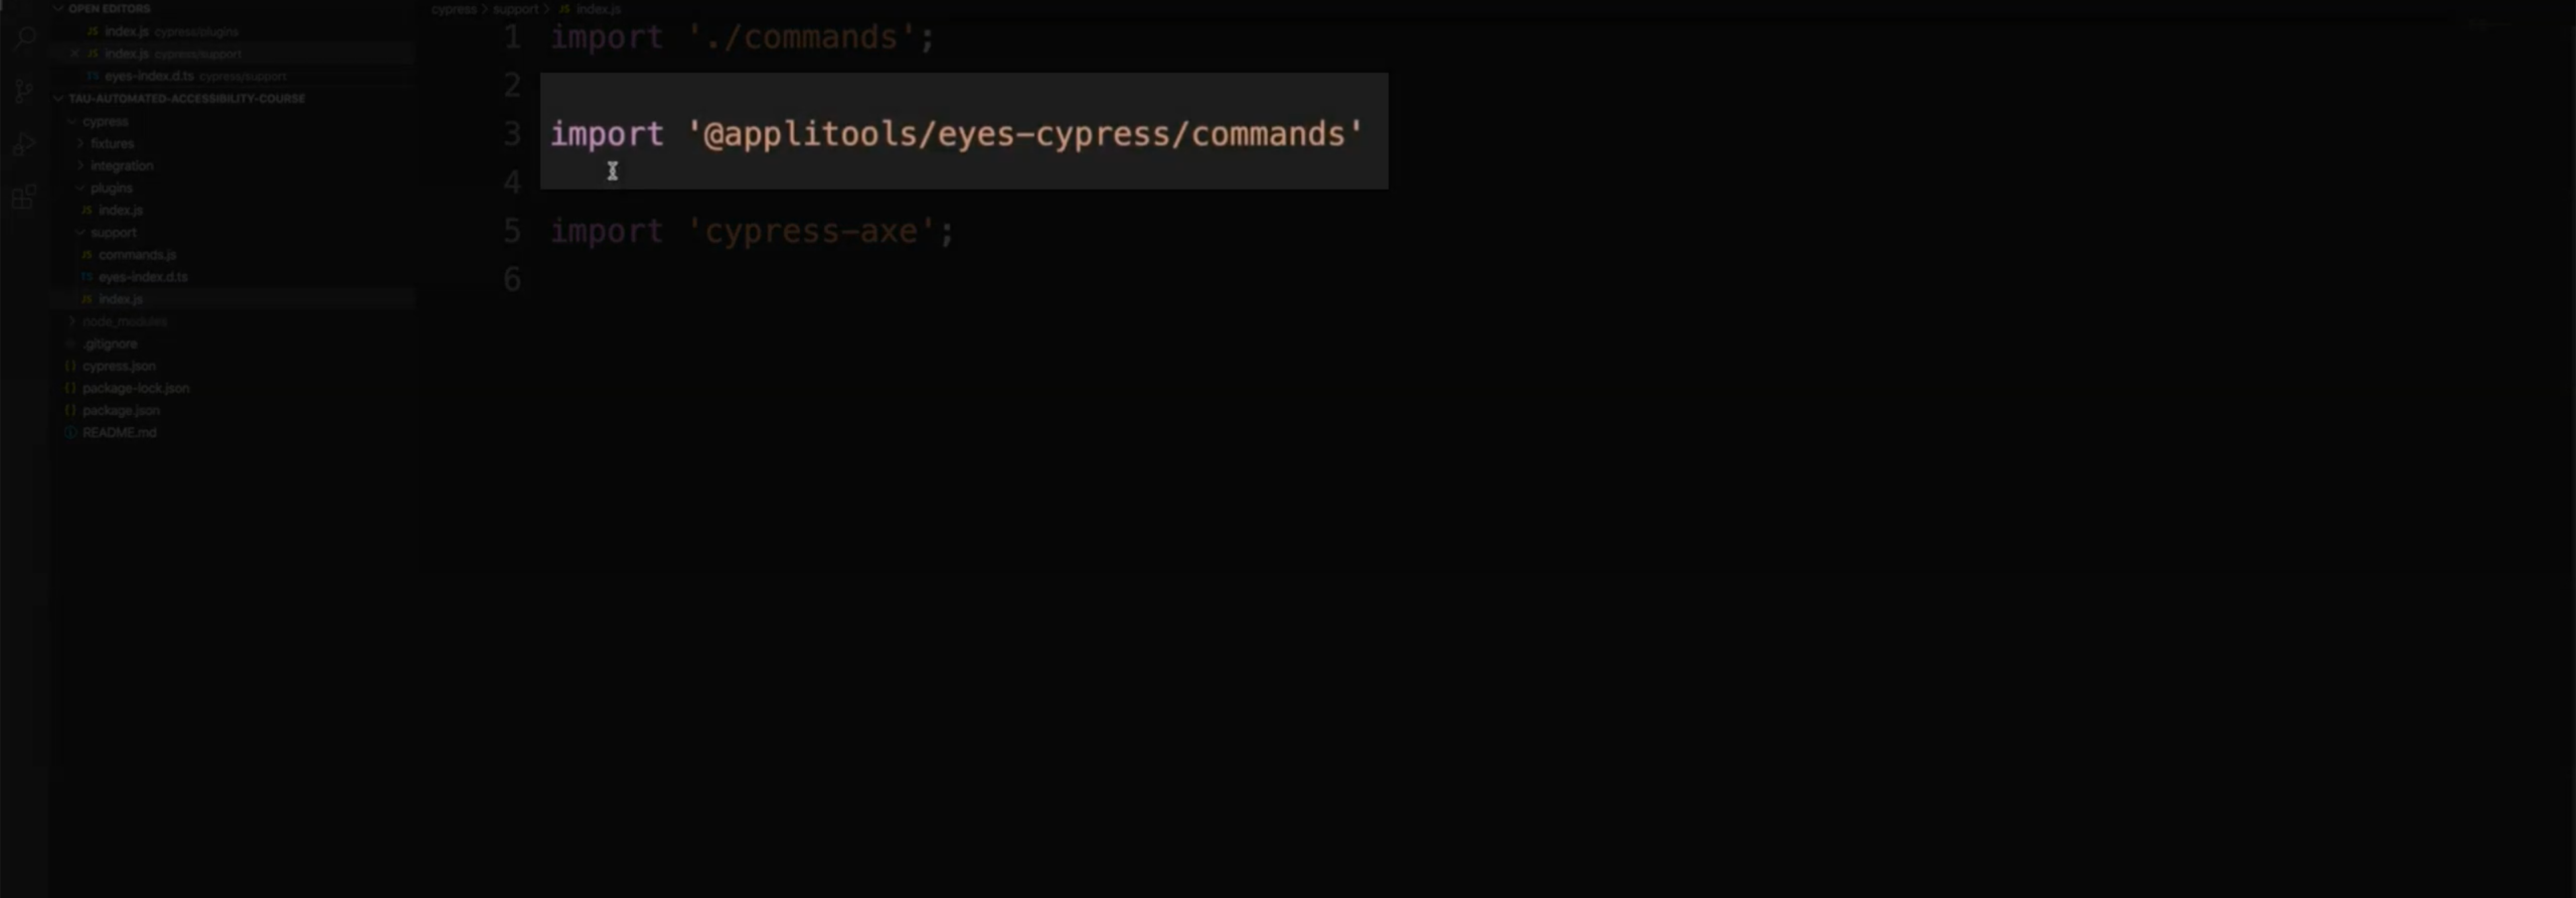
You'll see later what these new commands are.
And lastly, if you're using TypeScript inside of JavaScript, an optional file called eyes-index.d.ts will also be created. This is optional, and it can be deleted if you just use JavaScript.
Before we write our tests, I'm just going to give a quick demo on the website that we'll be using for today.
I found this site called heavyweight, which is a single page application that has a nice balance between texts and graphical images.
I'm going to add the link to this website under the Resources section so you can browse it as well.
Now let's write some code.
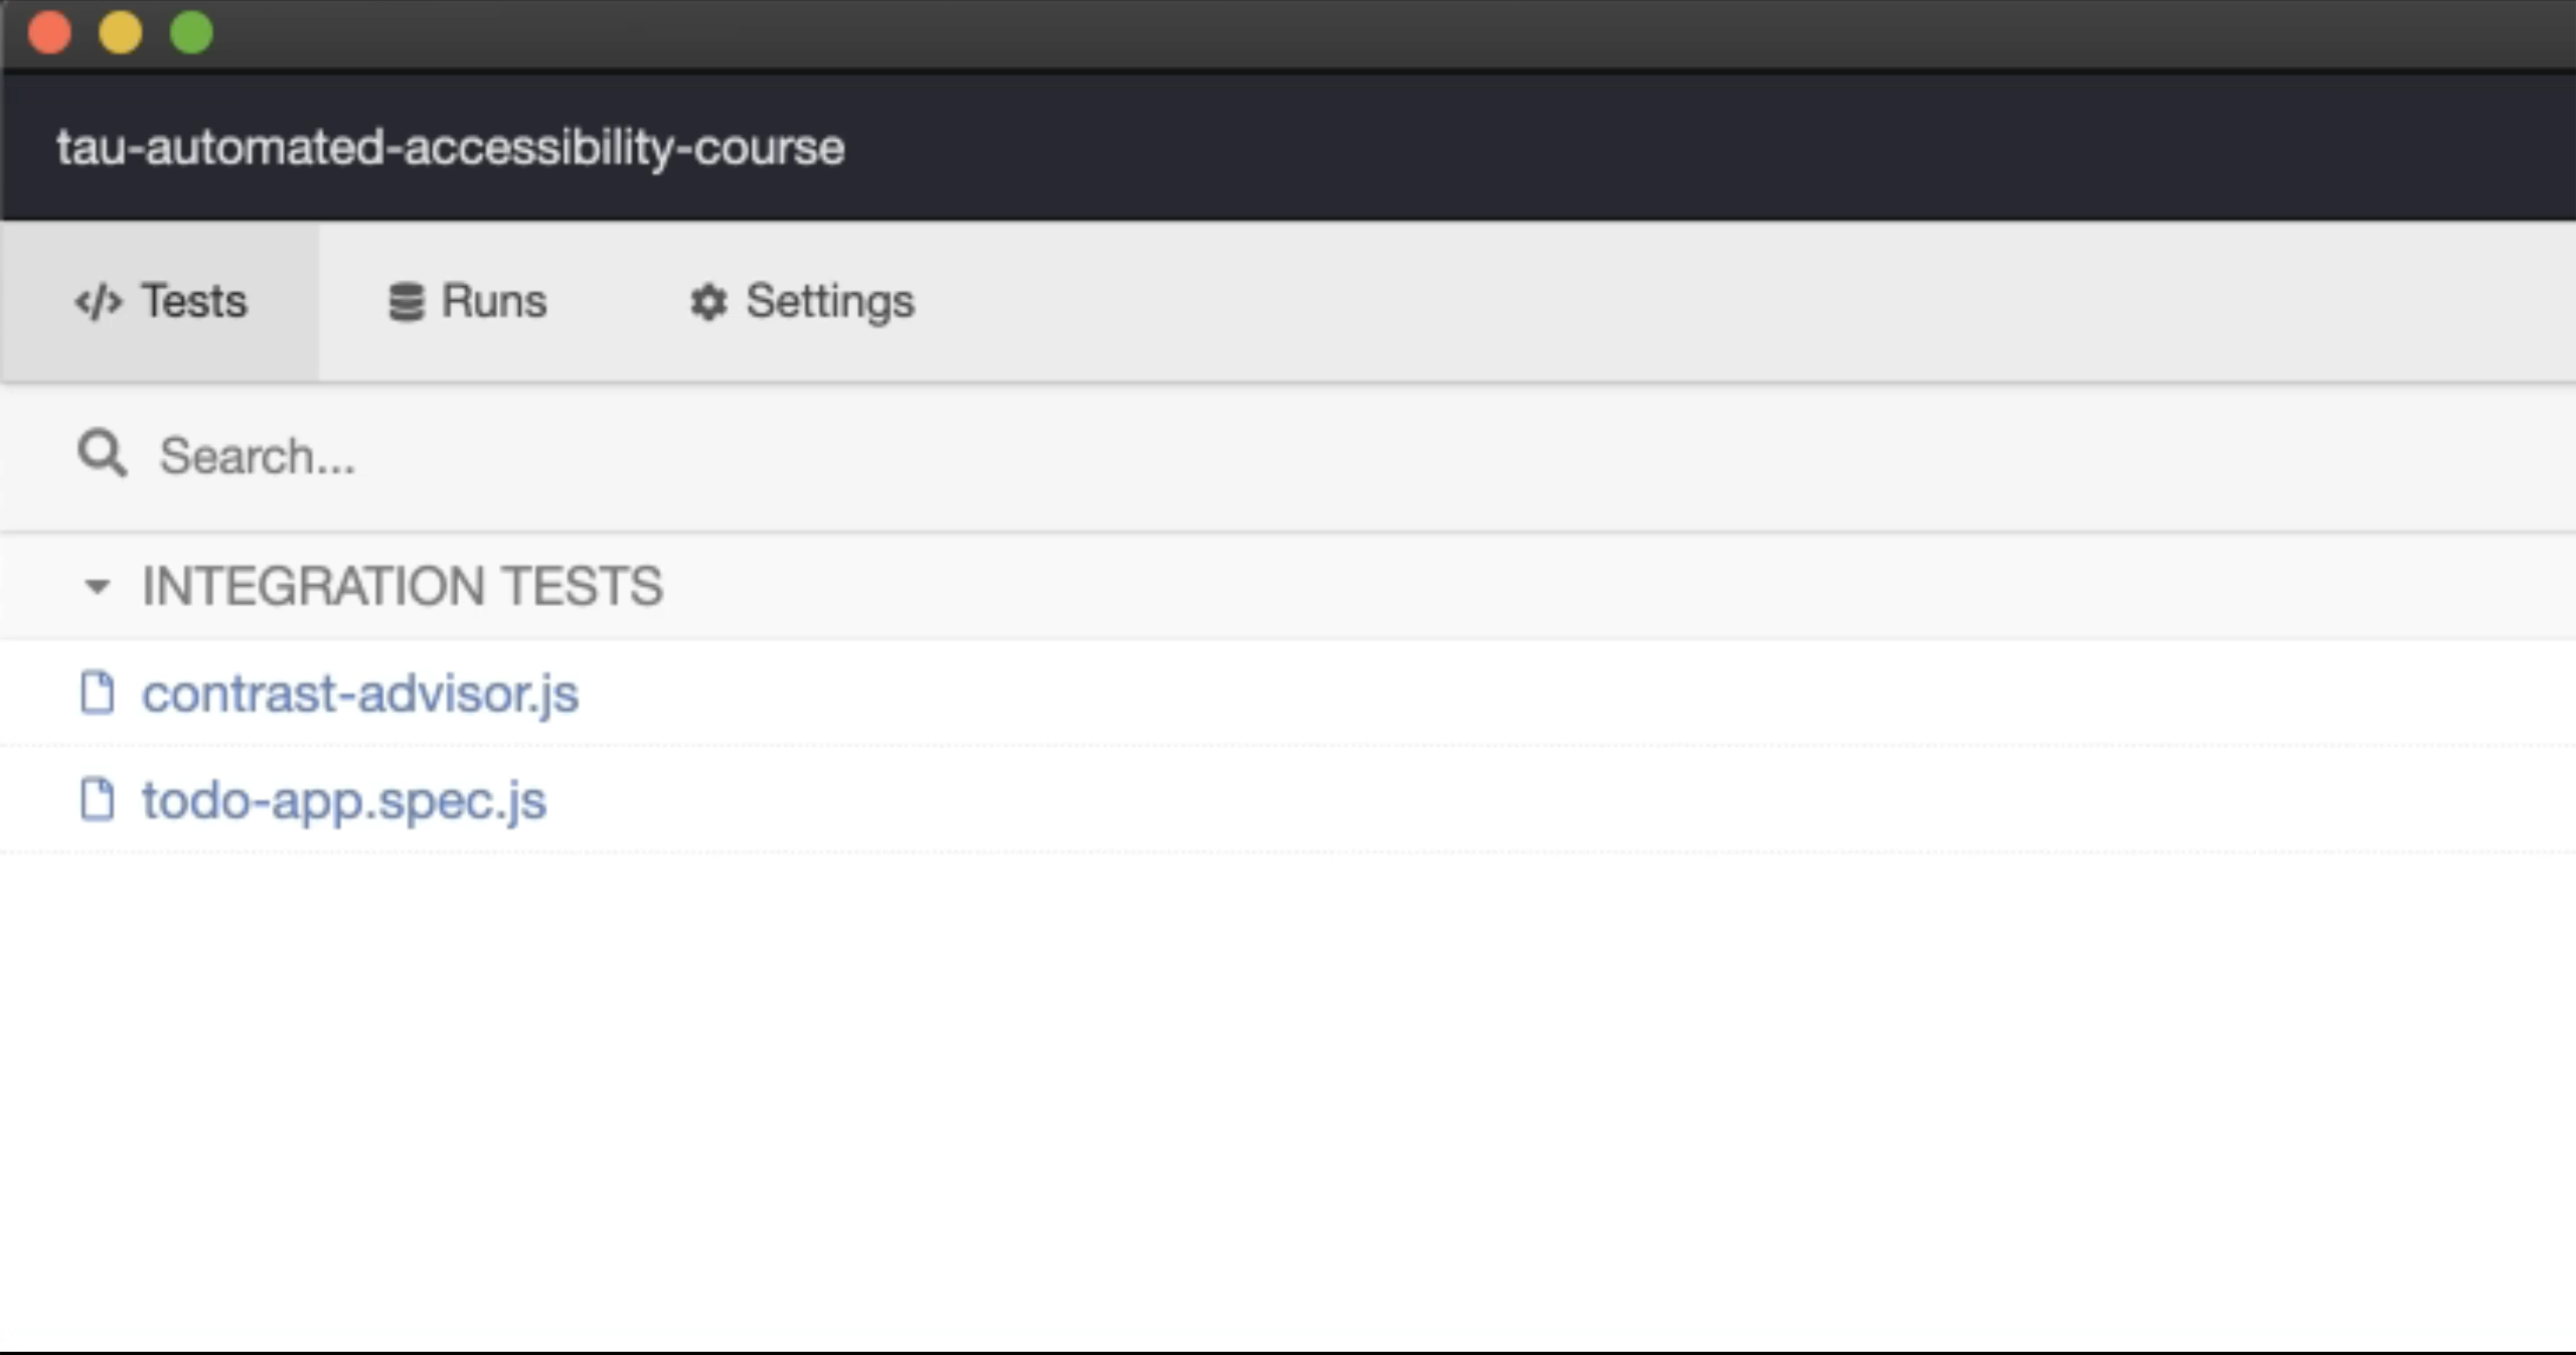
I've created a new test file under the integrations folder, which I have called contrast-advisor.js.
In this file, I've added the same code that you saw on the previous chapter when we wrote our first accessibility test with Cypress and Cypress Axe.
/// <reference types="Cypress" />

describe('Contrast Advisor Demo', () => {
  it('should show contrast issues on Applitools dashboard', () => {

  });
});
Now I'm going to add a new reference type here for the @applitools/eyes-cypress package to enable IntelliSense for the new commands that we need from the Eyes-Cypress plugin.
The first command that we need is the cy.eyesOpen command.
This command will initiate the Applitools Eyes, and we can set up our application name as well as batch name in this command, so we can easily distinguish this test when we log in to the Applitools dashboard.
/// <reference types="Cypress" />
/// <reference types="@applitools/eyes-cypress" />

describe('Contrast Advisor Demo', () => {
  it('should show contrast issues on Applitools dashboard', () => {
    cy.eyesOpen({
      appName: 'Contrast Advisor',
      batchName: 'Contrast Advisor',
    });
  });
});
Gil Tayar has an excellent introduction course about Cypress and Applitools, which I added as a link under the resources section for you to also check it out.
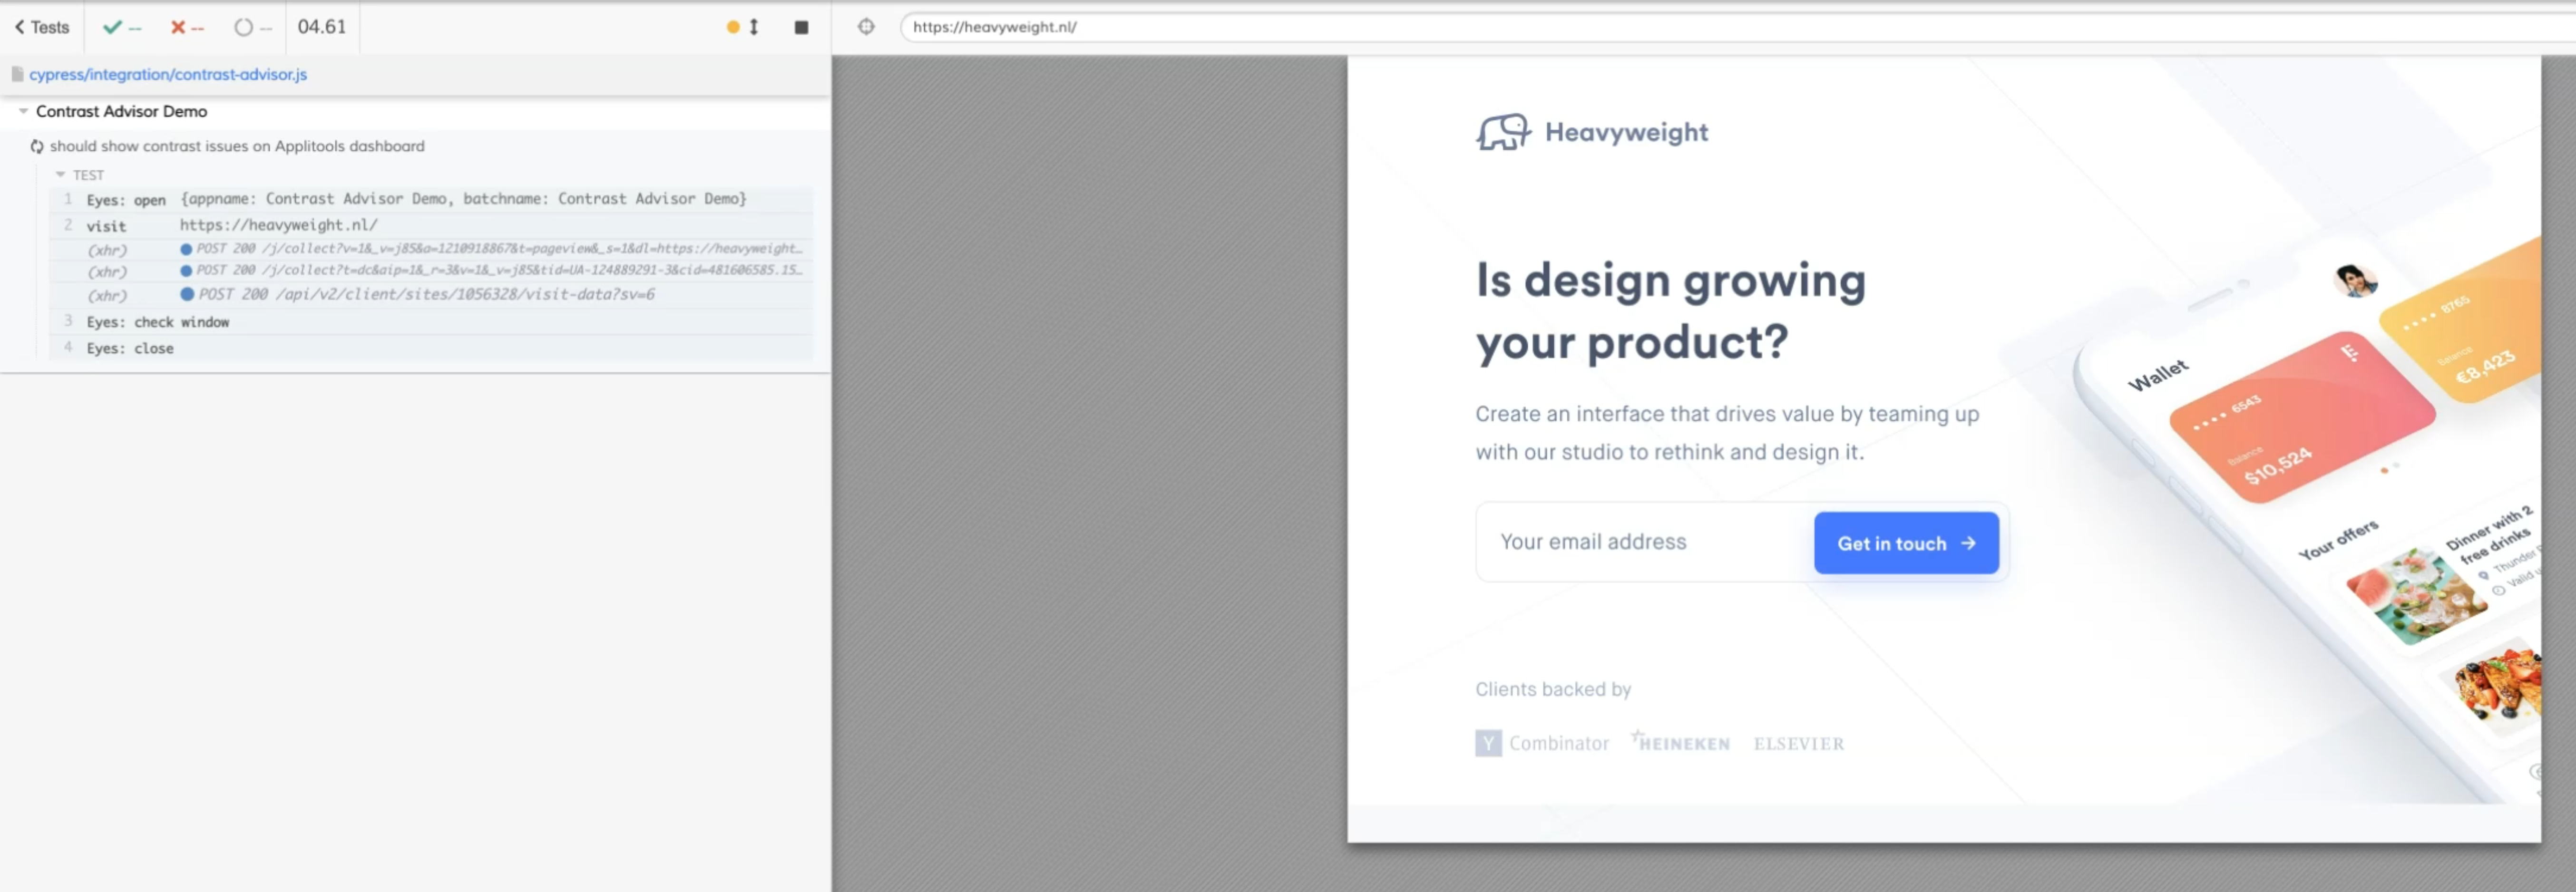
Once we've initiated the Applitools Eyes, we need to visit the test website.
So let's go ahead and type cy.visit followed by the URL.
Then to generate the snapshot, we need to call cy.eyesCheckWindow.
This command here will take a snapshot of your DOM and upload it to the Applitools server.
Then afterwards, since we only need one snapshot, we can go ahead and close the Eyes plugin, which we can do by calling cy.eyesClose.
/// <reference types="Cypress" />
/// <reference types="@applitools/eyes-cypress" />

describe('Contrast Advisor Demo', () => {
  it('should show contrast issues on Applitools dashboard', () => {
    cy.eyesOpen({
      appName: 'Contrast Advisor',
      batchName: 'Contrast Advisor',
    });
    cy.visit('https://heavyweight.nl/');
    cy.eyesCheckWindow();
    cy.eyesClose();
  });
});
This is pretty much it for your first test with Applitools.
Let's go back to our terminal.
In order for you to use Applitools, you need to export your Applitools API key, which you can get if you log into the Applitools dashboard.
Type:
export APPLITOOLS_API_KEY=[your API key]
If you're a Windows user, just replace the word export with set.
Next, let's open up the Cypress test runner by running
npx cypress open
and wait for the test runner to appear.
Let's go ahead and click the first test, which is contrast-advisor.js, and run the test.
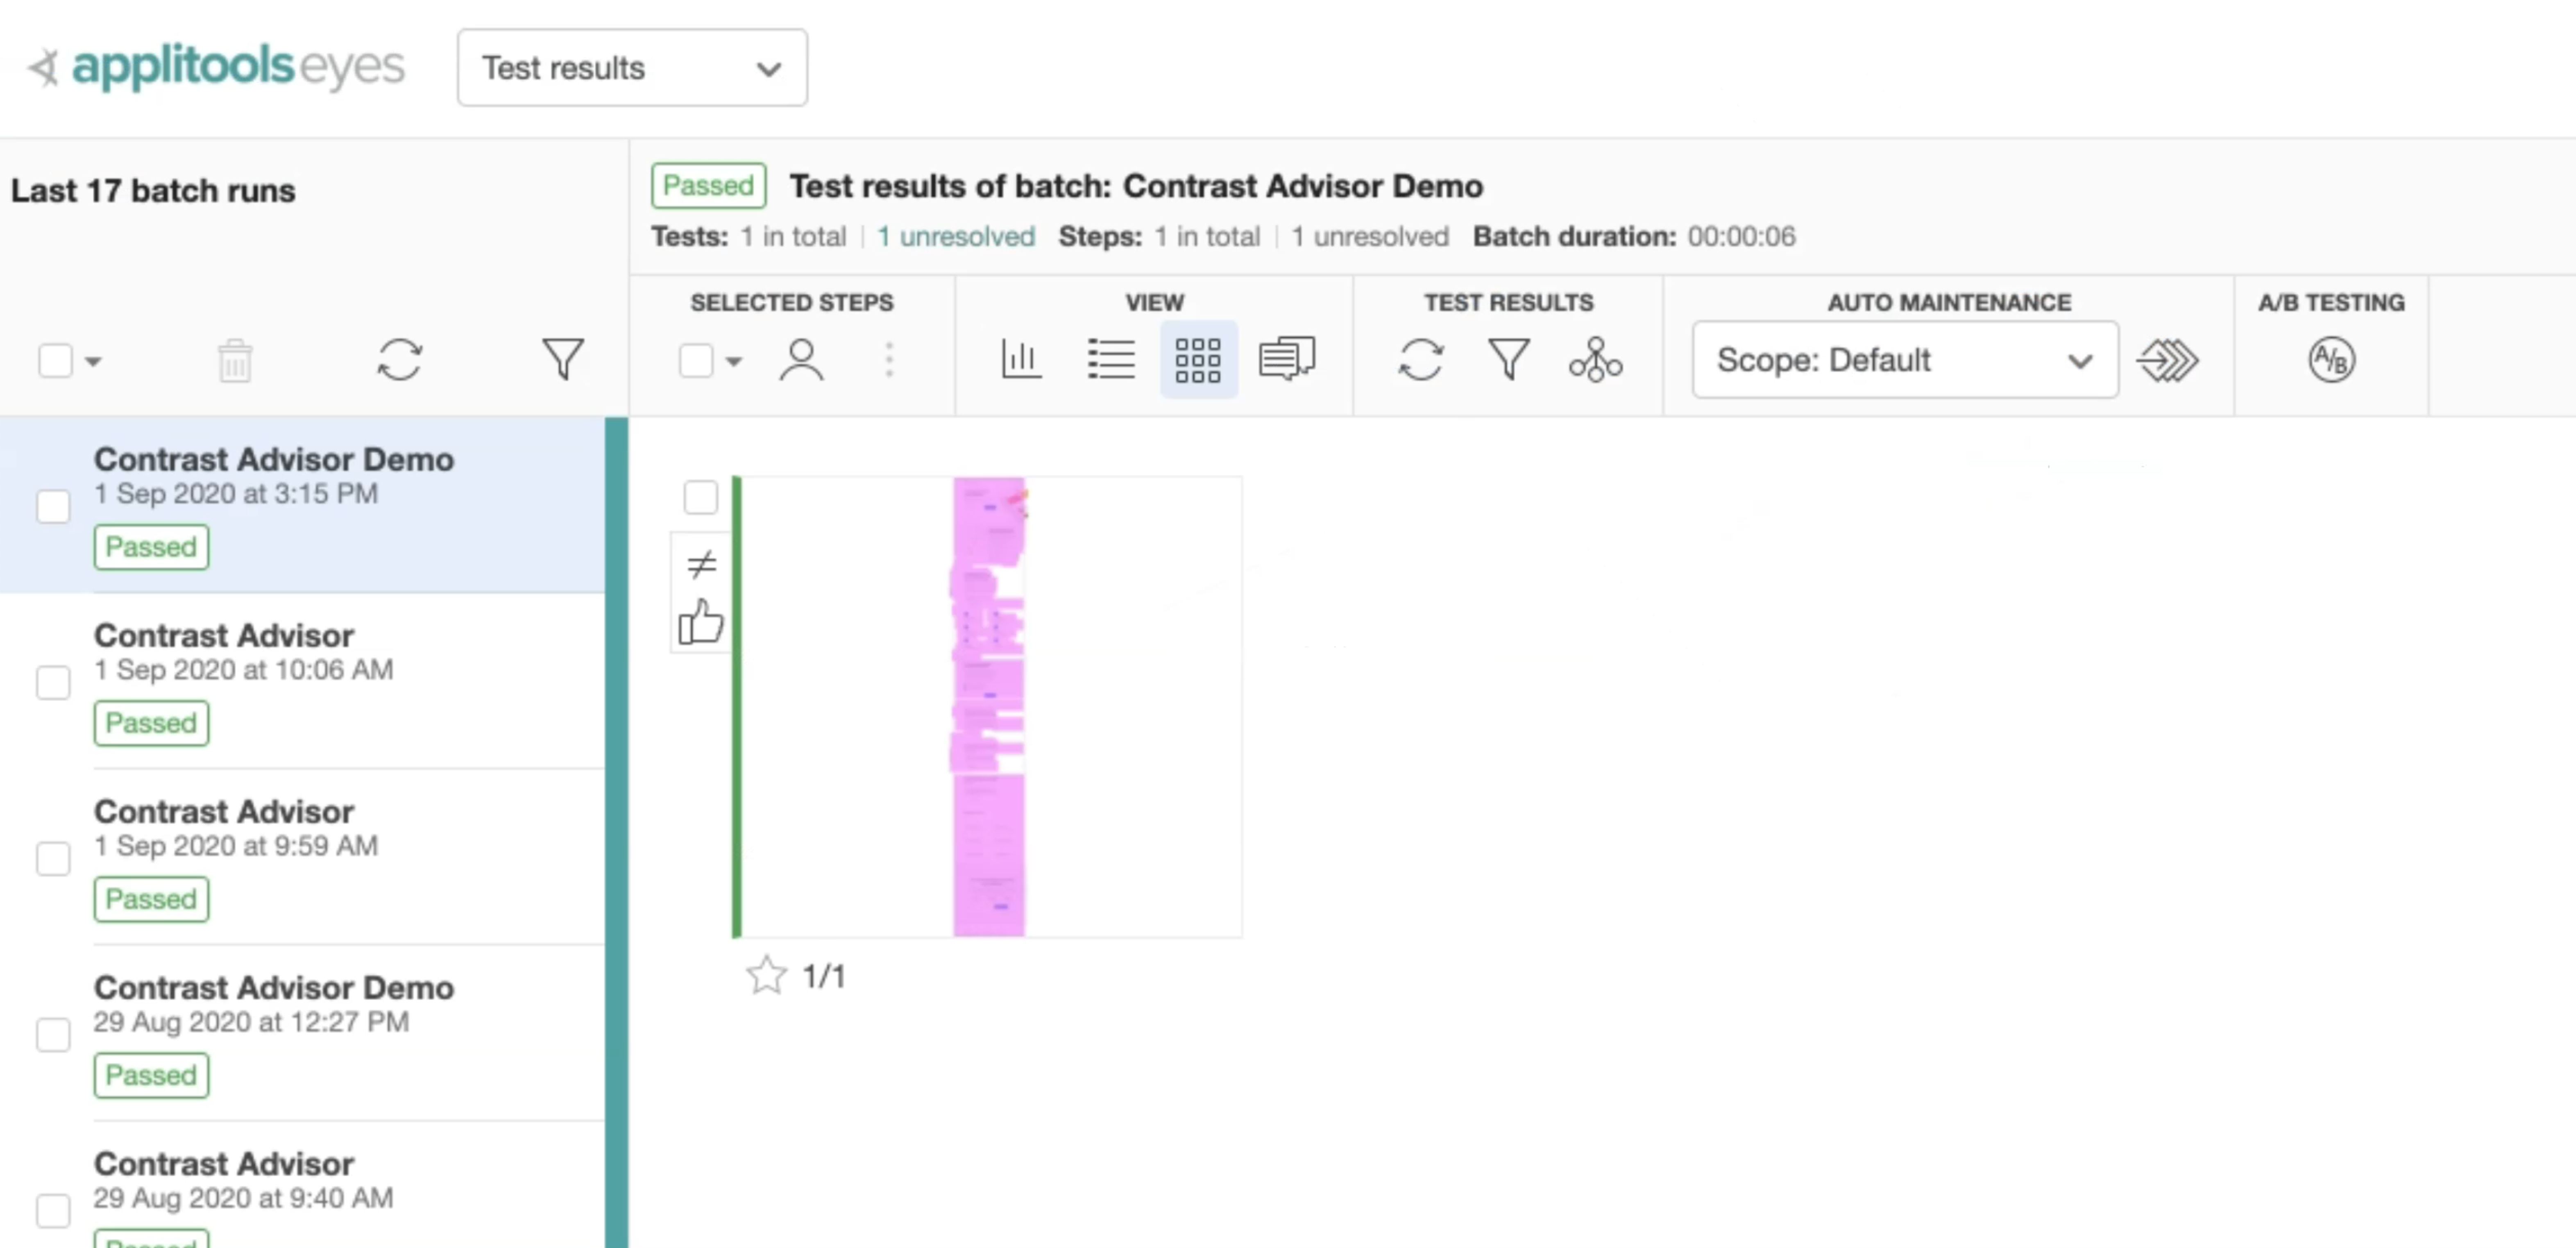
When that's finished running, let's go to Applitools dashboard and view the test results.
Let's go ahead and refresh Applitools and just click on the very recent test run that we have.
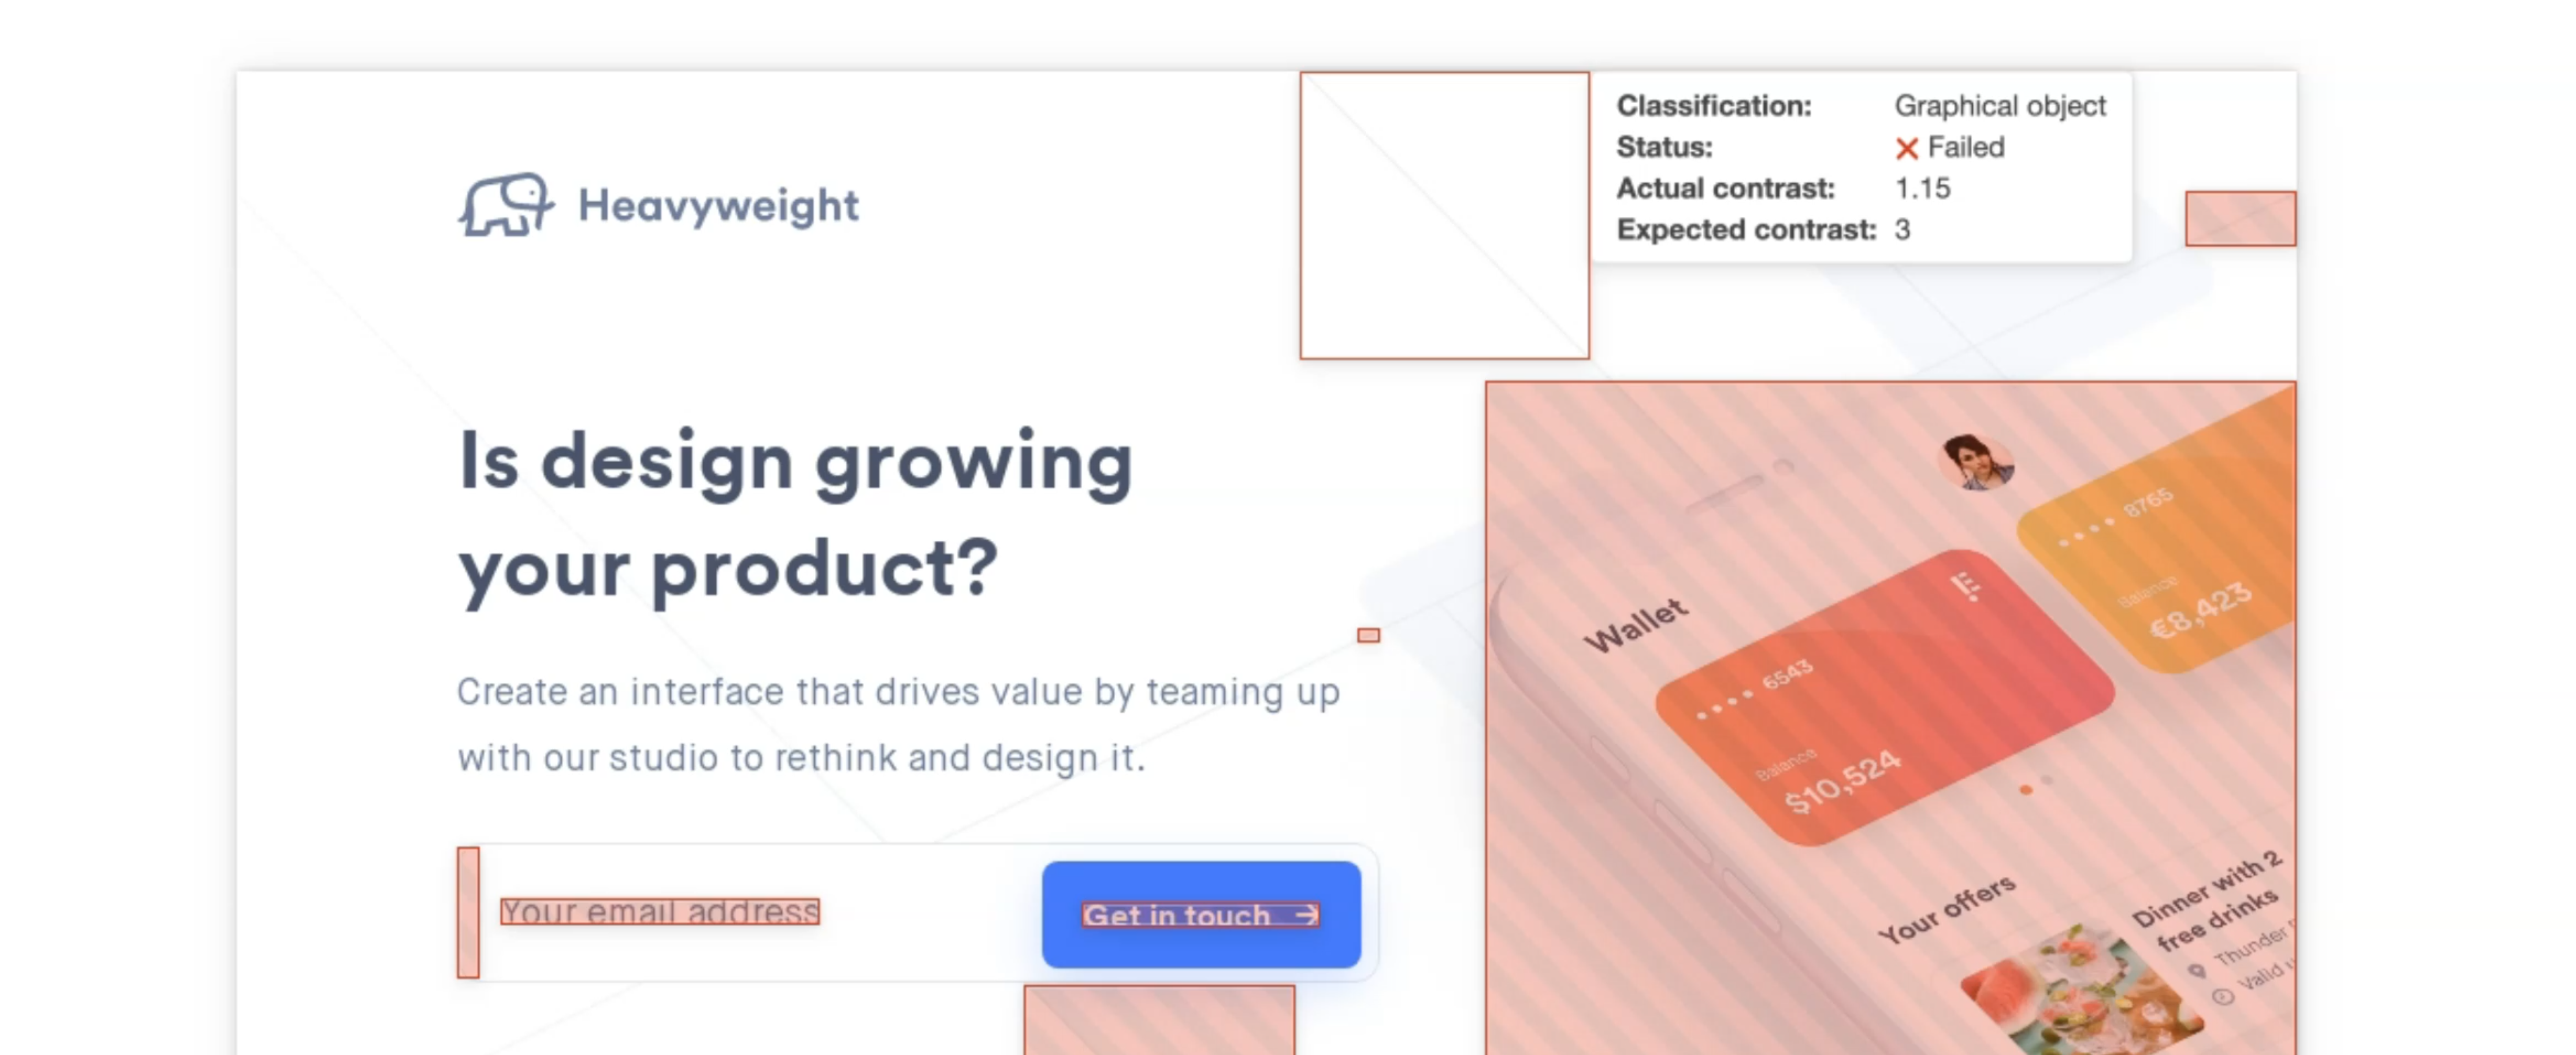
To use the Applitools Contrast Advisor, just enable the accessibility feature and notice that any violations are highlighted on the page.
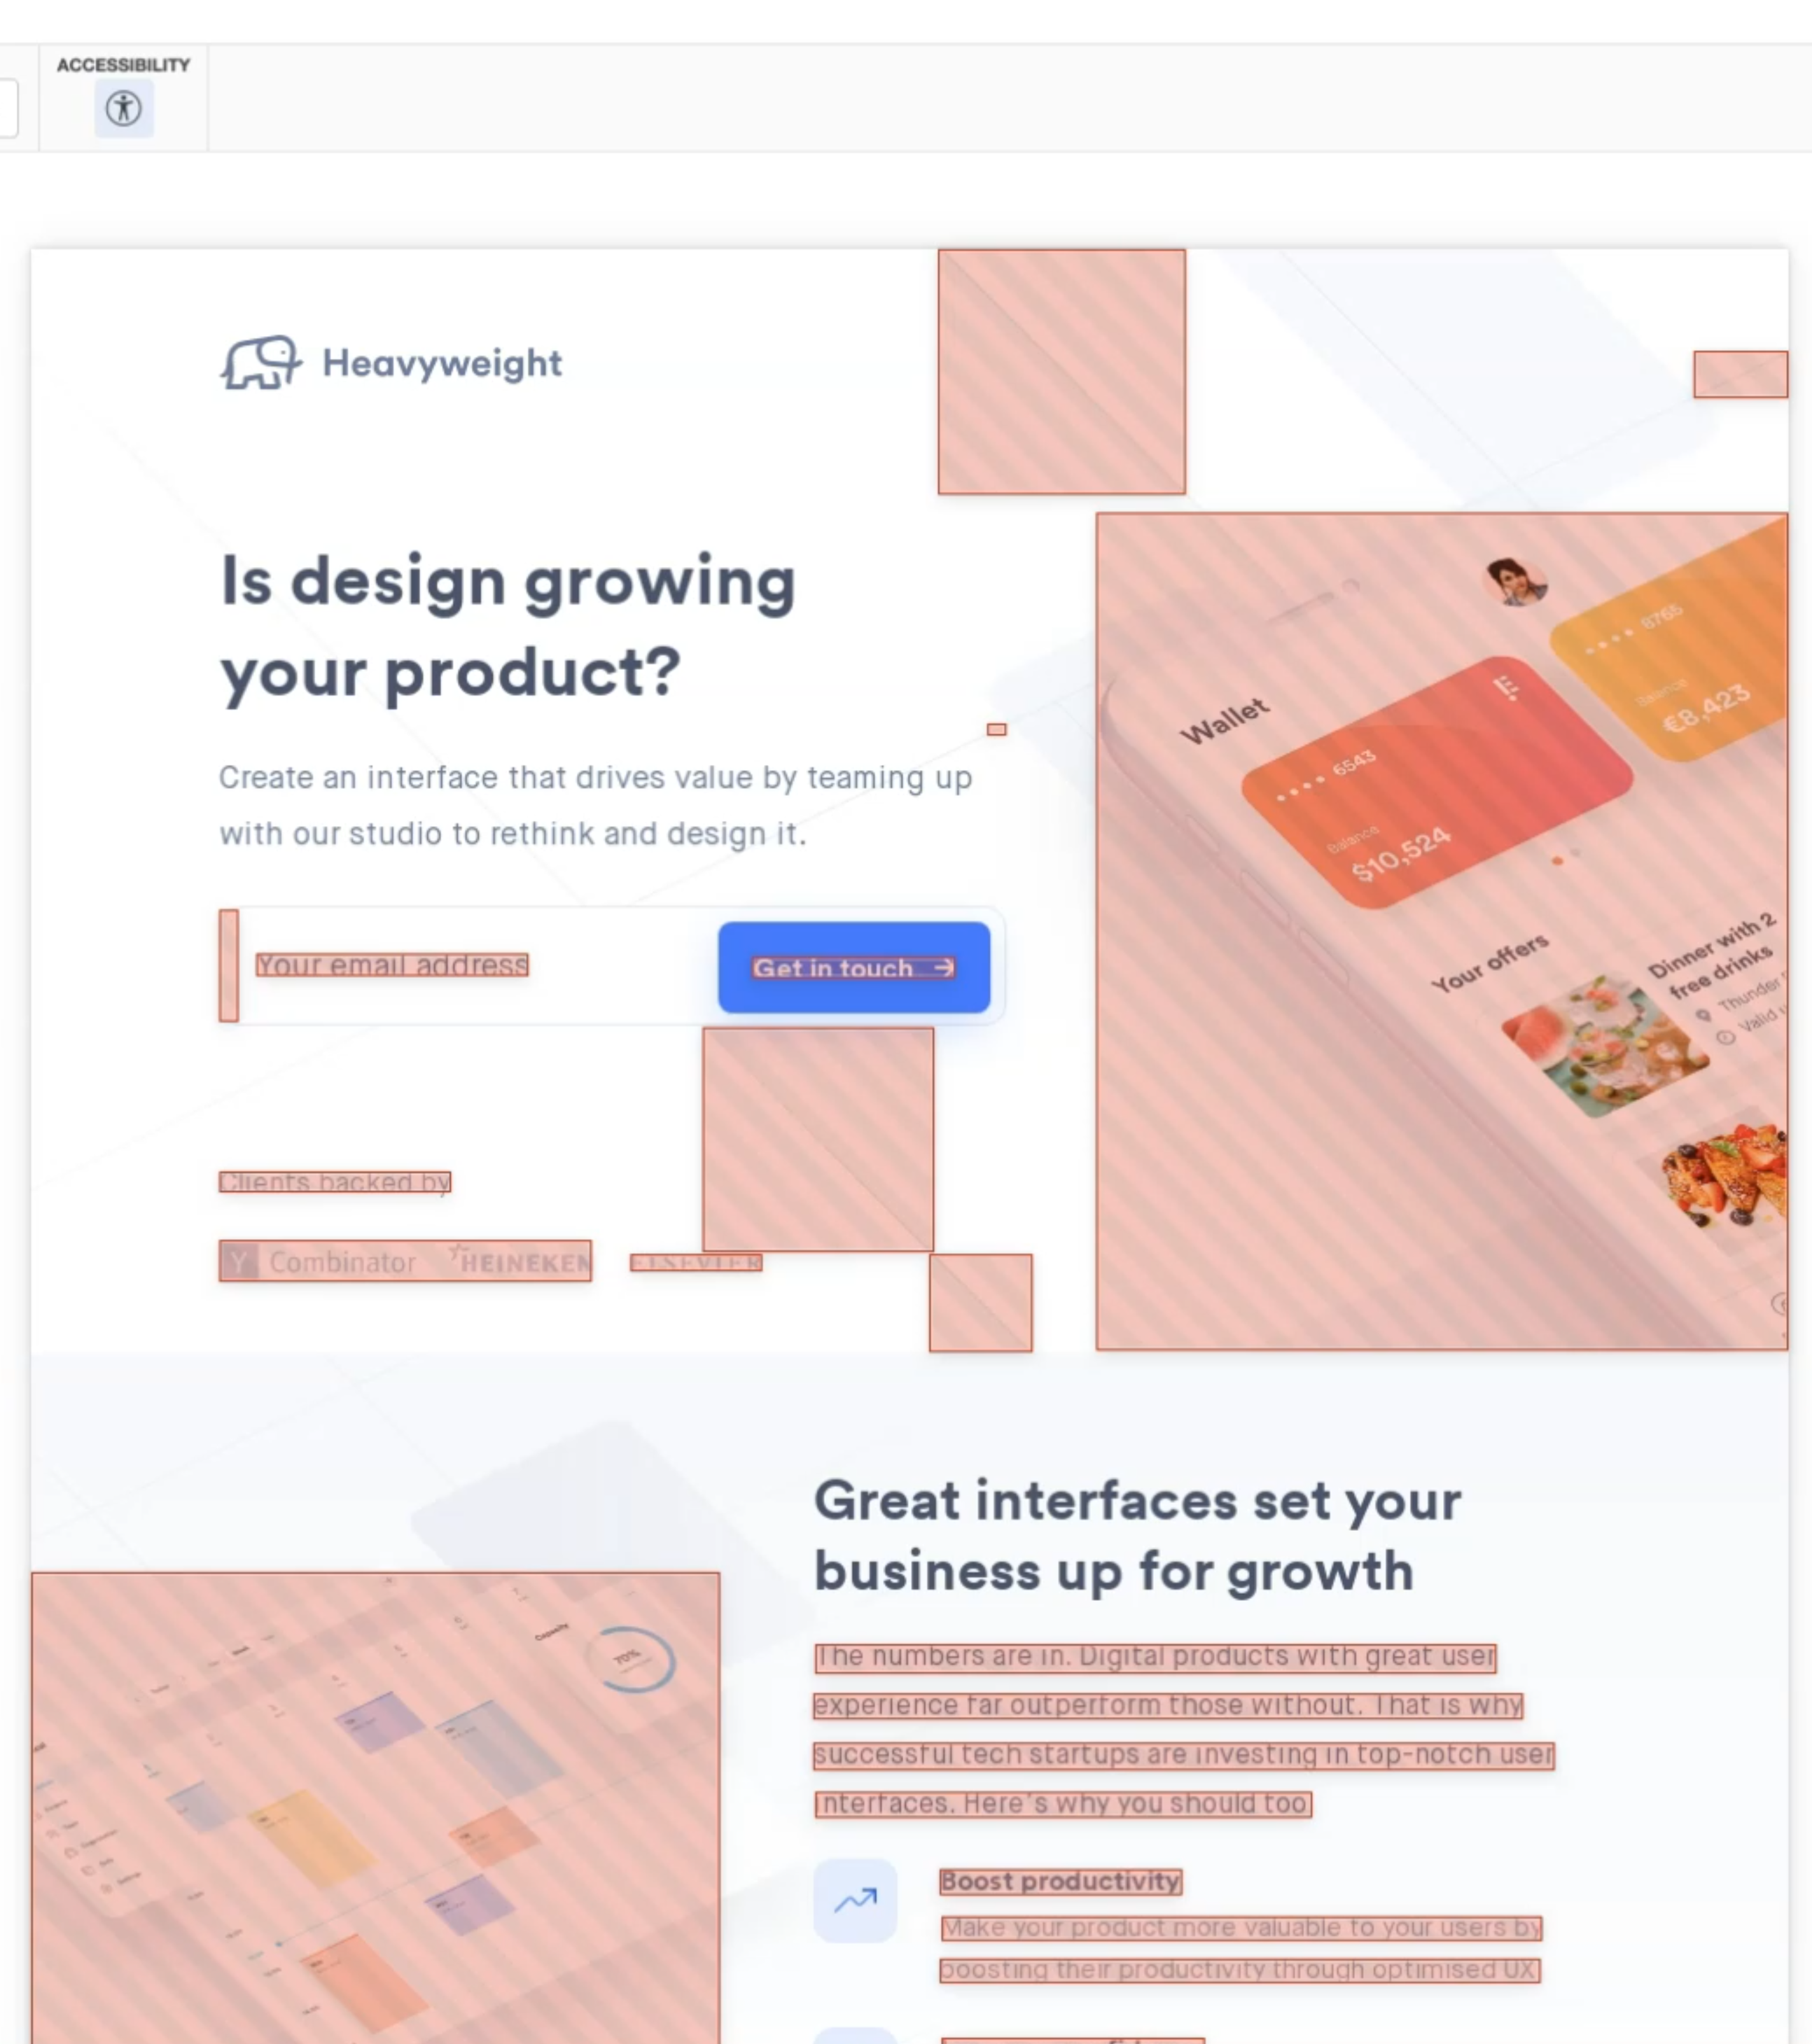
If you hover on any of the images or texts that have violations, they will show the actual contrast ratio for this element and what contrast ratio it needs in order to pass the guidelines.
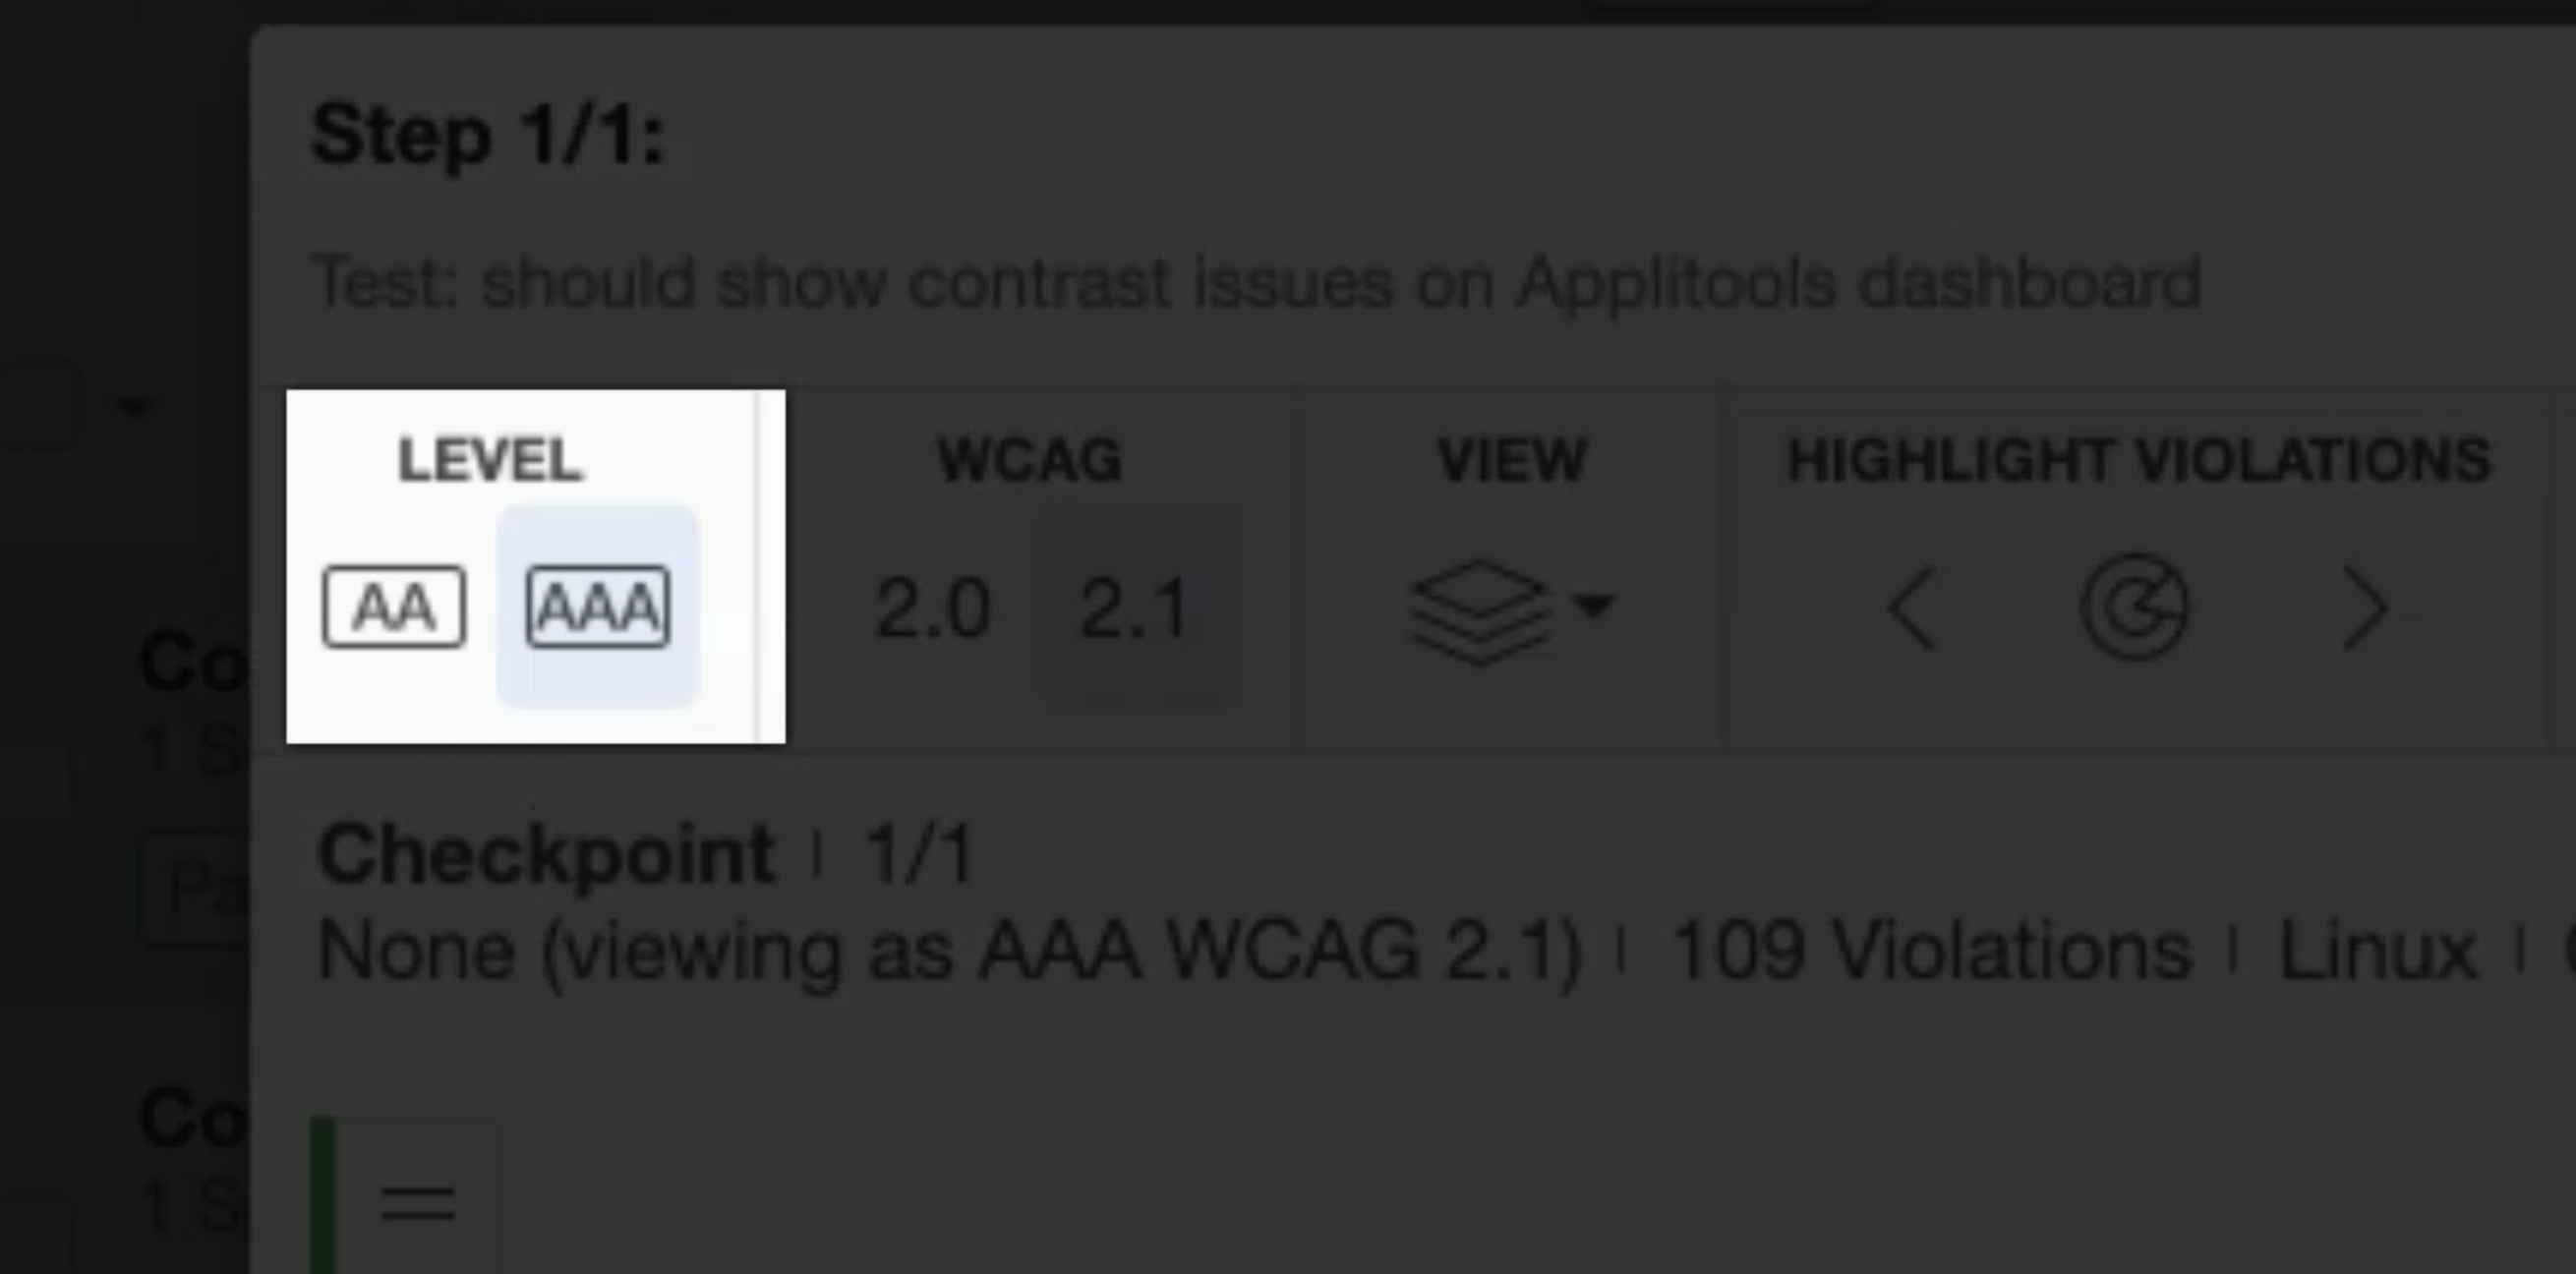
You can also easily switch from level AA to level AAA just by clicking the button here. And you can instantly see the amount of violations increase in level AAA.
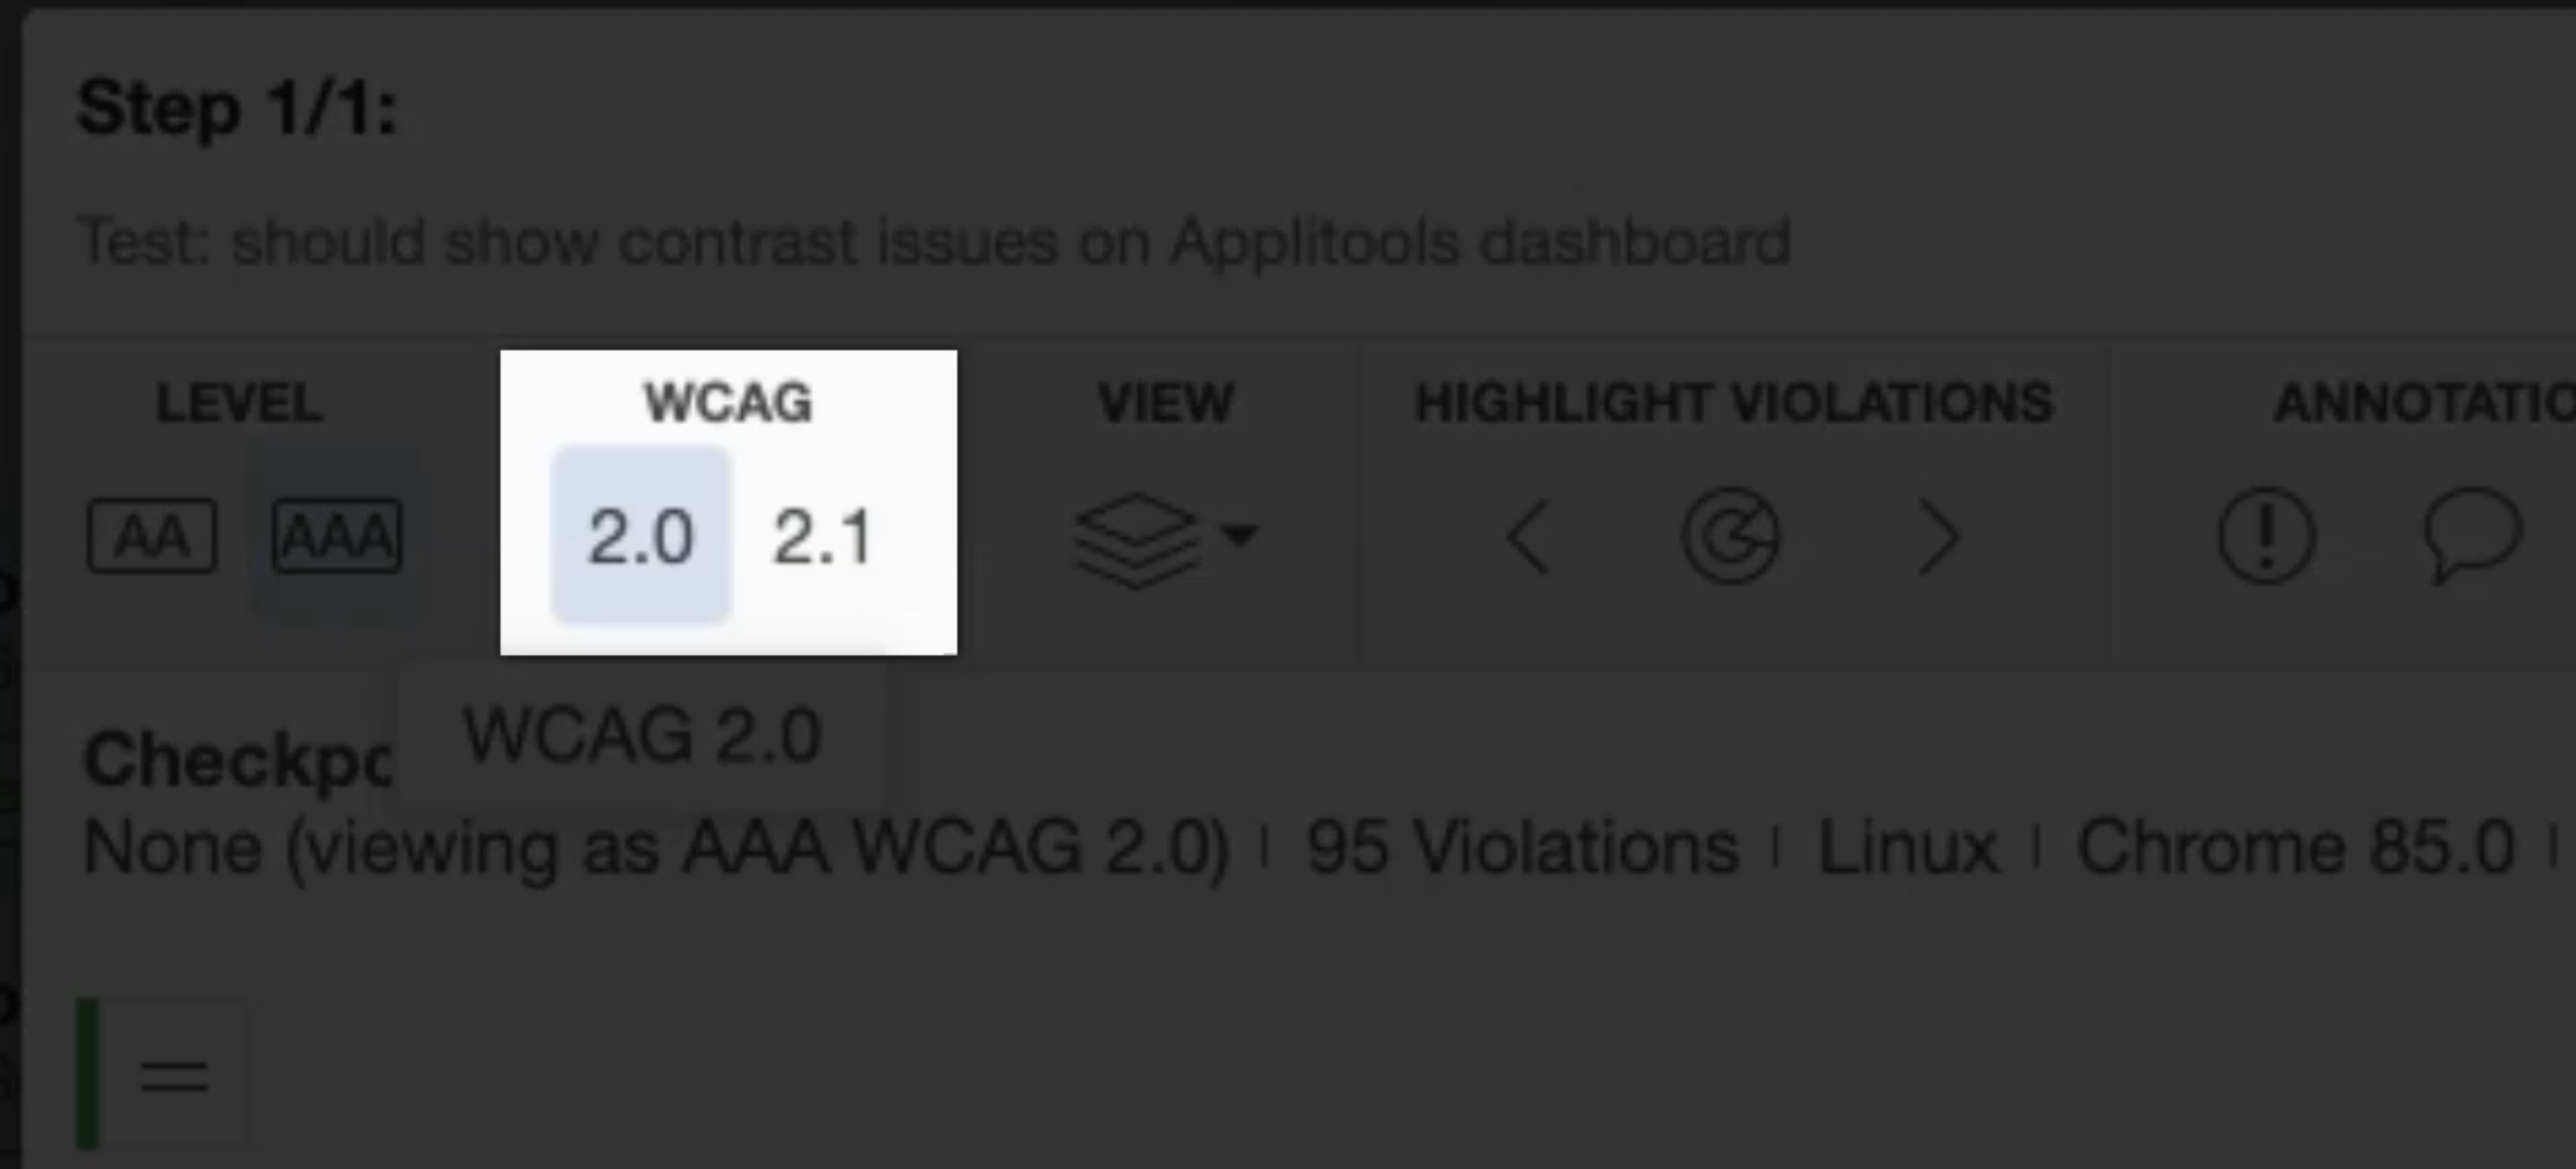
Likewise, you can also toggle between the two web content accessibility guidelines, which are versions 2.0 and 2.1.
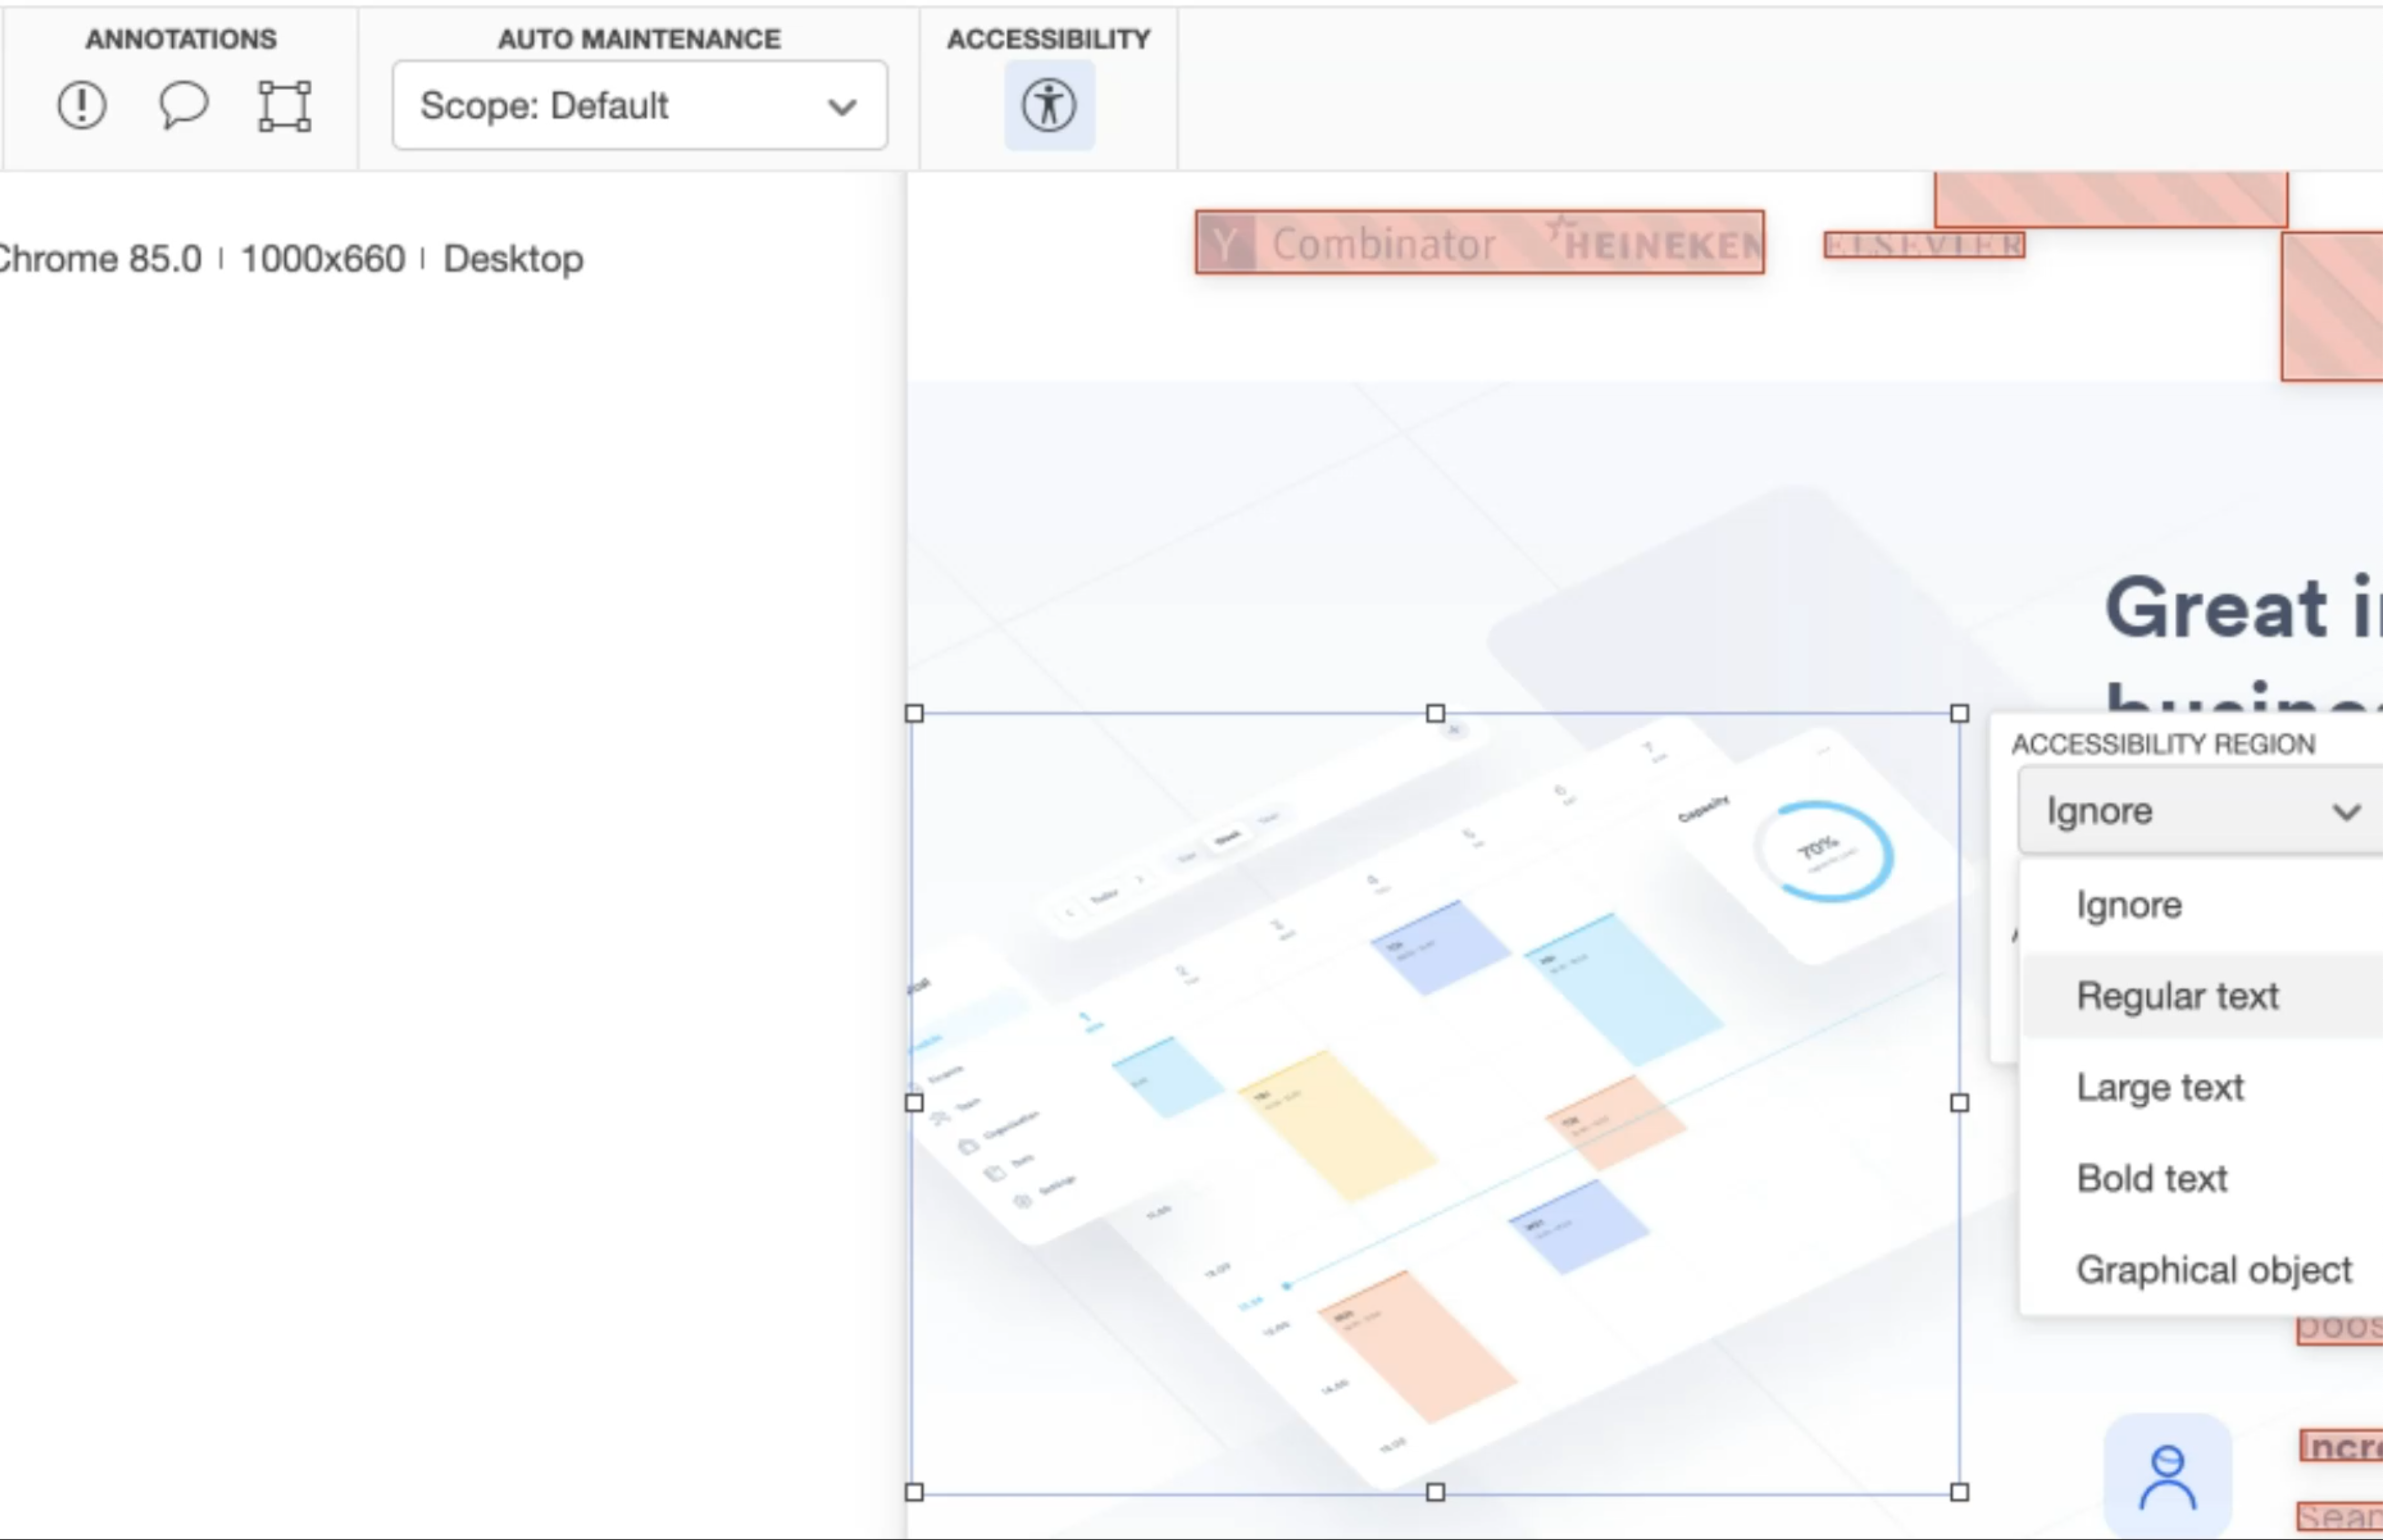
If you want to add an accessibility region, just click the add accessibility annotation region here, and then select the appropriate image or text that you want to ignore.
And then that is pretty much it for this subchapter.
I hope that by now you've come to realize that there are so many tools out there that can guide us with accessibility testing.
In the final subchapter, let's finish this course and wrap things up.
Resources
GitHub links
Courses
Quiz
The quiz for this chapter is in section 8.3
