

Transcripted Summary
In this chapter, I'm going to show you how to use Axe-CLI so you can quickly catch basic accessibility issues from your application.
# Why use Axe-CLI?
First, you can easily integrate it into your continuous integration pipeline.
It's fast, which you'll see on the demo later, and it's also easy to set up and configure.
Lastly, no code needed, so it gives you the option to catch accessibility issues earlier on without writing additional code.
# Prerequisite
As a prerequisite, in order to install Axe-CLI, you need to have Node and NPM installed on your machine.
If you don't have these installed, go ahead and pause this video and come back to it once everything is up and ready.
You can refer to the resources below to find the link on how to install Node and NPM.
So hopefully you managed to have Node installed in your machine.
# Install Axe-CLI
To install Axe-CLI, all we need is this one line command and you should be good to go.
npm install -g axe-cli
The -g stands for global, which indicates that we're going to add this module globally.
I've switched to my terminal here.
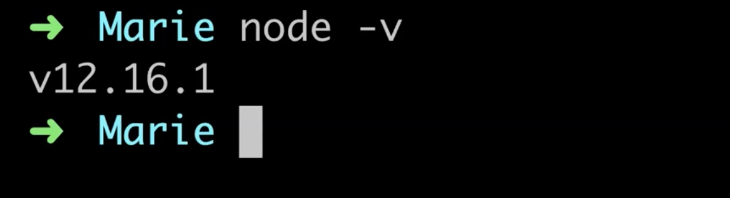
If you want to find out if you have Node installed successfully, just type this and it should tell you the version number that you are using:
node -v
To install Axe-CLI, go ahead and type the command that you saw from the previous slide, which is npm install -g axe-cli.
I've already installed Axe-CLI in my machine, so go right ahead and pause this video if you're still waiting for your installation to finish.
# Running Axe-CLI Demo
Once that's finished, you can type the command axe in your terminal and it should provide you with the following output.
axe

It's giving us an error because we haven't provided any URL to check.
Let's go ahead and type axe again, followed by any URL that you want.
axe testingwithmarie.com
For this demo, I have provided the URL to my personal blog.
Blog name change
My personal blog has changed from mariedrake.com to testingwithmarie.com.

By default, this will run your tests on headless Chrome.
When that's finished, it will give you the standard output here showing any errors, if there are any, as well as a link to how to fix the issue.
It looks like Axe hasn't reported any violations on my personal blog, which is really great.
However, it's worth noting that just because Axe didn't detect any issues doesn't mean that my site is fully accessible.
I like that Axe has added this message here that "only 20% to 50% of accessibility issues are detected".
So actual accessibility testing is still required.
If you want to run the test on an actual browser, what you can do is pass in the browser parameter followed by the browser name.
axe testingwithmarie.com --browser chrome
So in this case it's chrome.
Run the test again, and this time you can see that it's opened the Chrome browser itself and will close when the test run is complete.
If you want to run the test on multiple pages, you can add more URLs to it as long as it's separated with a comma.
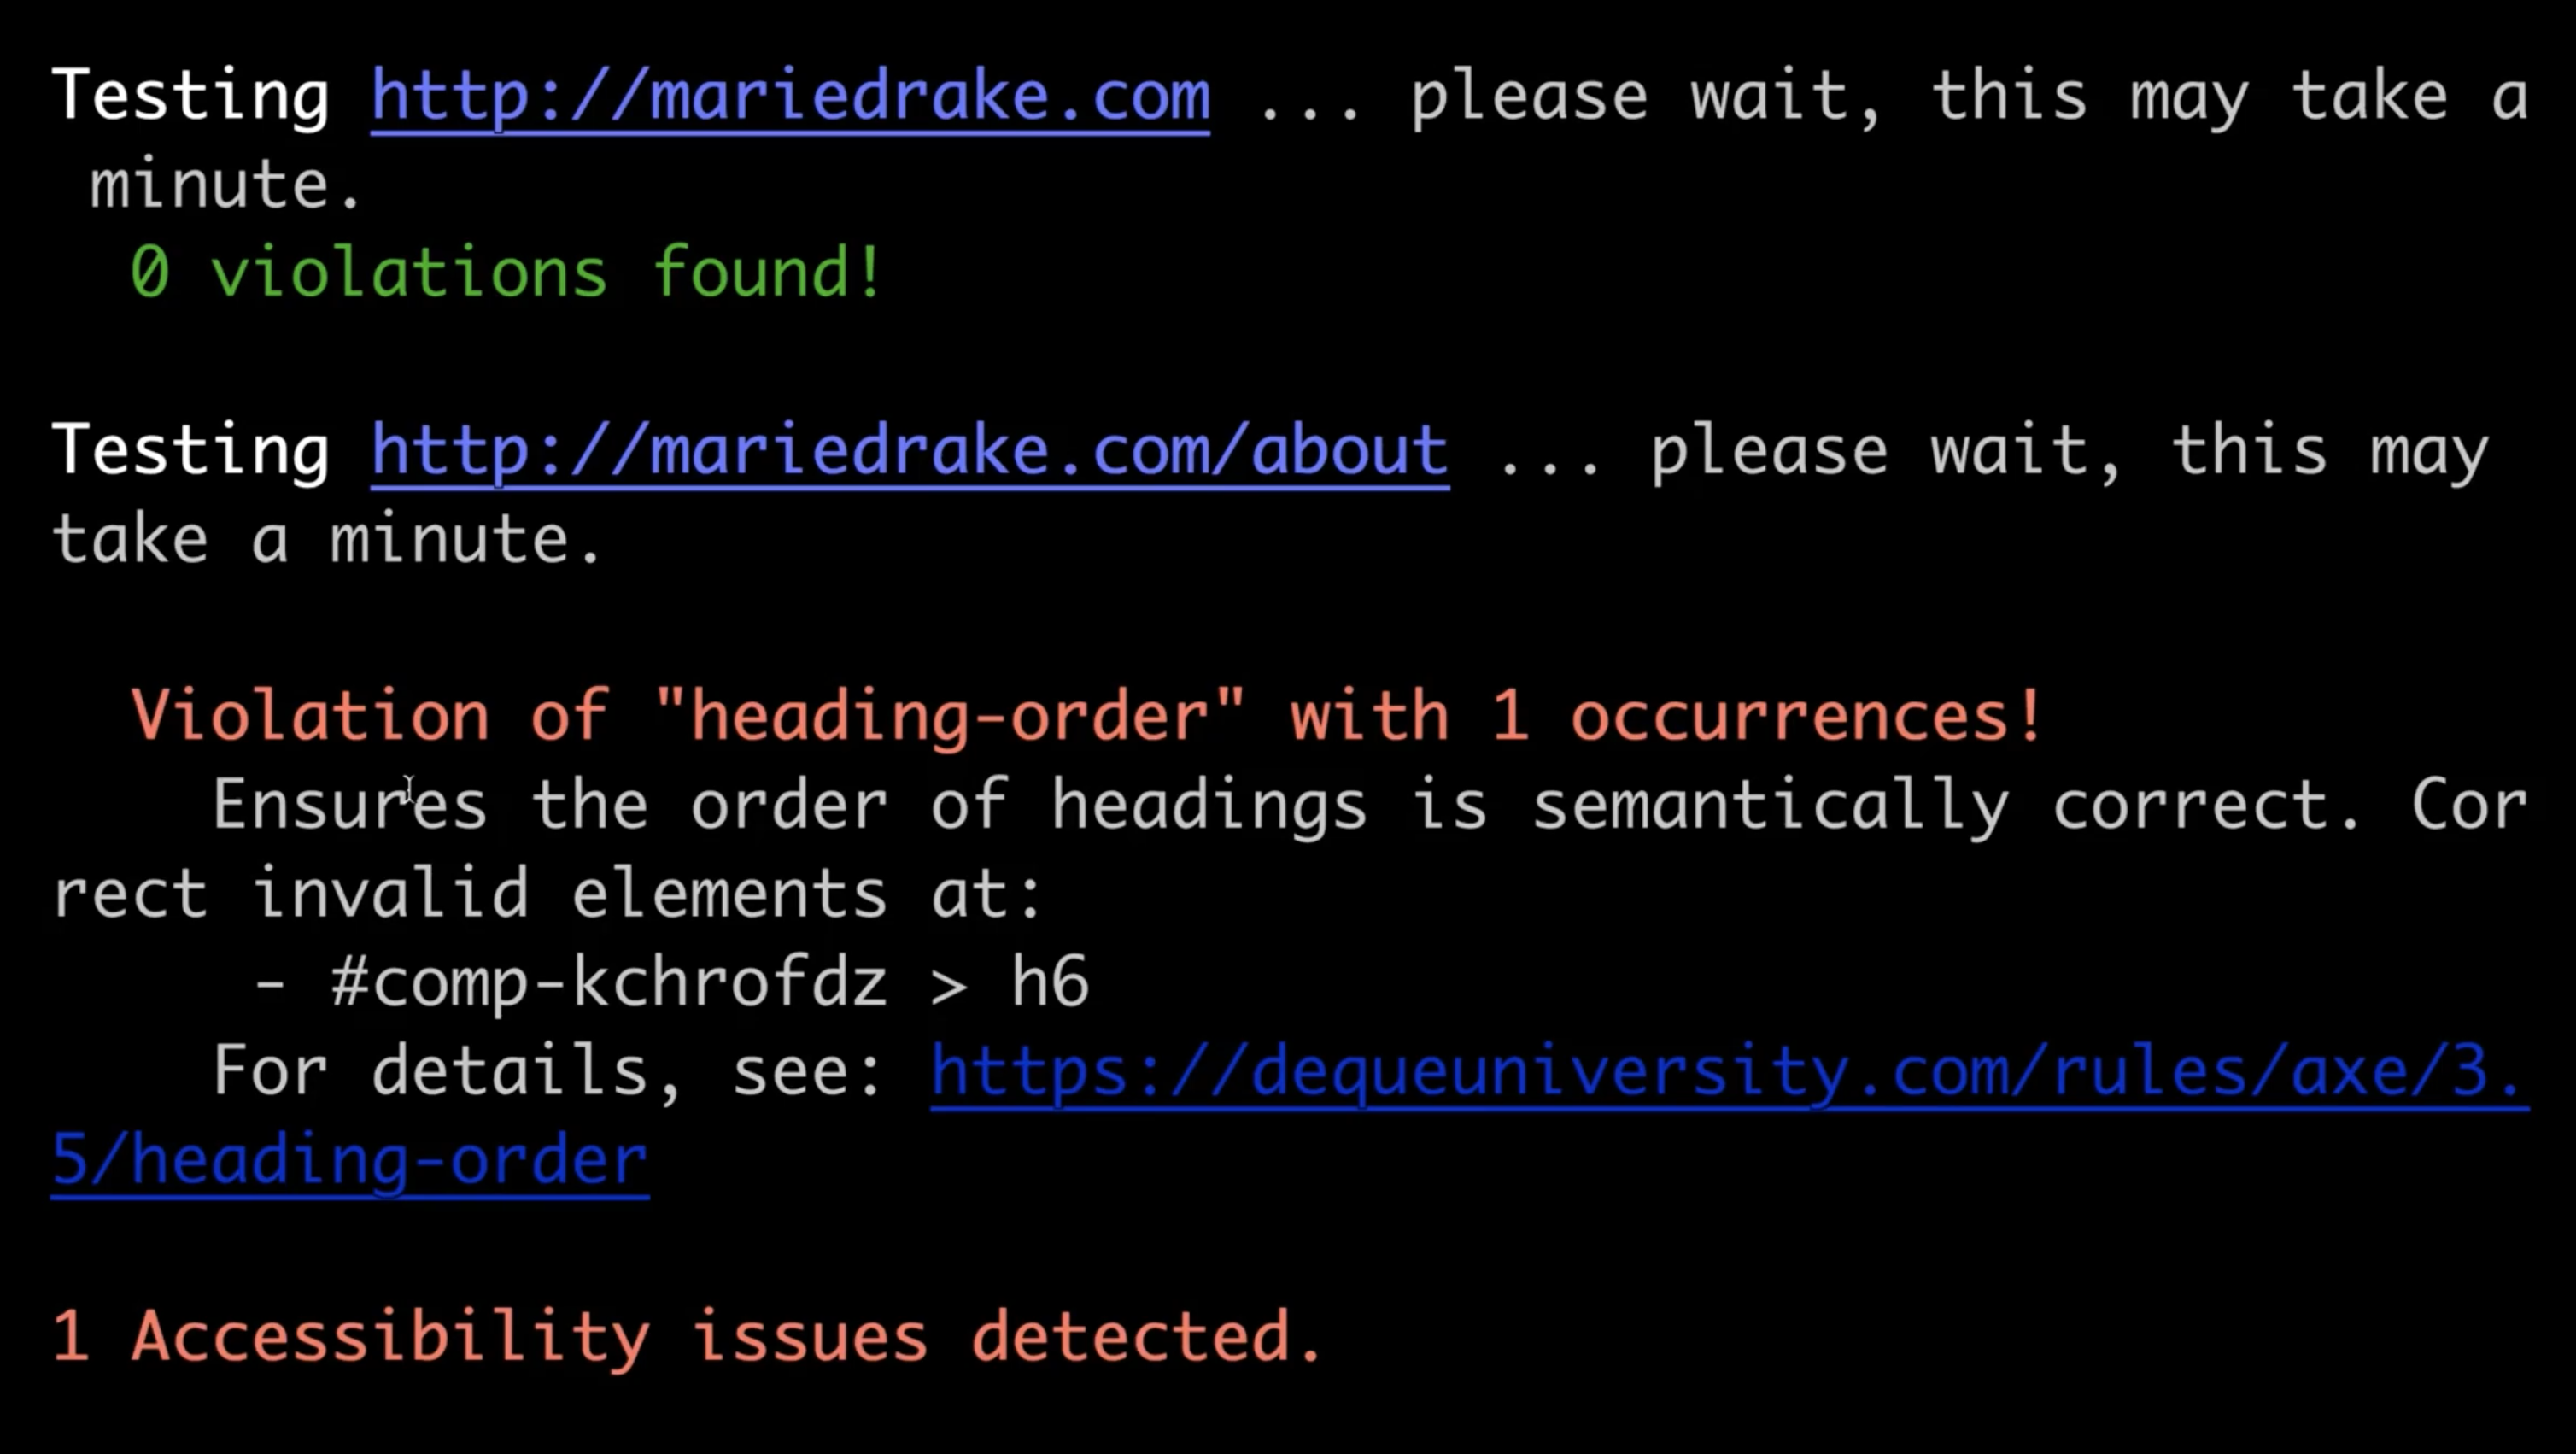
Let's run this test as well on my about page and see if there are any issues.
axe testingwithmarie.com, testingwithmarie.com/about --browser chrome
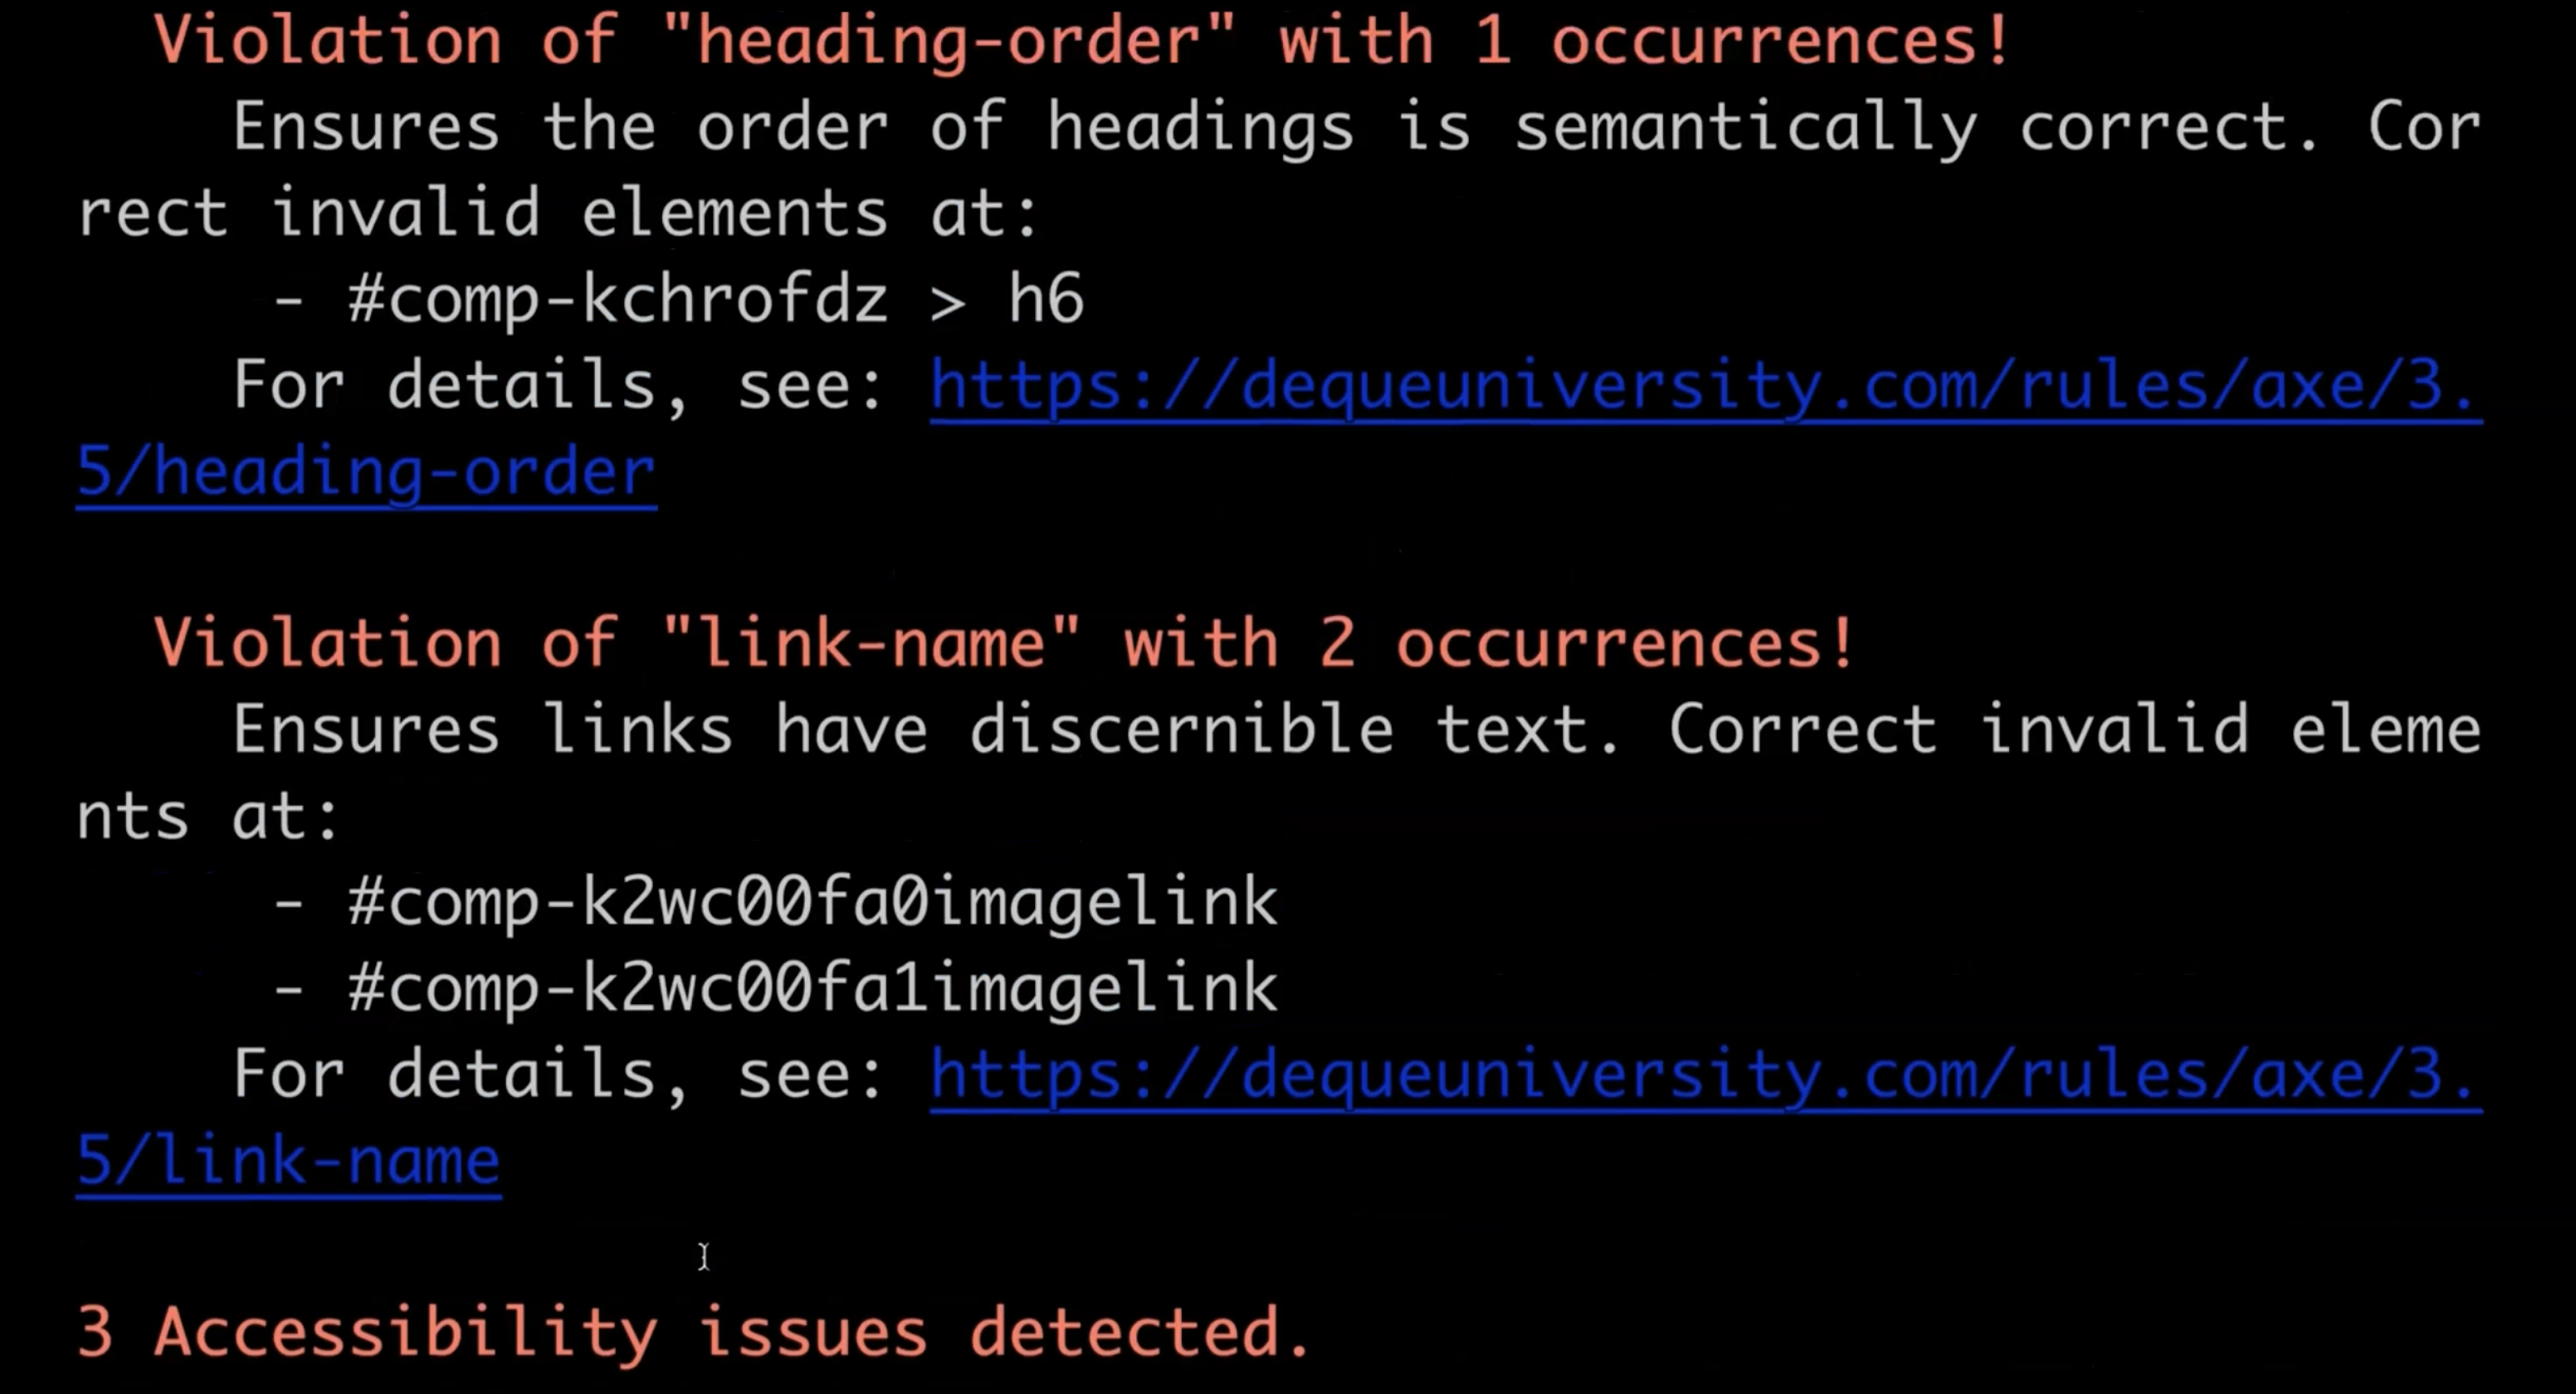
I'm seeing more errors here now, which means that my blog is not compliant to some of the guidelines.
What you can do is you can also disable some of the accessibility rules here.
Use this with caution, but just to give you a demo, you can paste the disabled parameter followed by the name of the rule that you want to disable.
axe testingwithmarie.com, testingwithmarie.com/about --browser chrome --disable link-name
In this example, I want to disable the link-name rule.
When it's finished running, you should only see one error reported and exclude the ones that we have just disabled.
If you're not sure as to what the rule name is, just copy and paste the rule name that you can see here as part of the violation.
So for instance, if I want to disable heading-order, I just need to provide heading-order on the --disable parameter.
Now, imagine if you have a lot of errors.
You probably want to send the output to a JSON file somewhere rather than leaving it in your terminal.
Good news is that Axe-CLI allows you to do this easily.
Just pass in the --save parameter followed by the file name for your JSON file.
So for this example, let's call the file name test-results.json.
axe testingwithmarie.com, testingwithmarie.com/about --browser chrome --save test-results.json
Now, when your test has finished running, you should see a JSON file created at the end, which shows the overall output of your test run.
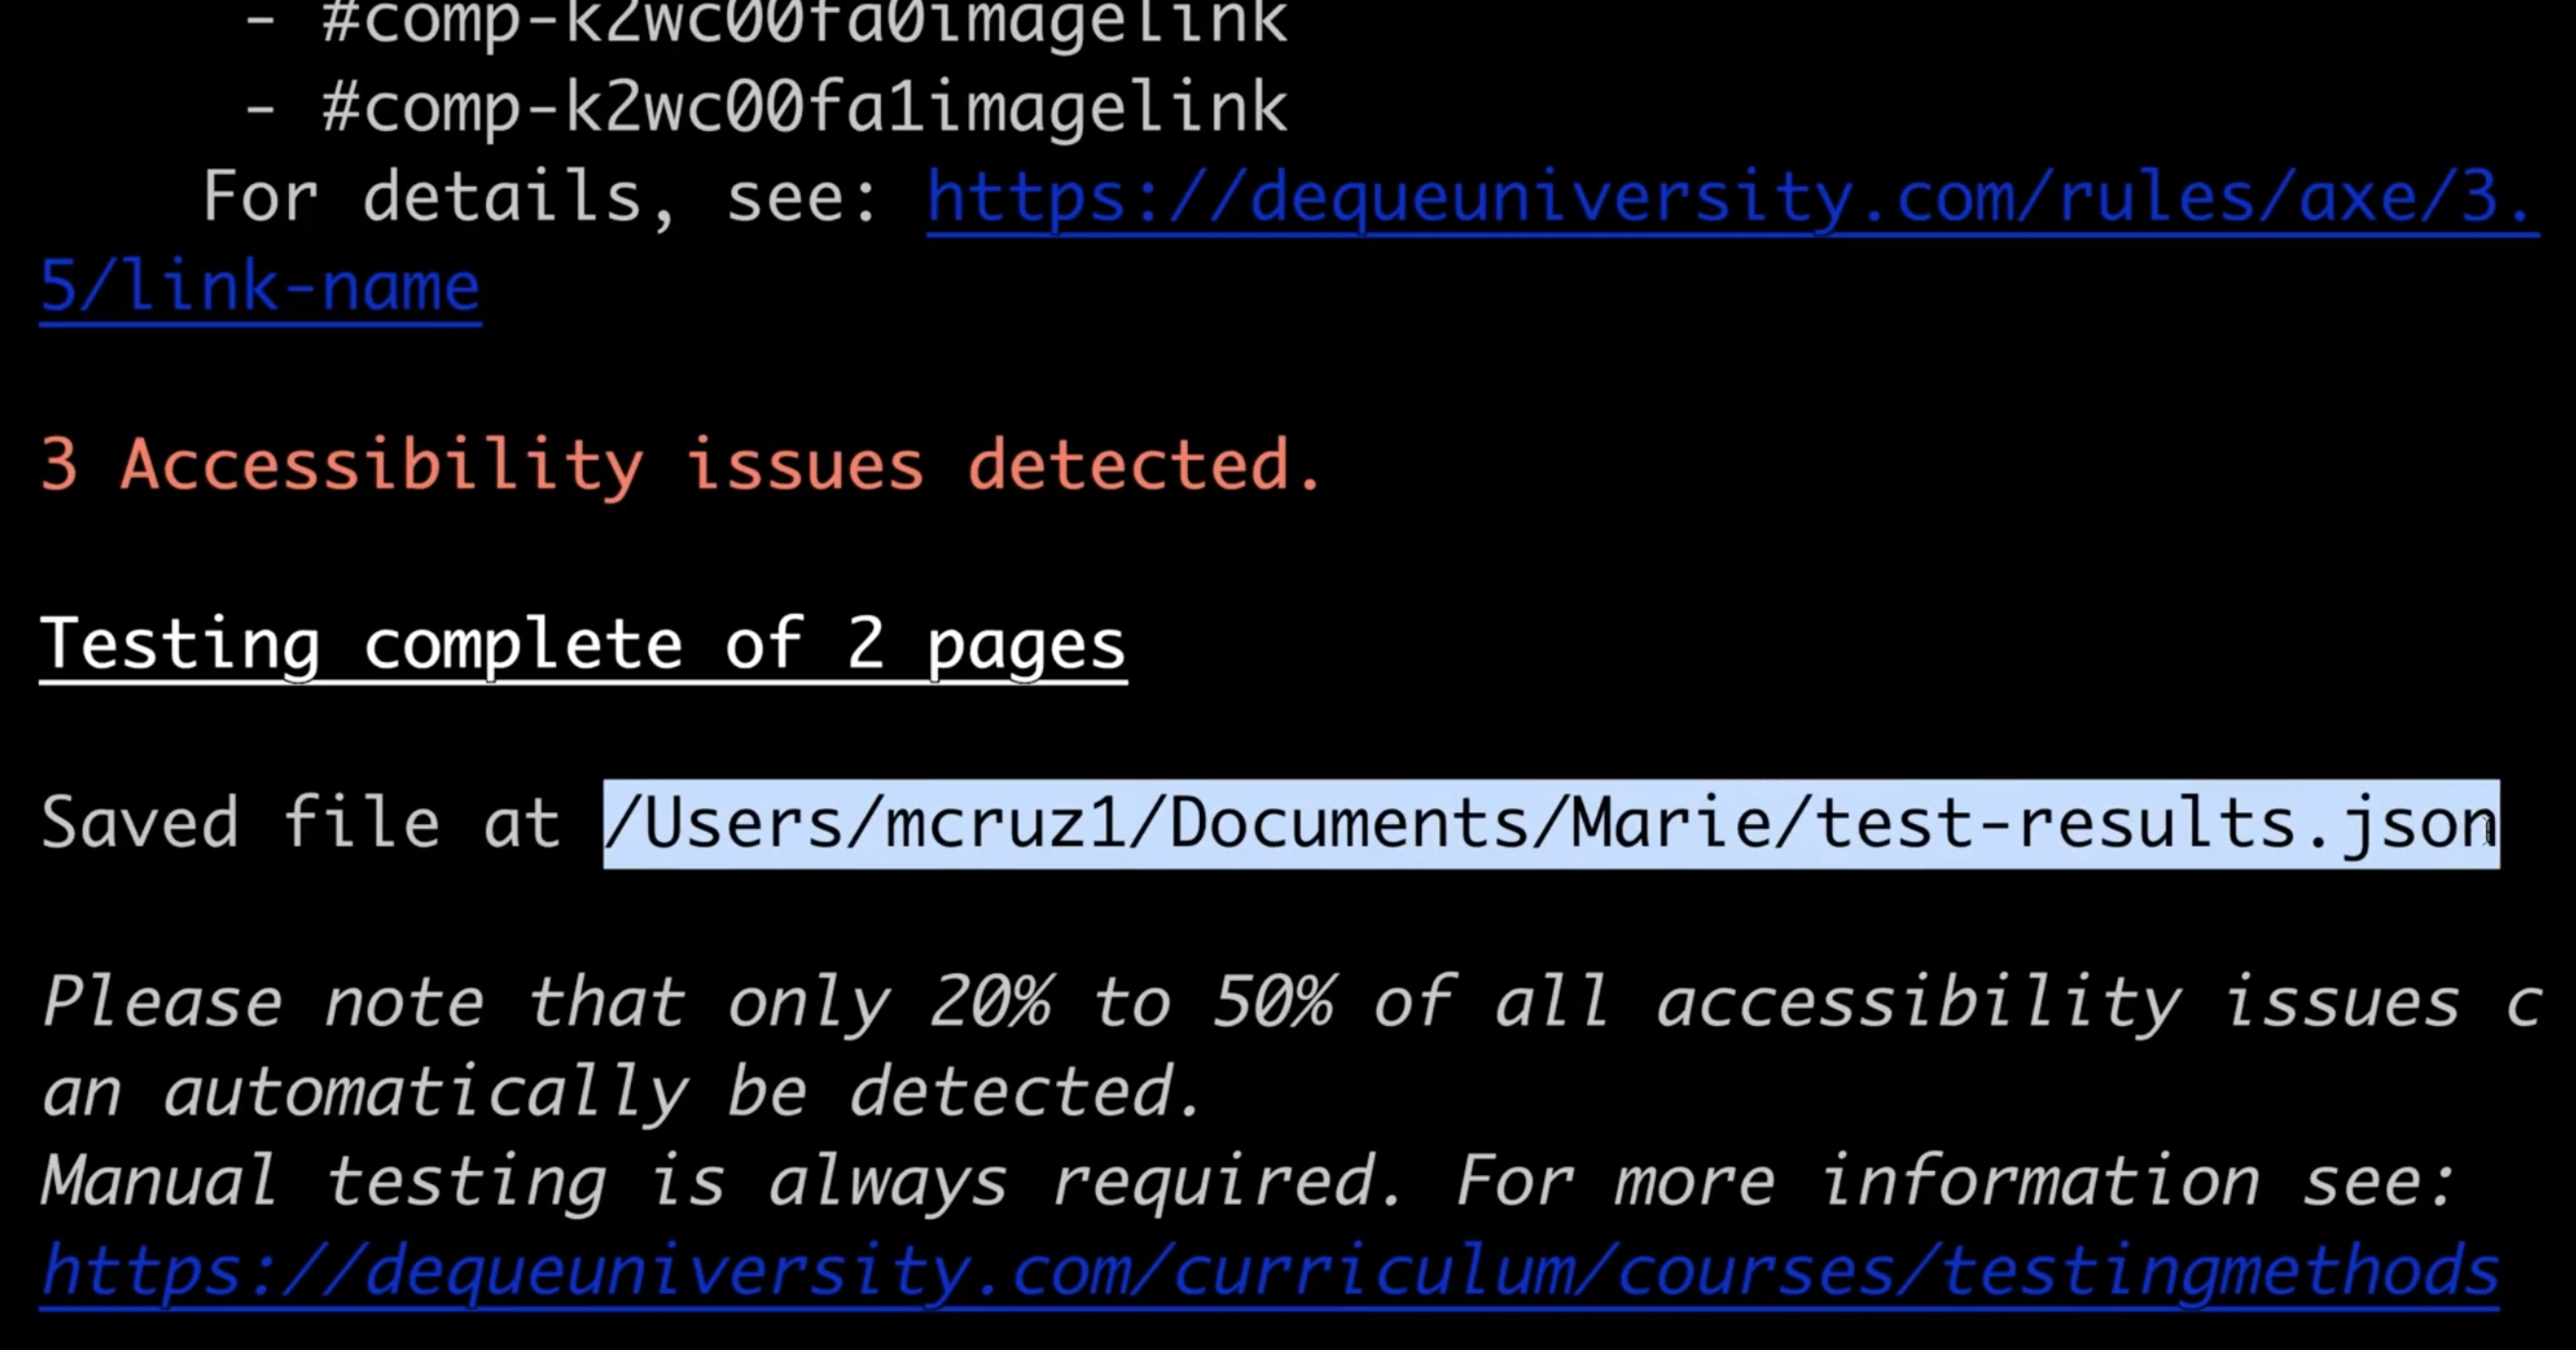
You can find the information here as to what rules are inapplicable, or you can also just search for the violations from here, and the errors will be reported in this JSON format.
To finish this chapter, I have a small activity for you so you can get comfortable using Axe-CLI.
Pick any website of your choice and use Axe-CLI to find any accessibility issues that you can find.
You can use the different parameters that you saw in the demo as a guide.
I've also added a link to the Axe-CLI GitHub page, which you can also use for a reference.
When you're finished, we'll go to the next chapter and we'll look at how to write automated accessibility tests with Cypress and Cypress-axe.
