Transcripted Summary
In this chapter, we'll get more technical and set up Cypress and Cypress-Axe to start automating some of our accessibility testing requirements.
We will:
Create a simple test project
Look at how we can install Cypress and Cypress-Axe on this project
Import Cypress-Axe to our project so we can extend Cypress' default commands
# Prerequisites
As a prerequisite, in order to install Cypress, you need to have Node and NPM installed in your machine, as well as Visual Studio Code.
If you don't have these programs installed, go ahead and pause this video and come back to it once everything is up and ready.
You can refer to the resources below to find the links on how to install these programs.
# Installation and Setup
First things first, let's cover the installation and setup.
I've got my terminal open here.
Since I already have Node installed, I don't have to do the installation part.
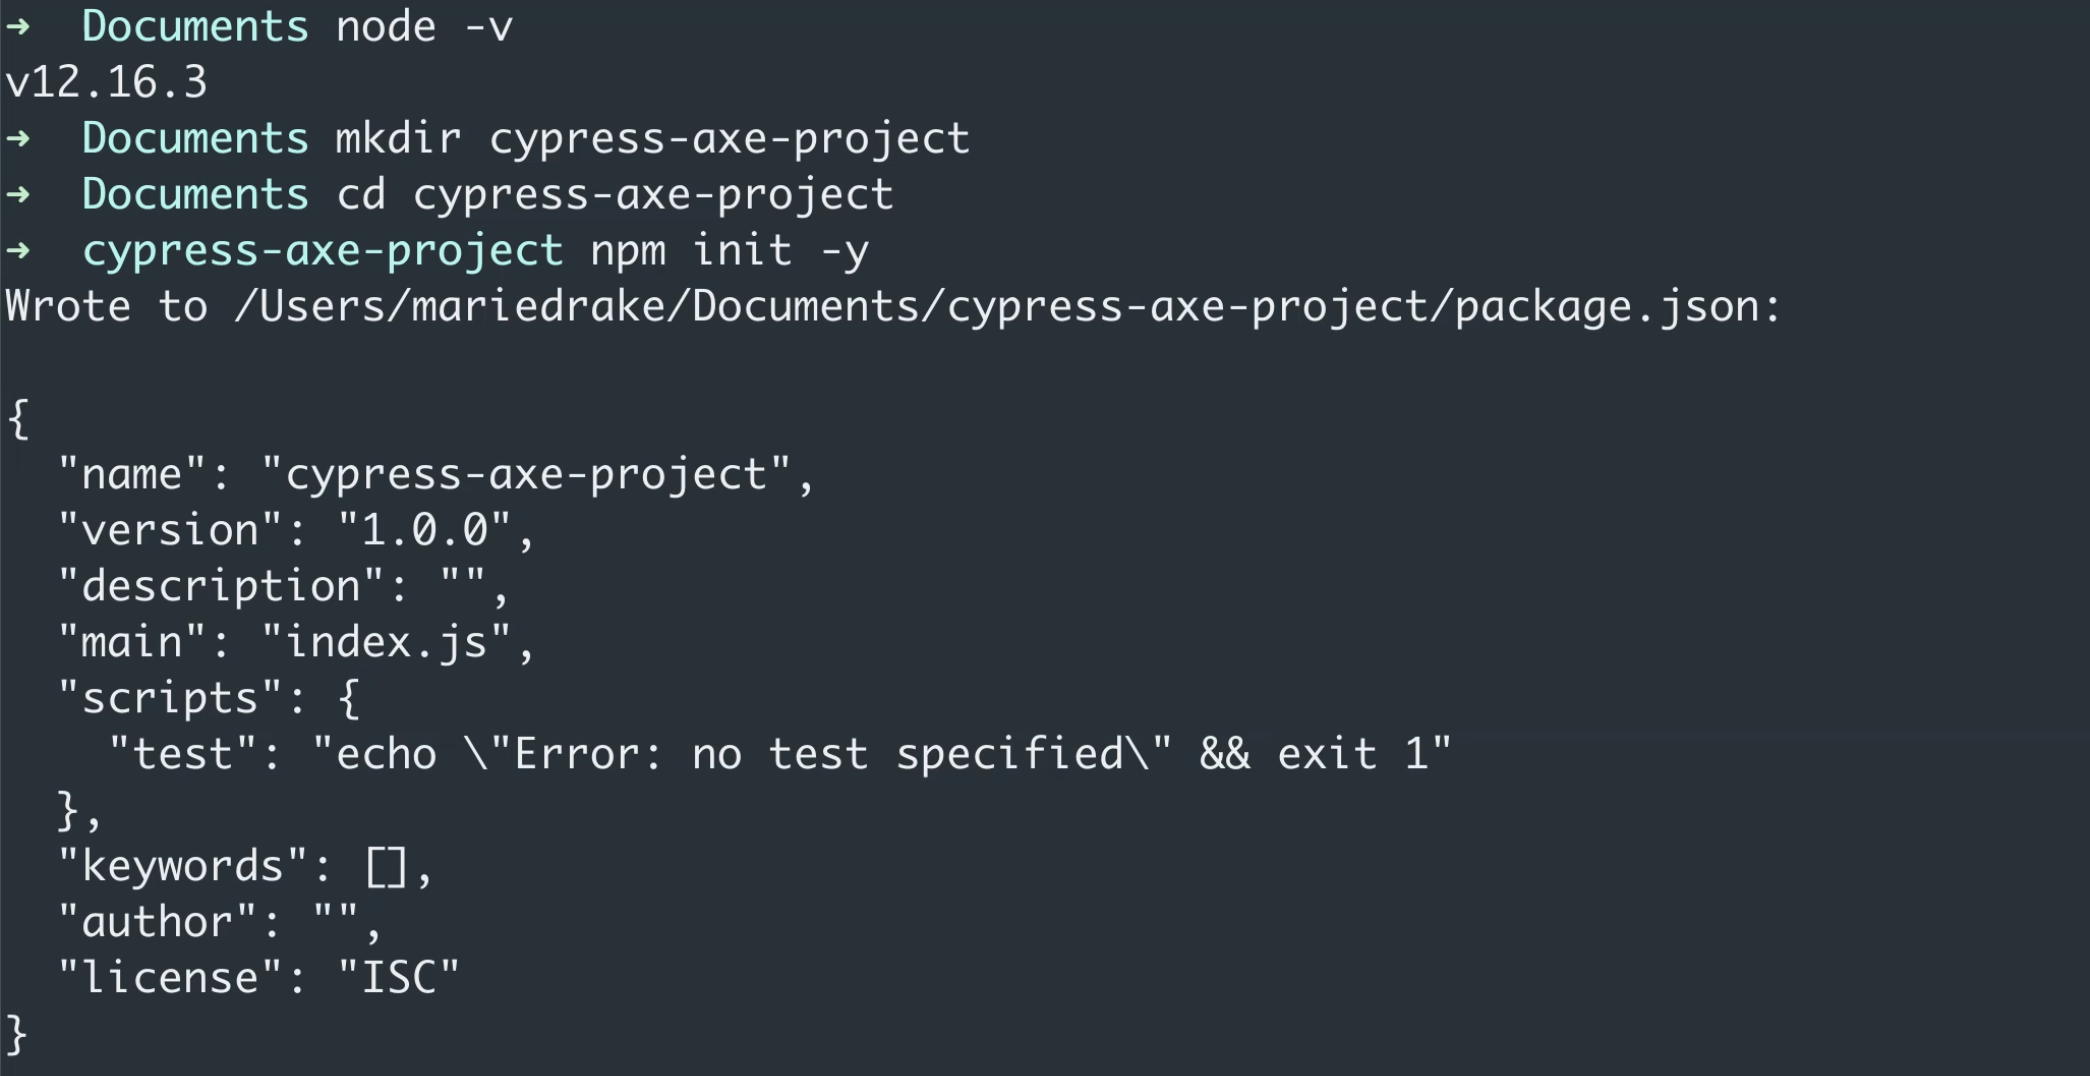
If you want to find out if you have Node installed successfully, just type
node -v
It should tell you the version number that you are using.
What we'll do now is I'm going to create a new test project, which I will call cypress-axe-project.
Once this directory is created, let's go ahead and go to this directory by typing cd, followed by the project name.
cd cypress-axe-project
Next, I'm going to type the command
npm init -y
This command will simply initialize our project and create this package that we'll use for the file.
This will manage all our project dependencies.
If you want, you can think of this file similar to a Maven file, if you're coming from a Java background.

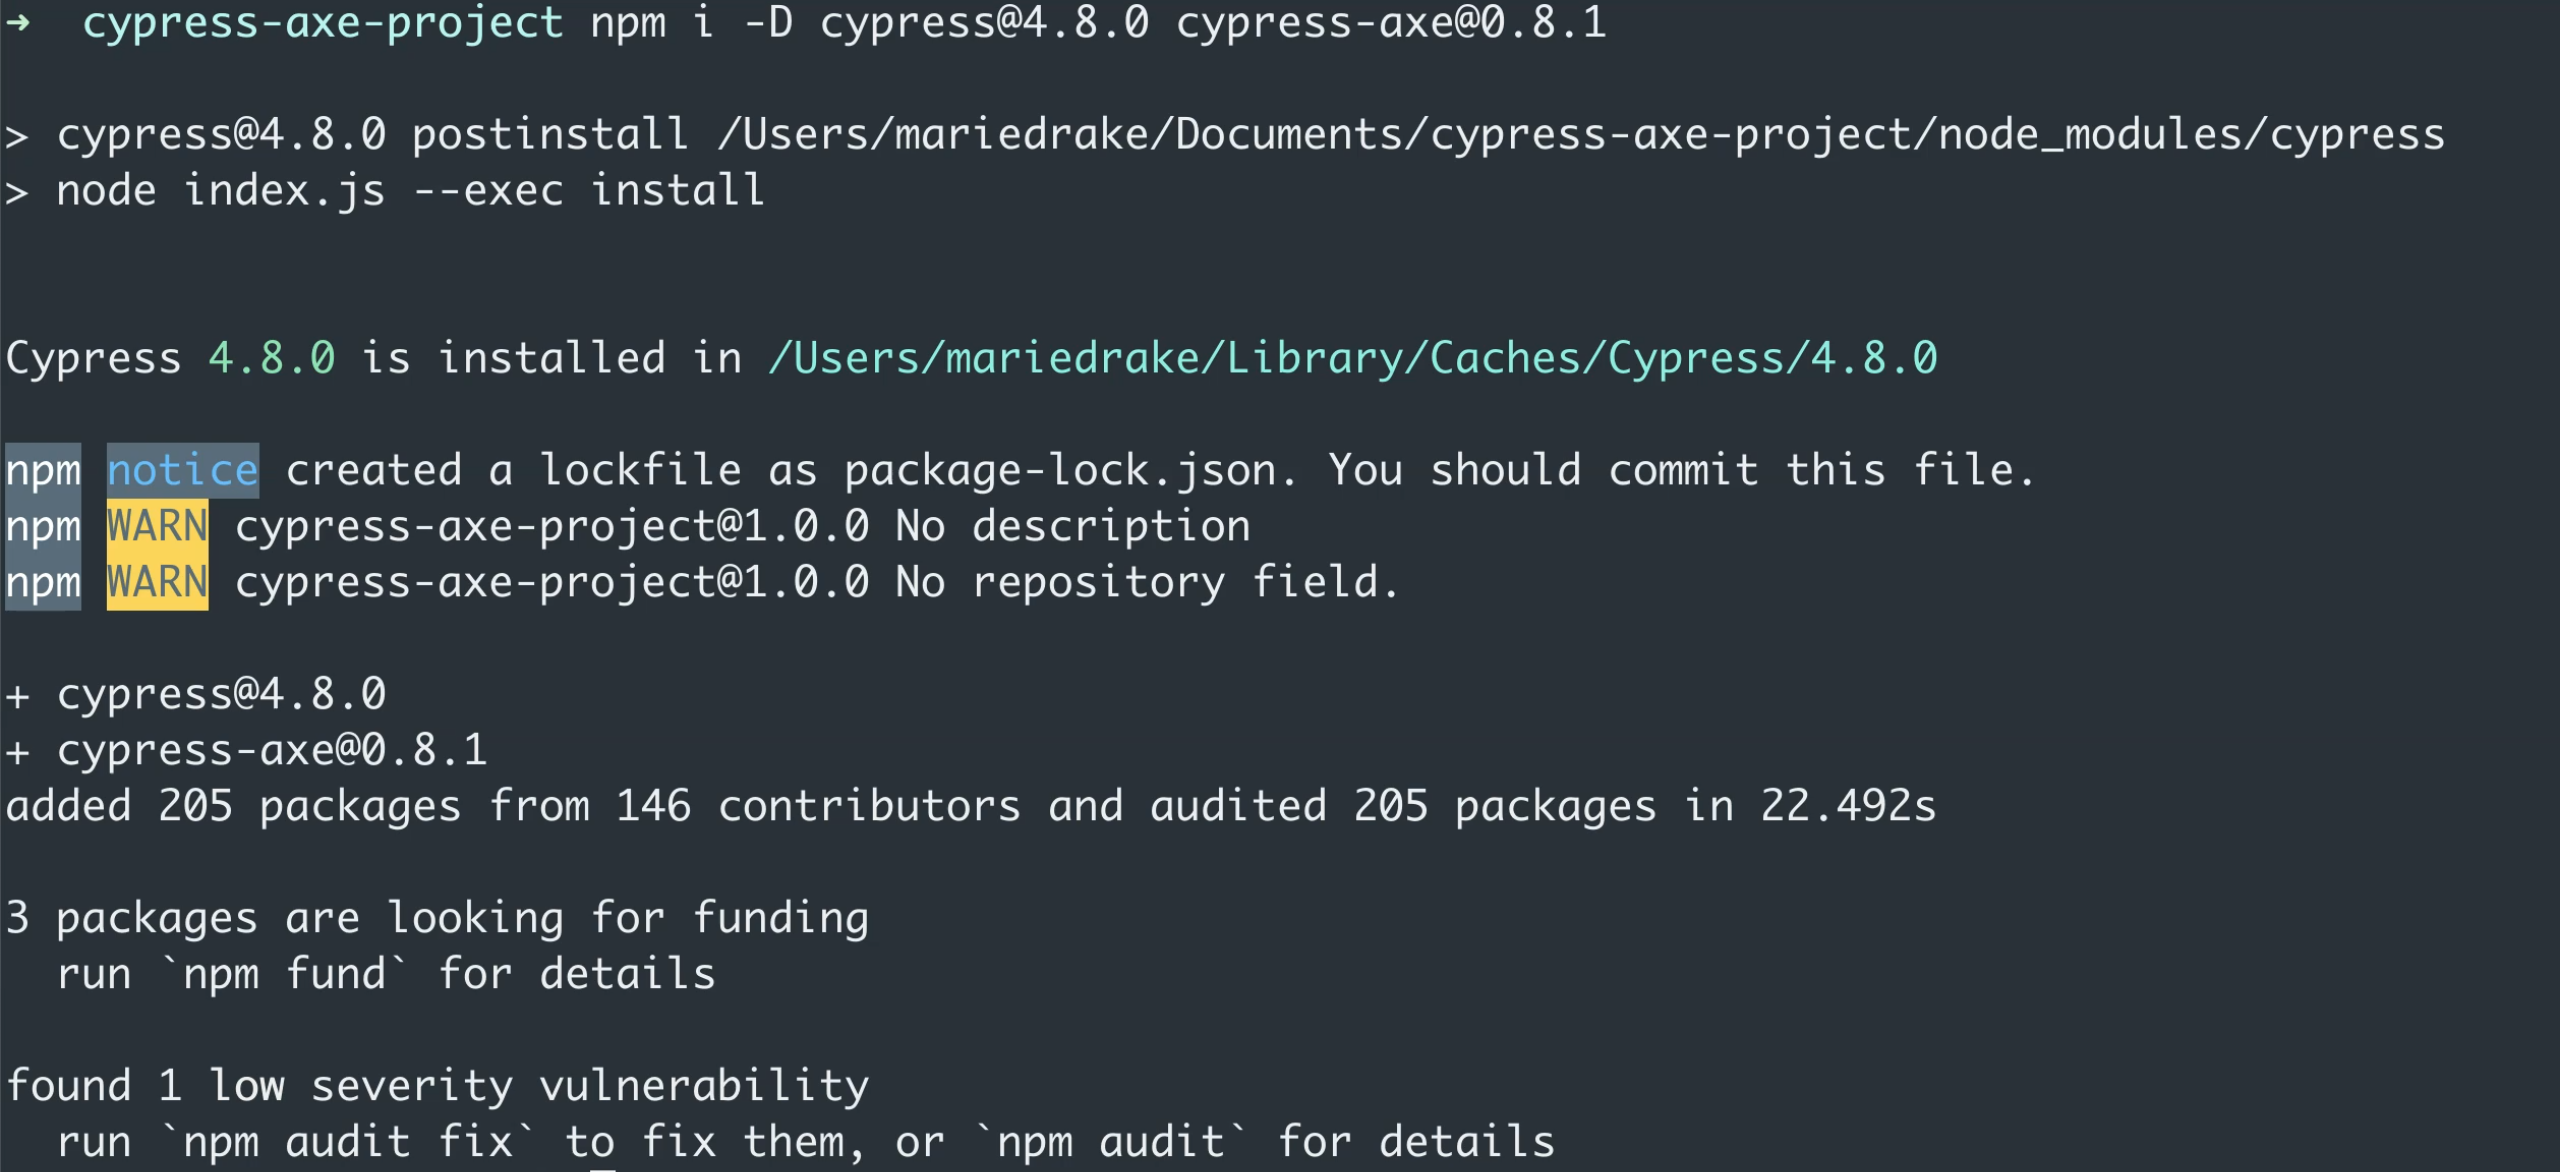
Great. So now that we're ready to install Cypress, all we need to do now is type the command:
npm i -D cypress@4.8.0 cypress-axe@0.8.1
i is a shortcut for install, -D because we want to save this in our dev-dependencies on this specific project.
Then the package name, cypress, followed by a specific version.
And of course, we're also going to add the cypress-axe package.
Now, I've chosen to hard-code the version numbers for these two packages, so I know that this course will always work in the feature in case new versions have any compatibility issues.
Now, let's just wait for the installation process to complete, and this might take longer for some, especially if this is your first time installing Cypress.

Cool. So now that's successfully installed, let's go ahead and open Visual Studio Code to load this project.
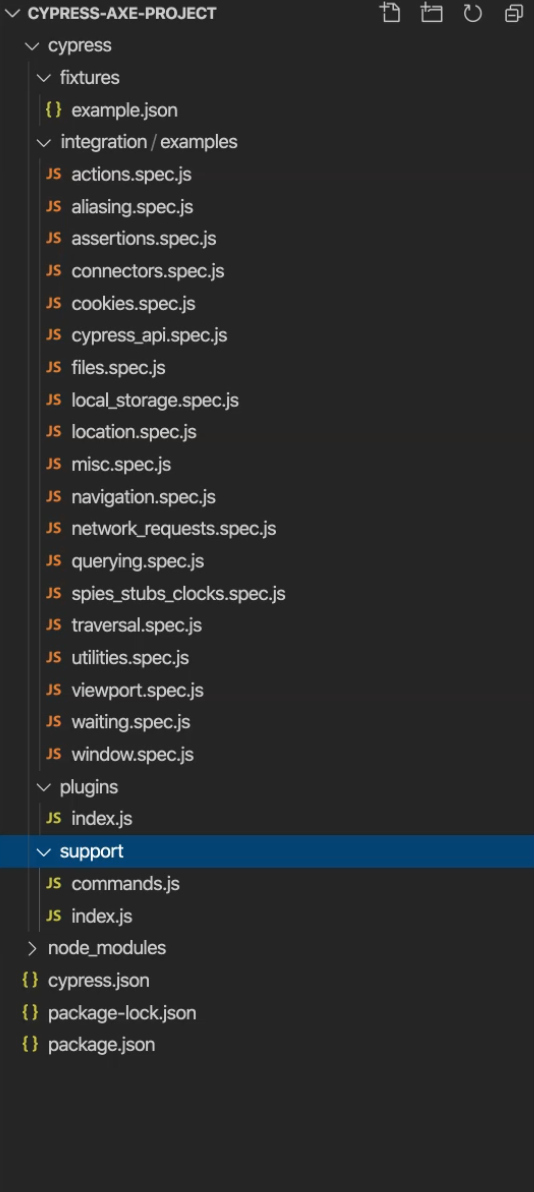
Our project has been loaded, but where is our Cypress folder?
If you're not aware, Cypress comes built in with a predefined folder structure to get you started right away.
However, we need to run one more command, so let's go back to our terminal.
I'm just going to clear this so it's easier to see, and then I'm going to type
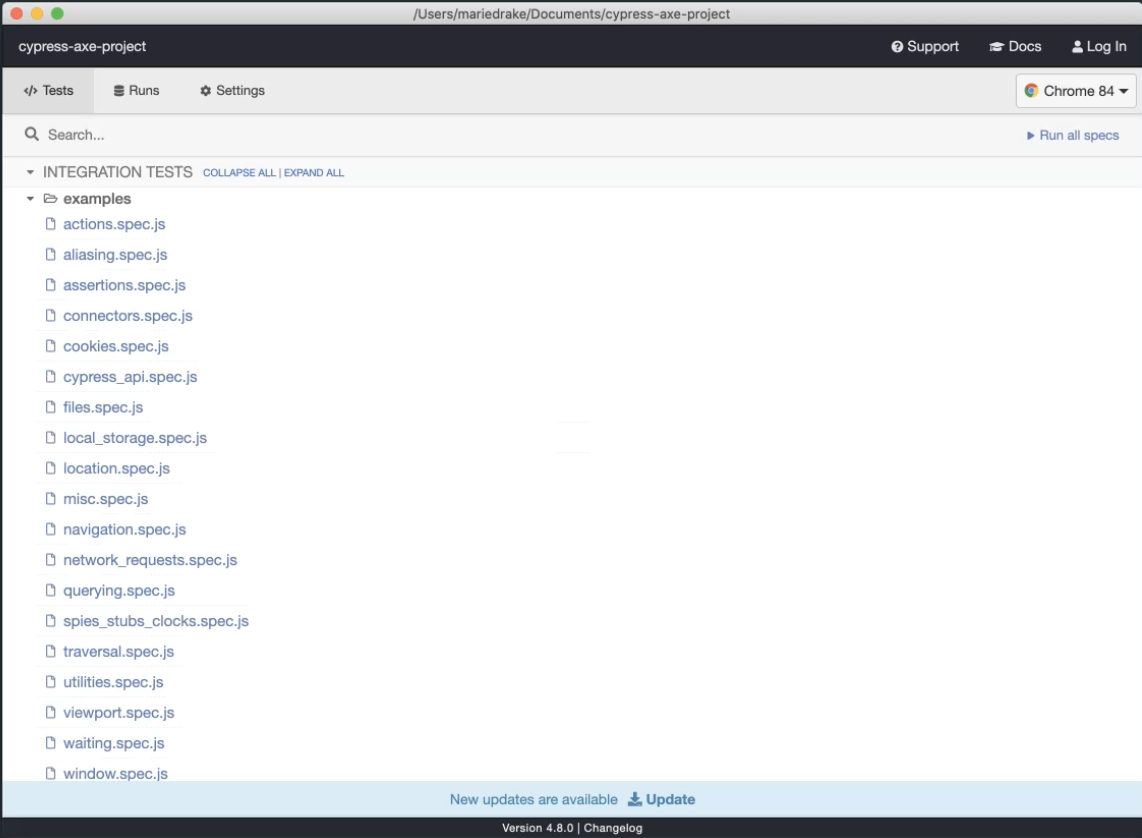
npx cypress open
Notice that I'm using NPX here instead of NPM.
NPX is basically a shortcut notation to execute a specific command.
In this case, I want to execute the command, cypress open.
Now this command will actually do two things.
First, it will open the Cypress official test runner, and then as you can see, it will load the example.

These files come built in with Cypress.
Secondly, it will create the default folder structure for us since it's not created yet.

In order to use Cypress-Axe in this project, I have one more setup that I need to show you.
We need to import the commands that we need in our support/index.js file.
I've just deleted the comments so it's easier for me to show you the code that I need to add.
I need to add an import statement here to import the package cypress-axe.
This command here will basically allow us to extend Cypress' default behavior and use the additional commands that we will need from Cypress-Axe.
The file should look like the one below:
import './commands';
import 'cypress-axe';
Then this is pretty much it for our setup.
In the next video, we're going to look at how we can write our first accessibility test with Cypress-Axe.
Resources
Installation links
Github links
Other useful links
