

Transcripted Summary
In this chapter, we will learn:
more about GitHub Actions
how to create a GitHub account
how to add our Android project to GitHub
how to configure a YAML file for GitHub Actions
how to run GitHub Action on every pull request or according to a schedule (a nightly build, for instance)
# Introduction to Github Actions Workflow
GitHub Actions help us automate our software development workflows close to the source code. It is possible to create custom workflows for any type of application or purpose.
These workflows are custom, automated processes that can be set up in your repository to build, test, package, release, or deploy any code project.
Workflows run in Linux, macOS, Windows, and can also be containerized on GitHub-hosted machines.
Workflow files can be configured to run on specific events such as every pull request, as scheduled, or even manually.
There are some limitations of GitHub Actions which are described in the Github Actions documentation.
# Create a Free GitHub Account
In this demo we will create a free GitHub account in order to use it with GitHub Actions. Visit the GitHub website and click "Sign in" if you already have an account.
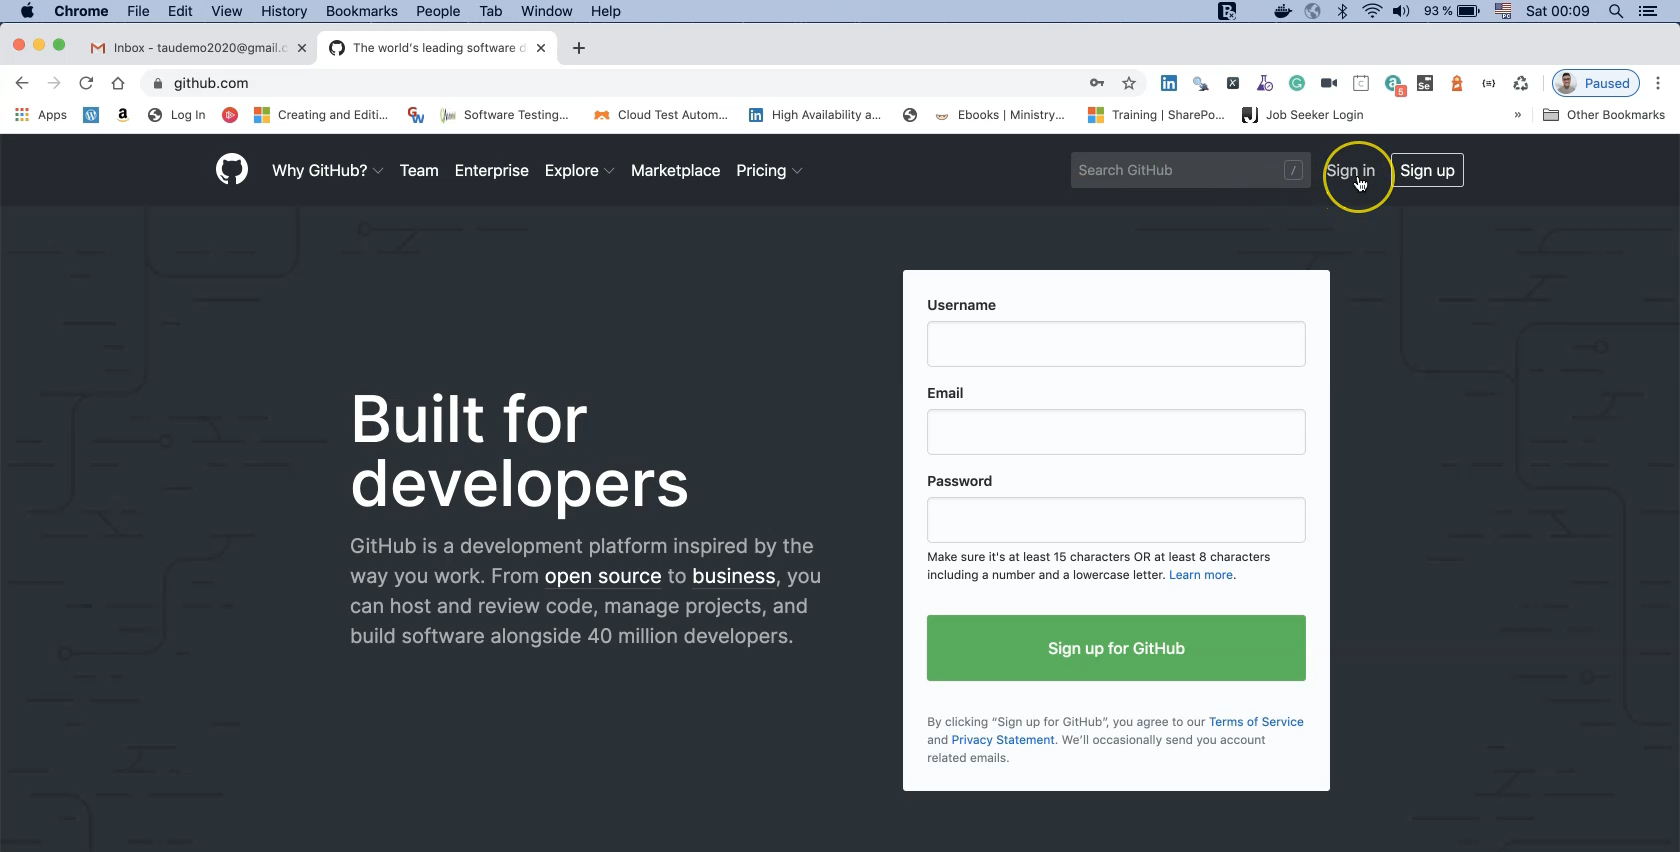
Otherwise, create a new GitHub account by filling in the required fields below and click on "Create account".
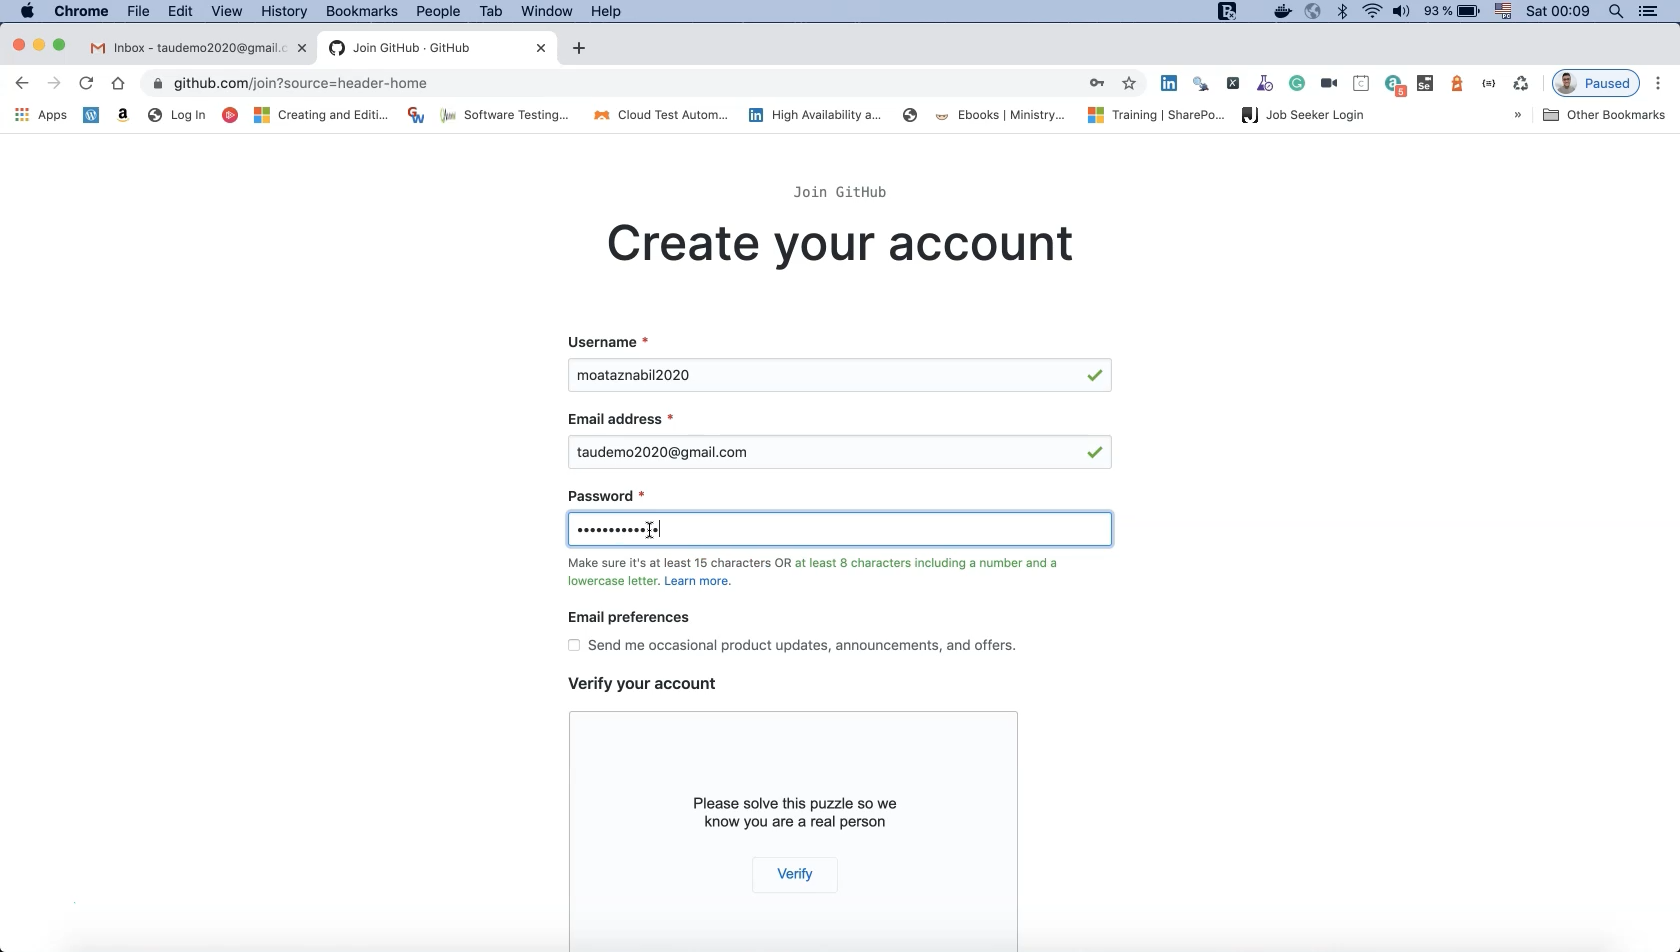
Answer the survey questions on the next screen if you wish but this is entirely optional.
After completing these steps you should receive a verification email from GitHub.

Click on the "Verify email address" button in the message body to complete the verification process. Now the email is verified and I can create a new project.
# Add Existing Project to GitHub
Now that we have created our free GitHub account we can use it to add our existing projects on the GitHub platform.
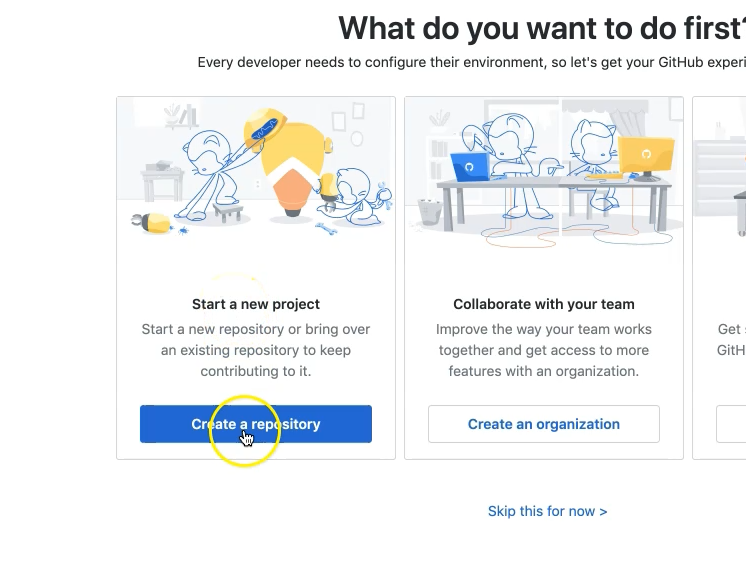
Before pushing (adding) our existing project to GitHub, we need to create a new repository. From GitHub’s default login page click on "Create a repository".
On the next screen we should see the owner name and the repository name.
Let’s call this repository "android-ci-demo".
Below this, we can add an optional description and specify if this repository is public or private.
Anyone can see or clone a public repository but only you can commit to a private repository.
We can also choose to initialize a README file in the repository.
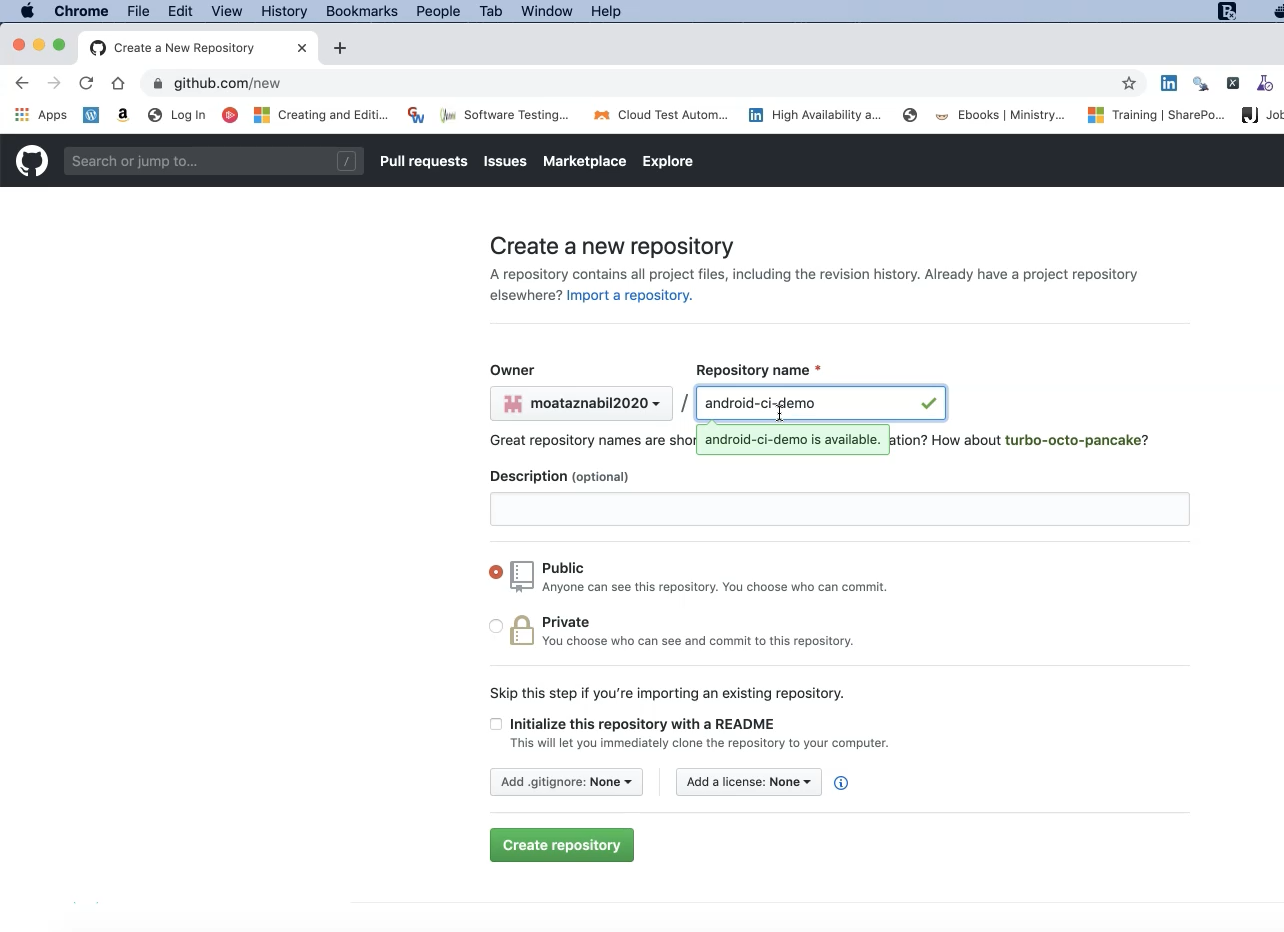
Now click on "Create repository".
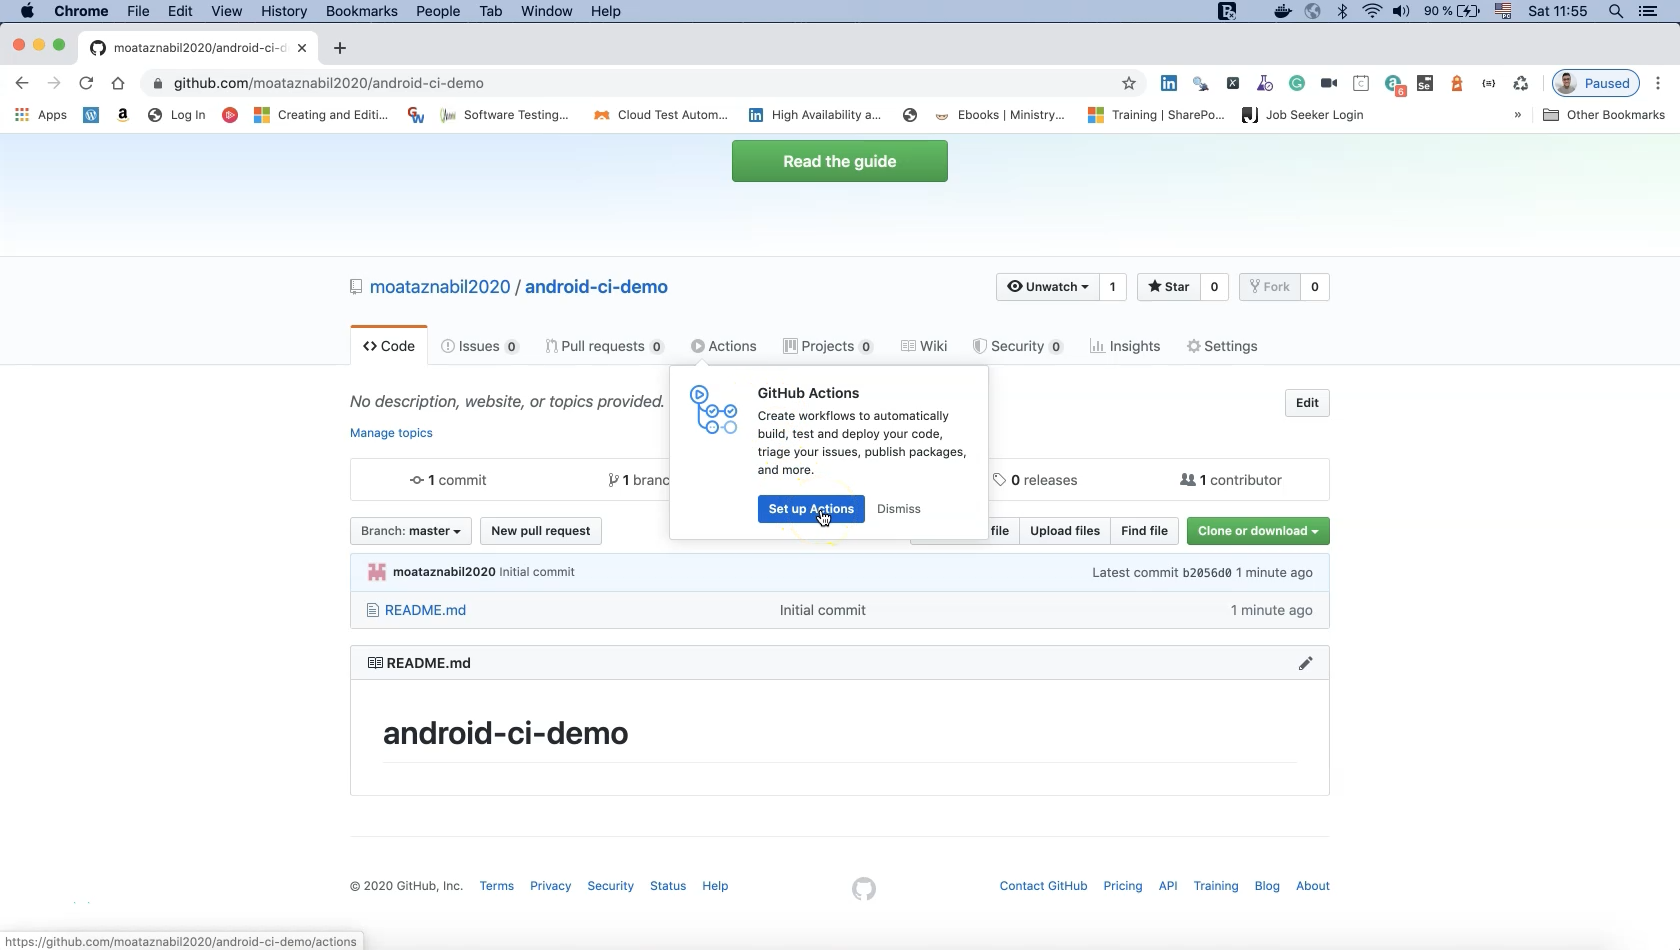
On the new repository page we find a notification to begin working with Github Actions.
We could start setting up our actions now but we will wait until our existing project is pushed to GitHub so let’s dismiss it for now.
Here, we can add anything related to our repository including description and topics.
We should see the README file that we added.
When we eventually push an existing project to our repository it should show up here.
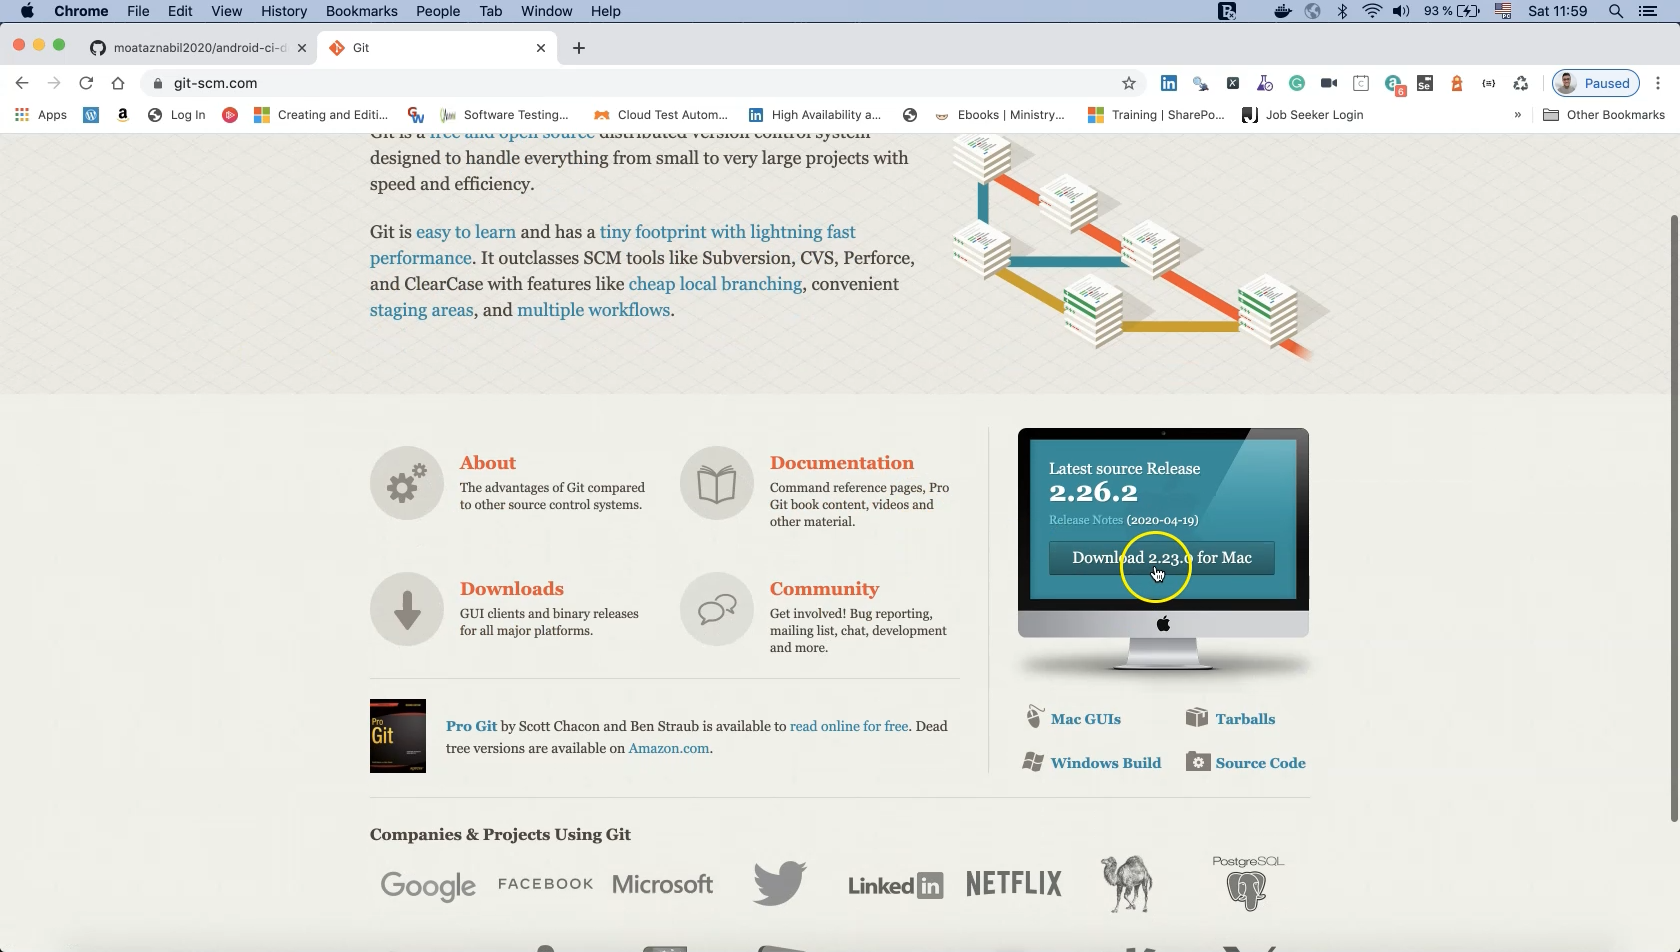
To push an existing project to GitHub, Git commands must be installed on your machine.
Open the Git website and download the latest version for your operating system (Mac or Windows).
According to the site we can use "Homebrew" to install Git by executing the following command in a terminal:
brew install git
After installing Git, run the following command to verify that the machine is reporting the correct Git version:
git --version
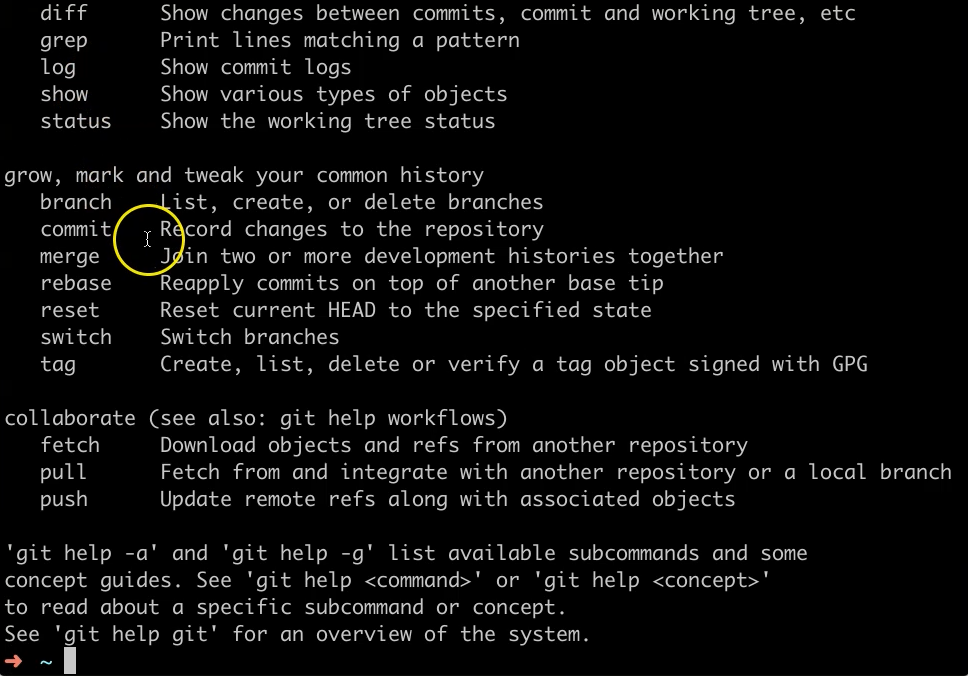
Finally, simply typing git will display a list of Git-related commands.
These include "push", "pull, "fetch", "tag", "rebase", "merge", "commit", and so on.
We will start by using "init" to create an empty local Git repository in our existing project.
Then we will push our code to the remote GitHub repository.
For this demo we will revisit the Behavior-Driven Development (BDD) sample project created in Chapter 8 as the project we want to add.
The project has been renamed "GitHubActionsExample".
For more information about adding projects to GitHub using the command line, refer to the following sections of GitHub Help.
We will essentially follow these steps in the remainder of this chapter. This link is also available in the resources section at the end of the chapter.

Note that on this page there are separate configuration tabs for Mac, Windows, and Linux.
Because we are using Mac as our default environment we do not have to change anything here.
Keep secrets safe
Never git add, commit, or push sensitive information to a remote repository. This information can include, but is not limited to, passwords, SSH keys, AWS access keys, API keys, credit card numbers and PIN numbers. Information in public repositories is accessible to everyone.
The first step is to create a new repository. We already created one ("android-ci-demo") so this step is complete.
The second step is to open the terminal. We can use the terminal view in Android Studio.
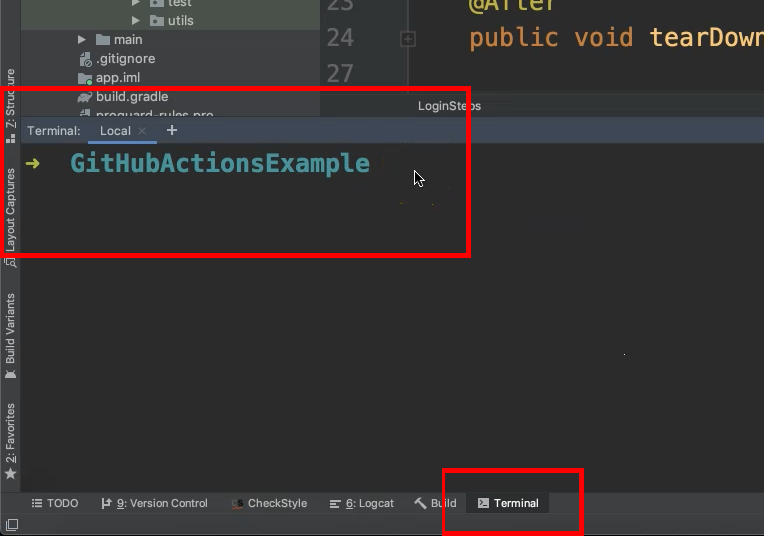
The third step is to change the working directory to our local project from the terminal. If you switch to the Terminal view in Android Studio with a project loaded it should already be in the project’s working directory.
Then we can use
git initto create an empty Git repository in our local directory. Let’s do this now.
Now we need to add files to the local repository.
Following the guide we could use the command
git add .which indexes all of the local files to the local repository. However, for this demo we will try to be more specific.From the terminal, execute
git statusto display all untracked (non-indexed) files in the project.This will tell us which files need to be tracked by our local repository.
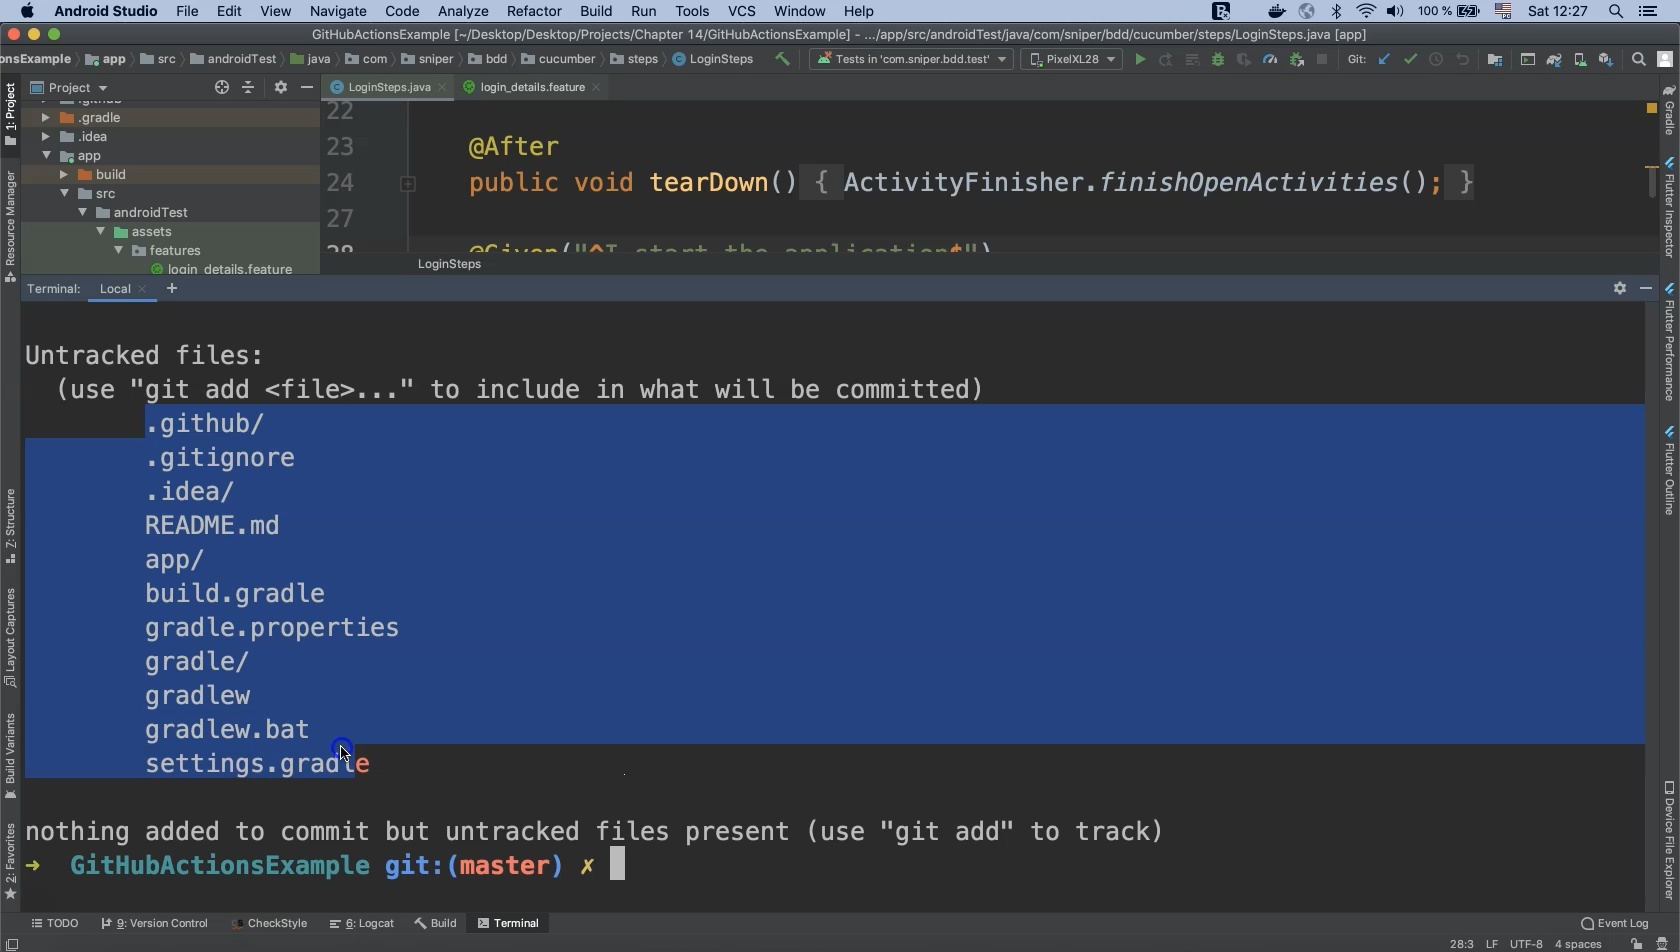
Let’s use
git addto add the following files and folders:
git add README.md
git add app
git add build.gradle
git add gradle.properties
git add gradle
git add gradlew
git add gradlew.bat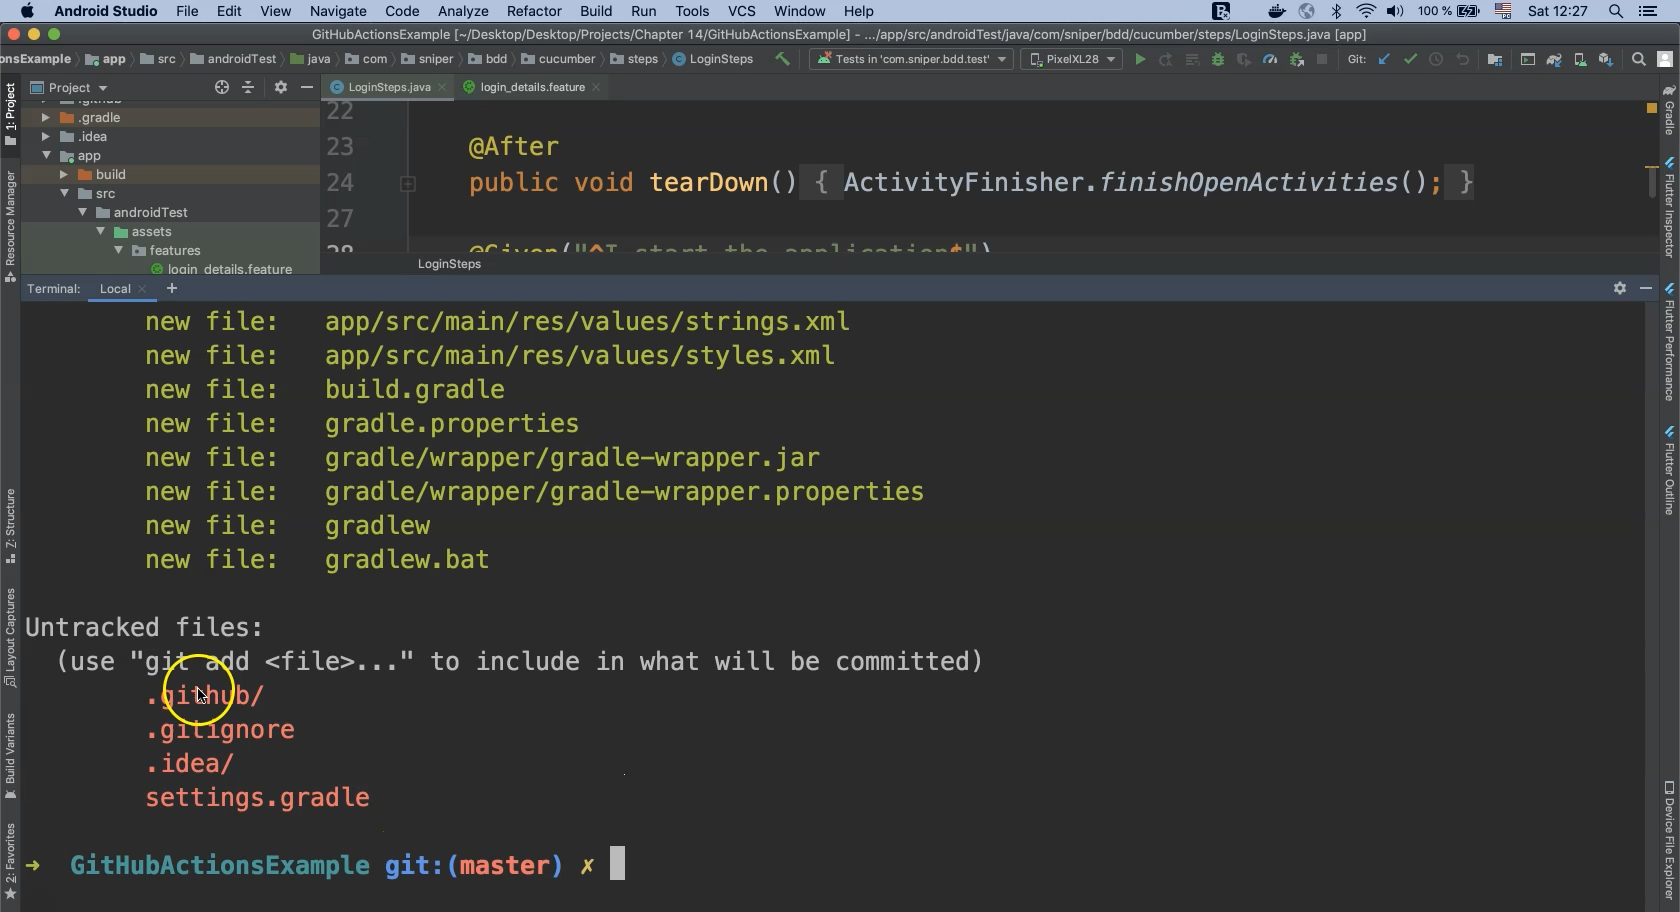
Now run
git statusagain. The files and directories in red will be ignored by Git commands and everything in yellow has been indexed by Git.Now we need to commit the files staged in our local repository by executing the following command:
git commit -m "Commit Comment Goes Here"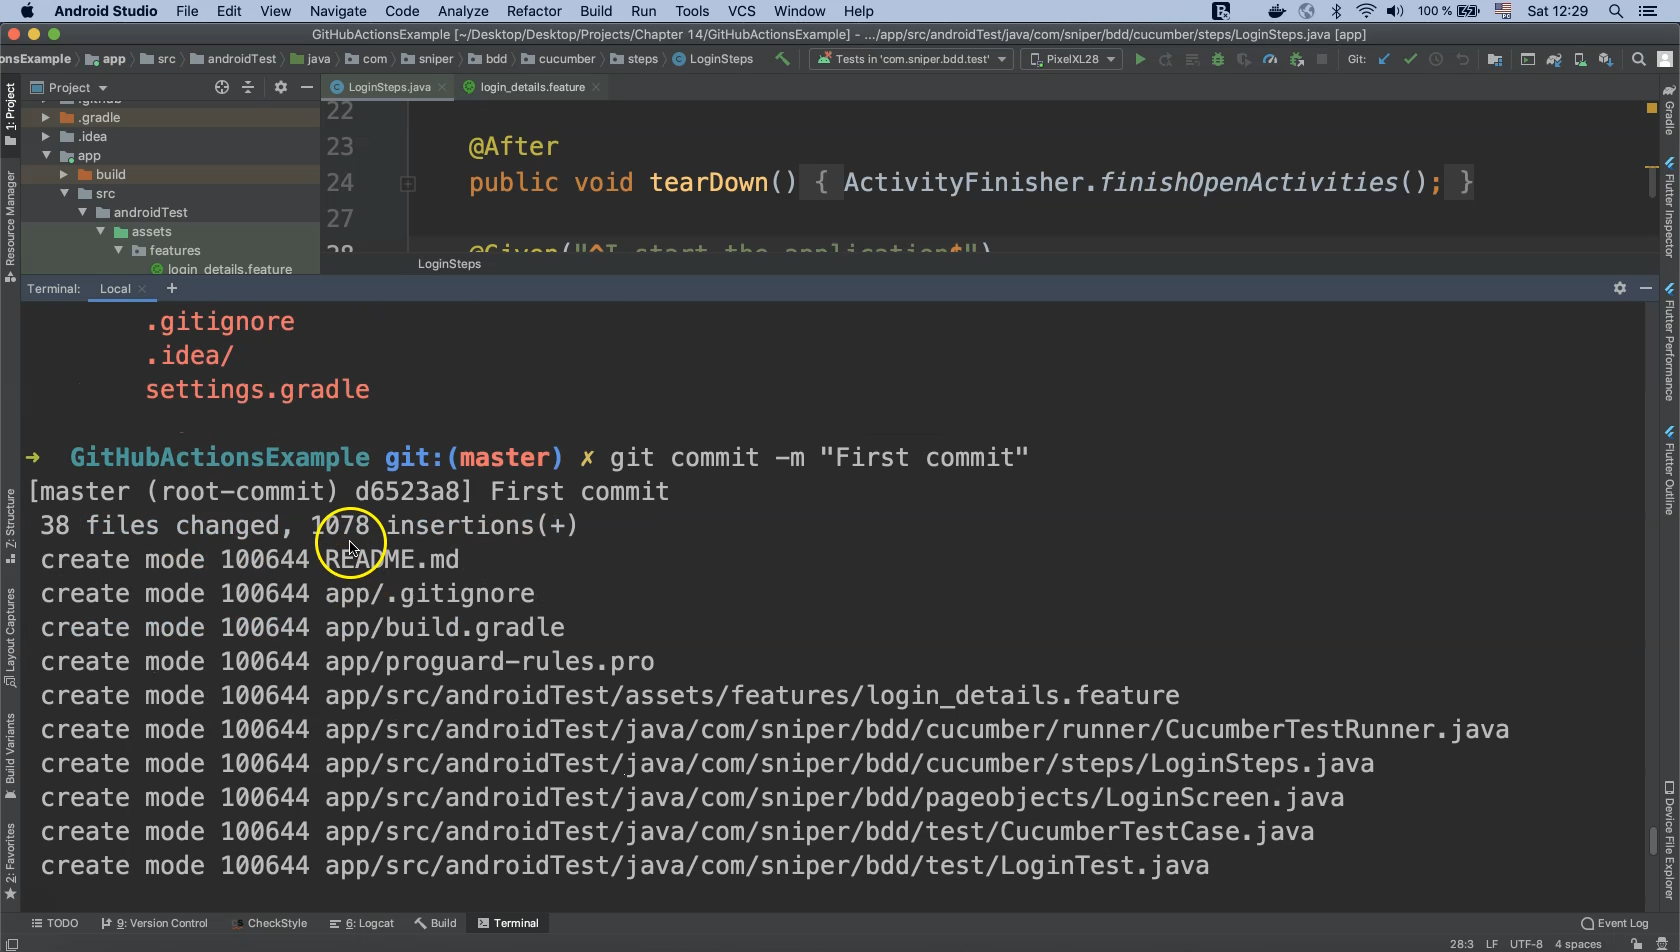
The comment string can be anything but should ideally contain useful information about the commit action.
All of the staged files have now been committed to our local repository.
The instructions now prompt us to copy the remote repository URL from our GitHub page. Click the button to do so.
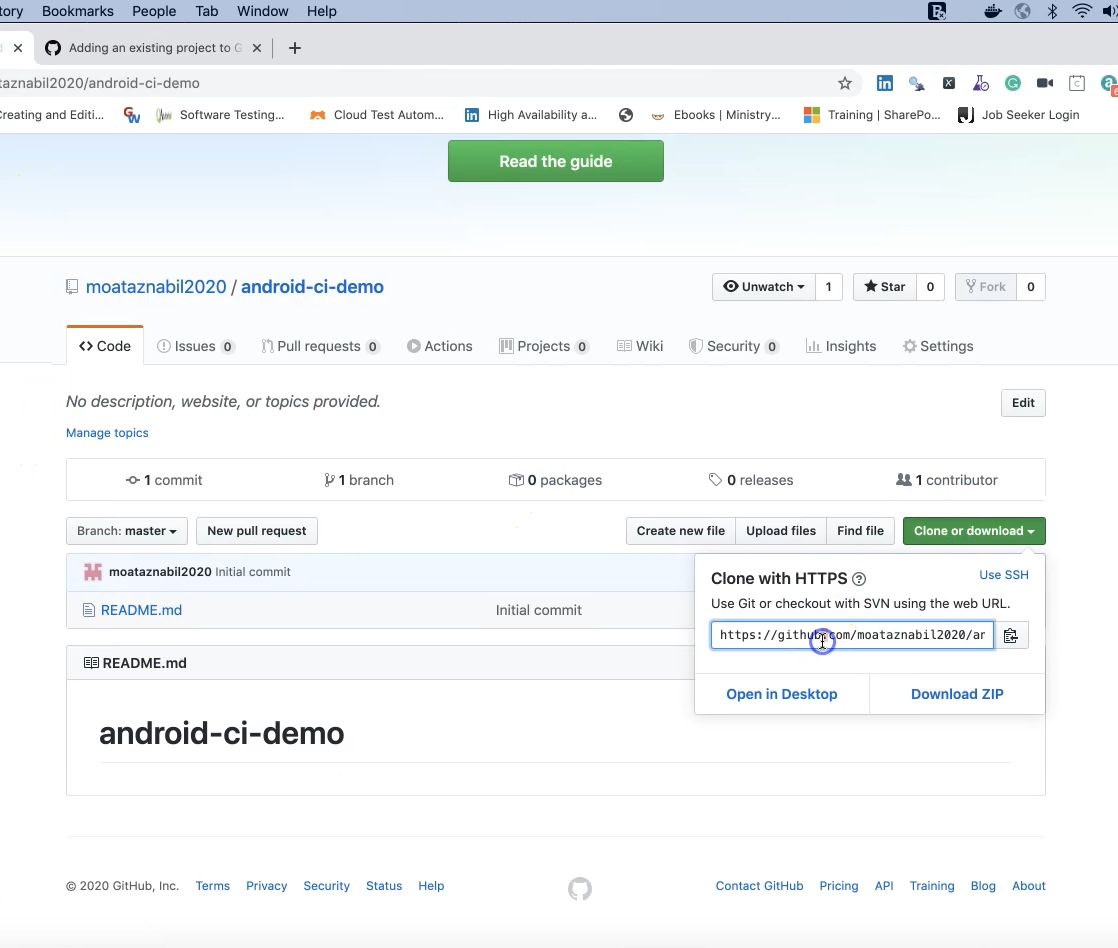
The next step is to add a new remote by executing the following command:
git remote add origin https://github.com/moataznabil2020/android-ci-demo
Git needs to know where to push the local repository when we are ready to do so.
Of course, remember to substitute your own remote repository URL in the above example.
Finally, push our local repo to the remote repo by executing the following terminal command:
git push -u -f origin master
Flags
The ‘-u’ flag manages upstream tracking references while the ‘-f’ flag overrides some scenarios that might otherwise cause a ‘push` command to fail.
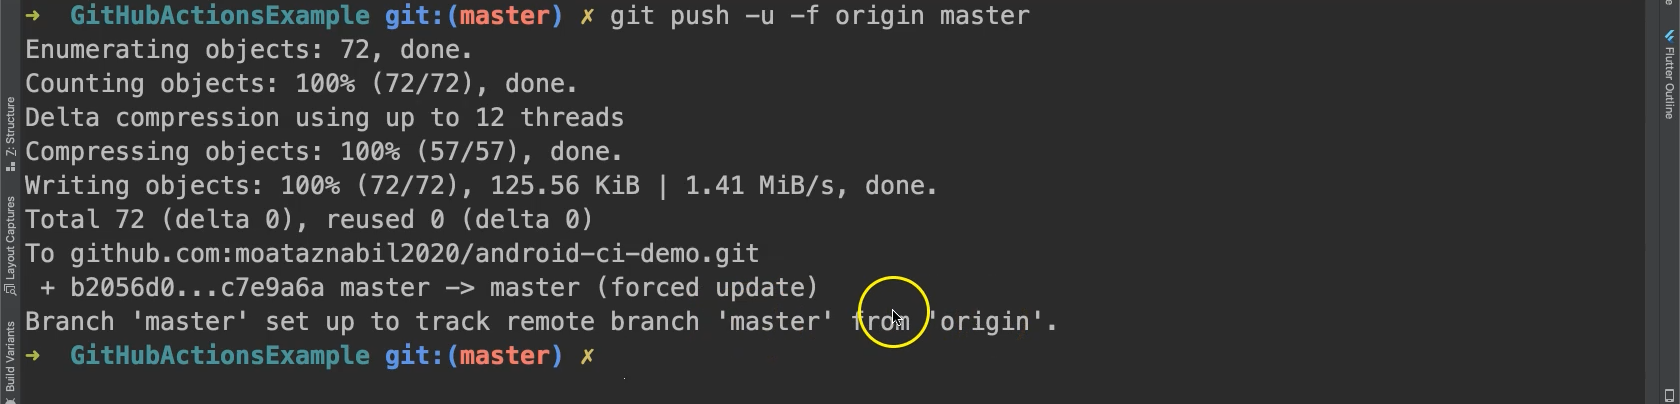
Now our remote repository has received our latest changes. If we refresh our remote repository in GitHub we should find that our project has updated.
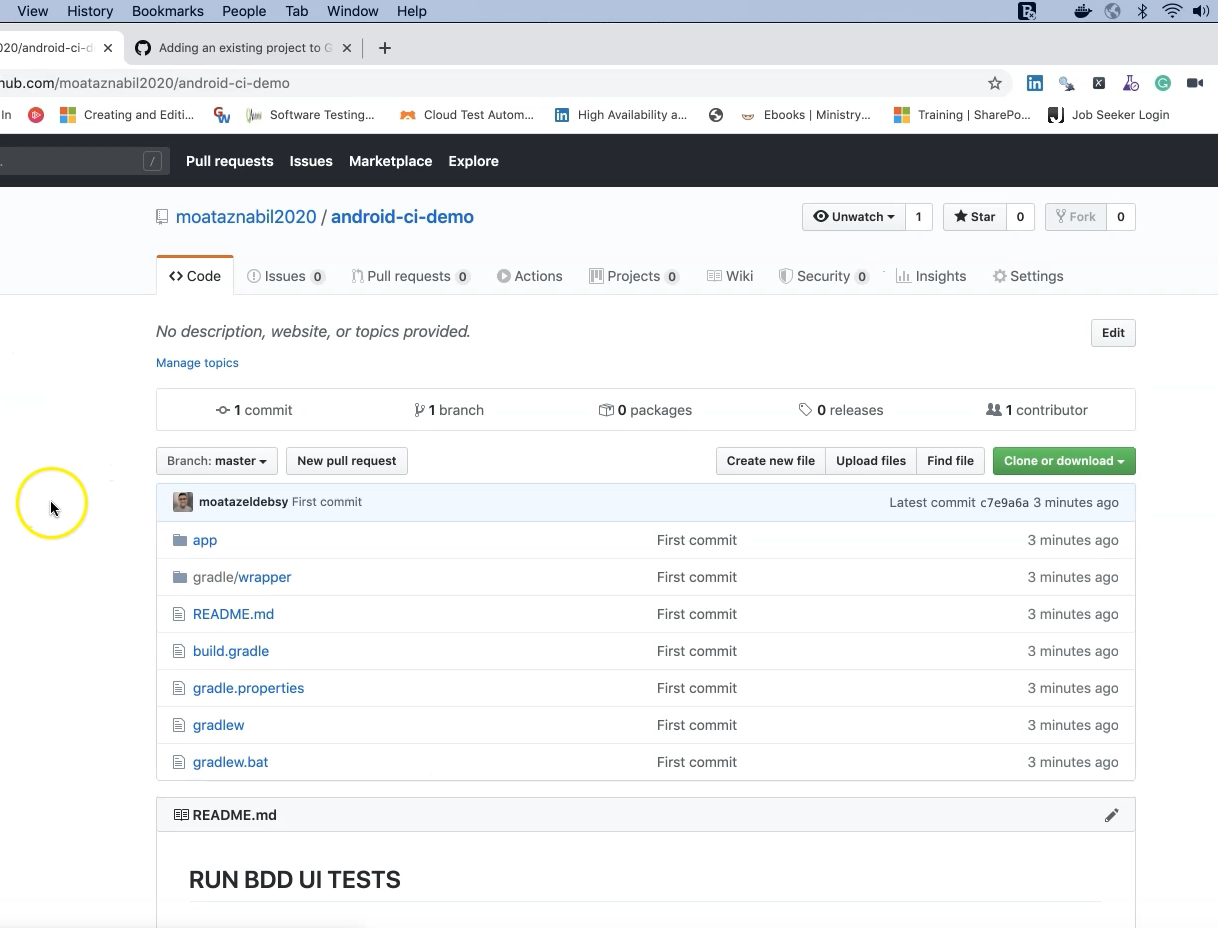
Notice that the "README" file is updated as well because we already had one in our project.
We have successfully pushed our code to the GitHub repository and are now ready to start working with GitHub Actions.
Resources
Quiz
The quiz for this chapter can be found in section 10.2
