

Transcripted Summary
In this chapter, we will:
introduce Applitools and learn how to create a free Applitools account
how to configure the Applitools SDK for our projects
how to add Applitools to our existing tests as a new function
learn how to check test results using the Applitools dashboard.
# What is Applitools?
Applitools provides a software testing platform powered by Visual AI, or artificial intelligence.
It can be used by test automation, manual test, and DevOps teams. Applitools SDKs work with existing test frameworks to take snapshots of pages, elements, regions, or iframes and upload them along with DOM snapshots to the Eyes server.
The Applitools AI then compares them to previous test execution snapshots and reports if there are any bugs or changes in the UI. It’s that simple!
# Create a free Applitools Account
In this demo we will create our free Applitools account. Begin by visiting the Applitools website.
On this main page we will find the link to "Sign In".
If you already have an account you can sign in on this page, otherwise if you are new to Applitools you can click on "Try for free".
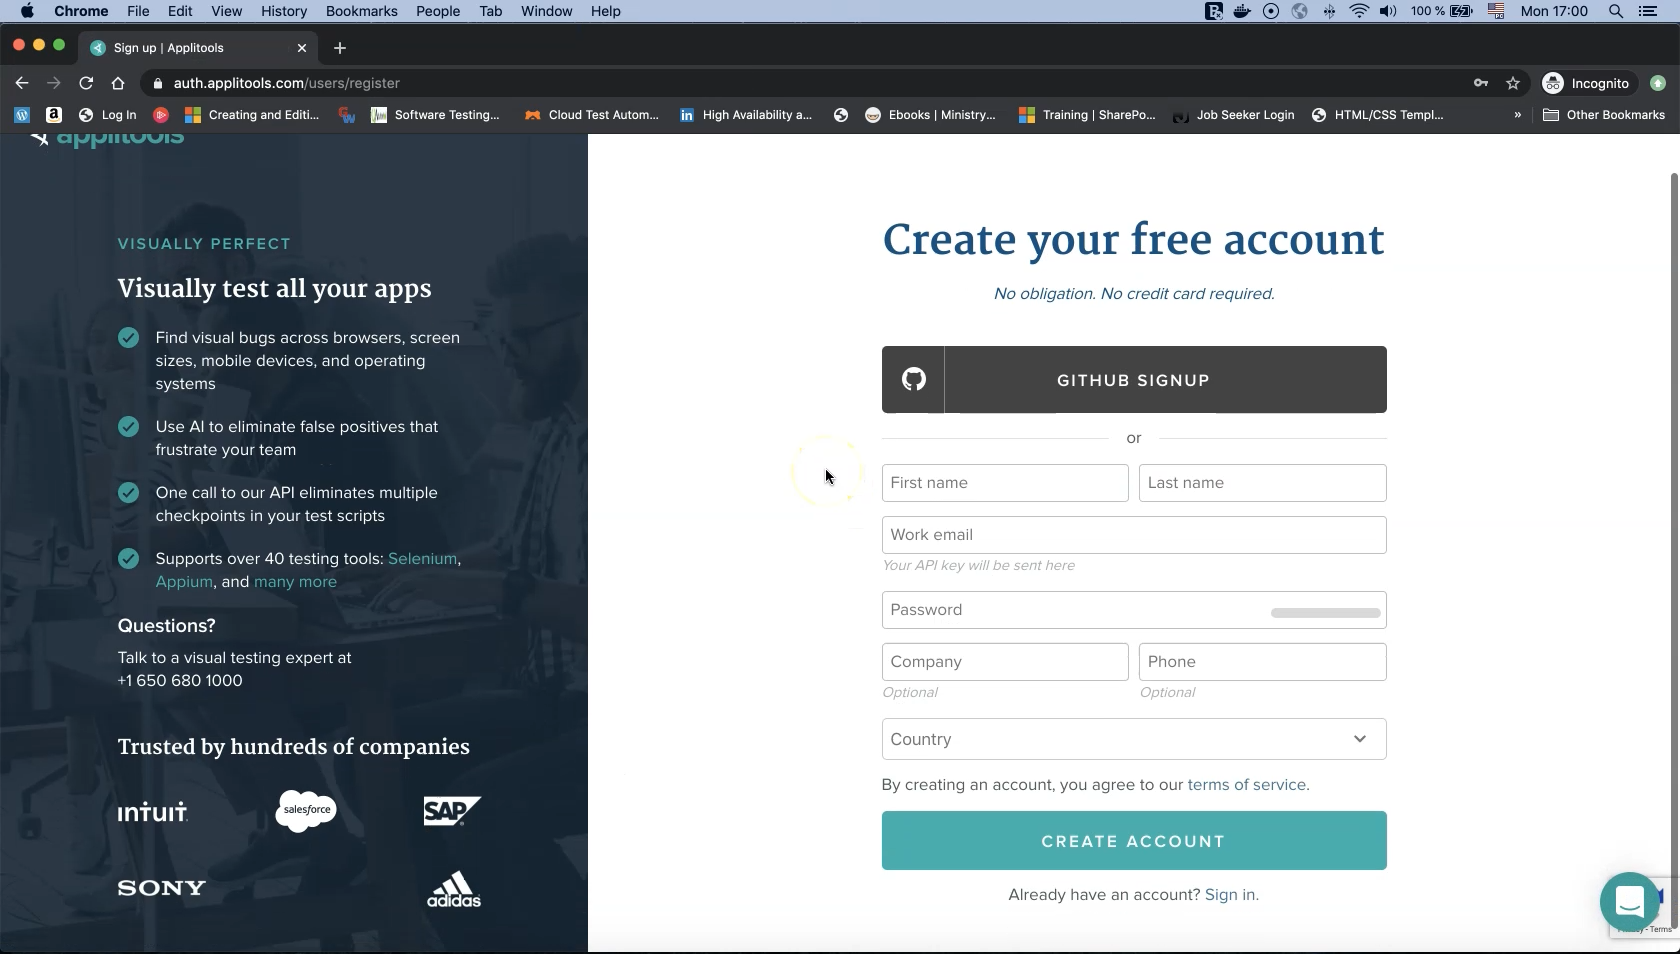
From this screen I can create my account using Github Signup or by filling out the required form fields and clicking "CREATE ACCOUNT".
There will be a short wait while the account is being created and then an email confirmation page should display.
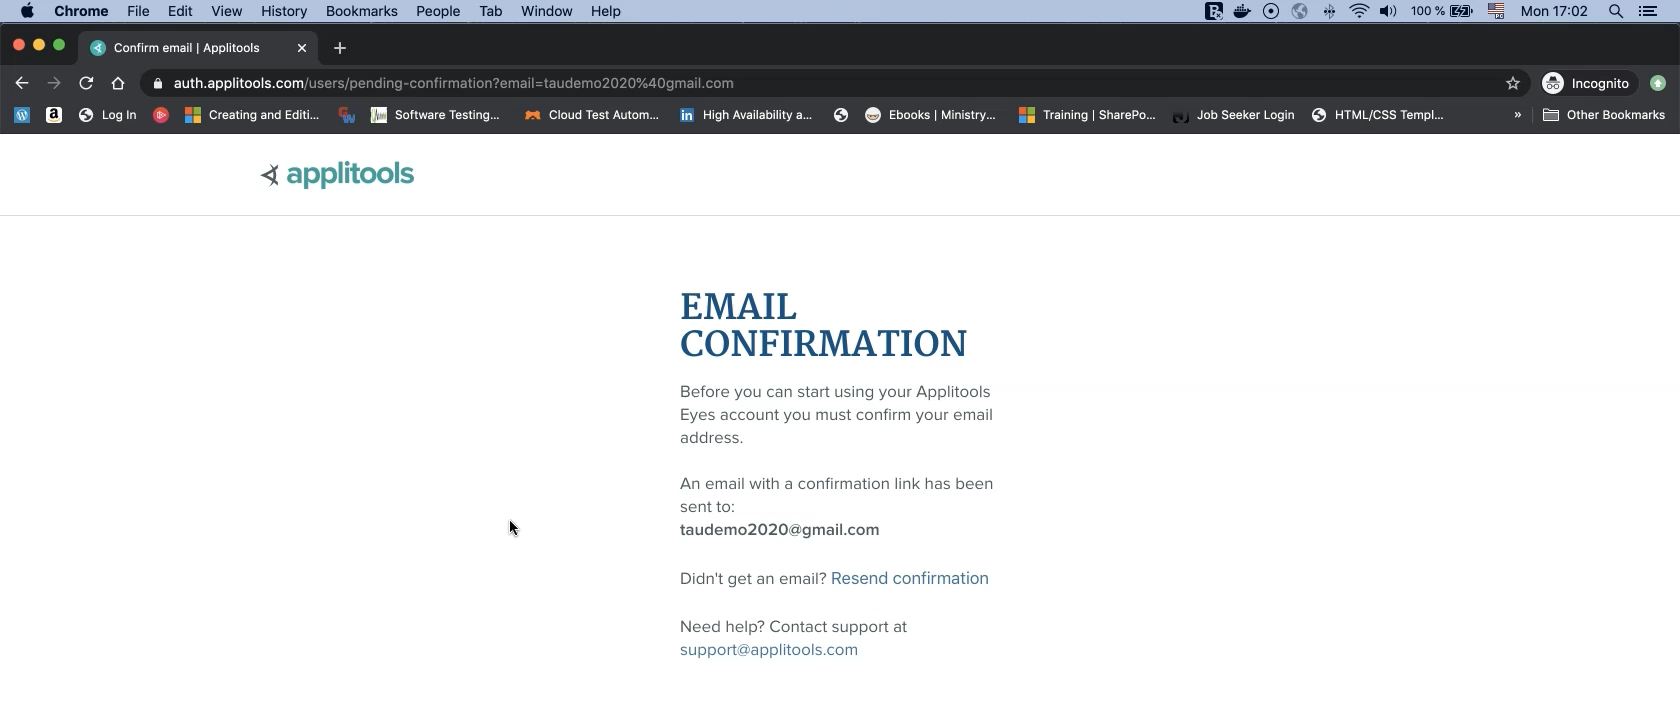
At this point I need to confirm my email address in order to retrieve the API key from Applitools.
So I will open my email and confirm this registration.

I should receive two emails, one with the subject "Welcome to Applitools Eyes!" confirming my registration, and one with the subject "Please verify your email address for Applitools".
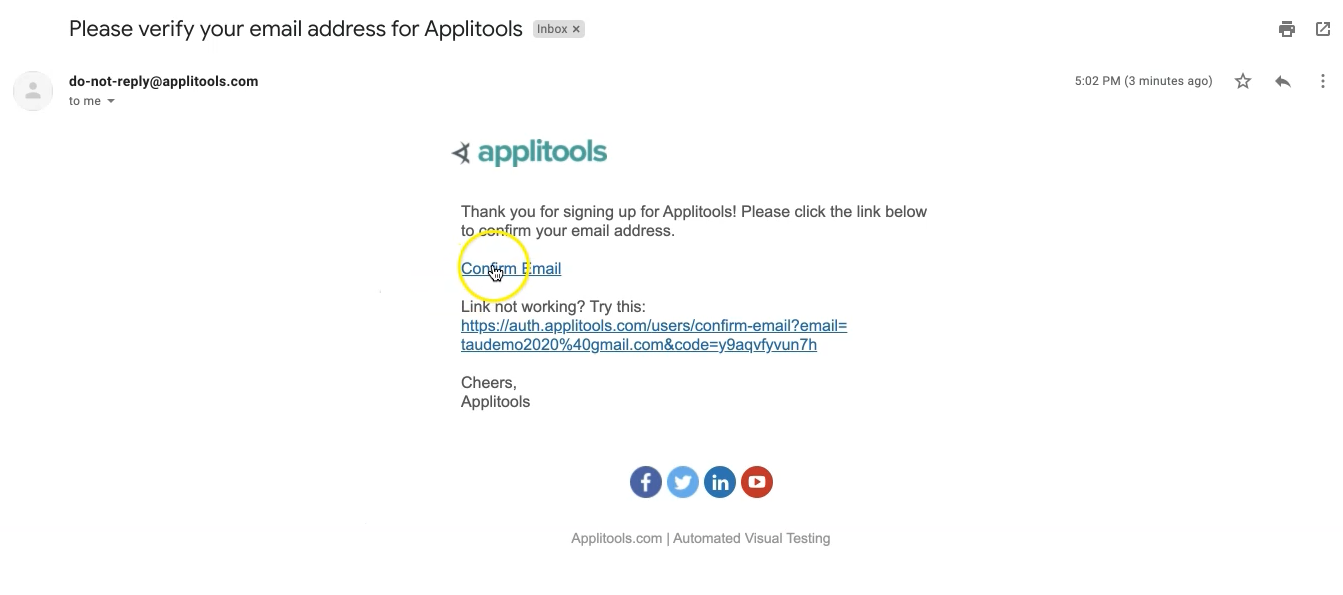
Open the verification email, click on the "Confirm Email" link and follow any additional verification steps.
After confirming my email address I can now log into the Applitools website with my new account.
From the dashboard I can now run my first test or manage my test results using Applitools.
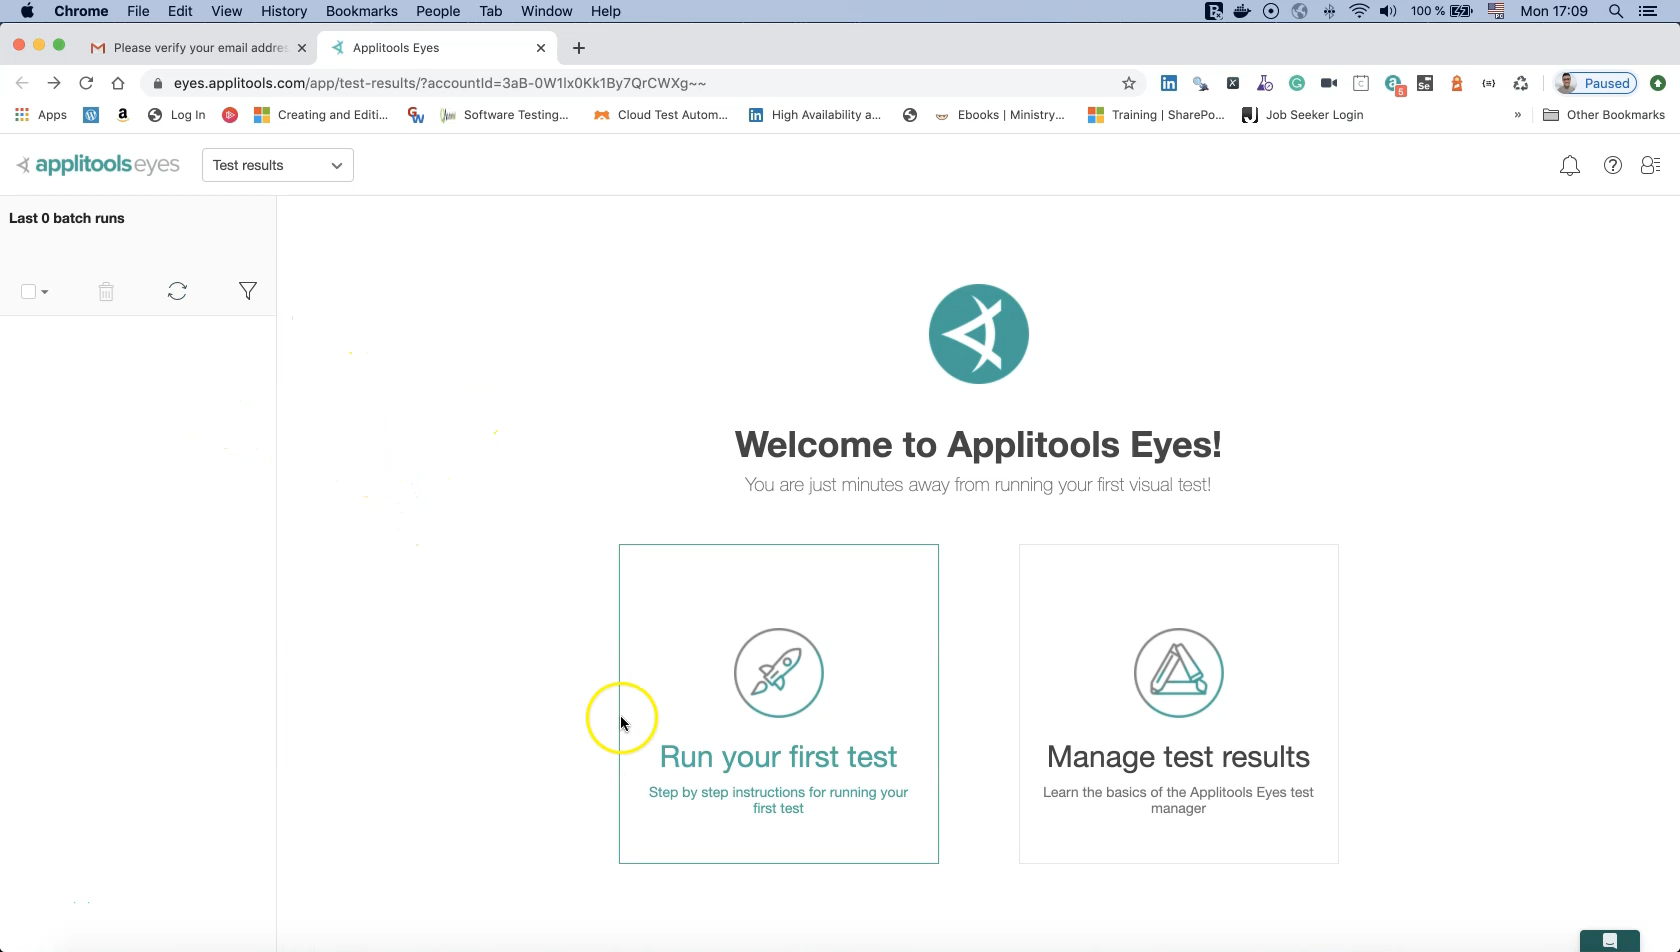
At this time I wish to point out an important icon in the upper right corner:
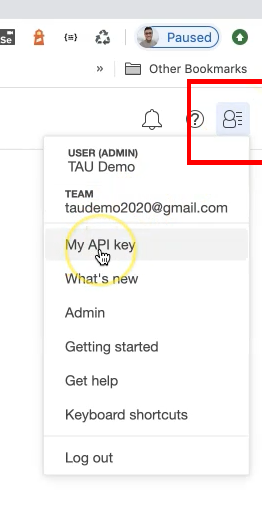
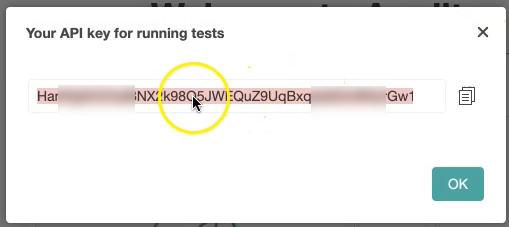
From this menu I can click on "My API key" to display the key associated with my account.
This key is required to run tests with any Applitools-supported SDK (Espresso, in our case) and we will use it in our project configuration.
# Configure Applitools SDK into the Project
In this demo we will learn how to configure the Applitools SDK for Espresso and Android in a project.
We will modify the Behavior-Driven Development demo application previously introduced in Chapter 8 of this course.
In the file "LoginSteps.java" we will integrate Applitools into the existing test cases.
But before we do anything we need to add Applitools dependencies into our "build.gradle" file.
Visit the Espresso Tutorial page on the Applitools website for comprehensive integration instructions for existing projects.
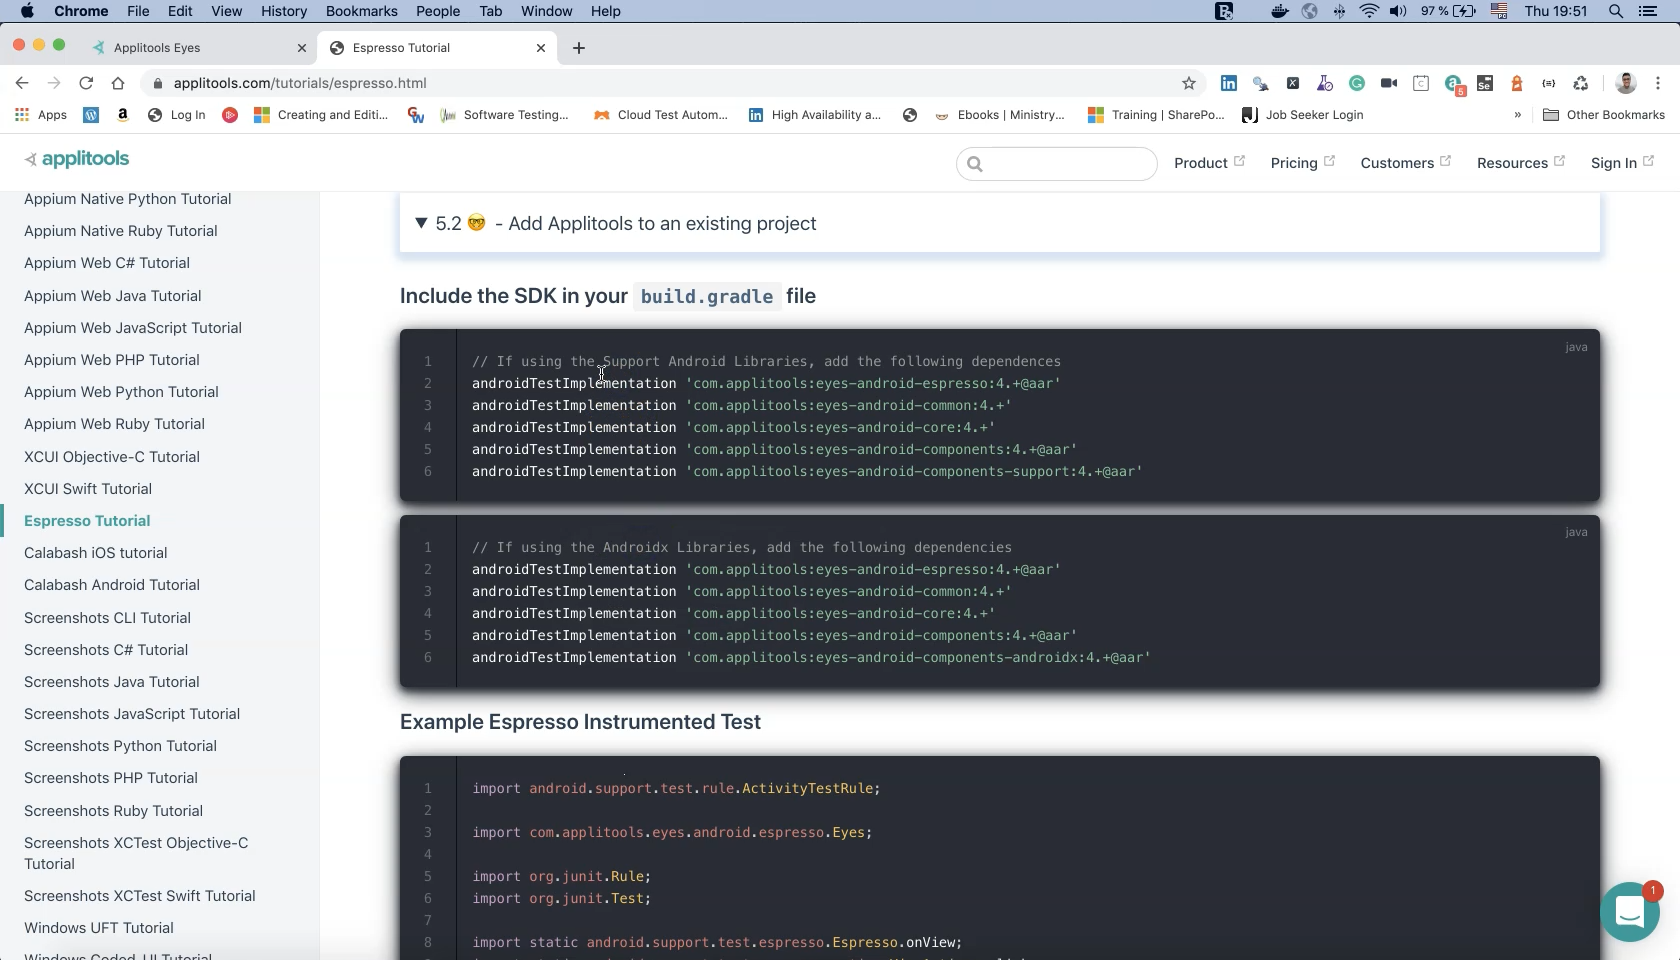
In this step we need to add Applitools to an existing project. So we should copy and paste the following dependencies into our "build.gradle" file.
Whether or not your project uses the newer "androidx" package structure will determine the exact set of dependencies to use.
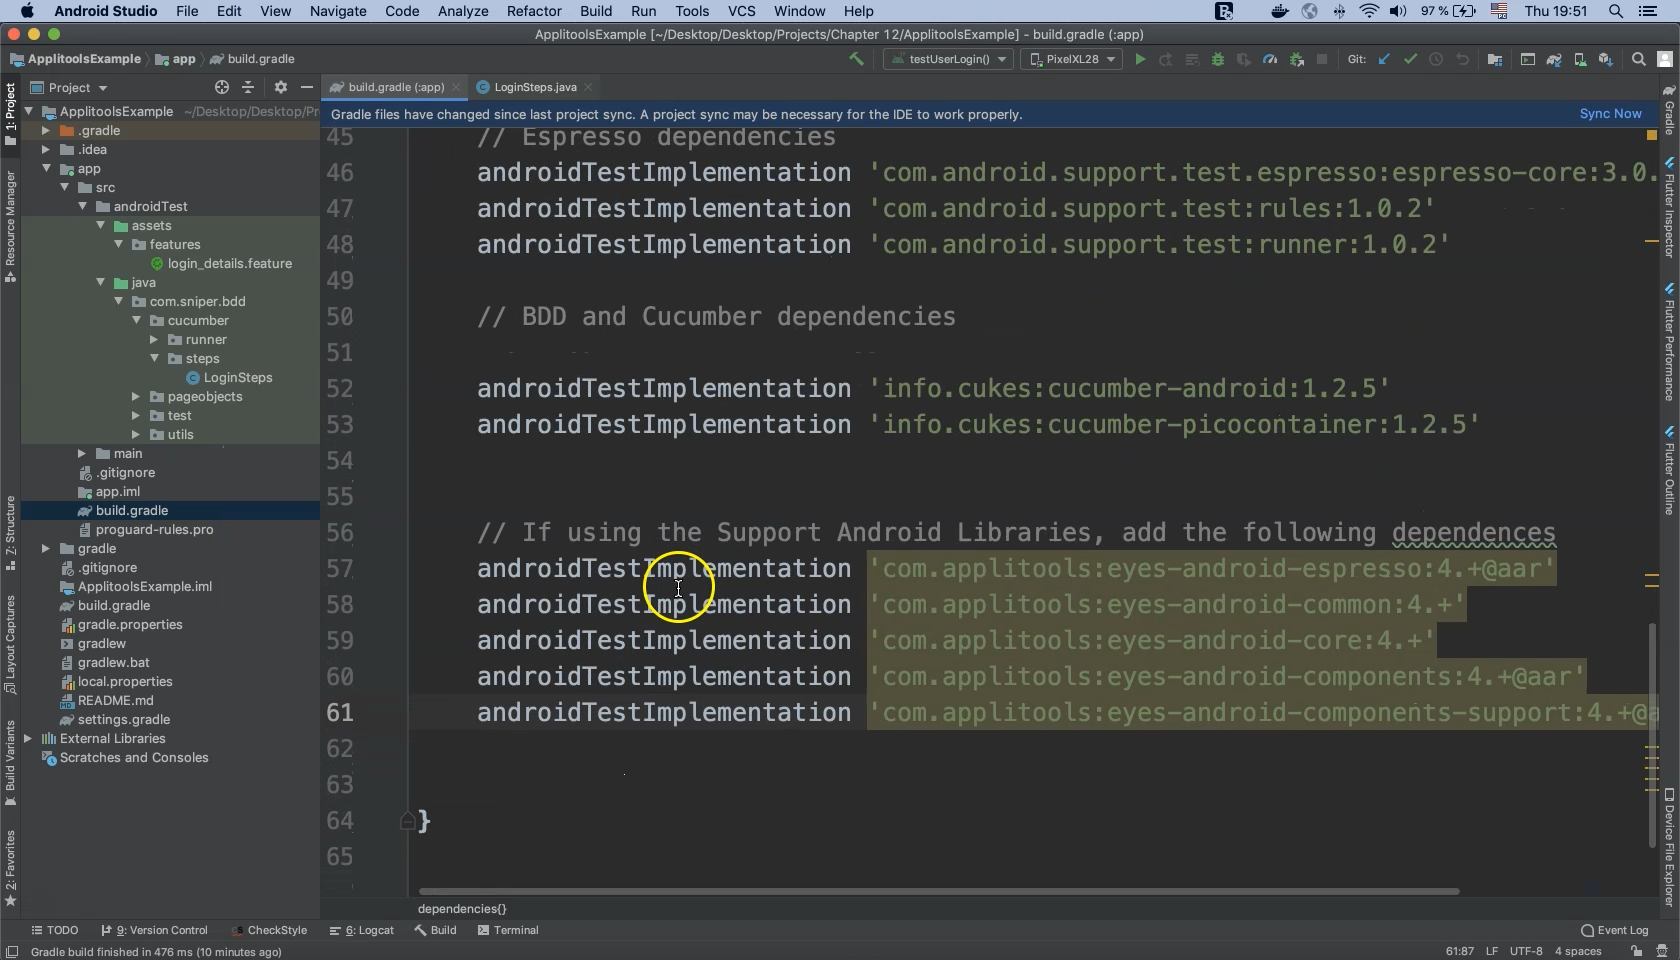
Don't forget to hit "Sync Now" to apply these changes and to download the required dependencies.
Switching back to Applitool’s tutorials page, scroll down and find the "Example Espresso Instrumented Test''.
We need to copy the "Eyes"-related code here which sets the API key in our project.
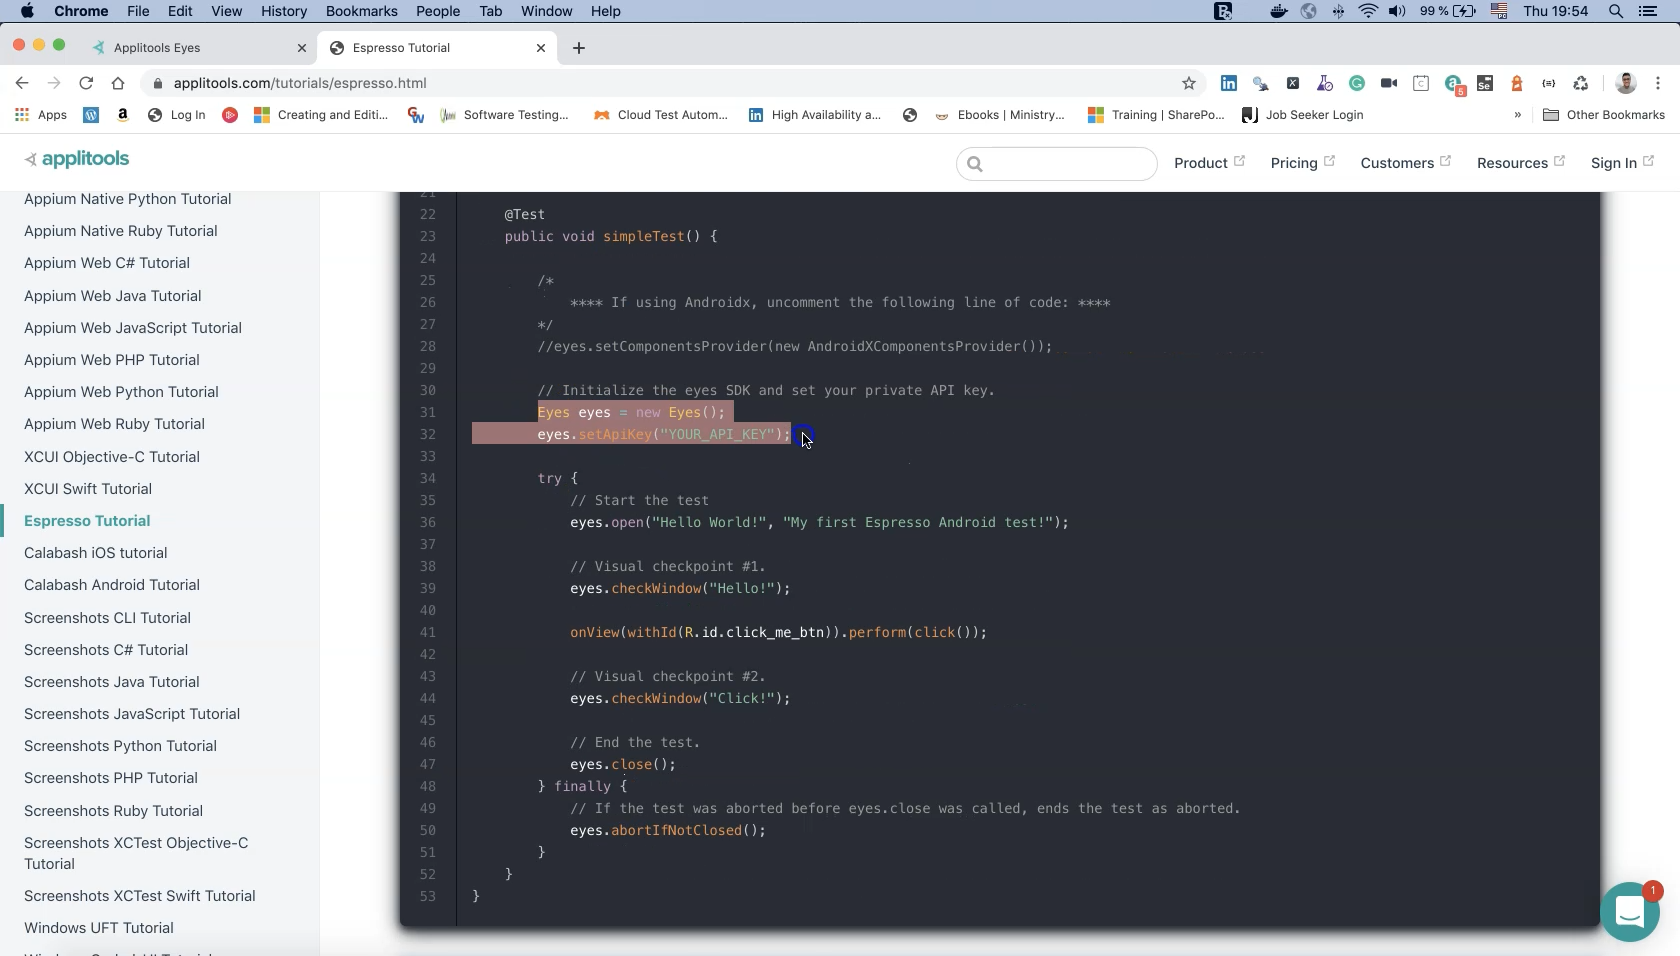
Now in Android Studio, open "LoginSteps.java" located under the "steps" folder and paste the code we just copied to initialize the Applitools SDK.
We will also add the @Before annotation here to initialize the Applitools SDK before we start running the test.
Note that the Before annotation used here is from cucumber.api.java, not org.junit.
public class LoginSteps {
    .
    .
    .
    private Eyes eyes;

    @Before
    public void setup() {
        eyes = new Eyes();
        eyes.setApiKey("YOUR API KEY GOES HERE");
    }
}
Be sure to substitute your personal API key for the placeholder string above.
Now let’s look at the @Given section of class "LoginSteps" where we start the application.
After launching the activity we start our test by calling eyes.open().
This method takes two string arguments, the app name ("Espresso Login") and the test name ("First Espresso Test");
    @Given("I start the application")
    public void i_start_app() {
        mActivityRule.launchActivity(new Intent());
        eyes.open("Espresso Login", "First Espresso Test");
    }
Now, in the @When section where the email is entered, I will add a call to checkWindow() which creates a checkpoint of the entire application. I will set the tag name as "Login Screen".
    @When("^I enter valid email (\\S+)$")
    public void i_enter_valid_email(String email) {
        eyes.checkWindow("Login Screen");
        loginObject.enterEmail(email);
    }
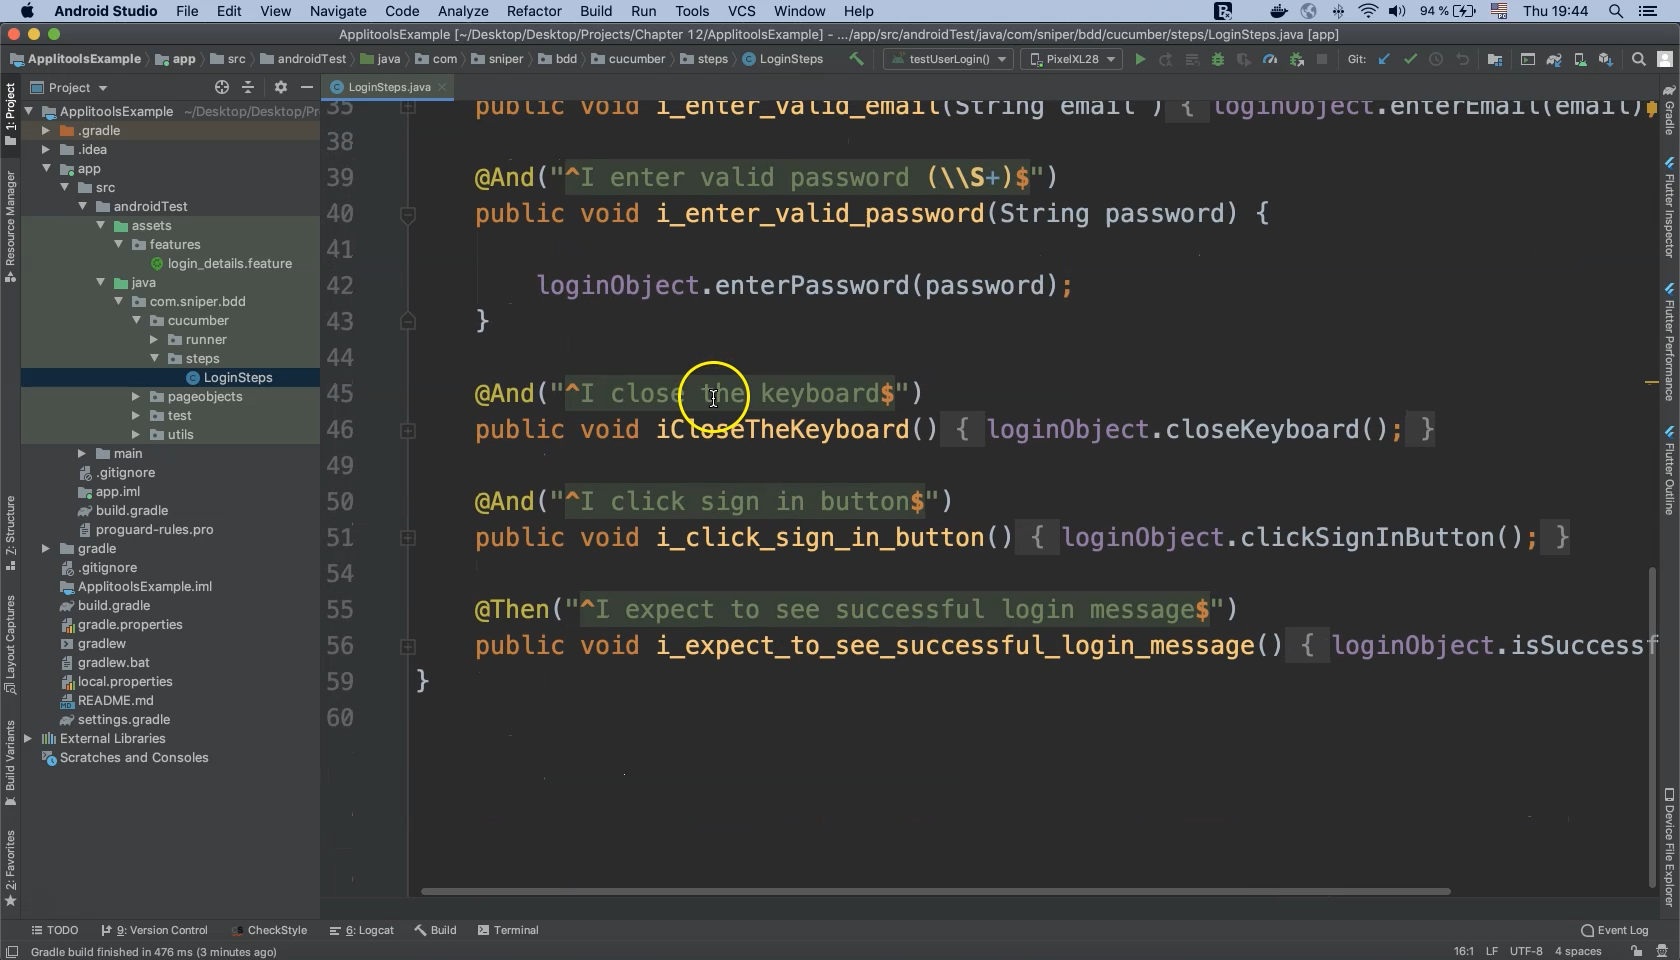
Following the existing step definition, the password is entered, the keyboard is closed, and the "Sign In" button is clicked.
Now, in the @Then section where the test assertion happens, I will add another checkWindow() call with the tag name "Login button Clicked".
I will also add a call to eyes.close() to close the connection between my code and Applitools.
If any problems arise with the connection between Applitools and my code, I should add exception handling here using "try-catch-finally" blocks.
I will also add a call to eyes.abortedIfNotClosed() in the "finally" block to force-close the connection if needed.
    @Then("^I expect to see successful login message$")
    public void i_expect_to_see_successful_login_message() {
        try {
            loginObject.isSuccessfulLogin();
            eyes.checkWindow("Login Click!");
            eyes.close();
        } finally {
            eyes.abortIfNotClosed();
        }
    }
Now we will run our test to check the integration between Applitools and our test case.
As in the previous chapters, open the Android Studio terminal and execute the following command:
./gradlew connectedDebugAndroidTest -Pcucumber -Ptags="@e2e"
This will build both the application under test and the test APK, install them both on the device and execute the test.
We include parameters -Pcucumber as well as -Ptags which specifies the test type.
Let’s quickly switch to our virtual device to observe the test cases executing in real-time.
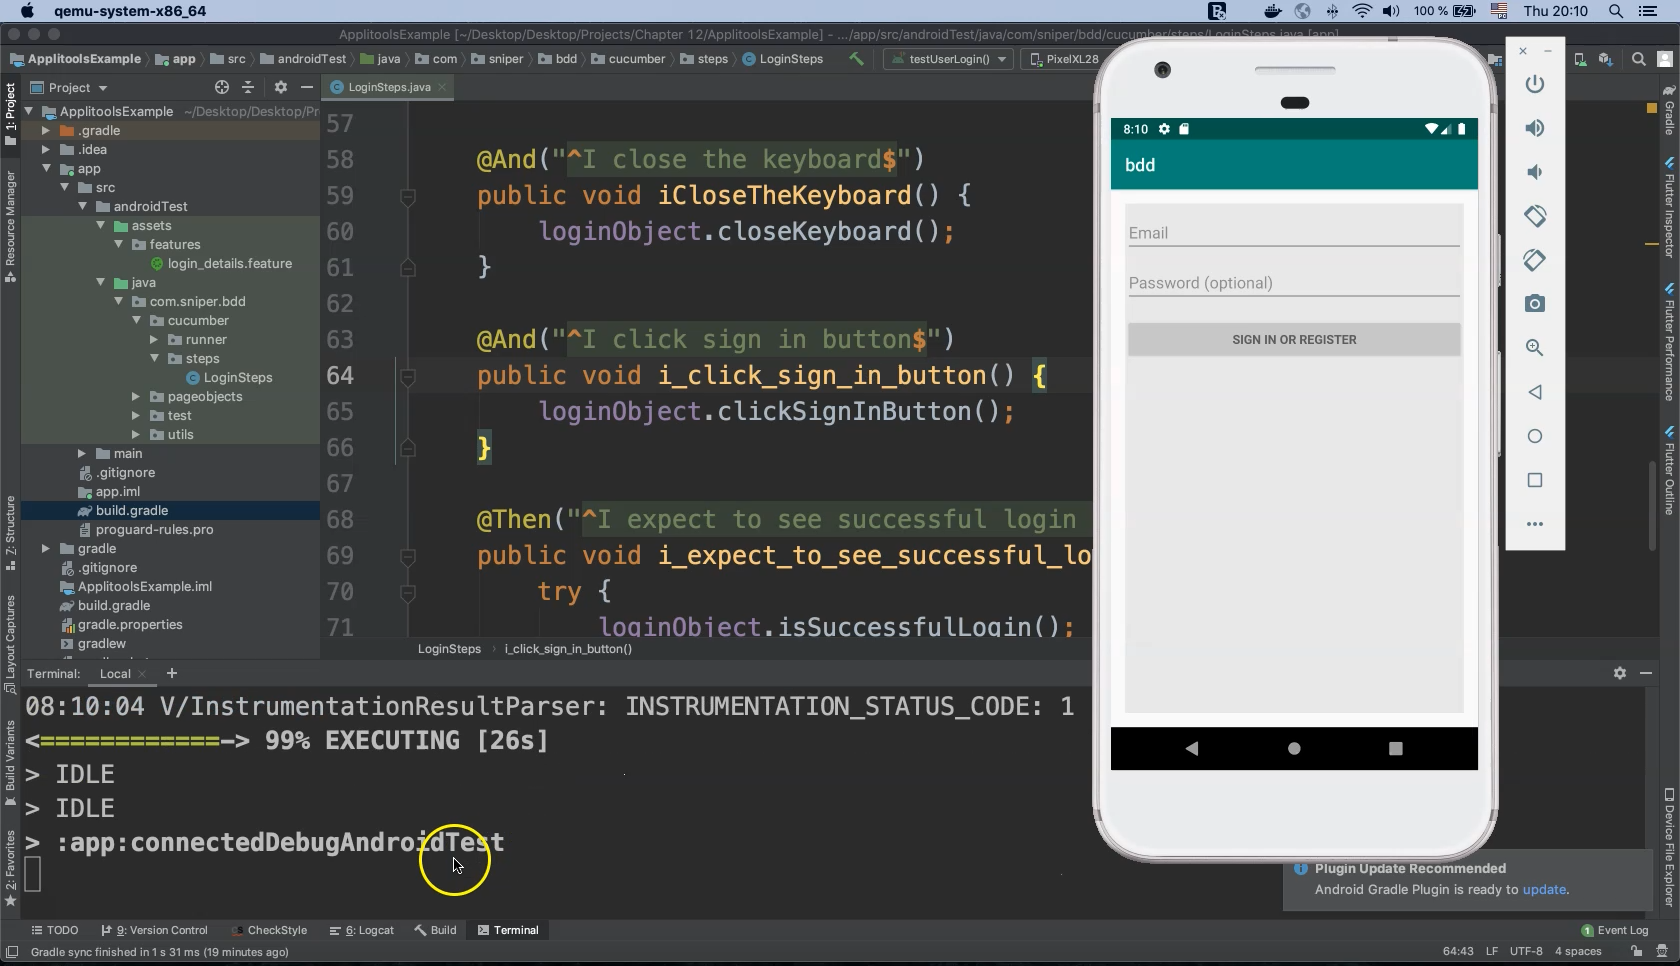
Our test is now initialized and we are waiting for the connection between Applitools.
From the "Logcat" tab we can confirm that an Applitools session has been initialized to transmit test results from our code.

Switch back to the terminal and wait until the test is finished. Alternately, we can open the Applitools dashboard and check our test results there.
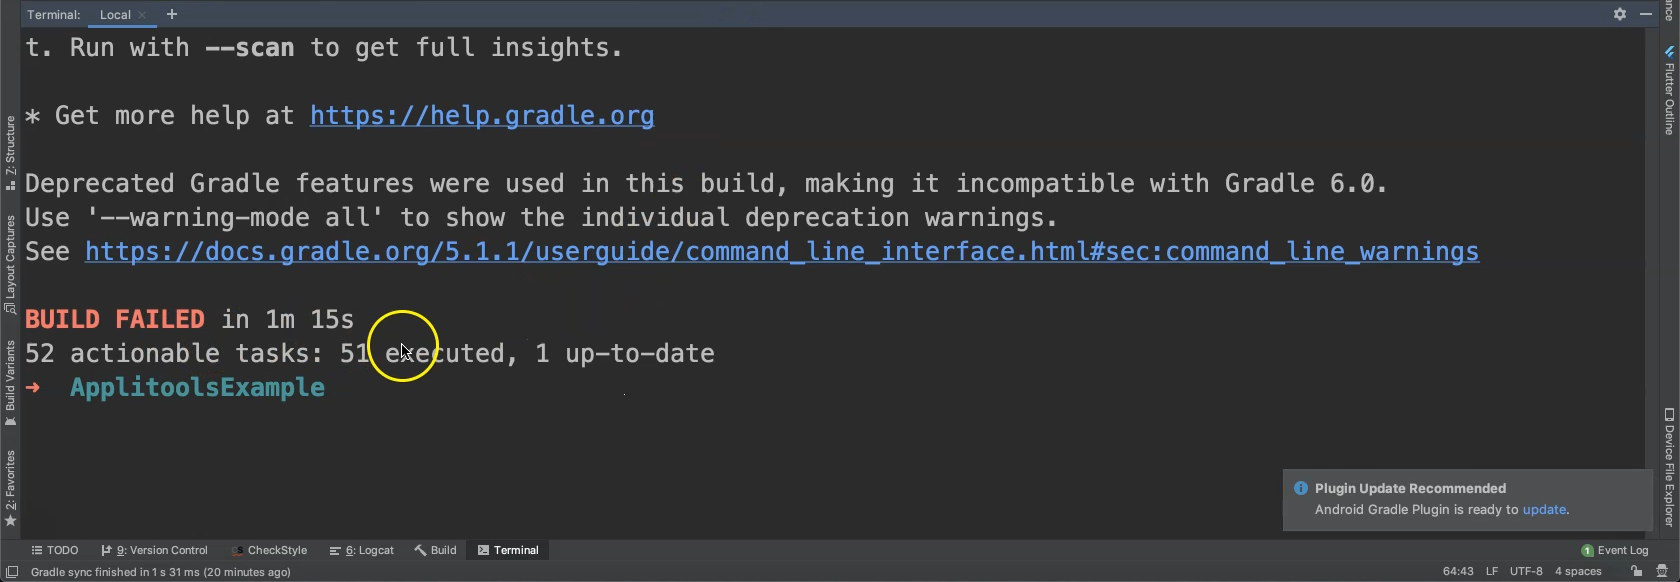
It looks like our test has failed. Let’s scroll up in the terminal to see what the problem is.
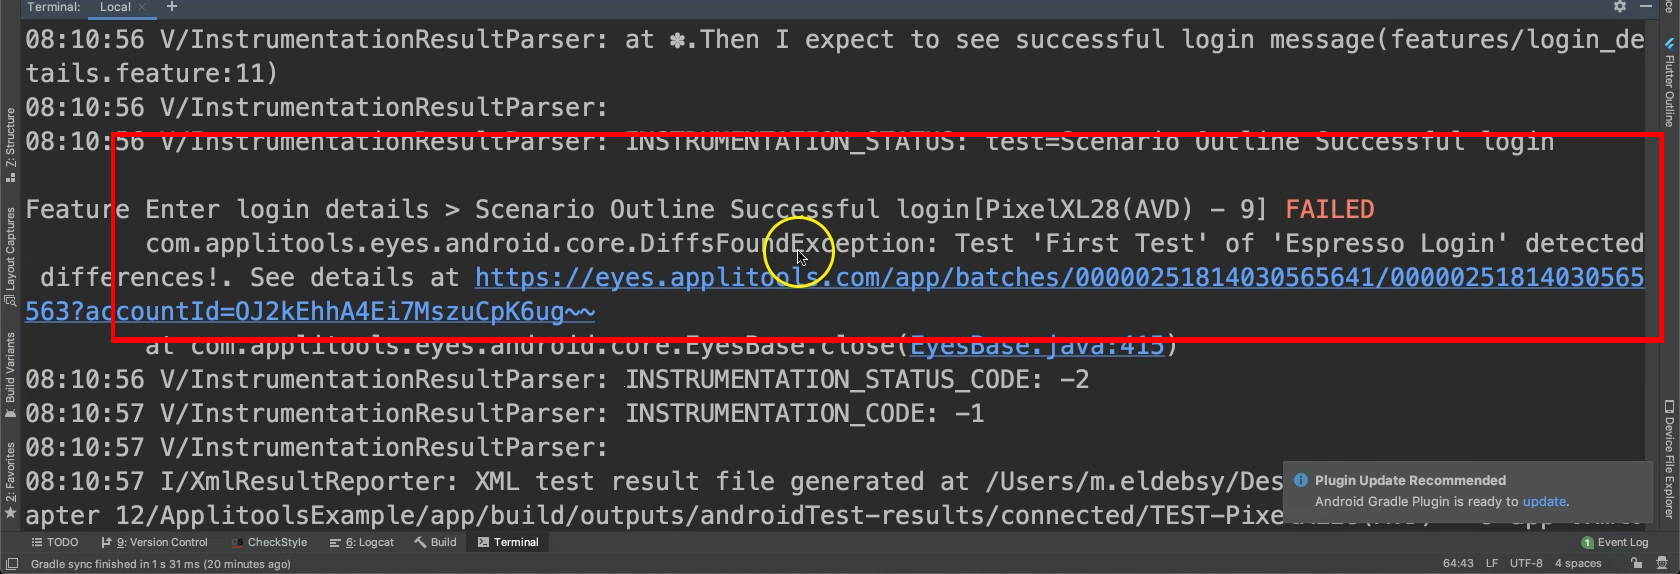
This "DiffsFoundException" exception from Applitools indicates that we are using two different sets of data in the application. If we follow the blue link we can view detailed results in the Applitools dashboard.
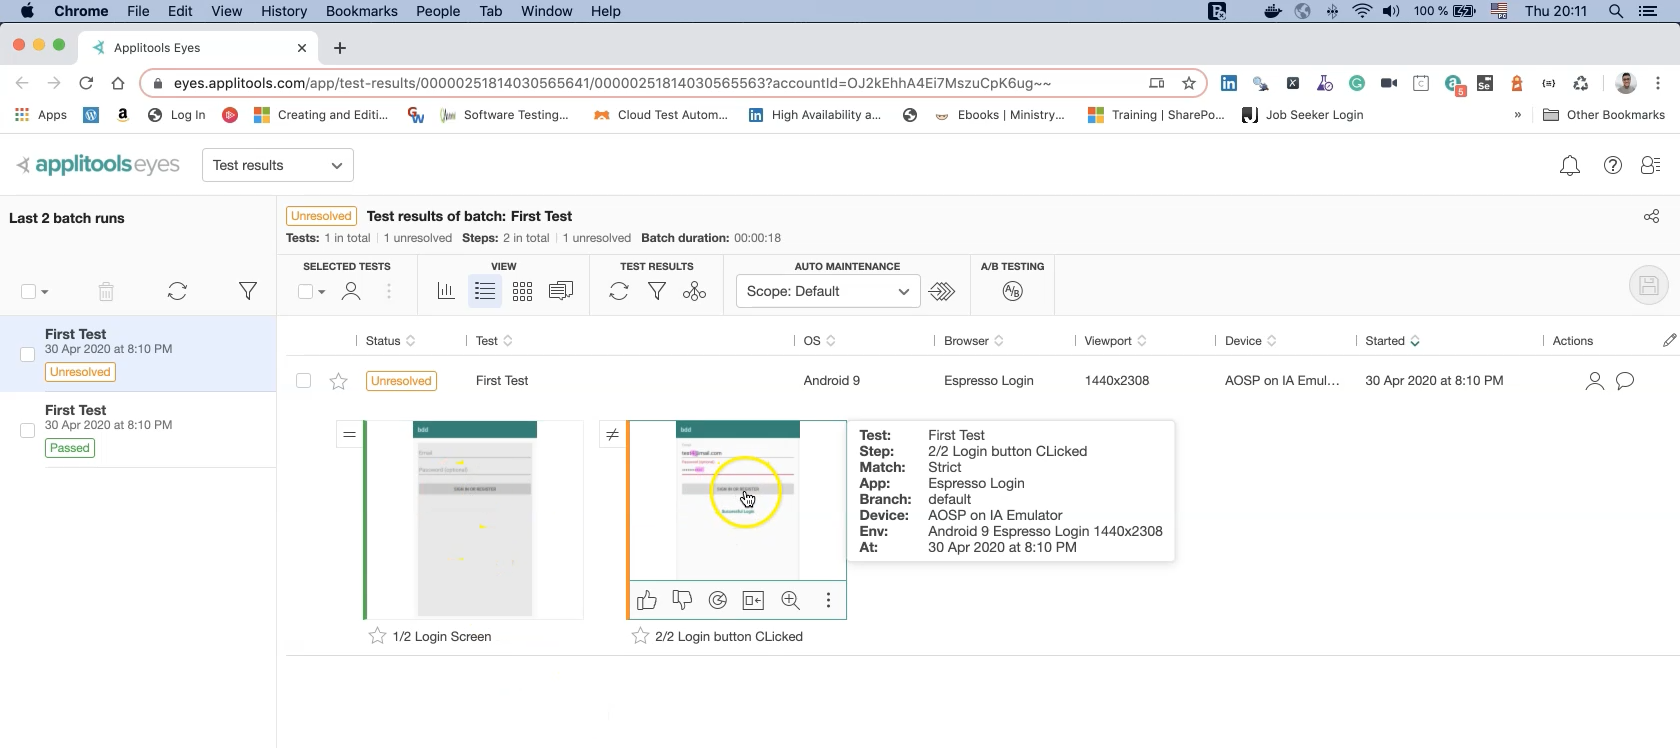
In the above image the first "Login Screen" snapshot is on the left and the "Login Clicked!" snapshot is on the right.
By clicking on the right snapshot we can quickly confirm that there is, indeed, different test data being used for the username and the password.
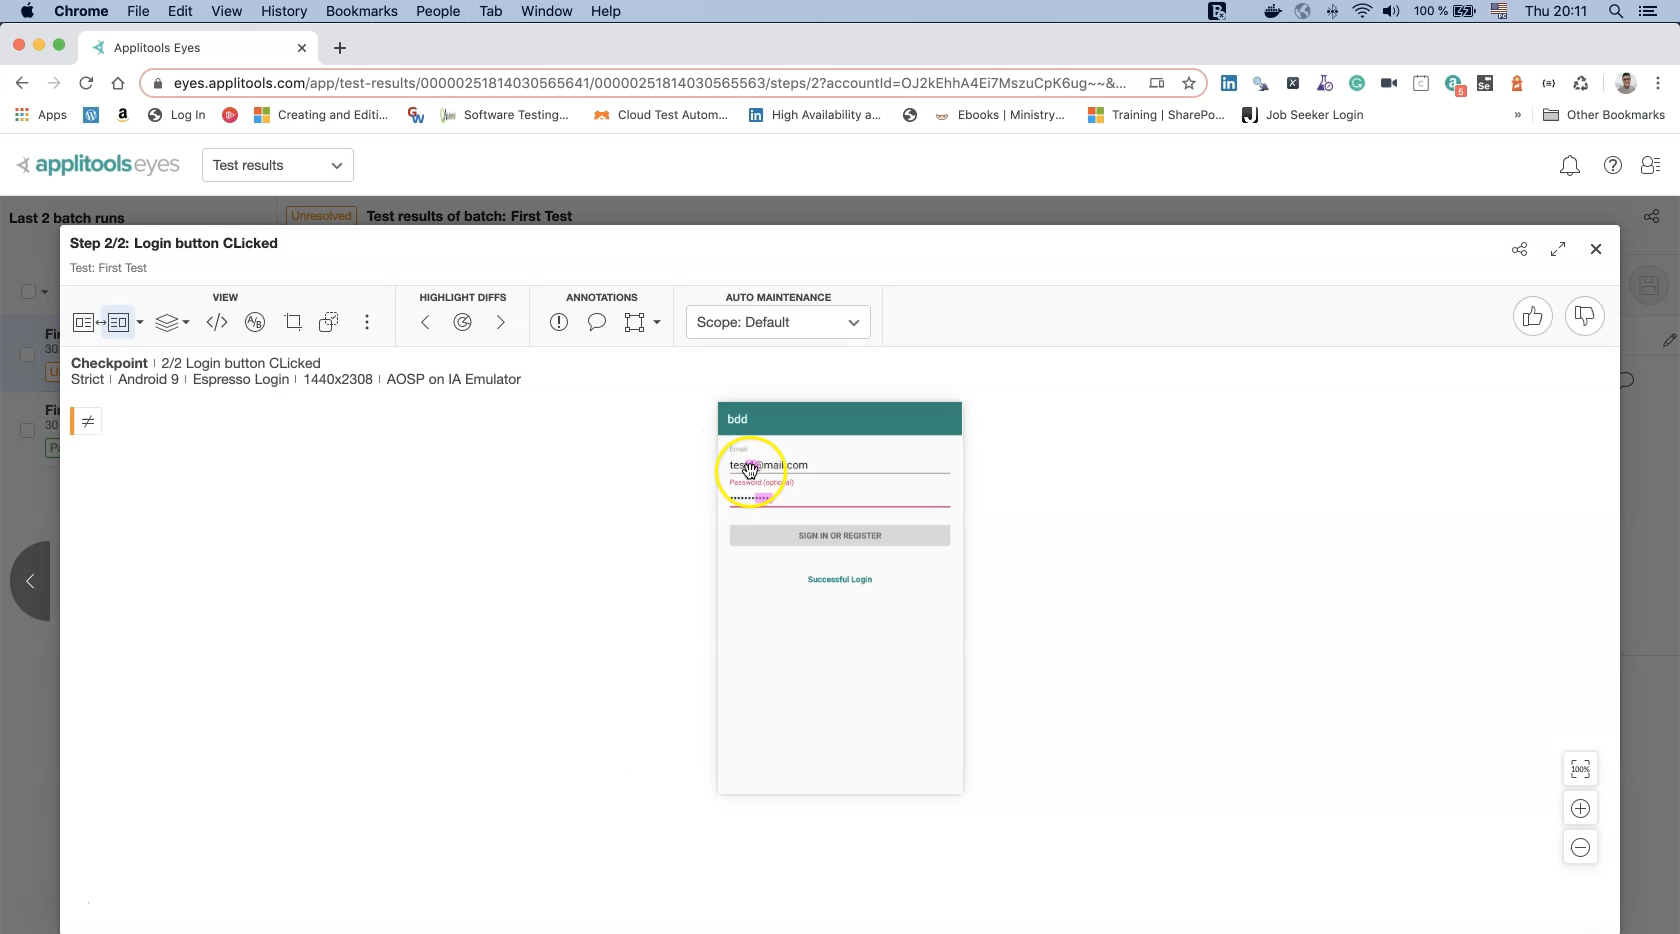
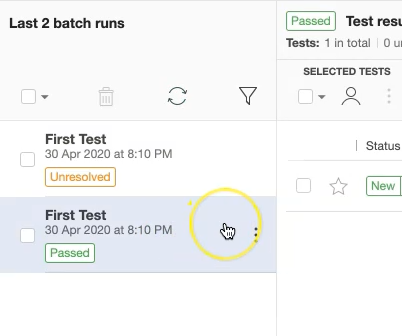
This is the value of Applitools for Visual Validation. Also note that the first test passes without issue.
# Code
package com.sniper.bdd.cucumber.steps;

import android.content.Intent;

import com.applitools.eyes.android.espresso.Eyes;
import com.sniper.bdd.LoginActivity;
import com.sniper.bdd.pageobjects.LoginScreen;
import com.sniper.bdd.utils.ActivityFinisher;

import androidx.test.rule.ActivityTestRule;
import cucumber.api.java.After;
import cucumber.api.java.Before;
import cucumber.api.java.en.And;
import cucumber.api.java.en.Given;
import cucumber.api.java.en.Then;
import cucumber.api.java.en.When;


public class LoginSteps {

    ActivityTestRule<LoginActivity> mActivityRule = new ActivityTestRule<>(LoginActivity.class,
        false, false);
    private LoginScreen loginObject = new LoginScreen();
    private Eyes eyes;

    @Before
    public void setup() {
        eyes = new Eyes();
        eyes.setApiKey("YOUR API KEY");
    }

    @After
    public void tearDown() {
        ActivityFinisher.finishOpenActivities();
    }

    @Given("^I start the application$")
    public void i_start_app() {
        mActivityRule.launchActivity(new Intent());
        eyes.open("Espresso Login", "First Espresso Test");
    }

    @When("^I enter valid email (\\S+)$")
    public void i_enter_valid_email(String email ) {
        eyes.checkWindow("Login Screen");
        loginObject.enterEmail(email);
    }

    @And("^I enter valid password (\\S+)$")
    public void i_enter_valid_password(String password) {
        loginObject.enterPassword(password);
    }

    @And("^I close the keyboard$")
    public void iCloseTheKeyboard() {
        loginObject.closeKeyboard();
    }

    @And("^I click sign in button$")
    public void i_click_sign_in_button() {
        loginObject.clickSignInButton();
    }

    @Then("^I expect to see successful login message$")
    public void i_expect_to_see_successful_login_message() {
        try {
            loginObject.isSuccessfulLogin();
            eyes.checkWindow("Login Click!");
            eyes.close();
        } finally {
            eyes.abortIfNotClosed();
        }
    }
}
