
Transcripted Summary
In this chapter, we will talk about WebView Testing with Espresso.
What will we cover during this chapter? We will discuss Espresso Web and how it is used to implement a WebView test with Espresso.
Espresso Web
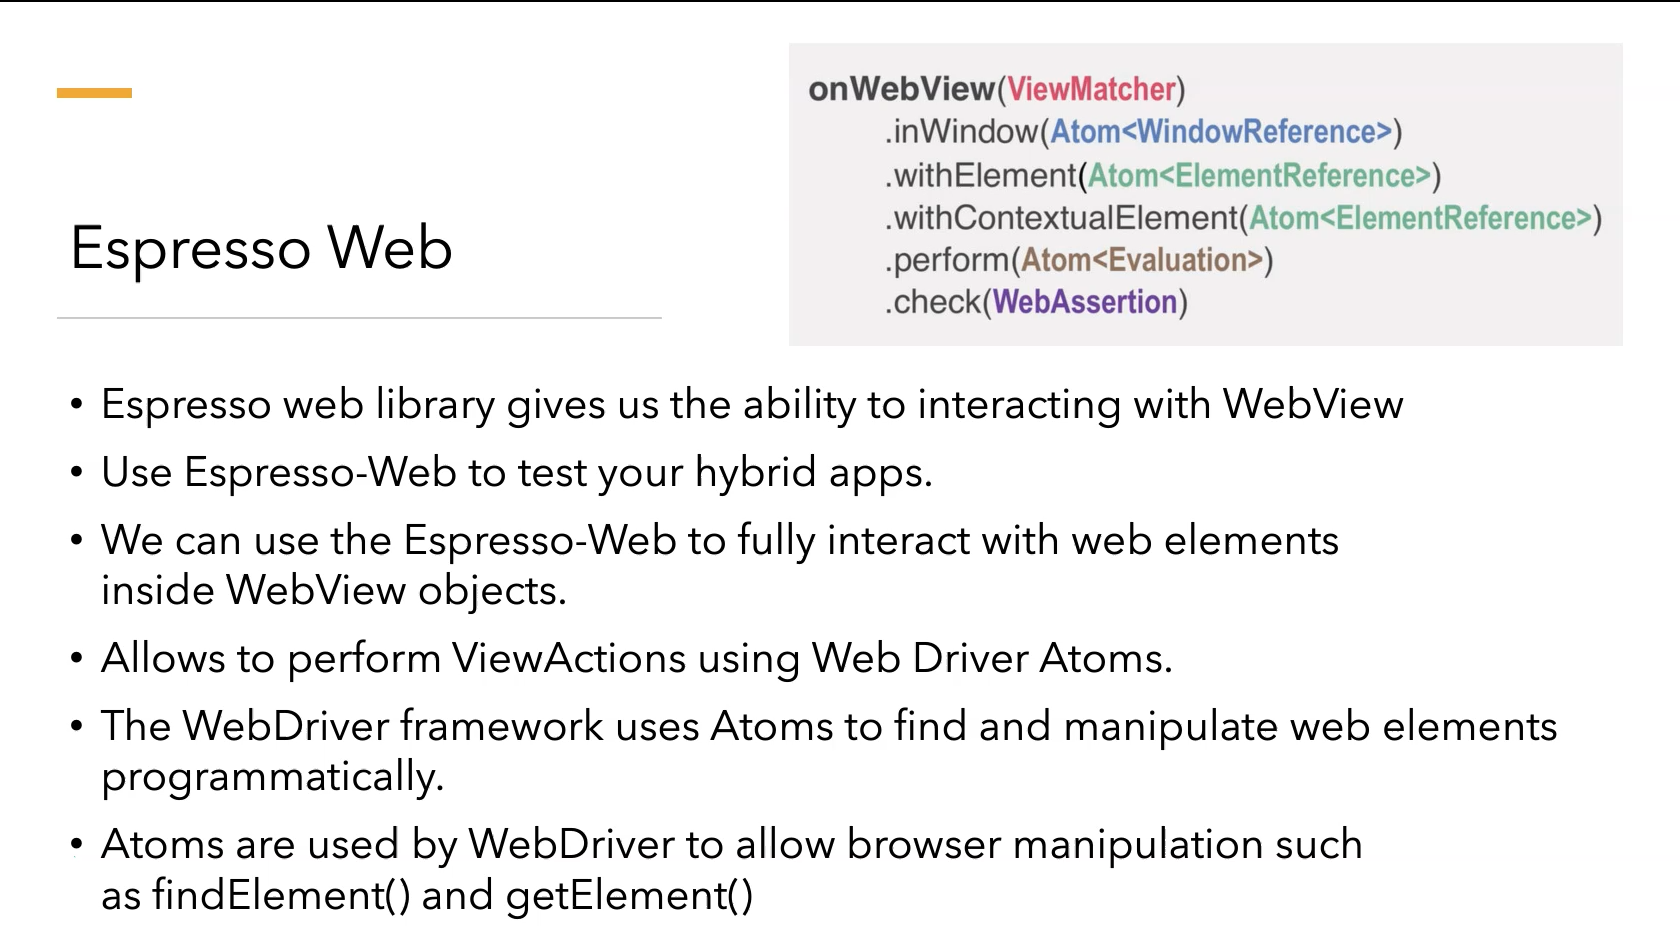
Espresso Web is a library that allows us to interact with WebView to test hybrid applications.
We can use Espresso Web to fully interact with Web Elements inside of WebView objects.
This allows us to perform ViewActions using Web Driver Atoms.
The WebDriver framework uses Atom to find and manipulate web elements programmatically.
Atoms are used by WebDriver to allow browser manipulation using methods like findElement() and getElement().
Implement Web View (Demo)
In this demo we will learn how to implement WebView with our Espresso test cases.
Begin by running the "WebBasicSample" sample application and explore the interface.
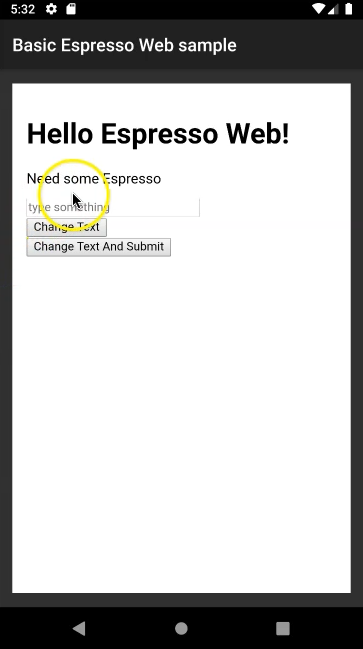
In this application we will find a WebView containing three control elements: a text box, a button to change the text, and a button to both change the text and submit the form.
We wish to automate a test scenario where some text (say "TAU") is entered into the text box.
Clicking the "Change Text And Submit" button will submit the form and we should assert that the text string is visible on the next page.
How do we inspect WebView Elements?
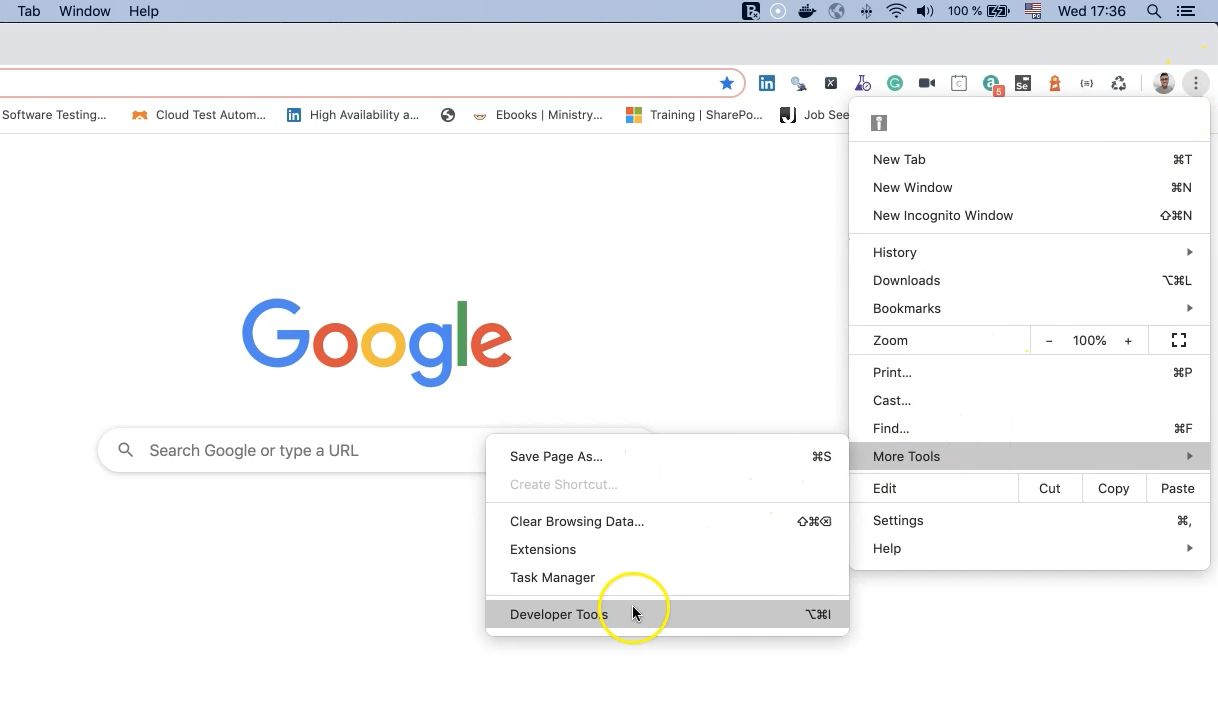
We will use the Chrome browser’s developer options to inspect remote devices.
First, open developer tools from the right-click context menu:
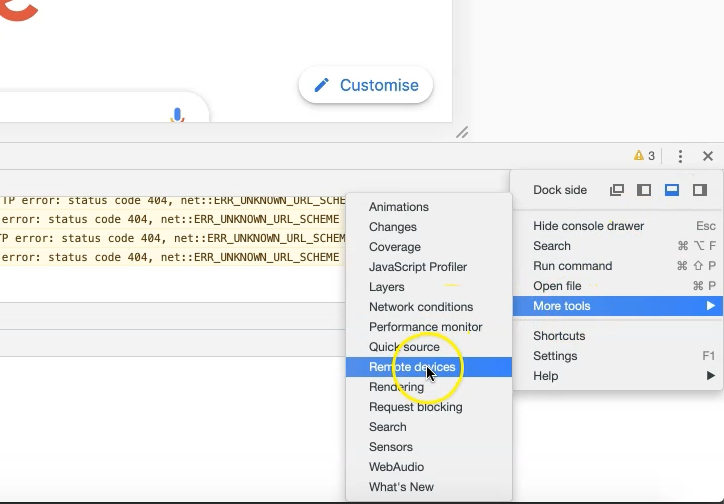
Now select "Remote Devices":
Note
The Remote Devices panel that opens may display a message about being deprecated. Equivalent functionality can be found at chrome://inspect/#devices.
Now click on the "inspect" button near the bottom of the page.
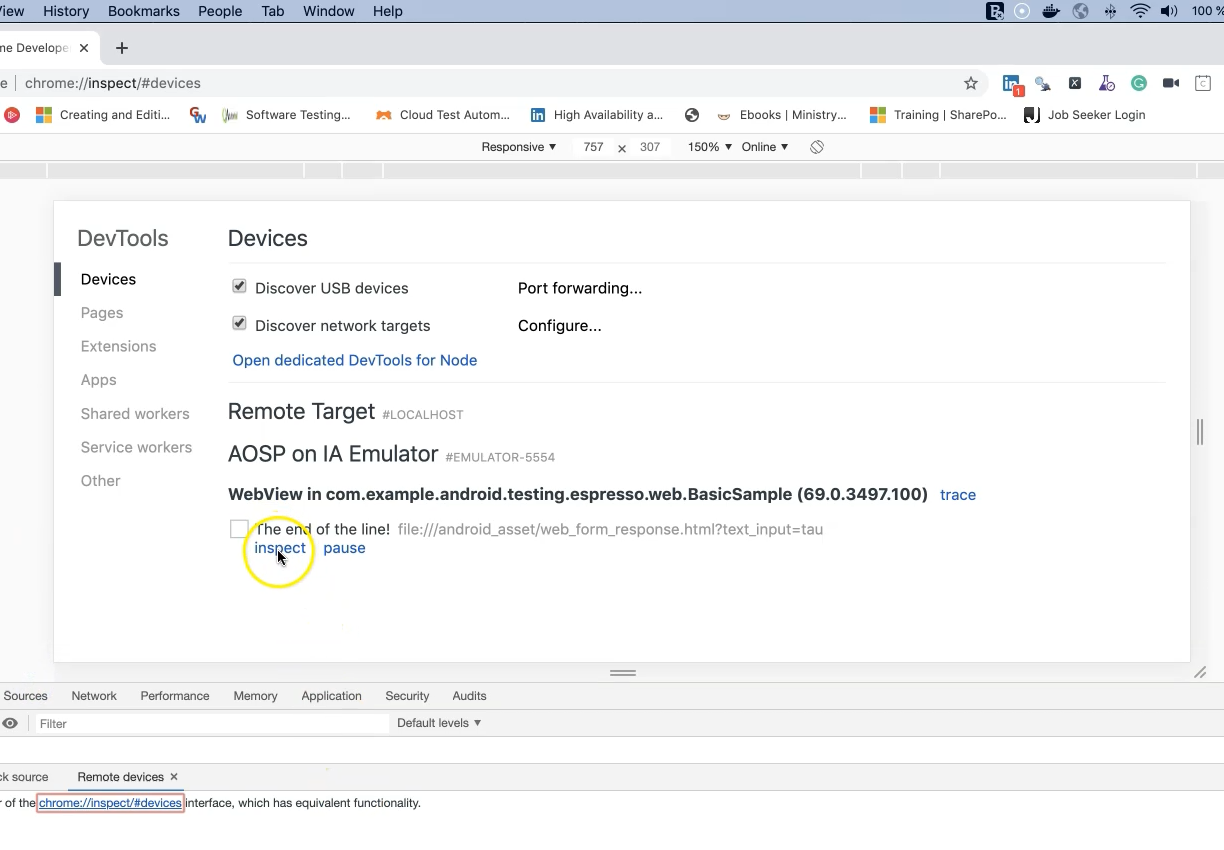
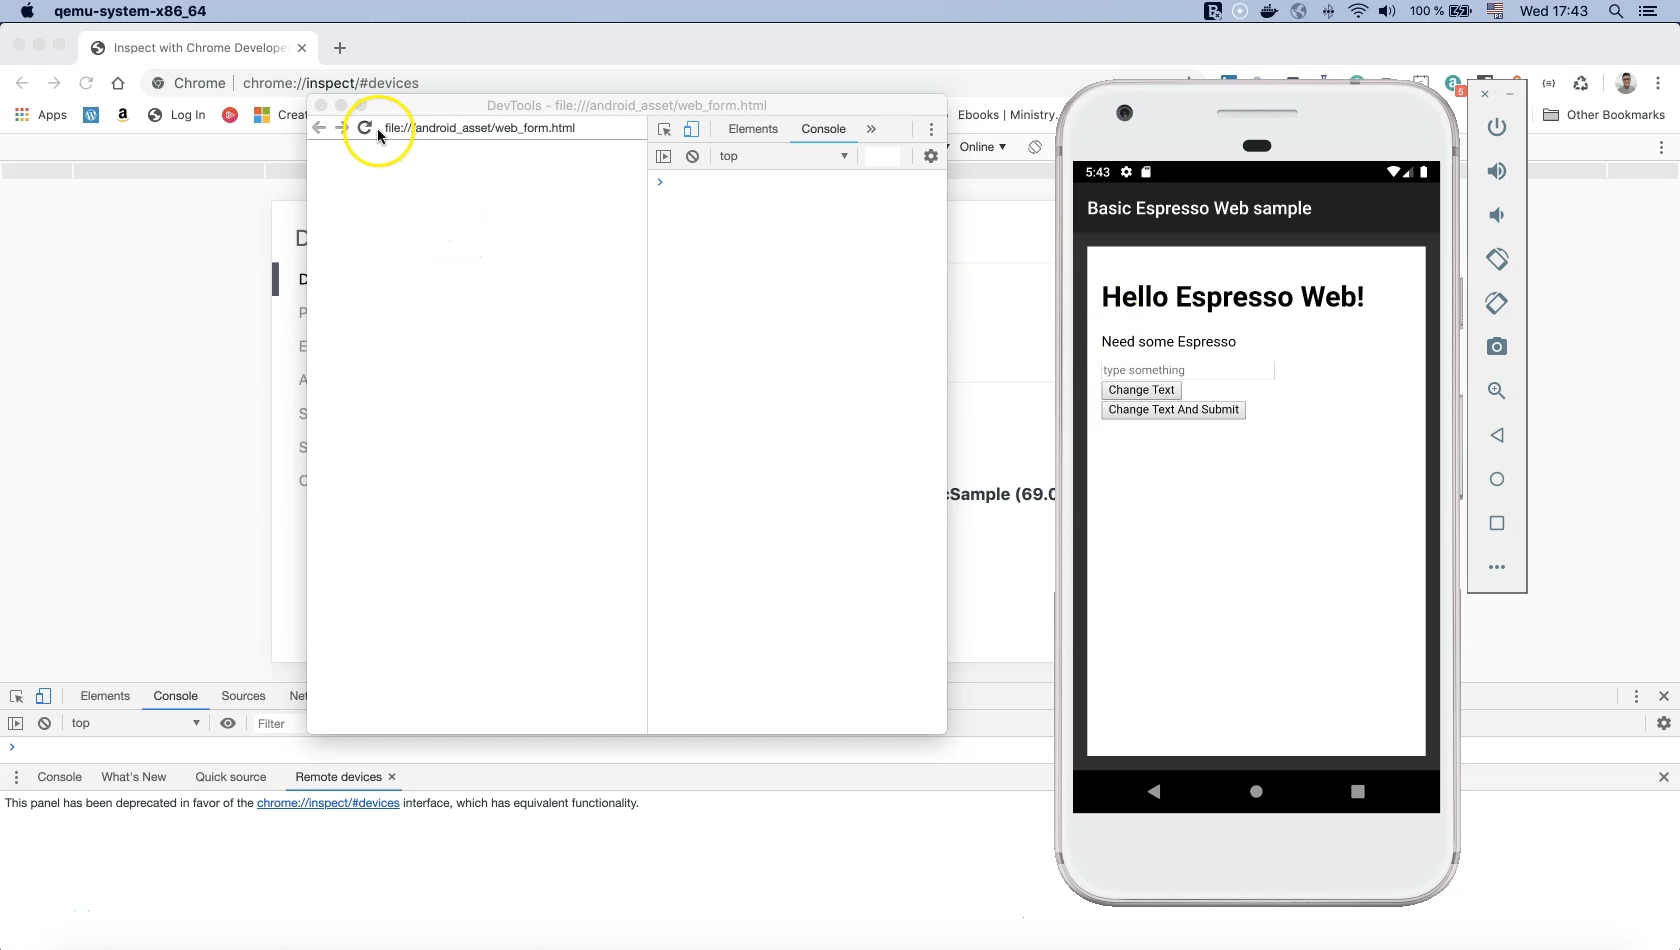
Notice that the listed URL matches the URL of the open window in our device emulator. If the screen does not load correctly we can click on the refresh button to reload the content.
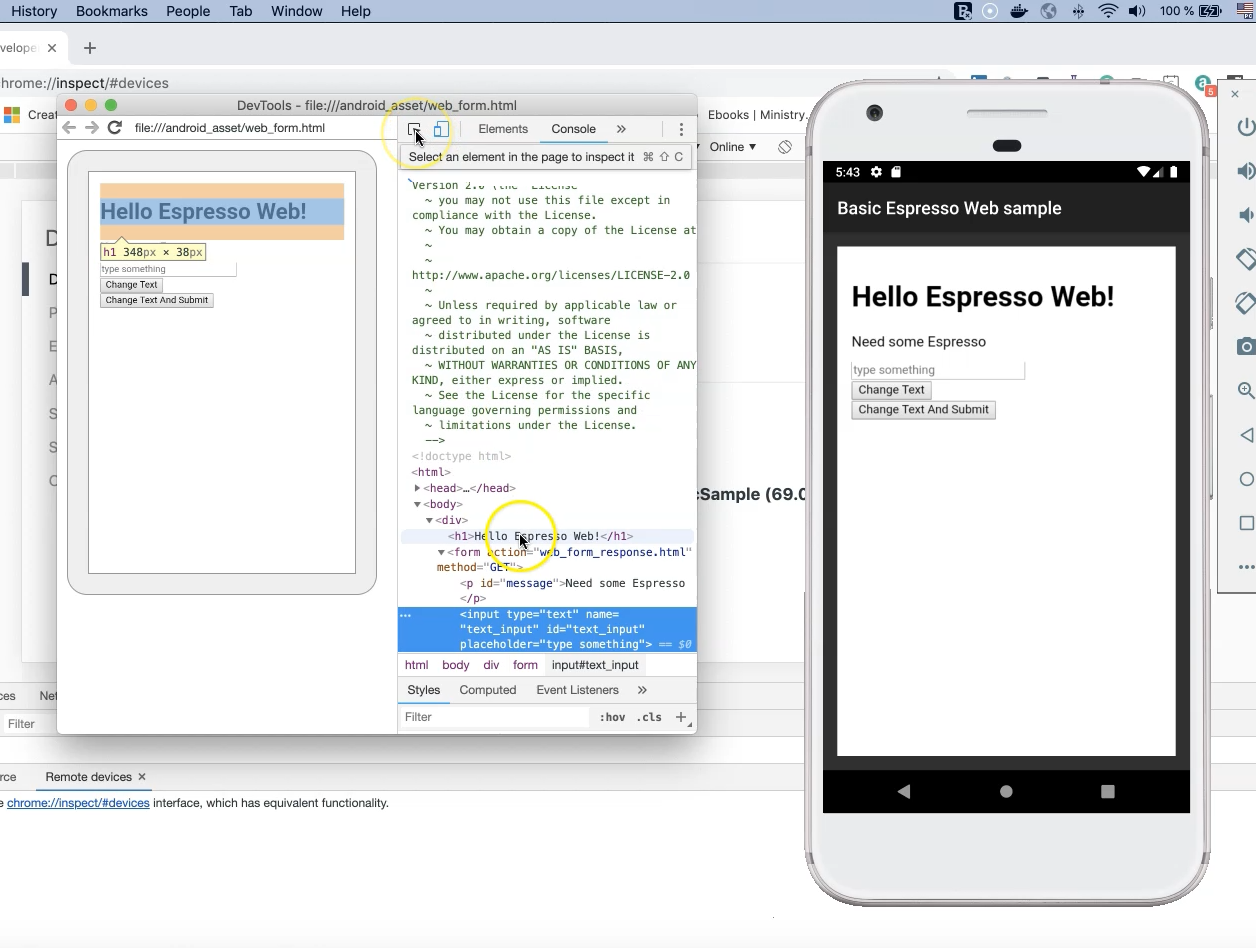
Now we can begin inspecting our application elements as one might do with Selenium WebDriver. Clicking on the "inspect icon" allows us to highlight elements using the mouse cursor. We can then copy various element IDs (buttons, for instance) and use them in our Espresso code.
Now let’s begin coding and, as usual, remember to import methods as necessary.
We need to create a new Java class. Name it "WebViewActivityTest" and click "OK".
Add the annotation @RunWith() at the class level to run our test with AndroidJUnit4.class which should already be present in the "build.gradle" file.
@RunWith(AndroidJUnit4.class)
public class WebViewActivityTest {

}
Now we need to create an activity test rule for the main activity.
In this case we will use an Intent to avoid actually having to launch the activity.
    @Rule
    public ActivityTestRule<WebViewActivity> mActivity =
        new ActivityTestRule<WebViewActivity>
            (WebViewActivity.class,false,false)
        {

        };
Here, three parameters are passed into ActivityTestRule()’s constructor: the test class, the initial touch mode and whether or not to launch the activity.
Inside of the activity test rule we need to override one of the core functions, afterActivityLaunched(), to force JavaScript to be enabled:
    @Override
    protected void afterActivityLaunched() {
        onWebView().forceJavascriptEnabled();
    }
After that we will create our test function using the annotation @Test.
We want to type text into the text box, click on the "Change Text and Submit" button and finally assert that the text appearing on the new activity matches what was added on the first screen.
Take note of the element IDs needed for this test: the text box ("text_input"), the submit button ("submitBtn") and the submitted text field ("response").
    @Test
    public void typeText_SubmitForm()
    {
        Intent webFormIntent = new Intent();
        mActivity.launchActivity(webFormIntent);

        //text_input
        //submitBtn
        //response

        onWebView()
            .withElement(findElement(Locator.ID,"text_input"))
            .perform(clearElement())
            .perform(DriverAtoms.webKeys("TAU"));

        onWebView()
            .withElement(findElement(Locator.ID,"submitBtn"))
            .perform(webClick());

        onWebView()
            .withElement(findElement(Locator.ID,"response"))
            .check(webMatches(getText(),containsString("TAU")));
        }
Now we can run our test. The test should pass after asserting against the correct string value.
This completes our WebView test with Espresso.
Code
package com.example.android.testing.espresso.web.BasicSample;


import android.content.Intent;

import org.junit.Rule;
import org.junit.Test;
import org.junit.runner.RunWith;

import androidx.test.espresso.web.webdriver.DriverAtoms;
import androidx.test.espresso.web.webdriver.Locator;
import androidx.test.ext.junit.runners.AndroidJUnit4;
import androidx.test.rule.ActivityTestRule;

import static androidx.test.espresso.web.assertion.WebViewAssertions.webMatches;
import static androidx.test.espresso.web.sugar.Web.onWebView;
import static androidx.test.espresso.web.webdriver.DriverAtoms.clearElement;
import static androidx.test.espresso.web.webdriver.DriverAtoms.findElement;
import static androidx.test.espresso.web.webdriver.DriverAtoms.getText;
import static androidx.test.espresso.web.webdriver.DriverAtoms.webClick;
import static org.hamcrest.CoreMatchers.containsString;

@RunWith(AndroidJUnit4.class)
public class WebViewActivityTest {

    @Rule
    public ActivityTestRule<WebViewActivity> mActivity =
    new ActivityTestRule<WebViewActivity>
        (WebViewActivity.class,false,false)
    {
        @Override
        protected void afterActivityLaunched() {
            onWebView().forceJavascriptEnabled();
        }
    };

    @Test
    public void typeText_SubmitForm()
    {
        Intent webFormIntent = new Intent();
        mActivity.launchActivity(webFormIntent);

        //text_input
        //submitBtn
        //response

        onWebView()
            .withElement(findElement(Locator.ID,"text_input"))
            .perform(clearElement())
            .perform(DriverAtoms.webKeys("TAU"));

        onWebView()
            .withElement(findElement(Locator.ID,"submitBtn"))
            .perform(webClick());

        onWebView()
            .withElement(findElement(Locator.ID,"response"))
            .check(webMatches(getText(),containsString("TAU")));
        }
}
