Transcripted Summary
In this chapter, we will get started with Android Studio. After completing the installation of Android Studio we can now create a new Android Studio project and learn more about the project structure and other settings.
# Creating a New Android Studio Project
In Android Studio, click on "Start a new Android Studio project".
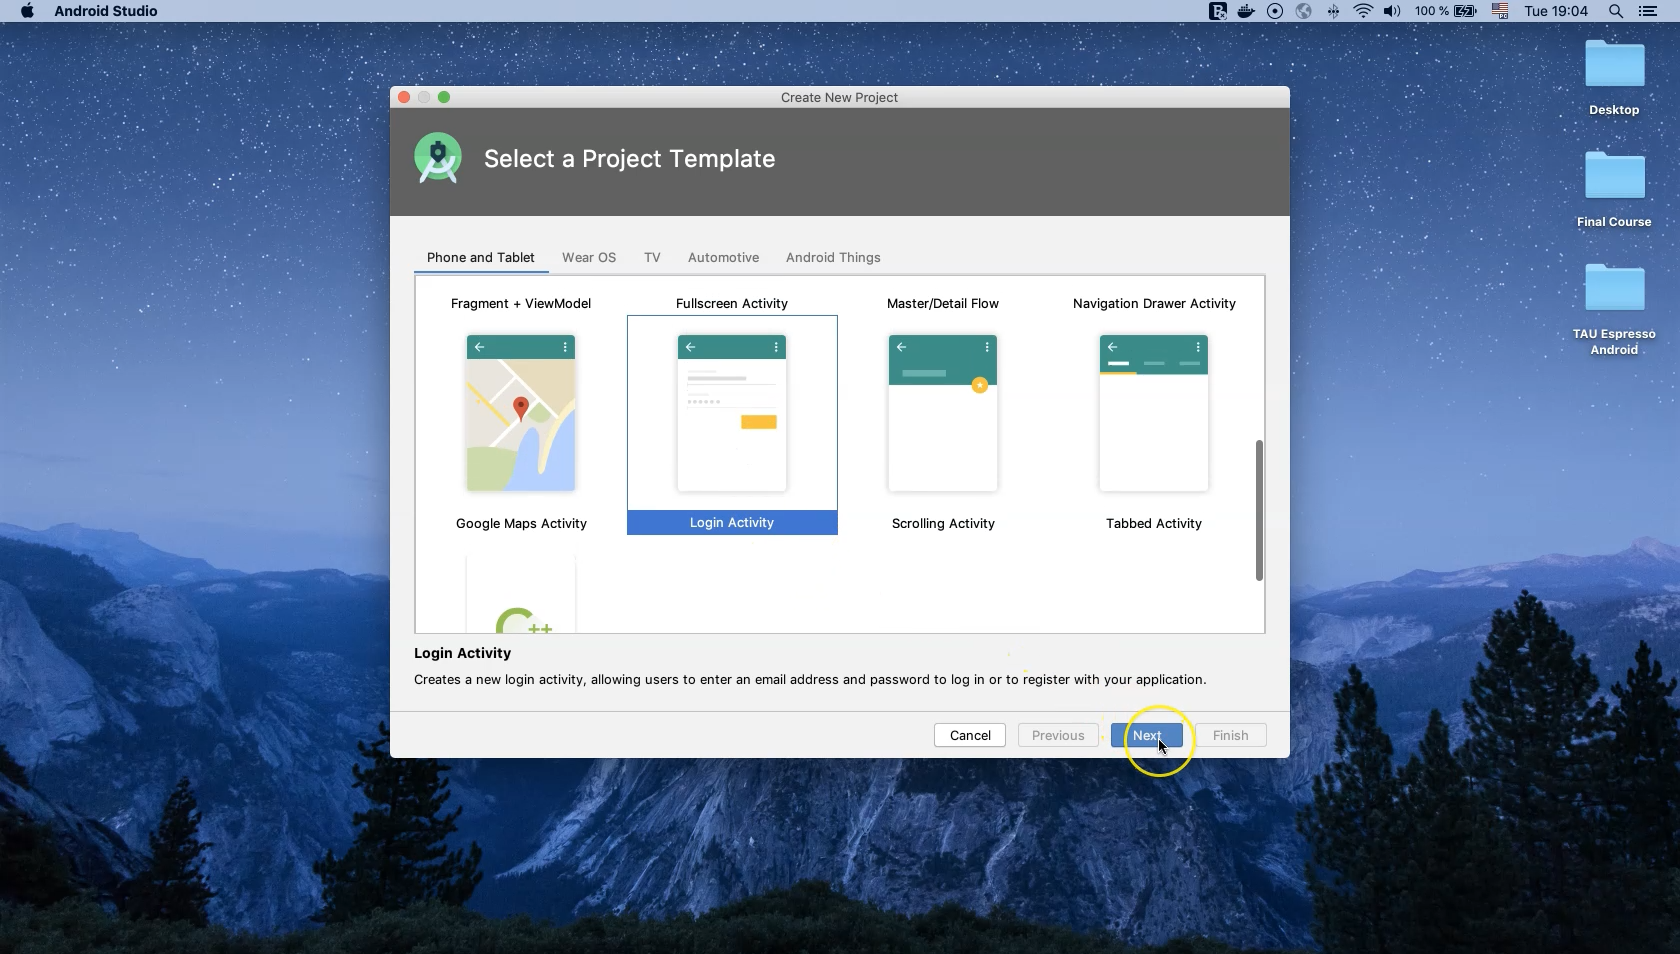
Then you can select a project template from several different templates. For example, we can select the "Login Activity" project template and click "Next".
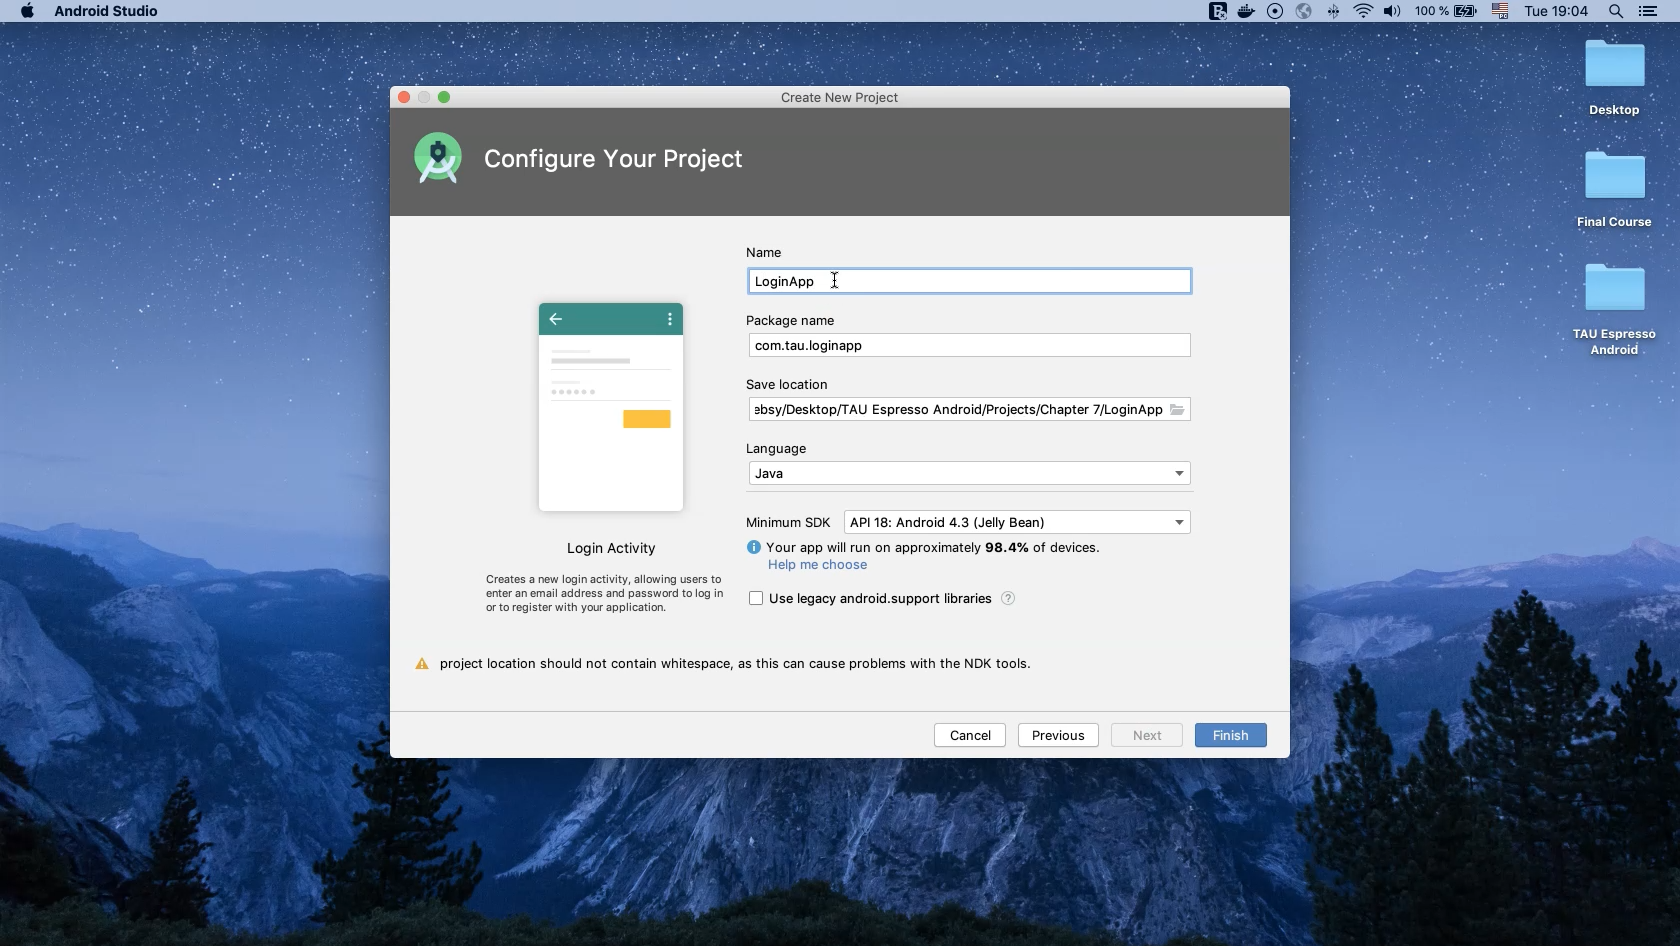
On the next screen we can change the name of the project as well as the project package name.
The project language can also be configured between Java and Kotlin.
Since we plan to use Java with Espresso, we will select Java here to create our project with the same language.
We will leave "Minimum SDK" with the default value and click on the "Finish" button.
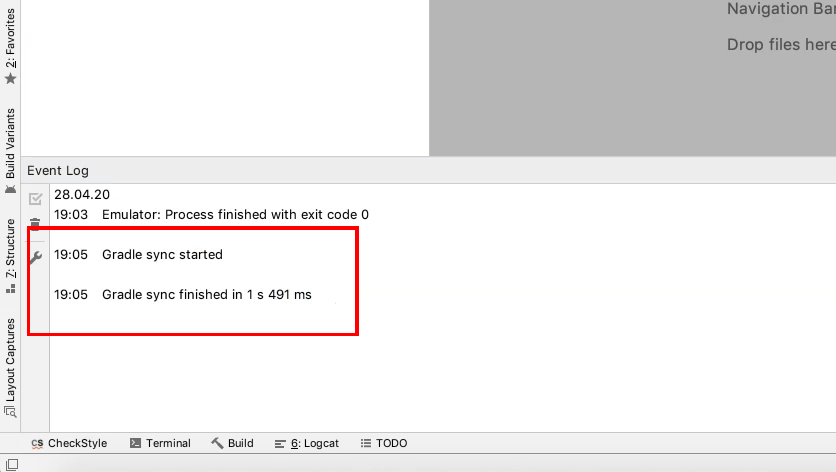
Our application has been successfully created but before we use it we need to wait for Gradle to finish the project build and download any required dependencies.
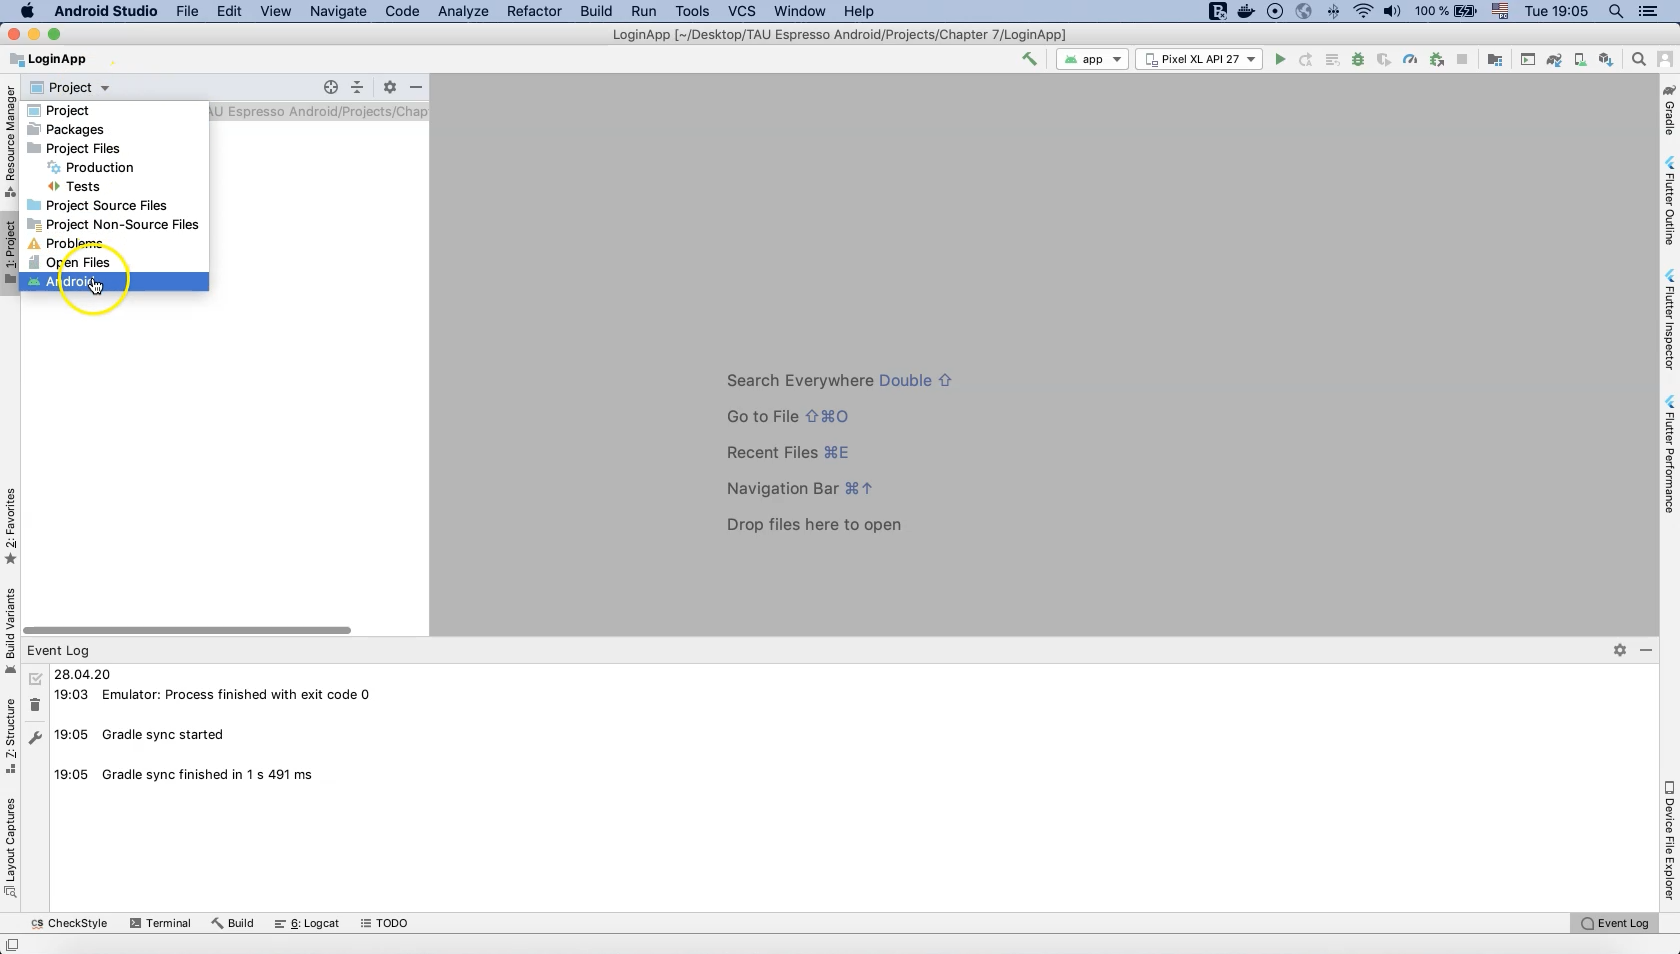
Several project views are available to us, including "Android", "Packages" and one of several "Project" views. Typically we will use the "Android" and "Packages" views.
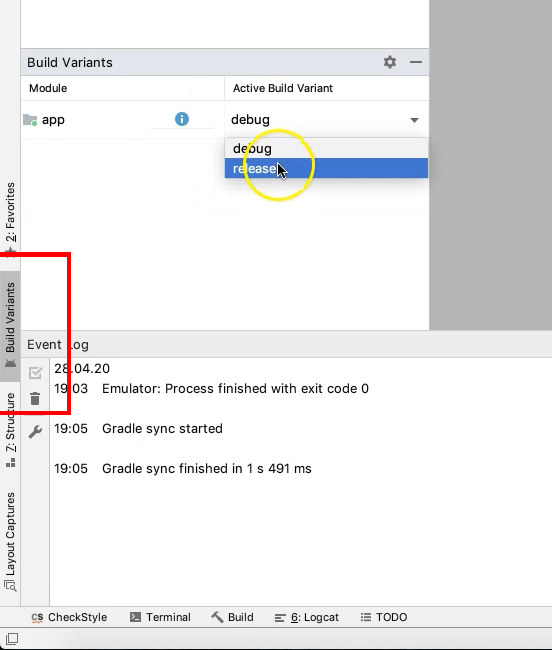
From the "Build Variants" menu we can examine our build variants or flavors. In our project we have two flavors, "debug" and "release". Sometimes large projects will incorporate even more variants.
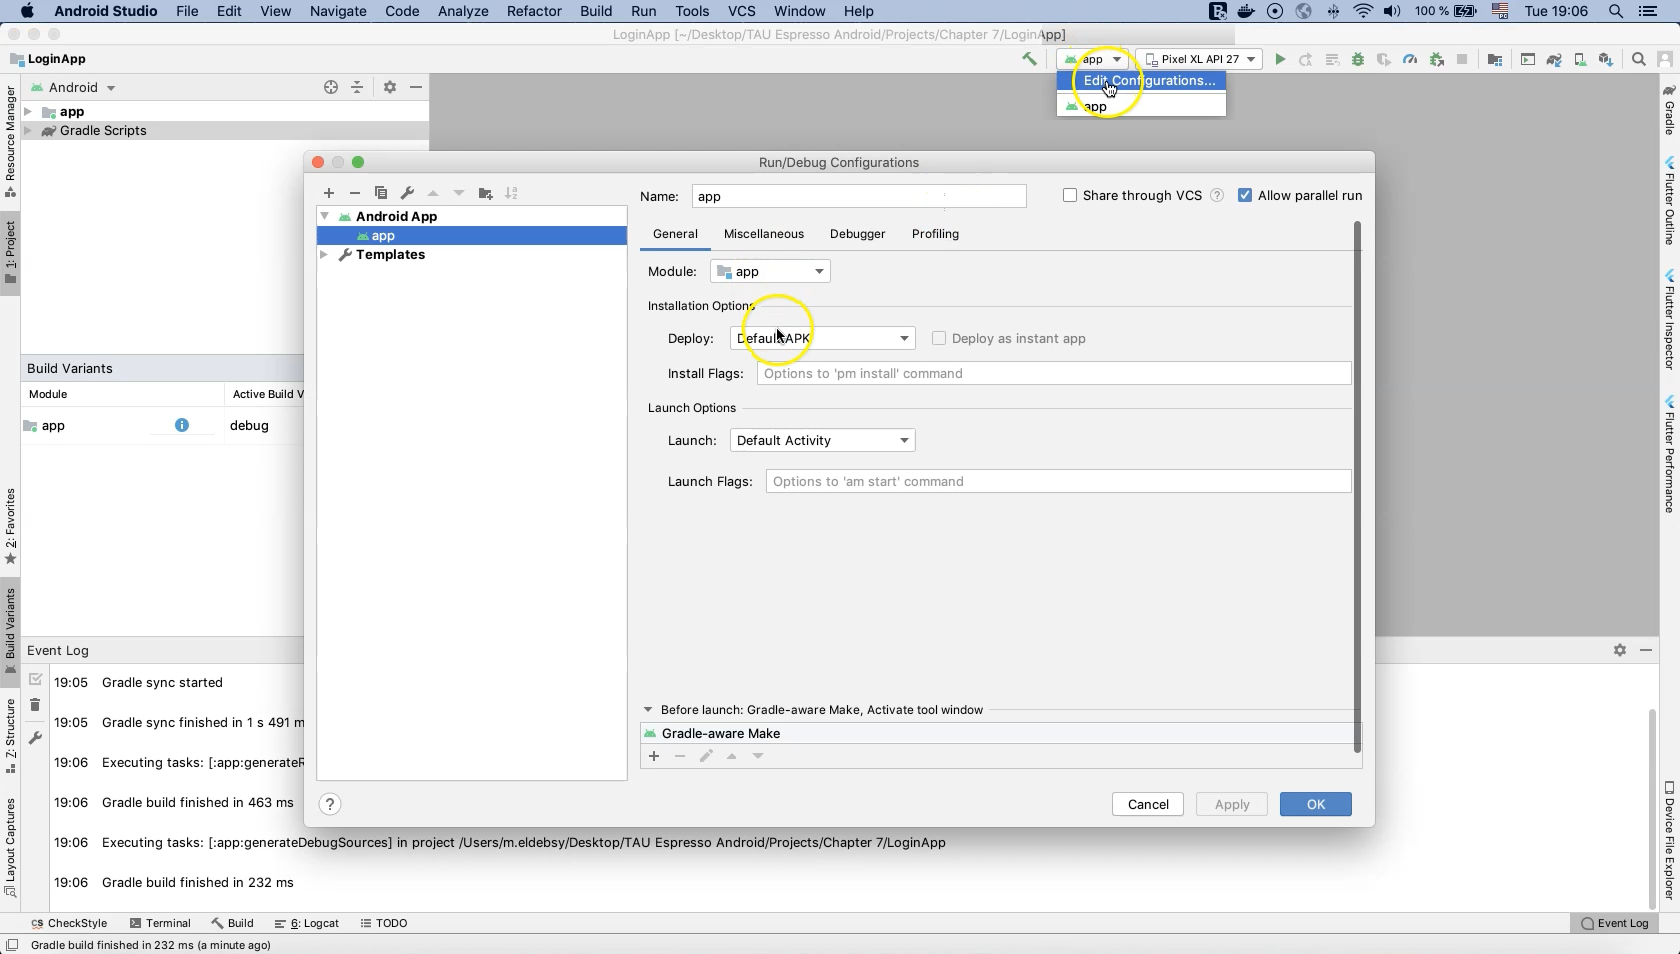
From this next menu we can edit the configuration of the project.
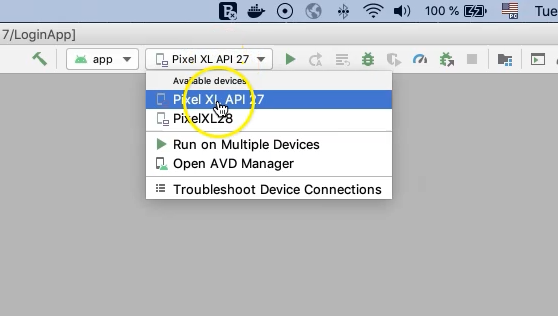
Here, we can select the target device to run our application on.
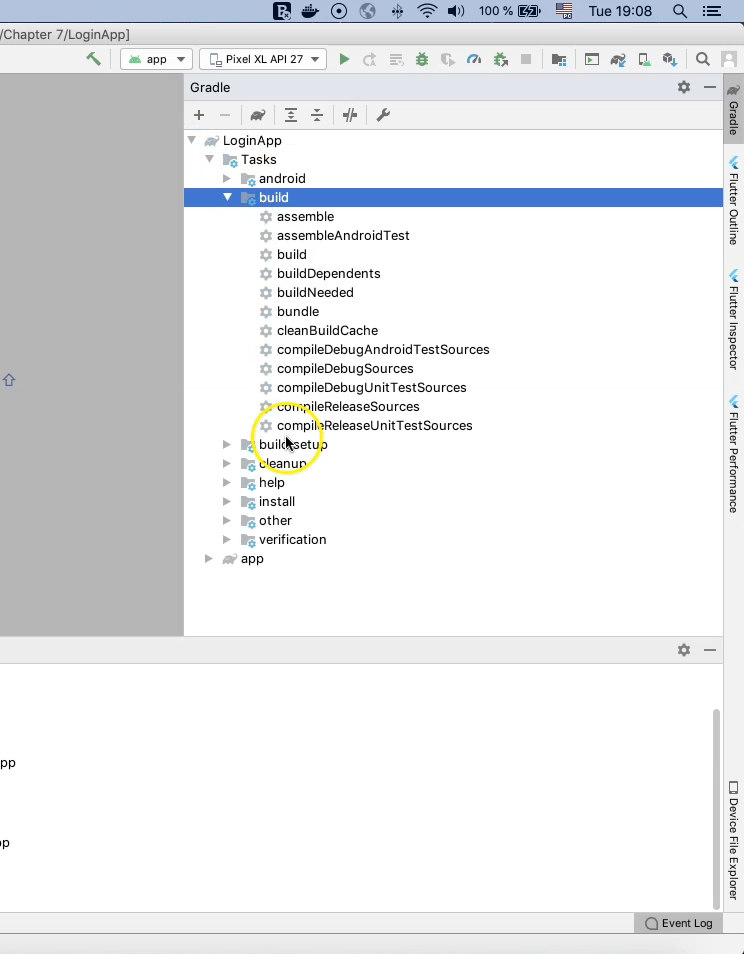
In this menu we can find the Gradle tasks, including tasks for "build", "cleanup", "install", and application tests.
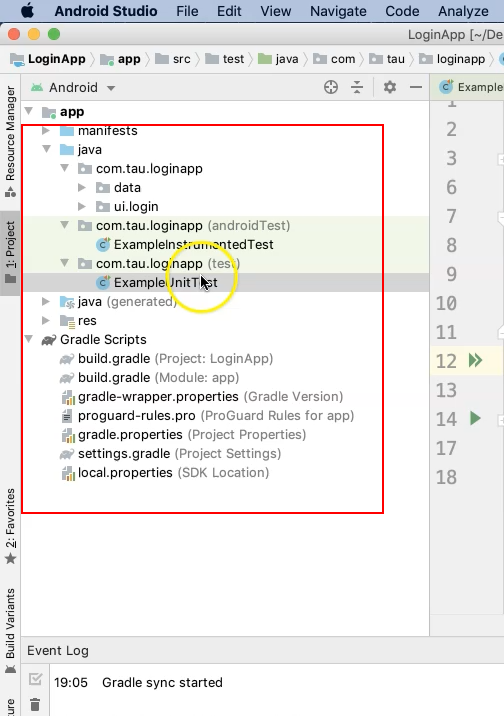
In the project section, if we expand the project files we can see the Gradle Scripts and Gradle files. Under the Java folder we see three folders:
The application main folder (com.tau.loginapp).
The Android test with one example file (com.tau.loginapp (test)). This is usually created for any new project with Android Studio and is where we will add our Espresso test scripts.
A test folder (ExampleUnitTest). Note that this is intended for unit tests and not UI tests.
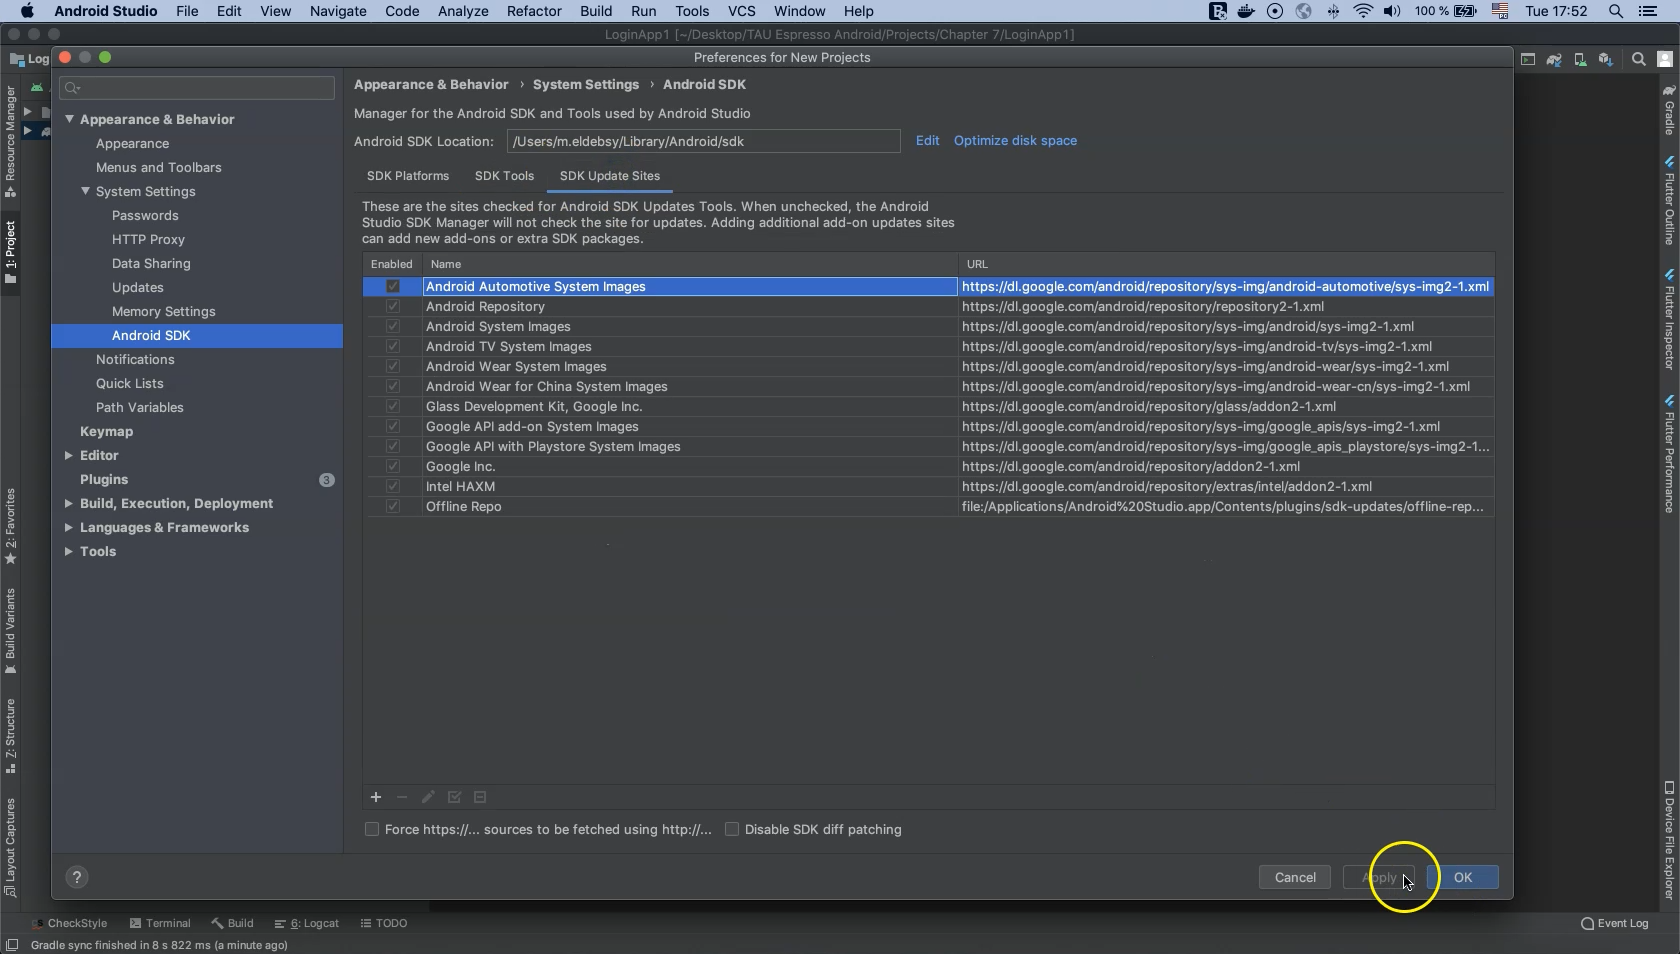
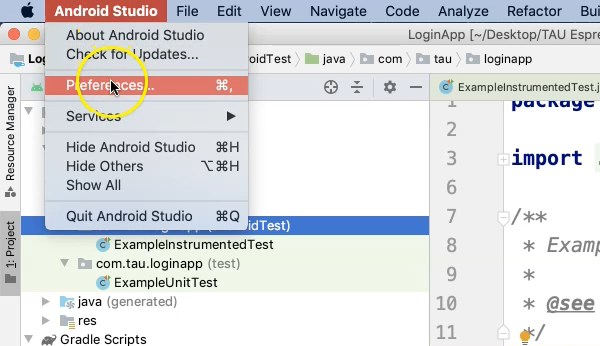
Finally, if you wish to change Android Studio settings or preferences, open the "Preferences" window from Android Studio's menu. Changes can be made to the IDE’s appearance as well as plugin management and editor settings.
If you wish to install additional tools or system images, the Android SDK can be used. Navigate to the SDK Manager from the menu or by clicking the dedicated icon.

In the "Preferences for New Projects" window the "Android SDK Location" can be configured.
In the "SDK Platforms" tab, additional system images needed to run or initialize an Android emulator can be added.
In the "SDK Tools" tab, tools like "Intel x86 Emulator Accelerator" can be downloaded and configured.
Don’t forget that actions related to configuration changes must be applied by clicking the "Apply" button.