

Transcripted Summary
In this chapter we will learn:
about Firebase Test Lab and what it is used for
creating a Firebase Test Lab account to install and configure the Google Cloud SDK
using Firebase Test Lab from Android Studio
using Firebase Test Lab from the command line interface
At the end of this chapter we will also briefly review the topics discussed in this course.
# What is Firebase Test Lab?
Firebase Test Lab provides cloud-based infrastructure for testing Android and iOS applications.
It allows you to run automated and instrumented tests of your APK on physical and virtual devices in the cloud.
You can use Firebase Test Lab for a limited number of daily test executions on the "Spark" and "Flame" plans.
To use Firebase Test Lab without daily quota limits, you must upgrade to the Firebase "Blaze" plan.
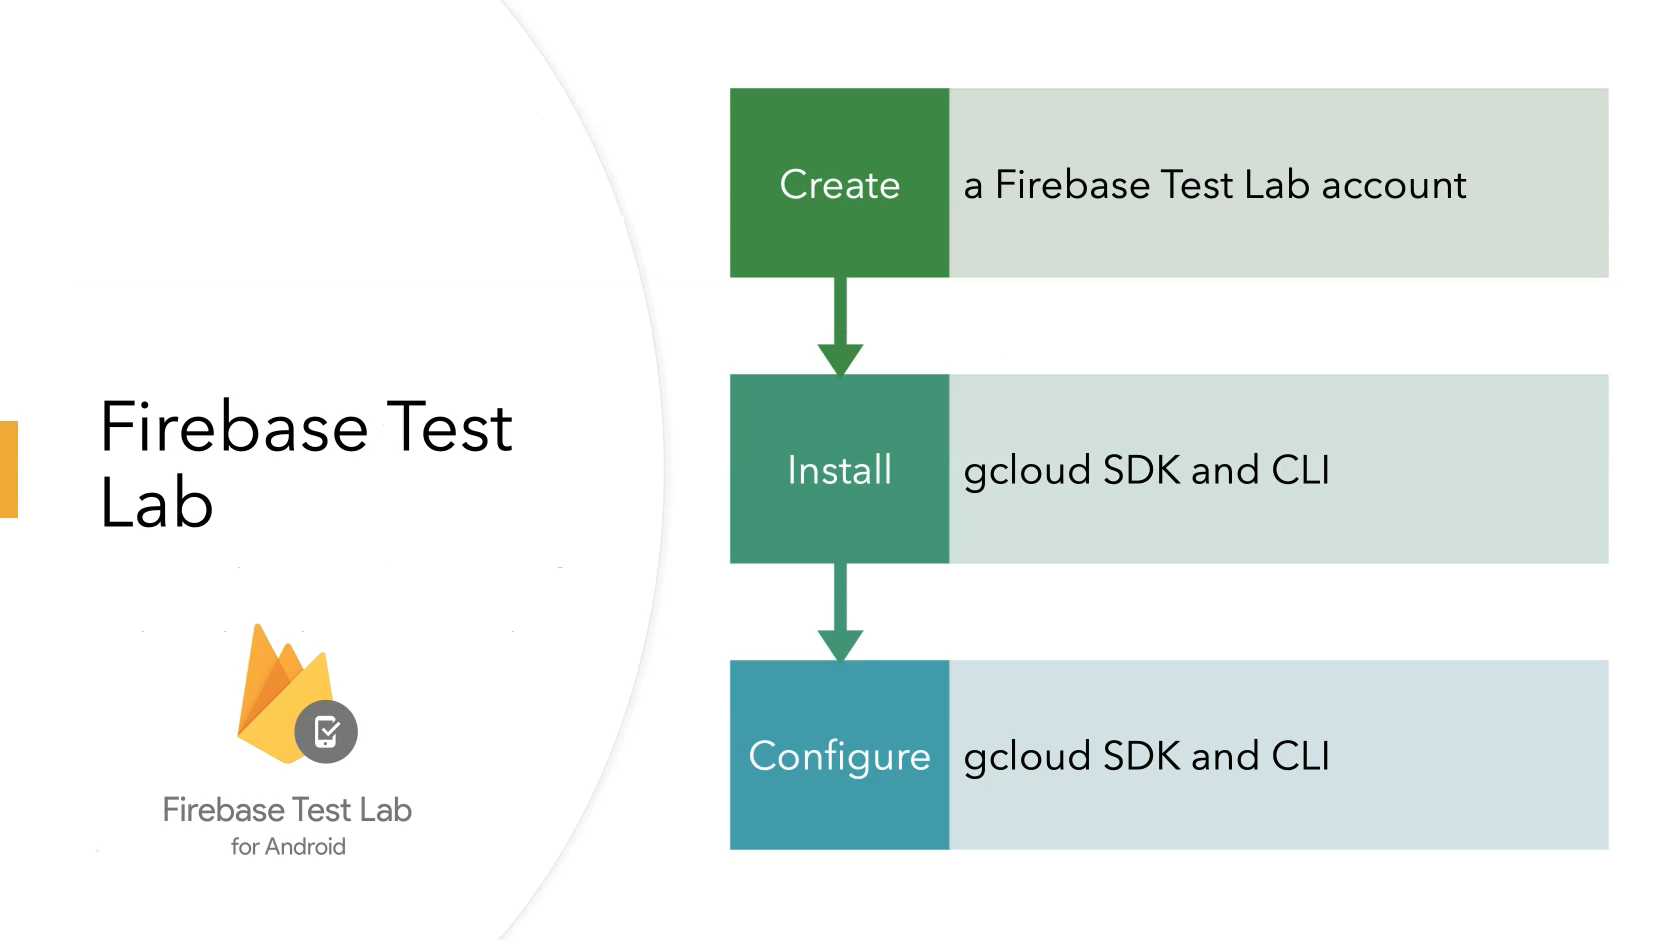
Setting up Firebase Test Lab requires us to create a new Firebase Test Lab account and install/configure the Google Cloud SDK and CLI.
# Create a Firebase Test Lab Account
In this demo we will create our Firebase Test Lab account.
Begin by visiting the Firebase website with your favorite browser.
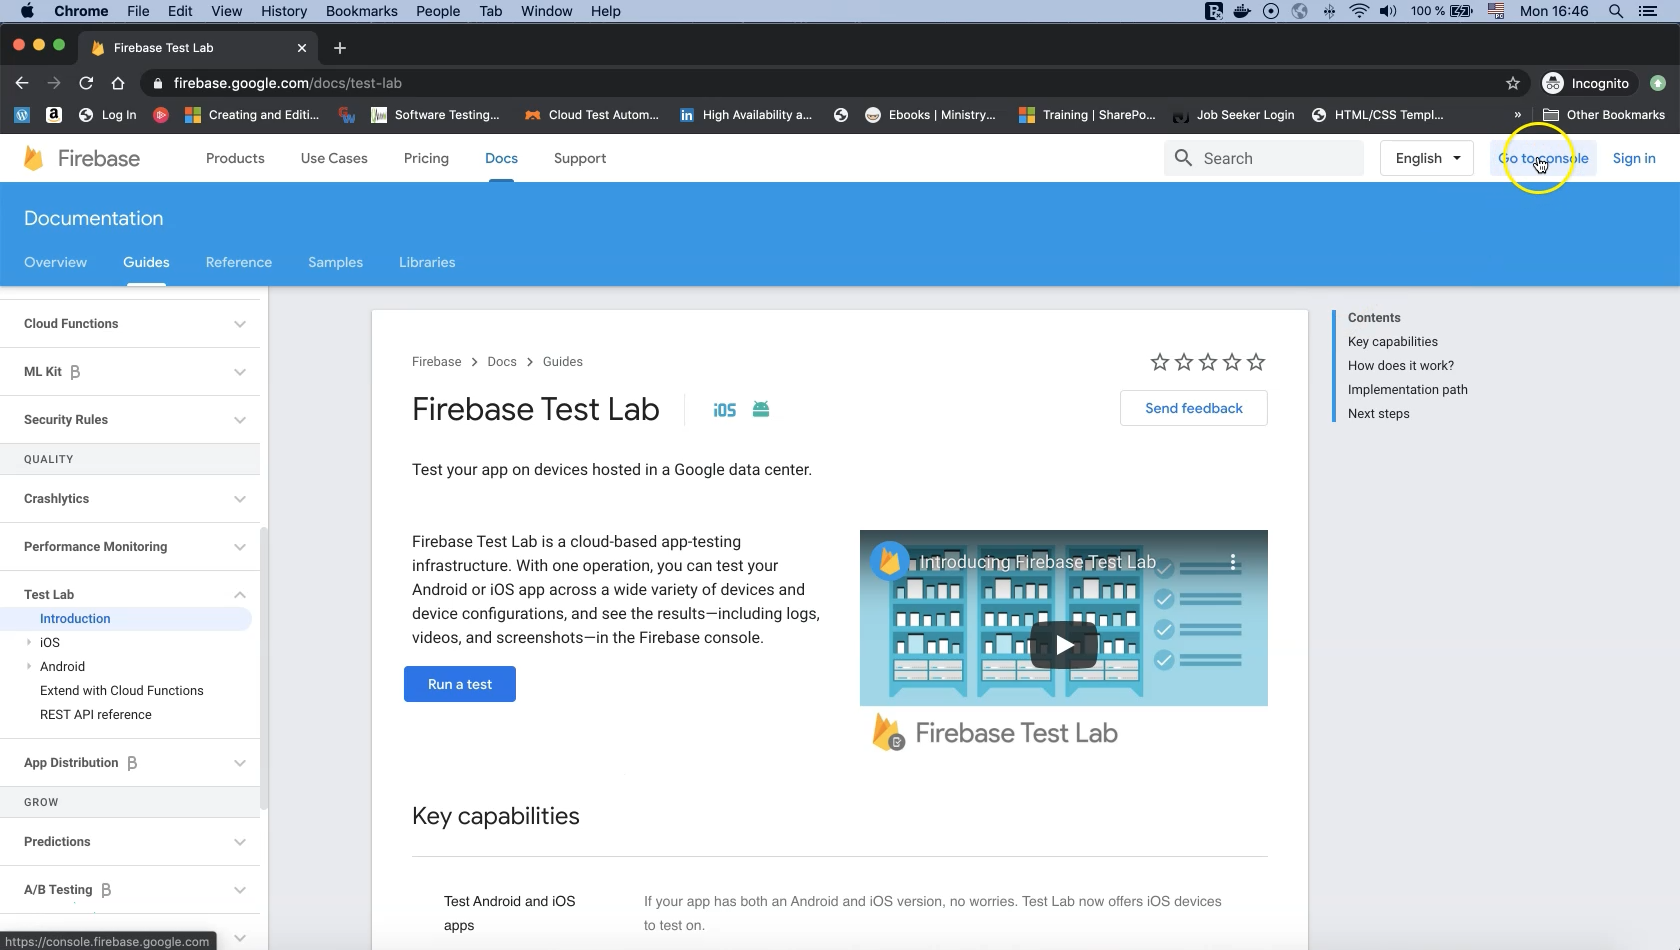
Click on "Go to console" which prompts you to log in with a Gmail account.
Doing so will take you to the default landing page.
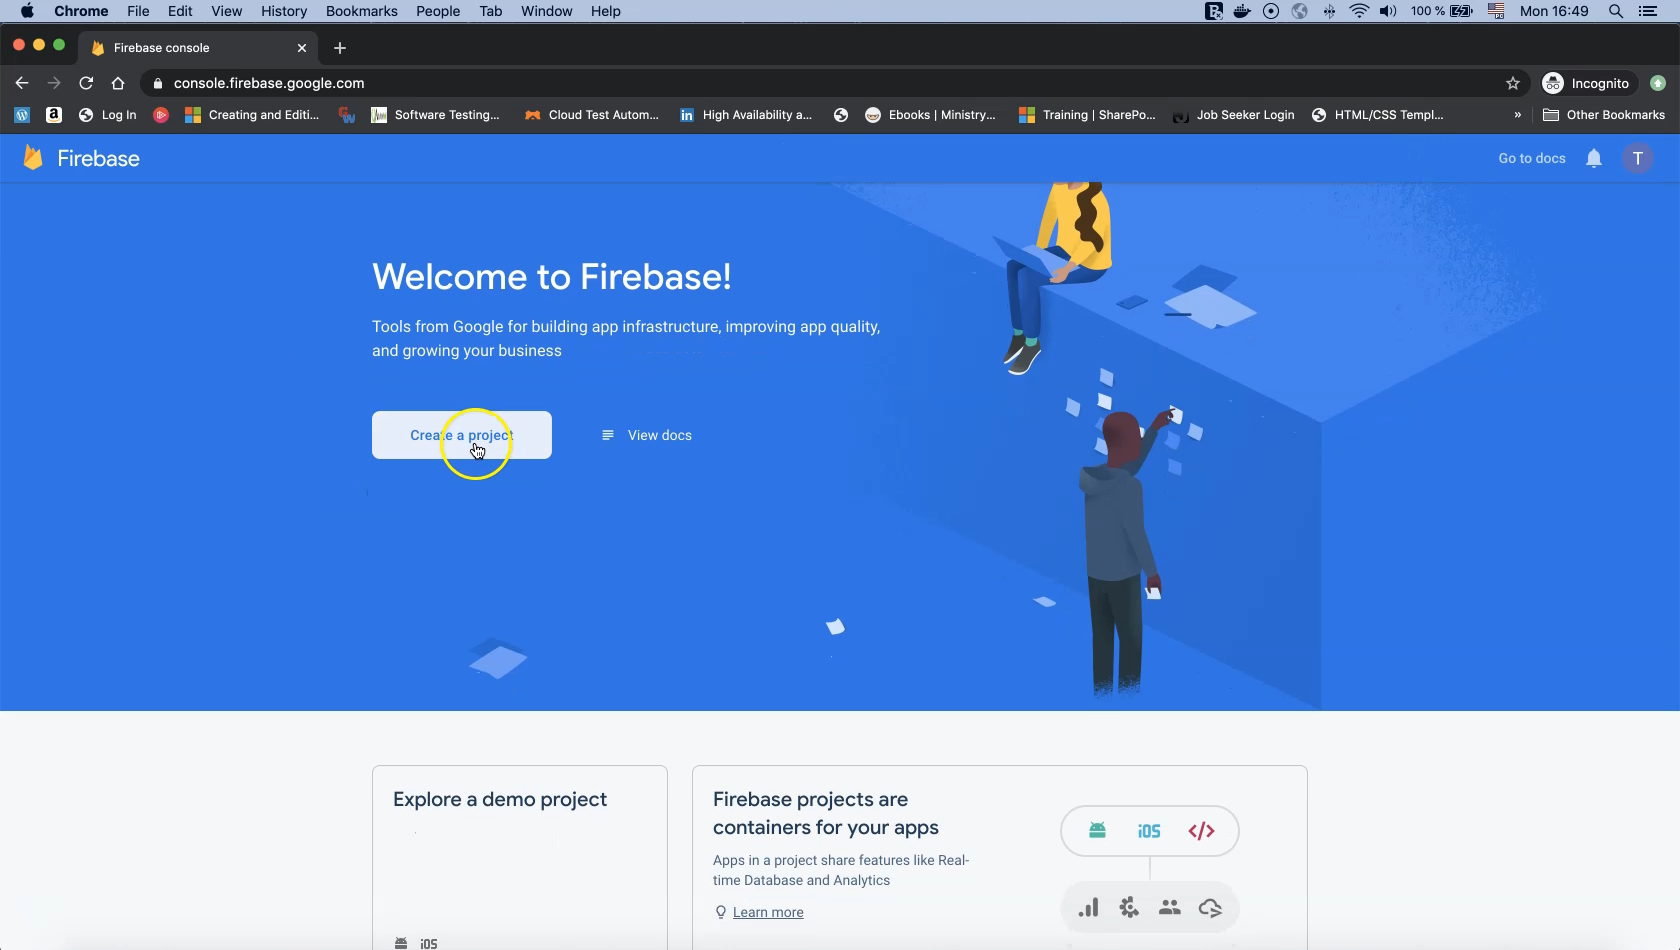
Now click on "Create a project".
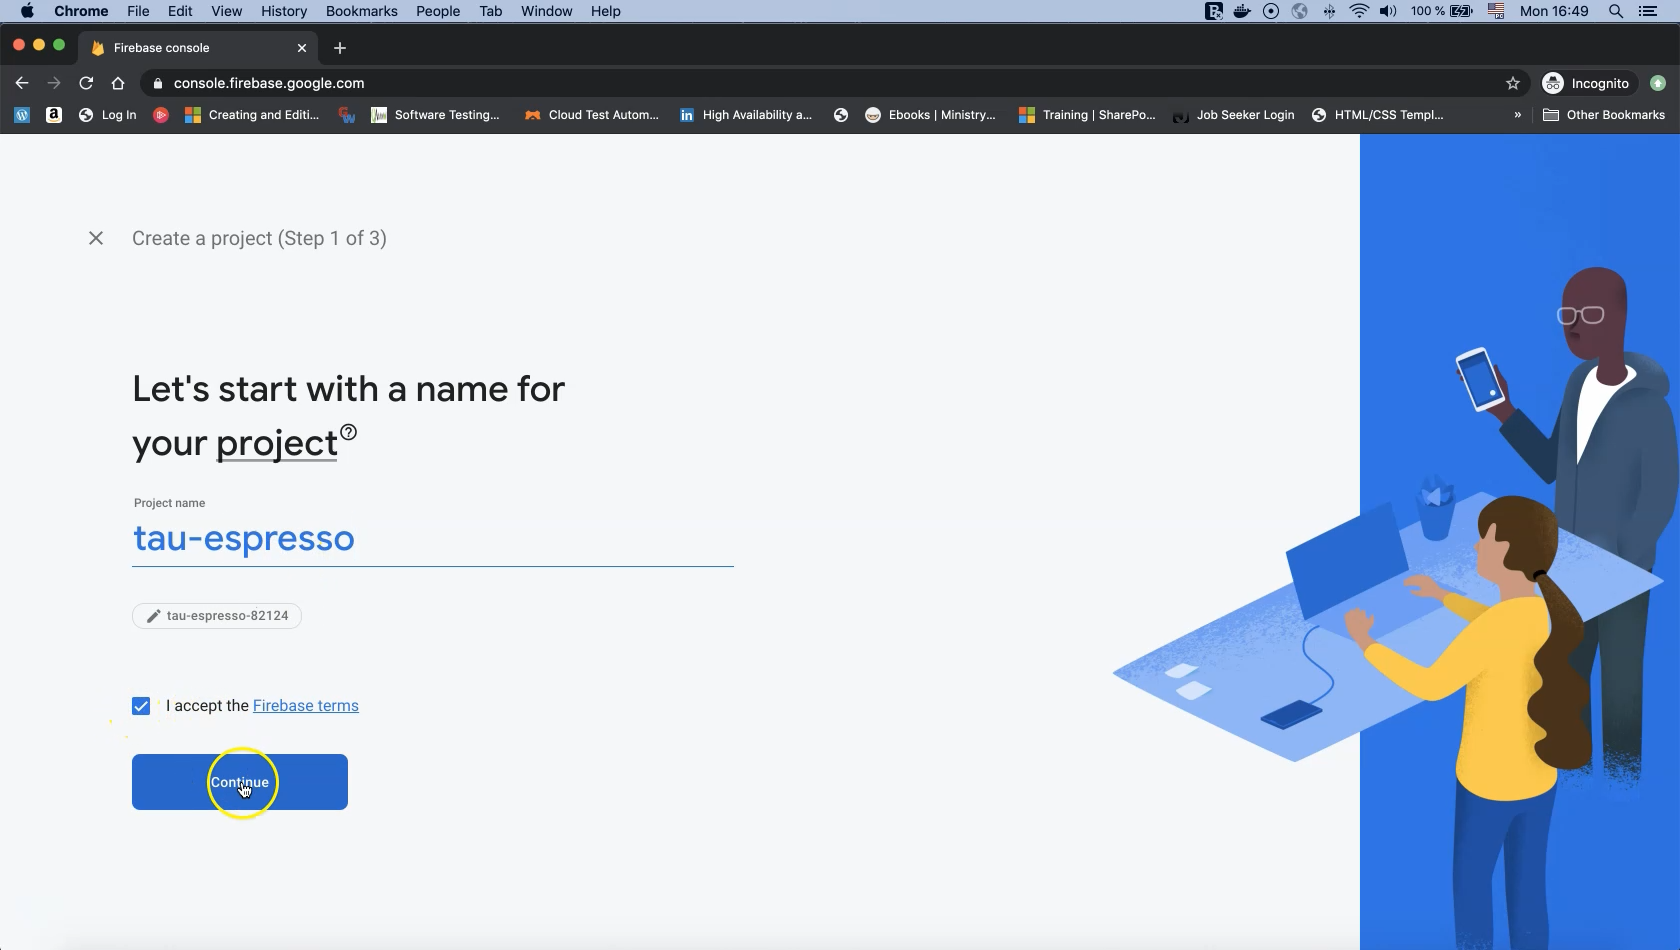
Go ahead and enter a project name (we’ll use "tau-espresso") and accept the Firebase terms to continue.
On the next screen we can disable Google Analytics as it is outside the scope of this demo.
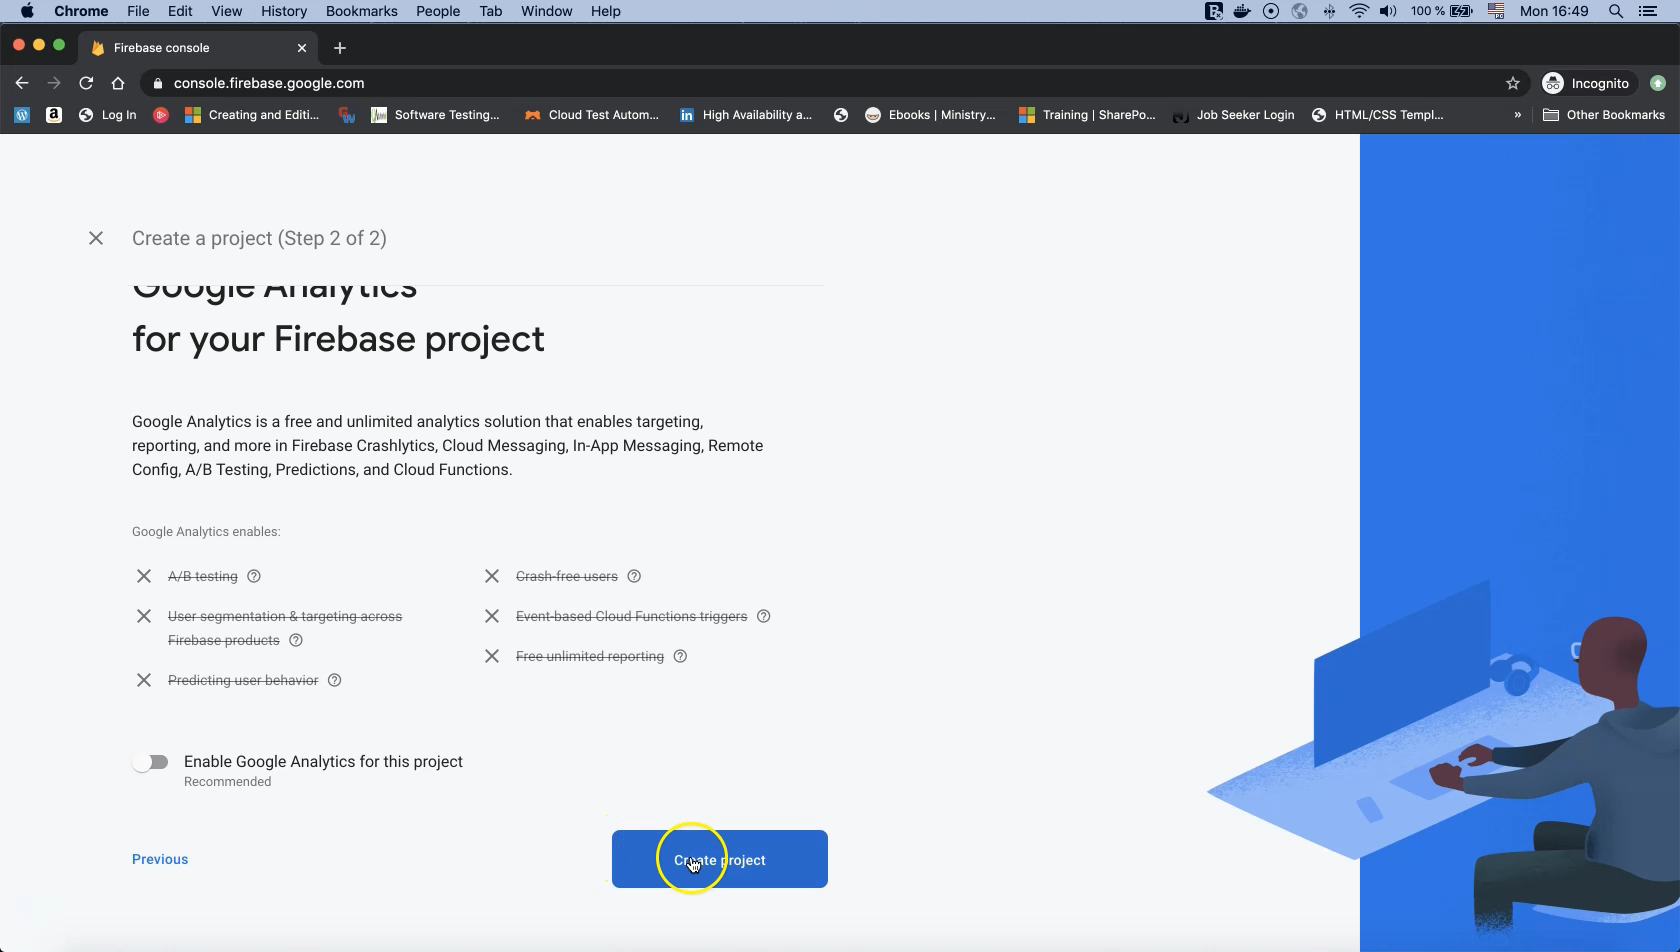
Now click "Create project". We will wait until the project is created and then open it.

So this is our project. Note that this view is not limited to Test Lab but includes all Firebase services. Under the "Quality" section we will find "Test Lab".
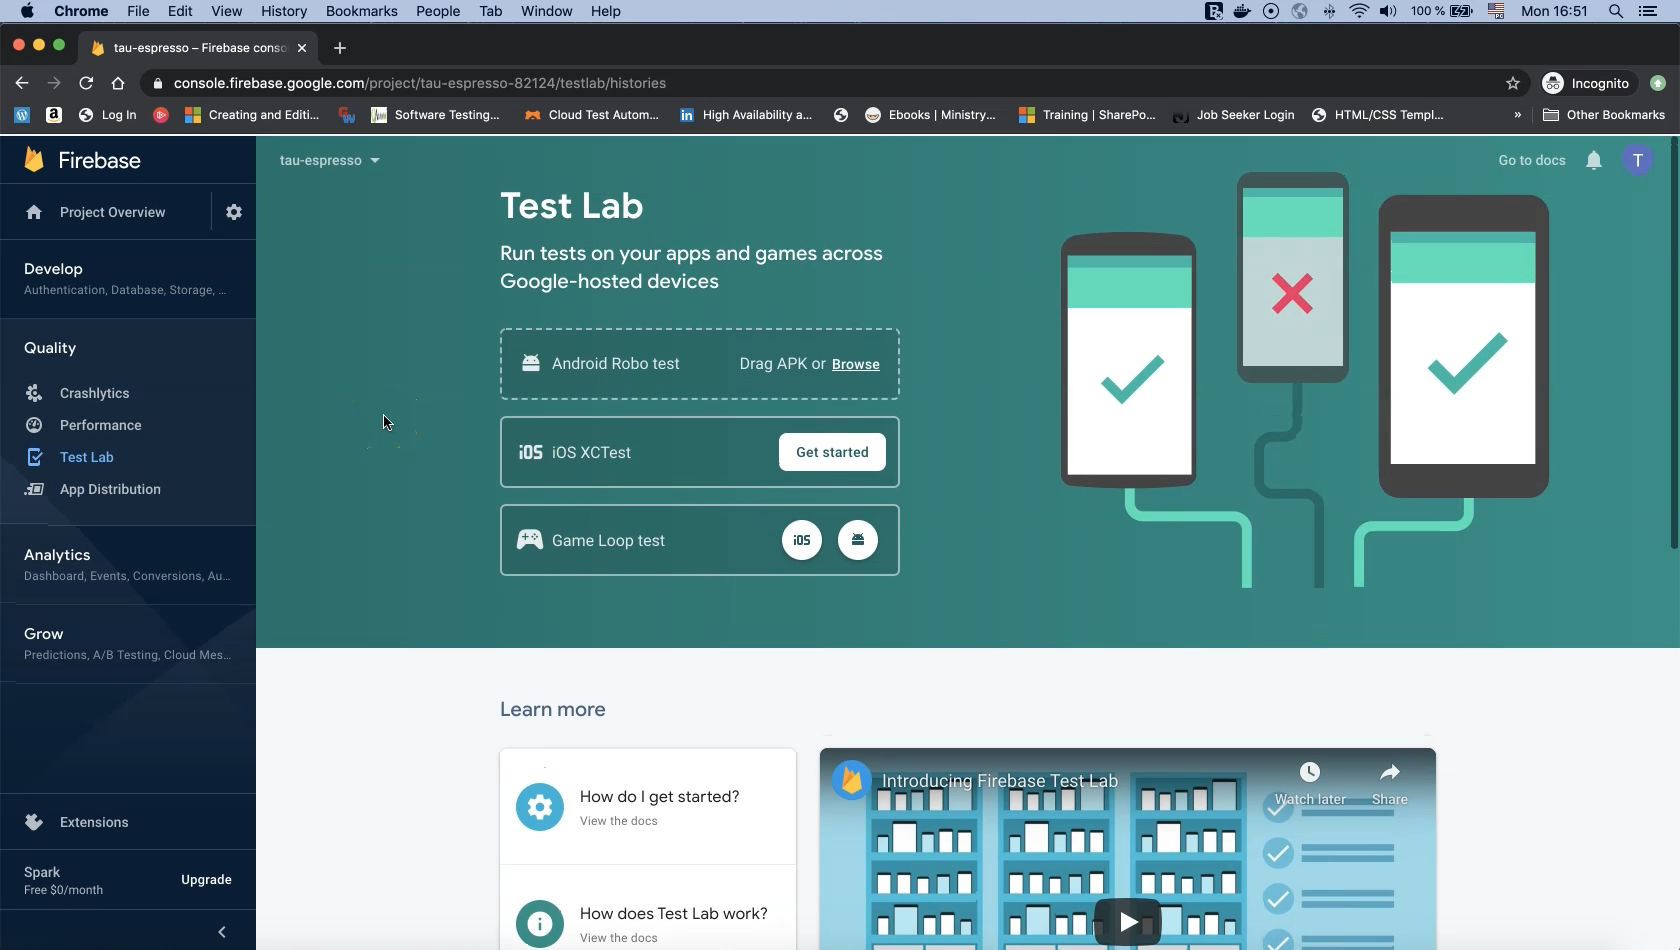
This is the Firebase Test Lab page.
Notice that we are currently on the Spark pricing package which is the free tier offered by Firebase.
From Firebase Test Lab’s main window we can test both Android and iOS applications as well as any game loops.
With Android we can use Robo tests, Monkey tests, or instrumentation tests.
For iOS we can use XCTest or other native test tools from iOS.
Now our Firebase Test Lab account is ready to be used with our test cases.
We can run our test cases from the command line using Firebase Test Lab.
# Installing and Configuring the Google Cloud SDK and CLI
In this demo we will install and configure the Google Cloud (G-Cloud) SDK and CLI on our local machine.
Begin by visiting the Cloud SDK website in your favorite browser.
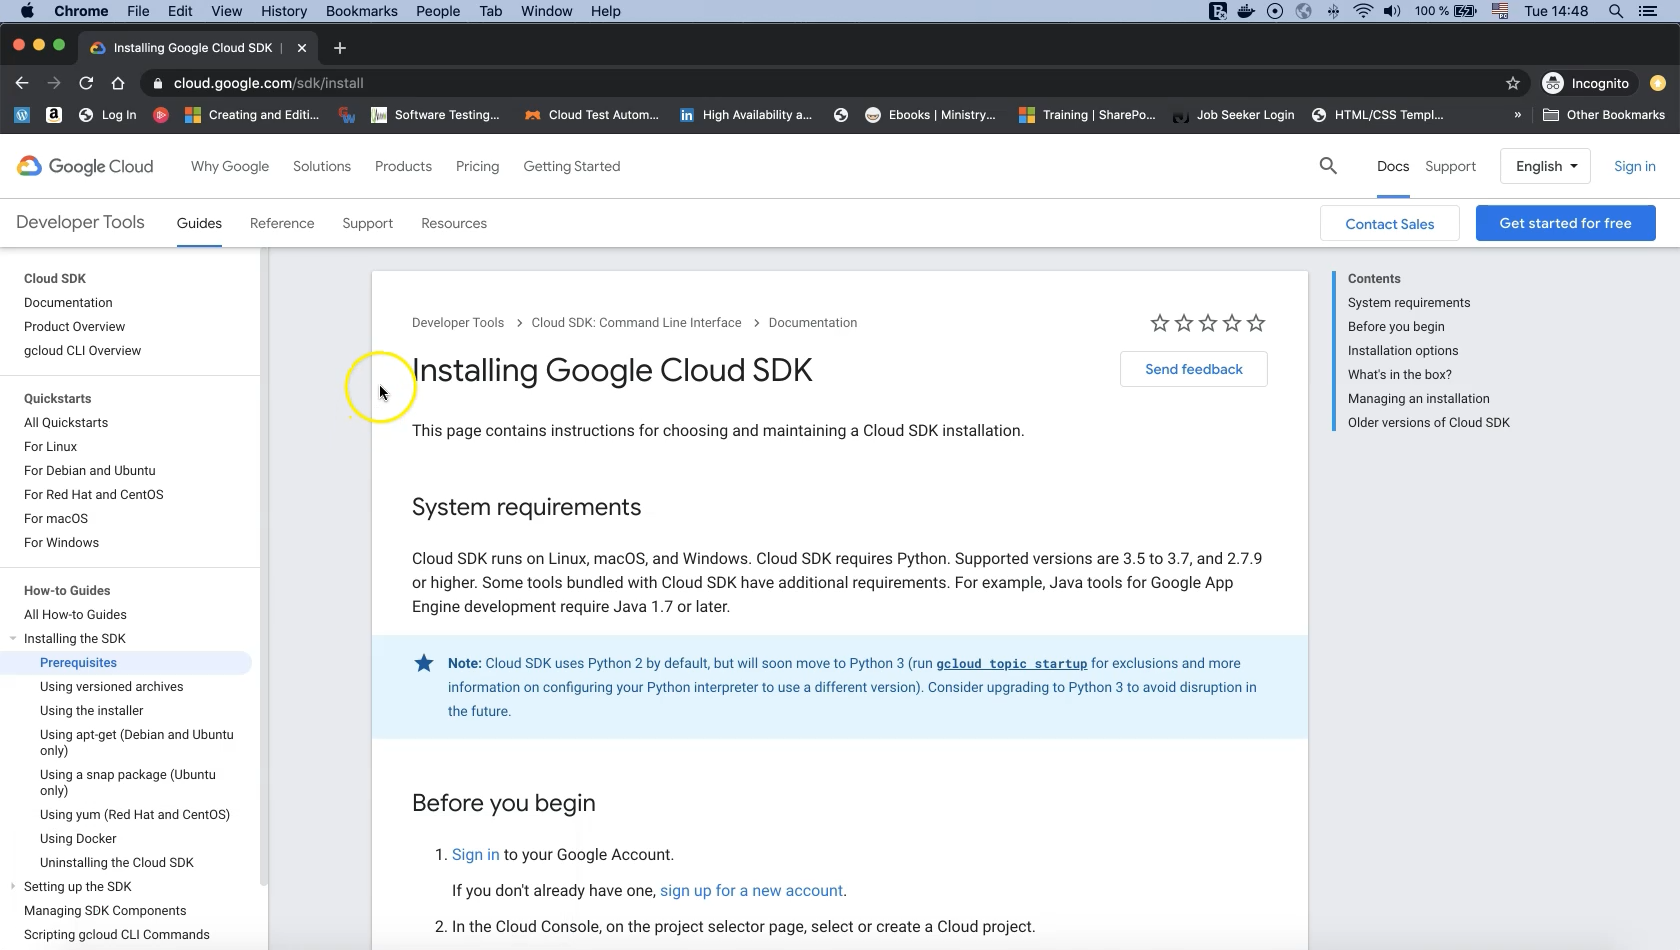
In this page we will find all the information that we need about the G-Cloud SDK, how we can install it, and its prerequisites.
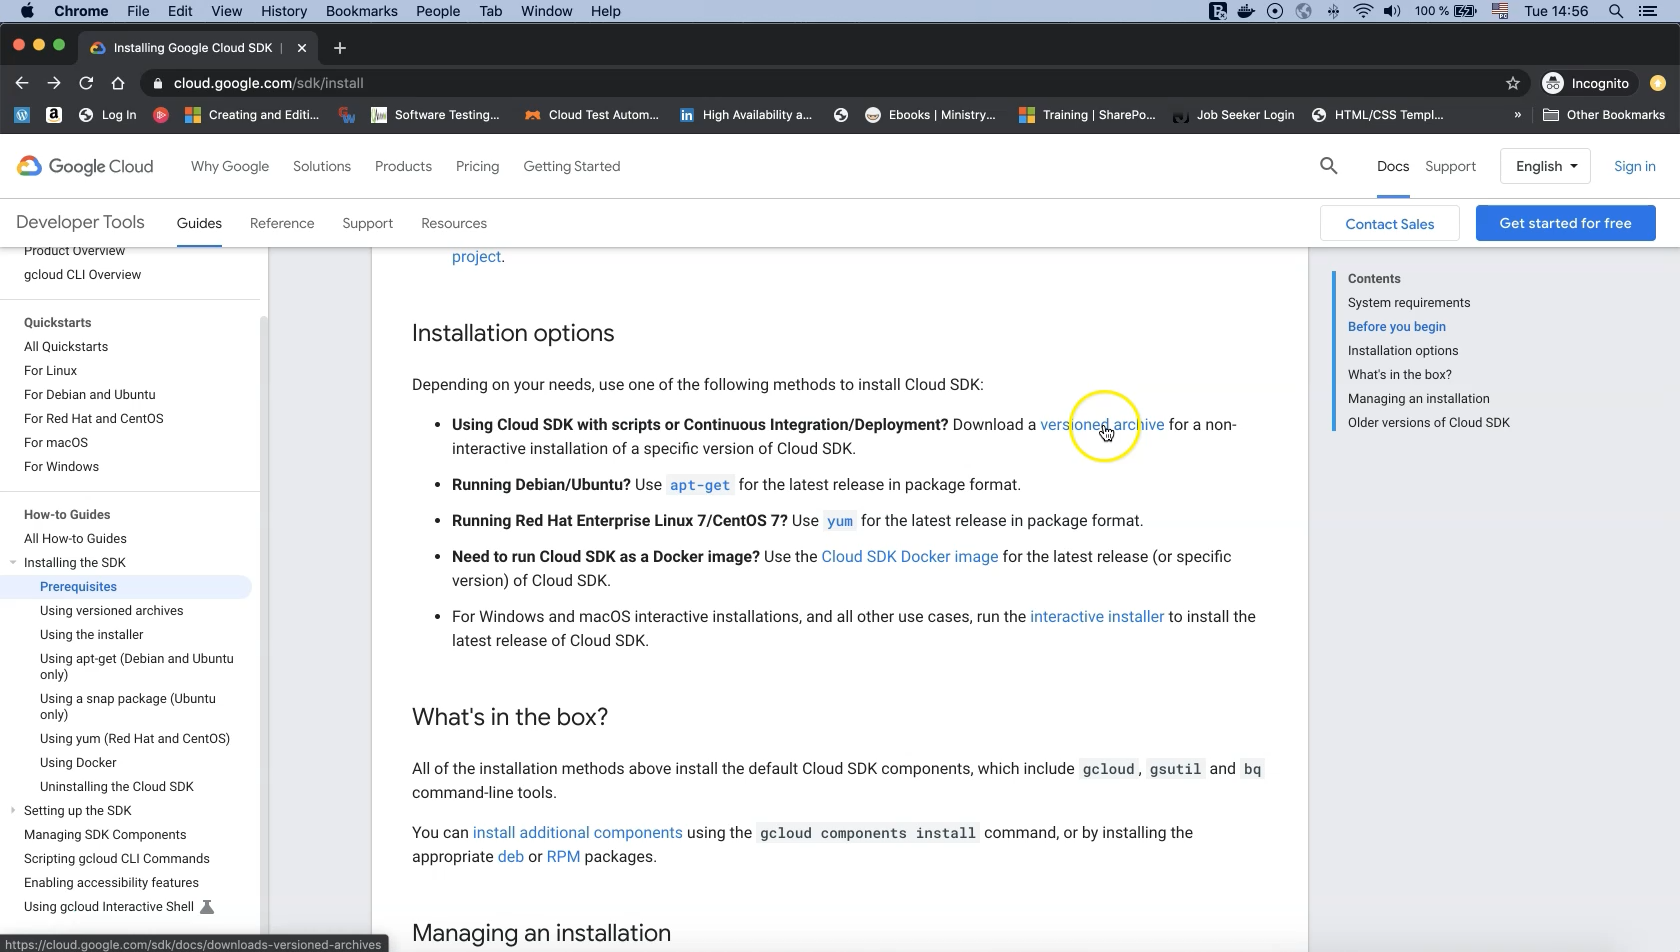
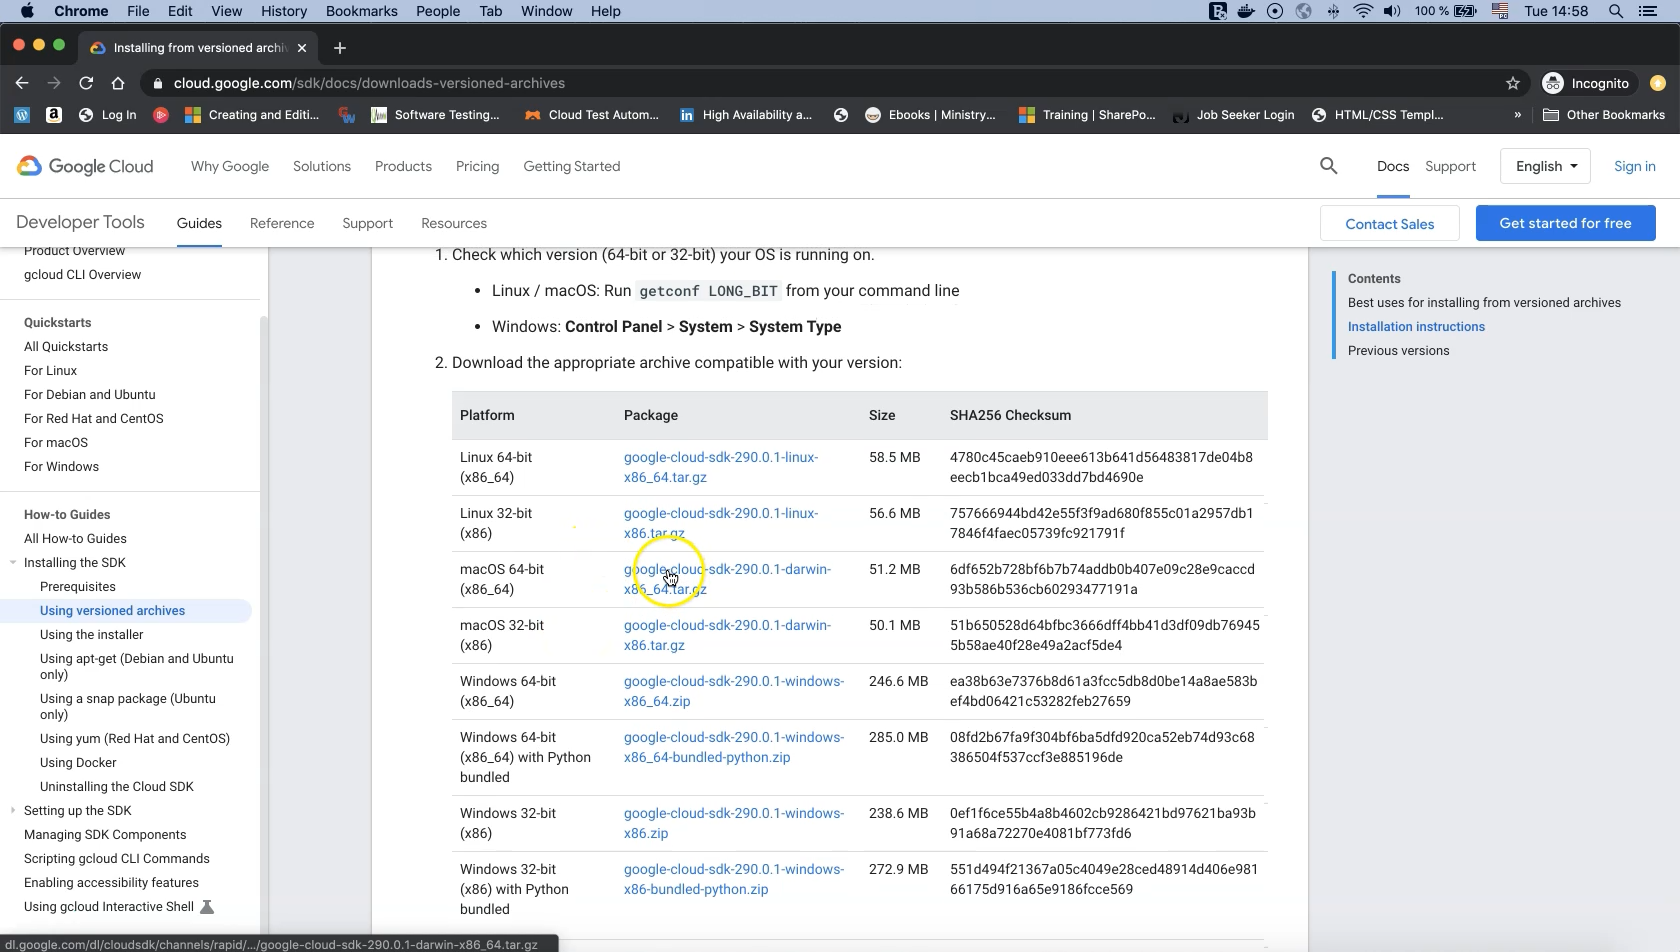
Under "Installation options" we find various options but we will click on the "versioned archive" link.
Then we will scroll down to the installation instructions and download the appropriate archive compatible with our operating system.
In my case, I will click on the macOS 64-bit version and download it.
The Google Cloud SDK requires Python.
Supported versions are 3.5 to 3.7, and 2.7.9 or higher.
Run the following command to check the Python version installed on your system:
python -v
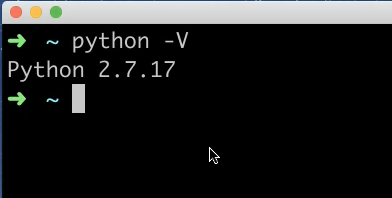
Python
If you don't have Python installed on your machine, you can visit the Python website and download the appropriate version for your operating system.
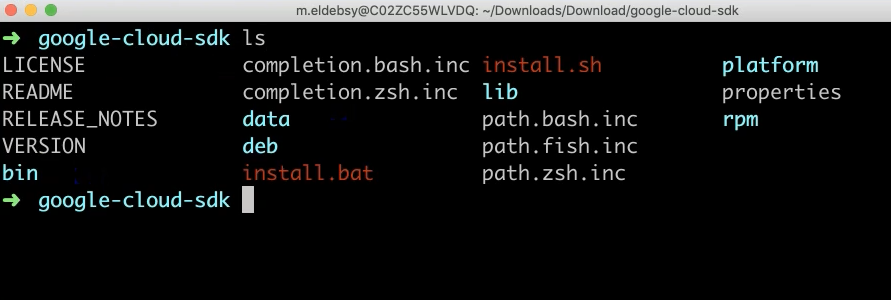
Then extract the downloaded archive file to any location in your file system.
Open a terminal and switch to the SDK folder.
Check the files inside this folder by typing ls and you will find two files, "install.sh" for macOS/Linux operating systems and "install.bat" for the Windows operating system.
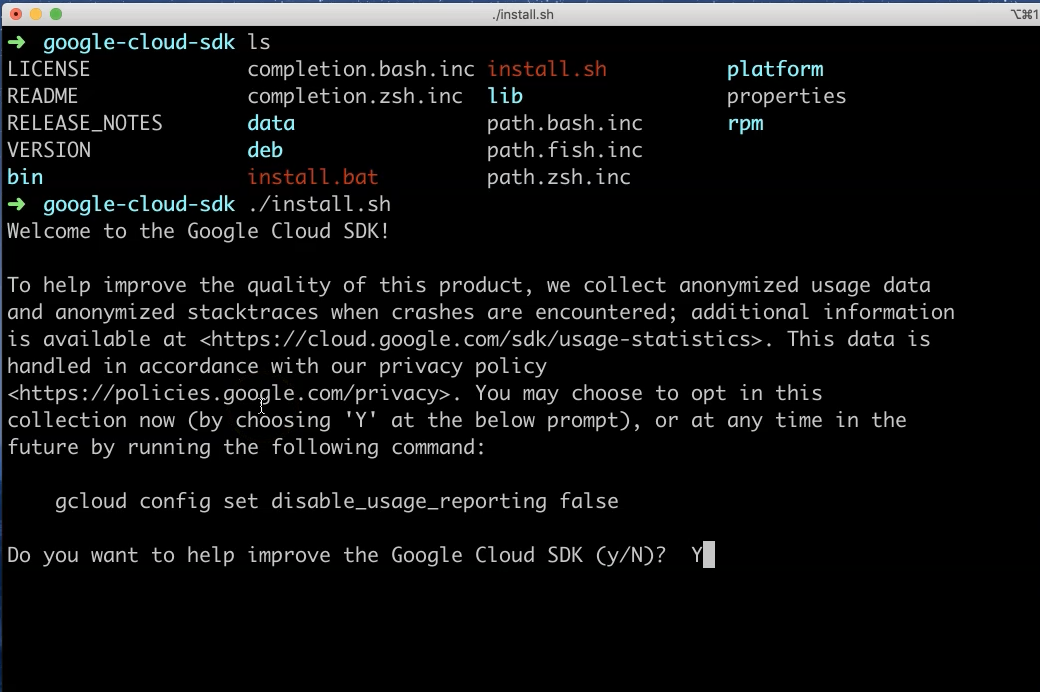
Execute command ./install.sh to add G-Cloud SDK tools to your path.
Accept all question prompts to complete the installation process.
Finally, restart (close) the terminal for the changes to take effect.
As a new user we can initialize the SDK by execute the following command:
gcloud init
Alternately, if we previously installed G-Cloud, we can use the command below to log in with our account:
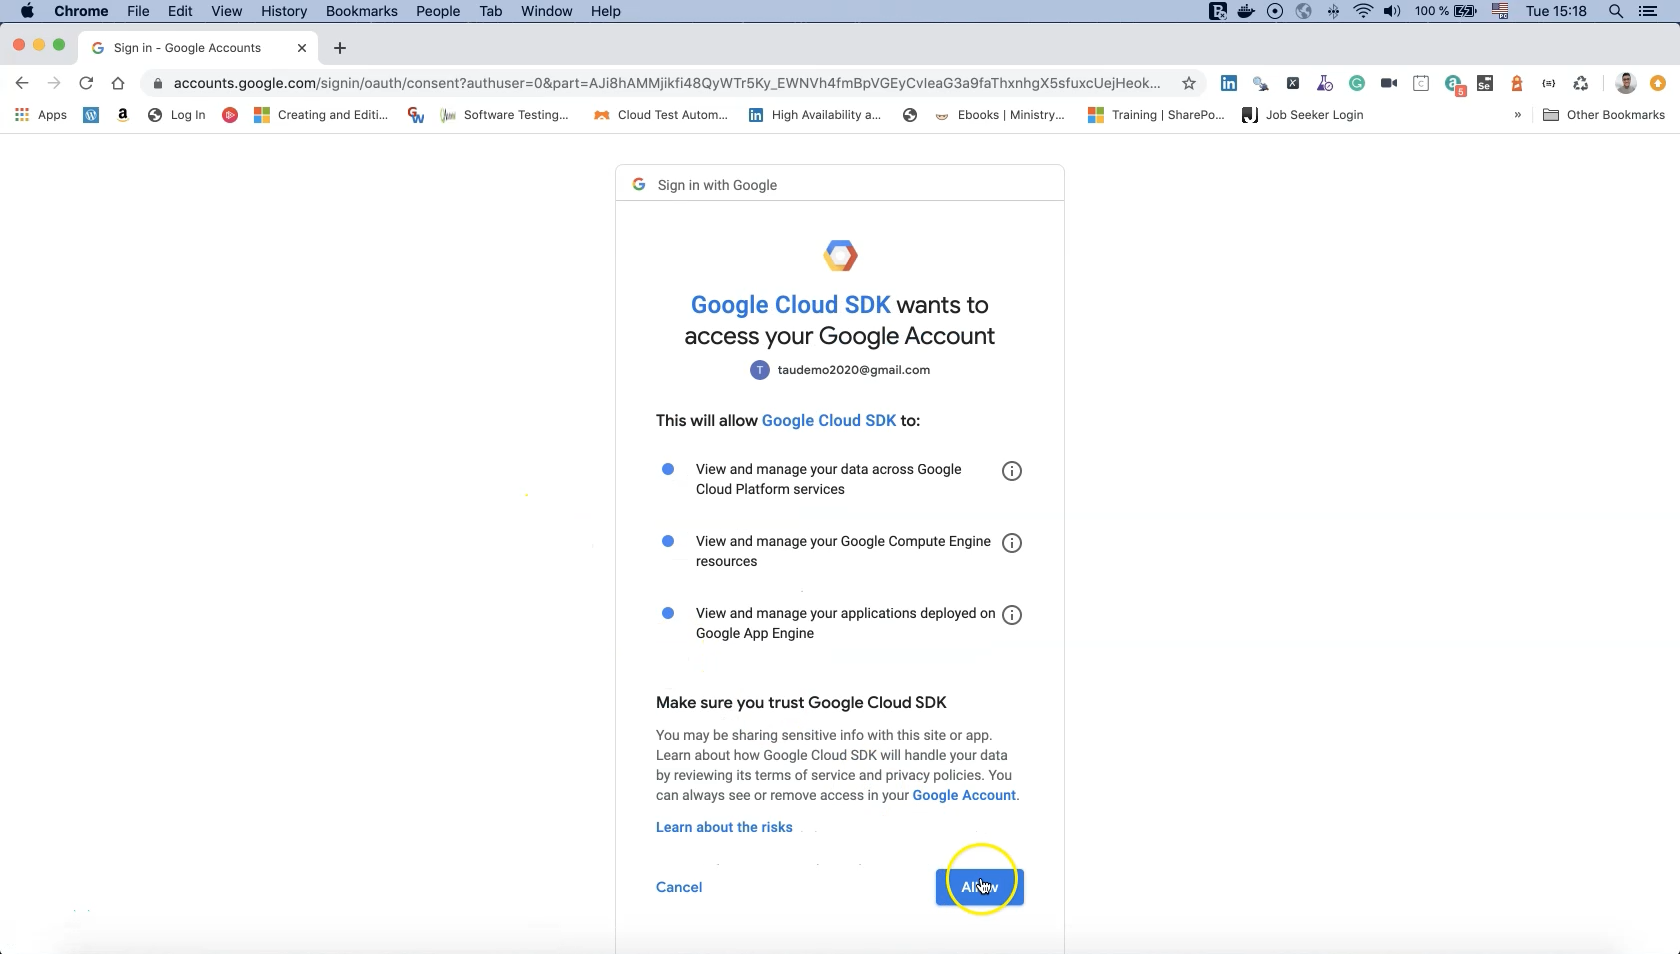
gcloud auth login
Enter your Google account credentials as needed and click "Allow" when prompted to grant access permissions to G-Cloud SDK platform resources.
To select our project we need to execute the following command:
gcloud config set project tau-espresso
Of course, substitute "tau-espresso" with your own project name.
We have successfully configured our account and are ready to use the Firebase Test Lab command line with the G-Cloud SDK.
# Use Firebase Test Lab from Android Studio
In this demo we will use Android Studio to run our instrumentation Espresso tests with Firebase Test Lab. First, open the "Tools" menu and select "Firebase".
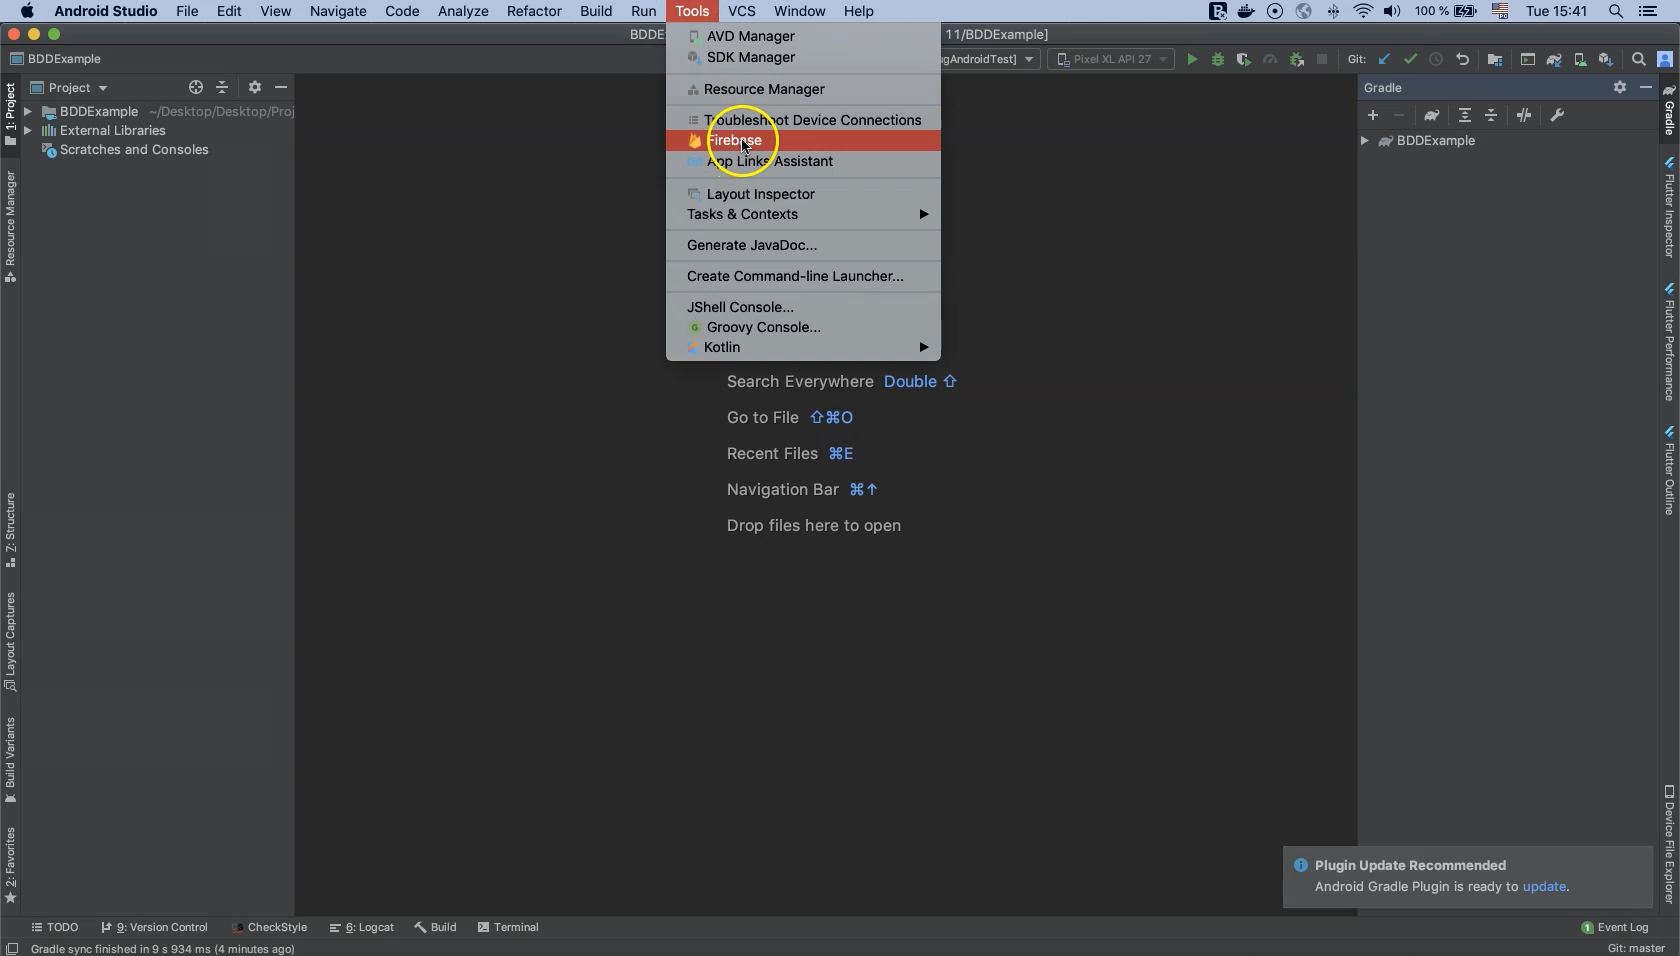
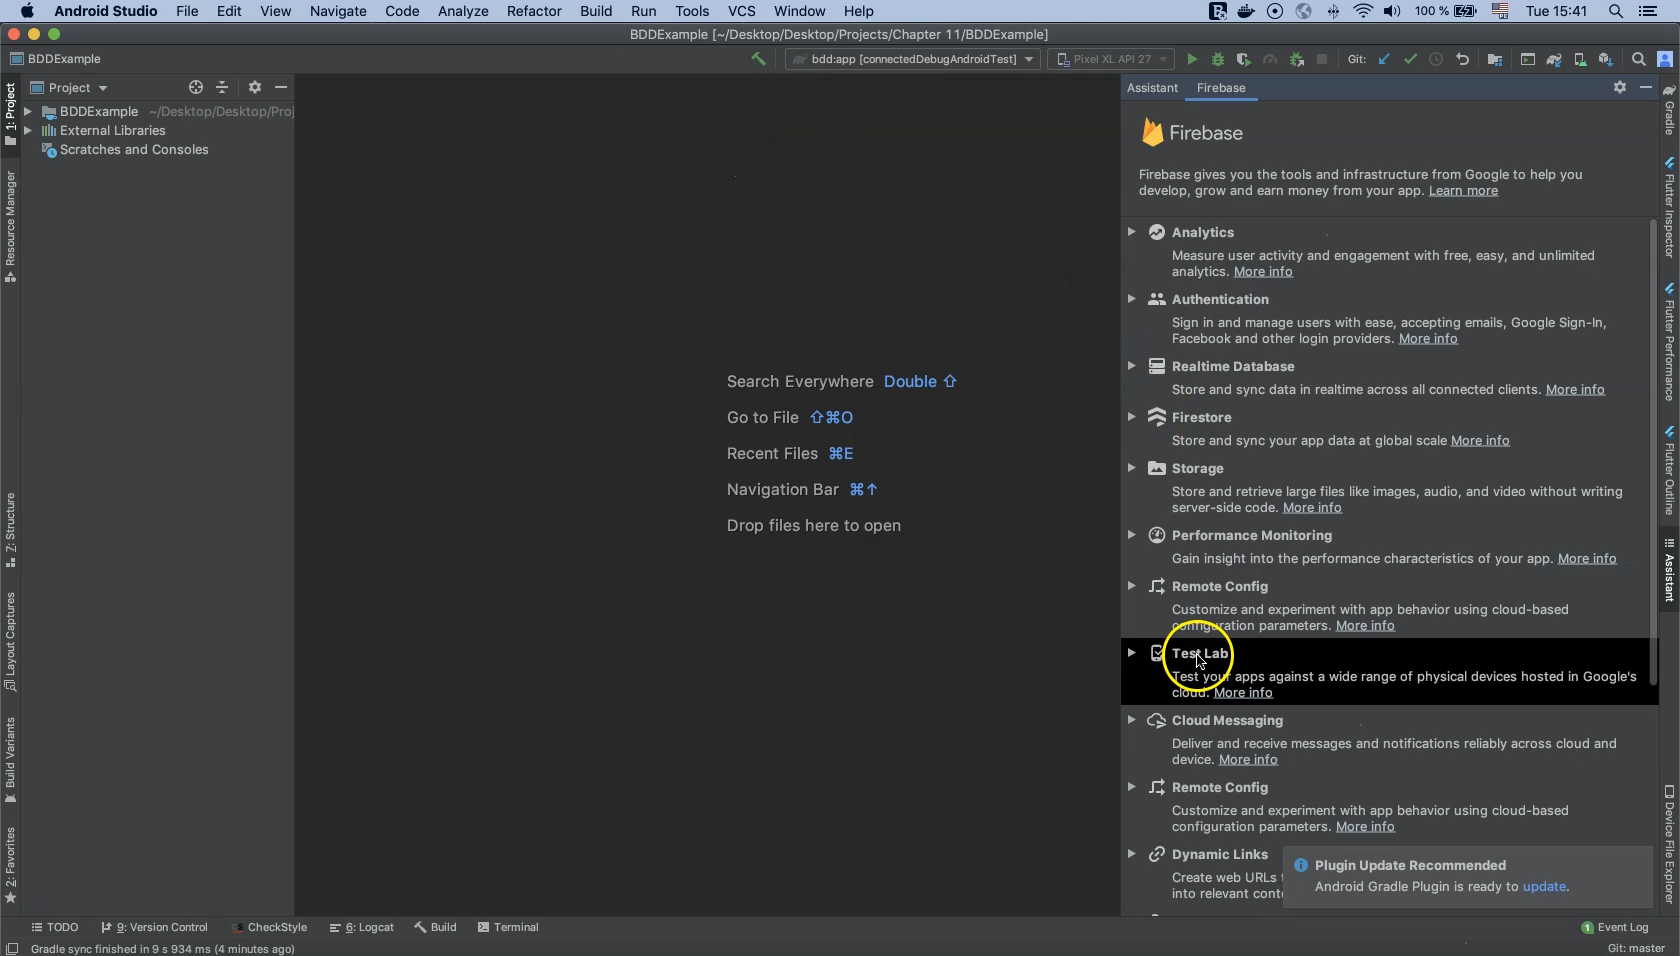
It will open a side menu that lists all Firebase functions.
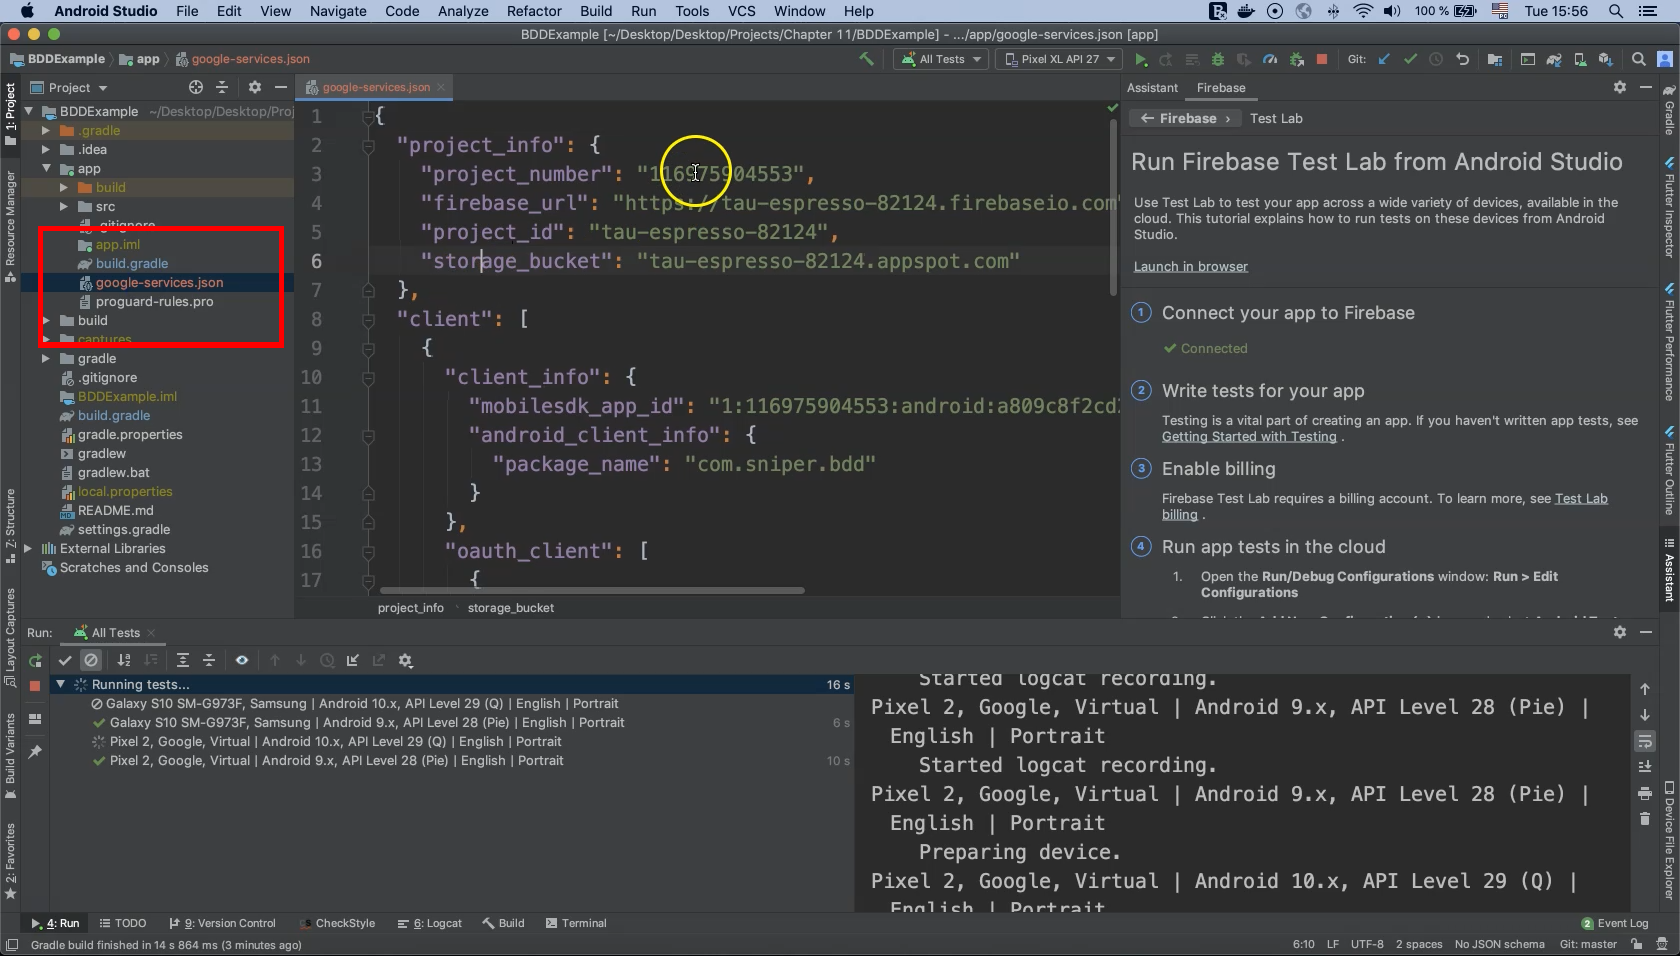
Click on "Test Lab", then click on "Run Firebase Test Lab from Android Studio".
Then click on "Connect to Firebase".
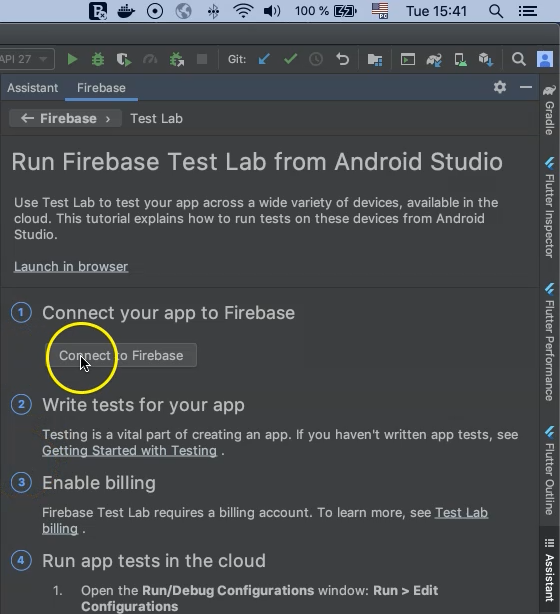
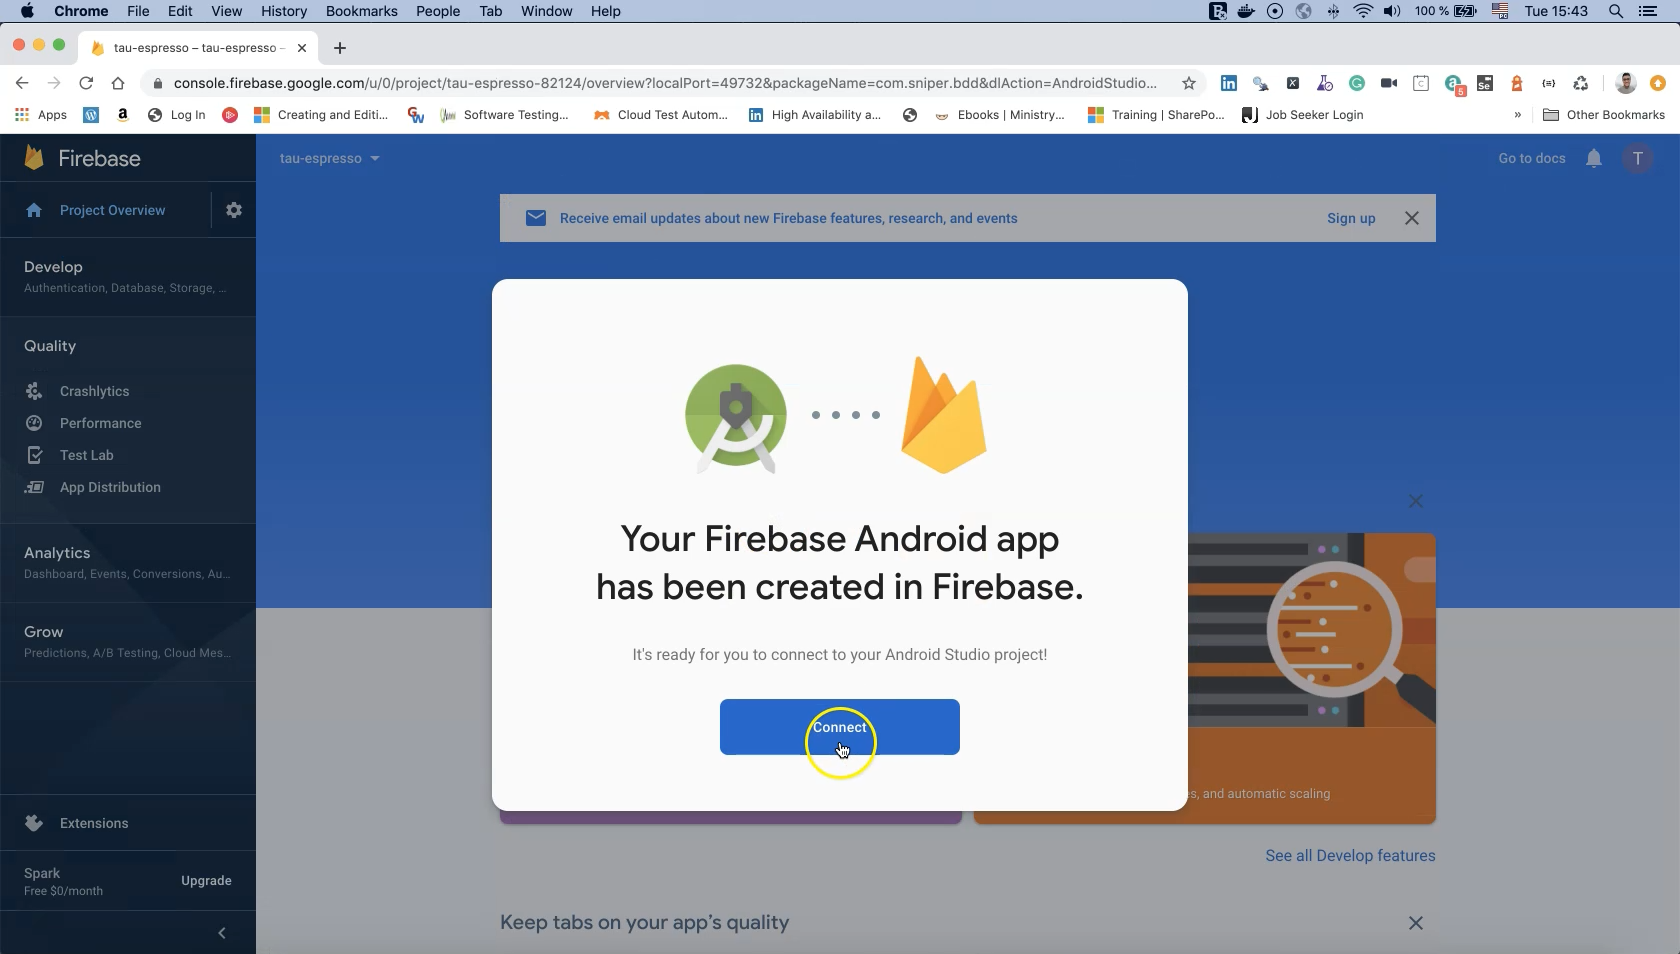
This will open a browser to a page where you can create a connection between Android Studio and Firebase Test Lab.

Click on your project to continue. Once the Firebase notification displays, click "Connect" and wait until the connection is finished.
Now we can use Firebase Test Lab in our Android Studio project.
Now we need to change our configuration to enable running instrumentation tests in Firebase Test Lab.
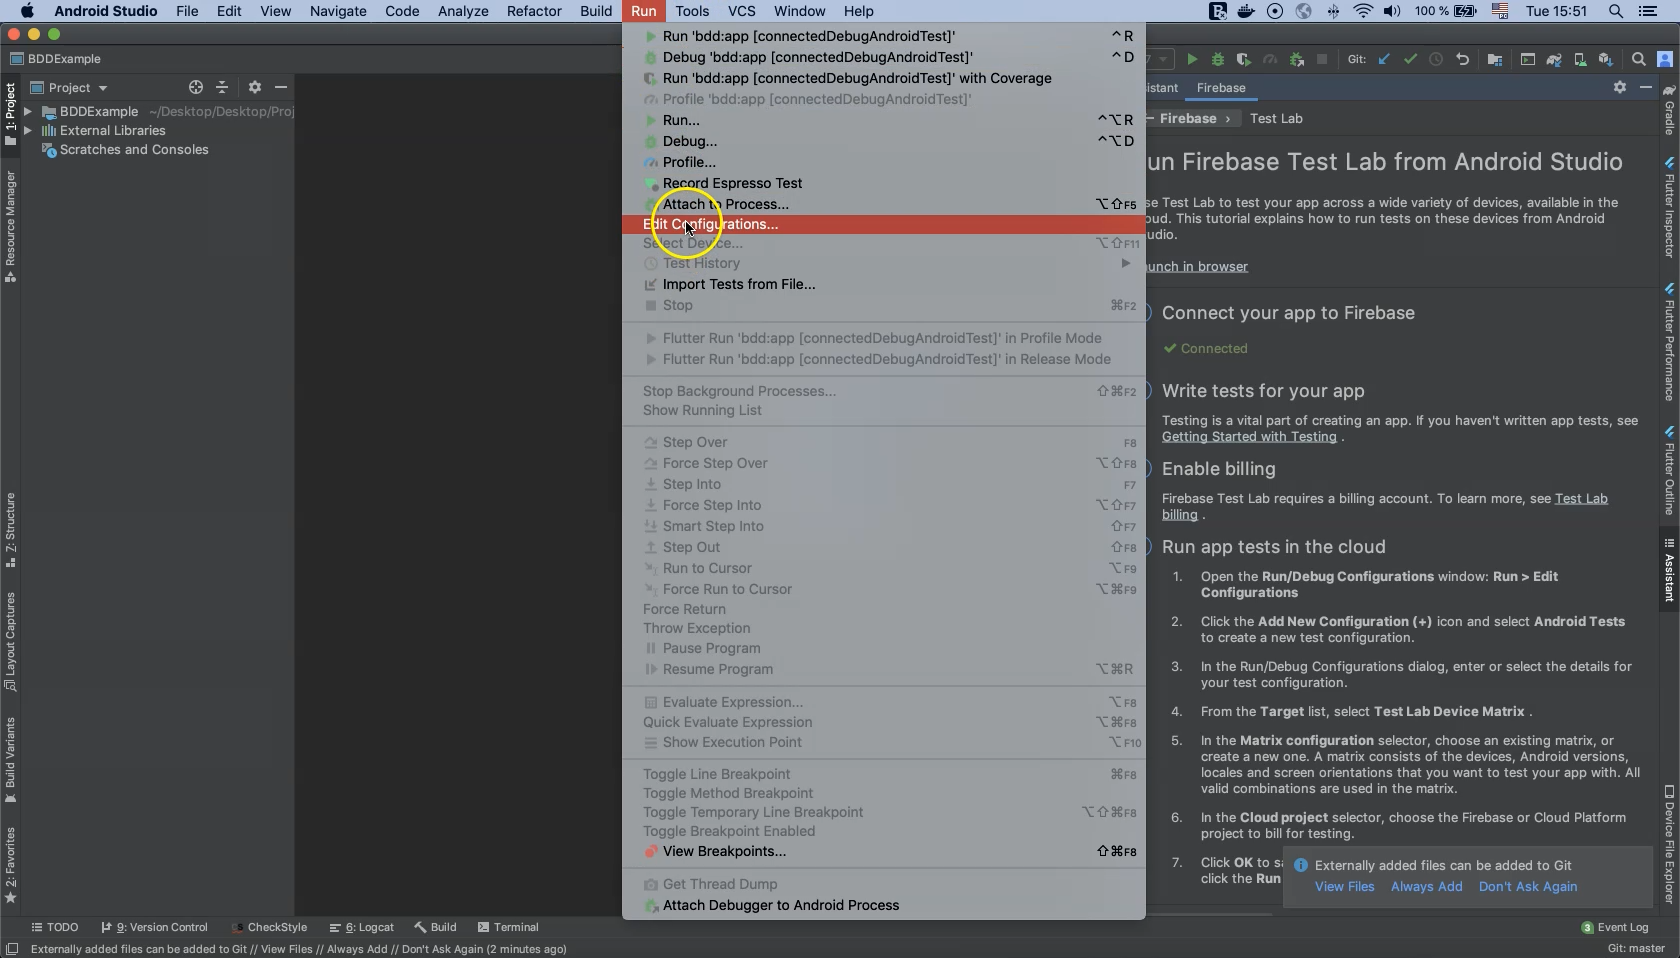
In Android Studio, select "Run" on the toolbar and click "Edit Configurations...".
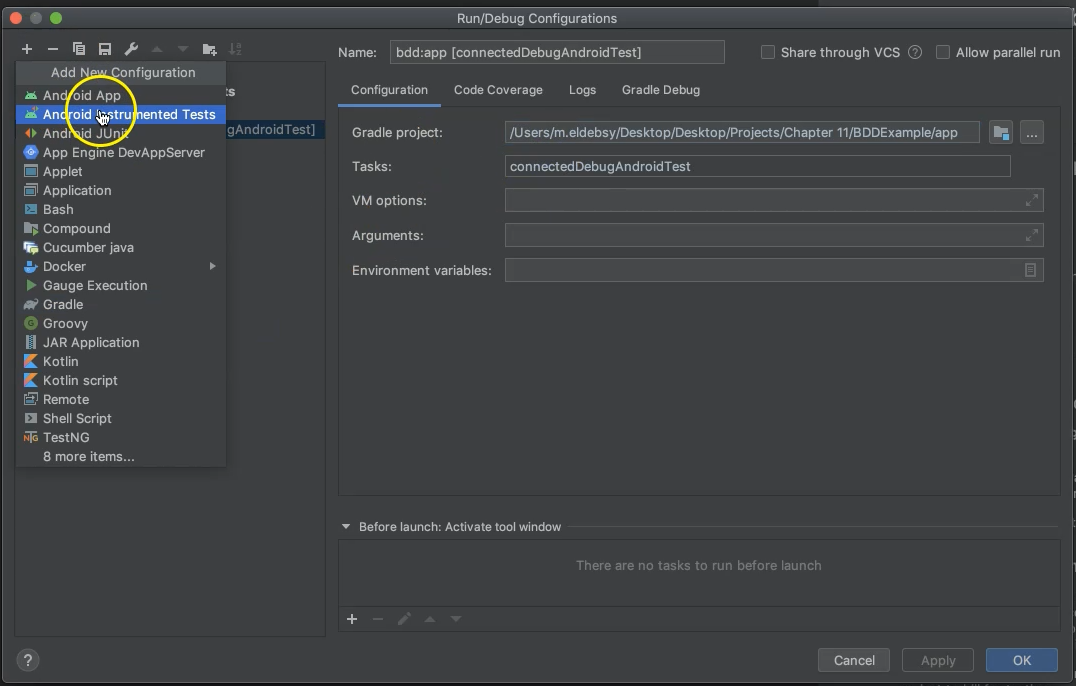
On the next screen, click "+" to add a new configuration and select "Android Instrumented Tests" to create a new test configuration.
In the "Run/Debug Configurations" dialog, enter or select the appropriate details for your test configuration like the Module and Test scope.
Under "Target", select "Firebase Test Lab Device Matrix" and log in with your Firebase Test Lab account if needed.

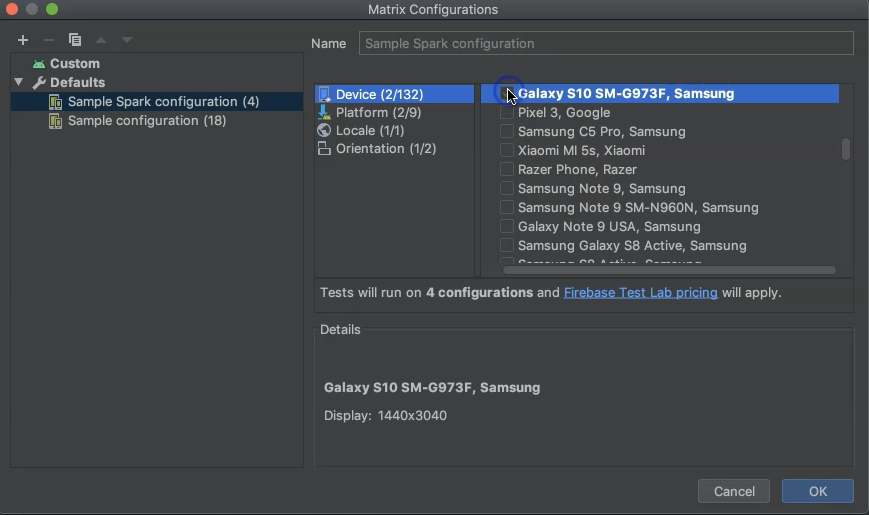
In the "Matrix configuration" selector, choose an existing matrix or create a new one.
A matrix is a collection of devices, Android versions, locales, and screen orientations that you wish to test your applications with.
All valid combinations are used in the matrix.
In the "Cloud project" selector, choose a Firebase or cloud platform project.
Finally, click OK to save your test configuration and exit the dialog.
Now we can click the green button to run our tests.

You can check the test execution status and test results in Android Studio's "Run" tab.
You will notice that Firebase Test Lab starts uploading the application and runs a test on the Firebase Test Lab cloud service.

You will also notice that Firebase creates a JSON file for our project settings which you are free to delete after we finish.
Be careful not to push this to GitHub or any remote repository.
# Use Firebase Test Lab from CLI
In this demo we will run our test cases in Firebase Test Lab using the G-Cloud SDK command line.
After configuring the G-Cloud SDK with our Firebase account and project, we can use the command line to run our tests with the following steps.
First, execute the following statement to get the current list of Android devices available to test against:
gcloud firebase test android models list
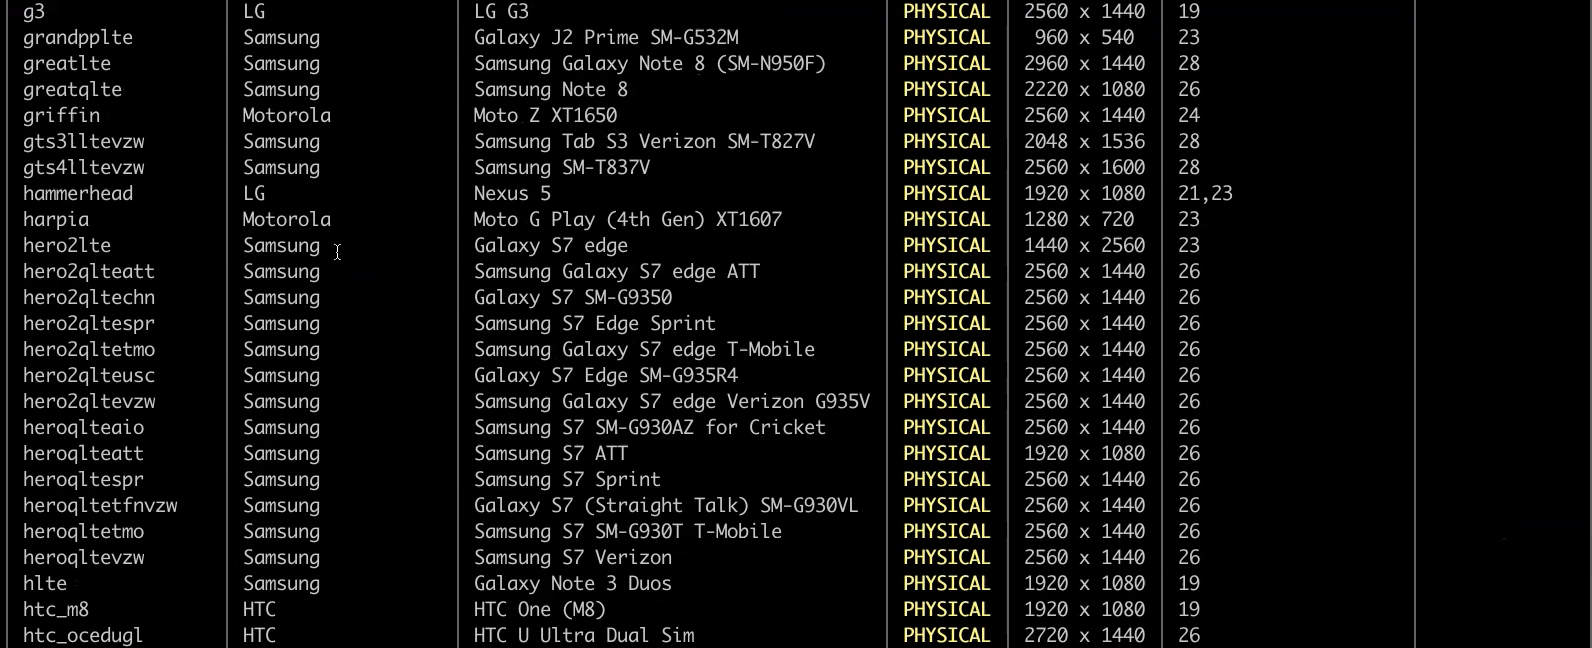
You can choose between virtual or physical devices and can see which operating system versions are needed for a particular device.
Other information such as resolutions, model name, and so on are displayed here as well.
Now execute the following command:
gcloud firebase test android run
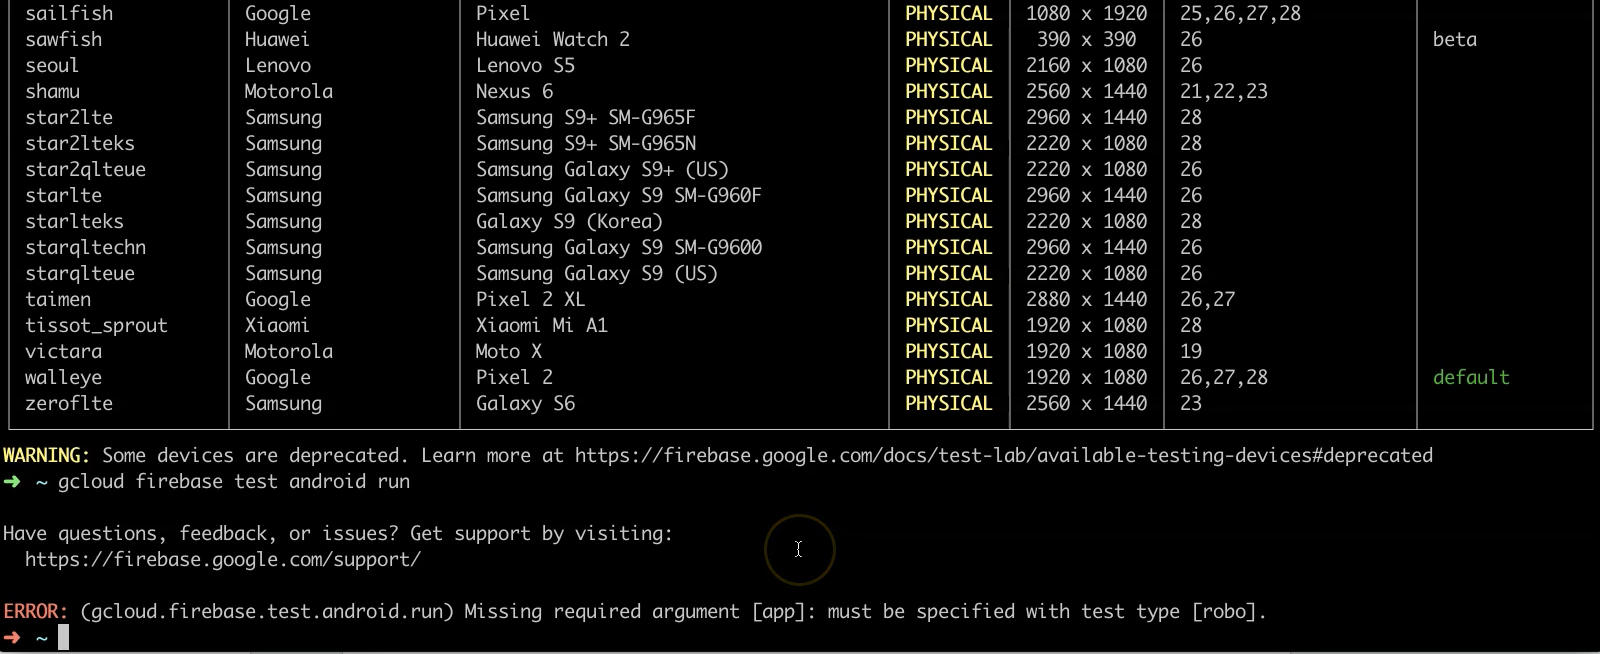
This command is used whether you are using a Robo test to automatically test your application, or whether you are running an instrumentation test written specifically to test your application.
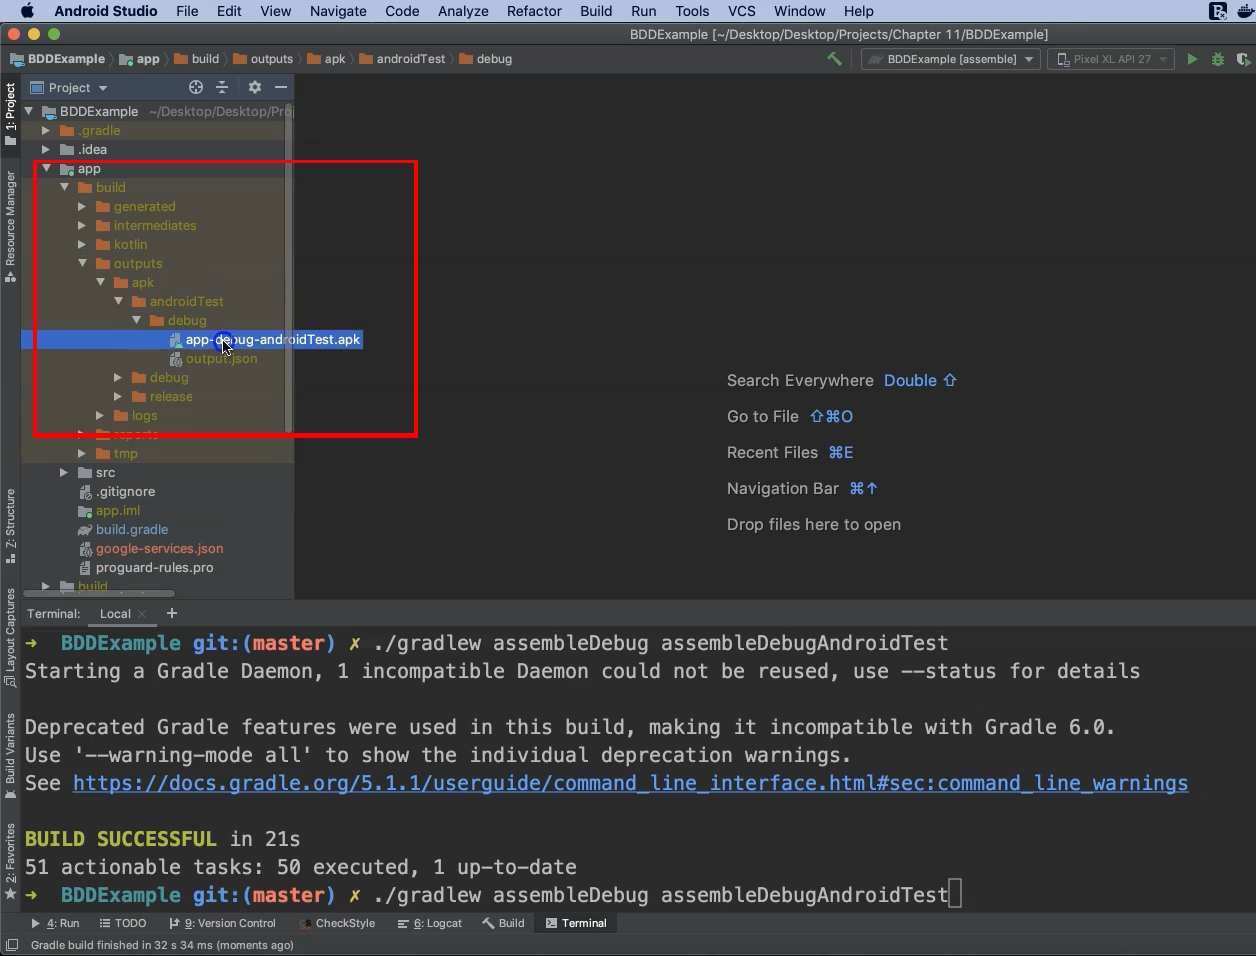
To run our instrumentation test from the terminal we can build our application with the following command:
./gradlew assembleDebug assembleDebugAndroidTest
"assembleDebug" builds the application under test while "assembleDebugAndroidTest" builds the test APK.
Gradle
Alternatively, you can use the Gradle tasks from the Gradle side menu. Click on "Gradle" to open the menu and drill down to "Tasks > build". Double-click on "assemble", then double-click on "assembleAndroidTest" after the "assemble" task is finished.
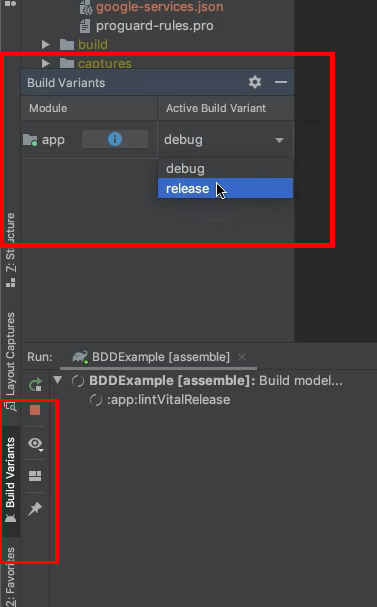
In this case, we will build the applications for all flavors and variants of our project.
For example, in the "Build Variants" menu for this project we verify that the debug and release variants are present.
After the command line statement is finished executing, we will find two APKs in the build folders, one for our application and one for our test APK.
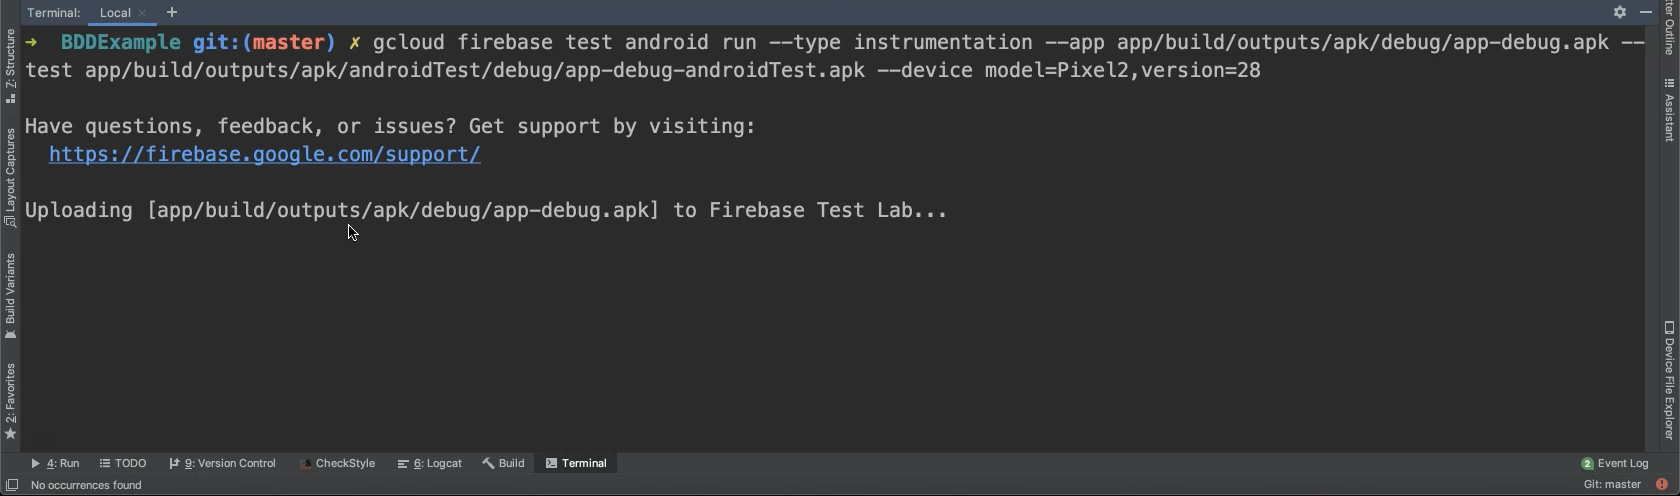
Now we need to execute the following command:
gcloud firebase test android run --type instrumentation --app app/build/outputs/apk/debug/app-debug.apk --test app/build/outputs/apk/androidTest/debug/app-debug-androidTest.apk --device model=Pixel2,version=28
Following execution you will notice that the uploading process has started for the APKs. Then Firebase will start creating the run matrix for us.
For every step we will find log information about the status of running tests.
After the command is finished you should find a link to the test results and test statuses from Firebase Test Lab.
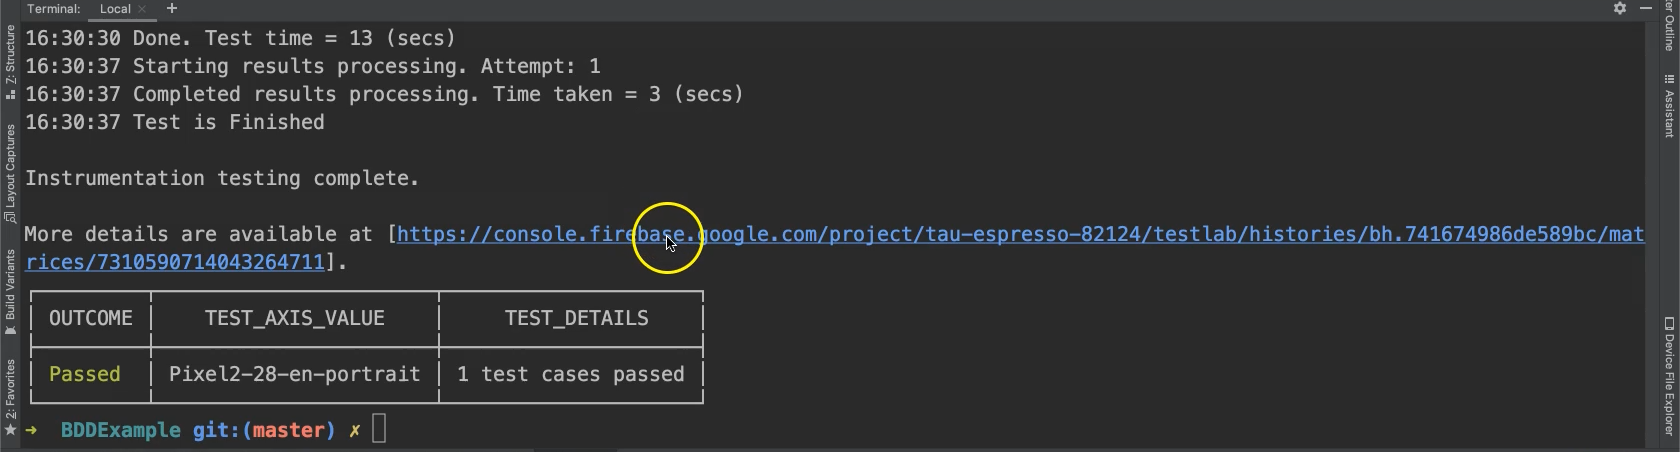
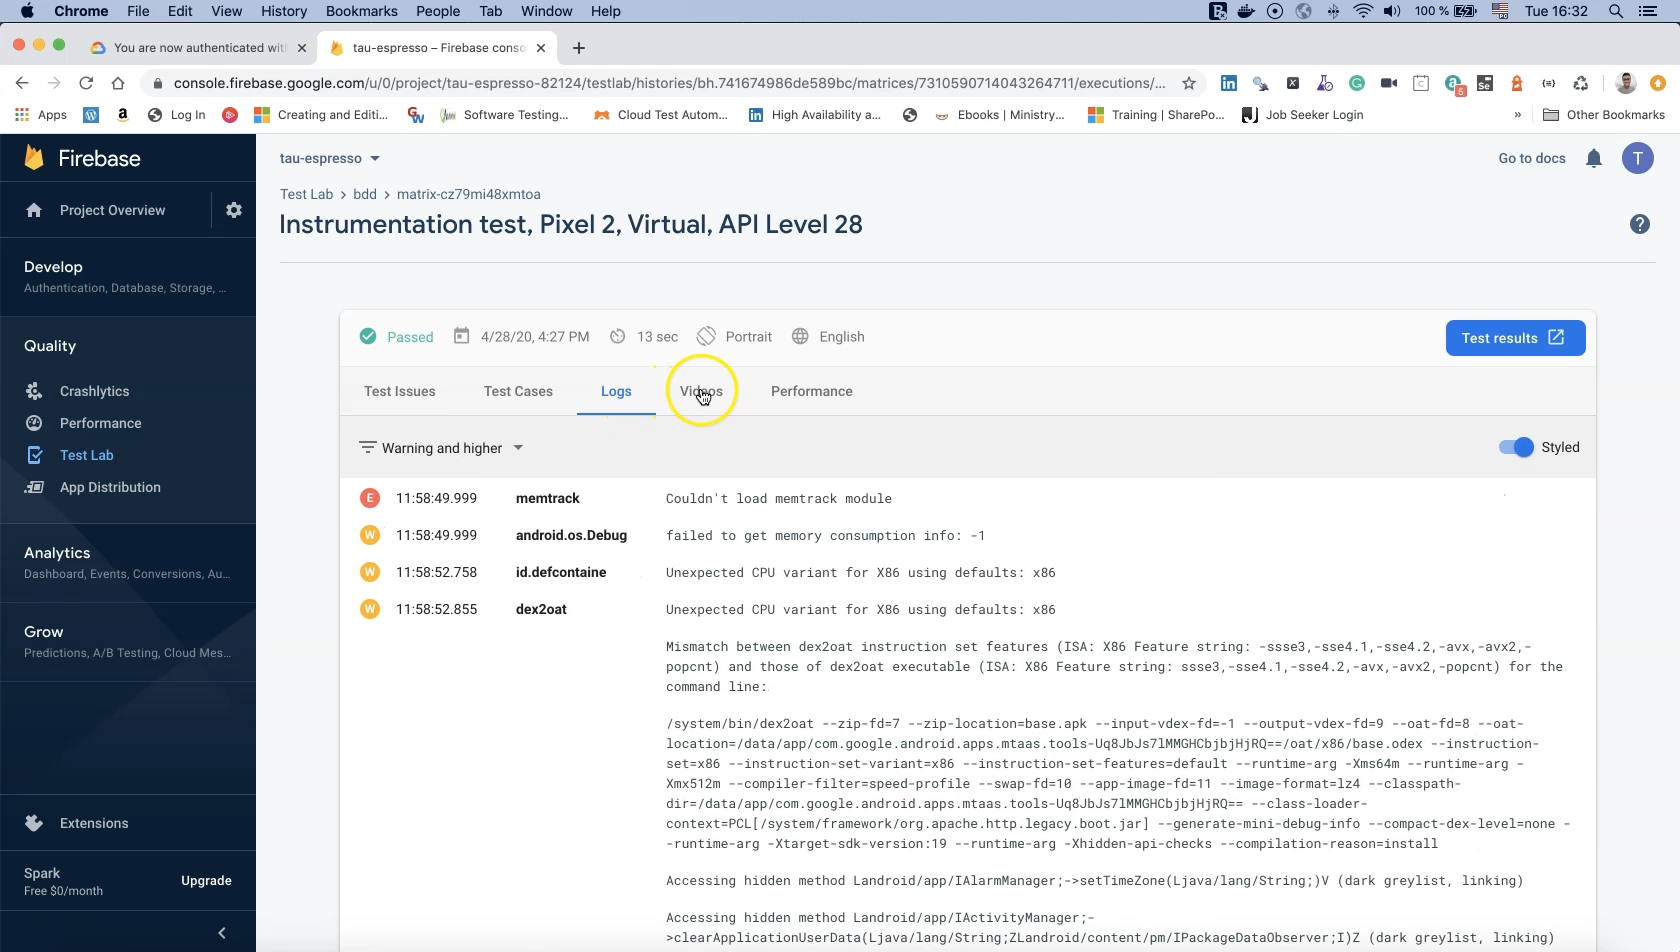
We will click on this link to open the Firebase website and from here we can check our test results.
We can also find the video for our test run, logs from our Android application, performance metrics and additional details about our test cases.
# Course Summary
At last, this chapter brings us to the end of this course.
At the beginning we learned about the logic behind Espresso and explained how AndroidX and Jetpack are used.
We set up our environment and introduced Android Studio by creating a new project.
We worked with different elements such as RecyclerView, DataView, Drawer, Toast messages, and WebView.
We handled synchronization issues with elements during test executions using Idling Resources.
Then we started applying the page object model (POM) pattern to our test cases with Android and Espresso.
We added a Behavior-Driven Development (BDD) layer for Cucumber and Android, integrated Applitools for Visual Validation with our test cases, and began running our test cases on Cloud devices using Firebase Test Lab and Google Cloud.
Lastly, we set up and ran a Continuous Integration solution for our project using GitHub and GitHub Actions.
I hope that this course was useful and added value for everyone. I would just like to say, thank you for your time and for your effort.
