

Transcripted Summary
In this chapter, we will be installing and configuring Nightwatch.js.
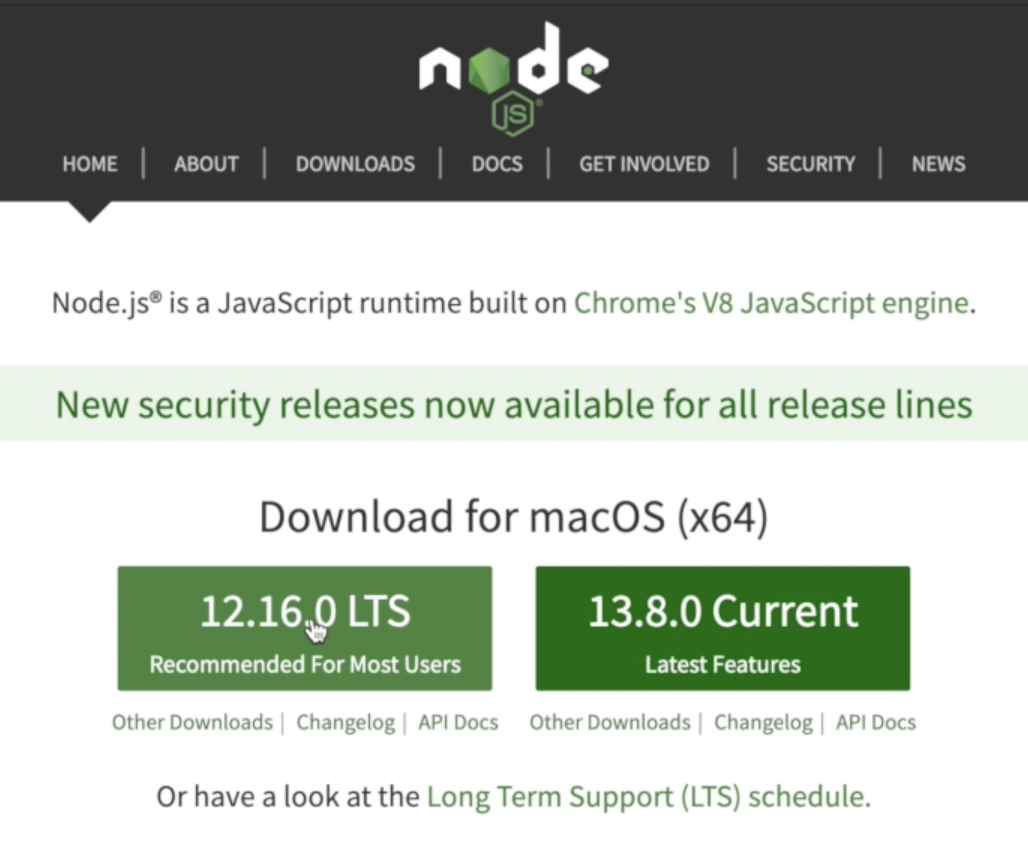
But before we can get started, we have to install Node.js. That is, if we don't have it already. Let's head over to nodejs.org.
By default, the website automatically detects the operating system that you're using. So therefore you can go ahead and download the latest LTS.
Once the download is completed, let's initiate the installation.
By default, the Node package manager is installed with Node.js.
Now that we have Node.js installed on our computer, we can dive into installing Nightwatch. In this tutorial, we'll be using Visual Studio Code as our editor of choice.
About Visual Studio Code
VS Code has an integrated terminal, so therefore we won't be switching between a terminal and our text editor. We'll be doing everything in one application.
Let's get started with installing Nightwatch. I'll first initiate a new terminal.
Now that we're in the new terminal, let's go ahead and create a folder, so we can create our Nightwatch project in that folder.
We’ll do so with the command:
mkdir nightwatch-tutorial
Then we’ll go into the new directory and initiate an npm project. We can do that by using the command npm init.
cd nightwatch-tutorial
npm init
We'll just go ahead and accept all of the default configurations.
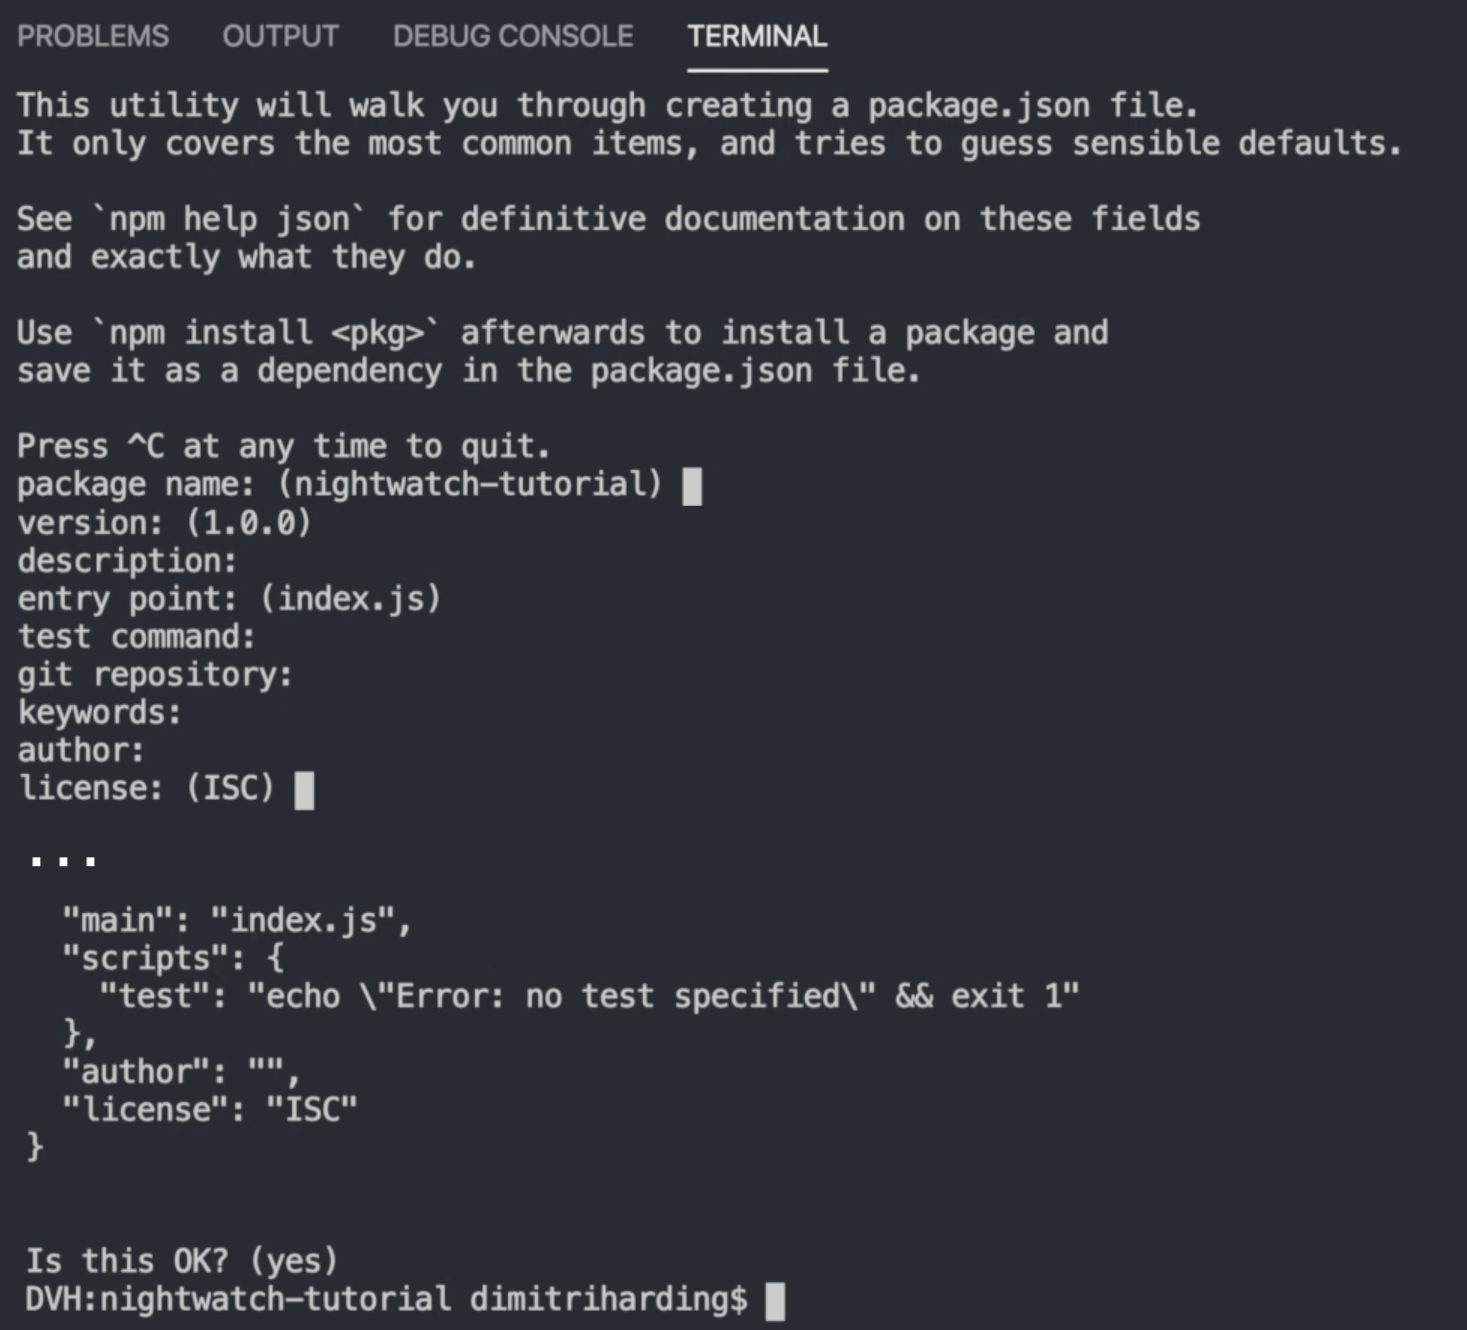
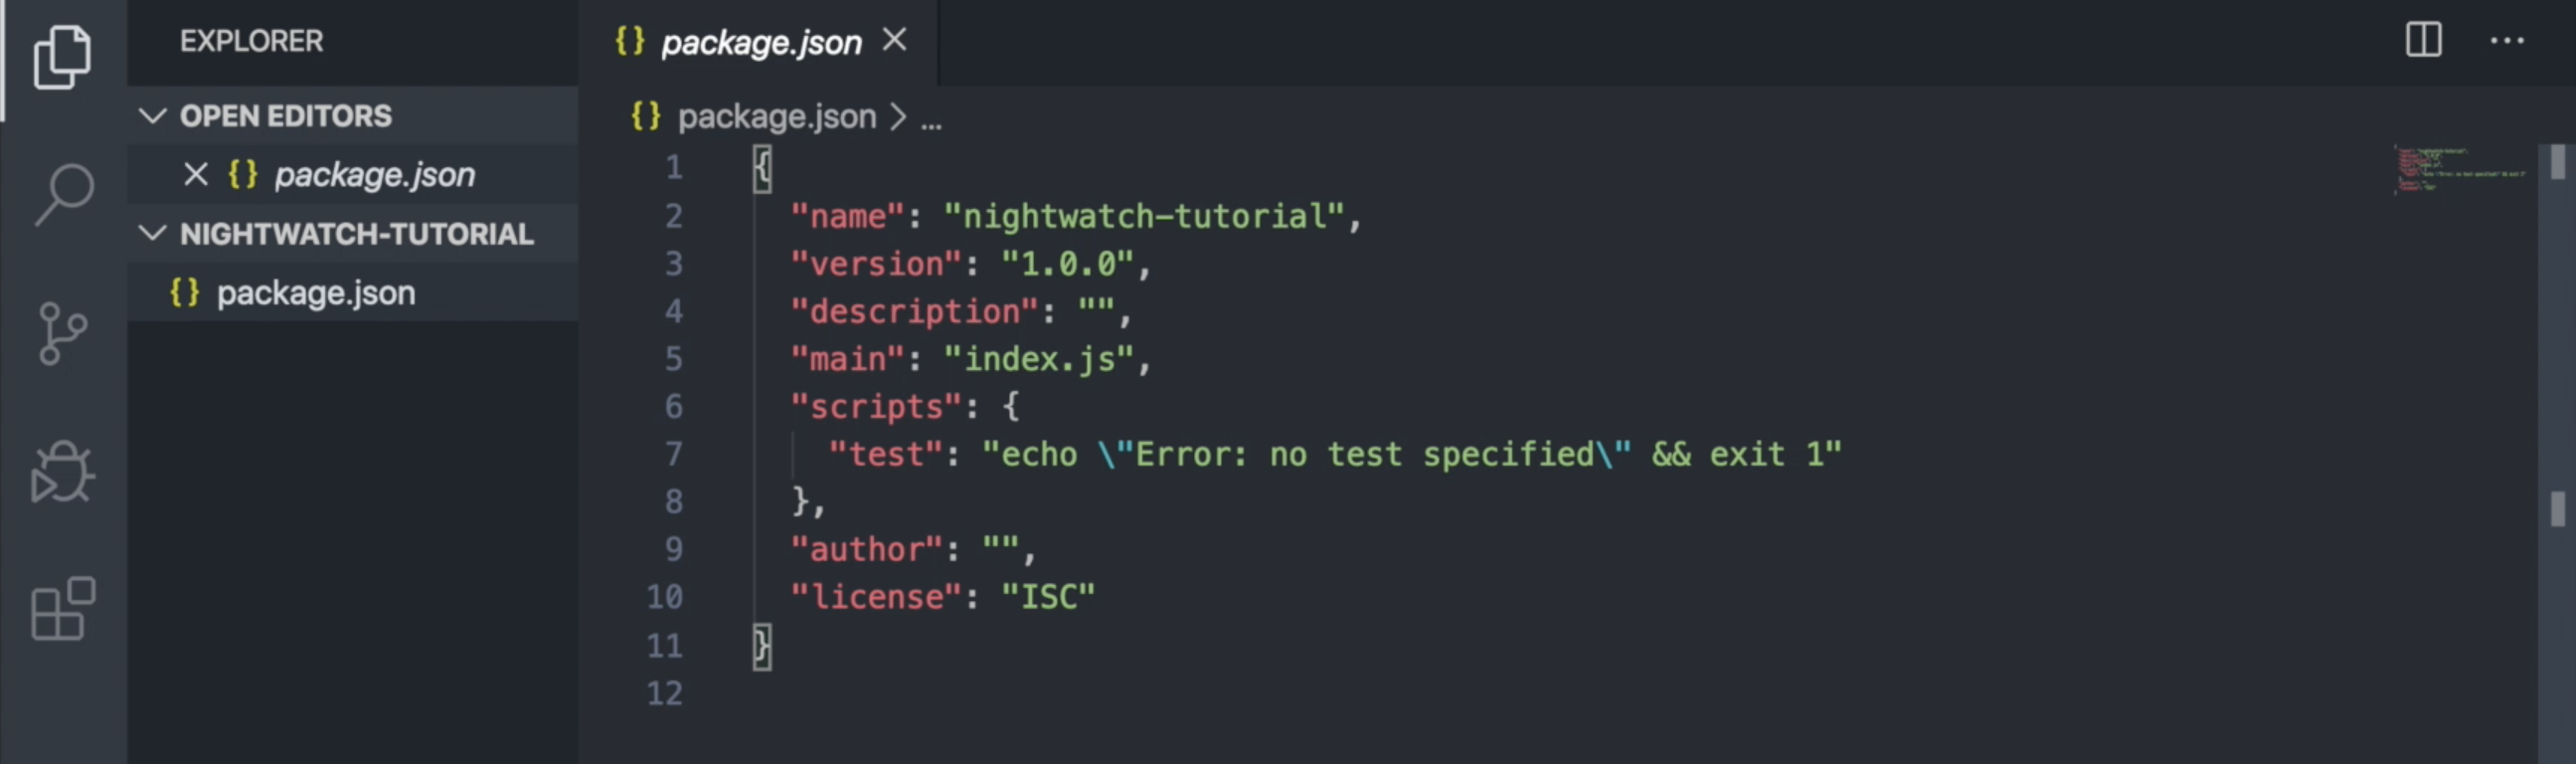
Now, we have our project created with a package.json file.
We can go ahead now and install Nightwatch and ChromeDriver. So we use a command: npm install nightwatch chromedriver.
Instead of installing Selenium Server, we install ChromeDriver because in Nightwatch 1.1, Selenium-standalone is no longer required, unless we'll be testing against a legacy browser like Internet Explorer. Nightwatch requires us to have a nightwatch.json configuration file, so therefore the framework can know how we want to initiate our test.
Let's go ahead and create that base configuration file. Create a new file - call it nightwatch.json and within that file, we'll have the base configuration.
Let us go ahead and explain what we are seeing in this base configuration file.
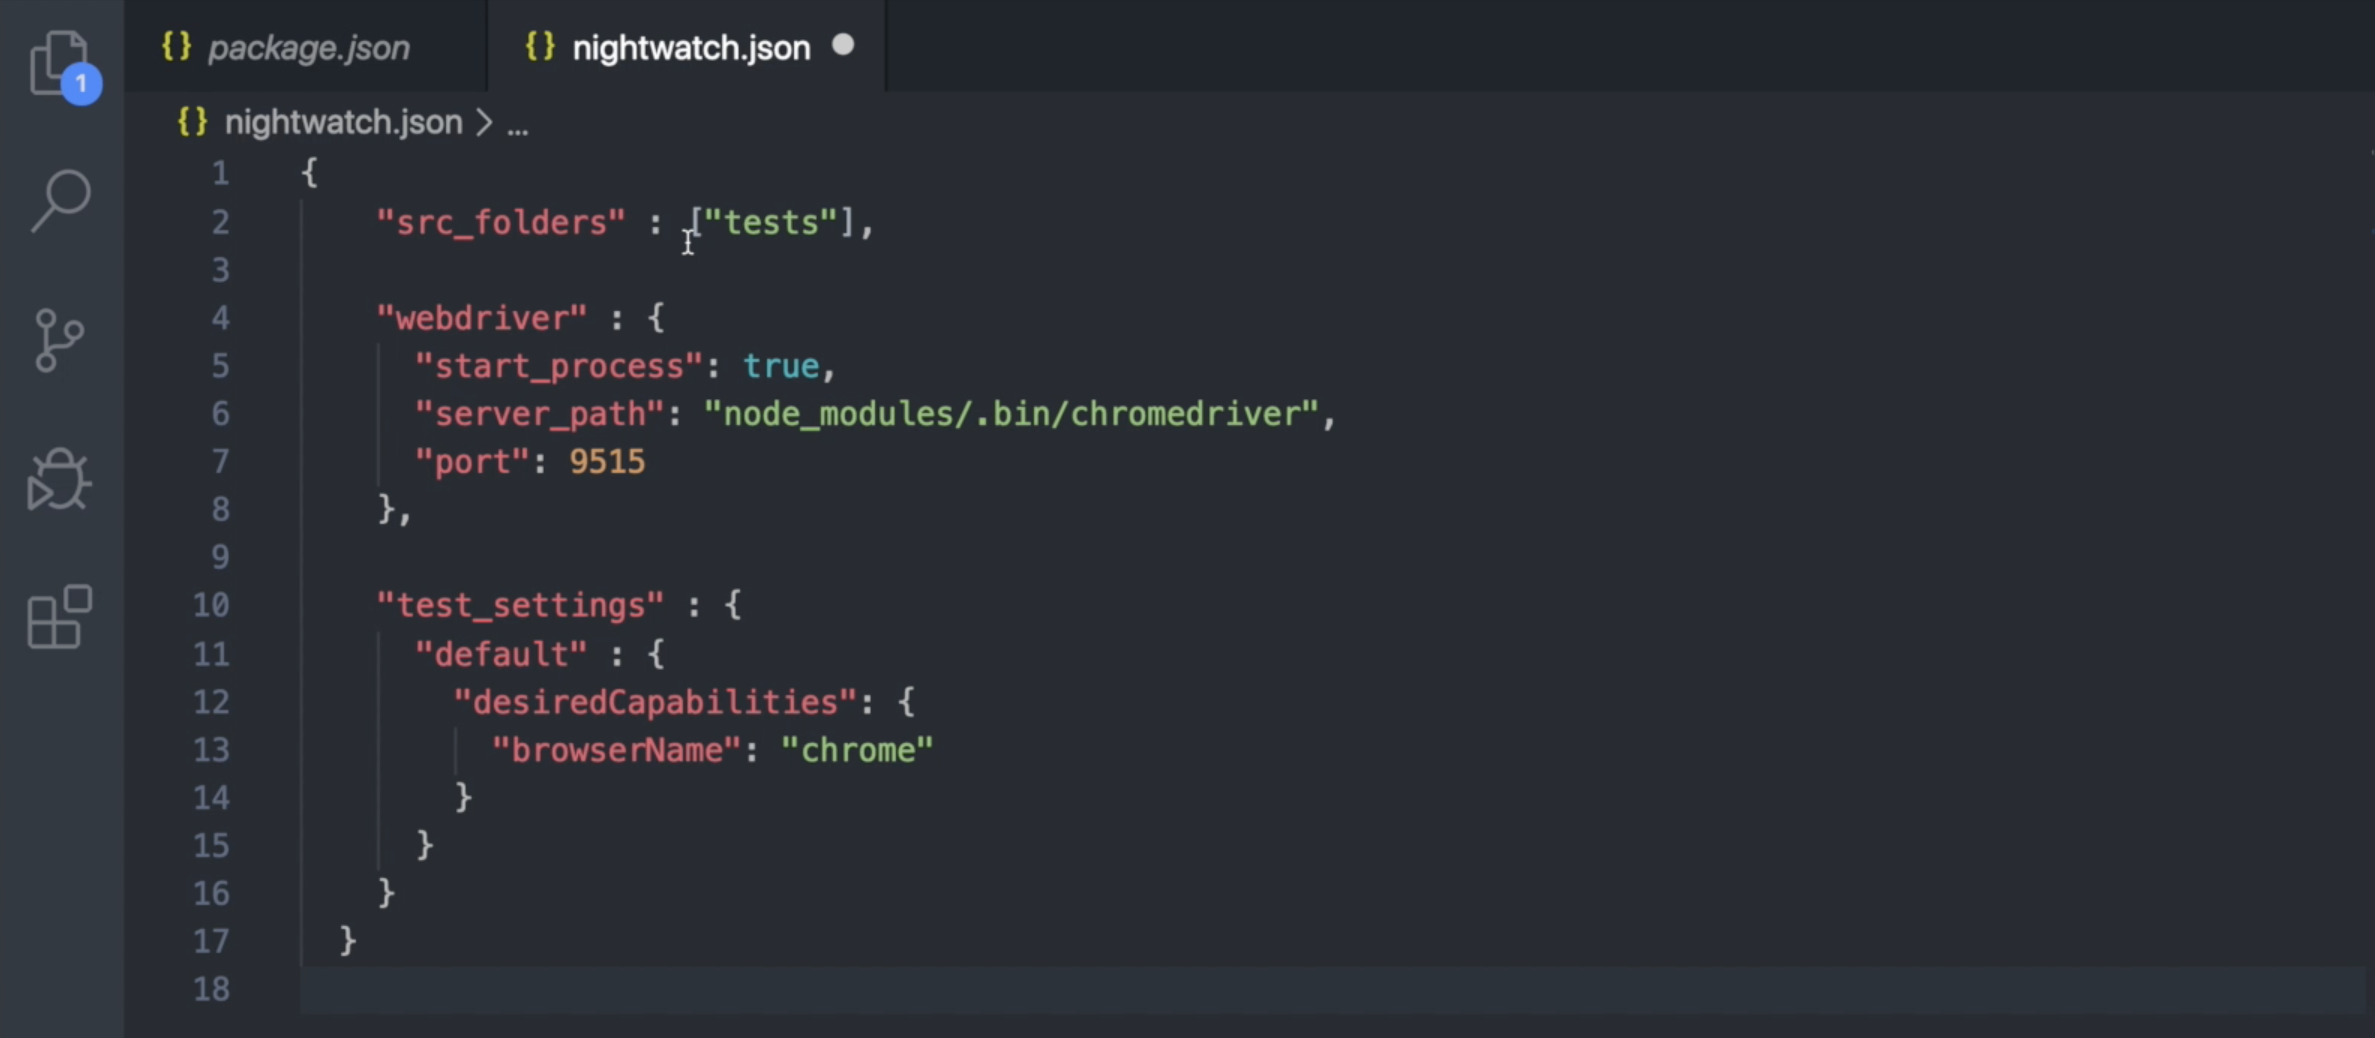
The src_folders is where we'll have our tests. Under the webdriver key, we're setting start_process to true, because we want to ensure that once we initiate a command to run our test, Nightwatch will start the ChromeDriver instance automatically.
We are also defining the path to our ChromeDriver with server_path and the port number. In our test_settings, we're just going to define the browser that we would like to use.
Now that we have created our nightwatch.json configuration file, we can go ahead and create a sample test file to see if everything is working as we expected.
I'll create a new folder called tests, since that's what the configuration file is expecting to see. Within that tests folder, I'll create a new file called test.file.js.
I had already went ahead and created a Nightwatch test, so let's just execute it and see what happens.
I’ll bring up my terminal and for us to execute a Nightwatch test, we'll go to the node_modules and find the Nightwatch executable in the bin folder. We’ll run it like this: ./node_modules/.bin/nightwatch
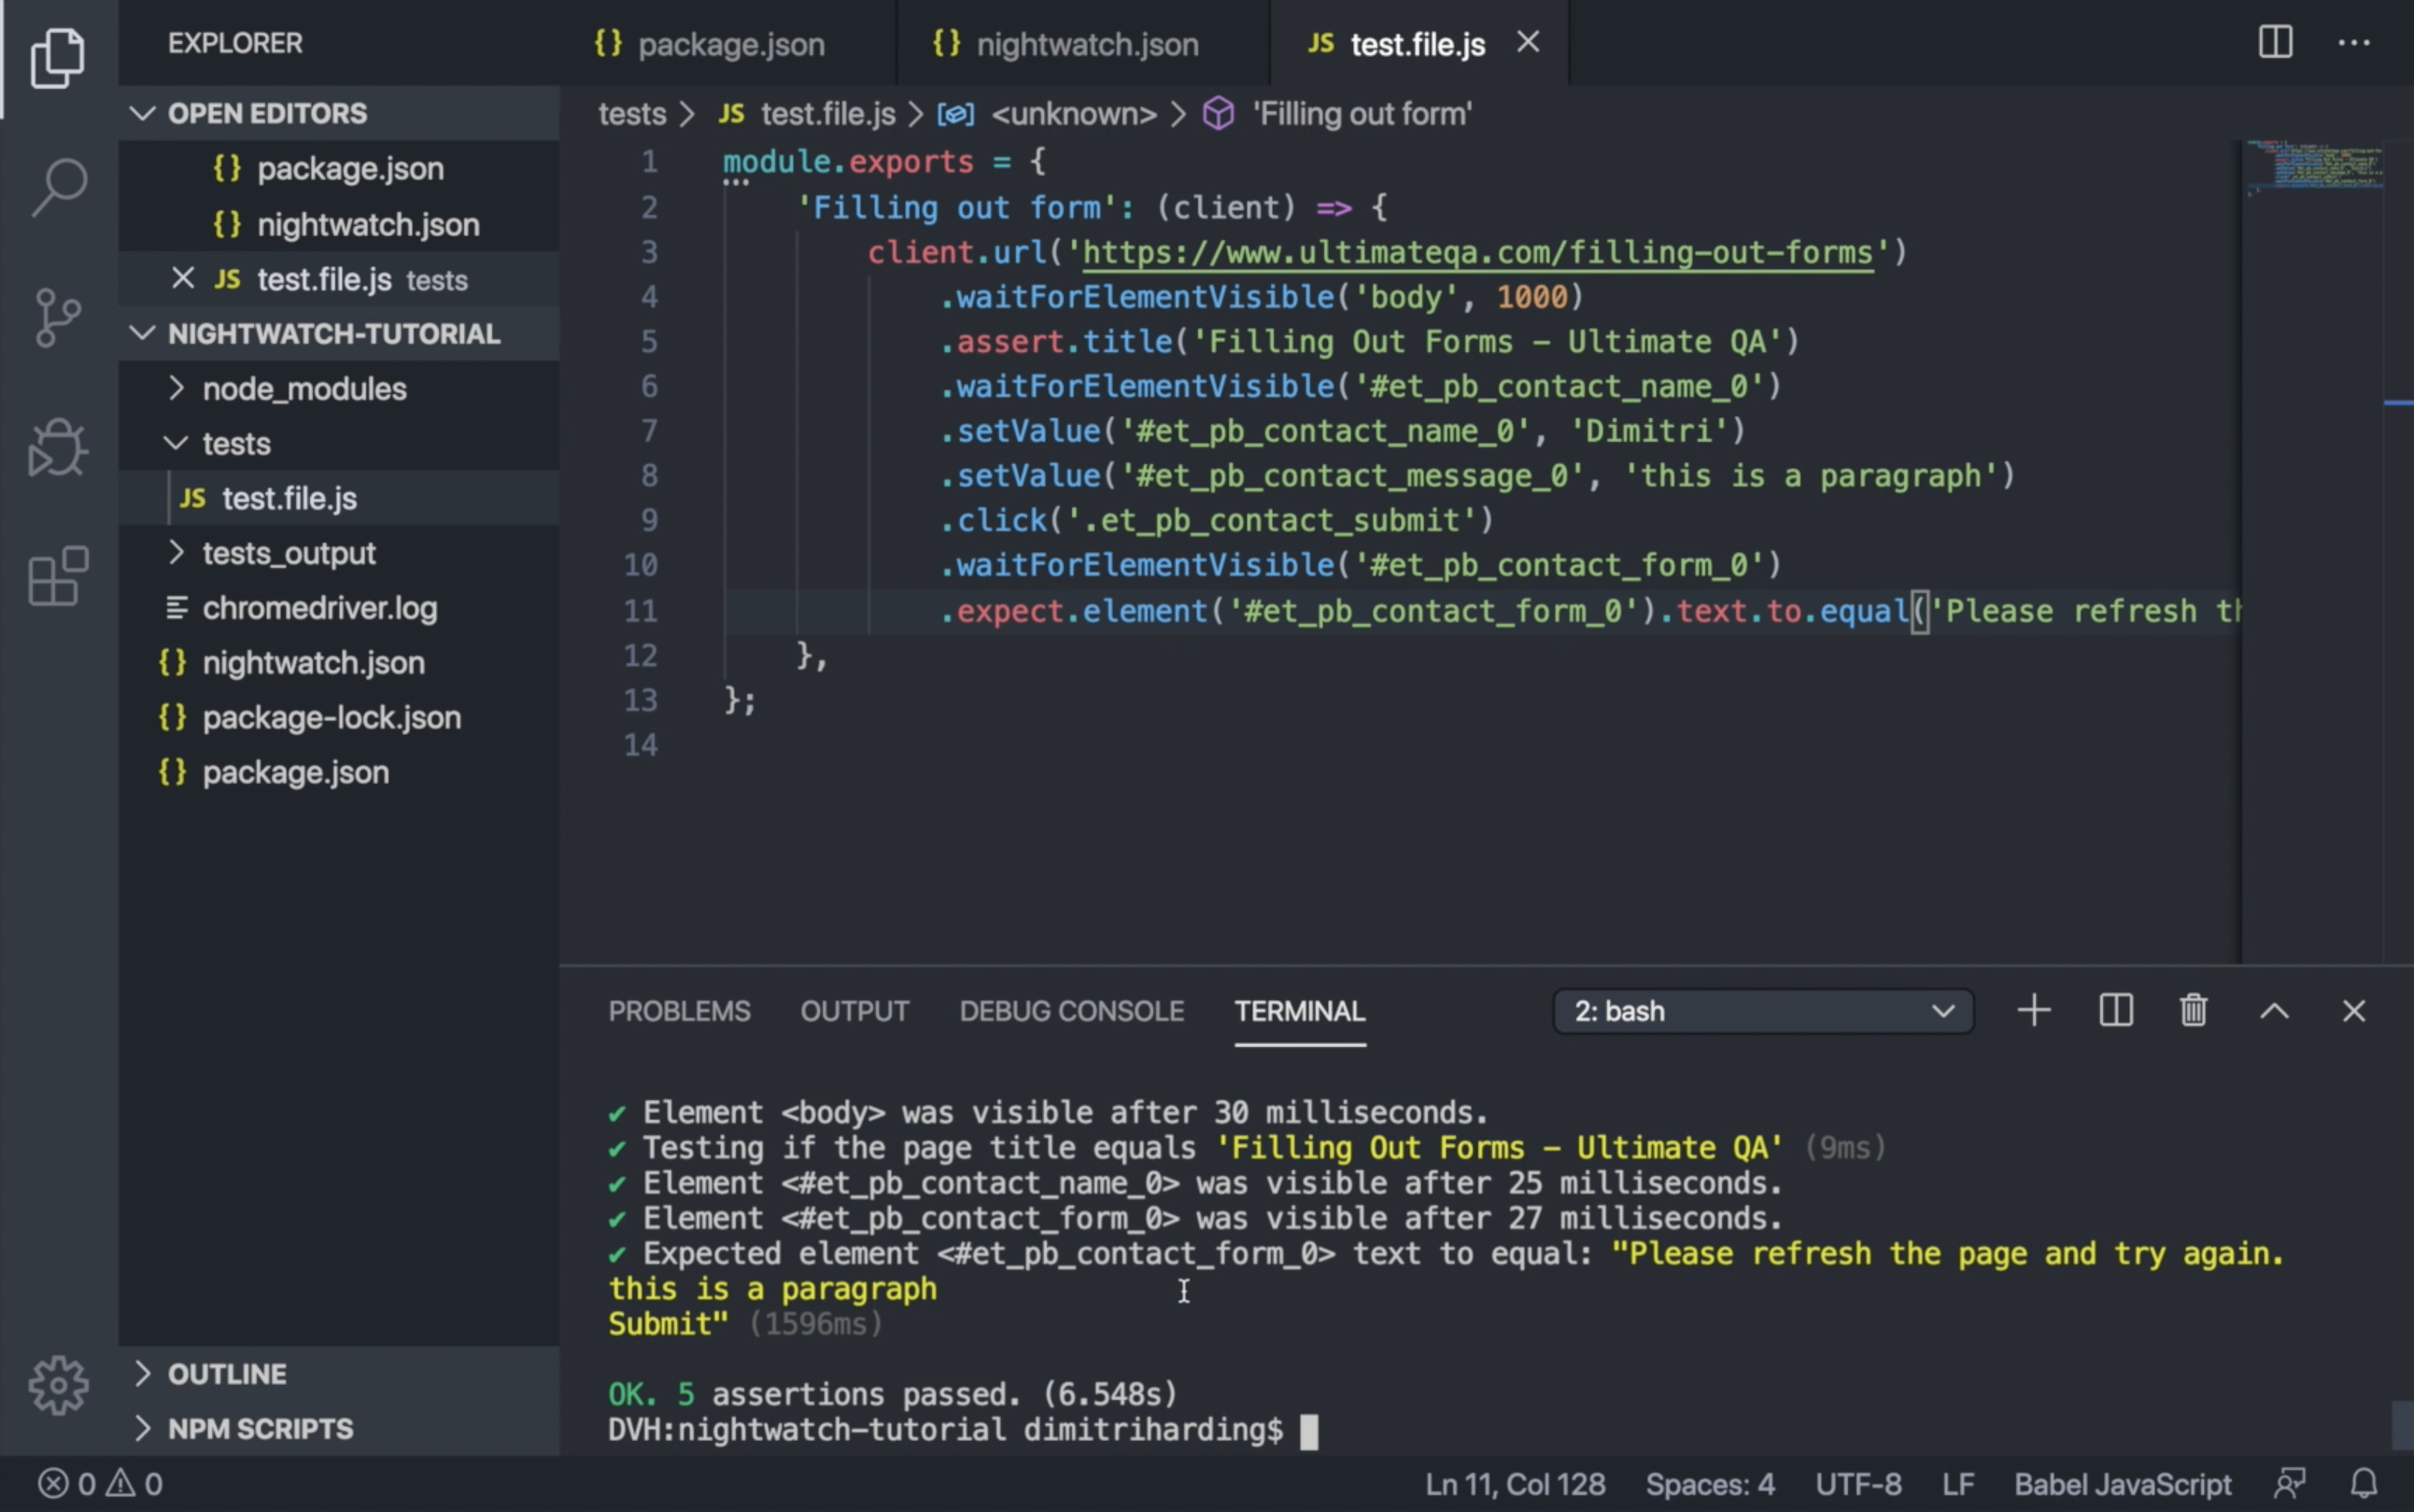
Now we are running our tests, and everything ran and completed successfully.
