

Transcripted Summary
Nightwatch gives us the options to save screenshots.
So, what we'll do is we'll save a screenshot each time we submit the form.
We'll add one more property to our test data, and we'll call that screenshotFileName.
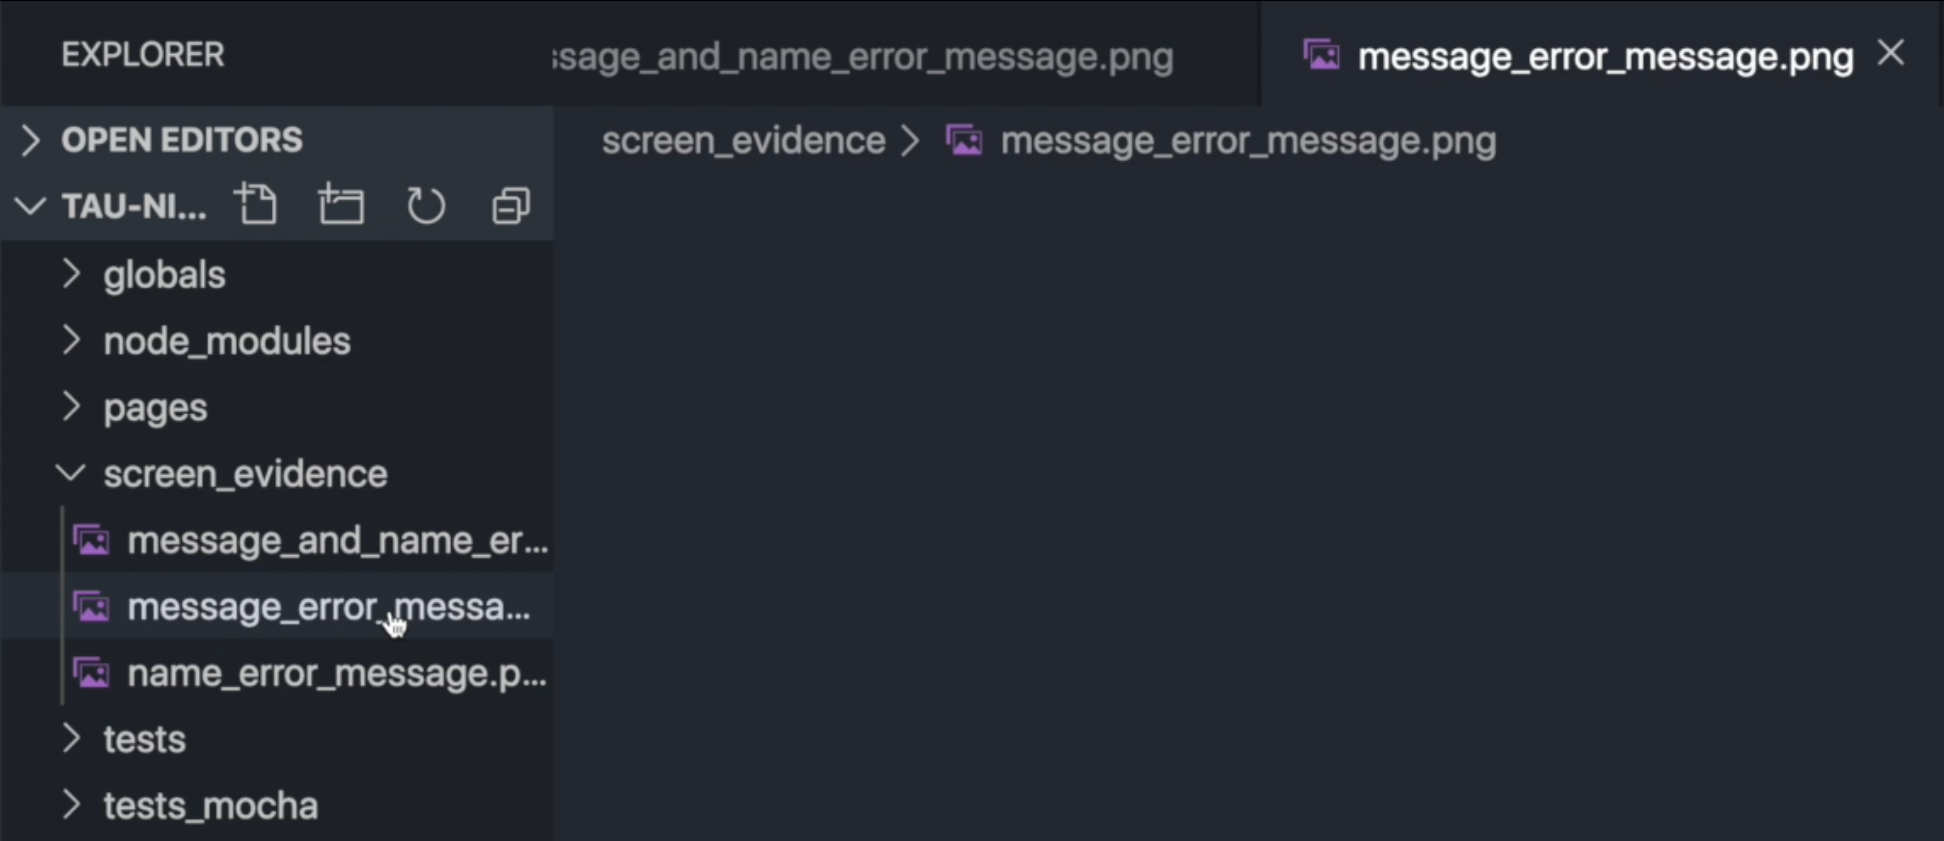
We want the screenshot to be stored in the root of our project, and we want it to be stored in a folder screen_evidence.
And for this image, I want to call it name_error_message.png.
For test case "Should verify that the message error is shown", I'll call it message_error_message.png.
And for the test case "Should verify that the message and name errors are shown", I'll call it message_and_name_error_message.png.
module.exports = [
    {
        testCase: "Should verify that the name error message is shown",
        name: "",
        message: "Lorem Ipsum is simply dummy text of the printing and typesetting industry",
        screenshotFileName: "./screen_evidence/name_error_message.png",
        expected: "Please, fill in the following fields:\nName"
    },
    {
        testCase: "Should verify that the message error is shown",
        name: "John Doe",
        message: "",
        screenshotFileName: "./screen_evidence/message_error_message.png",
        expected: "Please, fill in the following fields:\nMessage"
    },
    {
        testCase: "Should verify that the message and name errors are shown",
        name: "",
        message: "",
        screenshotFileName: "./screen_evidence/message_and_name_error_message.png",
        expected: "Please, fill in the following fields:\nName\nMessage"
    }
];
Now we can go back to our test in mocha.data.driven.test.js and use the .saveScreenshot() method that will accept the file name.
const data = require('../globals/data');
describe("Forms Suite", ()=> {
     data.forEach(({testCase, name, message, screenshotFileName ,expected}) => {
            it(testCase, (client)=> {
                const FormPage = client.page.FormPage();
                FormPage
                    .navigate()
                    .enterNameAndMessage(name, message)
                    .submitForm('@form')
                    .saveScreenshot(screenshotFileName)
                    .verify.containsText('@lblLeftFormMessage', expected)
            });
     });
});
Let us run our test again and see what happens.
Now, we can see that a new folder is created, screen_evidence.
And here, we can see that the state of the browser was captured after each time we submitted.
This is another way that we can visually tell that our test did work as expected and is one of the neat features of using mocha for a test.
This can be applied, for example, if you were tasked with automating an application form.
Because an application form can have so many fields and you'd want to quickly test for errors, and also possibly test that you can submit different types of forms based on the information that you enter, having a data object where you can specify what values you'd like to enter and test your error messages makes it easier.
Also, this will make it much easier for you to generate, let's say, 50 test cases without having to write a lot of code. You just have to write the data.
