

Transcripted Summary
# Page Object
We have two tests so far. What I'd like to do next is to show you how we can transform this test using the "Page Object" support that Nightwatch has built in.
To use page objects, we have to specify a page_objects_path within our nightwatch.json file. We have a folder in our root that is called pages, and this is the path where we'll define our page object.
Let's create a new file and call it FormPage.js.
The basic structure of a page object in Nightwatch should include elements, which is an object, commands, which is an array.
We have the url, which can be a function or a string. And what this does - the page object can resolve this string or a function by using the object.Navigate function.
In this case, we'll make it a function and we will return a string. So, we'll say $(this.api.launchUrl)/ and append filling-out-forms.
What this will allow us to do is that if we have multiple environments, this will ensure that our page object url remains dynamic.
We can always change the base URL, but the actual path will remain the same.
As a personal preference, I like to define my elements outside of my modules.export.
So, I'll create a constant called elements, and I'll assign it here.
I'll also do the same for my commands.
For me personally, I think this is much easier for me to read once I'm defining my elements and my commands and I can separate them, rather than having all of the code in my modules.
I can basically have them as sections.
const elements = {

};

const commands = [

];

module.exports = {
    elements: elements,
    commands: commands,
    url: function() {
        return `${this.api.launchUrl}/filling-out-forms/`
    }
}
Now that we have the basic structure in place, we can go ahead and define some elements. First, let us define our name.
So, we already have that selector #et_pb_contact_name_0 in our test that we created.
So, let me copy it and we'll say leftFormName. It's a bit long, but I want it to be descriptive.
So, this is the shortened way of defining your element within a page object.
const elements = {
     // shorthand definition
     leftFormName: "#et_pb_contact_name_0"
};
Another way for us to define our element - the full definition would be - for example, leftFormMessage - it's an object with two keys.
It would have a selector - in this case our selector would be #et_pb_contact_name_0, and would also define our locateStrategy, which would be css_selector.
const elements = {
     // shorthand definition
     leftFormName: "#et_pb_contact_name_0",

     //full defintion
     leftFormMessage: {
        selector: '#et_pb_contact_message_0',
        locateStrategy: 'css selector',
     }
};
We could also define our element using an xpath. By default, Nightwatch uses css_selector as the locateStrategy.
So, that's why the shorthand will work just fine, because we don't have to explicitly state our locateStrategy.
But if we had an element that is going to be an xpath, then we would have to write the full definition, provide the selector, and also provide the locateStrategy to the xpath.
Let's also add the submit button. We'll go back to using the shorthand. We'll also define our form.
const elements = {
     // shorthand definition
     leftFormName: "#et_pb_contact_name_0",

     //full defintion
     leftFormMessage: {
        selector: '#et_pb_contact_message_0',
        locateStrategy: 'css selector',
     },
     form: '#et_pb_contact_form_0 form',
     btnSubmit: `#et_pb_contact_form_0 form button`
};
Now that we have a few of our essential elements defined, we can go ahead and define our commands.
We'll create a command that will fill out the form - so it will accept a name and a message.
We'll have to define our commands in an object, enterNameAndMessage() and this will accept name and a message.
When we're defining our commands within our page object, we want to ensure that we return some form of value. For chaining, it's best that we return this.
So, we'll say this.setValue.
Within our page object, we can access our elements by using the @ sign.
So, for example, we can say @leftFormName, and Nightwatch will automatically resolve this name to this selector and now we can add our name variable here.
We can continue to chain the next setValue, which is for a message.
Let's say @leftFormMessage, and we'll add our message variable.
const commands = [
      {
          /**
           * Enters the given name and message into the left form feilds
           *
           * @param {String} name
           * @param {String} message
           */
          enterNameAndMessage(name, message){
                return this
                        .setValue('@leftFormName', name)
                        .setValue('@leftFormMessage', message)
          }
      }
];
We can also write a method to submit our form.
So, you can say submitLeftForm.
We can use a .submitForm() nightwatch command, but let's click the form button instead.
const commands = [
      {
          /**
           * Enters the given name and message into the left form feilds
           *
           * @param {String} name
           * @param {String} message
           */

          enterNameAndMessage(name, message){
                return this
                        .setValue('@leftFormName', name)
                        .setValue('@leftFormMessage', message)
          },

          submitLeftForm(){
                return this.click('@btnSubmit')
          }
      }
];
Let me see if we have everything covered.
We'll also need to get this label so let's define our label, lblLeftFormMessage with the selector #et_pb_contact_form_0 > div:nth-child(1).
So, I want to show you something.
So, since version 1.1, Nightwatch allows us to use CSS pseudo selectors like nth-child when we start our variable with @.
So we'll remove :nth-child(1) from our selector.
const elements = {
     // shorthand definition
     leftFormName: "#et_pb_contact_name_0",

     //full defintion
     leftFormMessage: {
        selector: '#et_pb_contact_message_0',
        locateStrategy: 'css selector',
     },
     form: '#et_pb_contact_form_0 form',
     btnSubmit: `#et_pb_contact_form_0 form button`,
     lblLeftFormMessage: '#et_pb_contact_form_0 > div'
};
Let's look at our page object as a whole.
So, now we have our elements defined.
We have our commands defined in our page object.
And then we assign everything into the module, and we also have our url defined.
const elements = {
     // shorthand definition
     leftFormName: "#et_pb_contact_name_0",

     //full defintion
     leftFormMessage: {
        selector: '#et_pb_contact_message_0',
        locateStrategy: 'css selector',
     },
     form: '#et_pb_contact_form_0 form',
     btnSubmit: `#et_pb_contact_form_0 form button`,
     lblLeftFormMessage: '#et_pb_contact_form_0 > div'
};

const commands = [
      {
          /**
           * Enters the given name and message into the left form feilds
           *
           * @param {String} name
           * @param {String} message
           */

          enterNameAndMessage(name, message){
                return this
                        .setValue('@leftFormName', name)
                        .setValue('@leftFormMessage', message)
          },

          submitLeftForm(){
                return this.click('@btnSubmit')
          }
      }
];

module.exports = {
    elements: elements,
    commands: commands,
    url: function() {
        return `${this.api.launchUrl}/filling-out-forms/`
    }
}
We can now go back to forms.test.js and recreate these tests using the page object.
We'll call the new test "Should successfully fill out the left form using page object".
Even though we already have this client.url in our beforeEach, I still want to demonstrate how we can use the page object.navigate.
Firstly, for us to use our page object, we need to define it.
So FormPage - we can access our page objects through the client.page.
And then we'll use the name of our file excluding the extension to access the page object.
We can now go ahead and say FormPage.navigate and this will navigate to the URL that we have specified here in the url function.
Now this is where the fun part comes in - we can remove all of this:
            .setValue('#et_pb_contact_name_0', 'John Doe')
            .setValue('#et_pb_contact_message_0', 'Lorem Ipsum is simply dummy text of the printing and typesetting industry.')
with just the method that we had defined in the page object, which is enterNameAndMessage. We'll take the name because that is our first argument, and then we also add our message.
We can also use the submitLeftForm method to click on the submit button and then we can verify the message that we will be expecting.
Here is where I'll use the CSS pseudo, and we'll say :nth-child(1).
This is another way that we can use the page object shortcut.
But what I'll do, I'll go back to my page object, and I'll leave the definition inside, but I just wanted to show you that.
module.exports = {
     beforeEach: (client) => {
        client
            .url(`${client.launch_url}/filling-out-forms/`)
     },

    "Should successfully fill out the left form": (client) =>{
        client
            .verify.title('Filling Out Forms - Ultimate QA')
            .setValue('#et_pb_contact_name_0', 'John Doe')
            .setValue('#et_pb_contact_message_0', 'Lorem Ipsum is simply dummy text of the printing and typesetting industry.')
            .submitForm('#et_pb_contact_form_0 form')
            .expect.element('#et_pb_contact_form_0').text.to.be.equal('Form filled out successfully')
    },

    "Should successfully fill out the left form using -  Page Object": (client) => {
            const FormPage = client.page.FormPage();
            FormPage
                .navigate()
                .verify.title('Filling Out Forms - Ultimate QA')
                .enterNameAndMessage('John Doe', 'Lorem Ipsum is simply dummy text of the printing and typesetting industry.')
                .submitLeftForm()
                .verify.containsText('@lblLeftFormMessage', 'Form filled out successfully')
    },

    "Should verify error message when the left form is not filled out and submitted": (client) => {
         client
            .submitForm('#et_pb_contact_form_0 form')
            .verify.containsText('#et_pb_contact_form_0 > div:nth-child(1)',
                    'Please, fill in the following fields:\nName\nMessage')
    },

    after: (client) => {
        client.end();
    }
};
What we can do now - we can run our tests and see if all of them pass.
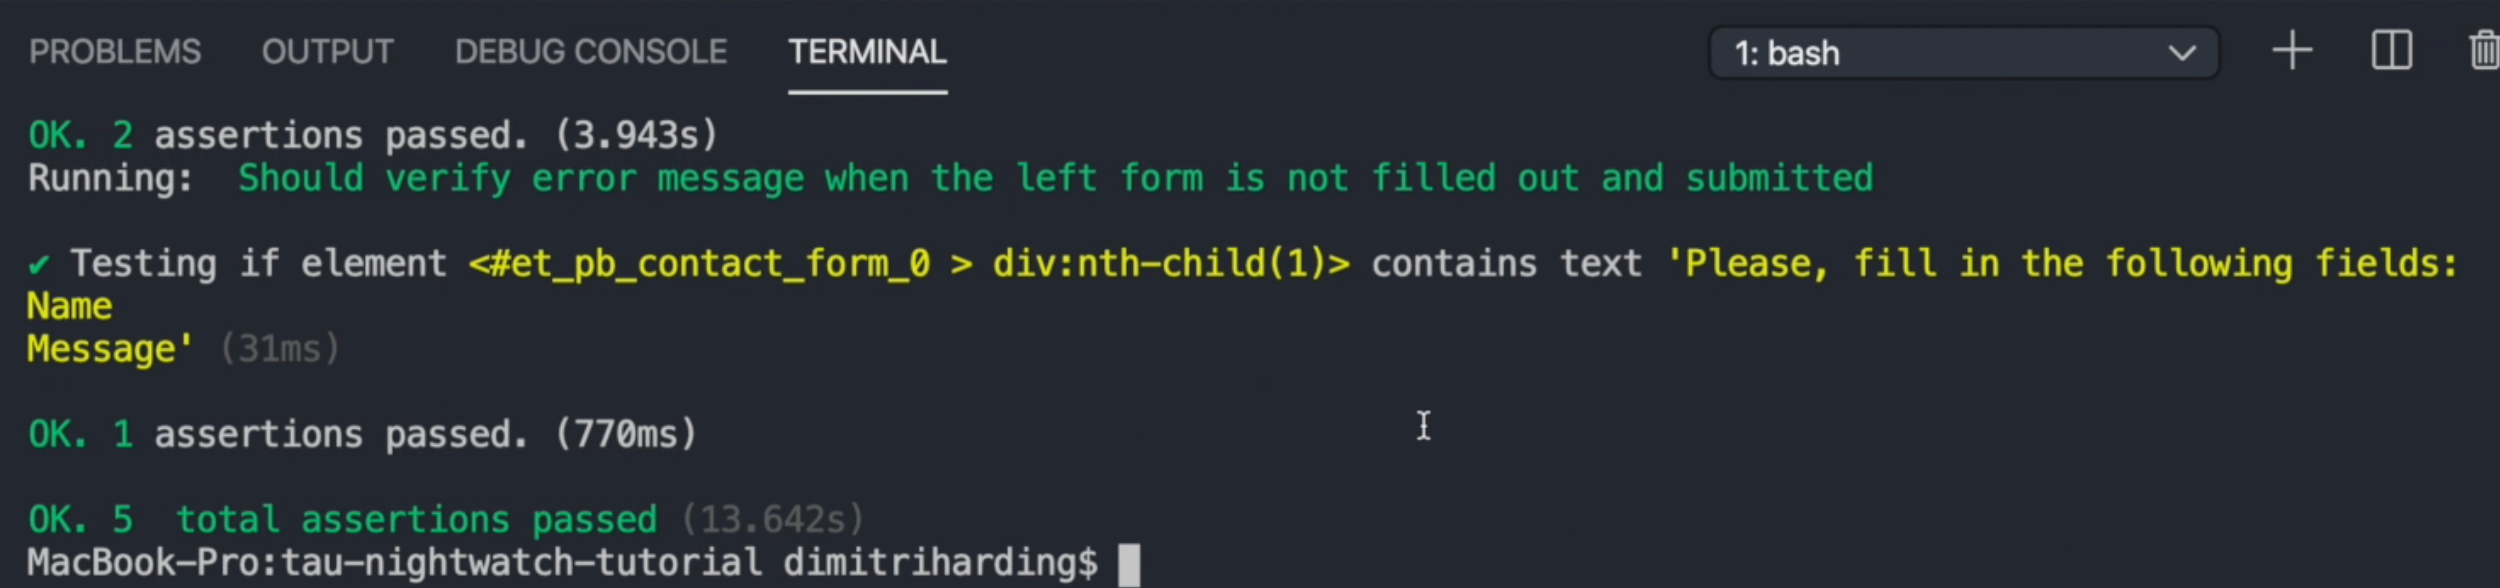
Now all of our tests pass as expected, even the test that we created using our page object.
Our page object does make it very easy to encapsulate the different Nightwatch methods.
And we can also perform very complicated tasks within our page object and within the test, we can only call one or two functions and it will work just fine.
# Sections
Another thing about page object that we can talk about is sections.
So, we can define different sections within our page object.
So, for example in FormPage.js we can create a section and let's call it rightForm.
We'll define the selector for that form.
And we can define elements.
So, what will happen is that this will be our parent ID and every element that we defined will basically be defined under that parent.
So, it would be very specific to the rightForm.
So, under elements, we can define txtName and txtMessage.
We also can define our submit button btnSubmit- and in this case because we already have our parent - so we can just say button because it's the only button element that is under this section.
So, it will find it without us having to explicitly state what we're looking for.
We can also define commands, which will only be in the scope of this section.
Let's just write one method enterName to return this.setValue('@txtName', name) - the element that we defined within this section.
So this is what FormPage.js looks like:
const elements = {
     // shorthand definition
     leftFormName: "#et_pb_contact_name_0",

     //full defintion
     leftFormMessage: {
        selector: '#et_pb_contact_message_0',
        locateStrategy: 'css selector',
     },

     form: '#et_pb_contact_form_0 form',
     btnSubmit: `#et_pb_contact_form_0 form button`,
     lblLeftFormMessage: '#et_pb_contact_form_0 > div:nth-child(1)'
};

const commands = [
      {
          /**
           * Enters the given name and message into the left form feilds
           *
           * @param {String} name
           * @param {String} message
           */
          enterNameAndMessage(name, message){
                return this
                        .setValue('@leftFormName', name)
                        .setValue('@leftFormMessage', message)
          },

          submitLeftForm(){
                return this.click('@btnSubmit')
          }
      }
];

module.exports = {
    elements: elements,
    commands: commands,
    url: function() {
        return `${this.api.launchUrl}/filling-out-forms/`
    },

    sections: {
        rightForm: {
            selector: '#et_pb_contact_form_1',
            elements: {
                txtName: '#et_pb_contact_name_1',
                txtMessage: '#et_pb_contact_message_1',
                btnSubmit: 'button'
            },
            commands: [
                {
                    enterName(name){
                        return this
                                 .setValue('@txtName', name)
                    }
                }
            ]
        }
    }
}
Now that we have defined our section.
We can go back to our test file and access it. To access the section, you define that section.
So, we would say, const rightForm = FormPage.section.rightForm
Now we can access the elements using this section.
So, I can say rightForm.expect.element('@txtName').to.be.visible.
Our test now looks like this:
module.exports = {
     beforeEach: (client) => {
        client
            .url(`${client.launch_url}/filling-out-forms/`)
     },

    "Should successfully fill out the left form": (client) =>{
        client
            .verify.title('Filling Out Forms - Ultimate QA')
            .setValue('#et_pb_contact_name_0', 'John Doe')
            .setValue('#et_pb_contact_message_0', 'Lorem Ipsum is simply dummy text of the printing and typesetting industry.')
            .submitForm('#et_pb_contact_form_0 form')
            .expect.element('#et_pb_contact_form_0').text.to.be.equal('Form filled out successfully')
    },

    "Should successfully fill out the left form using -  Page Object": (client) => {
            const FormPage = client.page.FormPage();
            const rightForm = FormPage.section.rightForm;
            FormPage
                .navigate()
                .verify.title('Filling Out Forms - Ultimate QA')
                .enterNameAndMessage('John Doe', 'Lorem Ipsum is simply dummy text of the printing and typesetting industry.')
                .submitLeftForm()
                .verify.containsText('@lblLeftFormMessage', 'Form filled out successfully')
            rightForm.expect.element('@txtName').to.be.visible
    },

    "Should verify error message when the left form is not filled out and submitted": (client) => {
         client
            .submitForm('#et_pb_contact_form_0 form')
            .verify.containsText('#et_pb_contact_form_0 > div:nth-child(1)',
                    'Please, fill in the following fields:\nName\nMessage')
    },

    after: (client) => {
        client.end();
    }
};
Let's run our tests and see.
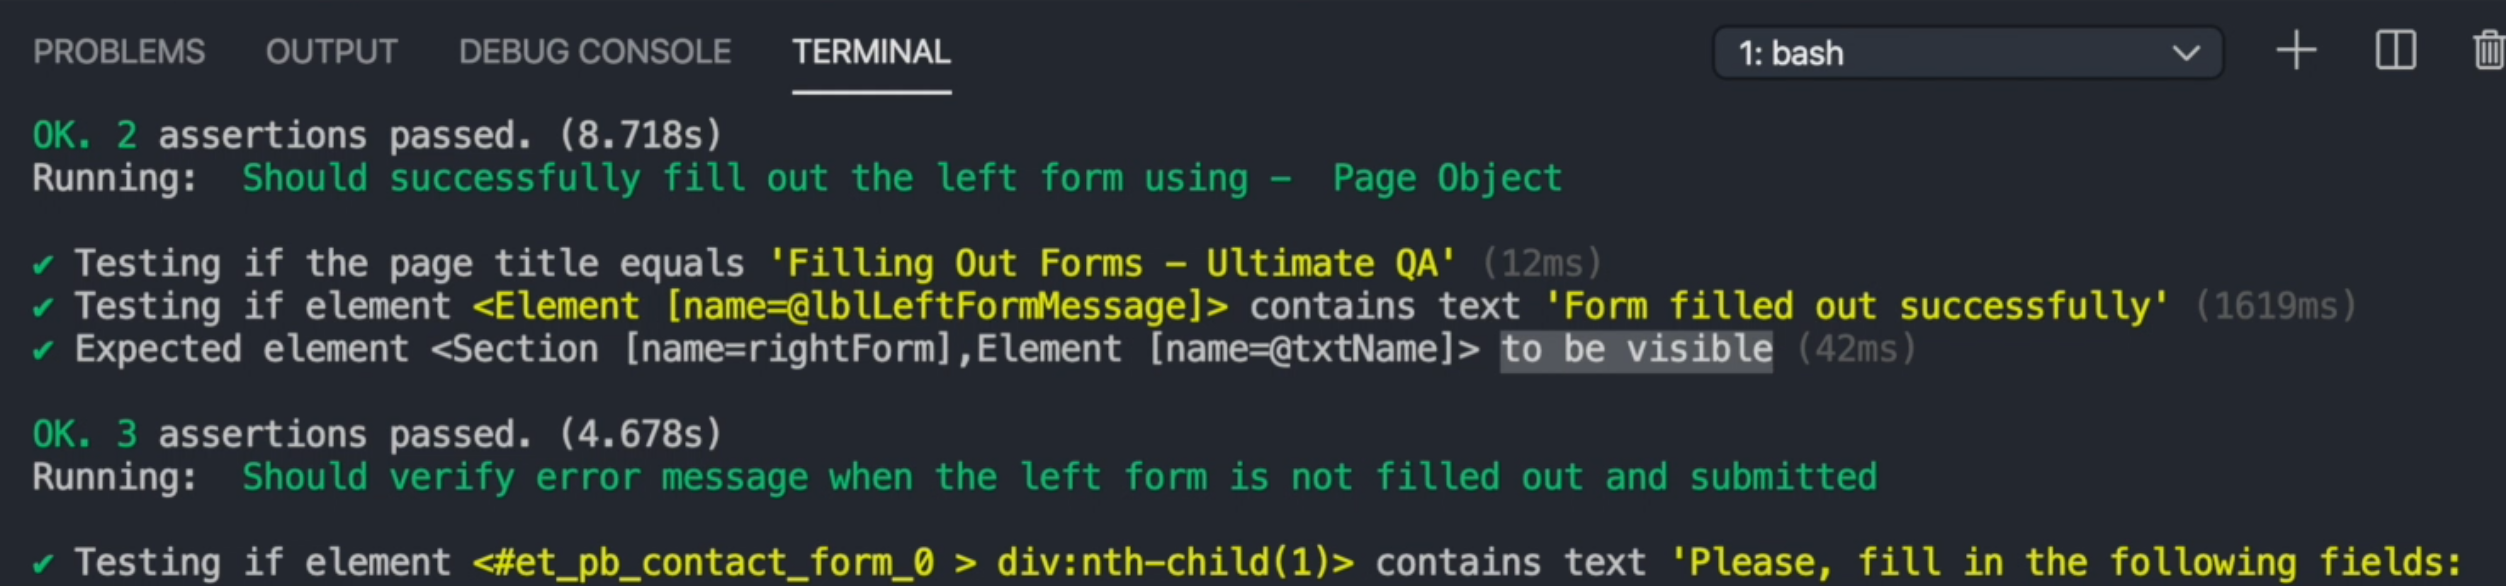
So, you can see the expected element, section name rightForm, the element that we executed to be visible. We can also use a different method if we need to.
This page would be a perfect example of how we could separate the two form fields by using sections and you can define multiple sections. Each section has its own elements.
Resources
Quiz
The quiz for this chapter can be found in section 7.4
