

Transcripted Summary
We can also write our test using the Mocha test runner and also using the page object. Let's go ahead and see what that looks like.
We'll create a new file, call it mocha.forms.test.js.
We'll create our describe() function - that is our suite - we'll call it "Forms Suite".
Then we'll define our test by using the it() function and we'll call it "Should fill out form successfully".
We can go ahead and define our page object, and then create our test FormPage.navigate().
Then we can verify the title of the page.
The rest of the test we're just going to reuse from the "Should successfully fill out the left form using - Page Object" test in FormPage.js.
describe("Forms Suite", ()=> {
    it('Should fill out form successfully', (client) => {
        const FormPage = client.page.FormPage();
        FormPage
            .navigate()
            .verify.title('Filling Out Forms - Ultimate QA')
            .enterNameAndMessage('John Doe', 'Lorem Ipsum is simply dummy text of the printing and typesetting industry.')
            .submitForm('@form')
            .verify.containsText('@lblLeftFormMessage', 'Form filled out successfully')
    });
});
Now let us run our test. We run our test by specifying the new path.
npm test -- -t ./tests_mocha/mocha.forms.test.js
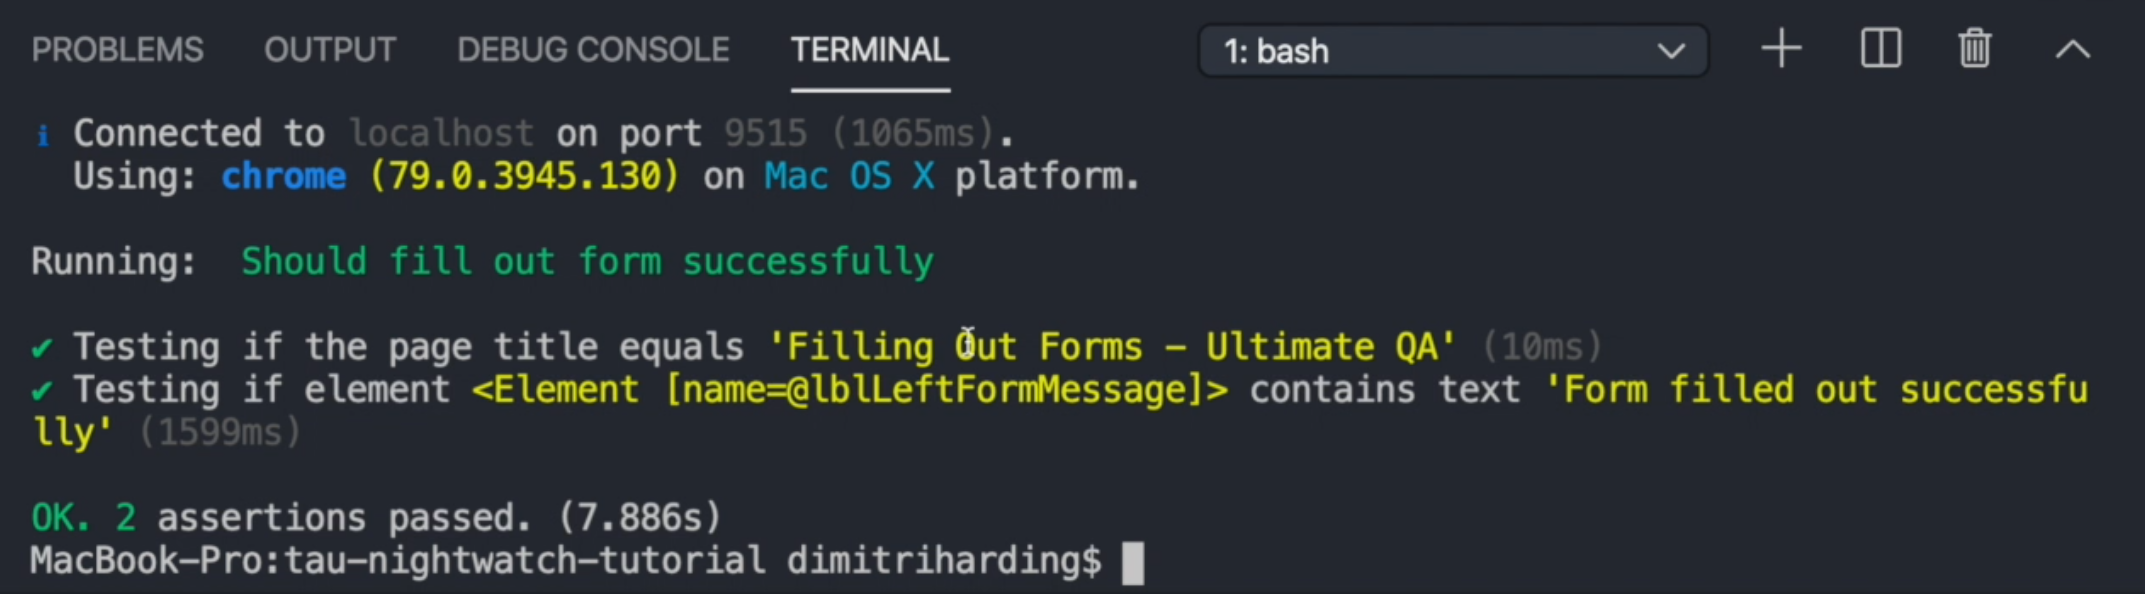
It works just the same as if we were using the native or the default Nightwatch test runner. But one would wonder - why would you want to use the Mocha test runner over Nightwatch?
Outside of just the syntax, there's one other useful reason why you'd want to use Mocha over Nightwatch - that's because it supports dynamic test creation.
So therefore we can create tests dynamically and we can assert data dynamically as well.
Let me go ahead and show you an example of what I mean. Within our globals folder, I'll create a new file, called data.js. And what we'll want to accomplish is:
When we type into the "Name" field and press enter, we get an error message because we only entered a value into the name field.
If we only enter a value into the Message field, we'll get a different error message.
If we don't enter any value at all, and press submit, we get a different error message.
What if we wanted to test all these variations, but we didn't want to write three separate tests?
Well, with the Mocha test runner, we will be able to define our data set, and then we can loop through and create our tests dynamically, to test all the different permutations of the errors.
So our data would be very simple.
Let's make it into an array of objects.
In each object, we want to capture testCase, the name that will be entering, the message that will be entering, and also the expected result.
Since there are three states of error, we'll have three of these data sets.
So let's define our test cases.
The first test case will be - "Should verify that the name error message is shown".
For us to get the name error message, we'll have to enter a value into the message field, but we have to leave the name field empty.
We can do this by just adding some text into the message field alone.
For the expected error message, we'll be seeing "Please, fill in the following fields:\nName". This is our expected error message that we want to assert for.
We'll go ahead and create another test - "Should verify that the message error is shown".
We'll enter the name, "John Doe", we'll leave the message field empty and we'll update our error message, because now it should say "Message" instead of "Name".
It should say, "Please, fill in the following fields:\nMessage" because we left the message field empty.
And for our final test - "Should verify that the message and name errors are shown", we'll leave name and message blank.
Our data.js file looks like:
module.exports = [
    {
        testCase: "Should verify that the name error message is shown",
        name: "",
        message: "Lorem Ipsum is simply dummy text of the printing and typesetting industry",
        screenshotFileName: "./screen_evidence/name_error_message.png",
        expected: "Please, fill in the following fields:\nName"
    },
    {
        testCase: "Should verify that the message error is shown",
        name: "John Doe",
        message: "",
        screenshotFileName: "./screen_evidence/message_error_message.png",
        expected: "Please, fill in the following fields:\nMessage"
    },
    {
        testCase: "Should verify that the message and name errors are shown",
        name: "",
        message: "",
        screenshotFileName: "./screen_evidence/message_and_name_error_message.png",
        expected: "Please, fill in the following fields:\nName\nMessage"
    }
];
Now that we have our data set defined, what we'd want to do now is to create a test file.
So what I'll do - I'll go ahead and duplicate mocha.forms.test.js, so I can edit it to use the new data,js file.
I'm going to rename it and I'll call this mocha.data.driven.js.
First, let's require our data by referencing our file in globals.
Now what we can do is to modify our test.
The first thing I will do is loop through the data set by using the Javascript forEach() function.
For each object within our data set, we want to perform a test - we call this our testData.
Better yet, what we could do - we could destruct this information.
As you can see, this variable testData is our object so it has access to the testCase, name, message, and expected value.
Let's use deconstruction to get these values.
Now we can define how we would want our test to operate.
So we'll call it(), and then we pass in the testCase, we'll pass client and then we'll define our page object.
And instead of using all these values from the original test, we just use these variables.
For example, we'll call FormPage.navigate().enterNameAndMessage(), pass the name and the message, and then we'll submit our form using @form.
Then we'll verify that the correct error message is shown.
Now, we should be able to see three tests that will basically verify what is expected for each test. Let me add .test to the file name for consistency - so now it's mocha.data.driven.test.js.
For each of the objects within our data file, we want to perform this test. E
ach time the loop runs, the values will be switched out, to map back these three objects in the data.js file.
const data = require('../globals/data');
describe("Forms Suite", ()=> {
     data.forEach(({testCase, name, message, expected}) => {
            it(testCase, (client)=> {
                const FormPage = client.page.FormPage();
                FormPage
                    .navigate()
                    .enterNameAndMessage(name, message)
                    .submitForm('@form')
                    .verify.containsText('@lblLeftFormMessage', expected)
            });
     });
});
Let's run our test, and see.
npm test -- -t ./tests_mocha/mocha.data.driven.test.js
We had an error because I had the wrong element name.
This is another thing that you'll always have to remind yourself.
If you don't quite remember your name, just go back to the page object and just copy that name of the element, so you ensure that you are correct.
We'll fix it and rerun it.
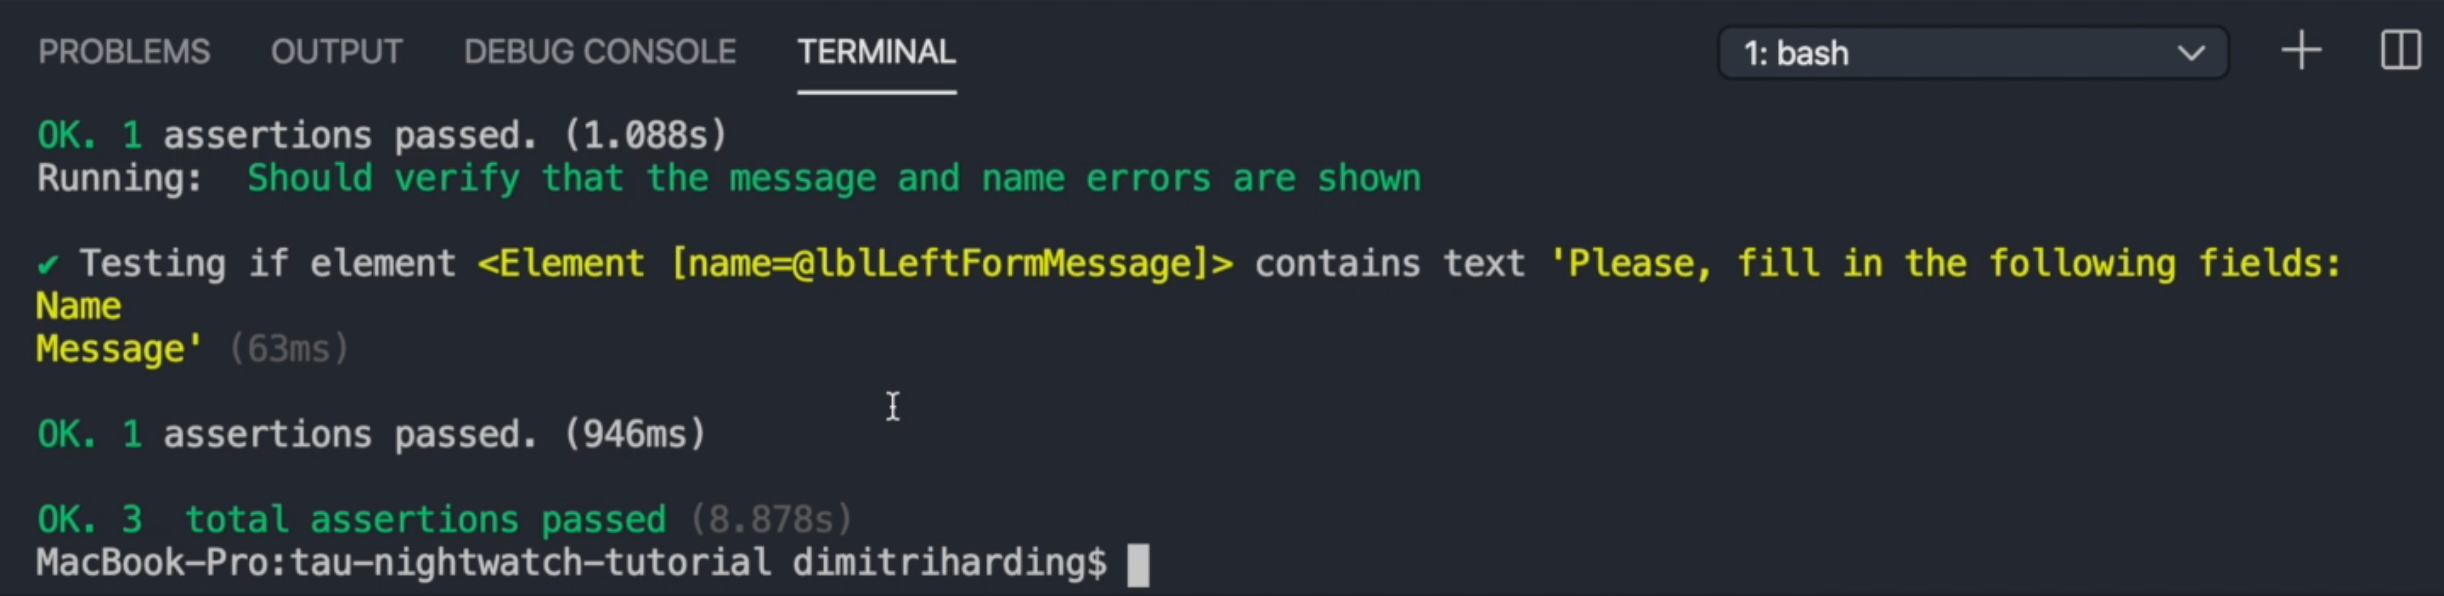
Now, it says we have a total of three assertions, and if we look, we can see, the name of our test.
Quiz
The quiz for this chapter can be found in section 7.4
