
Transcripted Summary
The next thing that we will be looking at is Element State.
There are three main methods that I would like us to look at for this section.
# .getText()
I want us to look at .getText() and this method returns the visible text for an element.
It is expecting us to provide a selector and a callback which are required for this method to work. So let me dive into our text editor and see how this method really behaves.
So we will call this file element.state.js and let's just copy some code from Chapter 3.1: Finding Elements so we can go a bit faster:
module.exports = {
    'demo Test': function (browser) {
        browser
        .url('https://www.ultimateqa.com/filling-out-forms')
        .waitForElementVisible('button[name="et_builder_submit_button"]', 'Submit button is visible')
    }
}
Let's take this selector button[name="et_builder_submit_button"] and we'll get rid of the waitForElementVisible call. This is for the submit button.
By default, .getText() will automatically wait for an element to be present so we don't necessarily need to write a .waitForElementVisible() because it is going to do that automatically.
We'll specify the selector, which is the submit button, and then within our callback function we'll take the results of the text and display it back to the console.
module.exports = {
    'demo Test': function (browser) {
        browser
        .url('https://www.ultimateqa.com/filling-out-forms')
        .getText('button[name="et_builder_submit_button"]', (resultText) => {
          console.log(resultText);
        })
    }
}
So let's go ahead and see.
We have to change the test file that we are using because it is a new test file. So we'll run:
./node_modules/.bin/nightwatch -t ./tests/element.state.js
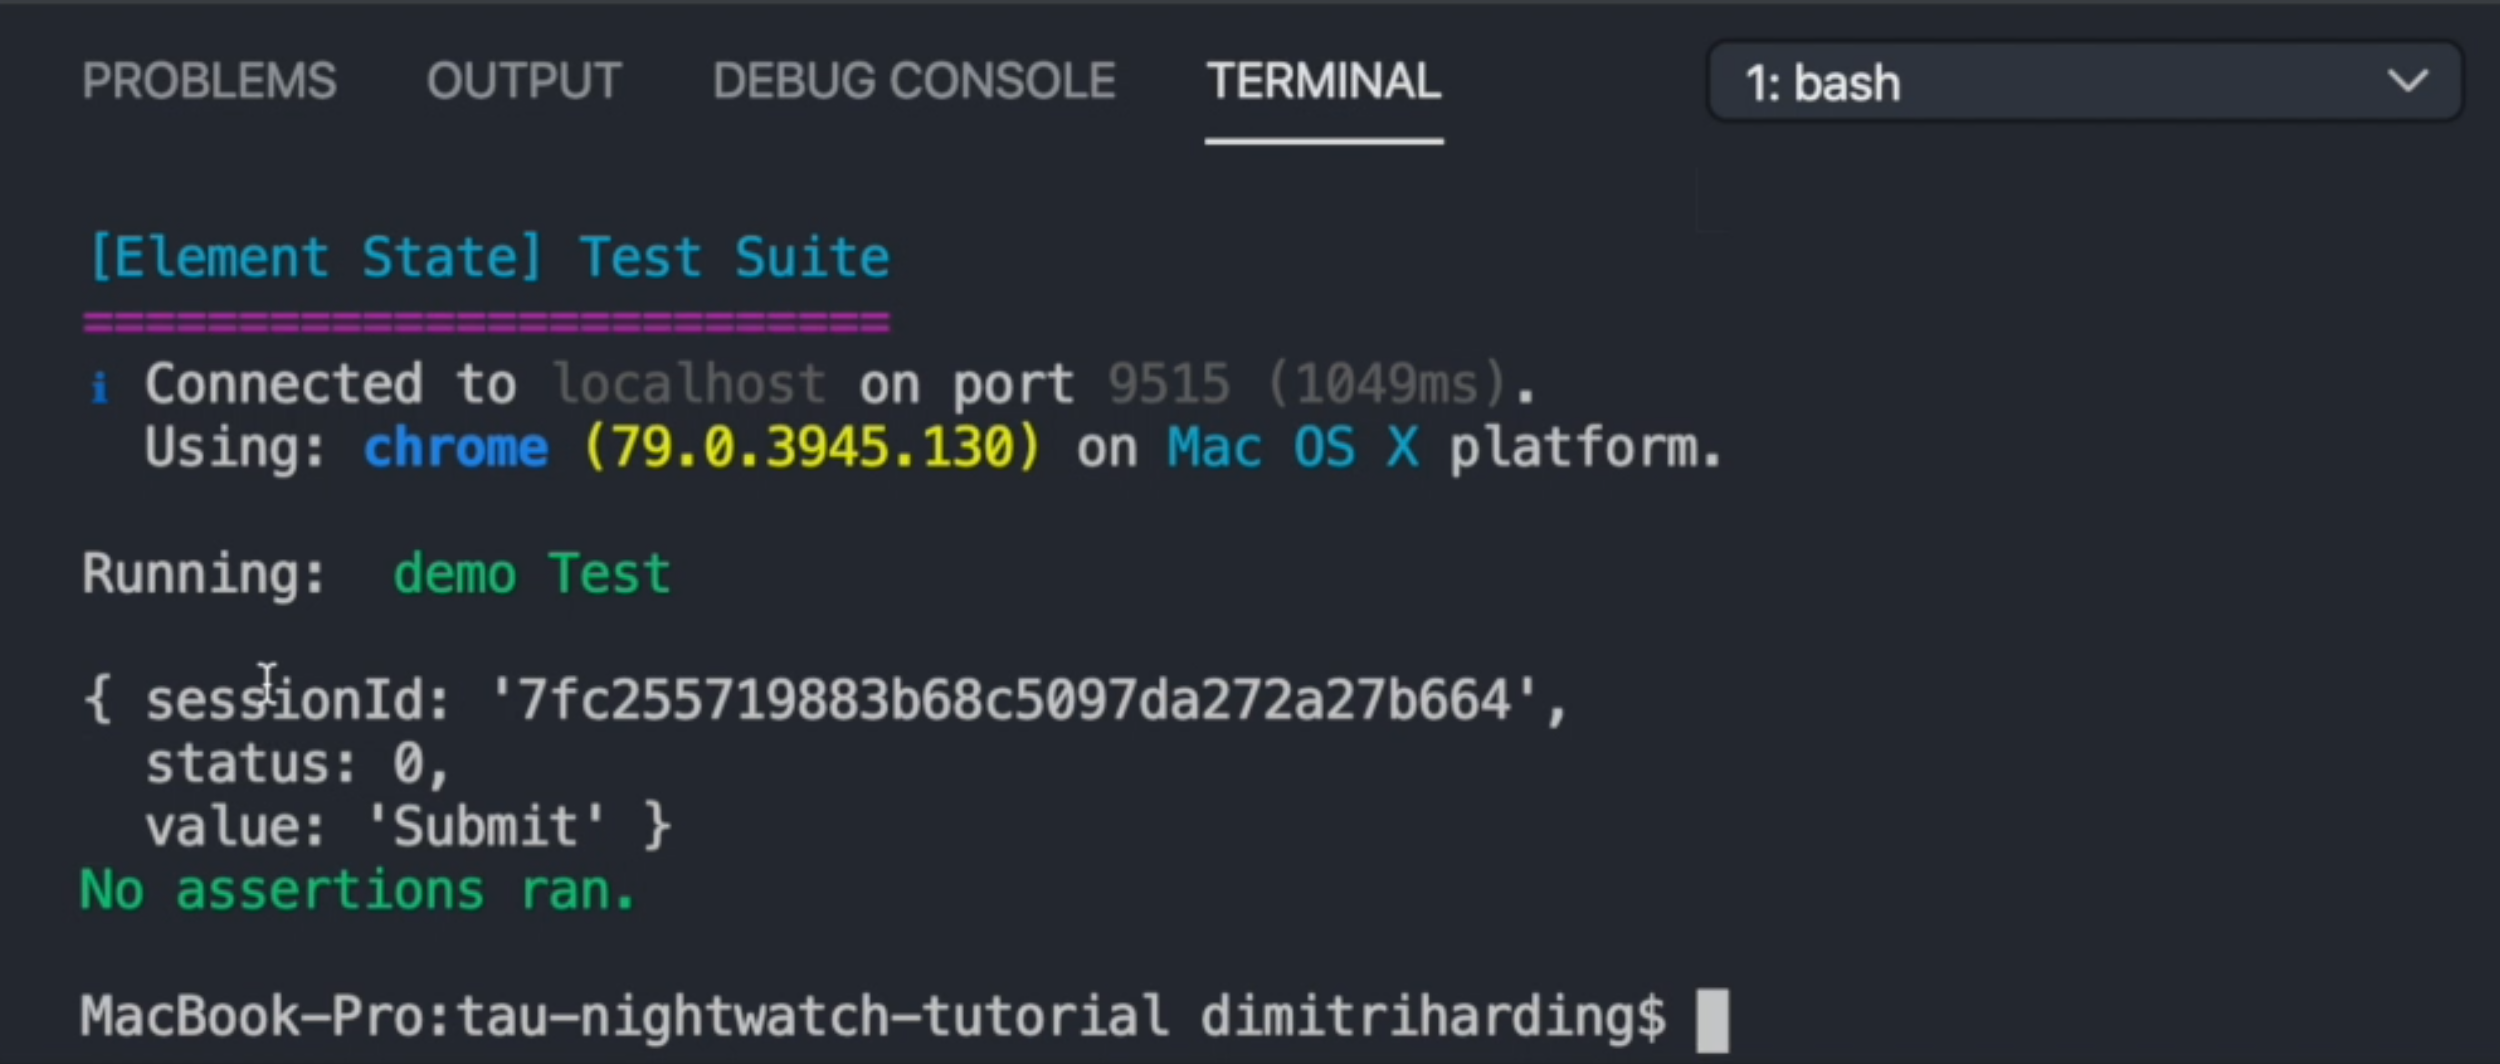
That has been completed. As we can see it returns an object - we have the sessionId of the session we have just run, the status of this element and the value of the actual text that is displayed.
So we could change console.log(resultText) to console.log(resultText.value), so we can only print out that message and then run it again.
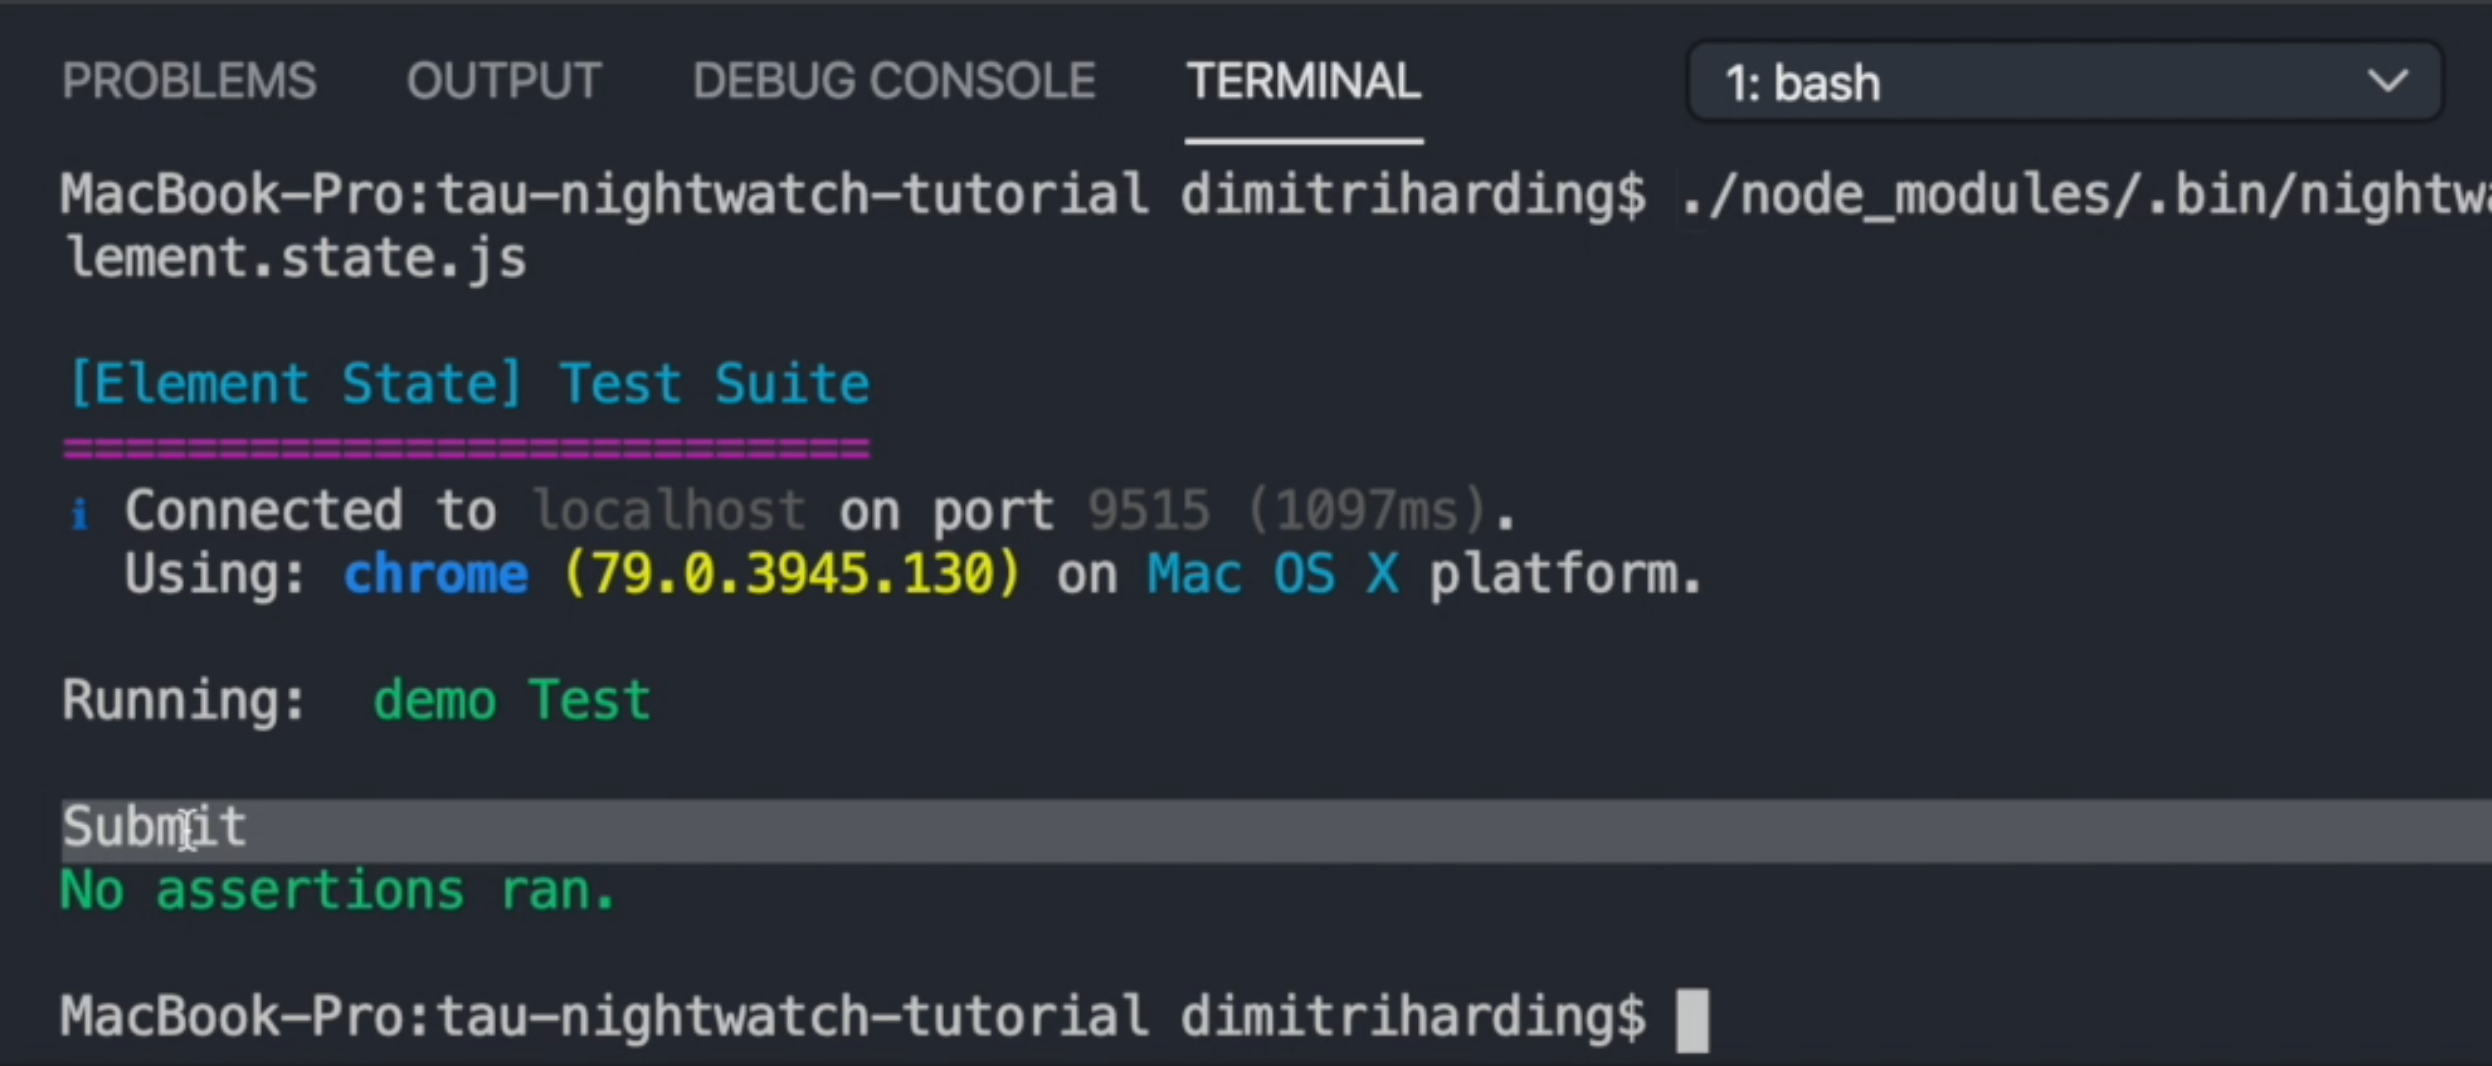
And it says 'Submit'. Okay, great!
# .getValue()
There is also another method called .getValue().
It's basically the same thing as .getText() because it's actually pulling the text from some element.
But this one is more geared towards form elements because .getText() doesn't work for form elements.
So you have to use .getValue() to actually get the values within those different fields.
We can try that to see if we'll get these placeholder messages.
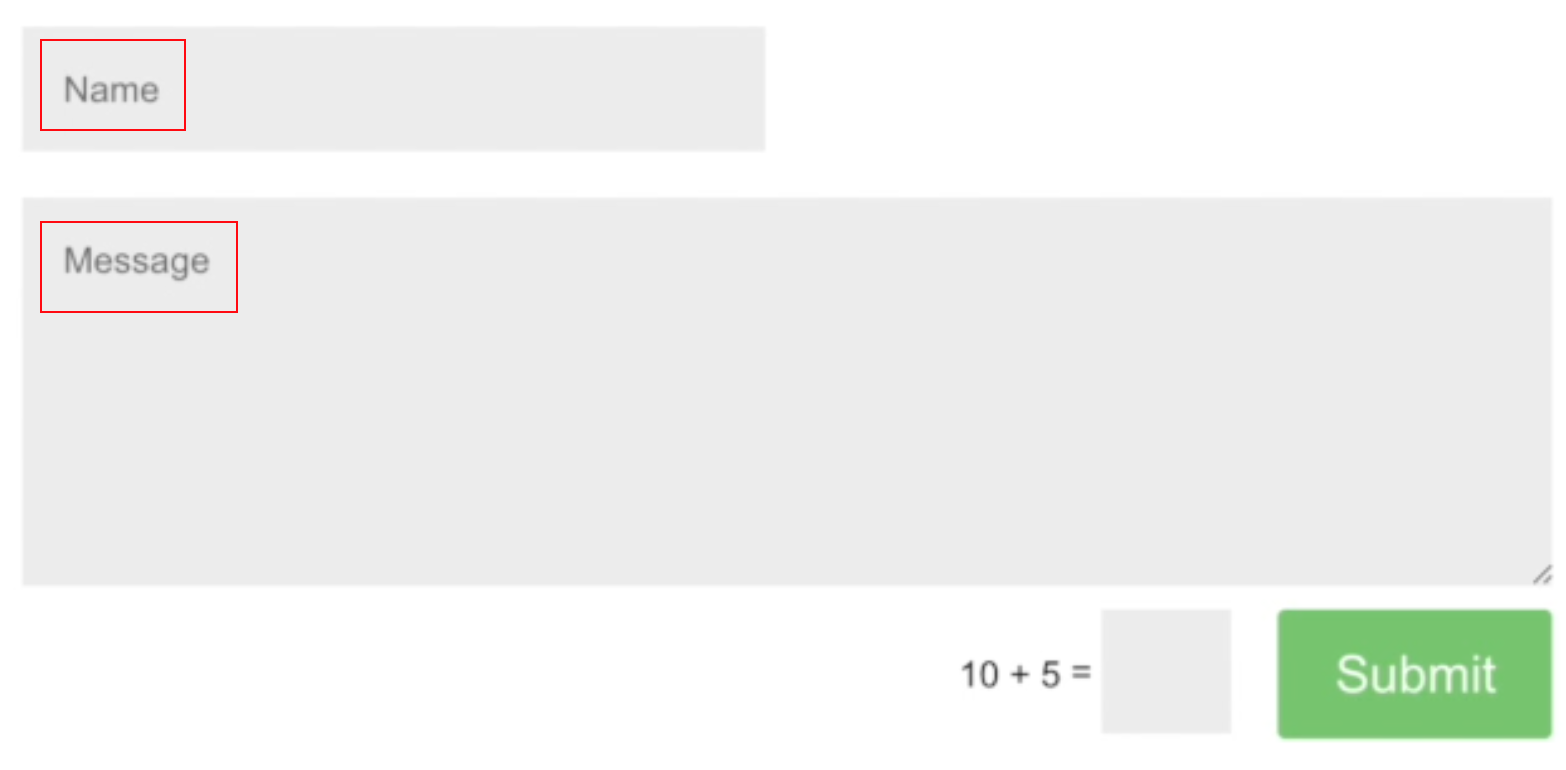
Let's go ahead and try that - I'll probably just do it for this field right here. Let me get the selector for it.
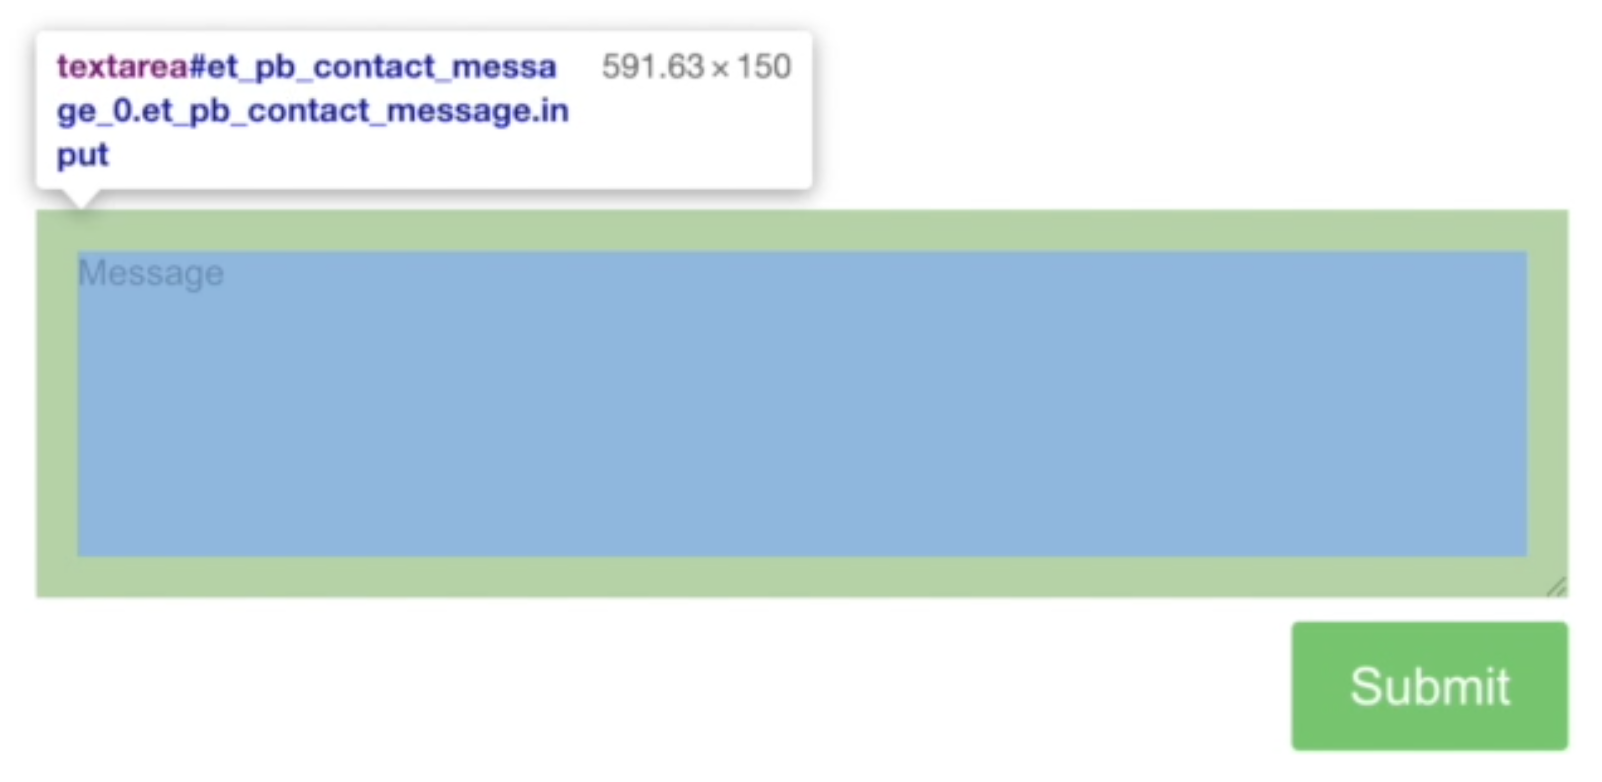
We'll just add .getValue() and we'll specify the selector that we want to interact with. This is an ID, so we'll add our hashtag. Then we'll console log the result value.
module.exports = {
    'demo Test': function (browser) {
        browser
        .url('https://www.ultimateqa.com/filling-out-forms')
        .getText('button[name="et_builder_submit_button"]', (resultText) => {
          console.log(resultText);
        .getValue('#et_pb_contact_message_0', (resultValue) => {
          console.log(resultValue.value);
        })
    }
}
Let's run this and see what we get.
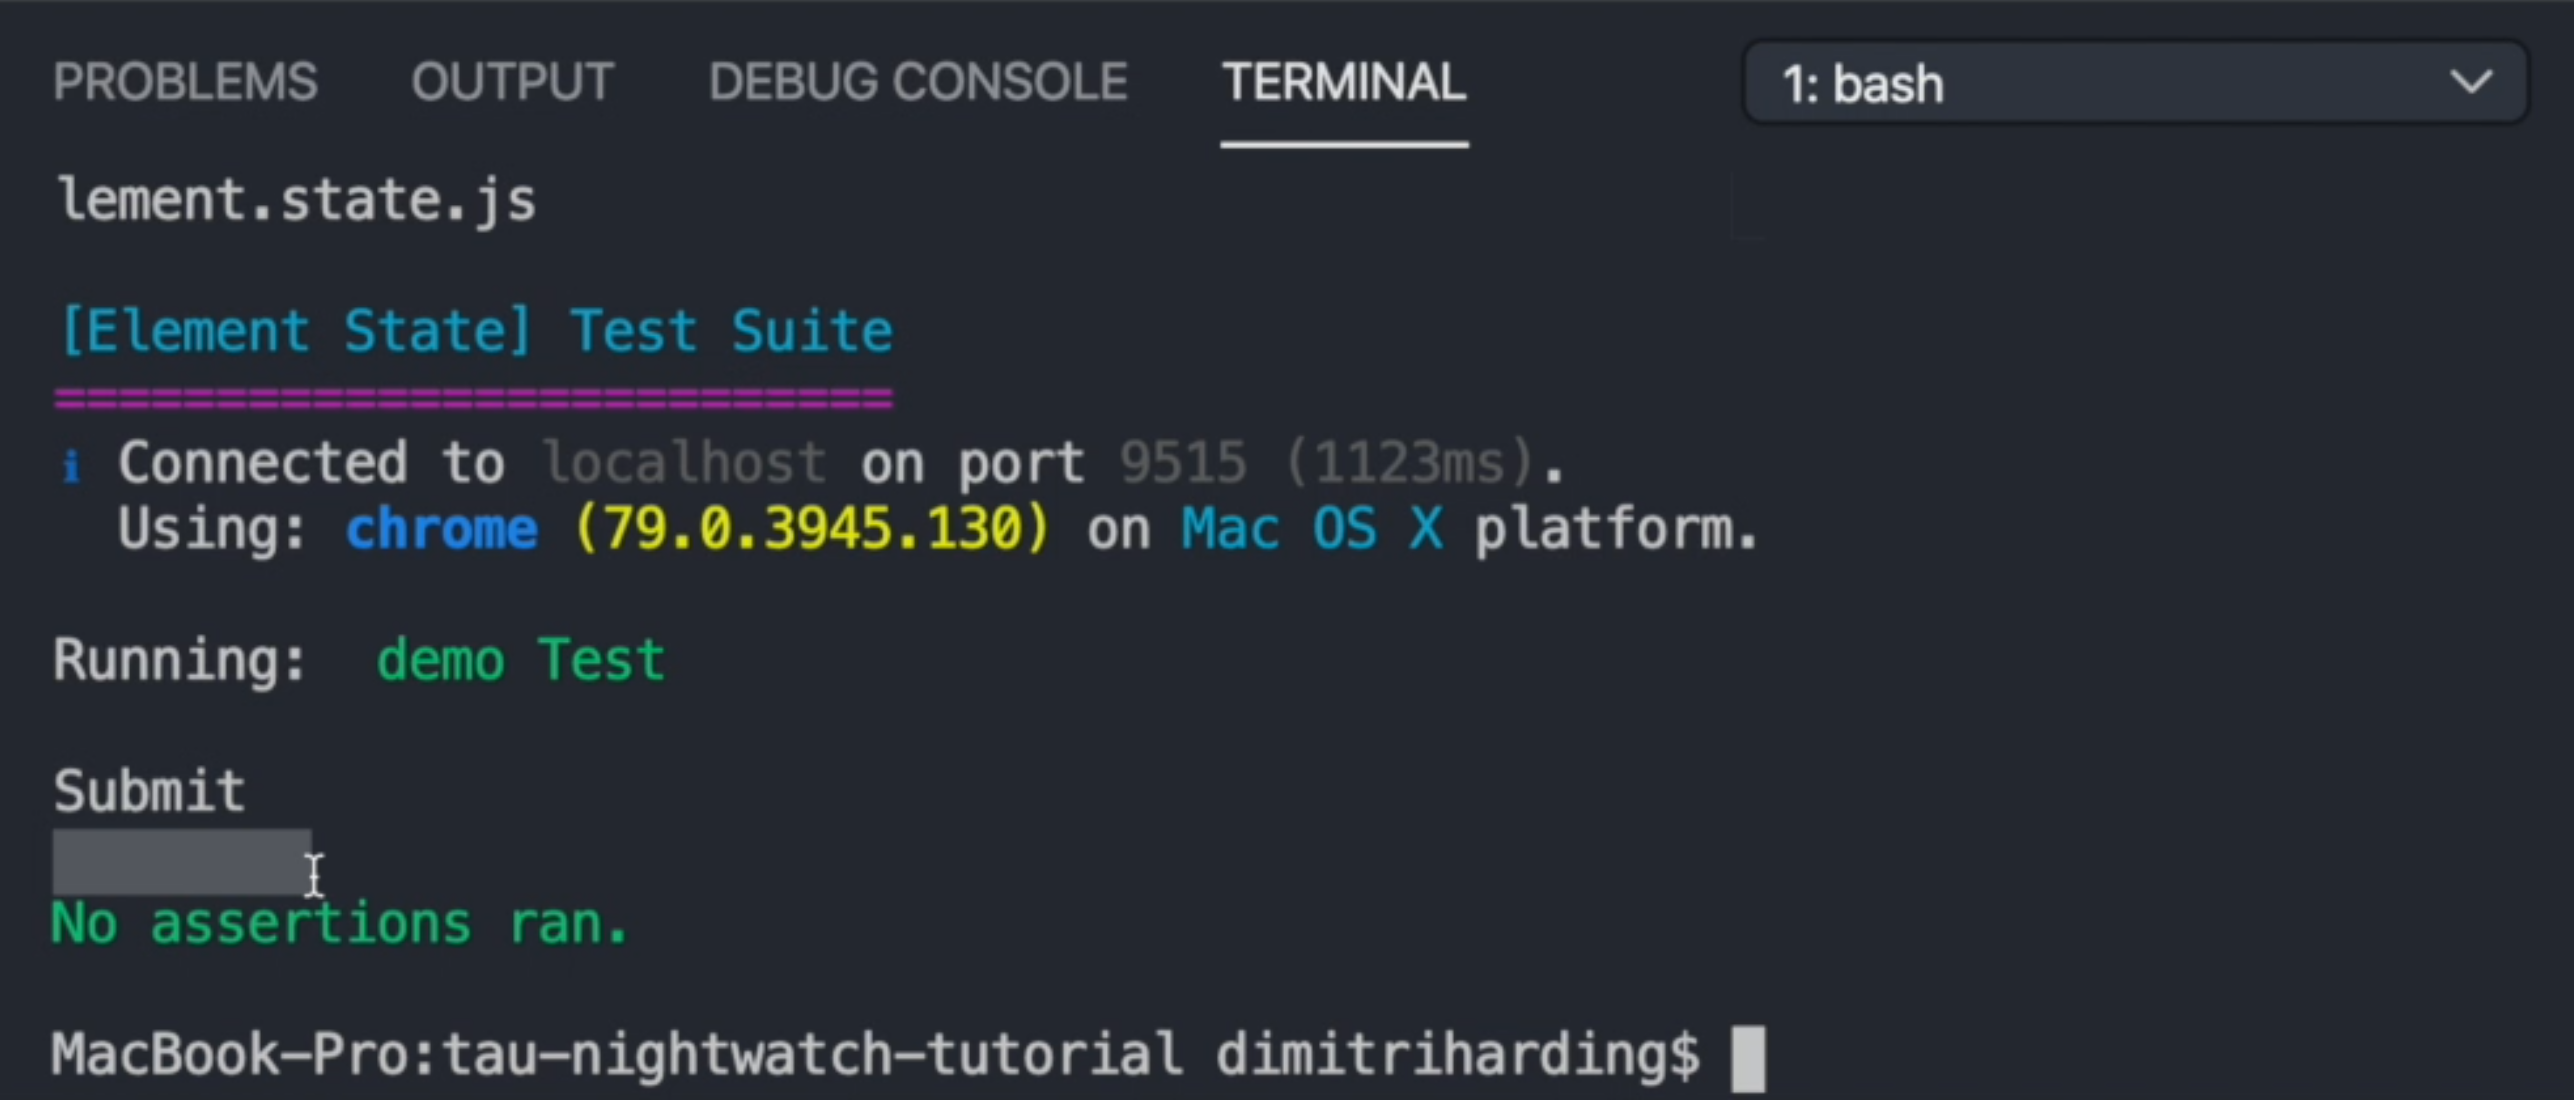
So we do see the Submit, We also note that this space is empty because there's no actual value in this field. Yes, you see "Message" but that's only a placeholder, it's not actually the value of that field, which is fine.
So let us set a value within that field and see if we can retrieve it.
module.exports = {
    'demo Test': function (browser) {
        browser
        .url('https://www.ultimateqa.com/filling-out-forms')
        .getText('button[name="et_builder_submit_button"]', (resultText) => {
             console.log(resultText.value);
        })

        .setValue('#et_pb_contact_message_0', 'Testing')
        .getValue('#et_pb_contact_message_0', (resultValue)=> {
            console.log(resultValue.value);
        })
    }
}
Lets try that again.
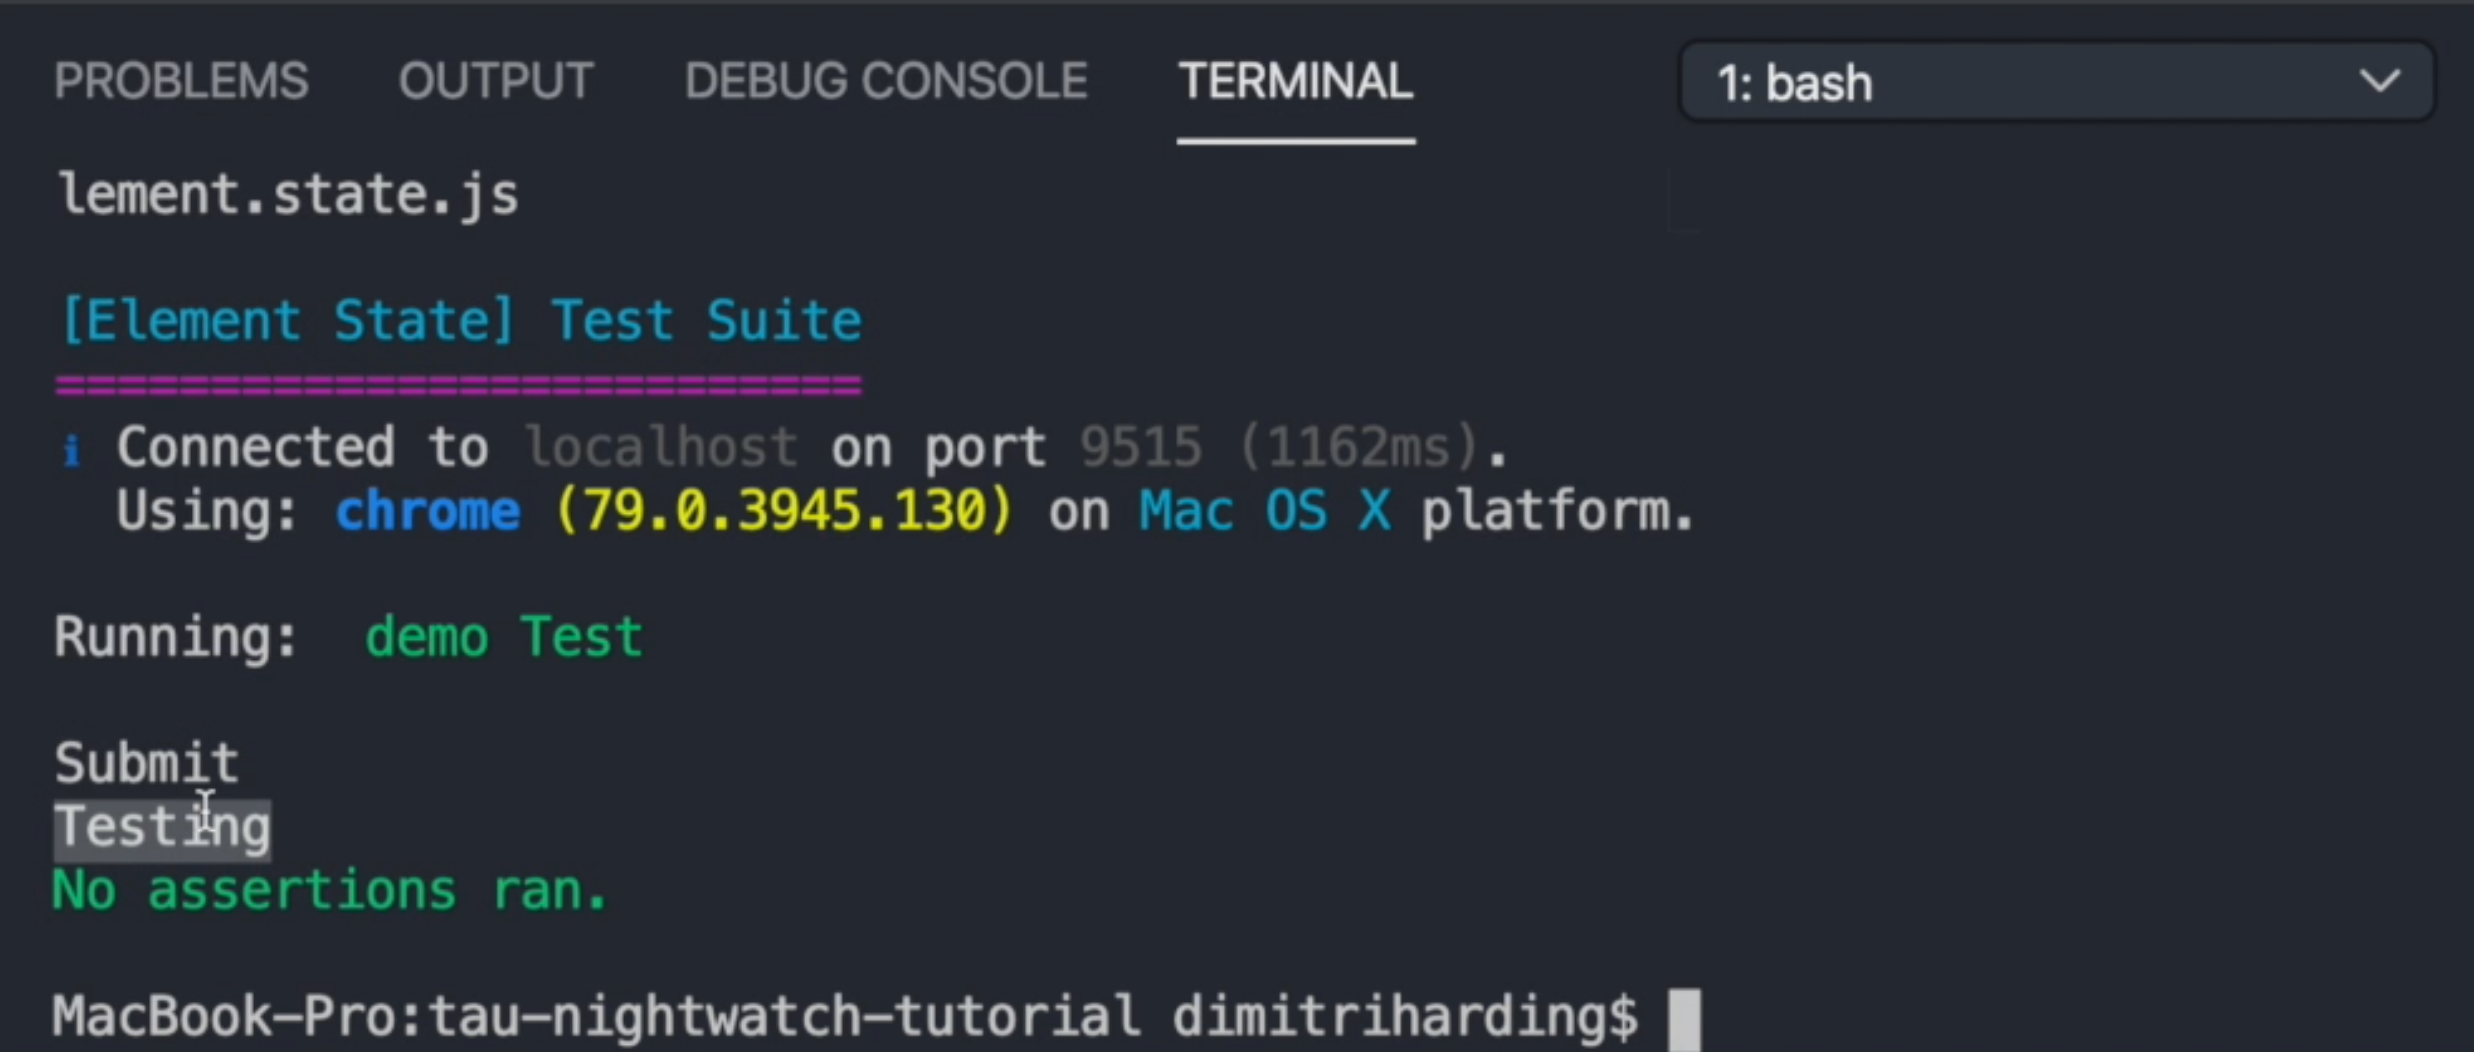
Now we're seeing Testing instead of an empty value, so that works fine.
# .isVisible()
Another method in the Element State that I like to use as well is .isVisible() and it will just determine if an element is visible or not, and it returns true or false.
I'll check the element and see if it's visible. We'll enter the ID of the element that we want to check. We'll have a callback that will return our results so we can verify whether or not we're expecting the right value, and then we'll print the result value.
module.exports = {
    'demo Test': function (browser) {
        browser
        .url('https://www.ultimateqa.com/filling-out-forms')
        .getText('button[name="et_builder_submit_button"]', (resultText) => {
             console.log(resultText.value);
        })

        .setValue('#et_pb_contact_message_0', 'Testing')
        .getValue('#et_pb_contact_message_0', (resultValue)=> {
            console.log(resultValue.value);
        })

        .isVisible('#et_pb_contact_message_0', (result) => {
            console.log(result.value);
        })
    }
}
Let's run this and see what we get returned.
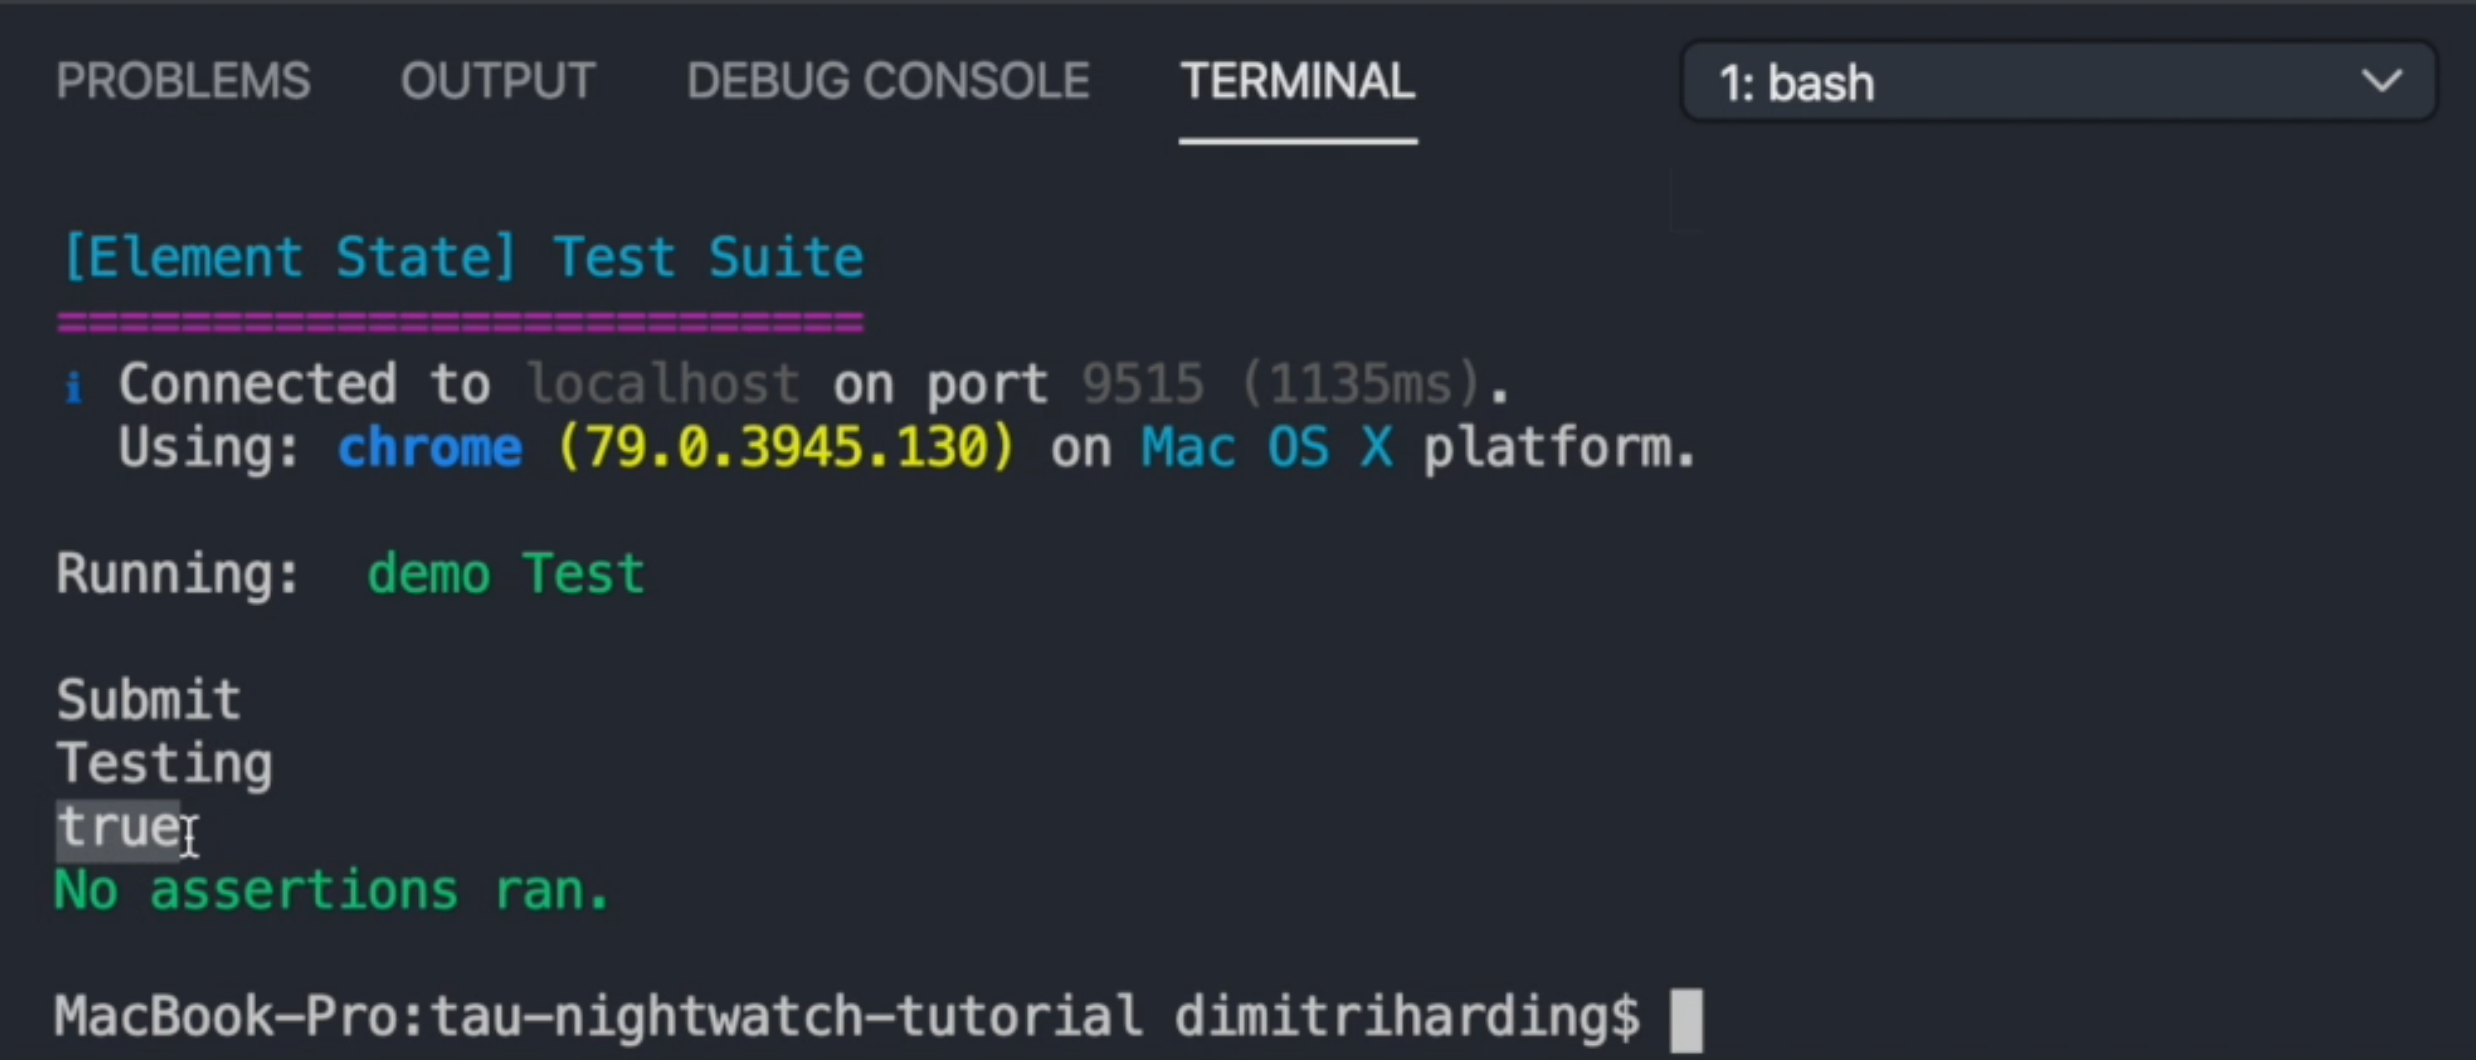
We see it is saying true because the element is actually visible.
Resources
Quiz
The quiz for this chapter can be found in section 3.4
