

Transcripted Summary
Congratulations. You've made it to the last chapter.
We've covered most of WebDriver's functionality in the previous chapters. However, I'll show you a couple of other things you can do with this library.
# ChromeOptions
The first thing we'll look at are ChromeOptions.
When Selenium WebDriver launches the browser, it launches its own instance of it. It's not the same as the browser instance that we would use.
For example, no one is logged in when it's launched. When I'm using my browser on my machine, I'm logged in. I also have lots of other extensions installed.
None of that stuff is here in the browser that's launched.
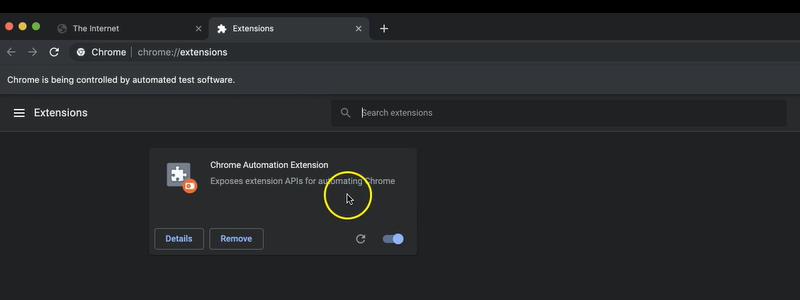
The only extension we have is this Automation extension”.
Also notice that we see this banner here say that “Chrome is being controlled by automated software”.
Let's say that we wanted to make some changes to this browser that's being launched.
We could do this with the ChromeOptions class.
In our BaseTests class, let's go ahead and make a new method here that we'll call getChromeOptions.
private ChromeOptions getChromeOptions(){

}
We'll make this one private because we only need to use it inside of this class.
And this ChromeOptions we see is under the selenium.chrome package.
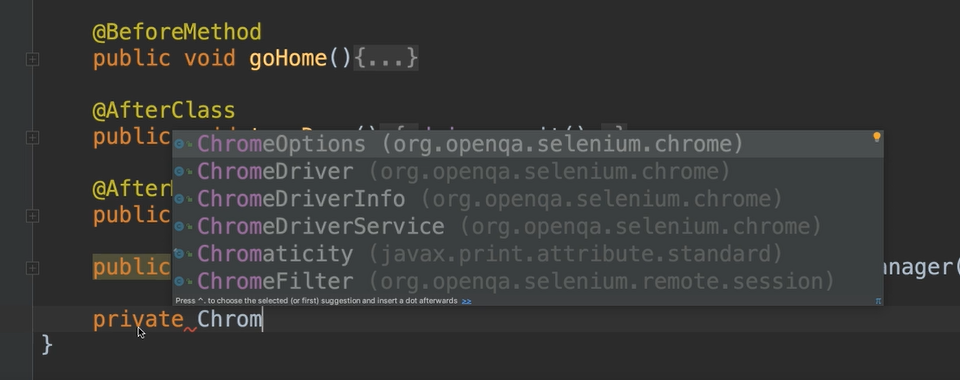
And we'll go ahead and instantiate an instance of this ChromeOptions class.
private ChromeOptions getChromeOptions(){
    ChromeOptions options = new ChromeOptions();
}
And then we can see that there are multiple different options available.
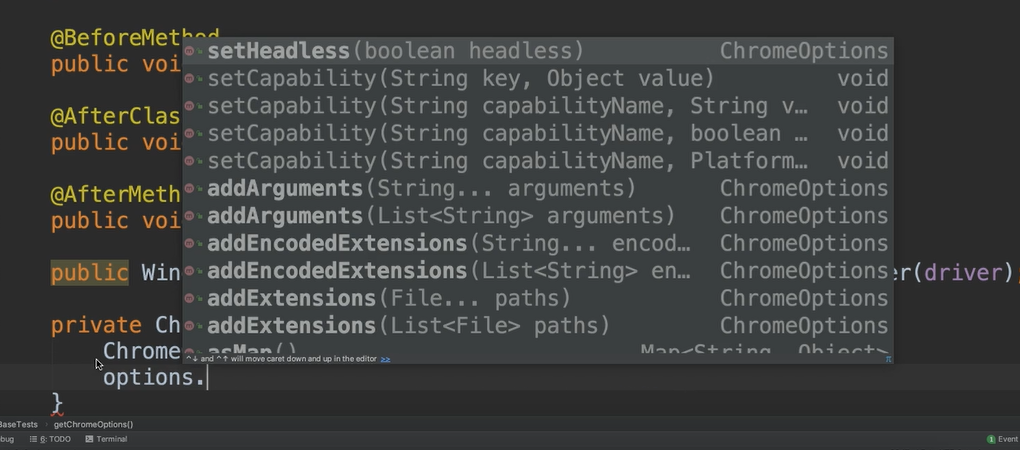
We can add arguments -
addArguments— so, when this browser launches, we can add certain arguments thereWe can add extensions -
addExtensionsWe can set the binary -
setBinary- which means we can set the path of where we want Chrome to launch from. So maybe we have a different Chrome executable and we want it to launch from thereAnd there's multiple other methods
Let's go ahead and do an addArguments.
What we're going to do is disable that info bar so that it's no longer showing.
We can just type in an argument here.
I already know that this argument is called disable-infobars.
So, I can set that argument there, and when Chrome is launched, then it'll pass this argument along.
Now let's just say return options.
private ChromeOptions getChromeOptions(){
    ChromeOptions options = new ChromeOptions();
    options.addArguments("disable-infobars");
    return options;
}
We'll call this method when we instantiate our ChromeDriver in our BaseTests.
driver = new EventFiringWebDriver(new ChromeDriver(getChromeOptions()));

//Alternately, this can be done as:
//driver = new ChromeDriver(getChromeOptions());
Now let's go ahead and run a test.
When this browser opens, then it should not have those info bars.
So, we'll just put a breakpoint here and we can run anything.
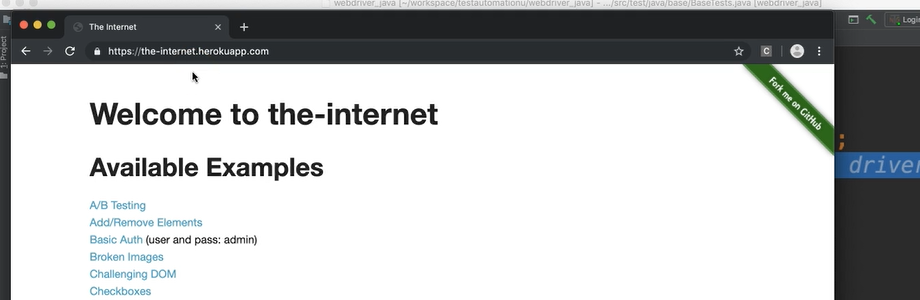
Notice when the browser opens here, the info bar is no longer there.
Let's do another one. I'm going to go back to the options.
This time let's say go ahead and run this in headless mode.
So we can say options.setHeadless() passing a boolean value.
options.setHeadless(true);
What this means is it'll run our tests without actually opening our browser up.
These typically run a little bit faster.
Of course, you don't get to see the actual browser while running the test. So, there's some pros and cons.
Let's run this one and notice our test has started, but no browser has opened.
Now the test is done.
Some of the methods on options are particularly useful when you want to run on a machine other than yours.
If you're running on Selenium Grid or if you're running in a cloud, then the ChromeOptions comes in very handy.
I am going to comment out this headless one and let's move on to another thing that I want to show you.
Another extra goodie.
# Using Cookies
Speaking of goodies, I want to show you how to use cookies.
Your browser stores cookies as data. It's basically a reliable way for websites to remember information about state or record some type of browser activity that the user is doing.
In your automated test, if you're doing something very advanced, you might want to store cookies on the browser. Or you may even want to read cookies from your website to make sure that certain things are there.
Let's take a look at how we manage cookies with WebDriver.
I'm going to make another method here, and this one will also be private, and we'll call this one setCookie.
And we're going to create a new Cookie (the Cookie is in the selenium package).
We'll call this cookie and we'll set it equal to new Cookie.
private void setCookie(){
    Cookie cookie = new Cookie
}
Now you can do this Cookie.Builder, which will help you build this out in a more efficient way.
private void setCookie(){
    Cookie cookie = new Cookie.Builder()
}
The builder takes a name and a value for the cookie. For our cookies name, let's just call it “tau”, and the value, we'll say “123”.
private void setCookie(){
    Cookie cookie = new Cookie.Builder("tau", "123")
}
Now since it's a Builder we can do a . and continue building on.
We can say go ahead and set the domain of this and a domain needs to be the website that we're actually storing this cookie for.
Let's use the name of the website that we’re already using — "the-internet.herokuapp.com" — so we'll copy that and set that as the domain. Then let's go ahead and say .build.
private void setCookie(){
    Cookie cookie = new Cookie.Builder("tau", "123")
            .domain("the-internet.herokuapp.com")
            .build();
}
So that creates the cookie, but it doesn't do anything just yet.
We have to use driver in order to set the cookie, so we can say driver.manage. And here we see we have this addCookie method.
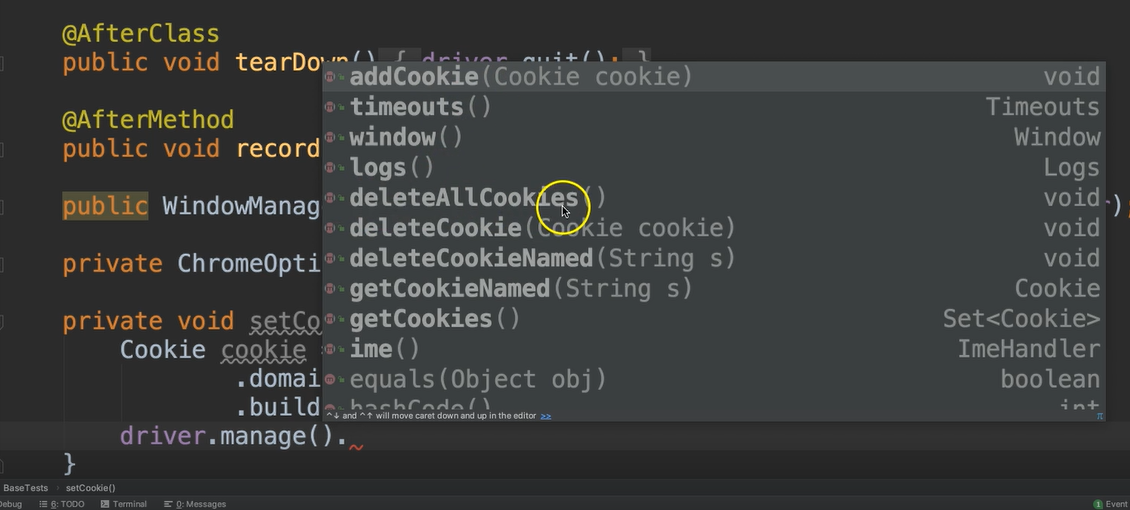
We also have:
- delete all the cookies [
deleteAllCookies] - delete a single cookie [
deleteCookie] - delete a cookie by name [
deleteCookieNamed] - get all the cookies [
getCookies] - get a specific cookie by name [
getCookieNamed]
So, you see here there are multiple methods to be able to manage your cookies.
Let's go ahead and say addCookie and pass in our cookie.
private void setCookie(){
    Cookie cookie = new Cookie.Builder("tau", "123")
            .domain("the-internet.herokuapp.com")
            .build();
    driver.manage().addCookie(cookie);
}
Now let's call this right after we go to the home page.
So, let's say, setCookie():
@BeforeClass
public void setUp(){

    System.setProperty("webdriver.chrome.driver", "resources/chromedriver");
    driver = new EventFiringWebDriver(new ChromeDriver(getChromeOptions()));
    driver.register(new EventReporter());

    goHome();
    setCookie();
}
And I'm going to put a breakpoint once we get here to the cookie.
Okay, let's run this.
Now let's look at our application.
I'm going to go ahead and inspect this now and I'm going to put this at the bottom.
Now we see here this “Application” tab, that's where the cookies are stored right here under this storage area.
So if we expand the cookies, we see that there is this one website.
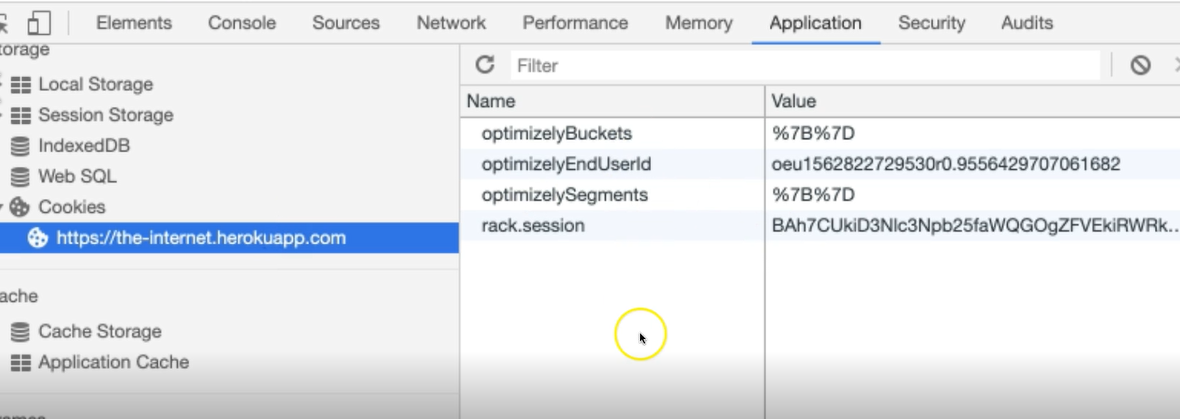
And of course, that's going to be the only website because this browser was just launched.
This is the website we've gone to and these are the cookies that are already stored here.
So, we could do any of those “gets” or “deletes” in order to get these cookies if we wanted to. But we want to see our code add a new cookie here.
Let's go back to our code and we're going to allow this to run.
Now the cookie has been added. Let's go back to our website.
We don't see it yet, but if we right click and do refresh, now we see that the “tau” cookie has been added with the value of “123”.
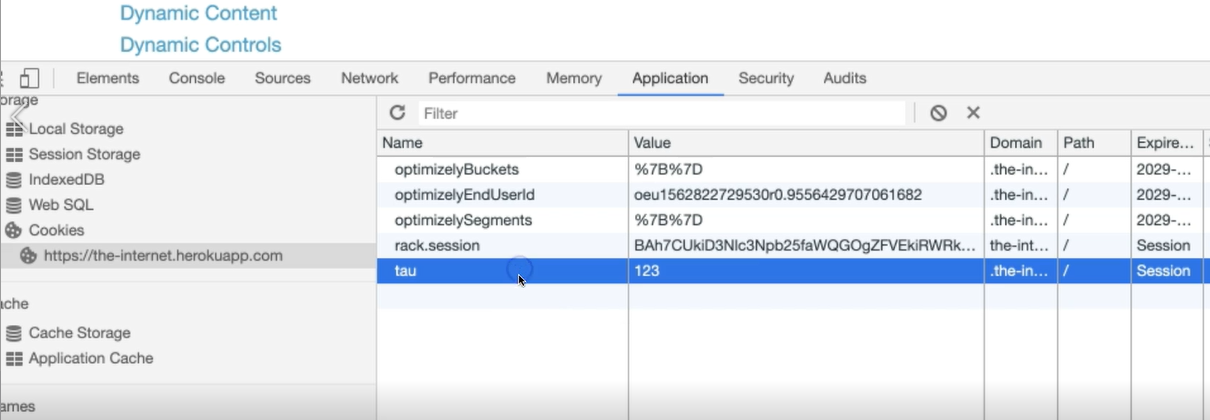
So that's how you manage cookies.
# Congrats! You did it!
Well, we've come to the end of the course. You've done an amazing job.
I hope that you learned all about how to use Selenium WebDriver.
Optional Independent Exercise
One more final exercise based on this chapter. Create a test that comes to our main page. Don't click anywhere.
Delete one of these cookies, maybe this first one called optimizelyBuckets, and then verify that this cookie does not exist anymore.
Good luck with not just this exercise, but your entire test automation journey.
See you around!
Solution
Programming can be done many different ways, but here’s my solution: CookieManager, CookiesTests.
