

Transcripted Summary
The sendKeys method of the WebElement class allows you to pass in a sequence of characters.
So far, we've passed in a single String. However, you can pass in other characters as well, such as backspace, tab, the function, shift and alt keys, any keys on your keypad.
Let's look at how to do this now.
On our test application site, from the Home page, we're going to click on this Key Presses link.
And in here I want us to insert a normal character. And then let's press the backspace button.
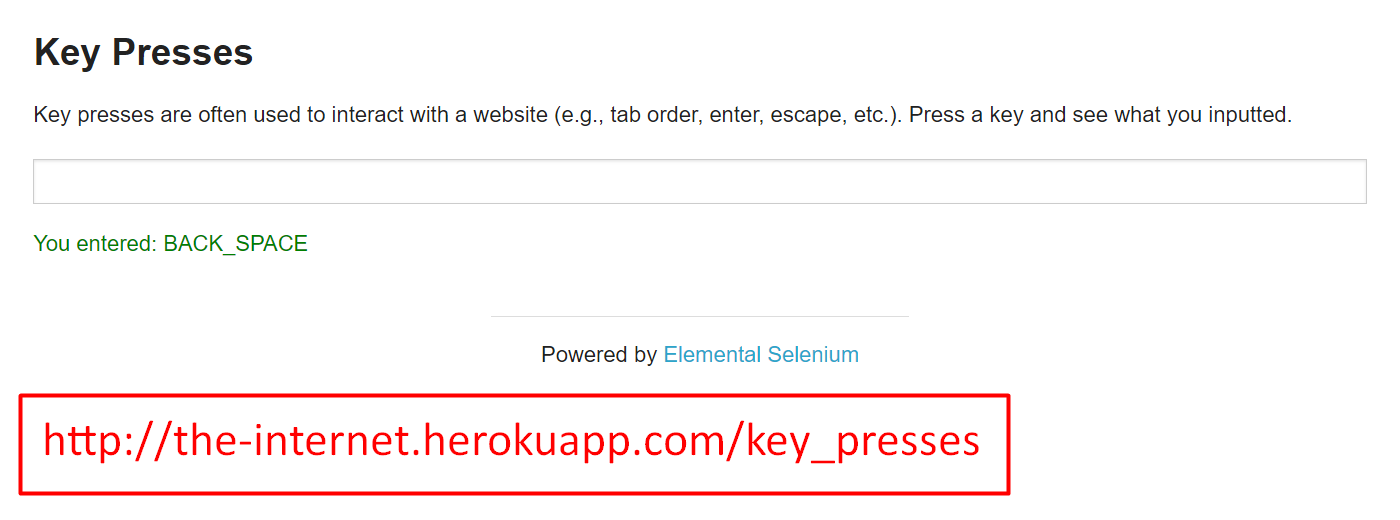
And you notice there that it says, "You entered backspace."
Let's just write a test that will enter those characters into this field and verify the result.
Of course, we need to make a new method in our HomePage class that clicks on the Key Presses link, and the return type of this method is going to be KeyPressesPage, which we will create next.
public KeyPressesPage clickKeyPresses(){
    clickLink("Key Presses");
    return new KeyPressesPage(driver);
}
Let's create the KeyPressesPage class.
Of course, this goes in the framework [“main” package].
So, let's go ahead and set up our WebDriver and our constructor, that takes a WebDriver.
package pages;

import org.openqa.selenium.WebDriver;

public class KeyPressesPage {

    private WebDriver driver;

    public KeyPressesPage(WebDriver driver){
        this.driver = driver;
    }
}
We know we want to send some characters into that input field.
Let's go ahead and get the locator for that field so that we can create a By object.
We'll inspect this field.
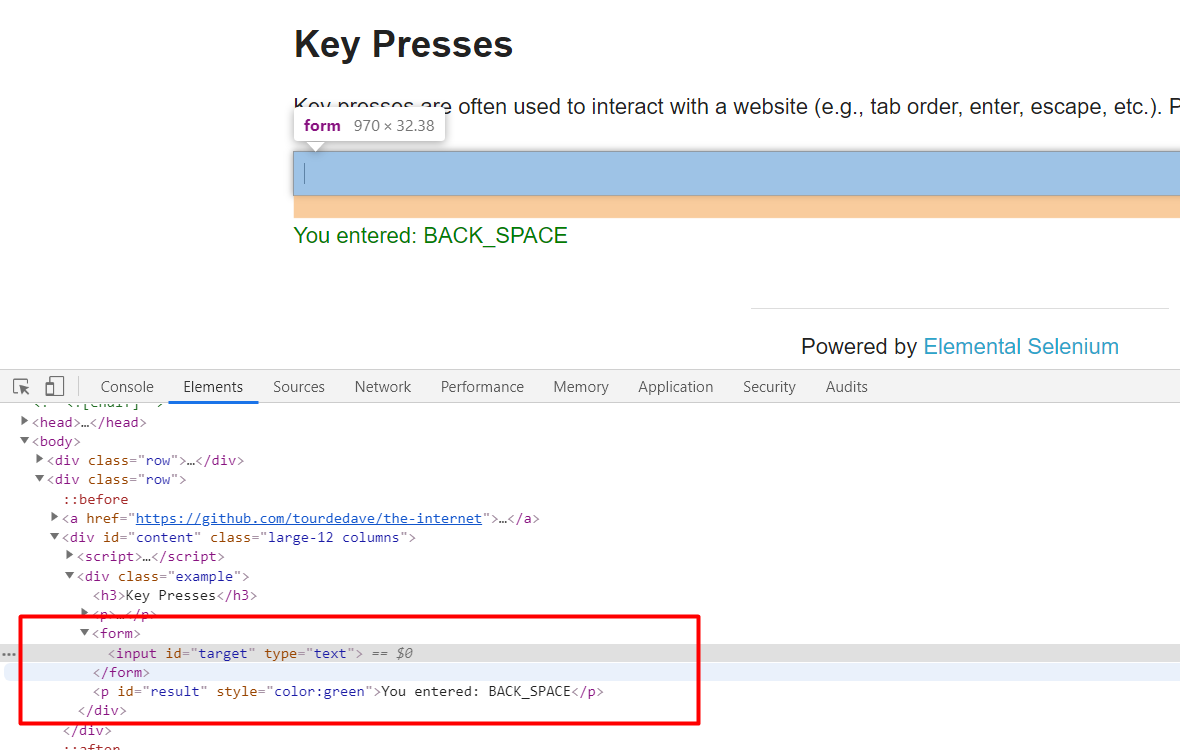
We see it has an id of “target”. Great.
We'll make a By, call it inputField:
private By inputField = By.id("target");
Let's create a method to set the characters inside of this input field.
This method should take a text. So, let's say, “give us whatever it is you want us to pass in” and we will go ahead and send it over.
public void enterText(String text){
    driver.findElement(inputField).sendKeys(text);
}
The other thing we need to do for our test is be able to get the text that appears after we enter the key.
Let's inspect that, and we see here this has an id of “result”.
Let's create a By object for that.
private By resultText = By.id("result");
And then also a method to return this String.
public String getResult(){
    return driver.findElement(resultText).getText();
}
Okay, now let's write our test.
We'll go to the test section and we'll create a new package, and we'll call this one “keys”.
Inside of here, let's make a new class, and we'll call it KeysTest.
All right. And we're going to extend from BaseTests.
Let's create a test and a method called testBackspace.
And so, we'll say, "Give us the KeyPressesPage by clicking on the Key Presses link."
package keys;

import base.BaseTests;
import org.testng.annotations.Test;

public class KeysTests extends BaseTests {

    @Test
    public void testBackspace(){
        var keyPage = homePage.clickKeyPresses();
    }
}
And then from there we want to say keyPage.enterText().
So, let's give it some text. Let's just say, "A". And then let's say after the "A" we want to actually do the backspace.
Well, how do you enter the backspace?
Of course, you can't just do a backspace. That's not going to register. 🤪
So, what we can use is this class in Selenium called Keys.
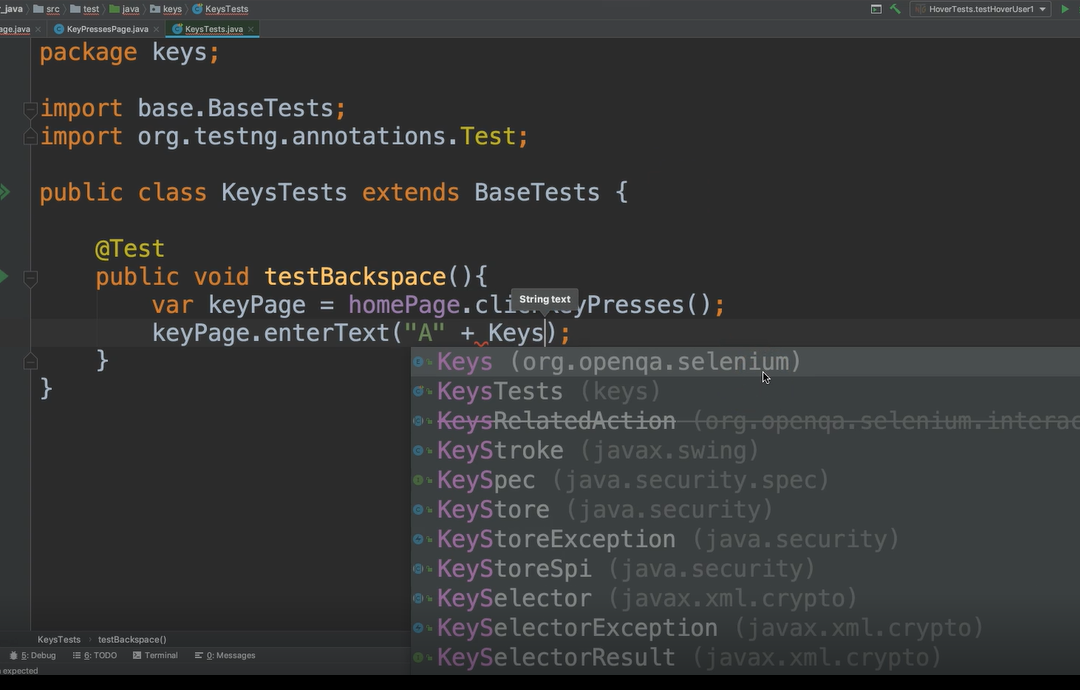
And see that this is right in the Selenium package.
And you can use any of these values.
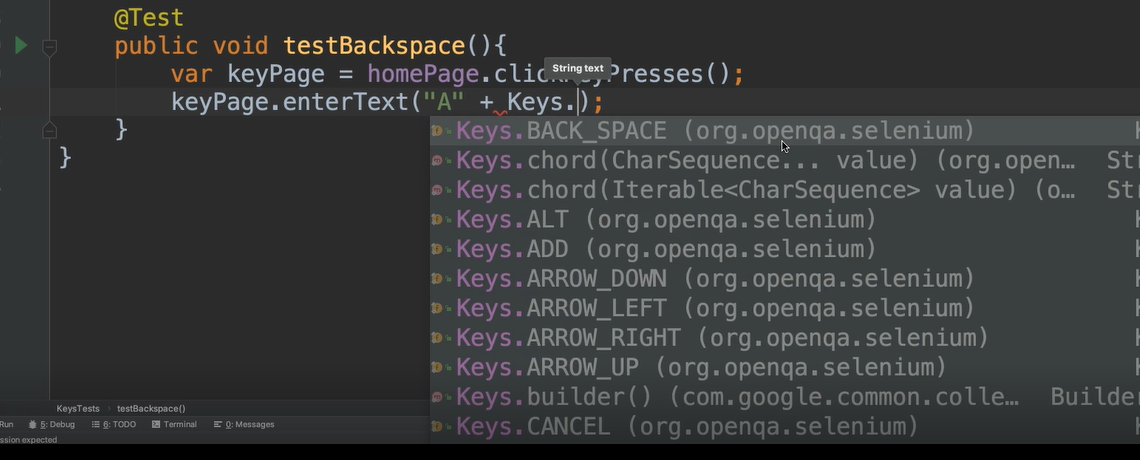
We see the backspace right here
There's alt, arrow down, left, right, and up
There's cancel and clear, command, control, decimal, delete… There's so many different keys here
There's the enter key
There's all of these functional keys. So F1 through 12
There's help, home, insert...
You see there's multiple keys to select from — let's go ahead and do the backspace.
keyPage.enterText("A" + Keys.BACK_SPACE);
And then we want to verify that that result has backspace there.
Let's do an assertEquals. And we'll say keyPage.getResult and we'll compare that to our result on the page.
So, we see here — "You entered: BACK_SPACE" — this is the text. We copy this and paste it into our test.
@Test
public void testBackspace(){
    var keyPage = homePage.clickKeyPresses();
    keyPage.enterText("A" + Keys.BACK_SPACE);
    assertEquals(keyPage.getResult(), "You entered: BACK_SPACE");
}
And let's make sure that this works.
Beautiful. So that works great.
Okay, so let's go back to our web application and look at another example.
Let's say that we actually wanted to type in a special character, like maybe the “pi” [π] character.
We could do that on the keypad using “ALT” and “p” at the same time. On Mac, that’s “option” and “p” at the same time.
And we see there that it has created the π character.
Note About Creating Pi Character
If Alt+p does not create the pi symbol on your computer (e.g. some Windows machines), try using Alt+227
Let's see how do hold down multiple keys at the same time.
In our framework, let's actually go back to the KeyPressesPage. I'm going to make a new method here to enter the pi equation.
Let's call this “enterPi” and this one is actually going to call the enterText that we have there, and it's going to pass in the equation.
So here we can do Keys. and we can use this chord method. The chord method will allow us to send in multiple keys at one time.
And so, we can say we want to do Keys.ALT (that will also work as option on Mac) and we want to send the character “p”.
public void enterPi(){
    enterText(Keys.chord(Keys.ALT, "p"));
}
So, with both of those, that will enter the pi.
But let's say we want to do more — we want to say pi equals 3.14.
This chord method will do press the keys at the same time, but then we want to send in another String.
We'll say:
public void enterPi(){
    enterText(Keys.chord(Keys.ALT, "p") + "=3.14");
}
So, after it does alt P, then it will type the rest of this.
In our test, we're just going to make a call to that one.
@Test
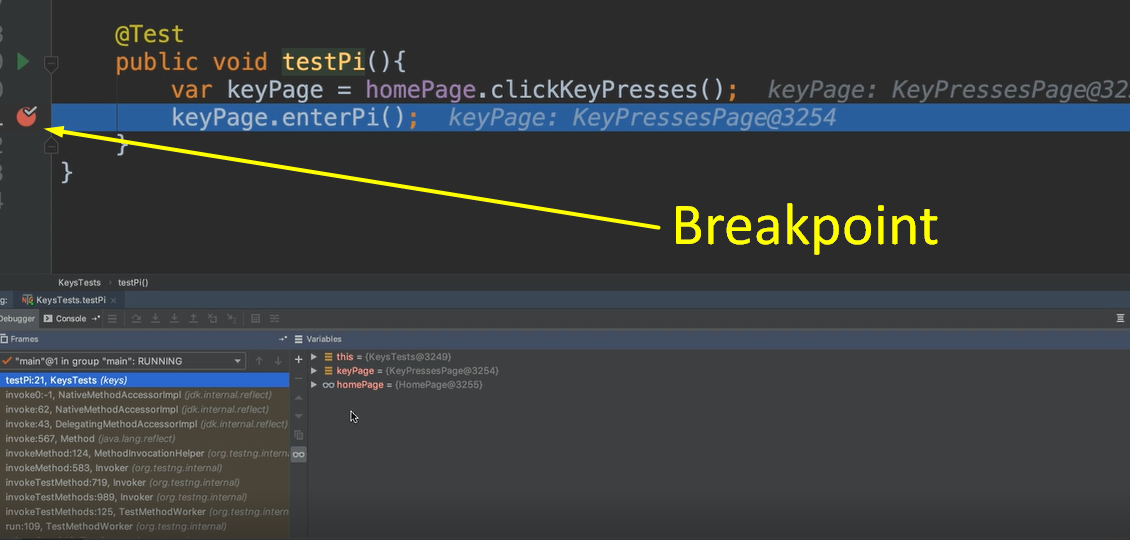
public void testPi(){
var keyPage = homePage.clickKeyPresses();
keyPage.enterPi();
}
So, let’s put a break point here to make sure that it actually enters pi.
Okay, so before we actually enter anything, we see that there's nothing here on the application.
Let's go inside of this method and we'll allow it to enter this text.
So, again, it's holding down the ALT and the P at the same time to make the pi symbol. And then it's going to continue on by adding equal 3.14.
So, let's see it do this much. All right now let's look at the application.
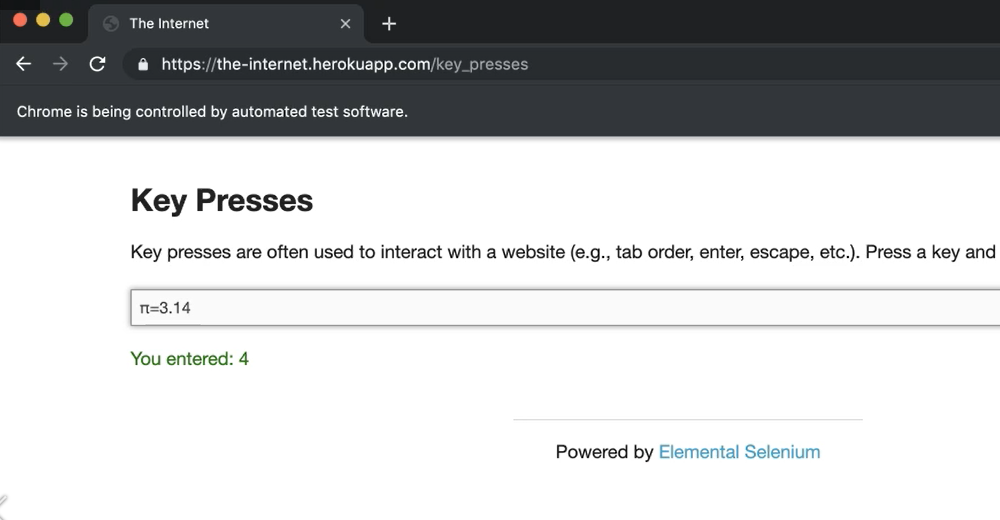
Beautiful. We see that it did indeed enter the pi symbol as well as the rest of the text.
Optional Independent Exercise
For your optional exercise for this chapter, click on the Horizontal Slider linkon the home page of The Internet site,
You'll see this numeric slider here.
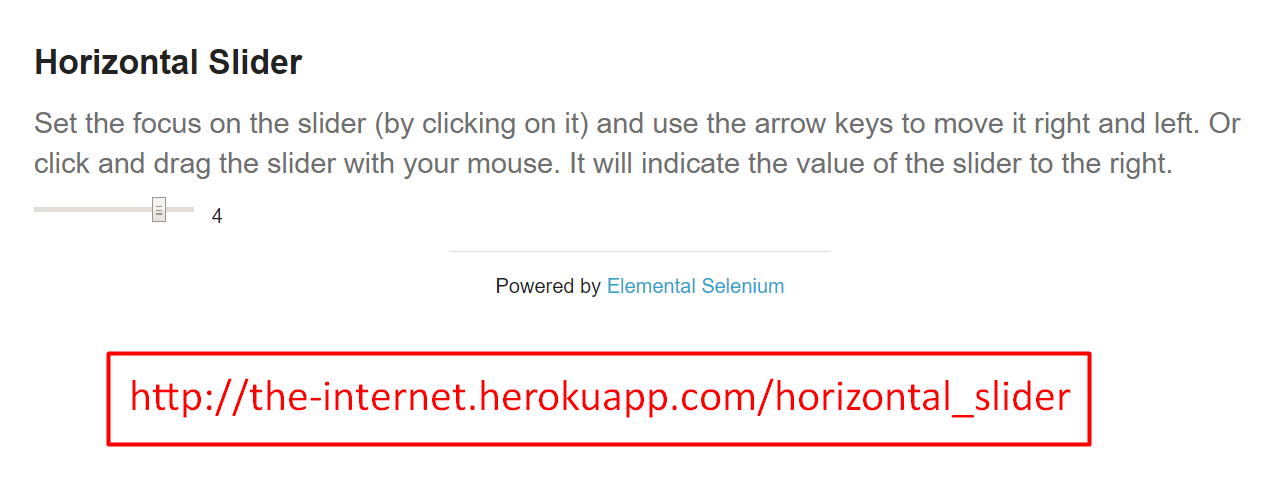
You're going to sendKeys to this slider until it gets to the number 4. And then you'll verify that this text actually equals 4.
To actually move this slider, you'll just need to send some arrow keys to the slider itself.
So, send enough of those arrow keys to get to the number 4.
Good luck!
Solution
Programming can be done many different ways, but here’s my solution: HorizontalSliderPage, SliderTests.
