

Transcripted Summary
Let's talk about another type of pop up.
We're going to click on this File Upload link on our application home page.
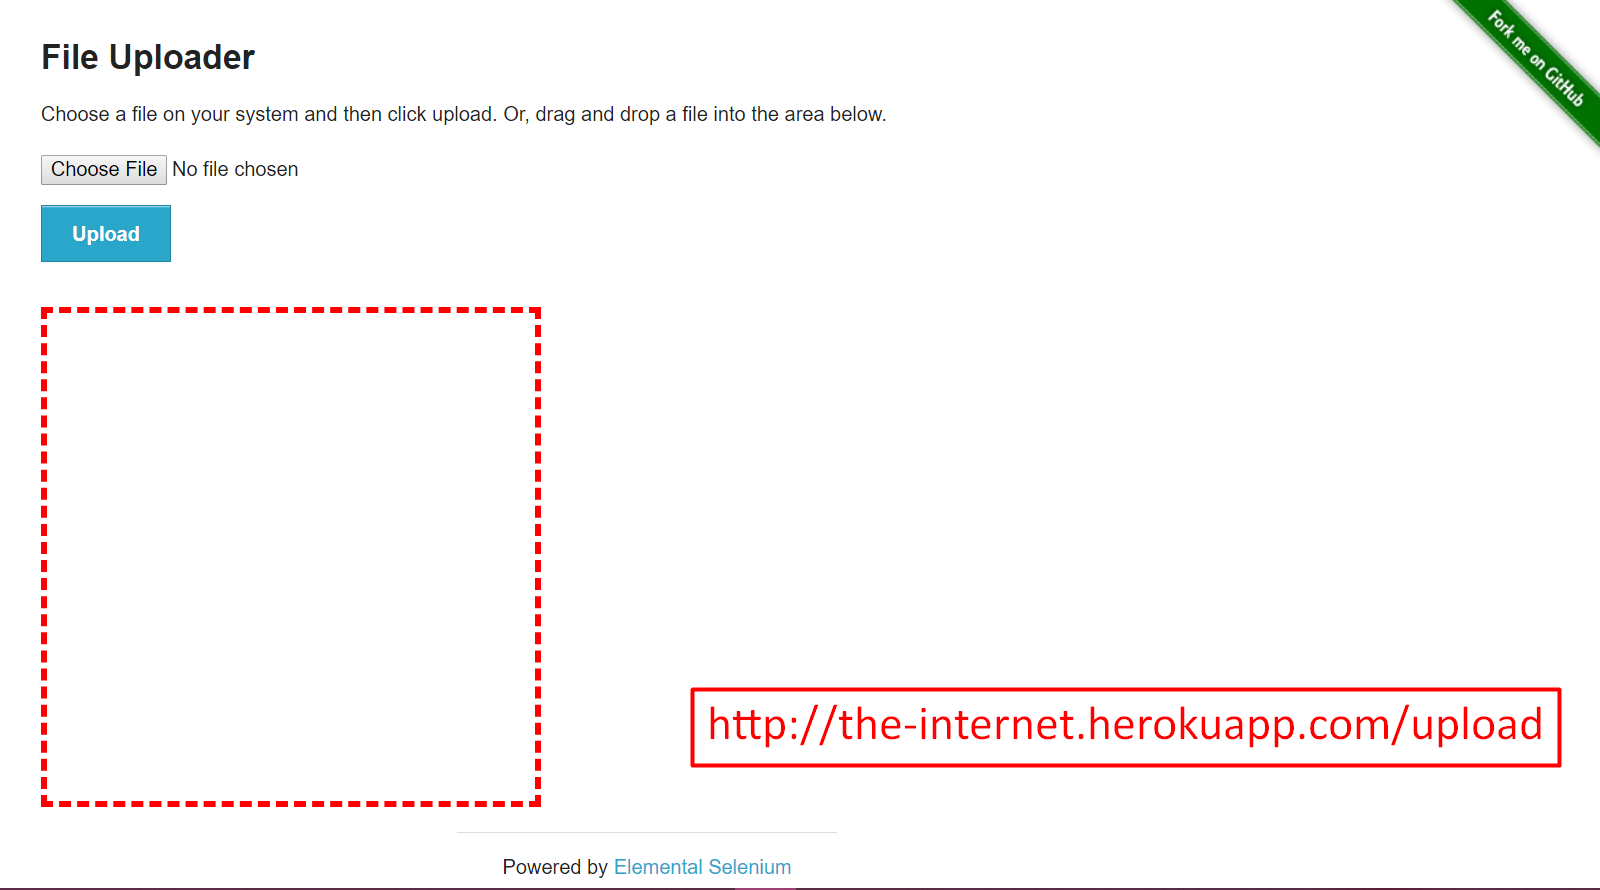
When we click on the “Choose File” button we get a pop up.
But this is a Windows pop up, so this is different than the JavaScript alert.
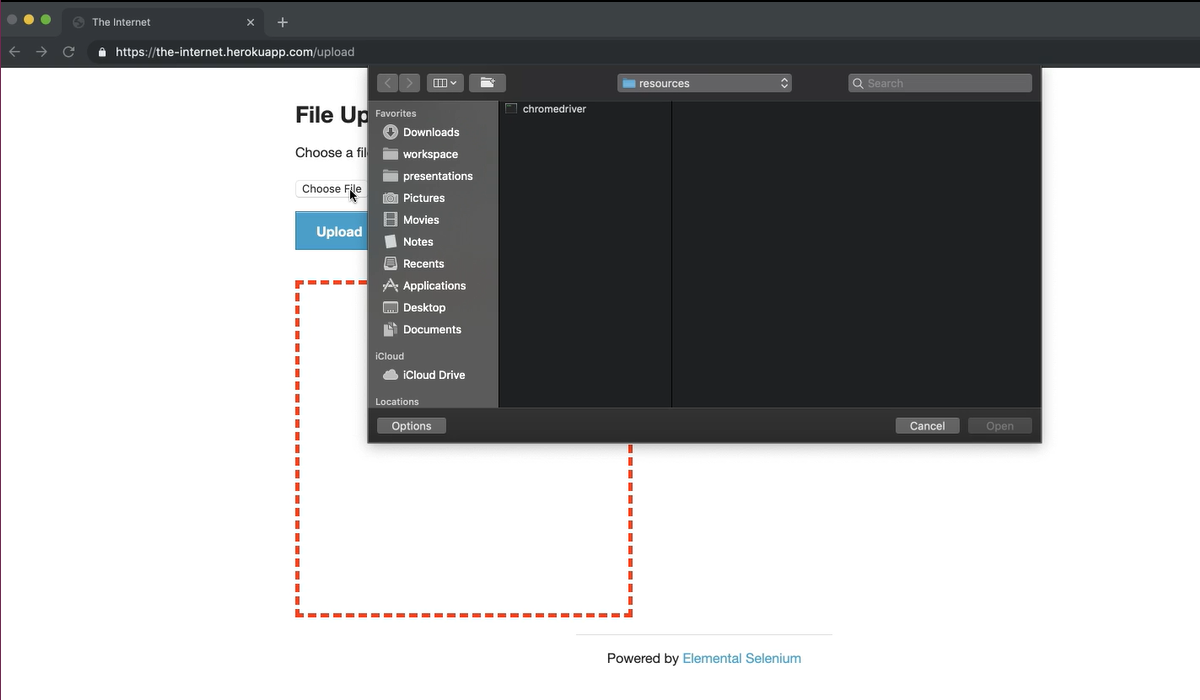
You're not going to be able to use the Alert class within Selenium to interact with this. For files, we do something special — we bypass this entire operation.
Instead, we pass in the absolute path of the file to this form.
We're going to make another test, really quickly, just to upload our chromedriver executable here.
Let’s right click on this to inspect.
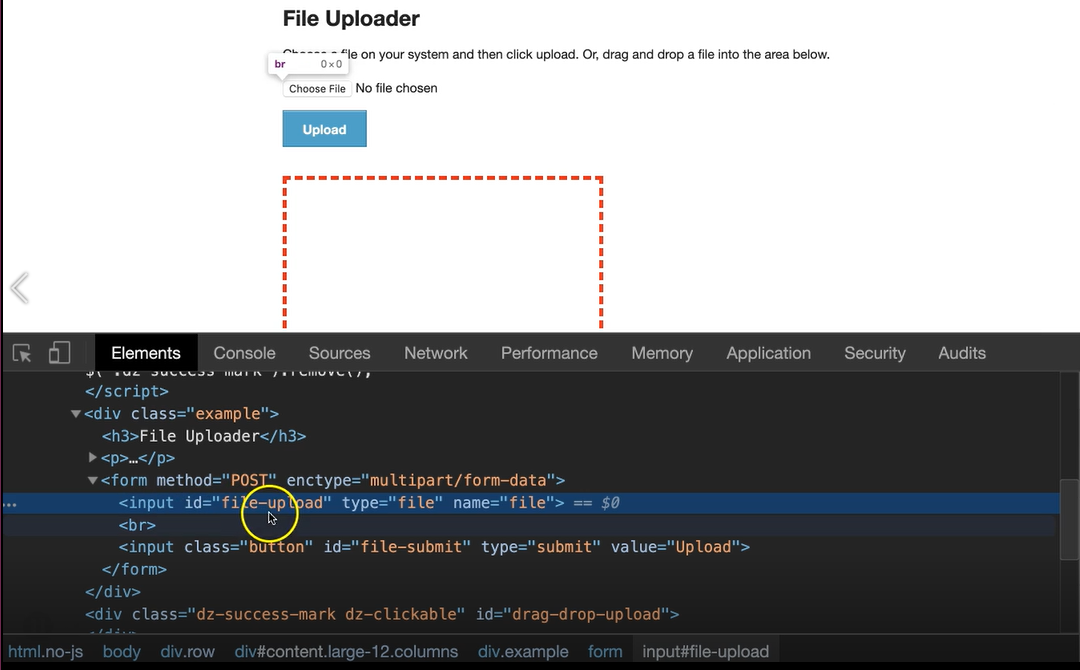
We see here we have a form, and the form has an input. This input is what we're interested in.
We are going to send our absolute path to this input.
This has an id of “file-upload” and let me quickly generate the code for this.
I've created a new “FileUploadPage” inside of the “pages” package.
# FileUploadPage.java
package pages;

import org.openqa.selenium.By;
import org.openqa.selenium.WebDriver;

public class FileUploadPage {

    private WebDriver driver;
    private By inputField = By.id("file-upload");
    private By uploadButton = By.id("file-submit");

    public FileUploadPage(WebDriver driver){
        this.driver = driver;
    }

    public void clickUploadButton(){
        driver.findElement(uploadButton).click();
    }

    /**
     * Provides path of file to the form then clicks Upload button
     * @param absolutePathOfFile The complete path of the file to upload
     */

    public void uploadFile(String absolutePathOfFile){
        driver.findElement(inputField).sendKeys(absolutePathOfFile);
        clickUploadButton();
    }
}
I have our web driver, and our constructor.
I also have two elements: one for the input field [inputField] and one for the upload button [uploadButton].
I also have two methods here: one to click the upload button [clickUploadButton] and then another one to upload the file [uploadFile].
In order to upload the file, the test would need to pass us the absolute path of the file, and then we would send that path to the input field, and then click on the button.
I also have added to the HomePage a method to click on the “File Upload” [clickFileUpload], which will bring us to that page.
public FileUploadPage clickFileUpload(){
    clickLink("File Upload");
    return new FileUploadPage(driver);
}
Let's make a test for this.
I'm going to put it in the “alerts” package, but not in the AlertTests itself.
Let's make another class and we'll call this FileUploadTests. Of course, we are going to inherit from BaseTests.
Let's go ahead and make a test method.
package alerts;

import base.BaseTests;
import org.testng.annotations.Test;

public class FileUploadTests extends BaseTests {

    @Test
    public void testFileUpload(){
        var uploadPage = homePage.clickFileUpload();
        uploadPage.uploadFile();
    }
}
Now, in order to get the absolute path of this file, let's see if we can get it from here.
I go to my project, and under resources I have the Chrome Driver.
I can copy the path or the relative path.
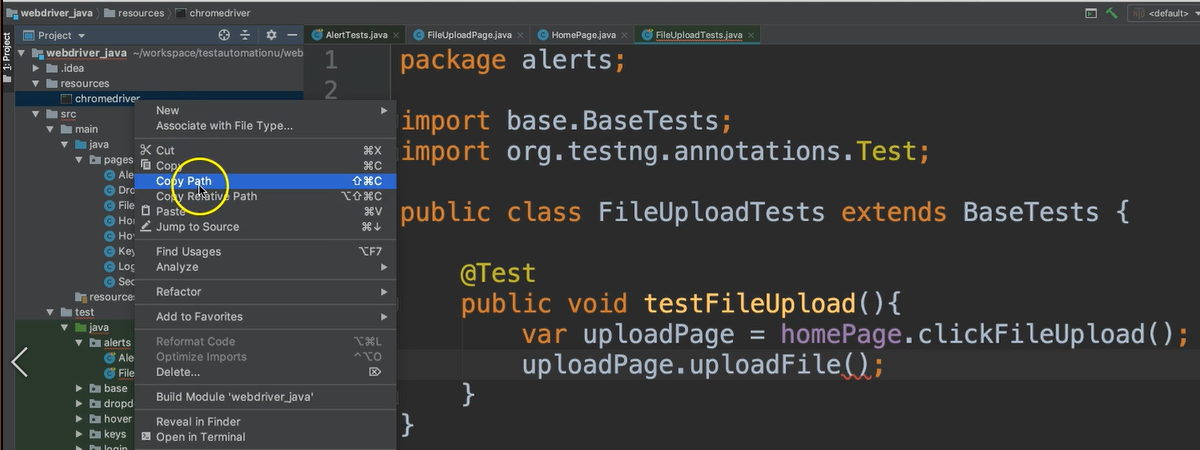
I need the absolute path. Let's do “Copy Path” here, and we'll paste it inside of here.
uploadPage.uploadFile("/Users/angie/workspace/testautomationu/webdriver_java/resources/chromedriver");
Okay, great this gives us the entire path.
This will, not only set the path, but it also clicks the button.
Let's see what happens when we click the button on the application.
When we select our file and we click our button, it stays on this File Upload page, but the page changes a bit.
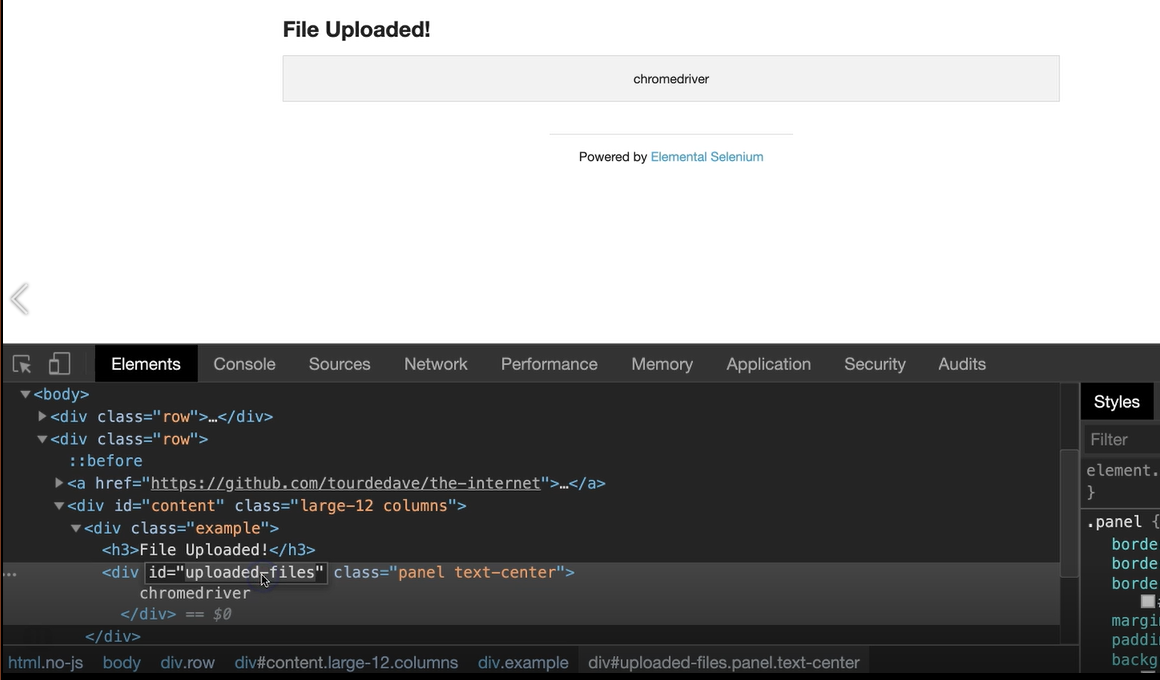
So, we see this “File Uploaded!” and we see the name of the file.
Let's get this id and we'll verify that the text is “chromedriver”.
We'll add this to our page class.
So back to FileUploadPage, and we want to create another element here.
private By uploadedFiles = By.id("uploaded-files");
Let's make a method to get that.
public void uploadFile(String absolutePathOfFile){
    driver.findElement(inputField).sendKeys(absolutePathOfFile);
    clickUploadButton();
}
Okay, so in our test let's just go ahead and verify this.
Windows Users
If you're on Windows, instead of “chromedriver”, you're going to put “chromedriver.exe”. But if you're on Mac or Linux, then you're just going to do “chromedriver”.
# FileUploadTests.java
package alerts;

import base.BaseTests;
import org.testng.annotations.Test;
import static org.testng.Assert.assertEquals;

public class FileUploadTests extends BaseTests {

    @Test
    public void testFileUpload(){

        var uploadPage = homePage.clickFileUpload();
        uploadPage.uploadFile("/Users/angie/workspace/testautomationu/webdriver_java/resources/chromedriver");

        assertEquals(uploadPage.getUploadedFiles(), "chromedriver", "Uploaded files incorrect");
    }
}
Let's go ahead and run this now.
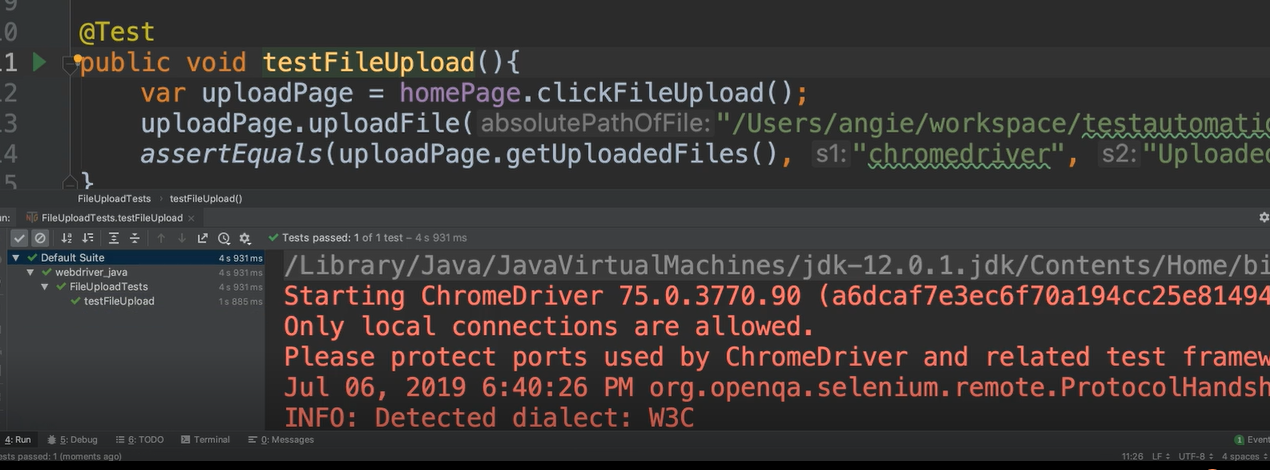
Beautiful.
So that's how simple it is to upload files. You don't have to worry about trying to interact with the Windows pop up.
Resources
Quiz
The quiz for this chapter can be found in Chapter 7.3
