

Transcripted Summary
In order to install Playwright, we need first to have installed Node.js. So, make sure you have it installed in your system.
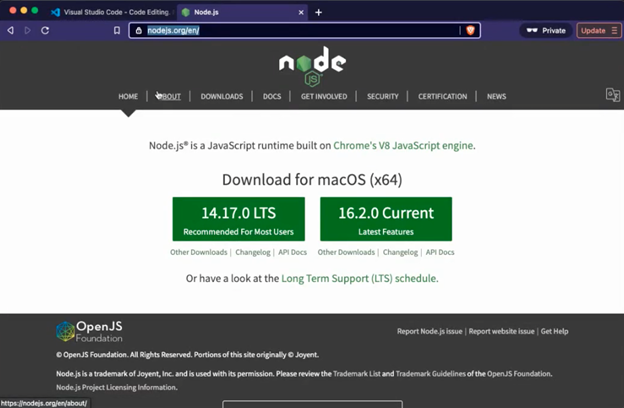
If you don't have it, you can easily get it by going to nodejs.org, and here you can download the “recommended for most users” version.
Also, we'll be using an IDE, in my case, I'll be using Visual Studio Code.
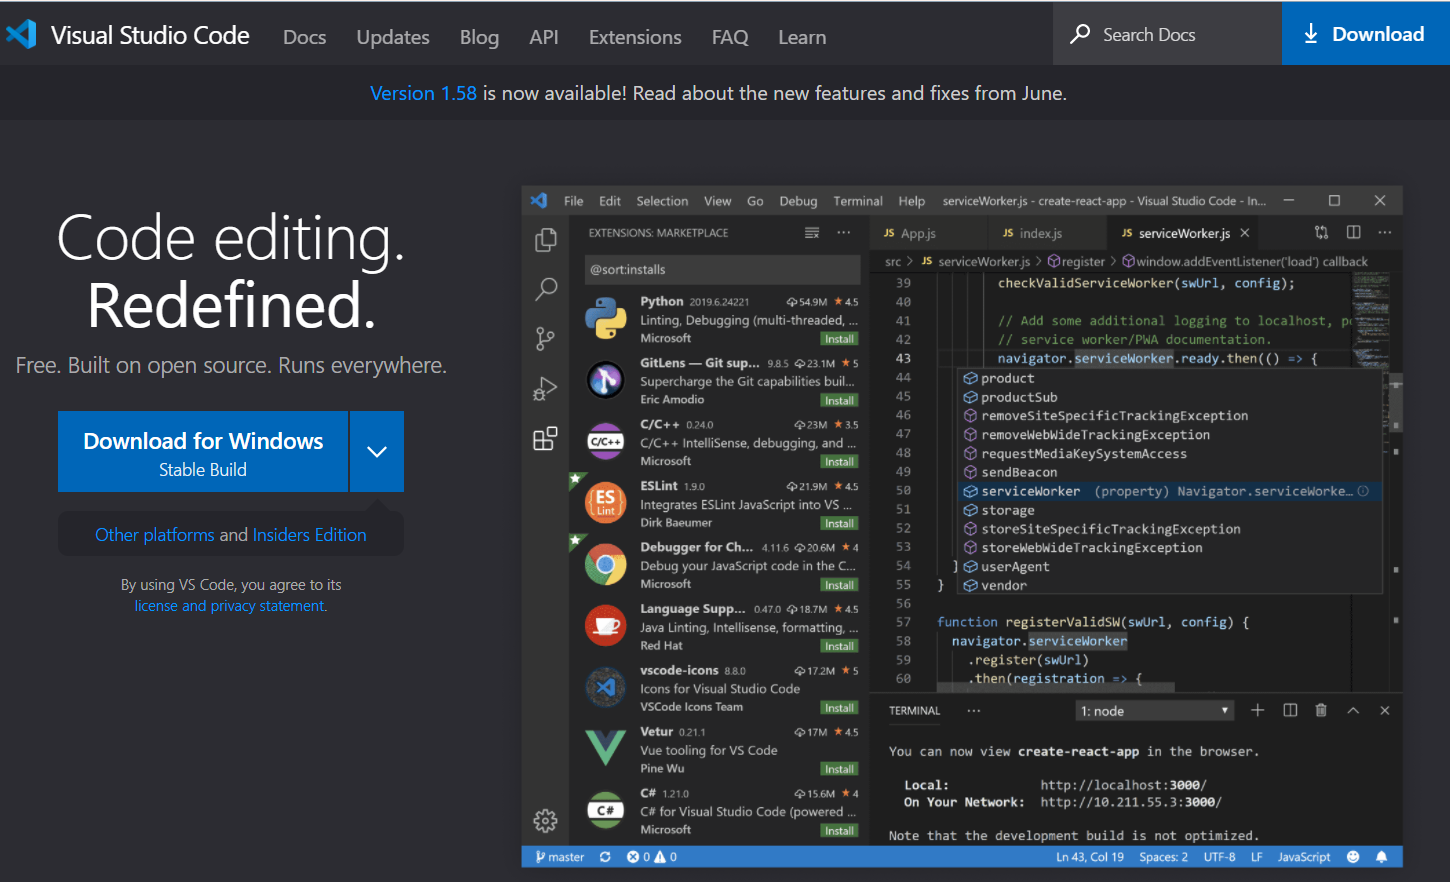
If you don't have it, you can also get it by navigating to code.visualstudio.com, and here you should be able to find the version to install it in your system.
Installation is pretty simple. You just need to go click Next, and that's pretty much it.
After you have it both installed, open or launch Visual Studio Code.
It's going to be looking something like this, and we will want to create an empty folder.
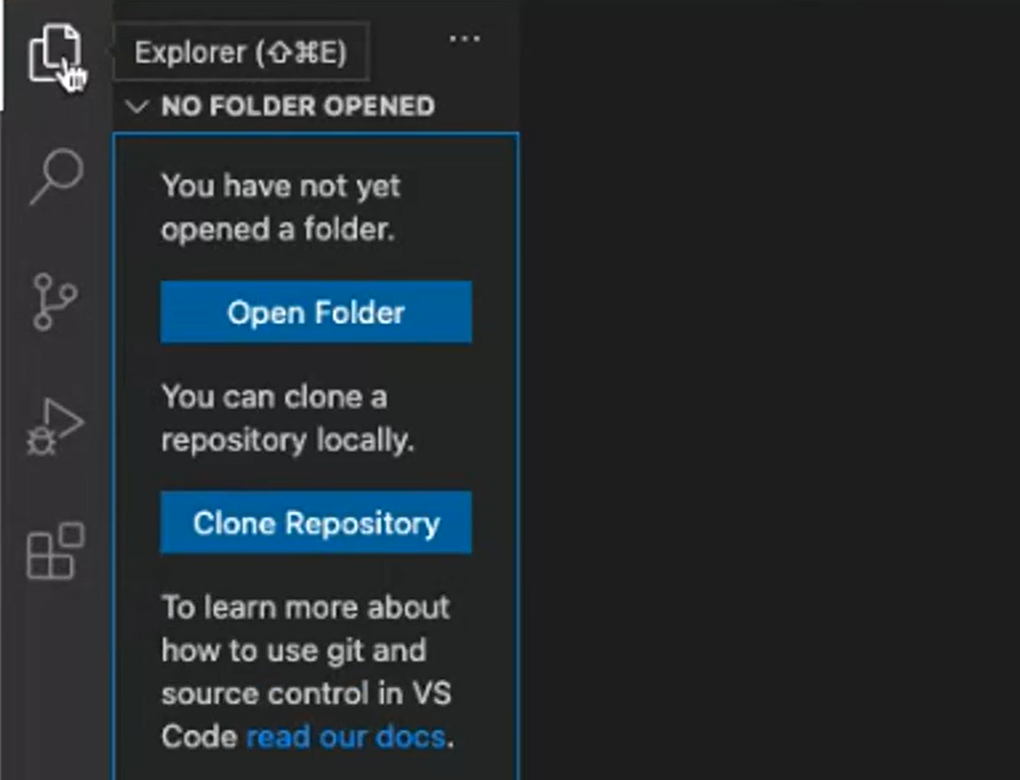
In my case, I'm going to name this folder "play." I'm going to open this empty folder.
# Installing Playwright
Now, we will install Playwright using npm.
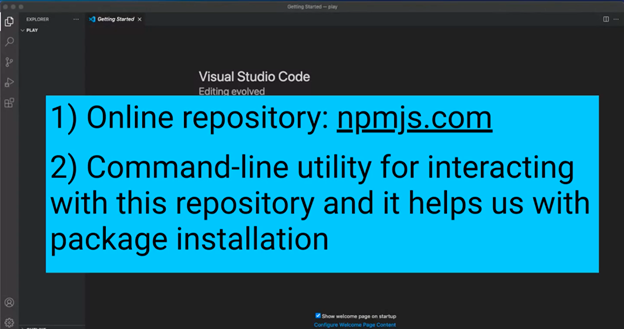
If you're not familiar with npm, it stands for Node Package Manager, and it is 2 things.
First, it is an online repository for the publishing of open source node.js projects.
And secondly, it is a command-line utility for interacting with this repository, but it also helps with package installation, version management, and dependency management.
If you're familiar with Maven for Java, you can think of npm as something similar but for JavaScript.
I'm going to create an empty npm project without going through an interactive process, which means I'm going to just leave all the values to be set by default.
To do that, I'm going to go to Terminal > New Terminal, and I'm going to type npm init -y.
The -y stands for “yes”, and it's pretty much saying yes to everything and it's just skipping all these questions.
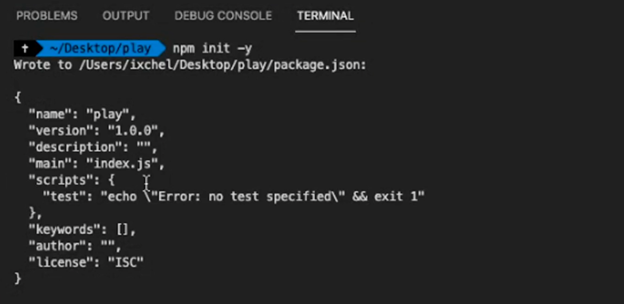
Otherwise, the system will prompt me to enter name, version, description, and so on.
If you go and check the package.json, you will notice that the values that are here are the same that are here.
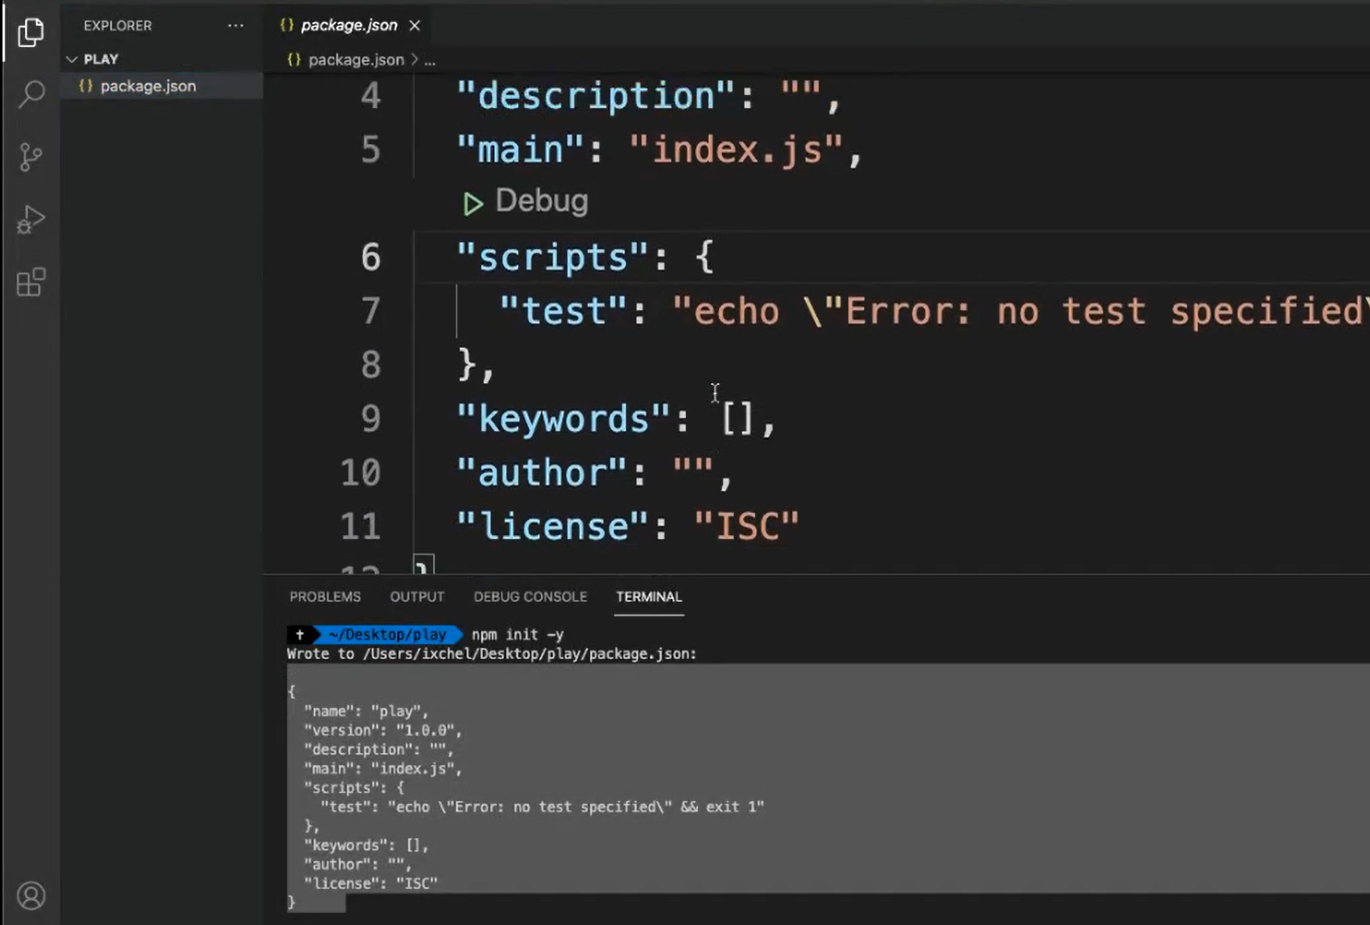
Don't worry about these too much, we will check this in the future.
We can close this for now.
And now, we can install Playwright.
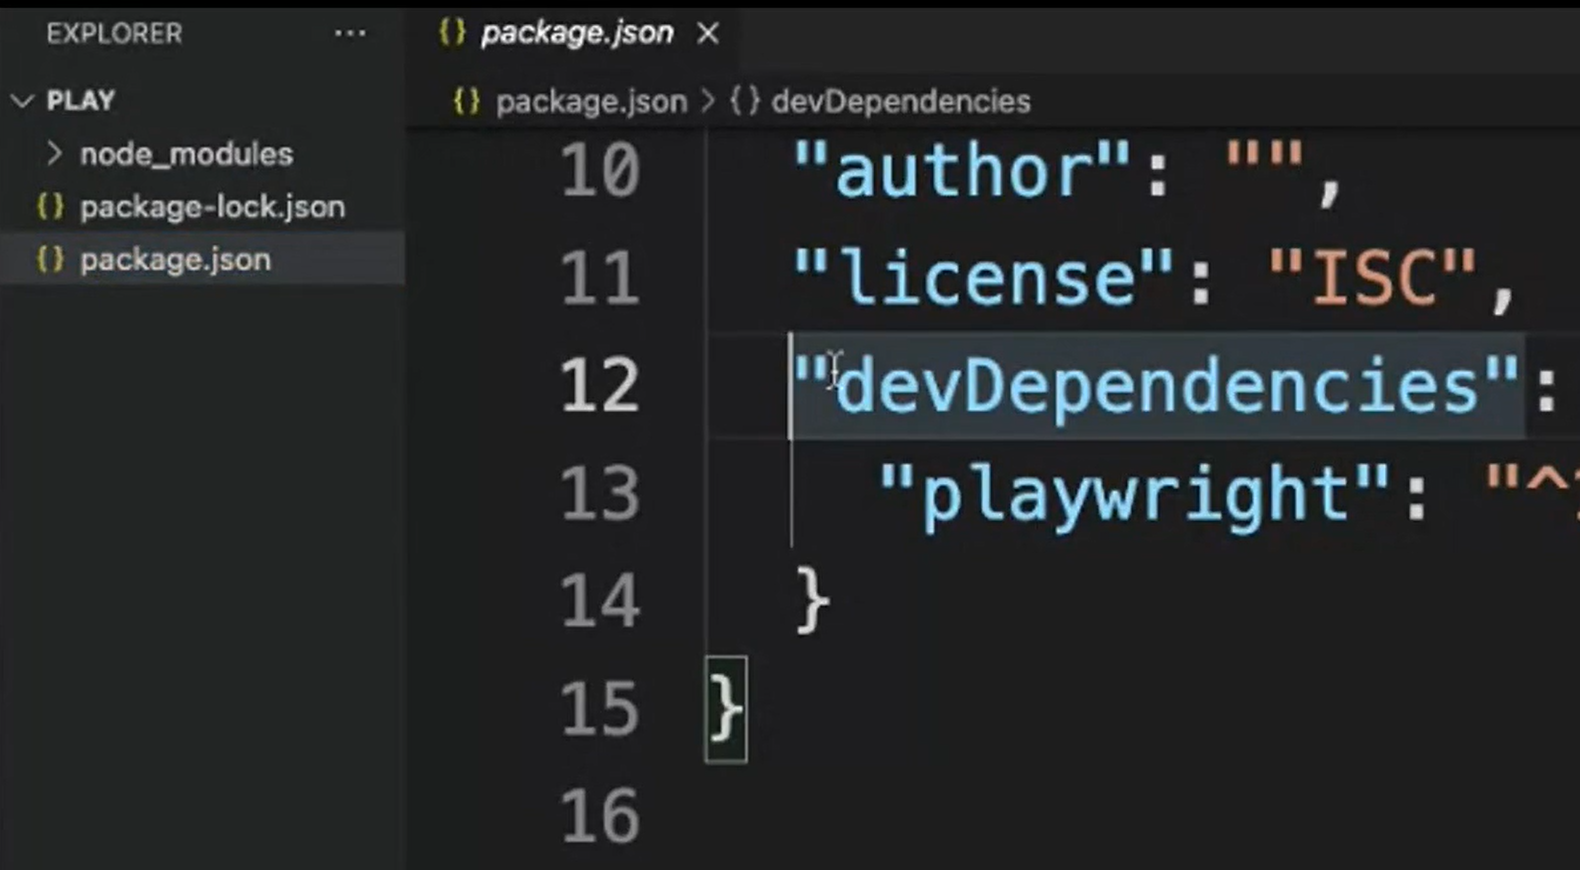
To do that, we'll just need to type npm i -D playwright.
Once it finishes installing all the packages, you should see the “node_modules” folder created here. And also package.json, we should see the “devDependencies”, and “playwright”, which is what we just installed.
There is also this package-lock.json that gets automatically generated.
And if we open it, we're going to be able to see the dependencies but in a more detailed way.
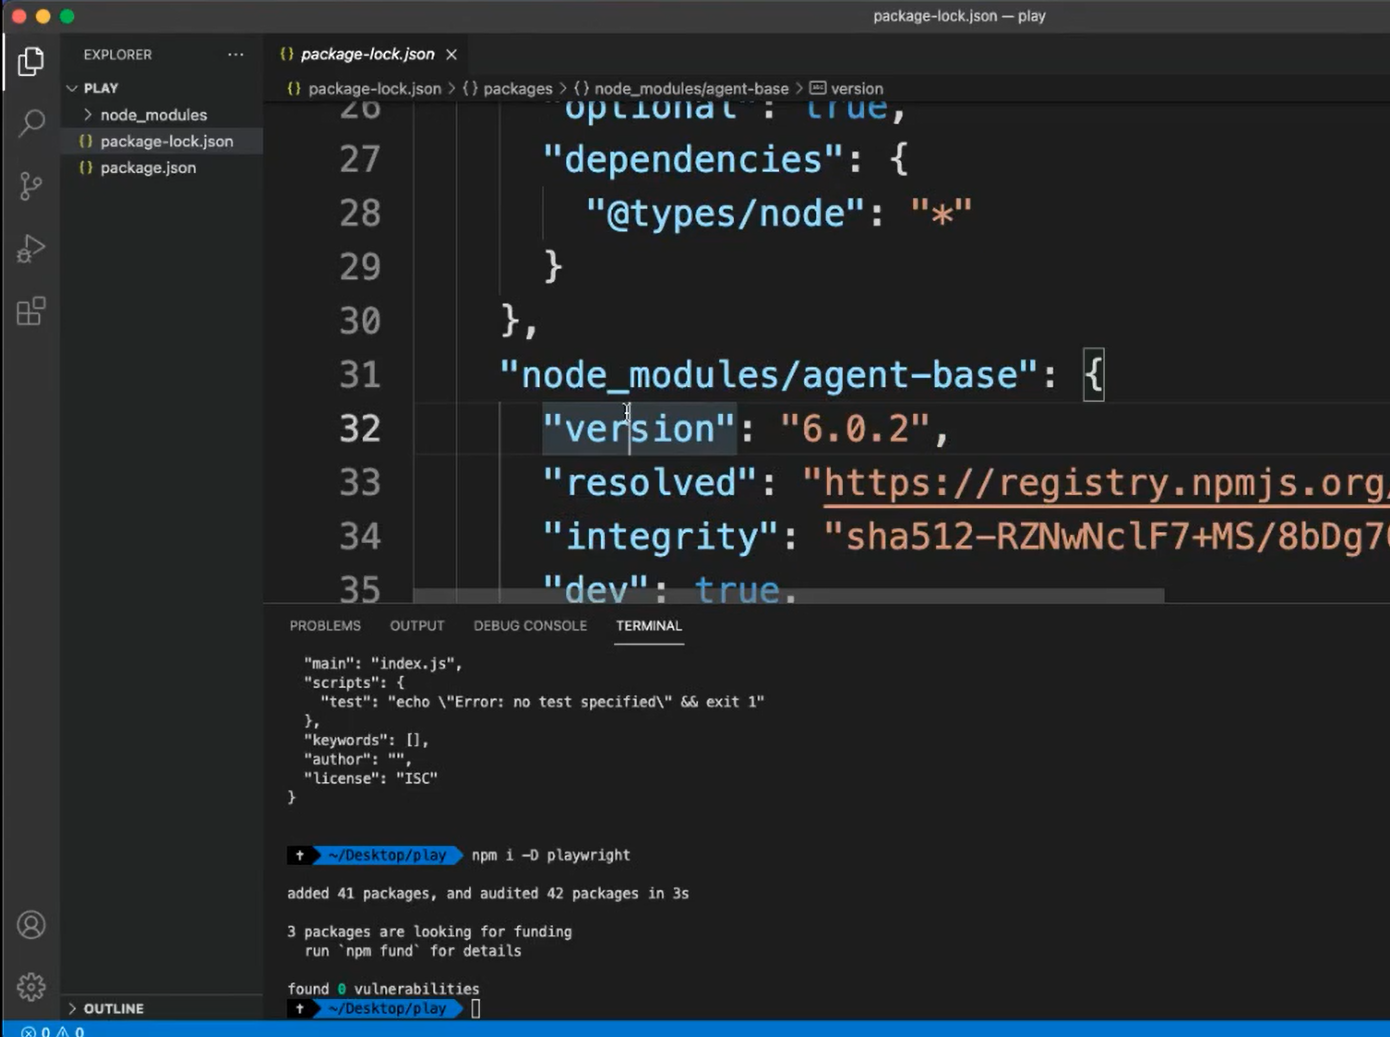
This file is created with the details of a specific version installed in our project.
We can close it for now, but this is all that we need in order to start using Playwright.
