
Transcripted Summary
By the end of this video, you will be able to take screenshots in Playwright.
In Playwright, it is really simple to take a screenshot.
The only thing that we need to do is to use the page.screenshot method and the path for the file.
And that's all that we have to do. Let me show you how you can do it with an example.
In this case, let's pretend that we want to navigate to the website of Applitools.

And we want to take a screenshot of this website.
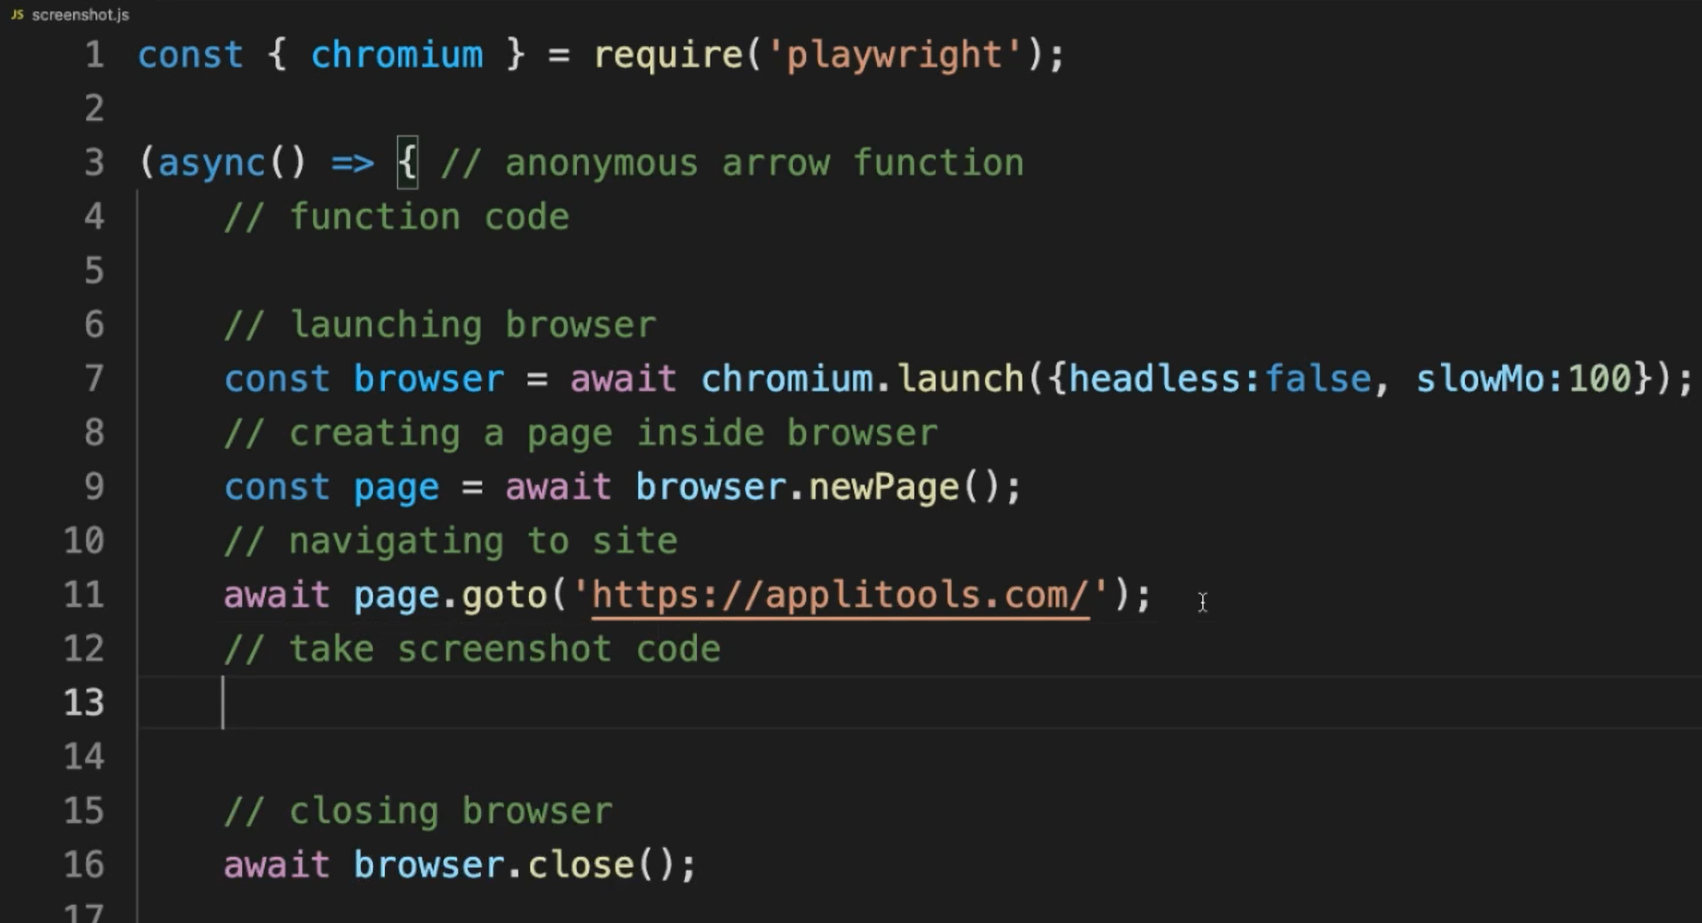
Let's go to Visual Studio Code and let's create a new script, which I'm going to name it screenshot.js.
And let's just change these to the website of Applitools. So let me just quickly copy and paste the url.
After that, here is going to be our code to take a screenshot.
# Taking Screenshot with Playwright
As I said, the only thing we need to do is use await page.screenshot and the path to the file that we want to create.
In this case, I'm just going to give it a name — “screenshot.png” — and it is going to be generated under the same directory. You can use whatever you want.
	// take screenshot code
	await page.screenshot({ path: 'screenshot.png' });
And after this, we can just run this.
How can we be sure that this screenshot was generated?
Well, if you go here, to our folders and files list, there is our .png file. And here is our screenshot.
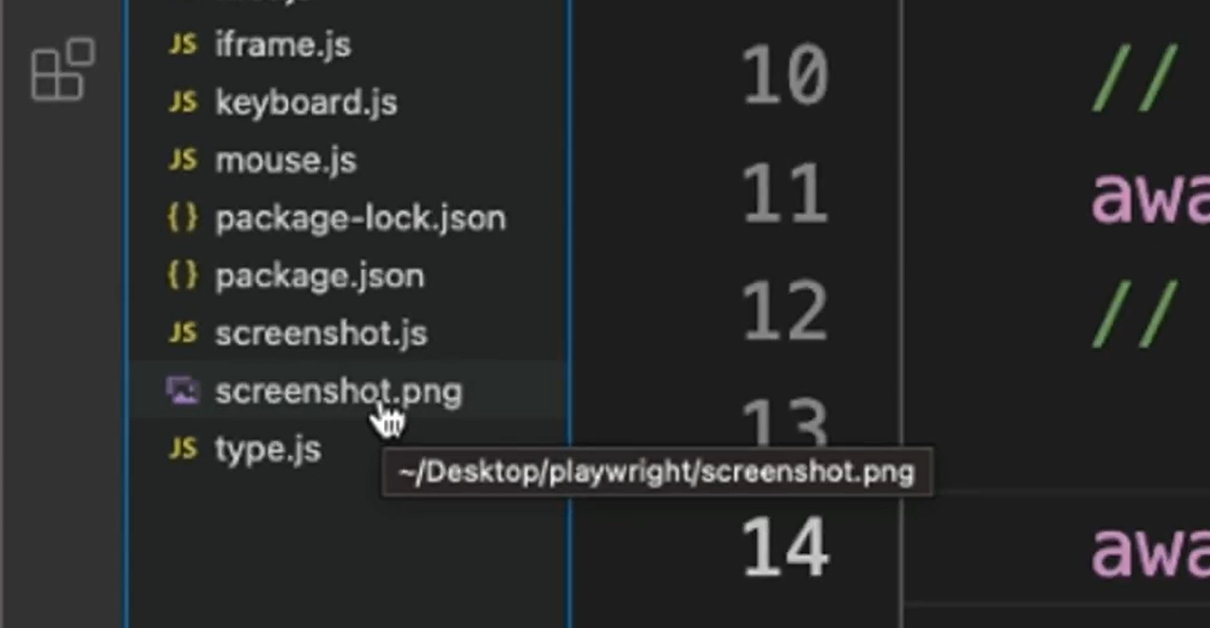
It was generated. That's pretty cool, right?
You don't have to do anything else other than just passing the path to the file that you want to create.
However, there's also other perks using Playwright.
# Taking Screenshot of Elements with Playwright
You can take a screenshot of elements. How do you do that, right?
Let's just first go to the Applitools website, and let's pick an element. In this case, I'm going to pick this logo.
Let's see what is its selector that we can use in order to create an element handle for this selector here.
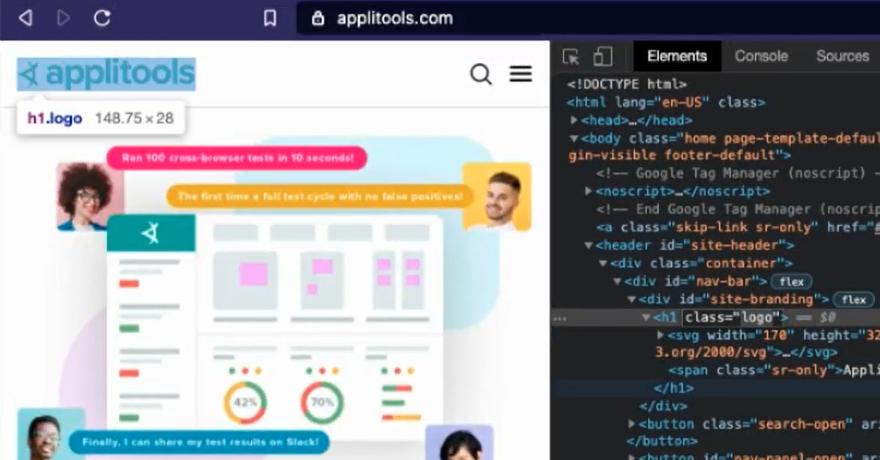
It seems like they have a class. Yeah, the logo. Let's use that one.
Basically, what I want to do is to take a screenshot only of that logo.
For this, I'm going to create a const logo, which is going to be my element handle.
It's just await page. and then, to get the element we have to pass a class, in this case “logo”.
After that, it is the same pattern that we have here. But instead of using page, we're going to use await logo.screenshot.
Again, we just need to pass a path, so, I'm just going to name it “logo.png”.
	// take screenshot of an element
	const logo = await page.$('.logo');
	await logo.screenshot({ path: 'logo.png' });
Let's run this to see what happens this time.
That's it. When we open here. We now have a logo.
Let me show you, so you can make sure that this is working.
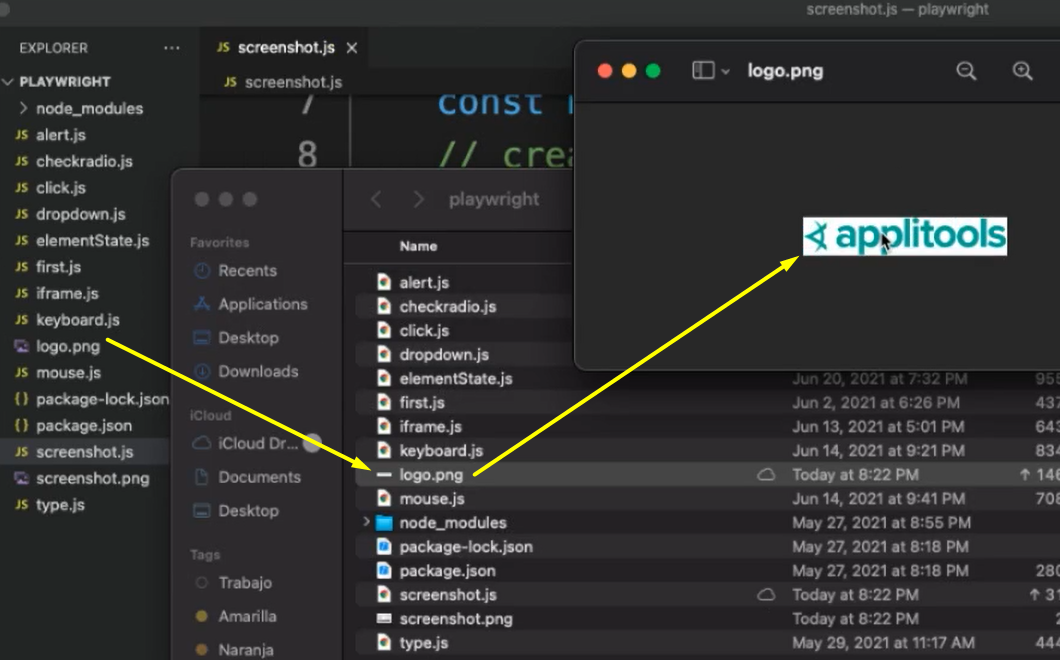
Here is our logo. So, it is the screenshot of one element in this case.
# Taking Screenshot of Whole Page with Playwright
There's also another cool thing that you can do with Playwright. You can take a screenshot of the whole page.
And what do we mean by a whole page?
If you see here, it's a website. It's a little bit lengthy. You can continue scrolling, right?
Our first screenshot was only the top part, but what if we want the whole page, right? Playwright allows us to do that.
The only thing that we have to do is copy paste what we had from the first one. Here, and let's rename this to “fullpage.png”.
**The difference is that we're going to pass another option, which is going to be fullPage. **
And here's going to be “true”, just like with headless.
	// take screenshot of full page (long page)
	await page.screenshot({ path: 'fullpage.png', fullPage: true });
By the way, I'm going to change the launch code options.

I just want to delete it, because I don't really care if we see the browser executing. I just want to see the screenshots at the very end.
Let's run this.
And once it's done, if we go here, we'll see that there's a “fullpage.png” created. And it looks like this.
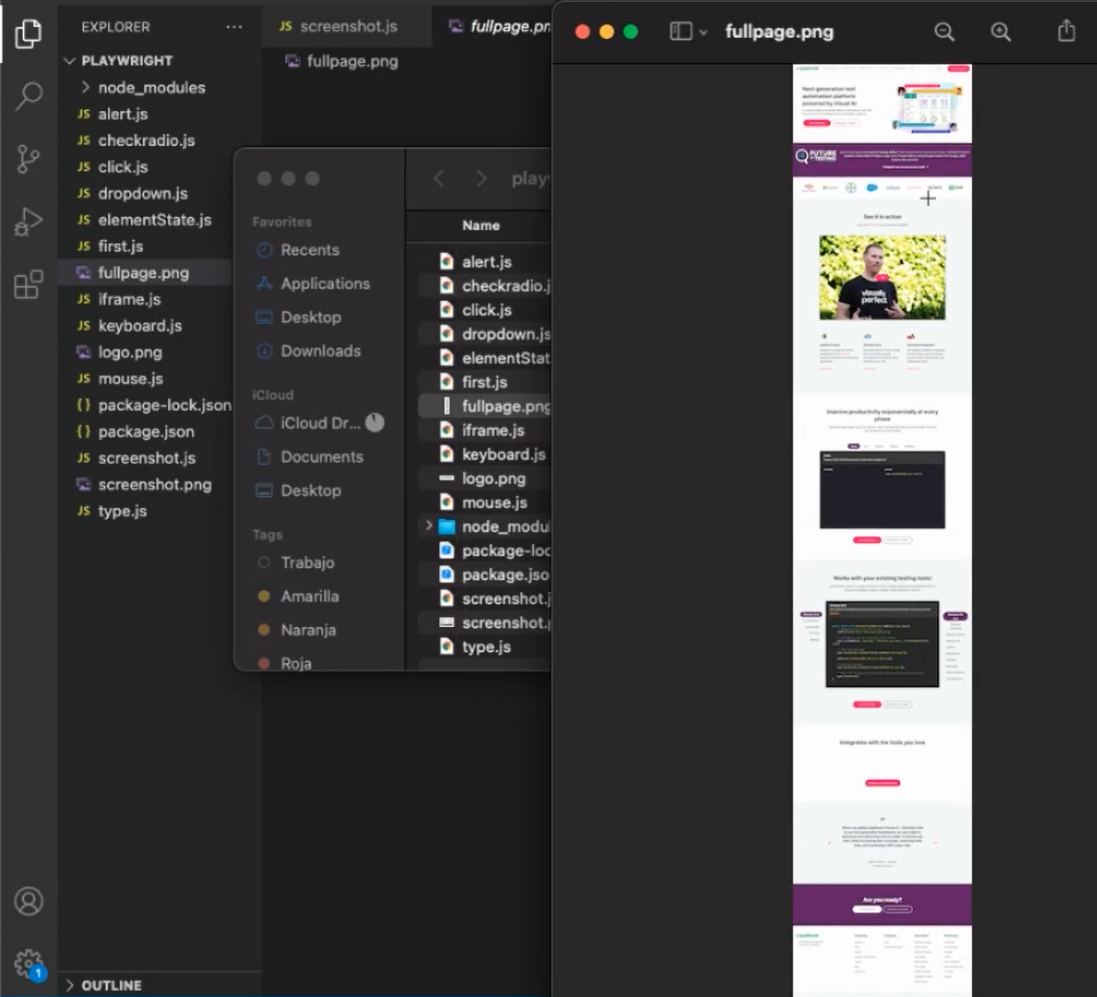
You can see this as a whole screen in just one big screenshot.
There you have it. This is how you can take screenshots using Playwright.
