Transcripted Summary
By the end of this video, you will be able to access elements inside iFrames.
Now let's review how to handle iFrames with Playwright.
I personally don't like frames, but sometimes we have to deal with them. So just in case you find yourself in an iFrame situation let's review on how to deal with them using Playwright.
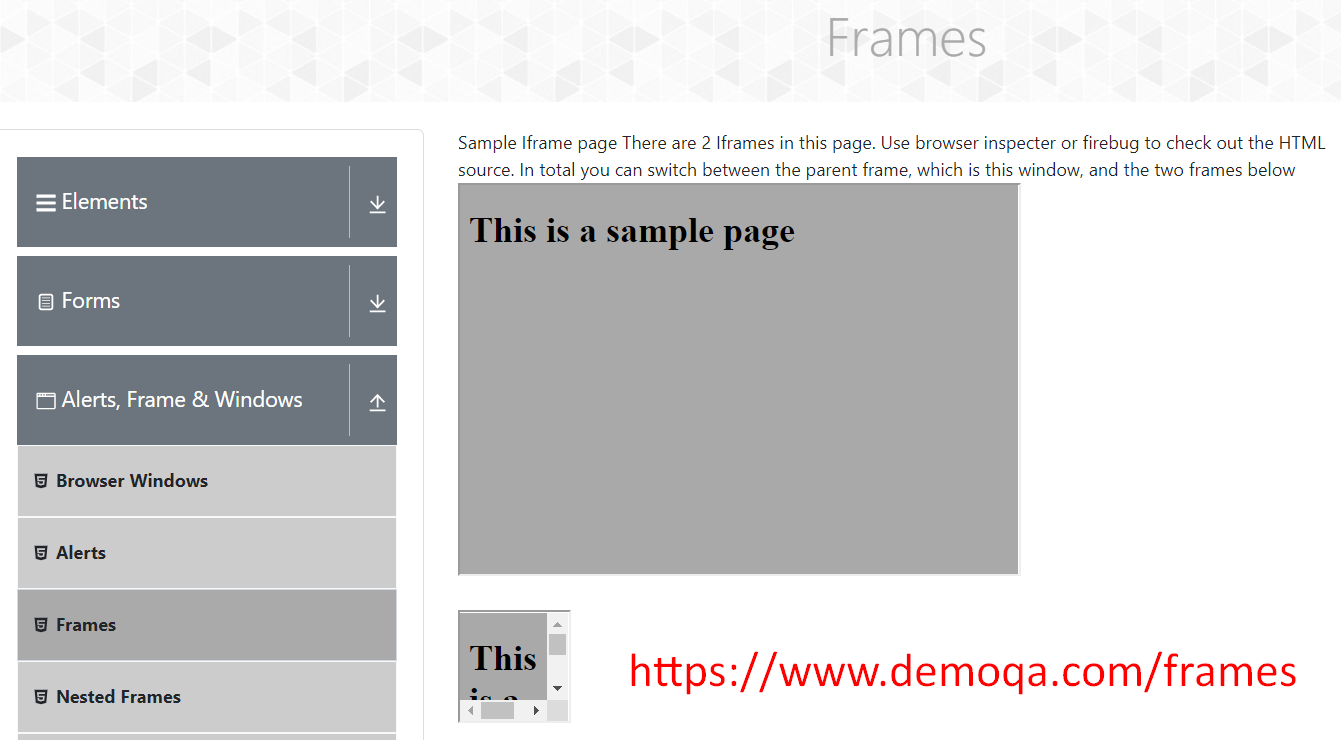
Let's go back to Visual Studio Code considering or taking into account that this is our page that we're going to be using and there is an iFrame here.

Actually, there are 2 iFrames and we have some headings here.
So how can we retrieve what is inside these iFrames, right?
Let's go back to Visual Studio first.
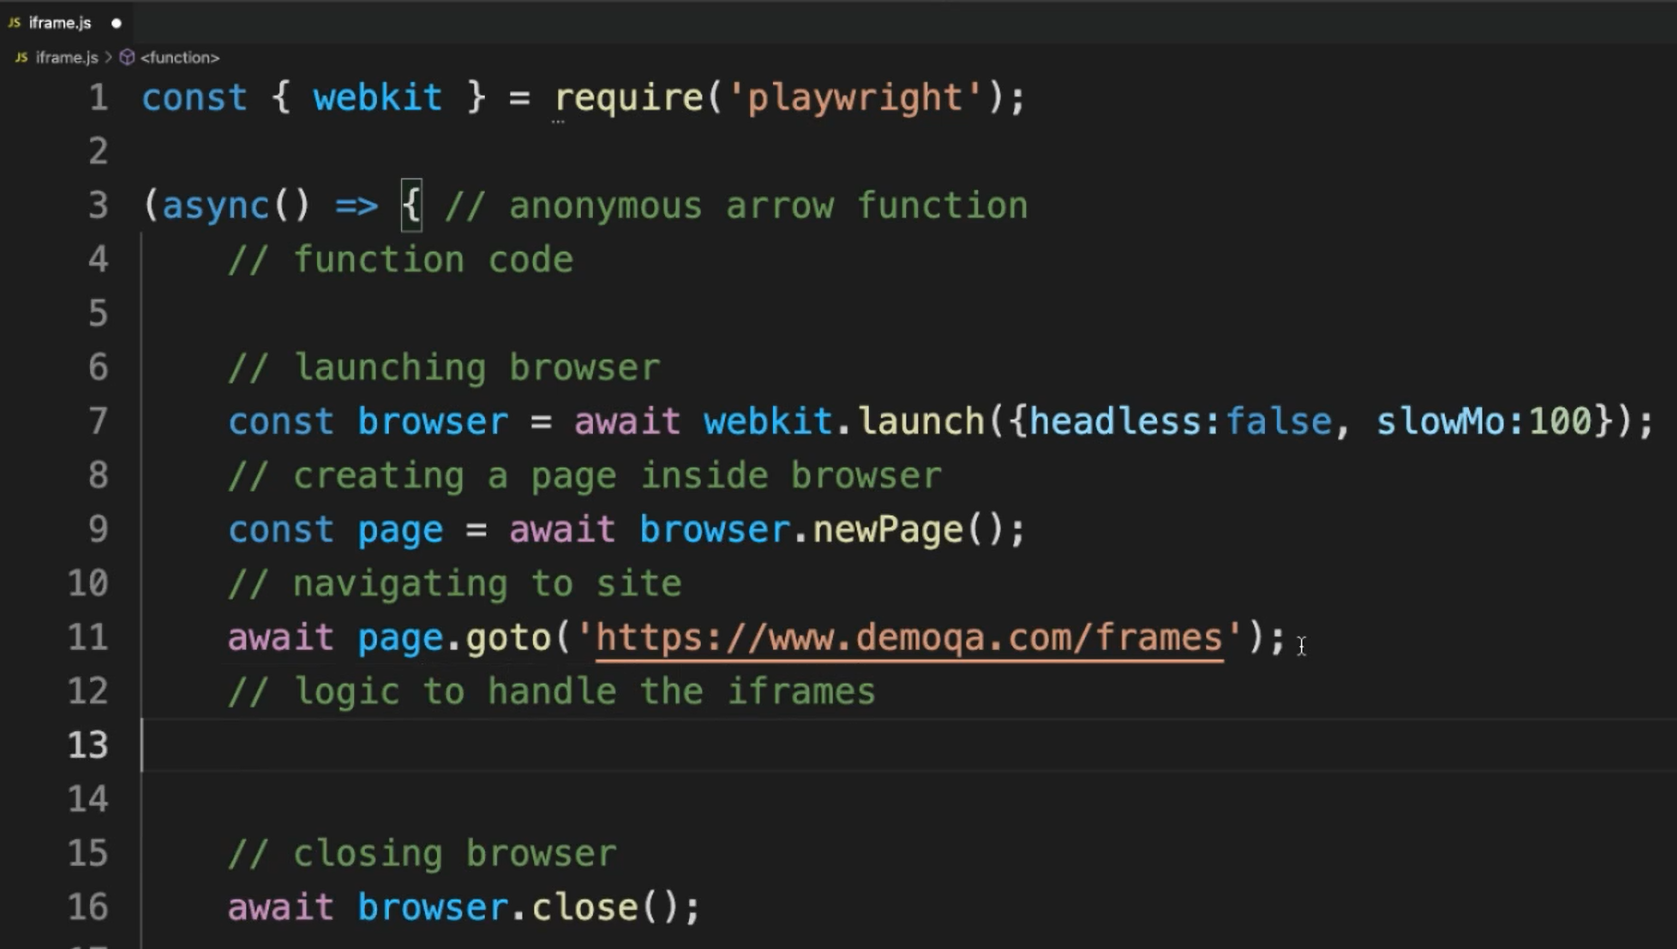
Let's do our usual copy paste of the “first.js” script and let's create a new one, which I'm going to call “iframe.js”.
This time let's choose webkit, just for fun. Let's make sure that we also update here.
Let's change the web page that we are going to navigate to.
We can finally put the logic to handle the iFrames.

In Playwright we can use page.frame.
As you can see, you need a selector, which can be a name or URL. The URL has to be a regular expression.

So, let's see if our web page has any of those attributes for this.
Here we have an iFrame.

We only have a source which could be the URL, but we don't have a name. We only have an ID, but in this case, we need either the URL or the name, so let's use the URL.
As I mentioned, we need to use a regular expression, so the regular expression where this is going to be like this. We can do await page, and we can store this in our “frame1” one variable.
const frame1 = await page.frame({ url: /\/sample/ }); //regex
After this, we can actually look inside this “frame1” element for the H1's that are inside it, because in this case, if I am not wrong, this is an H1.

And yes, this is an h1.
So, we want to print this — “This is a sample page” — by getting this element H1 inside of our frame.
We can do await like this, and let's also create a variable for heading one (heading1).
Finally, what we can do is just console.log the `innerText” of that heading.
This should print the value inside that h1.
# Example Code - iframe.js
const { webkit } = require('playwright');
// https://playwright.dev/docs/api/class-frame#frame-page

(async () => { // anonymous arrow function
  // function code

  // launching browser
  const browser = await webkit.launch({ headless: false, slowMo: 100 });

  // creating a page inside browser
  const page = await browser.newPage();

  // navigating to site
  await page.goto('https://demoqa.com/frames');

  // logic to handle the iframe
  const frame1 = await page.frame({ url: /\/sample/ }); //regex

  // locating h1 element handle inside frame
  const heading1 = await frame1.$('h1');
  console.log(await heading1.innerText());

  // closing browser
  await browser.close();

})(); // function calls itself
Let's just execute this (using node iframe.js) so we can see what's going to happen.
And as you can see, it actually went and printed what was inside that H1, which was “This is a sample page”.

So, this is how you can handle iFrames using Playwright.
Resources
Quiz
The quiz for this chapter can be found in 3.6
