Transcripted Summary
By the end of this video, you will be able to interact with checkboxes and radio buttons in Playwright.
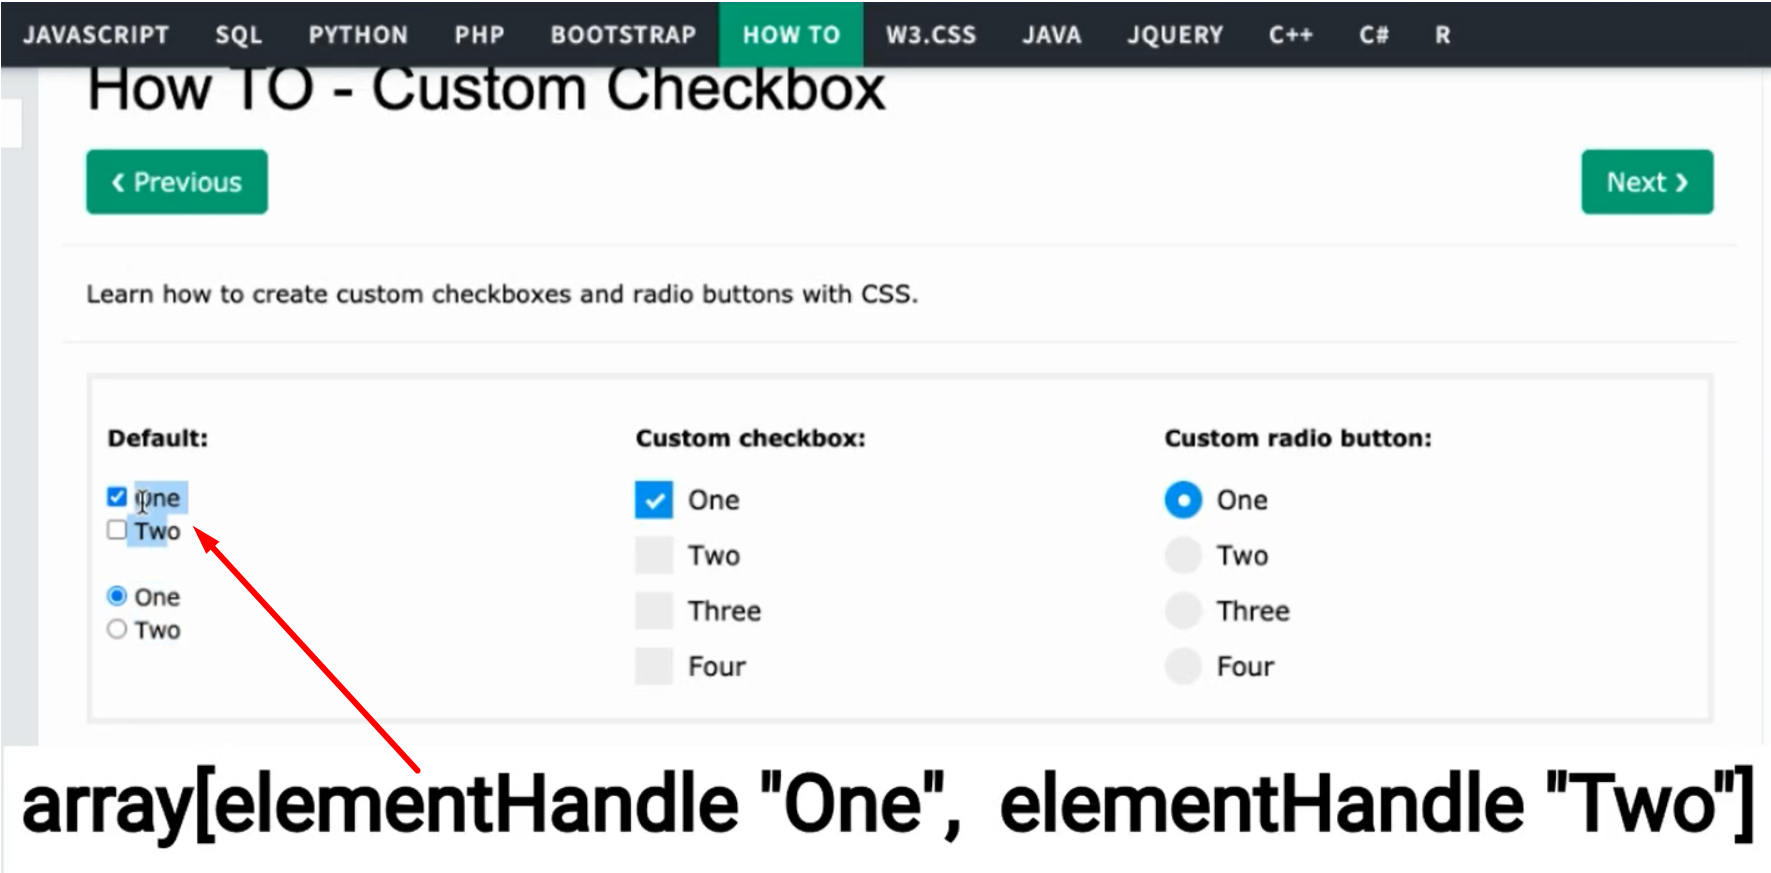
Let's now review how to handle all the common controls like checkboxes and radio buttons. For example, let's pretend we want to go to this webpage and we want to check this control and we want to select these radio buttons.

So how can we do that using Playwright?
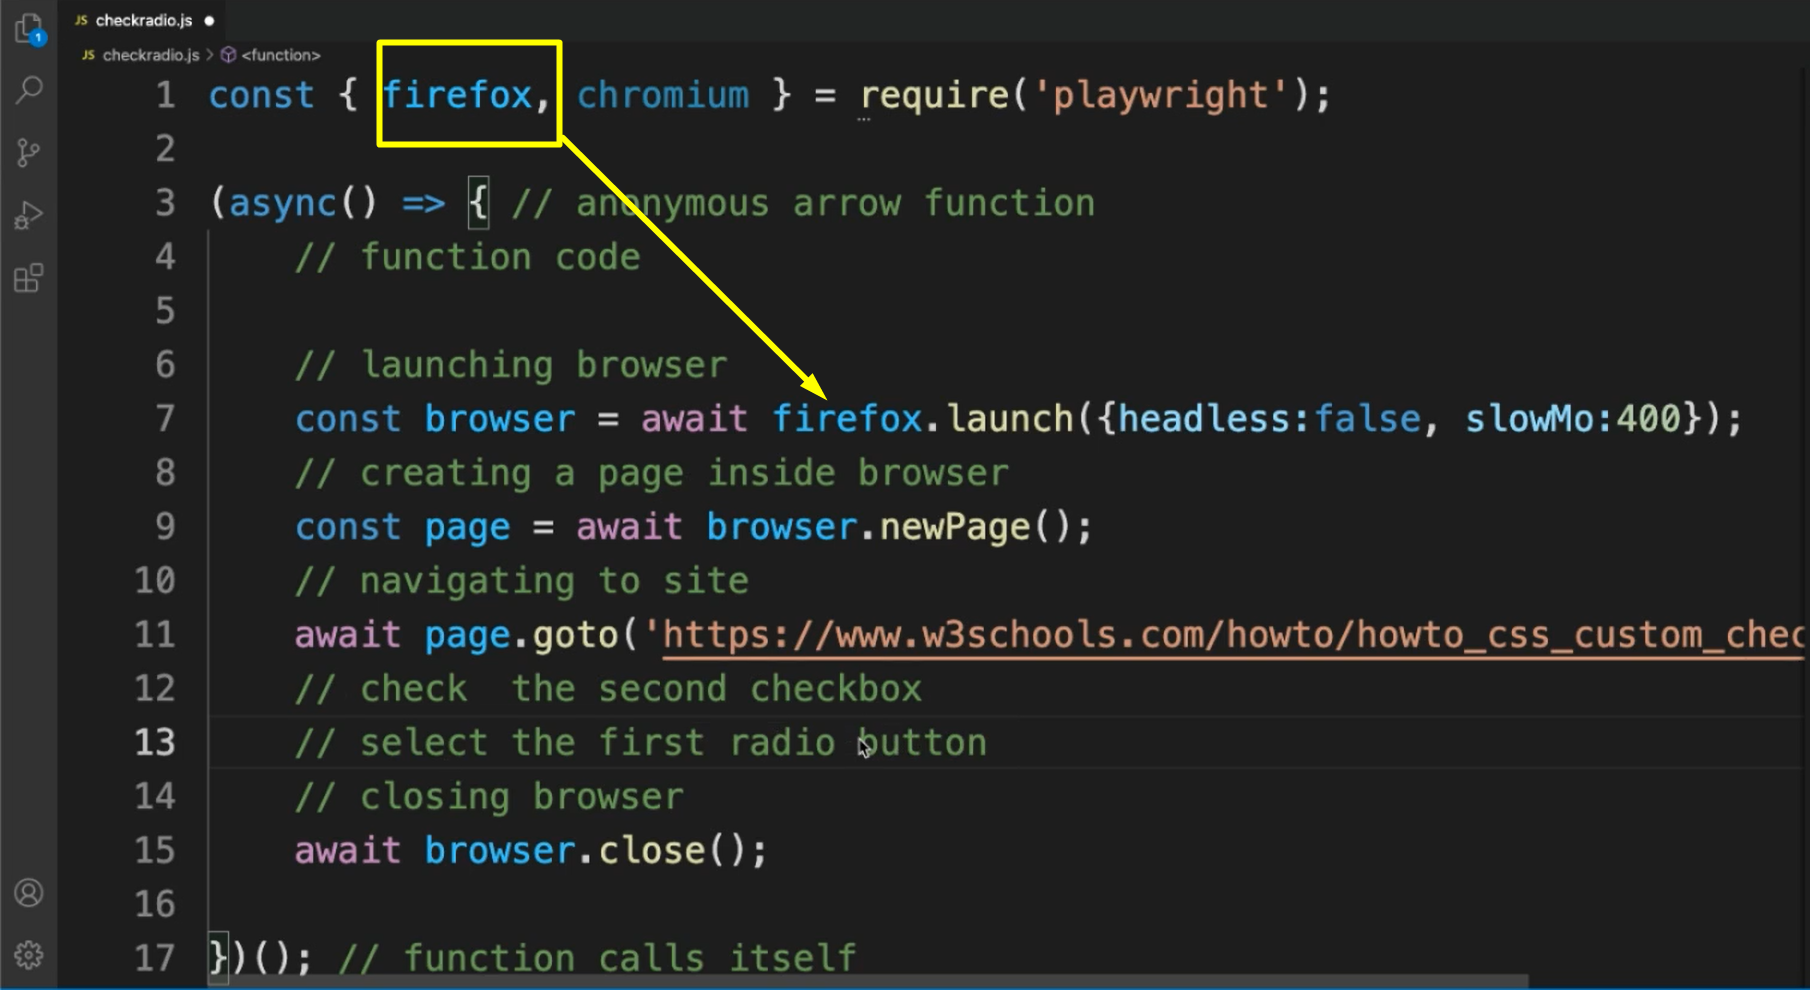
To begin with, let's navigate back to Visual Studio Code. And I'm going to copy all that we have from the “first.js” script again and create a new one, which I'm going to name checkradio.js.
Paste in everything and just for fun, let's change it to Firefox, and let's not forget to change these to Firefox as well since we're no longer using Chromium and let's update the webpage that we're navigating to.

Here is where we can put the logic for checking the second checkbox and number one, we select the first radio run button like this.
And so, how can we achieve this in Playwright?
A way to do this can be to store an array for all of our radios.

I mean these ones.
And for all of our checkboxes, in this case these ones, because in that way, we're going to be able to access the elements inside these arrays and do check and uncheck.

Let's just create two arrays, one for our radio buttons and another one for our checkboxes.
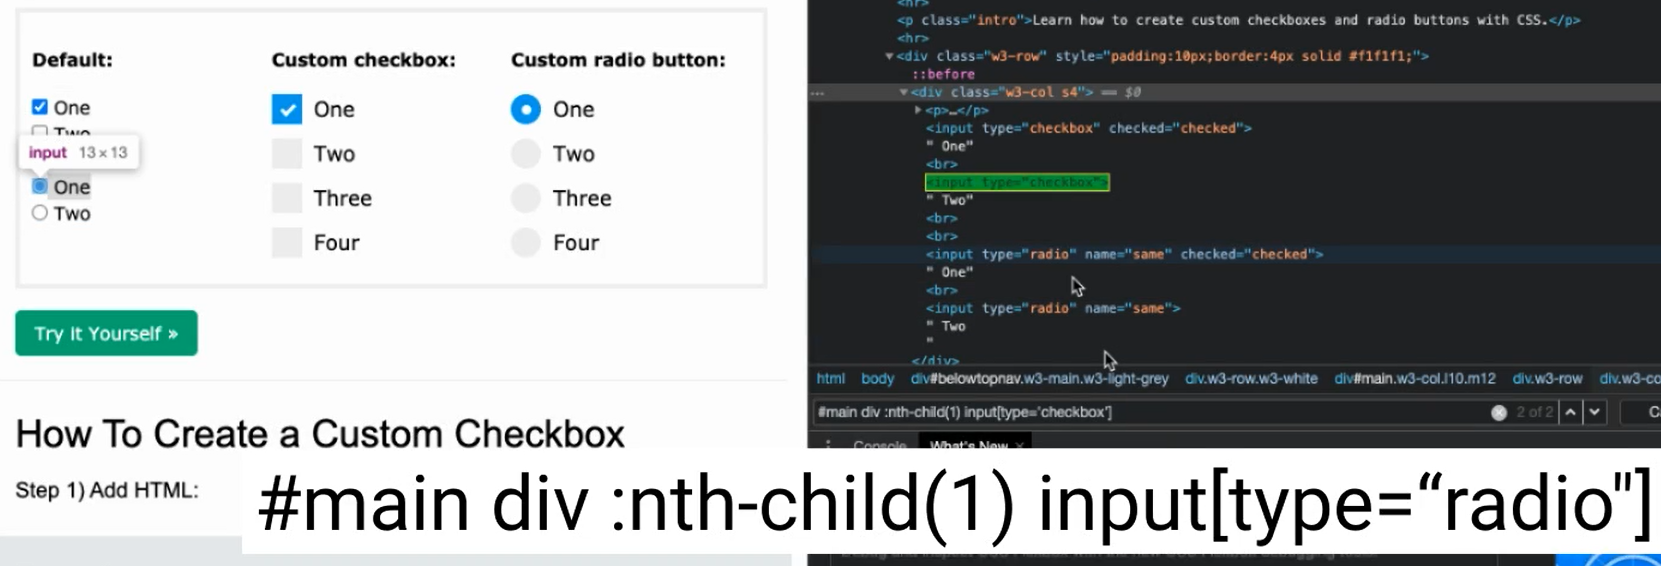
We will have to use a selector for this one, so just let me quickly retrieve the selectors.
This is what we can use for these 2 checkboxes — #main div :nth-child(1) input[type="checkbox"]'

Let's see... How about the radio?
Yeah — #main div :nth-child(1) input[type="radio"] — can work for those.

We want to check the second checkbox, and here I'm going to select the second radio button, because I noticed that the first one is already selected by default, once the page loads. So, it wouldn't make much sense to keep it like that.
What we can do is create our array for the checkboxes as I mentioned.
Here it's going to be all the elements that have the same selector. In this case they are not “radio” but “checkbox”.
const checks = await page.$$('#main div :nth-child(1) input[type="checkbox"]');
After that, what we can do is use check against our array here and we can use the position that we want to check or uncheck.
In this case, we want to check the second one, which is by index the first one (1).
Maybe we actually want to uncheck the first one (0 by index), so you get to see how this works.
You have to do uncheck.
  // check the second checkbox
  await checks[1].check();

  // uncheck the first checkbox
  await checks[0].uncheck();
Now we have to do something similar, but for the radios, right? This is what we were talking about before.
So, we have to create our array for radio.
I'm going to name these “radios”.
const radios = await page.$$('#main div :nth-child(1) input[type="radio"]');
And in the same way we just did for the checks, we just have to do radios at the position 1, because we want to select the second one.
Let's not forget the use of await, because all of these are asynchronous codes that have to be “awaited”.
await radios[1].check();
And we can just go ahead and run this (using node checkradio.js) to see how it looks.
# Example Code - checkradio.js
const { firefox, chromium } = require('playwright');
// https://playwright.dev/docs/api/class-elementhandle#element-handle-check
// https://playwright.dev/docs/api/class-page#page-check

(async () => { // anonymous arrow function
  // function code

  // launching browser
  const browser = await firefox.launch({ headless: false, slowMo: 400 });

  // creating a page inside browser
  const page = await browser.newPage();

  // navigating to site
  await page.goto('https://www.w3schools.com/howto/howto_css_custom_checkbox.asp');
  const checks = await page.$$('#main div :nth-child(1) input[type="checkbox"]');

  // check the second checkbox
  await checks[1].check();

  // uncheck the first checkbox
  await checks[0].uncheck();

  //select the second radio button
  const radios = await page.$$('#main div :nth-child(1) input[type="radio"]');
  await radios[1].check();

  // closing browser
  await browser.close();

})(); // function calls itself
And there you go.
I think you were able to observe how this worked. It's just basically doing check, uncheck and using arrays for our convenience in order to handle these elements.
And this is how you can do it with Playwright.
Resources
Quiz
The quiz for this chapter can be found in 3.6
