
Transcripted Summary
By the end of this video, you will be able to record a video using Playwright.
Similar to taking a screenshot, recording a video is also, to some degree, pretty straightforward using Playwright.
But before jumping on to changing code, let's talk about how Playwright works.
Playwright works on three main core concepts: browser, context, and page.
So far, we are familiar with browser and page. Let's quickly review what they are.
First, a browser is the first thing we need to run tests. After all, we have to launch a browser. Playwright does this using the object of the browser class, which is nothing but an instance of either Chromium, Firefox, or Webkit.
Secondly, a page is a new tab or pop-up window within a context. Every action on the test (for example,
page.click,page.type, …) is performed on this object.And finally, a context. This one is an isolated “incognito-alike” session within a browser instance.
Yes, I know. I just said a ton, so let's just simplify this.
For recording videos, the main difference between the process of taking a screenshot is that we have to use a browser context.
Let's see these with an example.
Let's pretend that we want to go to this website.
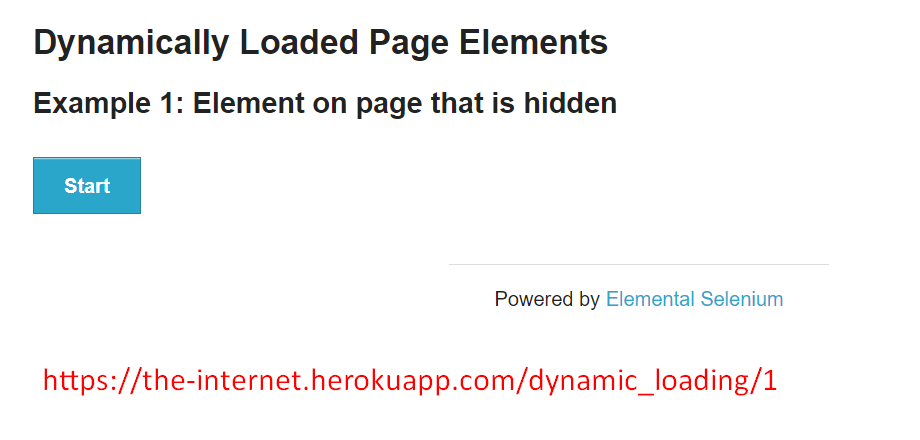
Then we click on this start button, wait for the loading to finish, and record this video.

How can we do this with Playwright?
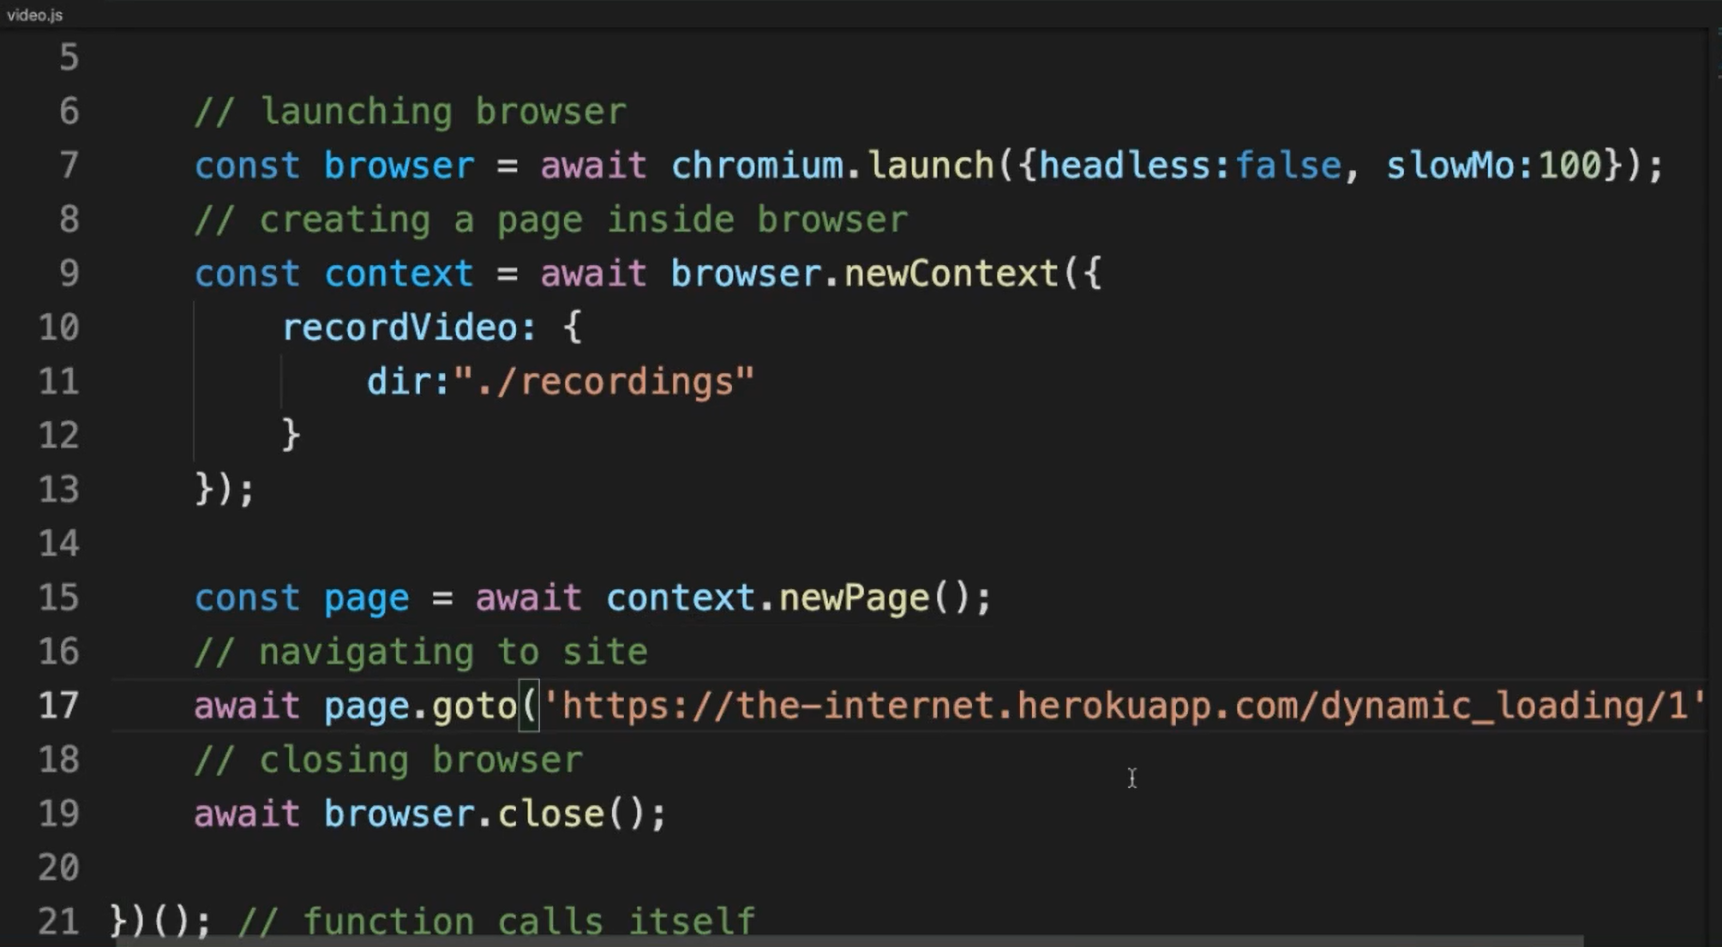
First, let's create a new file, which I'm going to name video.js and then just copy this.
We mentioned that we need a context because that's how Playwright records videos, so let’s create that context.
const context = await browser.newContext()
Let's specify a couple of options here, so we can actually record our video.
I'm trying to pass recordVideo.
We need a directory for recording that video. I want to have it in a folder, which is going to be named “recordings”.
  // creating a page inside context
  const context = await browser.newContext({
    recordVideo: {
      dir: "./recordings"
    }
  });
And that's it.
After that, the only difference is that instead of just creating the page using the browser, this page is going to be living inside this context.
Next, let's update that website.
Okay, now we mentioned that we wanted to click on the start button, right?
We just click on the button. This one we can do is await page.click() and in here goes the selector.
In this case, it's just a button.
  // click on button
  await page.click('button');
After that, we can do our page.waitForSelector. I know this is new, but I'll explain it in just one second.
  // waiting for loading animation to appear
  await page.waitForSelector('#loading');
I want to wait for the selector “loading”.
I also want the selector “loading” to go away, so how do I do that?
I just changed this to state: 'hidden', that's it.
  // and disappear
  await page.waitForSelector('#loading', { state: 'hidden' });
Now, let's go back to the explanation of what's going on here.
If we notice here in the webpage, there is this button and once we click on it, this div “loading” is displayed.
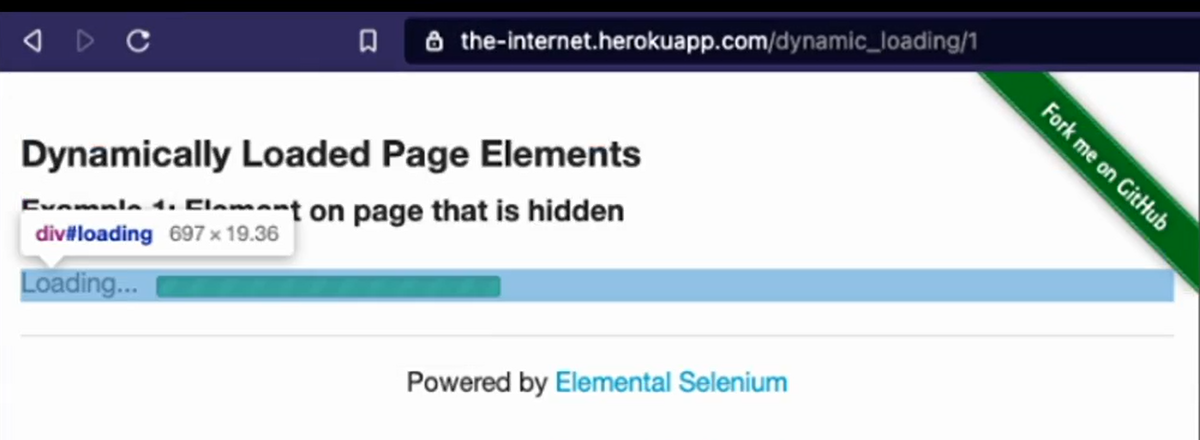
It's not displayed until you click on it.
And here at the end, it's just getting hidden.
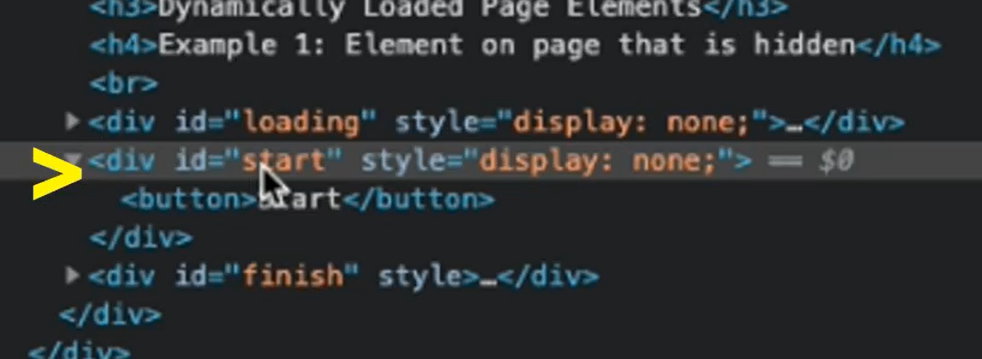
So, this is basically what I'm trying to achieve here.
First, we click on the button and then we wait for this loading to be displayed. And at the end, what we want to do is to wait for it to be hidden once again.
I'm just going to add this extra timeout at the end.
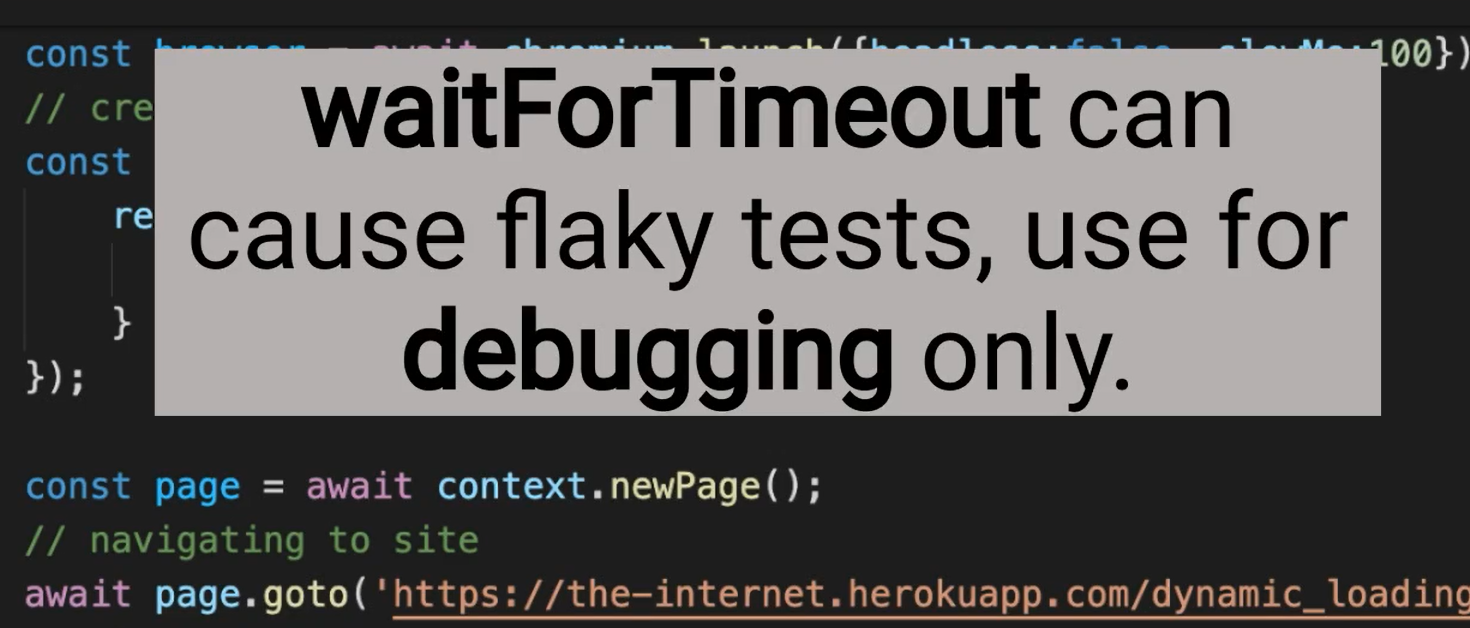
It's not needed, but you have to pass any value that you want in milliseconds.
And that's it.
# Example Code – video.js
const { chromium } = require('playwright');
// https://playwright.dev/docs/api/class-video

(async () => { // anonymous arrow function
  // function code

  // launching browser
  const browser = await chromium.launch();
  // creating a page inside context
  const context = await browser.newContext({
    recordVideo: {
      dir: "./recordings"
    }
  });
  const page = await context.newPage();
  // navigating to site
  await page.goto('https://the-internet.herokuapp.com/dynamic_loading/1');

  // click on button
  await page.click('button');

  // waiting for loading animation to appear
  await page.waitForSelector('#loading');

  // and disappear
  await page.waitForSelector('#loading', { state: 'hidden' });

  await page.waitForTimeout(100);

  // closing browser
  await browser.close(); //  must close if not video does not get saved

})(); // function calls itself
Now, we can finally run this.
So, once it's done, if you check in recordings, there's going to be the video.
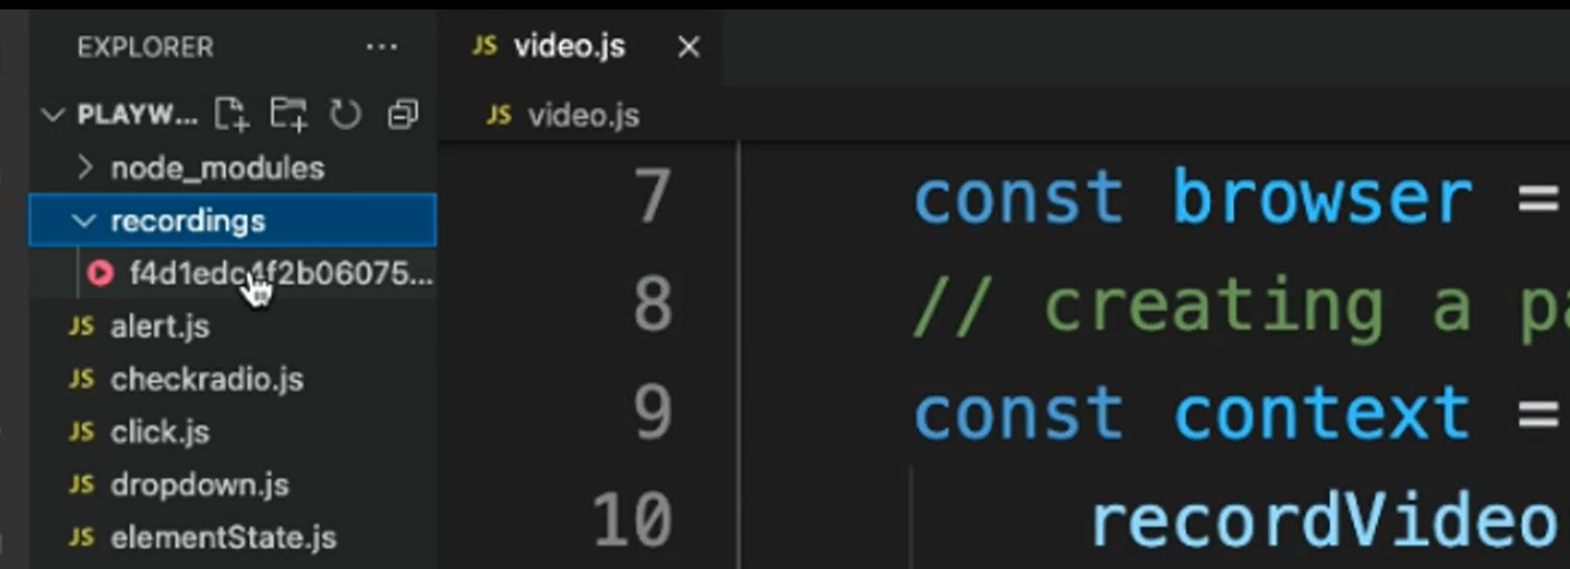
If you open it, you're going to be able to see the video we've recorded.
So, there you have it. This is how you can record videos using Playwright.
