Transcripted Summary
The first thing that we are going to do is install Node.js and Visual Studio Code.
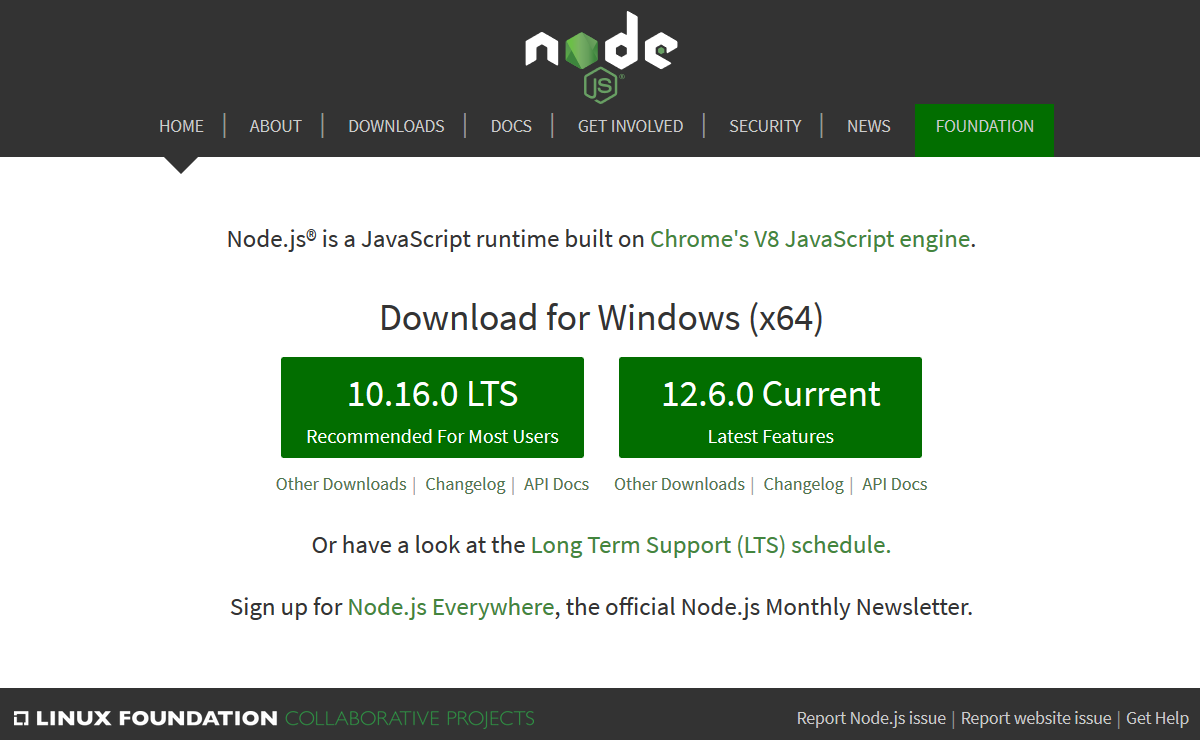
Node.js is a JavaScript runtime built on Chrome’s V8 JavaScript engine and we are going to use version 10.16 of Node.

That is the recommended version for most users. We are going to navigate to Node.js.org and you download 10.16 version for your operating system.
So, it's downloaded. Let us open it up.
Node also installs, along with it, npm.
And npm, if you go to npmjs.com, it allows you to get packages and solutions for your project, for whatever project that you want to use. So, it is really great.
You can search for different packages that you want. So, we can search for “wdio” and it shows us a lot of WebDriver and WebdriverIO packages that you may want to use within your test. It is a really great place to search for packages.
Let's say you have a really complicated function that your test need to do; it's really great for that.
So, installing Node installs, along with it, npm.
We can go through this here [agreeing to the terms of service and completing the installation steps].
And so, it is installed.
What we can do to verify that we have the correct version of Node, we can go in our terminal and we can say
node -v
and that shows us version 10.16, which is what we wanted.
We can do the same for npm, just to verify that the version that we are using is correct. We can say —
npm -v
and it shows us that we have installed version 6.9.

Let us now install Visual Studio Code.
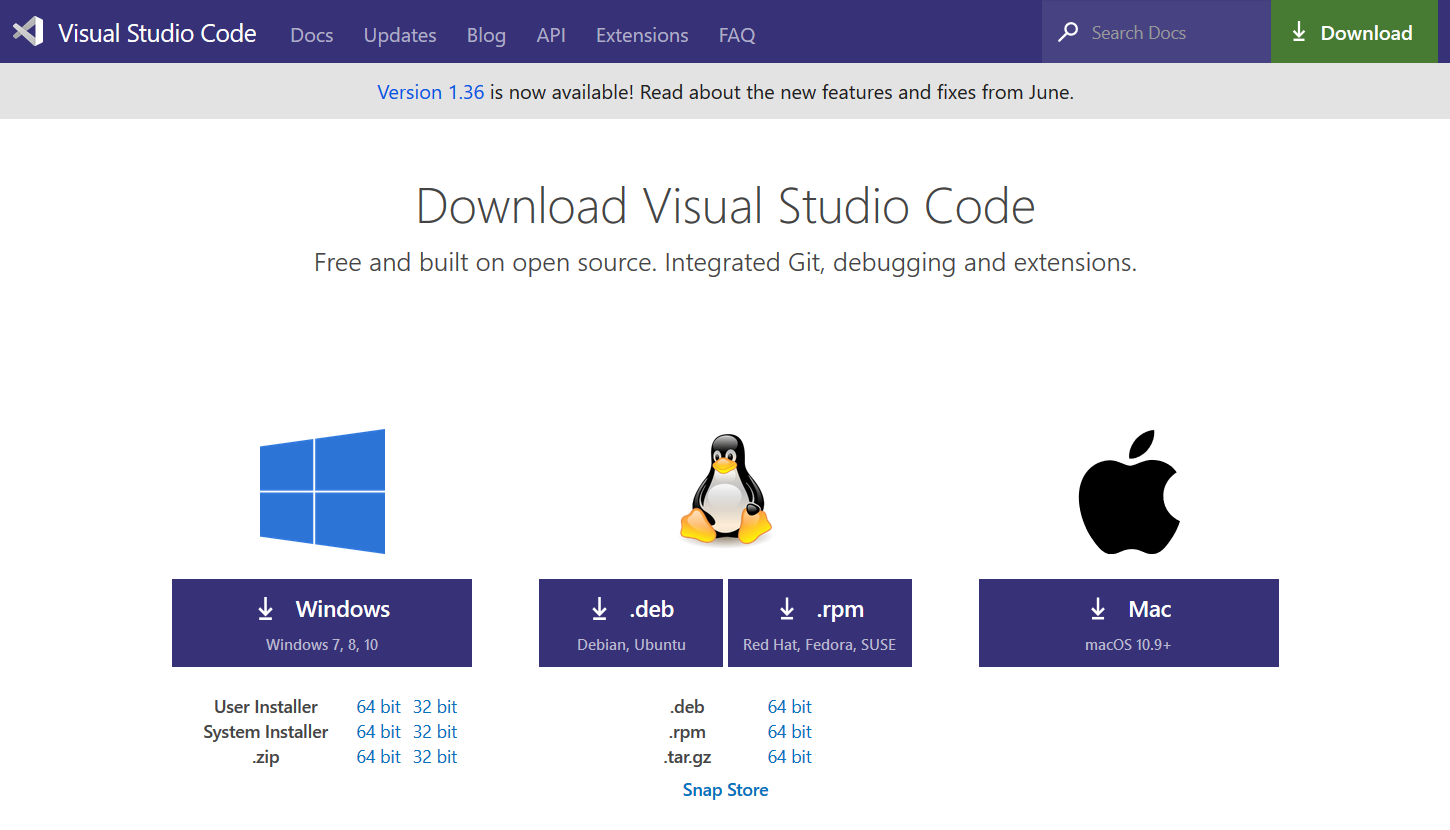
Visual Studio Code is an editor and it's very useful. It comes with a lot of add-ons and extensions that you can use to make writing test, and writing code in general, easier.

What we can do is click download, and here you select the option for your operating system.
While it's downloading, we can take a look at the "Getting Started." It's a lightweight but powerful source code editor. It runs on your desktop and it is available for Windows, Mac, and Linux.
Let us install it.
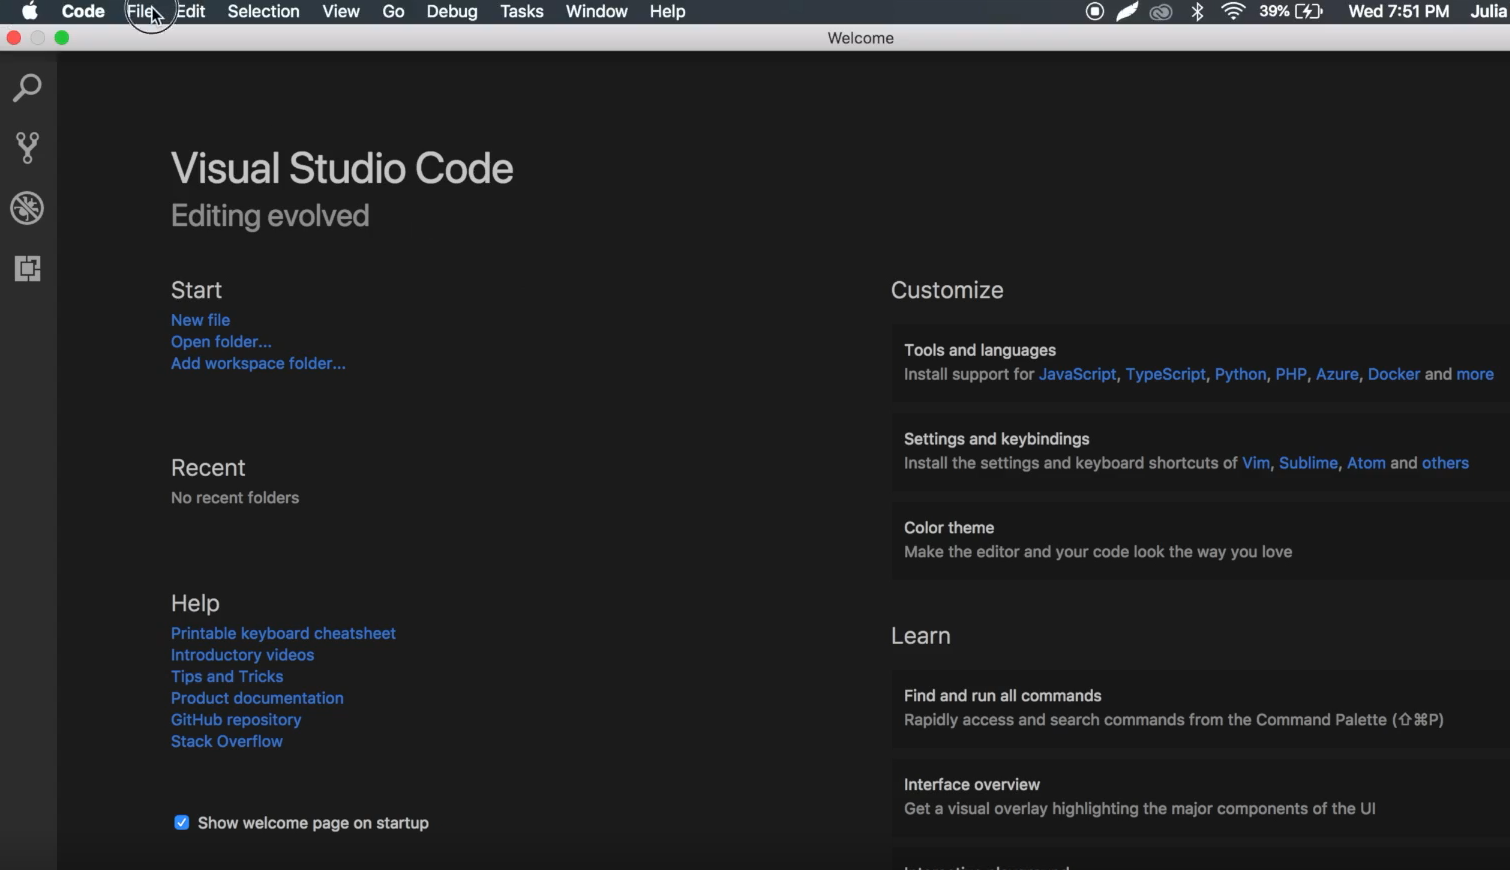
Now we can open VS Code.

Resources
Quiz
The quiz for this chapter can be found in section 1.3
