
Transcripted Summary
The Page Object Model is a design pattern which allows test maintenance and reduction of duplicate code.
It's an object-oriented class that serves as an interface to a page or a section of an application. It normally contains locators, or elements, and functions that will interact with these elements. It may also contain other functions that the test will use.
Let us now create a folder called "pages".
In that folder, let us create a file, and we will name that file "internet.page.js".
Let us define our class — class Internet
And then we say
module.exports = new Internet()
so that this class is accessible by our tests.
Let us put in this class some of the elements that we found in the previous lecture.
So, we can say
get pageHeader() { return $('h1.heading') }
If we look here, the first header, it has a class of "heading".
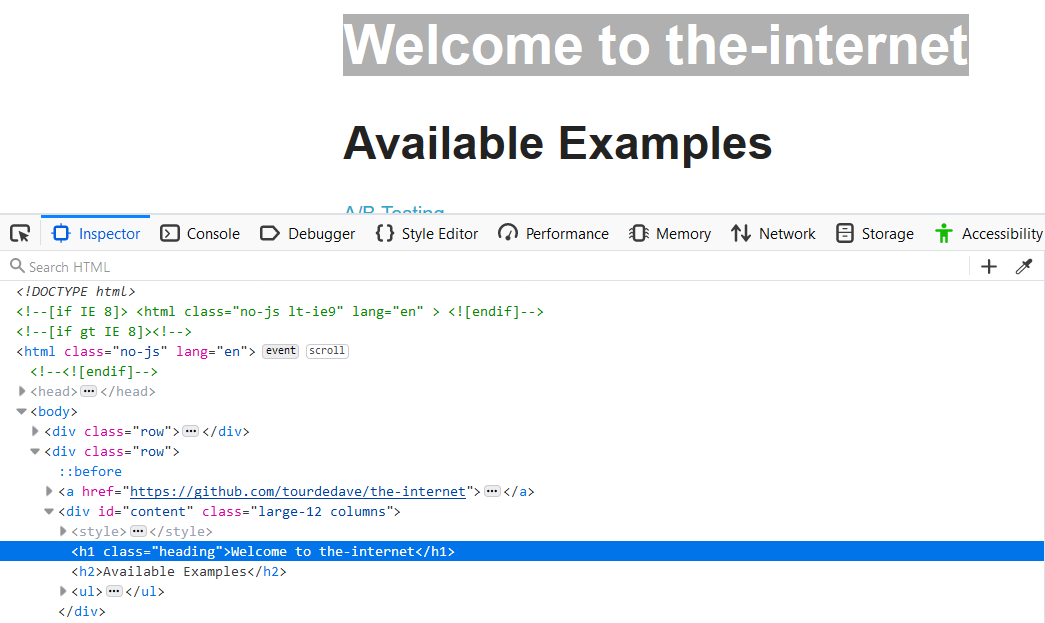
To be more specific, we could also say, "h1.heading" and that would give us this header right here [Welcome to the-internet].
We can also add this element [Available Examples] which we'll call "subheader".
We will do it in a similar format
get subHeading() { return $('h2') }
Let us also get the page footer
get pageFooter() { return $('#page-footer') }
Okay, great.
You may be wondering, what's the purpose of the dollar sign right here?
If we just go to the WebdriverIO website, and we go to the API doc, and we look at dollar sign [$] and double dollar sign [$$], we can get some answers.
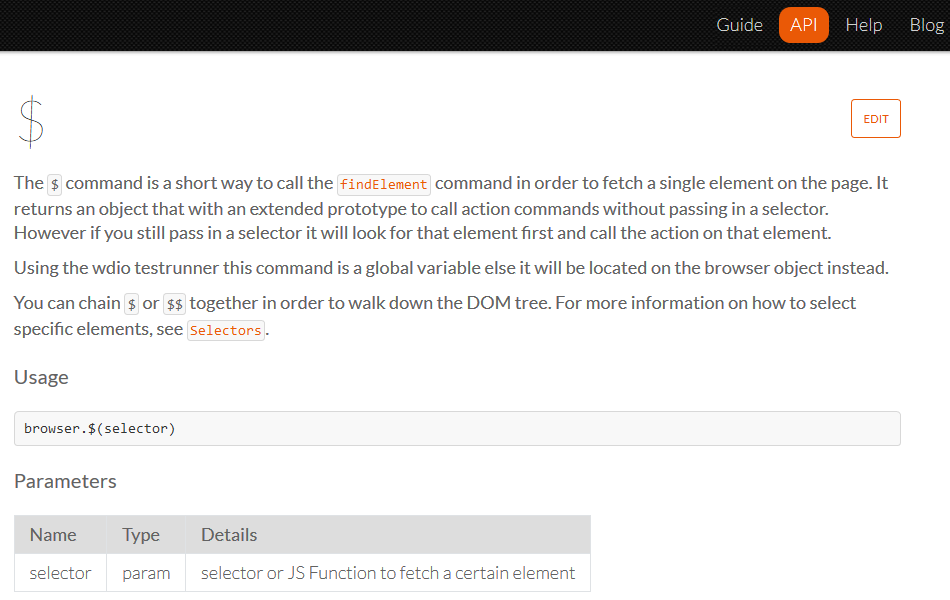
The $ command is a short way to call the findElement command in order to fetch a single element on the page.
If we look here, when we ran our test before, it calls a command findElement for our xpath that we had in our test here.

So that is what the $ command does — it calls a command findElement and returns that single element to you so that you can do your interactions on it.
Let us take a quick look at the double dollar sign.
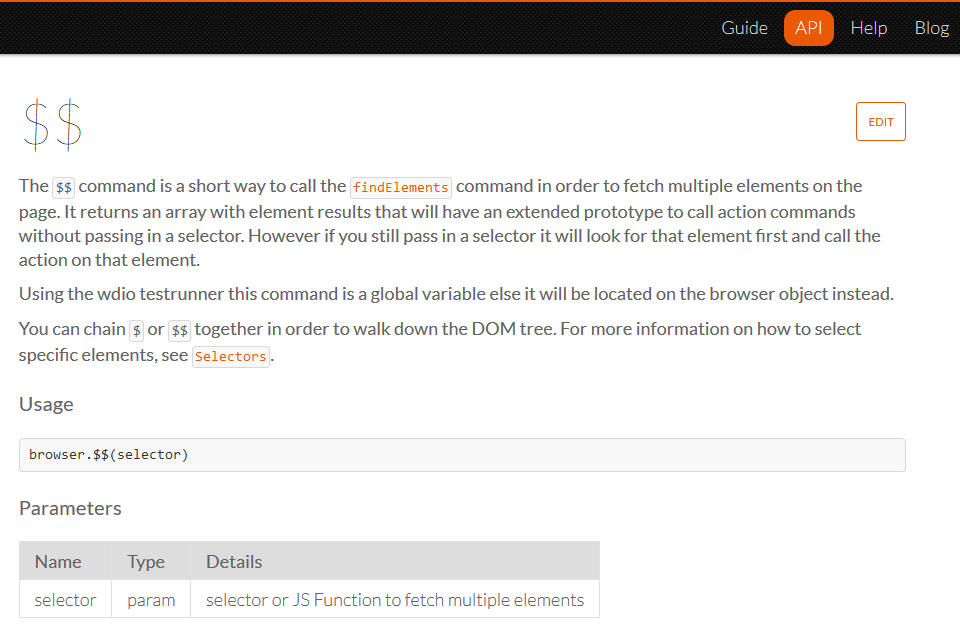
The $$ command is a short way to call the findElements command in order to fetch multiple elements on the page. It will return to you an array of elements that you can use to act on those elements as you see fit.
Let us do a quick example of that.
If we go to “the-internet” page, we realize that they have a wide variety of links here. If we inspect the first link, we realize that they are all in an li tag, right?
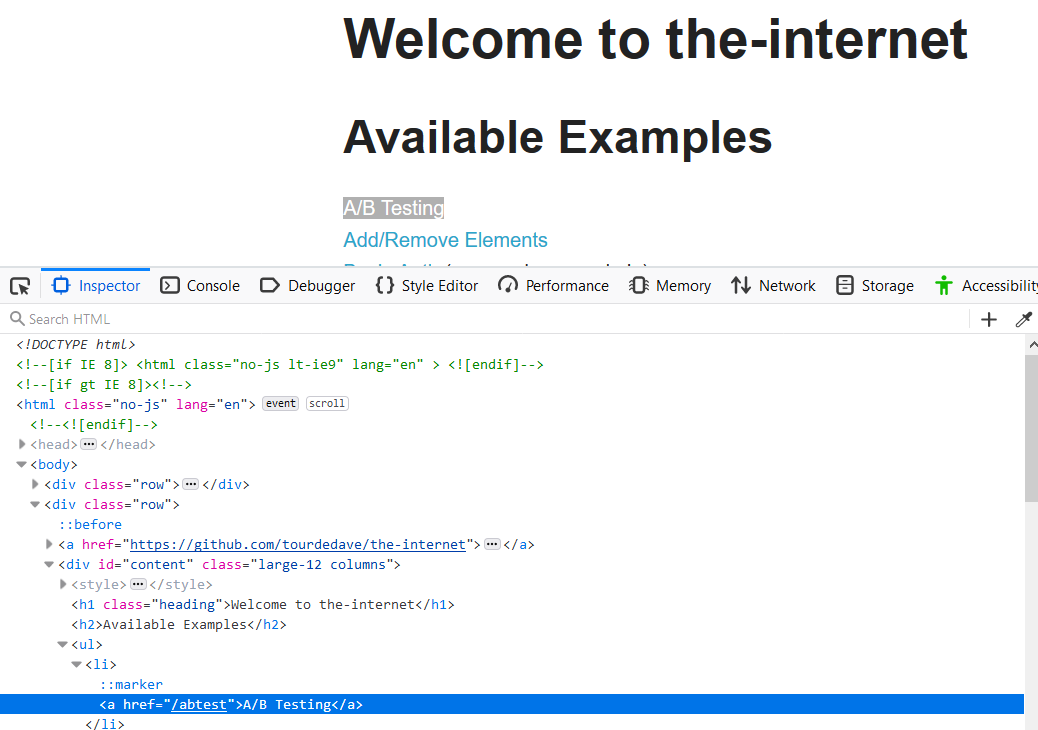
What if we wanted to get all "li's" on a page?
Using the $$ is a great way to get an array of all the elements. So, let's do that.
Let us look at our web page and we realize that we have a lot of li tags within this ul right? We can use the ul, which is the parent, to then go into and get all the li tags.
So, let us say
get parent() { return $('ul') }
Then we're going to say
get childElements() { return this.parent.$$('li') }
Then let's create a function, we're going to use the filter and that will create a new array.
Remember we had said previously that using the $$ gives us an array of all the elements that match that selector that you are inputting. In this case, it's going to provide us with all of these li elements. Because we want to use them to get the text of them, to show, we are going to have to manipulate that array that we're getting back.
Okay.
Let's say:
getLiText() {
    this.childElements.filter((element) => {
        console.log(element.getText())
    })
}
Which is going to manipulate the array for us. So, we're going to be using the keyword elements to interact with the array that we're getting back. And we are going to use console.log to do it, and we're going to getText on it.
# internet.page.js
class Internet {
    get pageHeader() { return $('h1.heading') }
    get subHeading() { return $('h2') }
    get h3Header() { return $('h3') }
    get pageFooter() { return $('#page-footer') }
    get parent() { return $('ul') }
    get childElements() { return this.parent.$$('li') }
    getLiText() {
        this.childElements.filter((element) => {
            console.log(element.getText())
        })
    }

    module.exports = new Internet()
}
Let us go into our test. and we are going to import internet.page.
const internetPage = require("../pages/internet.page")

describe("Interacting with elements", function () {
    it("Get text for element", () => {
        browser.url('/')
        let text = $("//*[@id='page-footer']").getText()
        console.log(text)
        internetPage.getLiText()
    })
})
Okay, so we have internet.page, let us now just call internet.page and use the function that's there, which is getLiText.
So, if we run npm run test it navigates to the URL
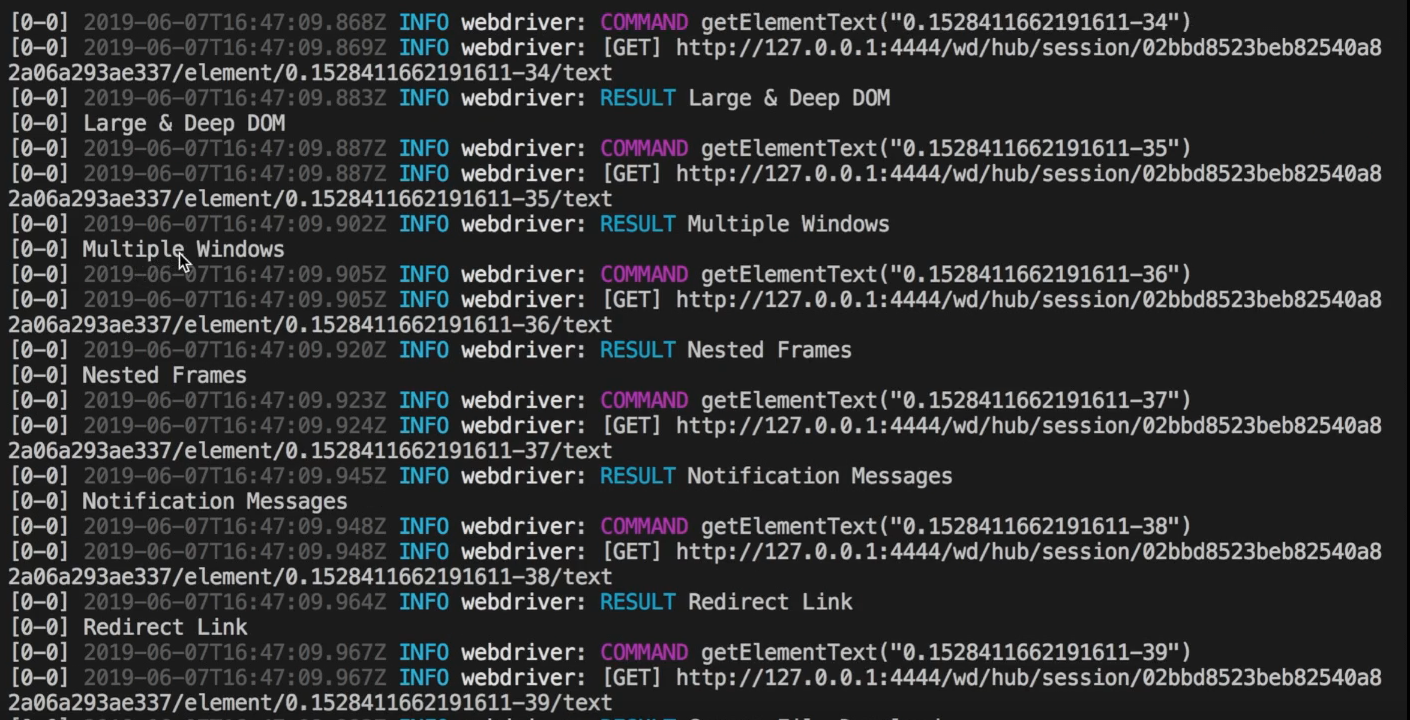
And if we scroll up just a bit, we realize that it is getting the text for all the li elements that we have here — Multiple Windows, Nested Frame, Notification Messages… — it returns all of them here.
There is also another way that we could have used the $ and $$ — let's look at that way as well.
So, let's say
specificChildElement(index) { return this.parent.$(`li:nth-child(${index})`) }
And you'll realize that we aren't using a getter here, because we are going to be accepting an index, which in this case, we want it to be the third index [the “Basic Auth” link in the list]. So, we won't be using a getter as a getter does not accept parameters.
It would be a regular function. So, we are accepting the index, and we are going to use the index here.
Okay, great.
Let's have a function now that says:
getSpecificElementText(index) {
    console.log (this.specificChildElement(index).getText())
}
And we can console.log these out.
Okay, so on our test, let us call this function — internetPage.getSpecificElementText(3) — with an index of 3.
And if we run this, it should return the last thing as being " Basic Auth (user and pass: admin) " here.

Okay, so you can use it to get multiple elements or you can use it to get a single element.
Resources
Quiz
The quiz for this chapter can be found in section 2.3
