

Transcripted Summary
Let us create a test folder in the root of our project [wdio.conf.js].
Within that folder [named “test”] we are going to create a file and we're going to call it “element.test.js”.
The first thing that we're going to look at is how to interact with elements using WebdriverIO.
Each WebdriverIO element interaction accepts a String which is used to locate the associated element in the DOM. This String can be used to reference an element's ID, tag, class, or other forms of selector interaction.
We are using Mocha syntax, so each test suite and test case is defined by a describe and an it, respectively.
So, let's get started
describe("Interacting with elements", function () {
})
Then in our it we're going to say
describe("Interacting with elements", function () {
    it("Get text for element", () => {
    })
})
Right, so we're going to first say browser.url and we're going to put a backslash — browser.url('/') — this backslash will just go to the base URL that we have previously defined here in our config file.
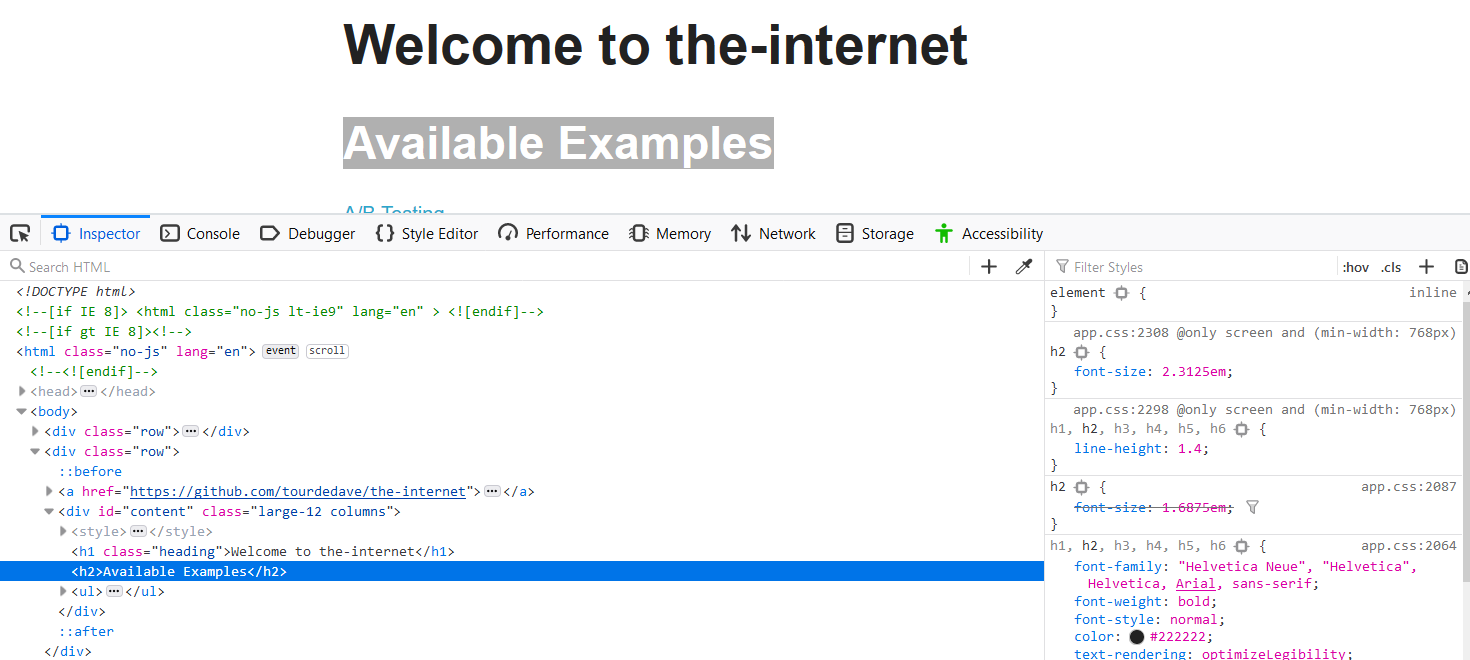
If we open our browser and we go to this UR, the-internet.herokuapp.com, we will notice that it contains a wide variety of elements.
So, if you look at this one, “Available Examples”, and we say Inspect, we realize that it in an h2 tag so we can use that tag to interact with the element.
We can then say in our test
let text = $("h2").getText()
Then we can say
console.log(text)
describe("Interacting with elements", function () {
    it("Get text for element", () => {
        browser.url('/')
        let text = $("h2").getText()
        console.log(text)
    })
})
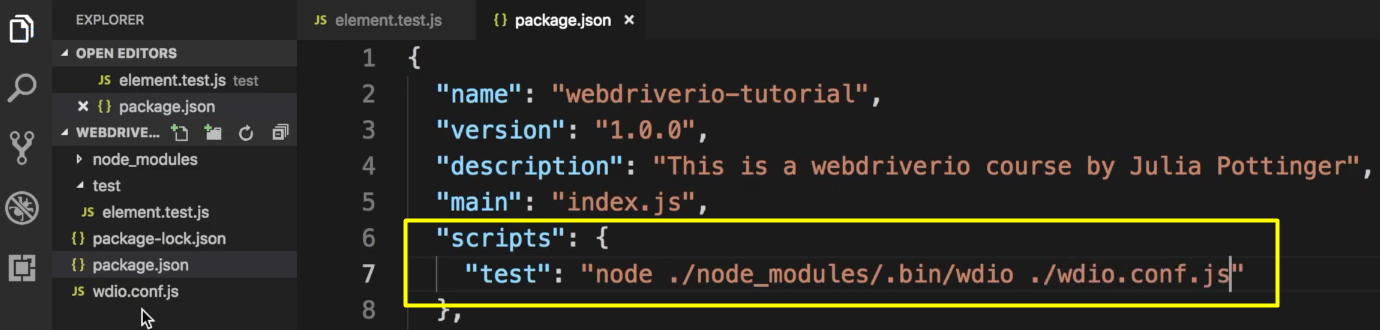
Before we run our test let us go through our package package.json where we have scripts and test.
If we say npm run test or npm test, right now, nothing will run because we did not specify anything.
We're going to clear this out
node ./node_modules/.bin/wdio ./wdio.conf.js
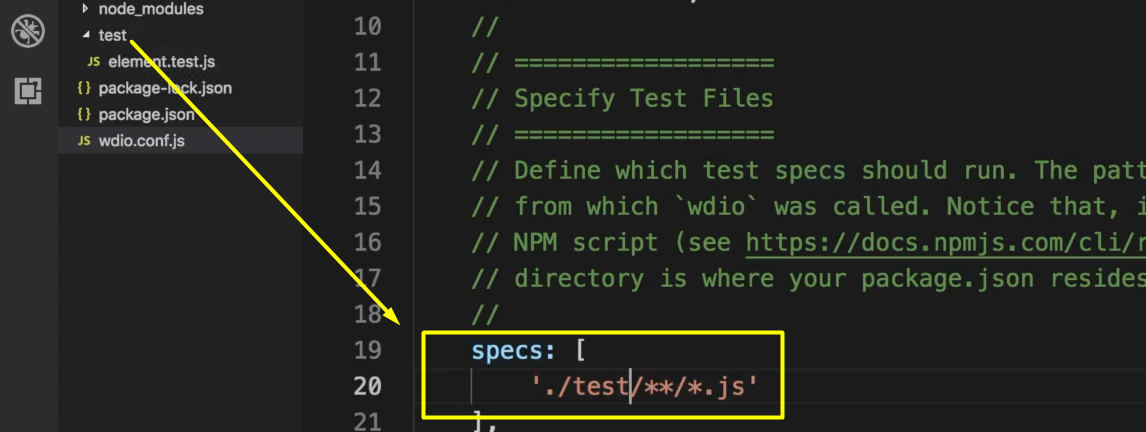
Before we run our test, we had specified in our config file that the path for specs would be test/specs — which means we would have a folder called “test” and within that folder we would have a folder called “specs”.
Here we just have one folder, so we can get rid of “specs” here.
Additionally, we need to ensure that our browser that we're using is Chrome, because that's what we want to use right now.
Okay, so we should now be able to say
npm run test
It should open up a new browser and go to the URL that we had specified, and that test passed. If we scroll up just a bit we should see where a console logged out, what that element was, which in this case was “Available Examples”.
Let us try another element — let's say we have the class.
And we have the class name, here if we inspect on “Welcome to the-internet”,
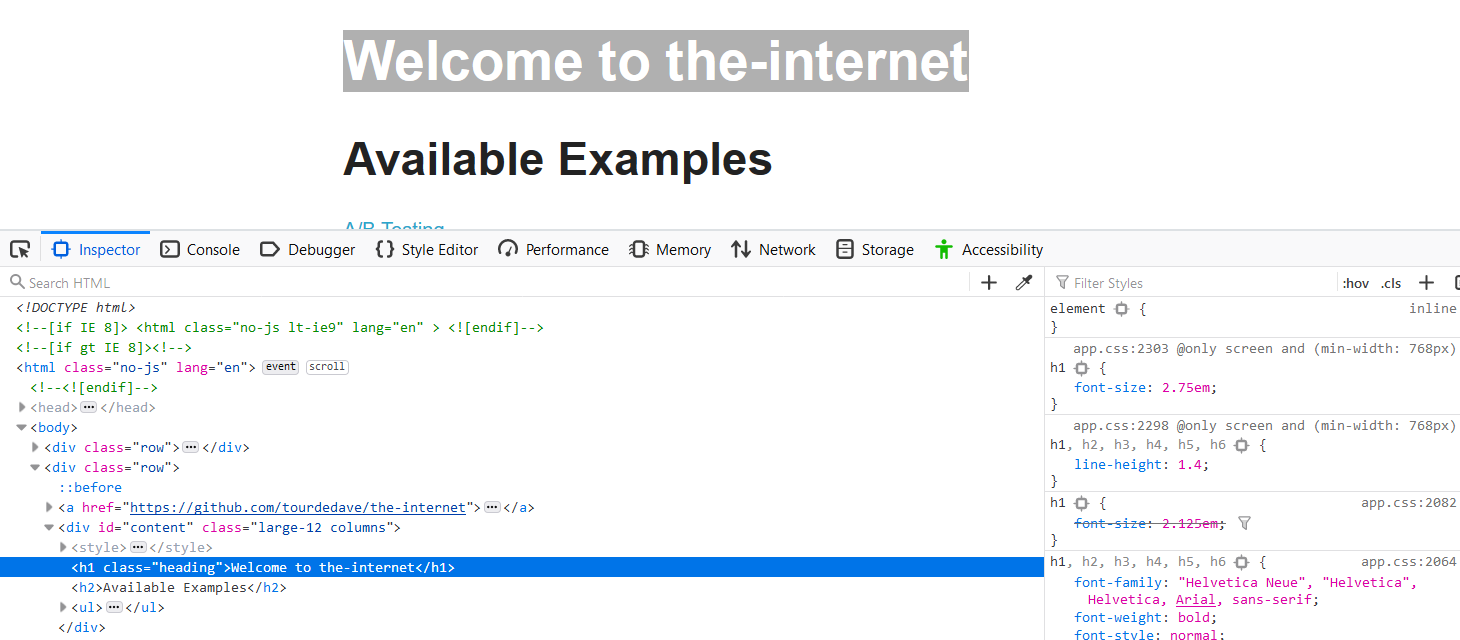
We have the class “heading” so we could say
let text = $(".heading").getText()
If we run the test this time, it should print out “Welcome to the-internet”.
Okay, let's say that we are looking for an ID.
And we realize here that the footer of this page is an ID called “page-photo”.
We can say
let text = $("#page-footer").getText()
And it should get the text for that footer. If we look here [in our results after we run the test], we see “Powered by Elemental Selenium”.
This not only works with CSS but it also works with xpath.
So, we could also say
let text = $("//*[@id='page-footer']").getText()
And we should receive the same value when we run our test. It prints out the same thing.
That is how you interact and find elements using WebdriverIO.
We will get into some more details further on where we talk about element state, element actions, as well as different inputs and waits.
Resources
Quiz
The quiz for this chapter can be found in section 2.3
