

Transcripted Summary
During this tutorial, we will be discussing the state of elements.
The state of your element is very important in determining whether or not something exists on the page, whether or not an element is displayed, or whether or not an interaction that you had previously done was successfully completed.
There are a few element-state commands that WebdriverIO has and we will go through them right now.
The first one that we want to check out is the isDisplayed command.
If we go to WebdriverIO and insert [in the search box], we say “isDisplayed” and click on it. It will bring us to the document on it.
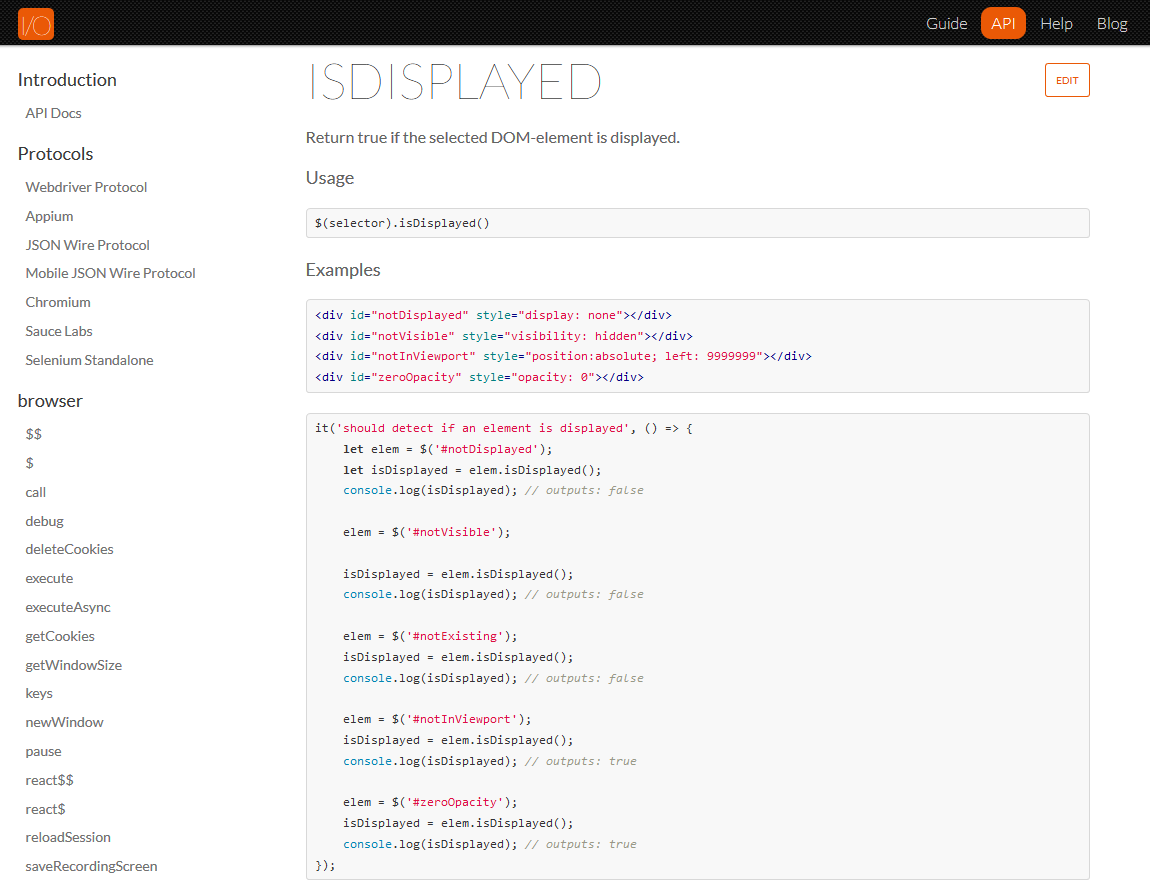
So, it basically returns if the element that we're trying to find is displayed or not.
This is important, as sometimes an element may have the style "display: none" as shown here, and this will result in an element that we're expecting to see, not being displayed.
Let's try this out.
In our Page Object, we have our page-footer element.
In our tests we can create an it for "Is footer Displayed":
# element.test.js
const internetPage = require("../pages/internet.page")

describe("Interacting with elements", function () {
    it("Get text for element", () => {
        browser.url('/')
        let text = $("//*[@id='page-footer']").getText()
        console.log(text)
        internetPage.getLiText()
        internetPage.getSpecificElementText(3)
    })

    it("Is footer Displayed", () => {
        console.log(internetPage.pageFooter.isDisplayed())
    })
})
And it should return a true or false boolean.
Let us run our test in the terminal.
npm run test
Okay, so if we scroll up just a bit, we can see that it printed out as a result of “true” because this footer is indeed on the page when we go there. All right.
Another function that we can use to determine the state of an element is the isExisting command.
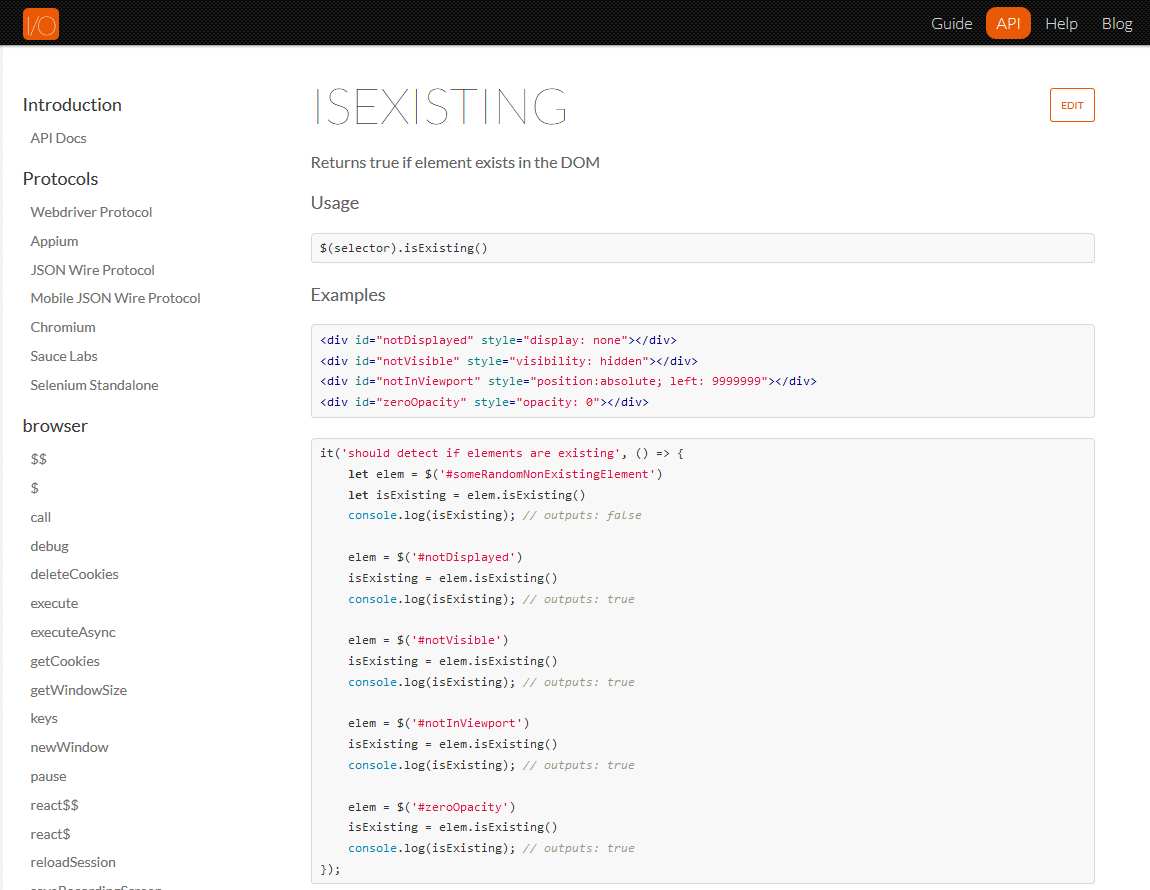
This returns whether ore not an element exists in the DOM.
Let us say that we are trying to find this “Welcome to the-internet” header.
We can then say:
it("Does the header exist?", () => {
    console.log(internetPage.pageHeader.isExisting())
})
Okay, let us run our tests with npm test in the terminal.
And if we scroll up just a bit, we can see that it checked for “h1.heading”, which is our header, and it resulted in a “true” because it existed.
Let us now modify the page header [in “internet.page.js”] to say “headings”
get pageHeader() { return $('h1.headings') }
and we should now be expecting to get a “false” in our isExisting function because that selector does not exist on the page.
Let us run our test again, so we have here it returns “false” because it did not find any element that has the selector.
Another command that we can look at is isDisplayedInViewport.
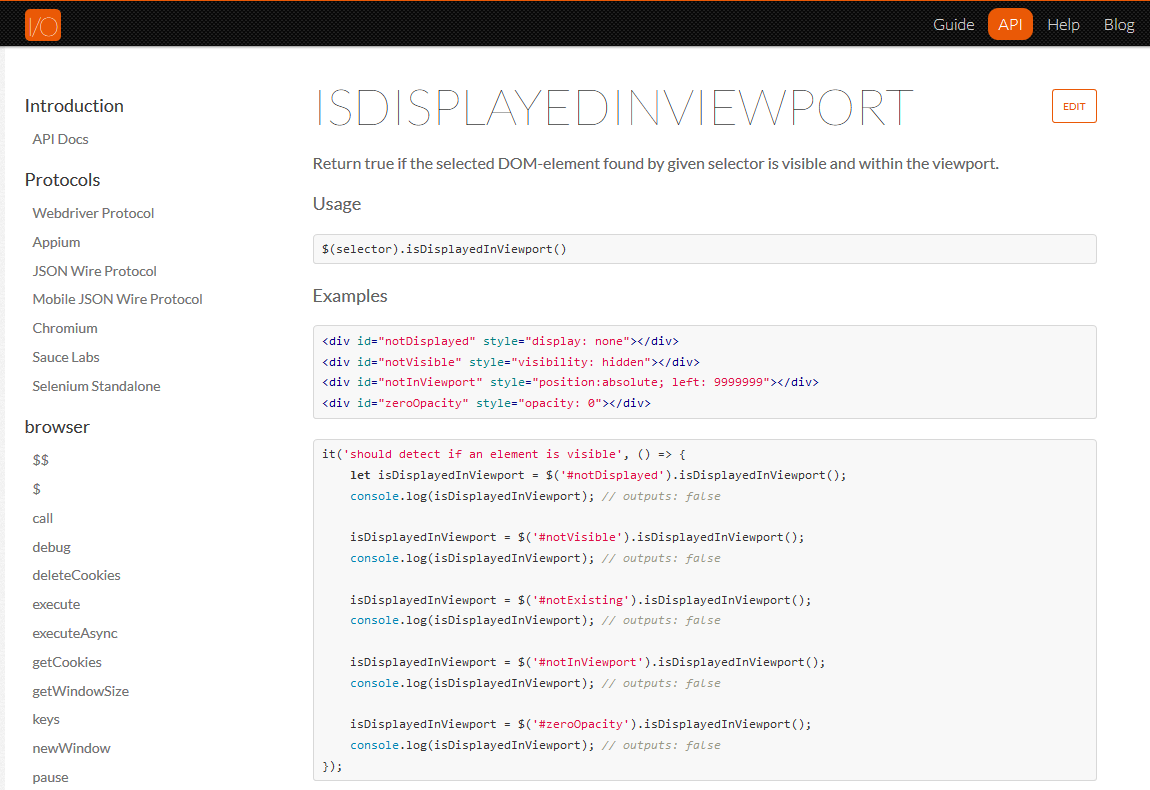
This checks that the element that you're looking for is within the screen that you are currently looking at. This will help you to determine whether or not you need to scroll to an element in order to get it inside the viewport.
If we look up here [on the “Welcome to the-internet” page], we realize that inside this viewport the footer is not there.
So, let us test for that, and we should expect to receive a “false” because the footer that we're checking for is not displayed within the viewport.
Let us go and say:
it("Is footer in viewport?", () => {
    console.log(internetPage.pageFooter.isDisplayedInViewport())
})
And if we run our test, as we saw a while ago, it was not in our viewport. Let us check what the console log gave us, and it gave us a “false”.
If we were to check for the header, the header is in the viewport, so we should be expecting to get a “true”.
So, I’ll just write that test.
it("Is Header in viewport", () => {
    console.log(internetPage.pageHeader.isDisplayedInViewport())
})
If we run our test, and if we scroll up, we see “true” because it was in the viewport.
The isEnabled is similar to all the others that we have used.
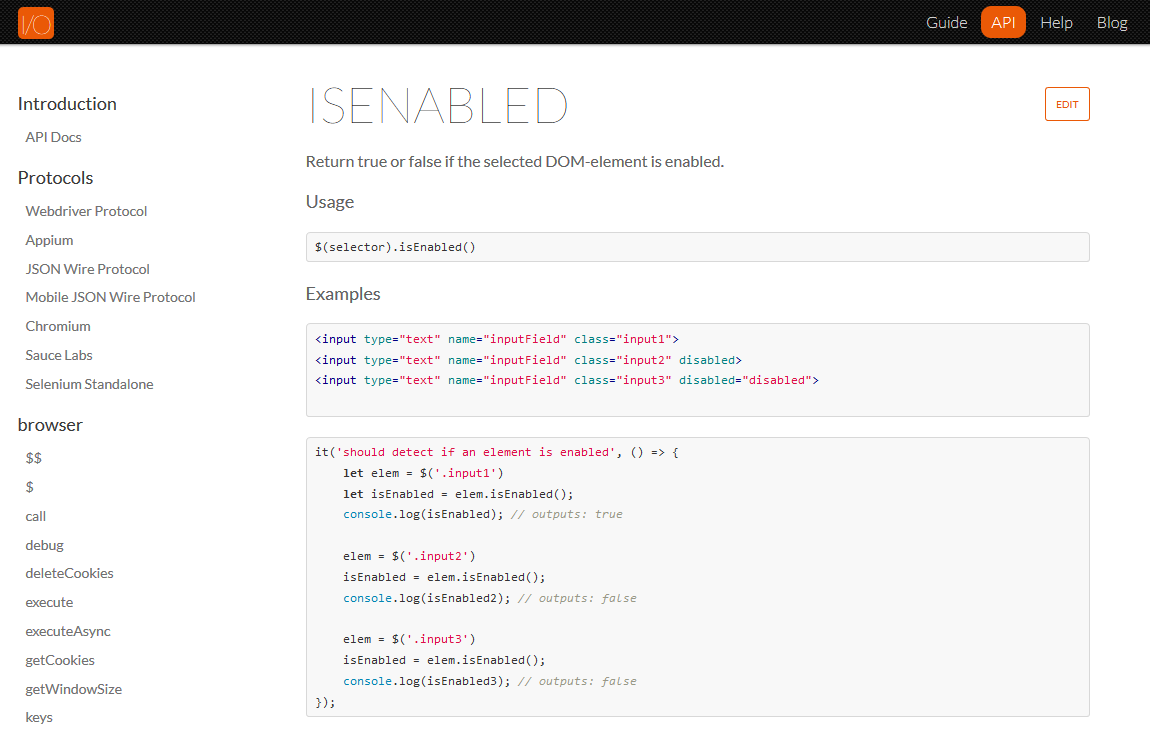
It returns true or false if the element in the DOM is enabled or not.
WebdriverIO documentation provides us with 3 examples.
In the first example, the input does not have a
disabledtag.In the second one, it has a
disabledtag, but it's not equal to anything.And in the third one, it has a
disabledtag that is equal to “disabled”.
What we're expecting is that this [example 1] will return “true”, this [example 2] will return “false”, and this [example 3] will also return “false” because this is saying that this is not enabled, this is not enabled, but this one is.
And we can see, down here, they have implemented this solution.
Let us try it out on one of our elements.
In this case, let us try our “Available Examples” [heading] to see whether or not it will say that it is enabled. In this case, it is, so therefore, we should see “true”. And if we Inspect, we realize that there is no disabled tag on h2.
We'll say:
it("Is subheader enabled?", () => {
    console.log(internetPage.subHeading.isEnabled())
})
Let’s run our test with npm run test. If we scroll up just a bit, we can see that it says “true” here.
Let us look at another implementation of these functionalities.
If we are in our Page Object, and we want to have a function to determine whether or not to carry out another action, this is how we would do it. In order to click on the link, we need to be clicking on the anchor tag.
Right now, our element is looking for the li tag and not necessarily on the a tag.
specificChildElement(index) { return this.parent.$('li:nth-child(${index})') }
If we go to our page, and we Inspect, we need to be clicking on the a tag. So, we're just going to quickly create an element just for the purpose of this demonstration.
So, we're going to say:
get firstLink() { return $('ul li:nth-child(1) a') }
And we're going to create a function called clickOnLink and in that function, we're going to say:
clickOnLink() {
    if (this.firstLink.isDisplayed() === true) {
        this.firstLink.click()
    }
    browser.pause (5000)
}
This will return true or false, as we saw earlier; and we can wrap an if around it.
We're going to use browser.pause for the purpose of demonstration to check that we indeed clicked on the link (we will discuss pause and waits further on in this course). We're going to give it 5,000 milliseconds.
Let us go to our test and call this function. We're just going to create a test:
it("Click Element", () => {
    internetPage.clickOnLink()
})
Let us run our test.
npm test
So, we realize that if you clicked on the link and because of the pause, we can now see that it's on the “A/B Test” variation page, and that was good.
We can do the same thing for the isEnabled and isDisplayedInViewport. We can wrap them with an if to determine whether or not we should carry out some further functionality.
