

Transcripted Summary
In this chapter, we will start with "Continuous Integration using GitHub Actions" to run our Appium scripts.
We will cover:
Introduction to GitHub actions
How we can create a GitHub account
Add our project to GitHub or a GitHub repository
Configure the YAML file for GitHub actions to run Appium
Run GitHub actions on every pull request or on schedule
# GitHub Actions
GitHub Actions help us to automate our software development workflows in the same place as the source code.
Also, you can create your custom workflows based on your tech stack.
# GitHub Actions Workflow
Workflows are custom automated processes that you can set up in your repository to build, test, package, release, or deploy any code project on GitHub.
Workflows run in Linux, macOS, and Windows and containers on GitHub-hosted machine.
You can create a workflow file configured to run on specific events, for example, every pull request or schedule, and also you can trigger it manually.
# Create a GitHub account
In this demo, we will create our new account on GitHub to be able to push our project on GitHub and use GitHub actions.
Here, I fill the form with the username, email address, and password, and then I can click Create Account.

If you don't have a GitHub account, you can just do this.
After that, you can select what kind of work you do and complete the setup.
Now I get the confirmation for verification, so I just need to verify my email.

And then now the email is verified and now I can use GitHub.
I will start by creating a repository with "appiumDemo2" - we can create a project named "AppiumGitHubActions".
We can add a description, we can add a Readme file or add .gitignore, for example, and then now you can create a repository.

Now the branch will be the main branch - this is the default branch, and you can create different branches.
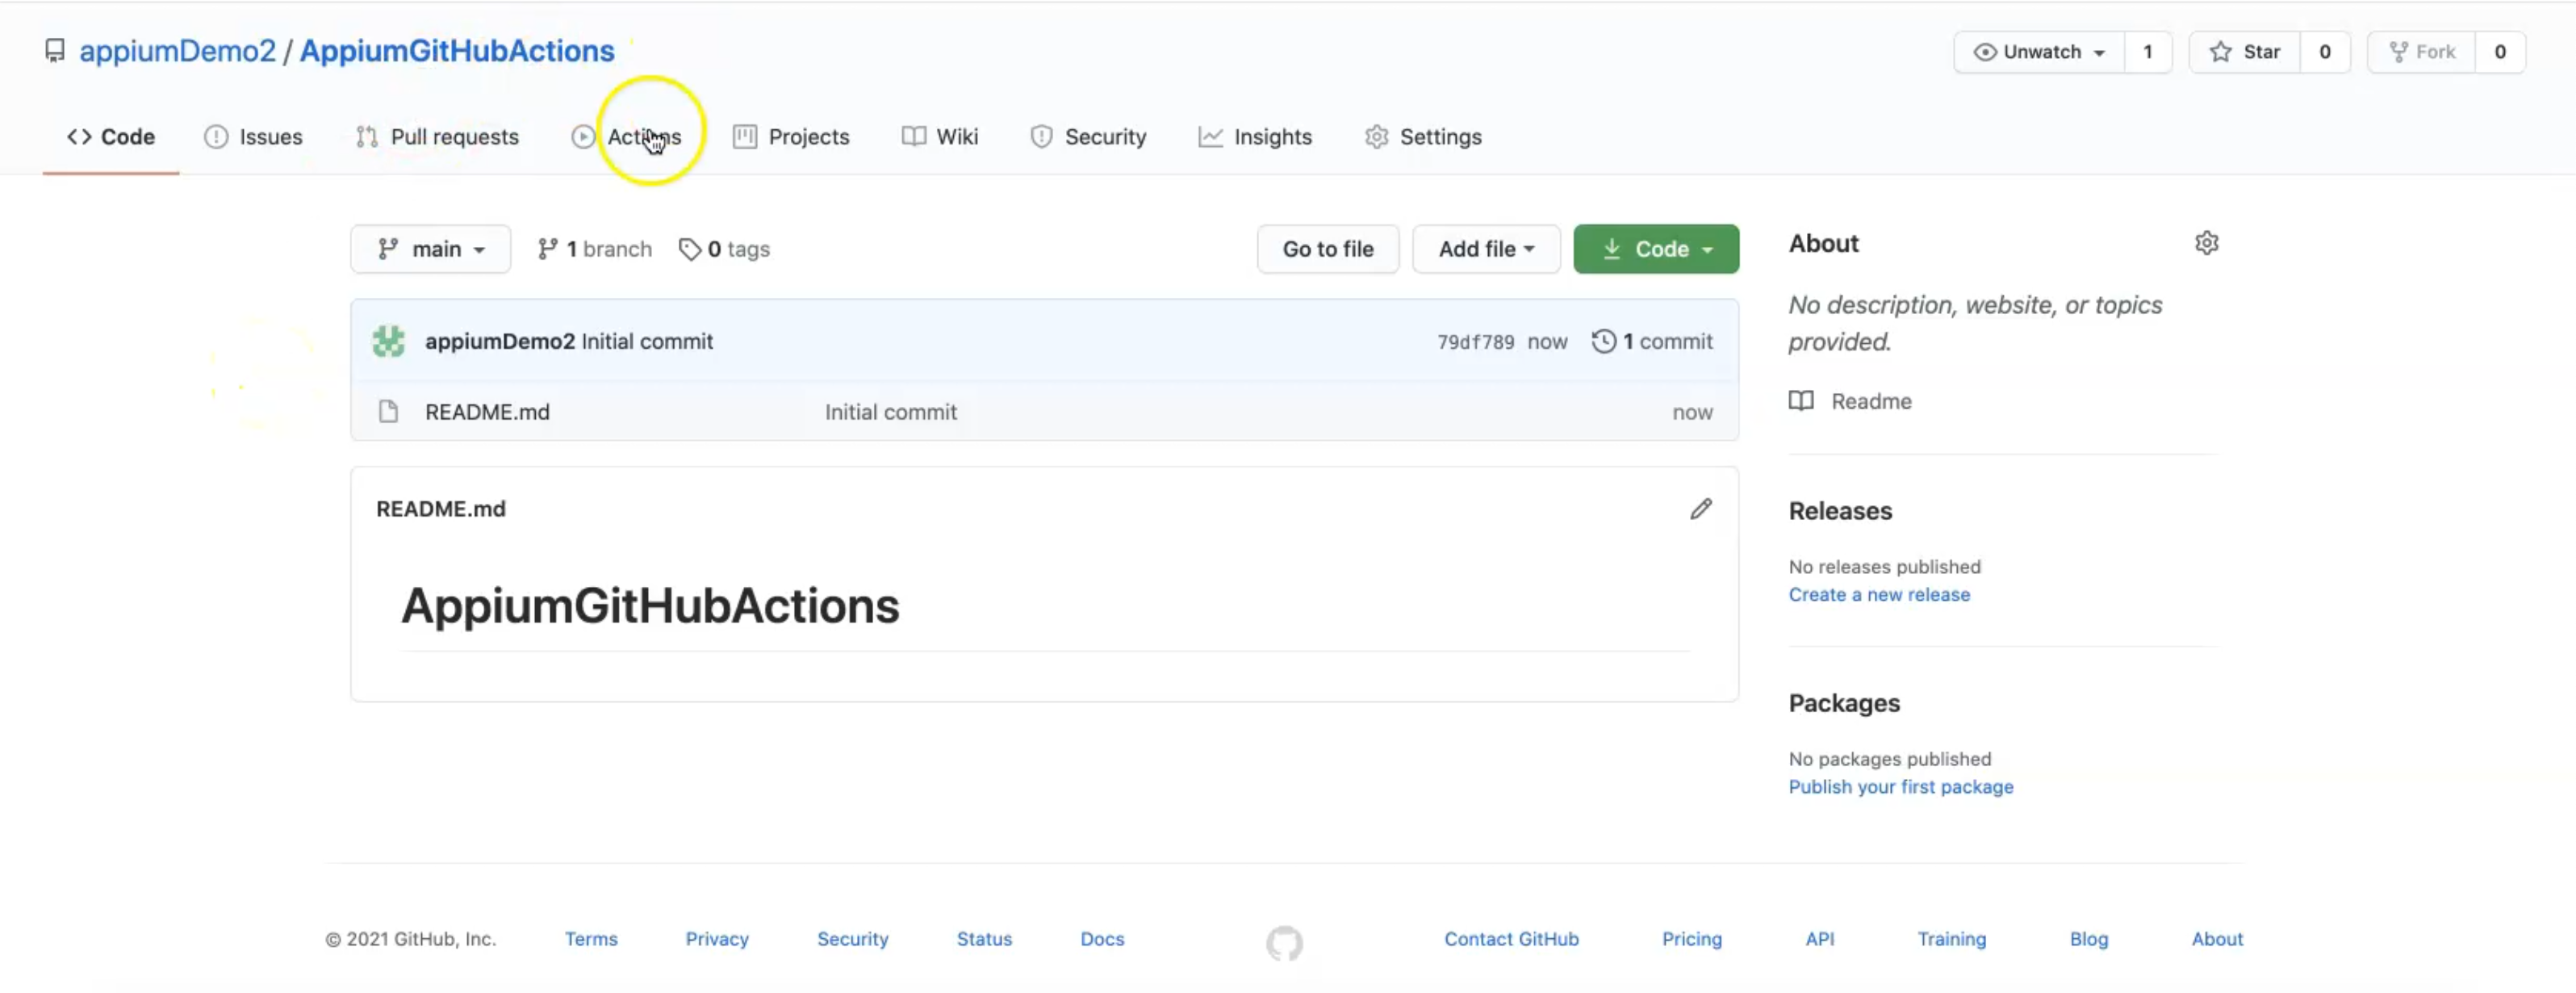
We have "Actions", but first we need to push our existing project to our GitHub repository, and then we will be able to set up our GitHub Actions project.
# Add our project to GitHub or a GitHub repository
To add our existing project to GitHub, this is documentation from GitHub that you can follow for Mac and Windows and Linux, with different operating systems.
For example, we can open the terminal and then start initializing the local directory, and then add all the files in the project and add the various commands.
Let's do it in our project.
This is a project that I created for the GitHub actions to use in our GitHub repository.
This includes our BDD and our test data, data-driven and also includes our applications.
From the command line, we can initialize our repository with:
git init
Now we initialized an empty Git repository, and this worked.

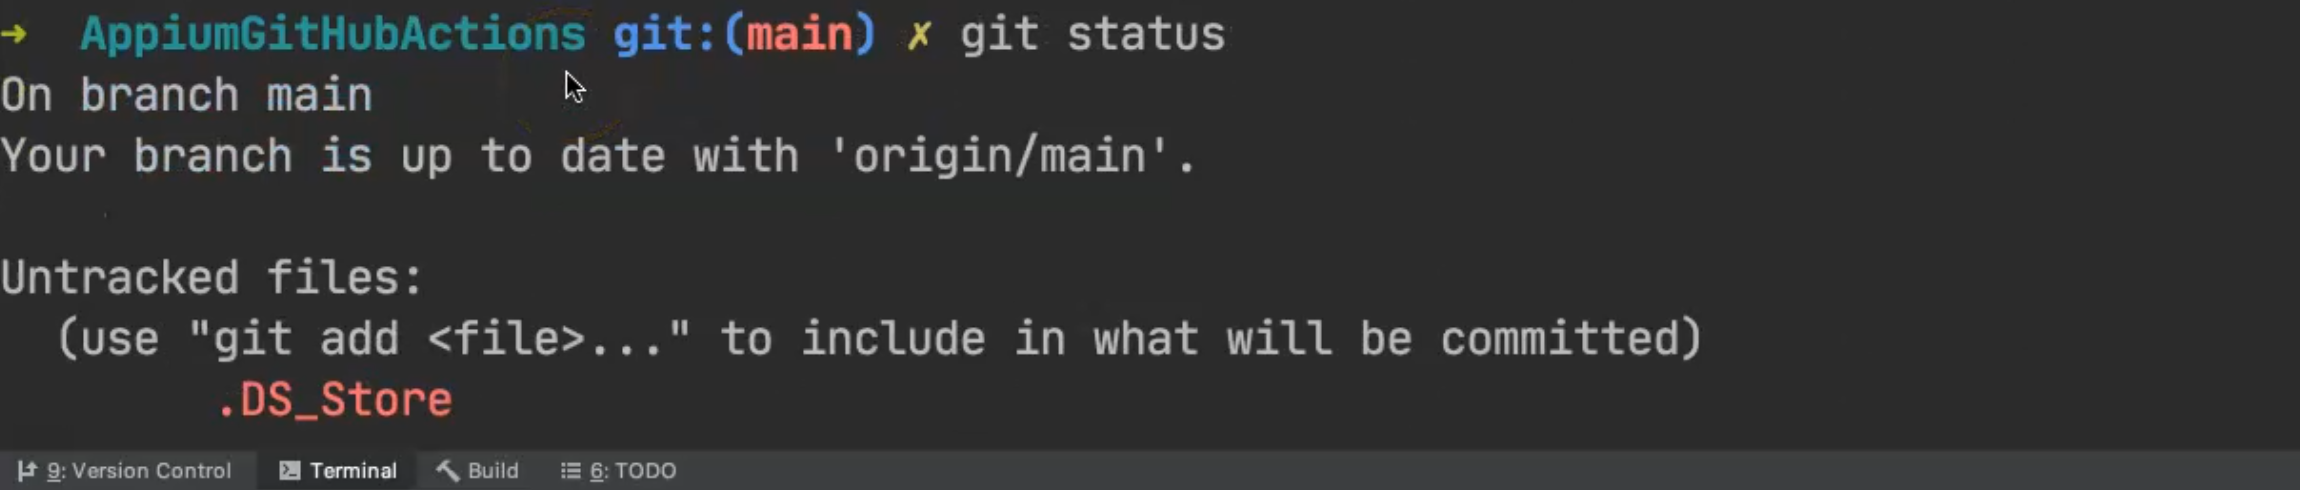
Now we can clear this, and run:
git status
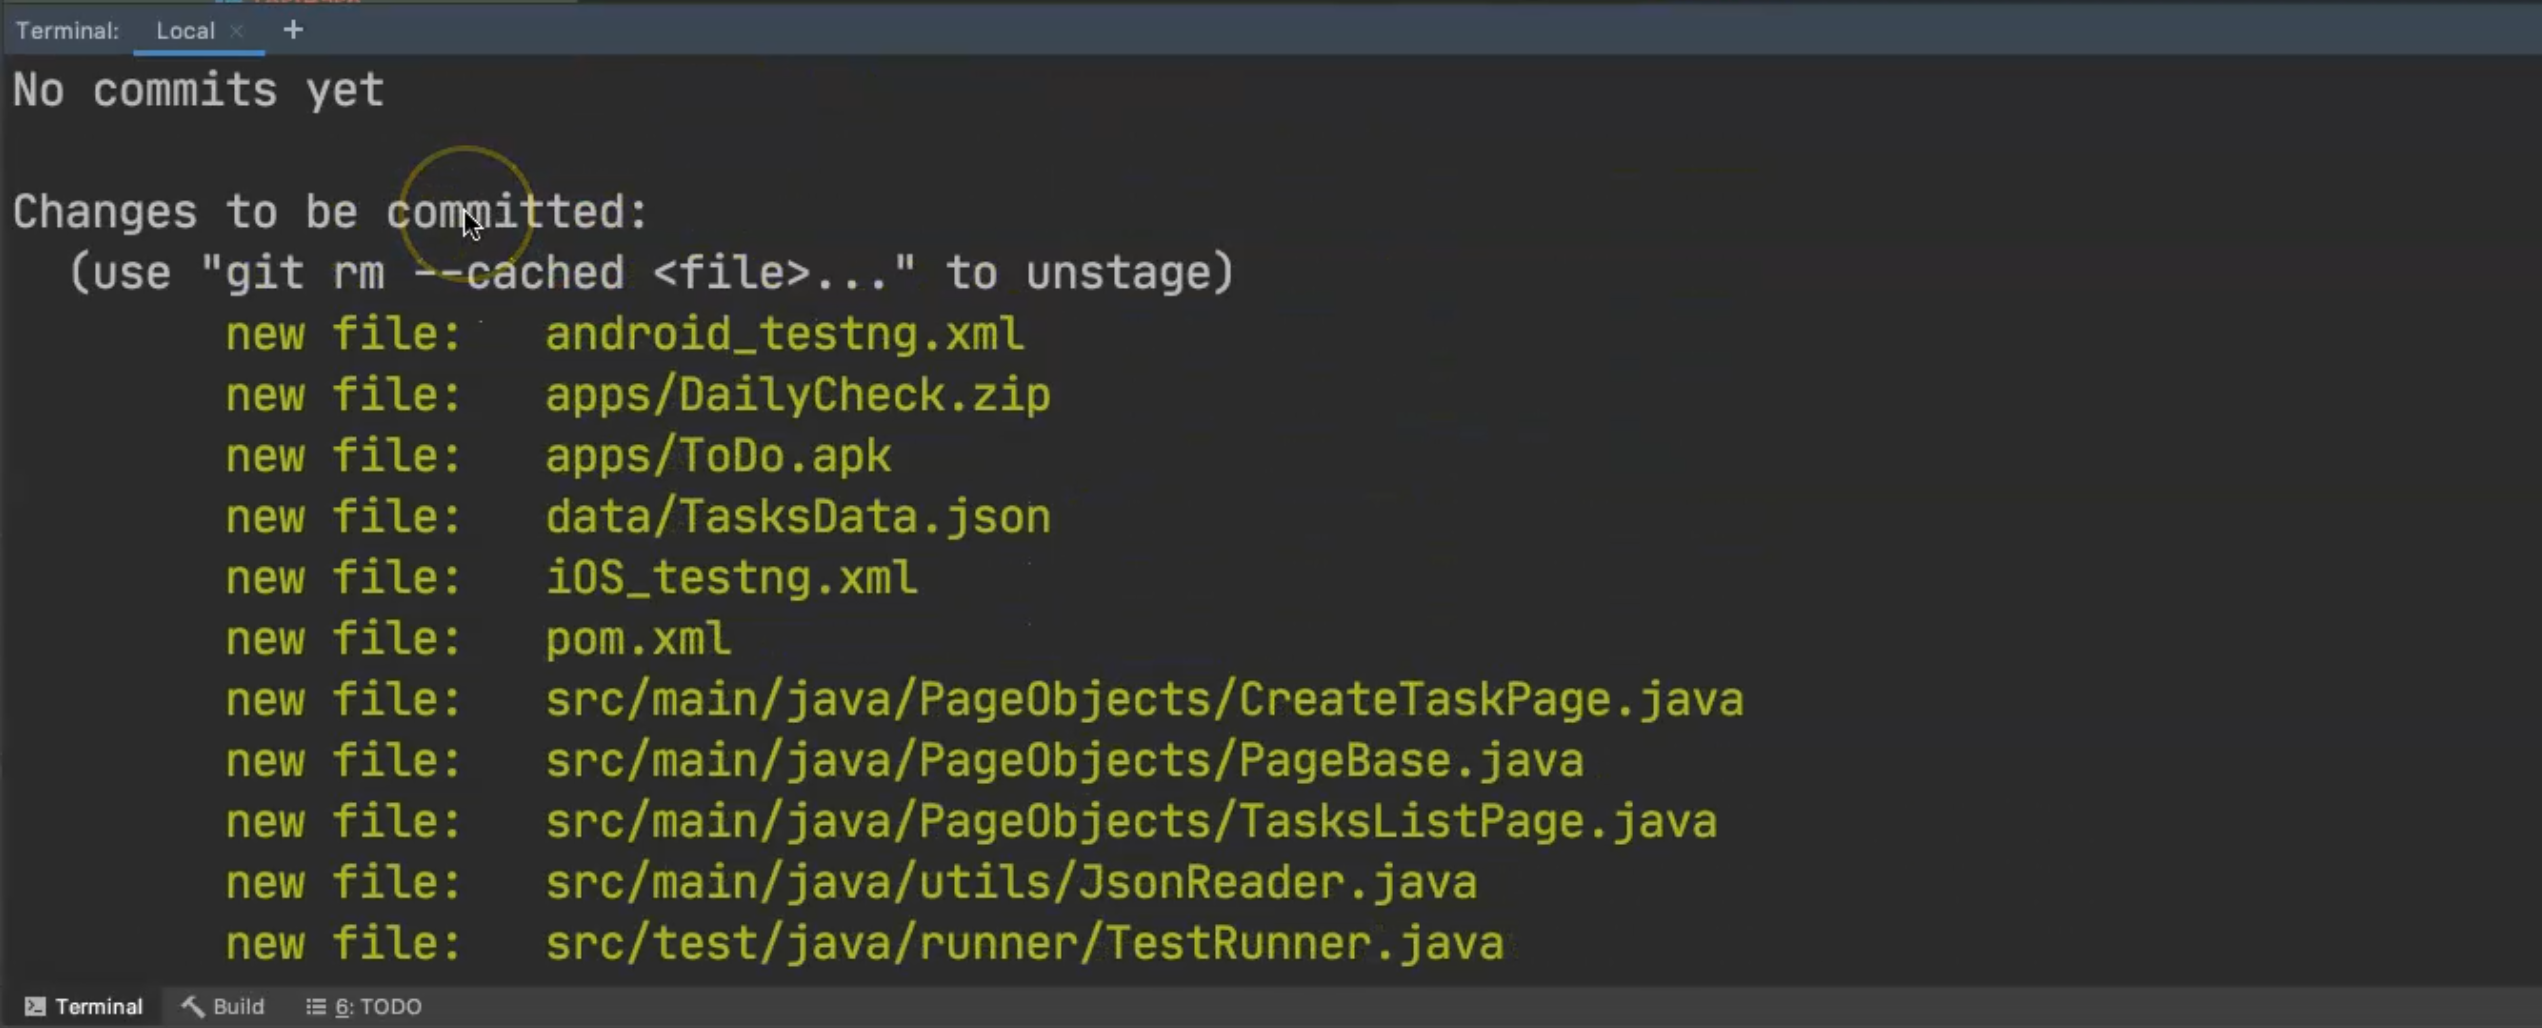
We need to commit all of these files to our project.

We need the testng files, apps/, data/, src/, and pom, and iOS_testng... we don't need to push .idea/ and AppiumGitHubActions.iml.
In the next step, we just need to run
git add .
This is for adding all the local files, but in our case, we only need
git add android_testng.xml
git add apps
git add data
git add iOS_testng.xml
git add pom.xml
git add src
Now with git status, we have everything we committed already in our local repository.
After that, we need
git commit -m "First commit"
Now we have pushed to our local repository, and then we need to add that to the remote repository.
We need to run
git remote add origin <REMOTE_URL>
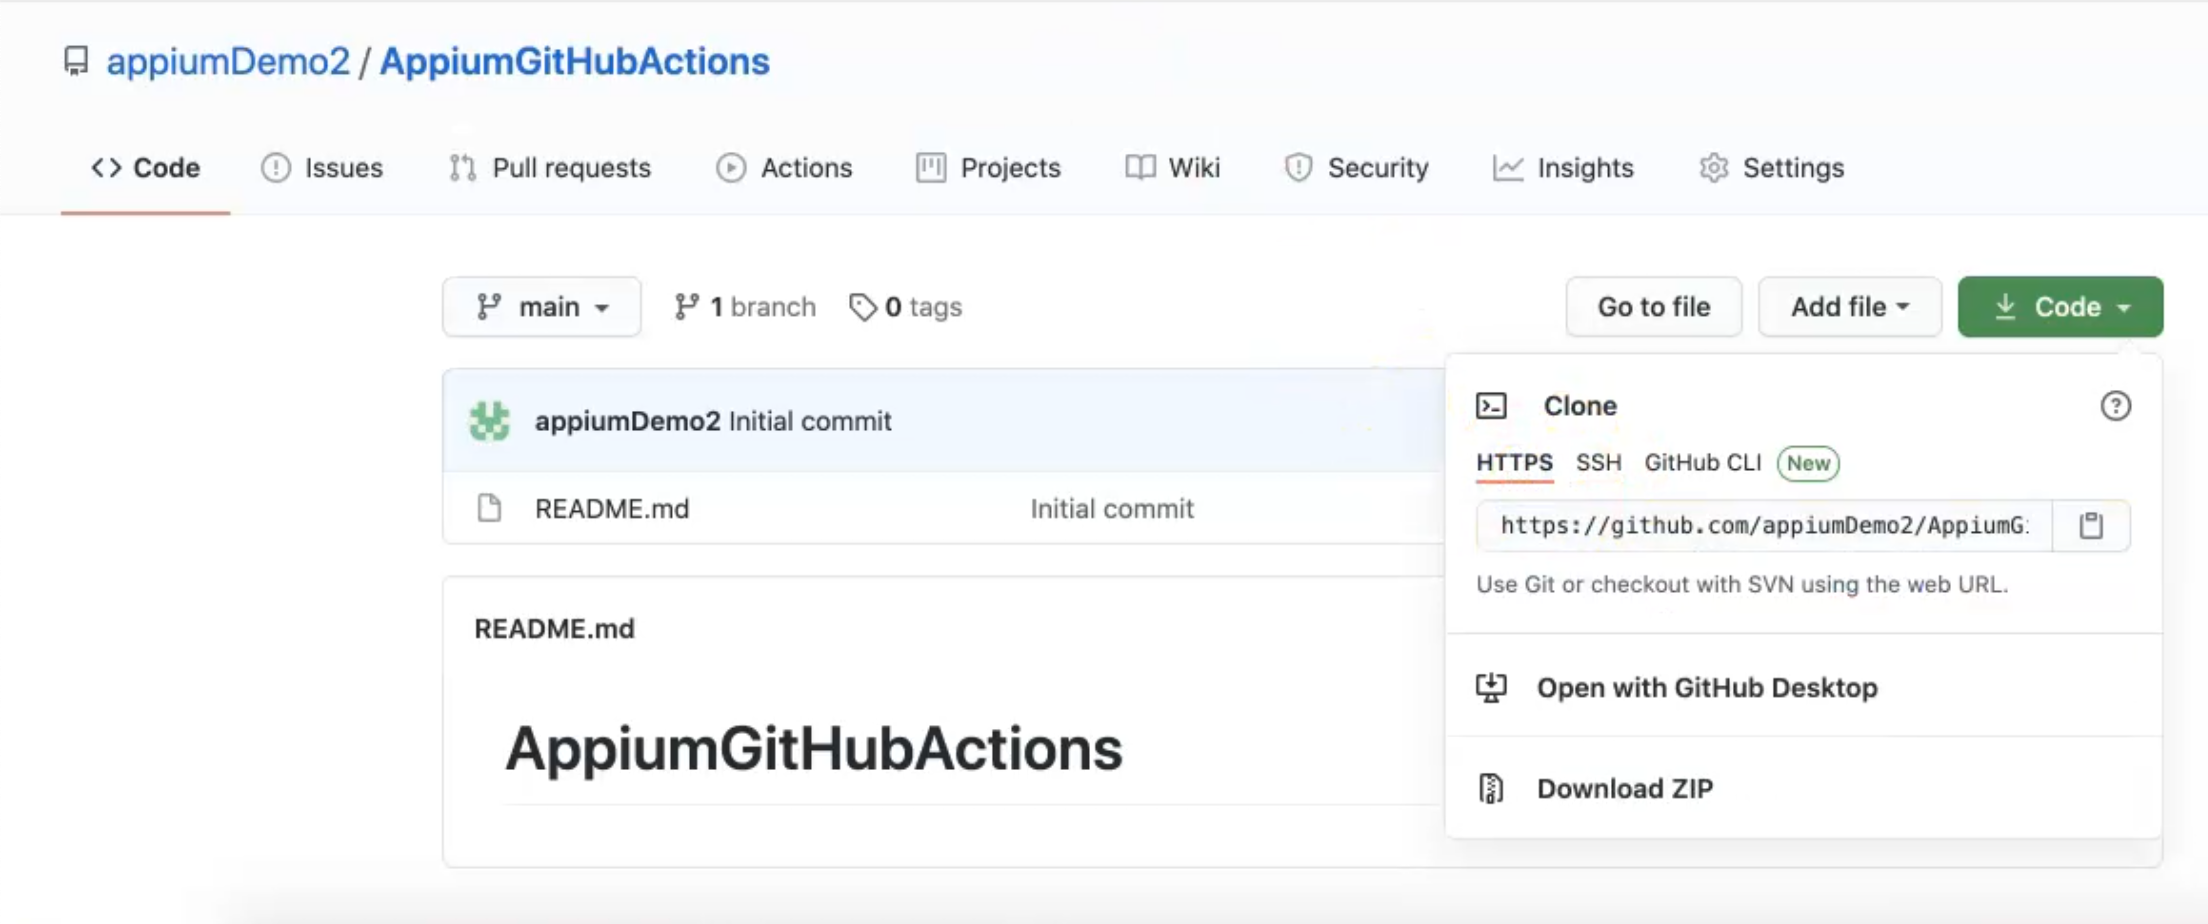
We can just open our repository and copy the URL for the repository.
We can just copy the HTTPS - you can use SSH - but in our case, we will use this URL.
Now we run our command to add the remote URL.
After we add the remote URL, we can continue with
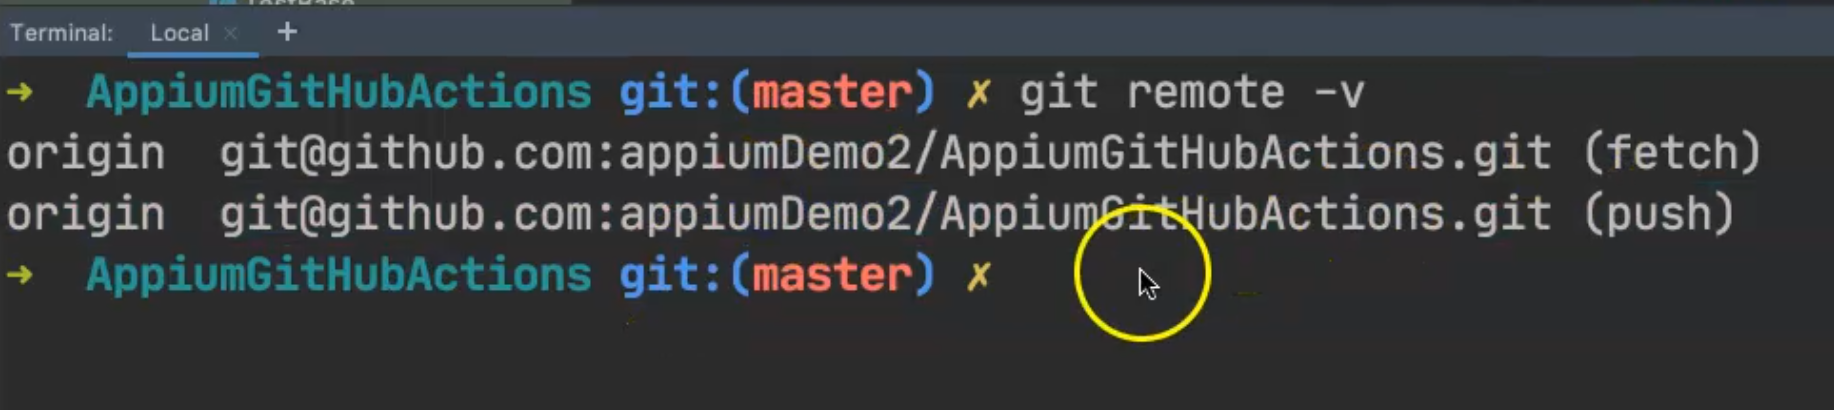
git remote -v
This will double-check that we have already set up the remote.
Here we have, this is the Appium for fetch and push; this is a remote URL.
Then we will continue with the next one.
We need to push from origin to the main remote repository or the main remote branch.
So we will copy this command and use it in our command line.
git push -u origin main
After we pushed our project to the remote repository on GitHub, we can write git status and now we don't have anything that needs to be committed.
We will open our repository, refresh the repository and we will find our application here.
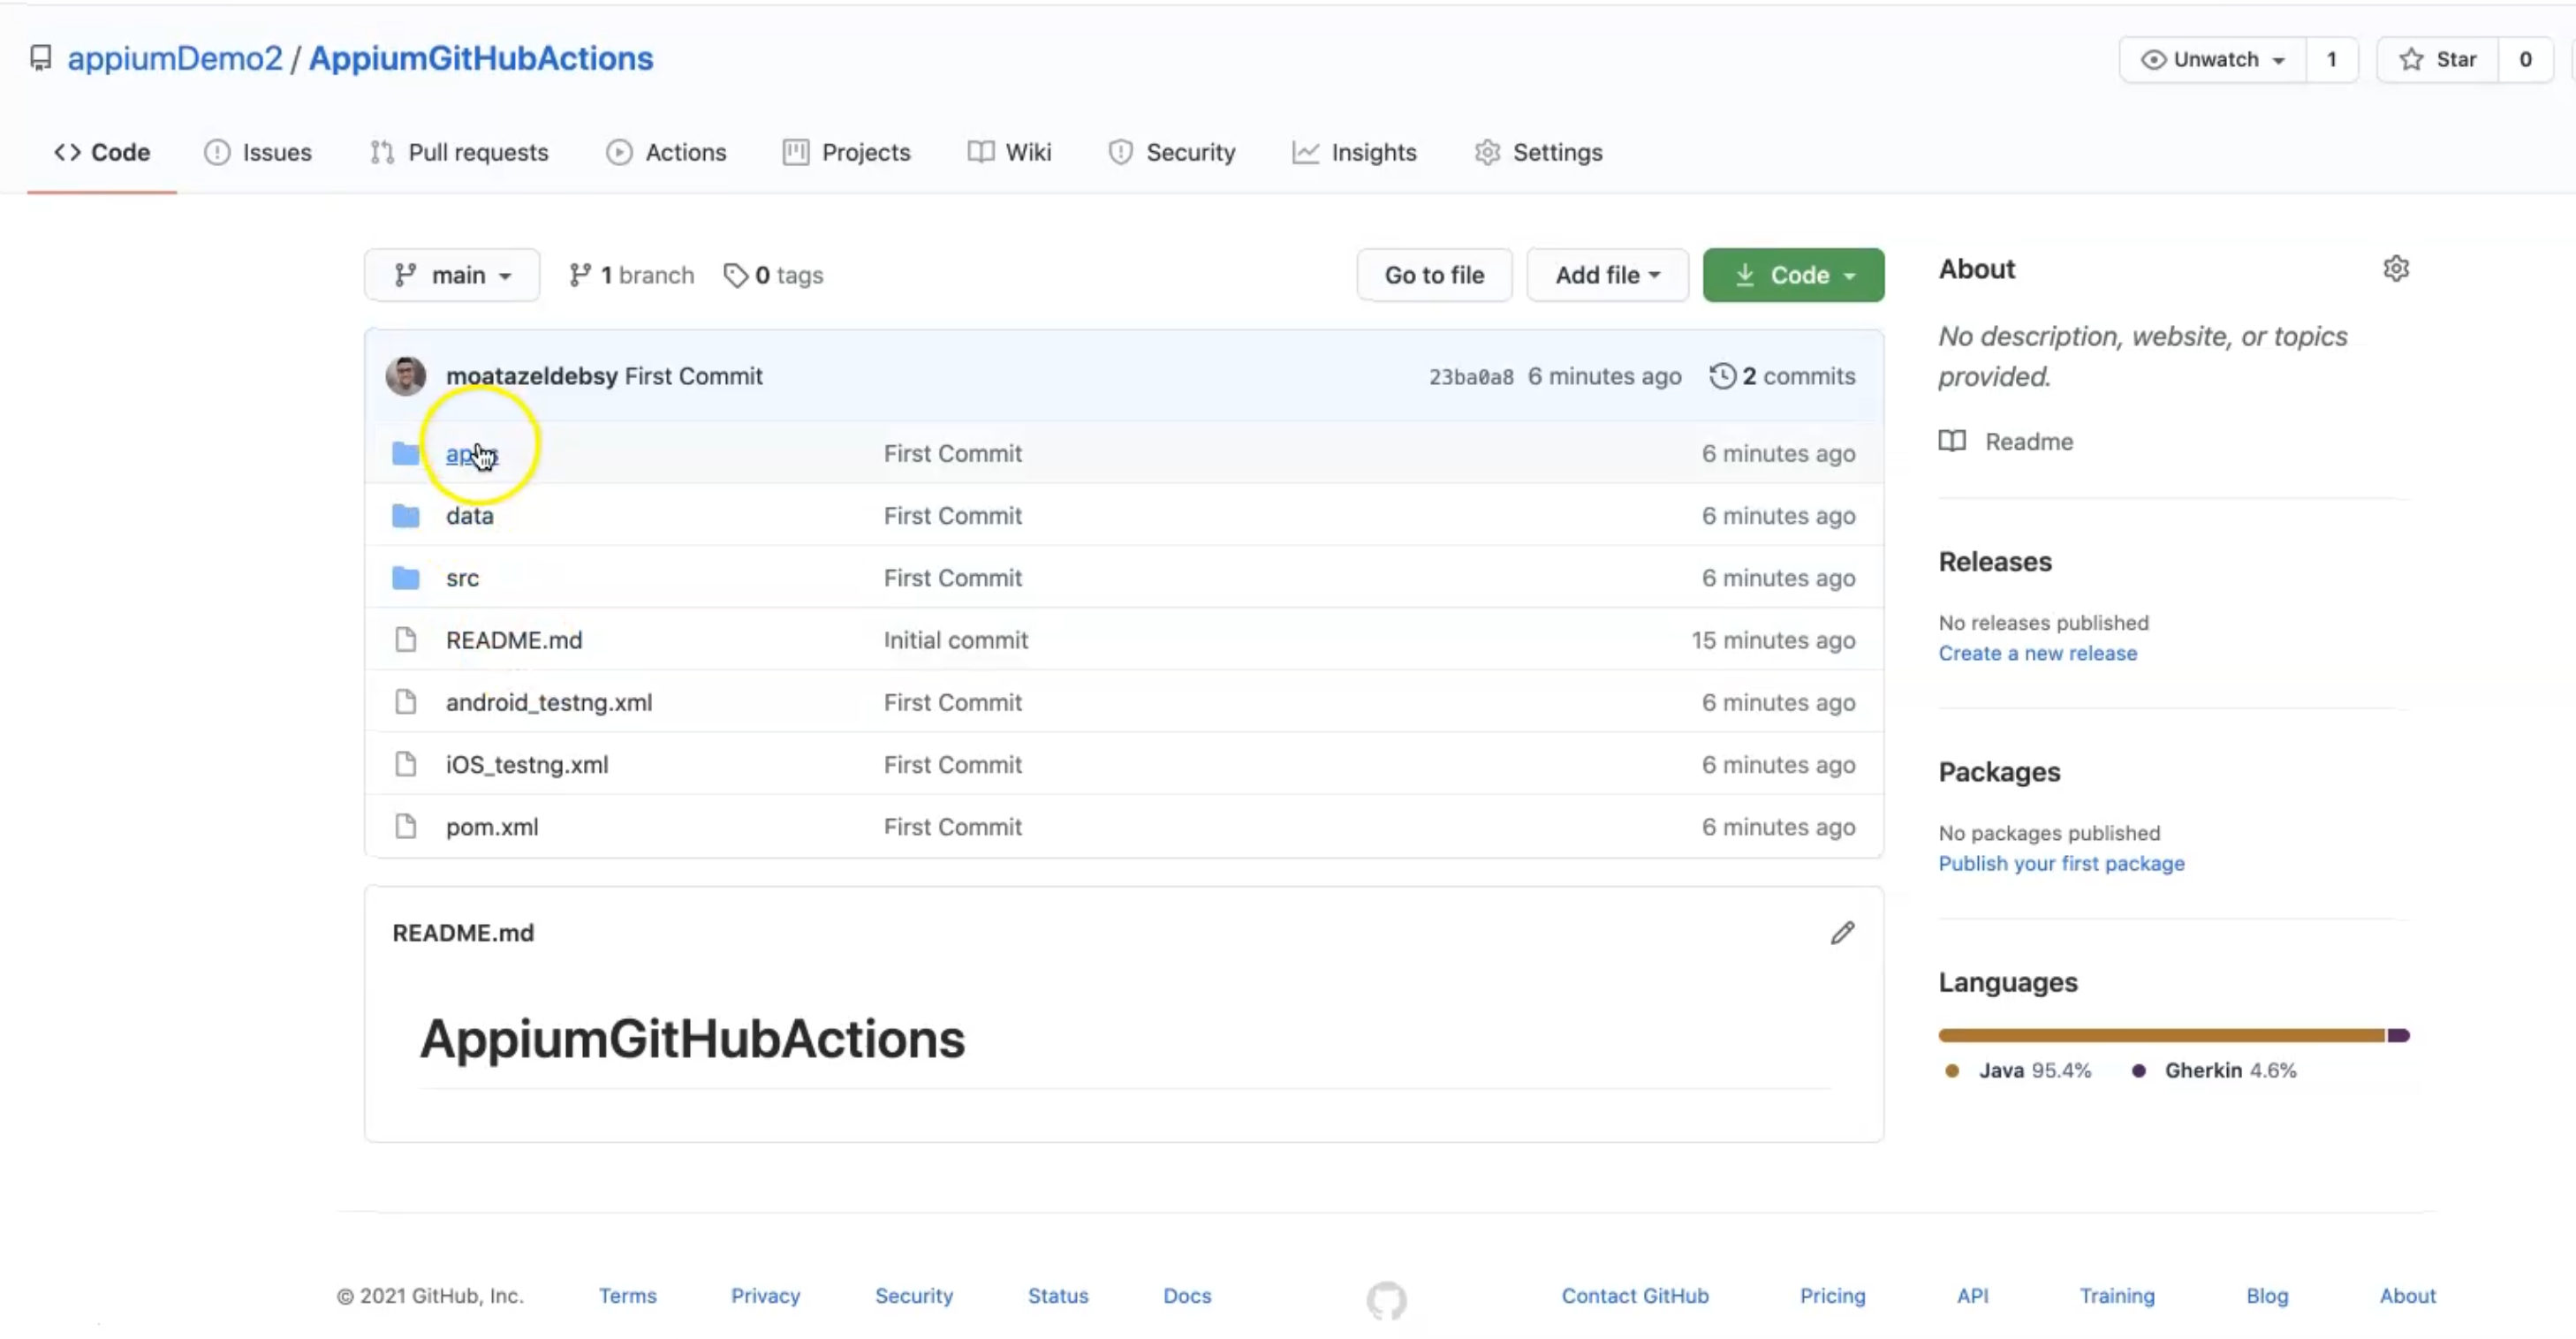
This is the apps folder, data, source, and testng files, and the pom file.
Then in the next step, we will start creating our GitHub actions from the Actions tab.
Resources
Quiz
The quiz for this chapter can be found in Chapter 11.2
