

Transcripted Summary
# Installing and Running Appium on WindowsOS
The prerequisites are:
Nodejs version 10+ and the Node Package Manager
Java +8 or Java JDK +8
Android SDK with version +16 (including Android Emulator and command-line tools)
Just to note, we will prepare the Appium for Android only on Windows because, as we mentioned in the previous videos, to be able to use Appium with iOS, you should have macOS as an operating system and XCode installed in your machine.
Here we are using Windows, so in this case, we will use Appium for Android only.
After we installed and ran Appium successfully on our macOS machine, now it's time to install and run Appium on the Windows operating system.
As we mentioned in the previous slide, we will install only the Android dependencies or Android required or necessary dependencies because as we mentioned, we can't run iOS applications or iOS system on Windows operating system, because it requires Xcode and the different tools and technologies that are related to Xcode and the macOS.
The first thing that we need to install on our windows operating system is Java JDK.
# Installing Java JDK
I will click on the Microsoft Edge browser, and I will search about "java JDK".
From here, I will open the Oracle website and then I will go to the Java SE Downloads and the latest version is Java SE 15.
I will do the same that I did with MacOS, so I will install or download Version 11 with long-term support.
I will click on JDK download, and then I will go to find the installer that is suitable for Windows.
I can download the installer from here, or I can also download the Compressed Archive and unzip it and add it in the system environment in Windows.
I will click on the installer and accept the terms of the agreement and then click Download.
I should be logged in, so here I will add my account.
Now the installer is downloaded so I can double-click it to install and continue through the steps until I finish the installation.
So we are downloading Java development kit version 11 and now it's installed successfully.
From the Start menu, I can open the Terminal or the command prompt here.

I will run:
java -version
It's displaying the version for Java or you can run:
javac -version
We can see it's installed already.
# Installing NodeJS and NPM
The second thing that we need to install is NodeJS and NPM.
I will open the Microsoft Edge browser and search "nodejs".
From here, I can go to the NodeJS website and search for the LTS version, and download it.
It's already downloading the MSI for Windows installer because it automatically detects the operating system type.
I will continue downloading the file until it's finished, and then I will double-click on the MSI file and I will install Node JS with the wizard.
It will add the path automatically, and it will install the NPM package manager and everything will be installed with this one.
After the installation is finished, I will click on Finish and then I will open the Terminal or command prompt again.
Here I will run:
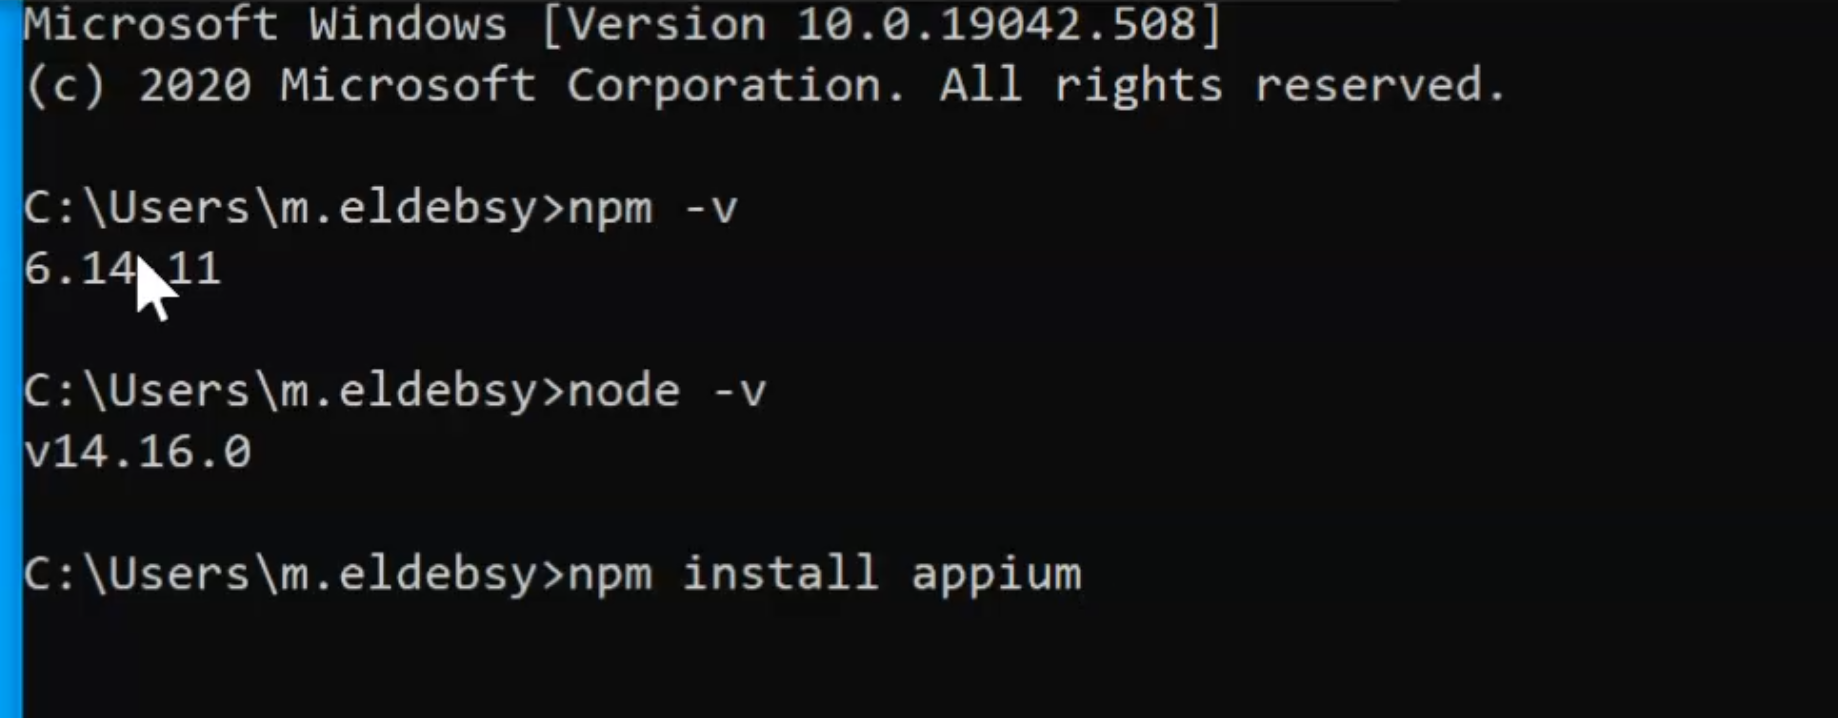
npm -v
Here we have the version for NPM and also I will run:
node -v
This is the version for NodeJS.
So now we installed node JS, and it's time to install Appium.
From here, I can run:
npm install appium
It will start installing Appium using NodeJS and I will wait until it's finished.
# Installing Android Studio and Appium Desktop
Then we'll continue with installing the Appium Desktop.
Also, we need to install Android Studio to be able to use Android SDK with Appium.
Until we finish downloading Appium, I can just go to the browser and search "android studio".
To download Android Studio, we just click the link which will redirect to "Download Android Studio", accept the agreement, and then download and register you for windows.
We will go back to the NPM install and check what's inside the command line.
If we can't find Appium using the command line, you can just add -g to be global in your system.
We are waiting now until Appium finishes installing, but now we have Android Studio downloaded so we will double-click on Android Studio, and then we will install it.
We will click next through the Android Studio setup, and here we will also download the Android Virtual Device (AVD), which we need, and we will finish the installation.
Now we have Android Studio, which includes the Android SDK and from Android Studio, we will create our AVD and our visual devices.
Let's start with Android Studio.
We don't have anything to import, so we will start Android studio for the first time on Windows OS and then we will go to configure it.
You can select the Standard set up and the theme that you want, and then we will finish because it will install the required files, or remaining missing libraries or files with Android Studio, for example, the Emulator Accelerator for Windows.
During the installation of Appium, maybe you will face the issue that the WinAppDriver doesn't exist because you don't have administrative rights to download it.

You will need to run it with administrator access to be able to run WinAppDriver.
Now, the Chrome driver is installed and everything is installed.
We can run Appium on the command line:
appium
Here we have "Welcome to Appium Version 1.20.2" and this is the server.
We can initialize or run the Appium server, or we also need to download Appium Desktop, which includes the server and inspector.
So I will go to the browser and search "appium desktop".
We'll download the Appium Desktop repository from GitHub.
We will redirect to Releases, and from Releases will get the latest release for Windows and we will download and install the .exe file.
I will click on the .exe file to install it, and I can choose to install for all the users or only me, and then I will proceed and click "Yes" at the prompt to "allow this app from an unknown publisher to make changes to your device".
Then we'll wait until all the files are installed for the Appium server.
Until Appium is Installing the files, we will open the Android Studio, and here we can find that we finished installing all the required components for Android Studio.
We'll open Android Studio and we can configure the SDK manager or the AVD manager to create a virtual device.
For example, here we can open the SDK Manager like in the macOS step.
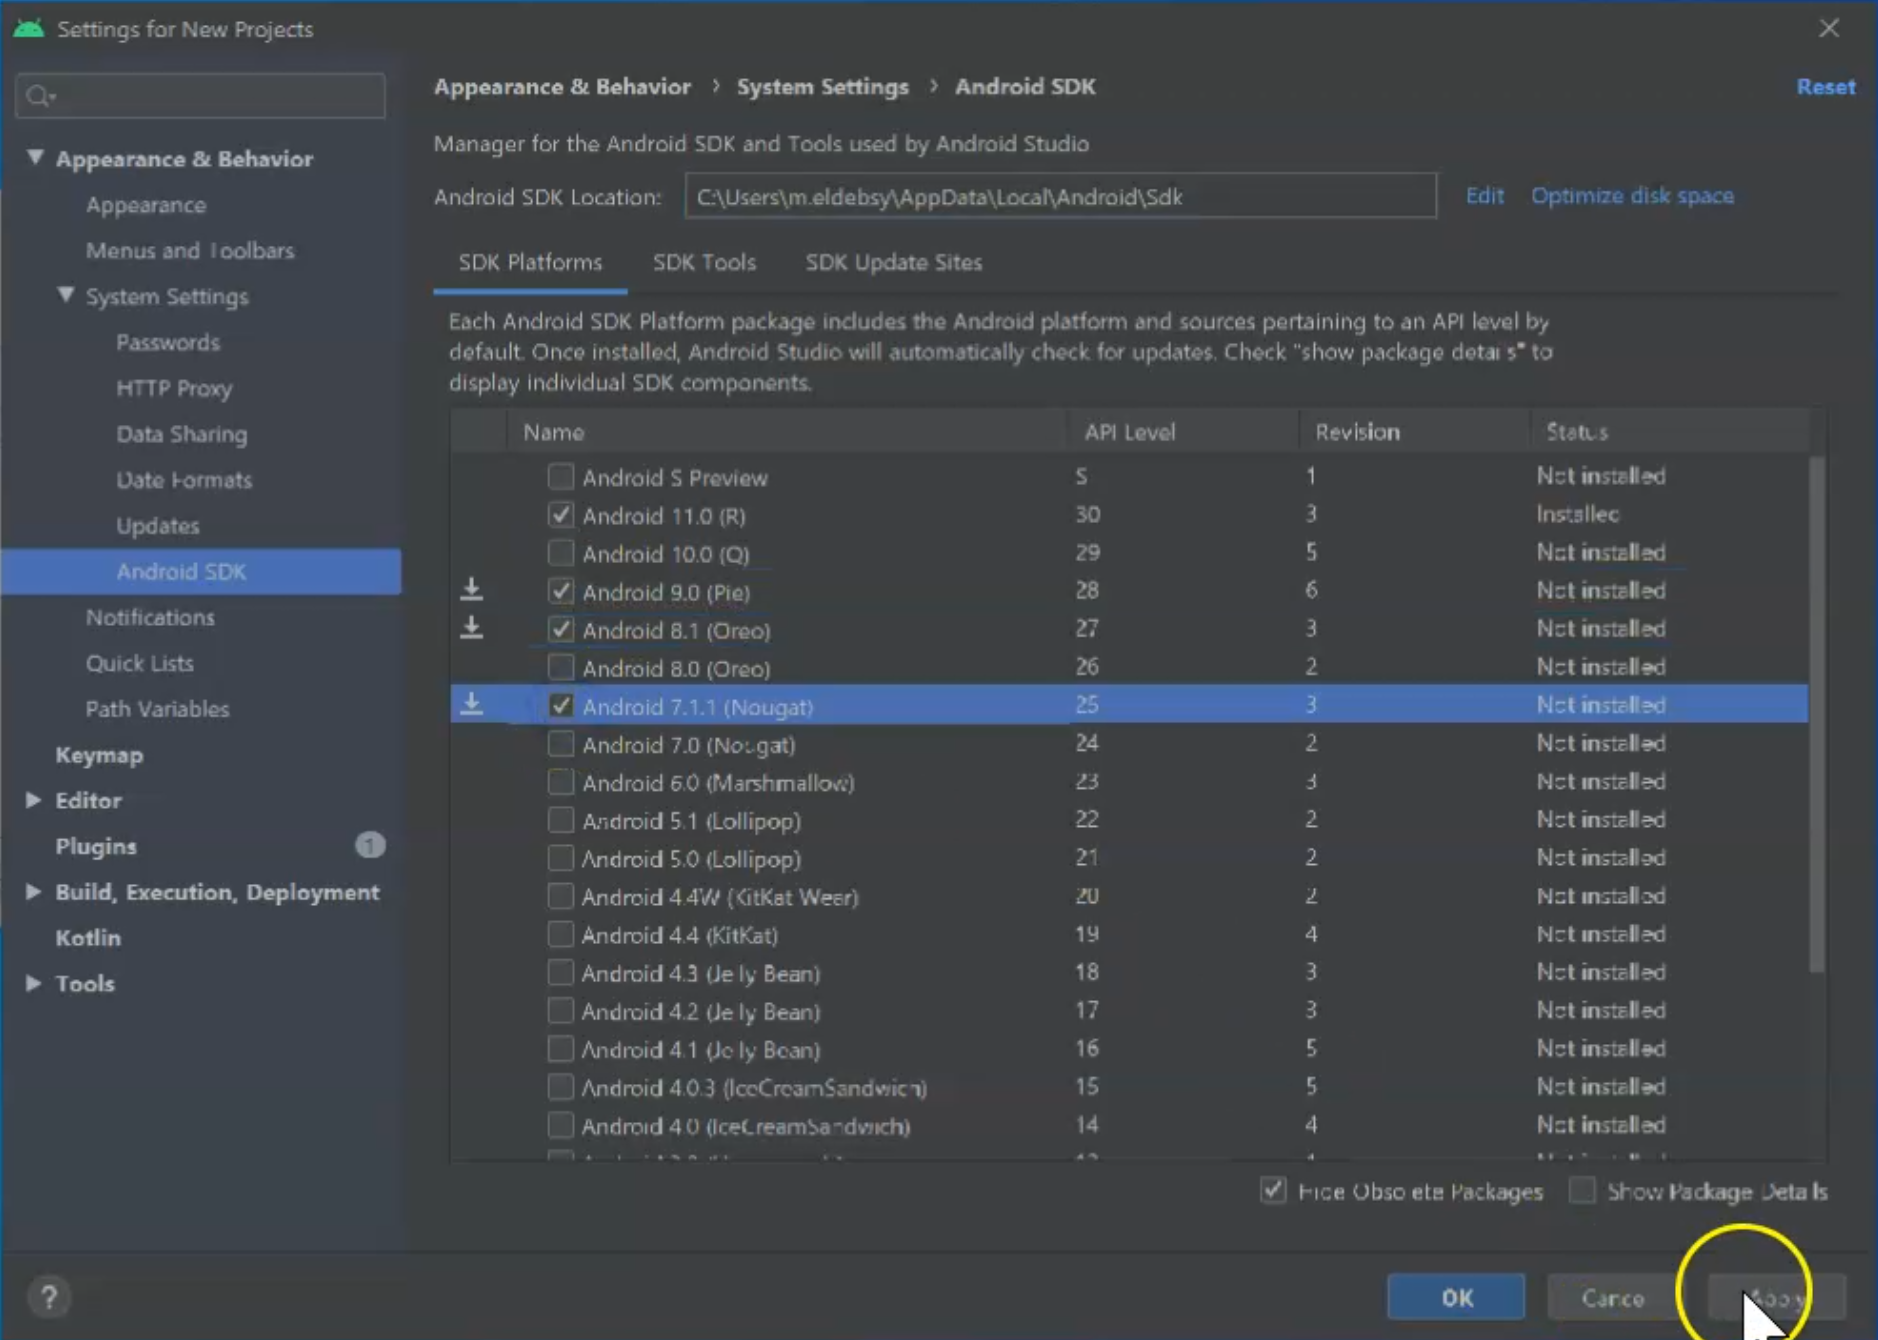
Here, there is the URL for Android SDK, here you can also download whichever SDKs you would like to download.
You can download a lot of things also with the required components for Android SDK.
You need to wait until we download all these Android SDKs, to be able to create your first virtual device.
Also, from the "Configure" menu, you can click on the "AVD Manager" and here we have one Pixel, which was created already when we downloaded the components for Android Studio, or click on "Create Virtual Device" and select the one we need.
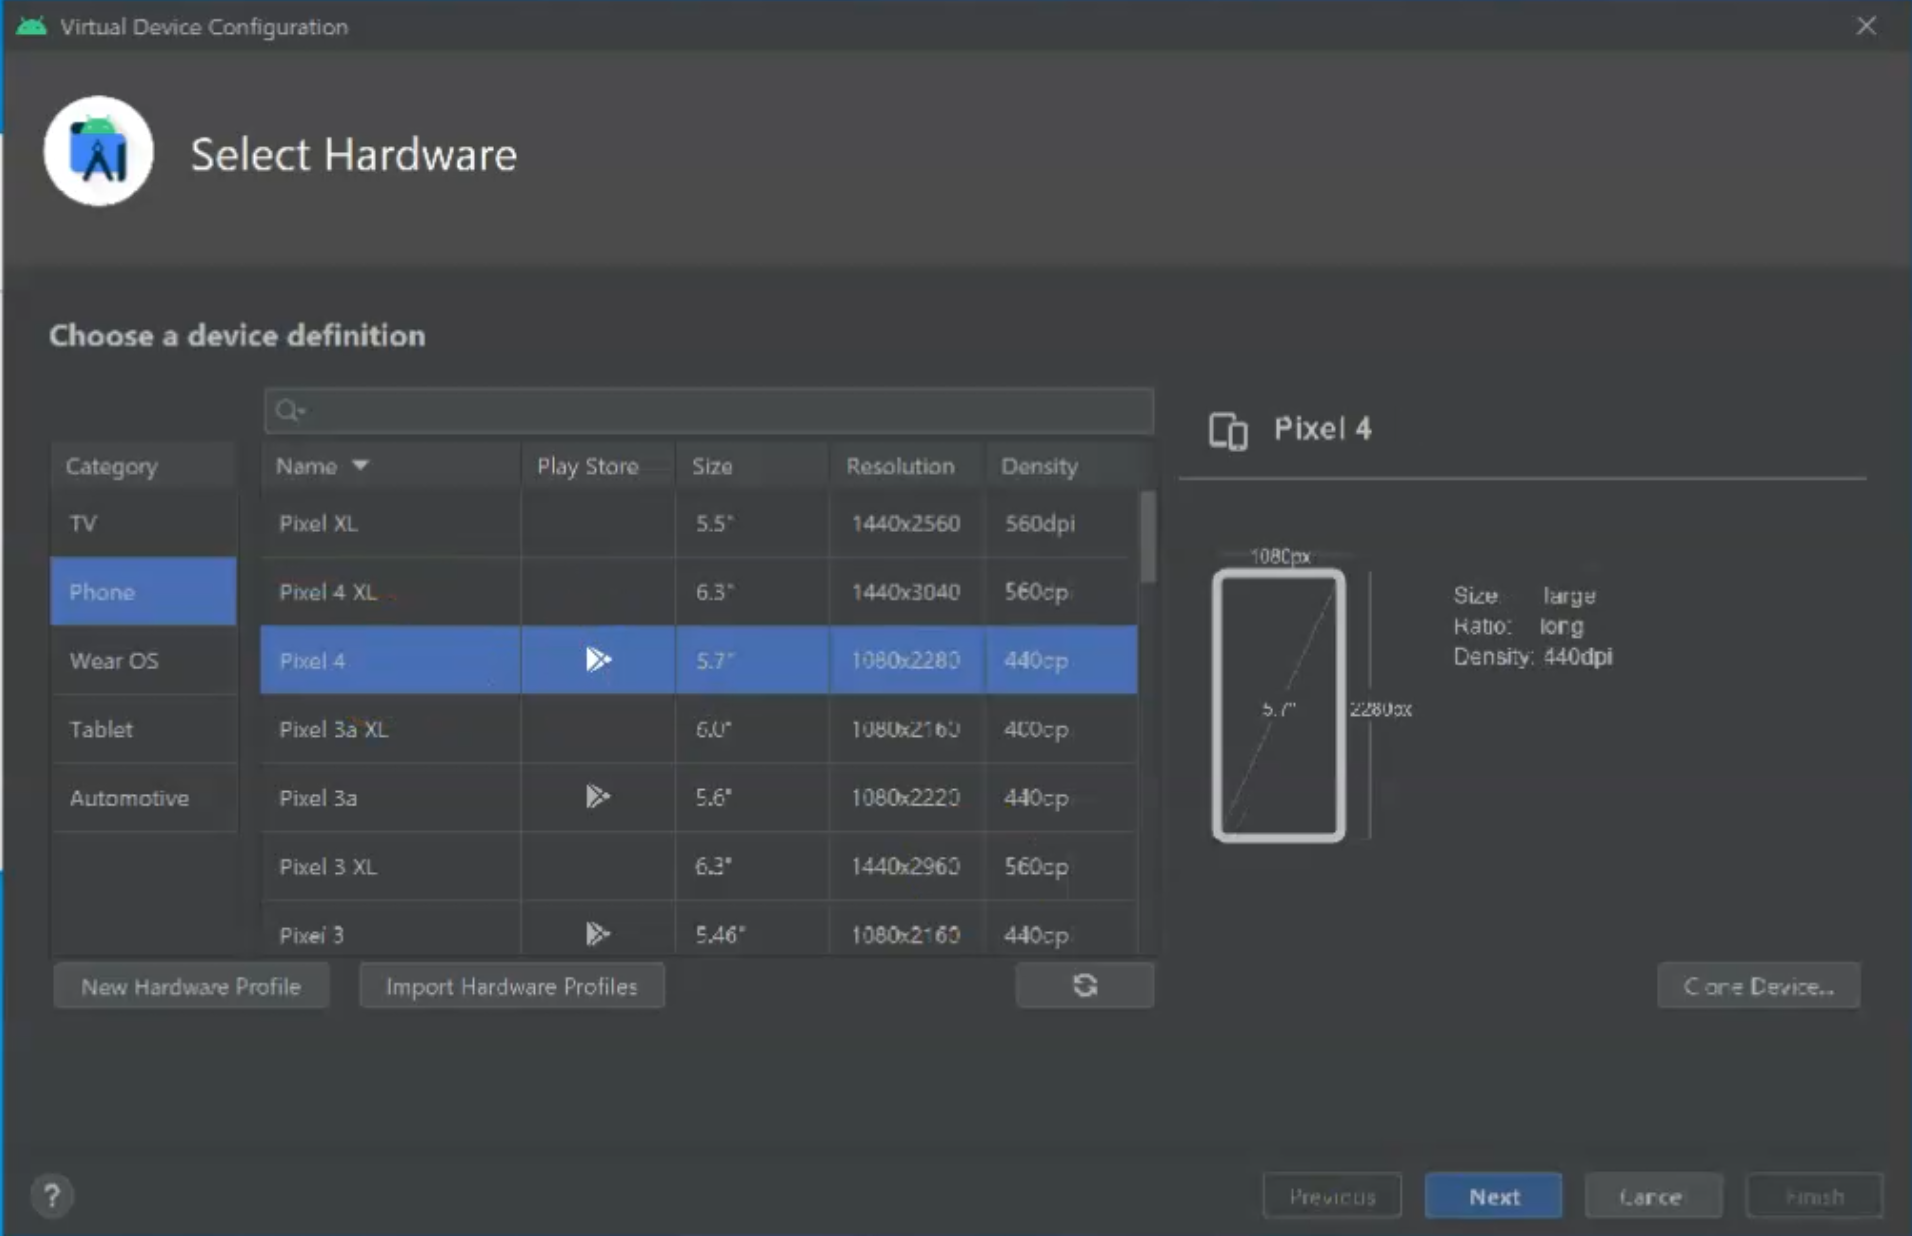
Maybe we need one that includes the play store, and then we click Next.
Here we need to download a system image because we don't have any system images, so for example, maybe we can download this version and click Accept, and then we need to wait until we download this one to be able to create our virtual device.
We will leave this one to be installed and then jump into the Appium setup, and we will click Finish to run Appium Desktop.
Now we are running Appium Desktop and we are now opening the Appium desktop, which is including the Appium server and Appium inspector.
We have the Appium desktop GUI and from here this is the localhost and this is the default port.
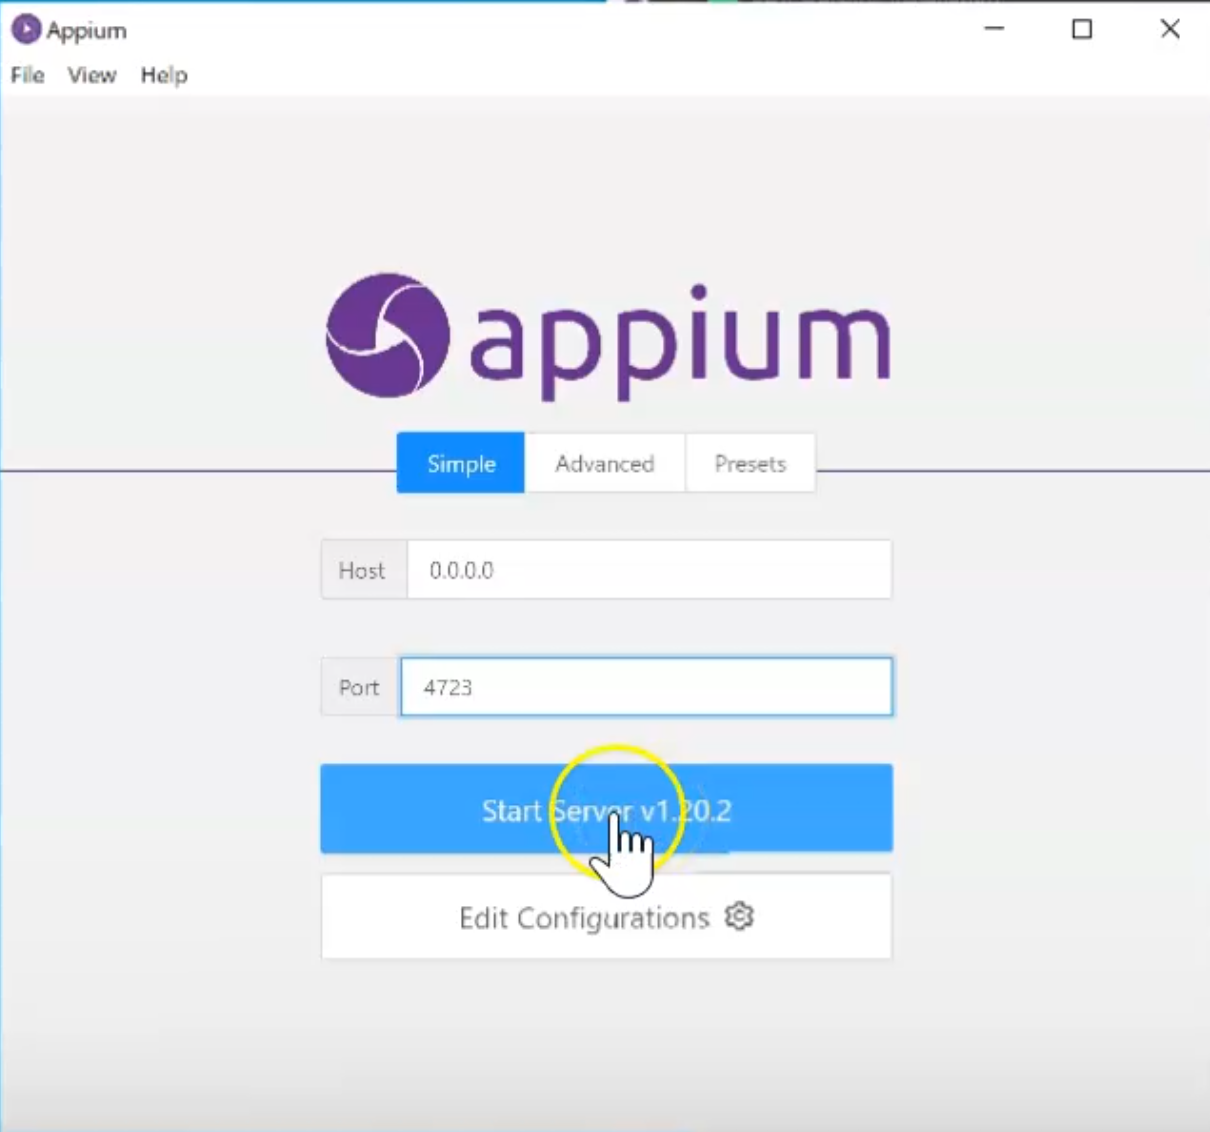
From here, we can start our server.
When we start the server we will get a message from the Windows Defender Firewall - that we need to allow the traffic from all public networks, so we need to "Allow Access" for this.

Now, we are running the Appium server and from here, you can also start your inspector session when you add your desired capabilities and connect your Android device or run your Android UI test.

I will close this one and I will close the server.
Now the Virtual Device Configuration is installed in Android Studio and we will use Android version 28.
We will configure the version name and click Finish.
# Installing Appium Doctor
From the command line, we still have something we need to install, which is Appium Doctor.
We can run:
npm i -g appium-doctor
Then we can run Appium Doctor to detect which required and necessary dependencies are still left.
So I will run:
appium-doctor --android
Then we can check if we need to add an environment variable or something for our Appium installation.

Here the ANDROID_HOME environment variable is not set, and JAVA_HOME also is not set, which are both necessary dependencies, so we need to fix this.
Also opencv4nodejs cannot be found and all the other things I need to download or install.
Here, under Optional Manual Fixes, this is the process and link to fix it.
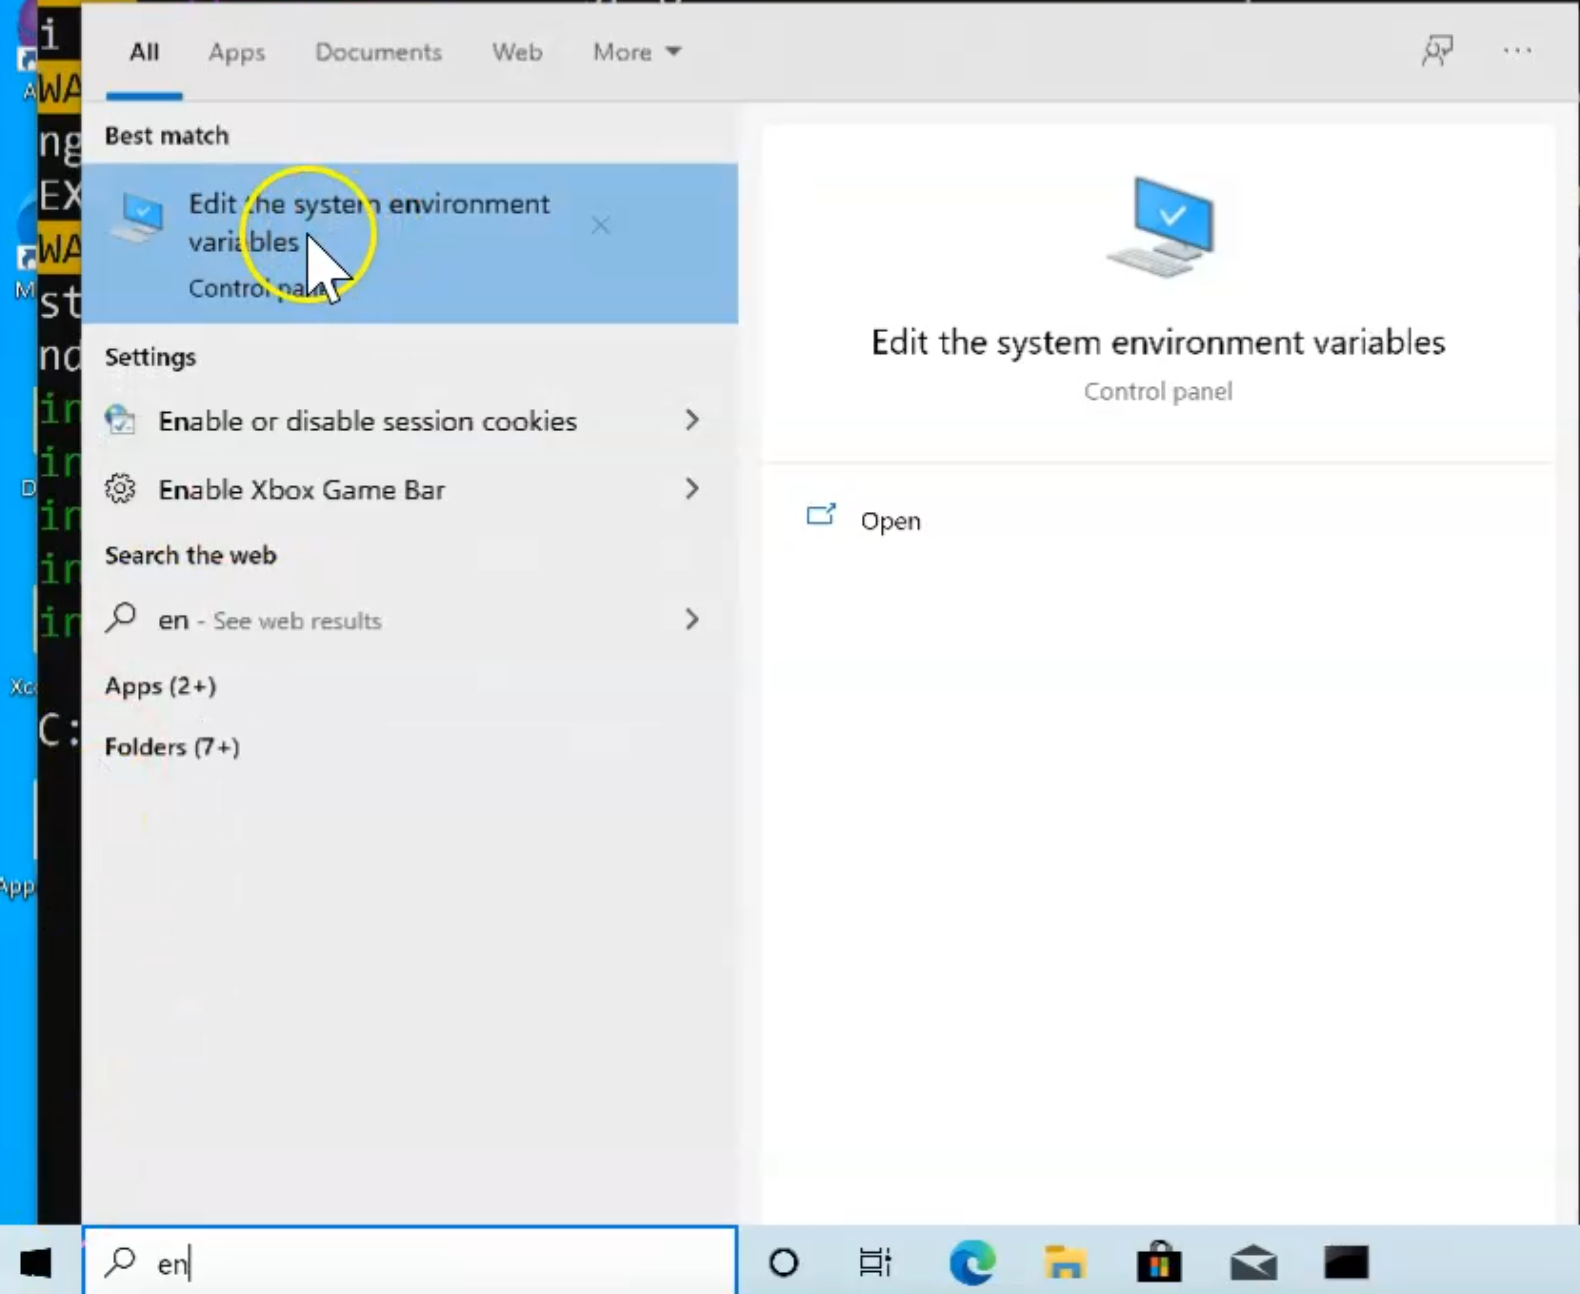
From the "Start", I will search about the environment variables, and here I will click "Edit the system environment variables".
Here, we will click "Environmental Variables", and then we will create a new one including Android Studio called ANDROID_HOME, which is exactly what we got from the command line.
Then we need to add the Android SDK home, so I will open Android Studio to get the SDK path and pass it in this environment variable.
From the Android studio, we will click on "Configure", then "SDK Manager", and then I will copy this URL.

Now, ANDROID_HOME will be inside this path and then I will click "OK".
Then, I will find that the variable ANDROID_HOME is set and with the path, and we will go to the system variable under the path.
We will double-click here and click "New" and then we will add our ANDROID_HOME and then we will add bin.
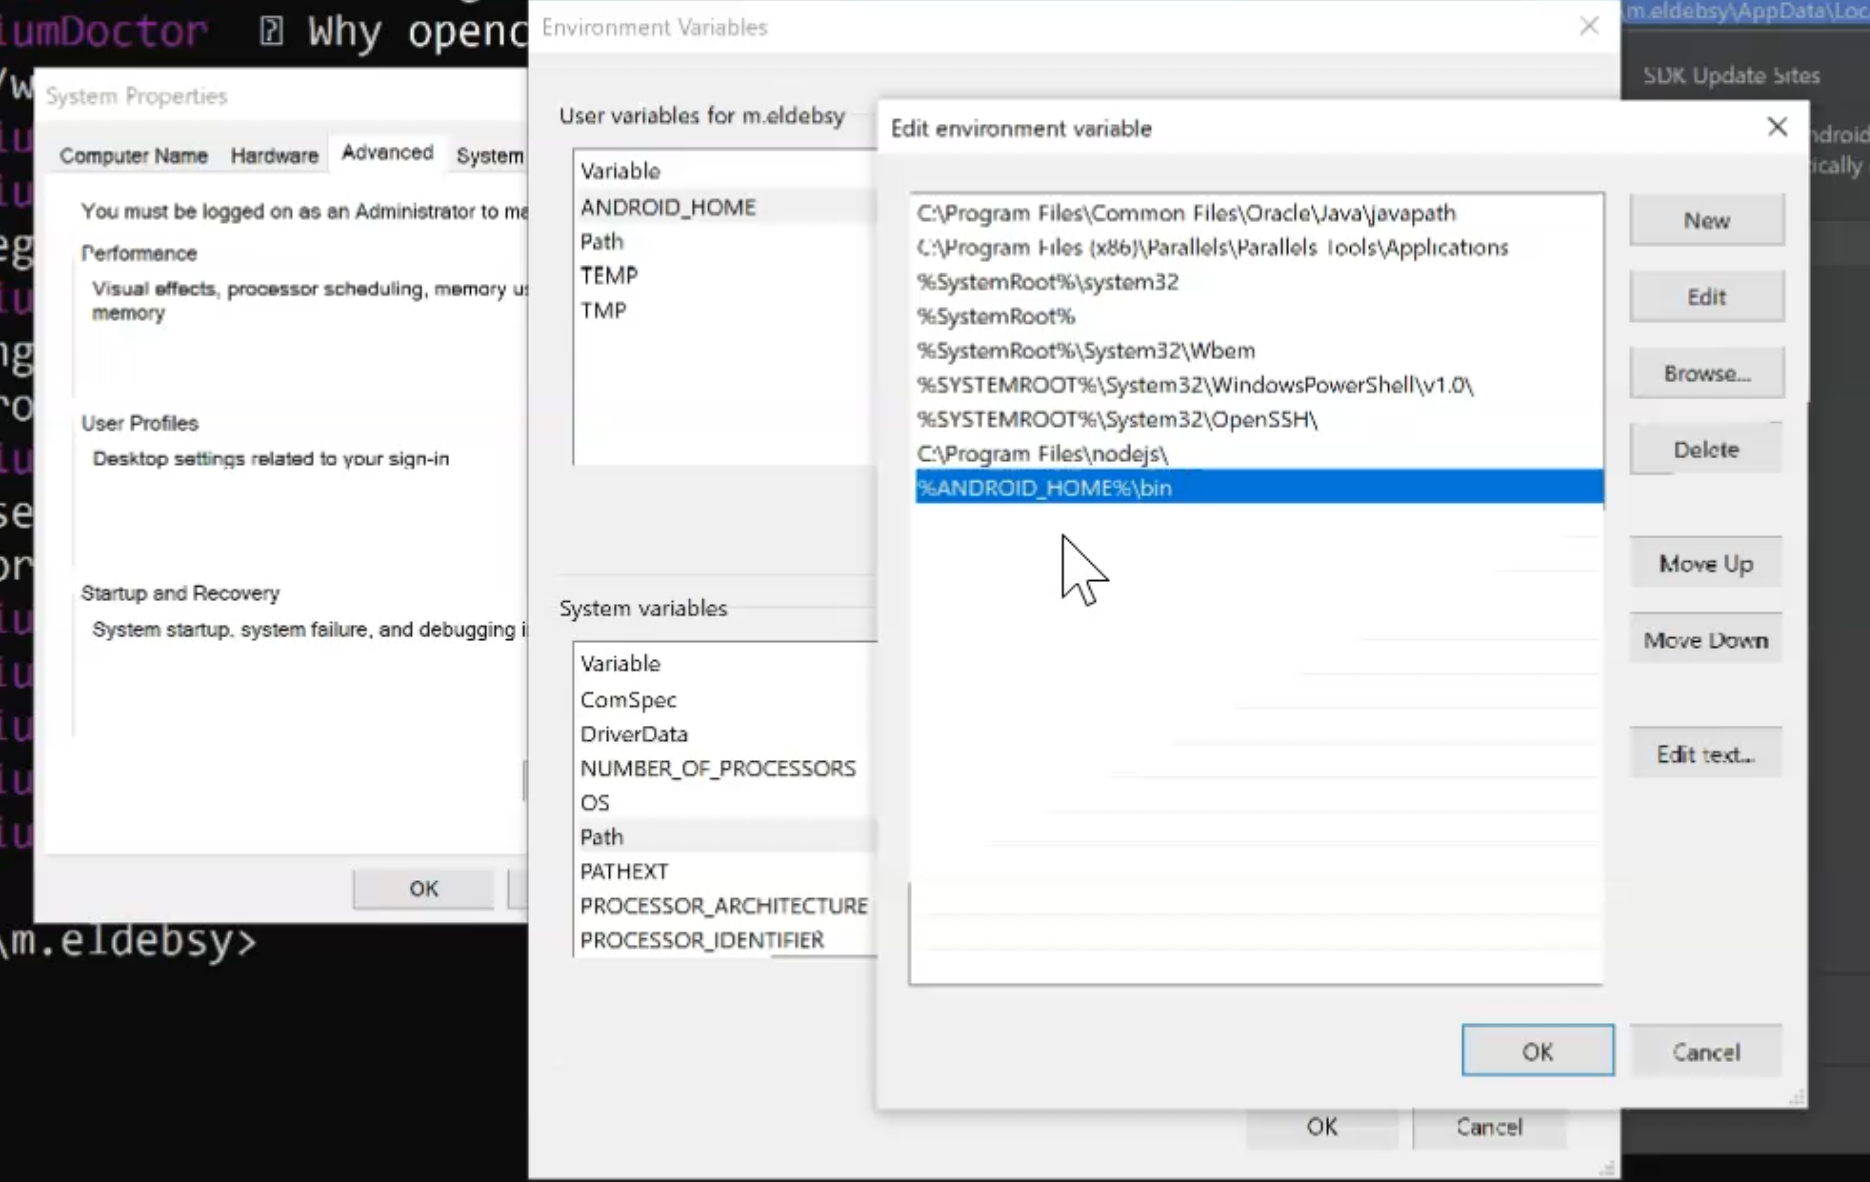
Then we will click "OK" and click "OK" again.
We will also need to do something like this for Java, but we will close and reopen the command line just to confirm ANDROID_HOME is fixed.
So, we will run Appium Doctor here.
Resources
Quiz
The quiz for this chapter can be found in Chapter 3.8
