

Transcripted Summary
# Send Photos to iOS
In this demo, we will learn how to send photos to an iOS application using IOSDriver with Appium.
As we did for Android, we can also do the same thing with IOSDriver.
This is the test case that I prepared.
package iOS;

import io.appium.java_client.ios.IOSDriver;
import org.openqa.selenium.remote.DesiredCapabilities;
import org.testng.annotations.AfterTest;
import org.testng.annotations.BeforeTest;
import org.testng.annotations.Test;

import java.io.File;
import java.io.IOException;
import java.net.MalformedURLException;
import java.net.URL;

public class Sending_Photos_iOS_Test {
    public IOSDriver driver;
    File classPath, imageDir, img;
    String imgName = "TAU-logo.png";

    @BeforeTest
    public void setUp() throws MalformedURLException {
        DesiredCapabilities capabilities = new DesiredCapabilities();
        capabilities.setCapability("platformName", "iOS");
        capabilities.setCapability("platformVersion", "13.7");
        capabilities.setCapability("deviceName", "iPhone 11 Pro");
        capabilities.setCapability("bundleId", "com.apple.mobileslideshow");
        driver = new IOSDriver(new URL( "http://localhost:4723/wd/hub"), capabilities);
    }

    @Test
    public void testSlider() throws IOException {
        classPath = new File(System.getProperty("user.dir"));
        imageDir = new File(classPath, "/resources/images");
        img = new File(imageDir.getCanonicalFile(), imgName);
    }

    @AfterTest
    public void tearDown() {
        if (null != driver) {
            driver.quit();
        }
    }
}
I added also the File for classPath, for the imageDir and the img, and also the imgName with the string of your image name.
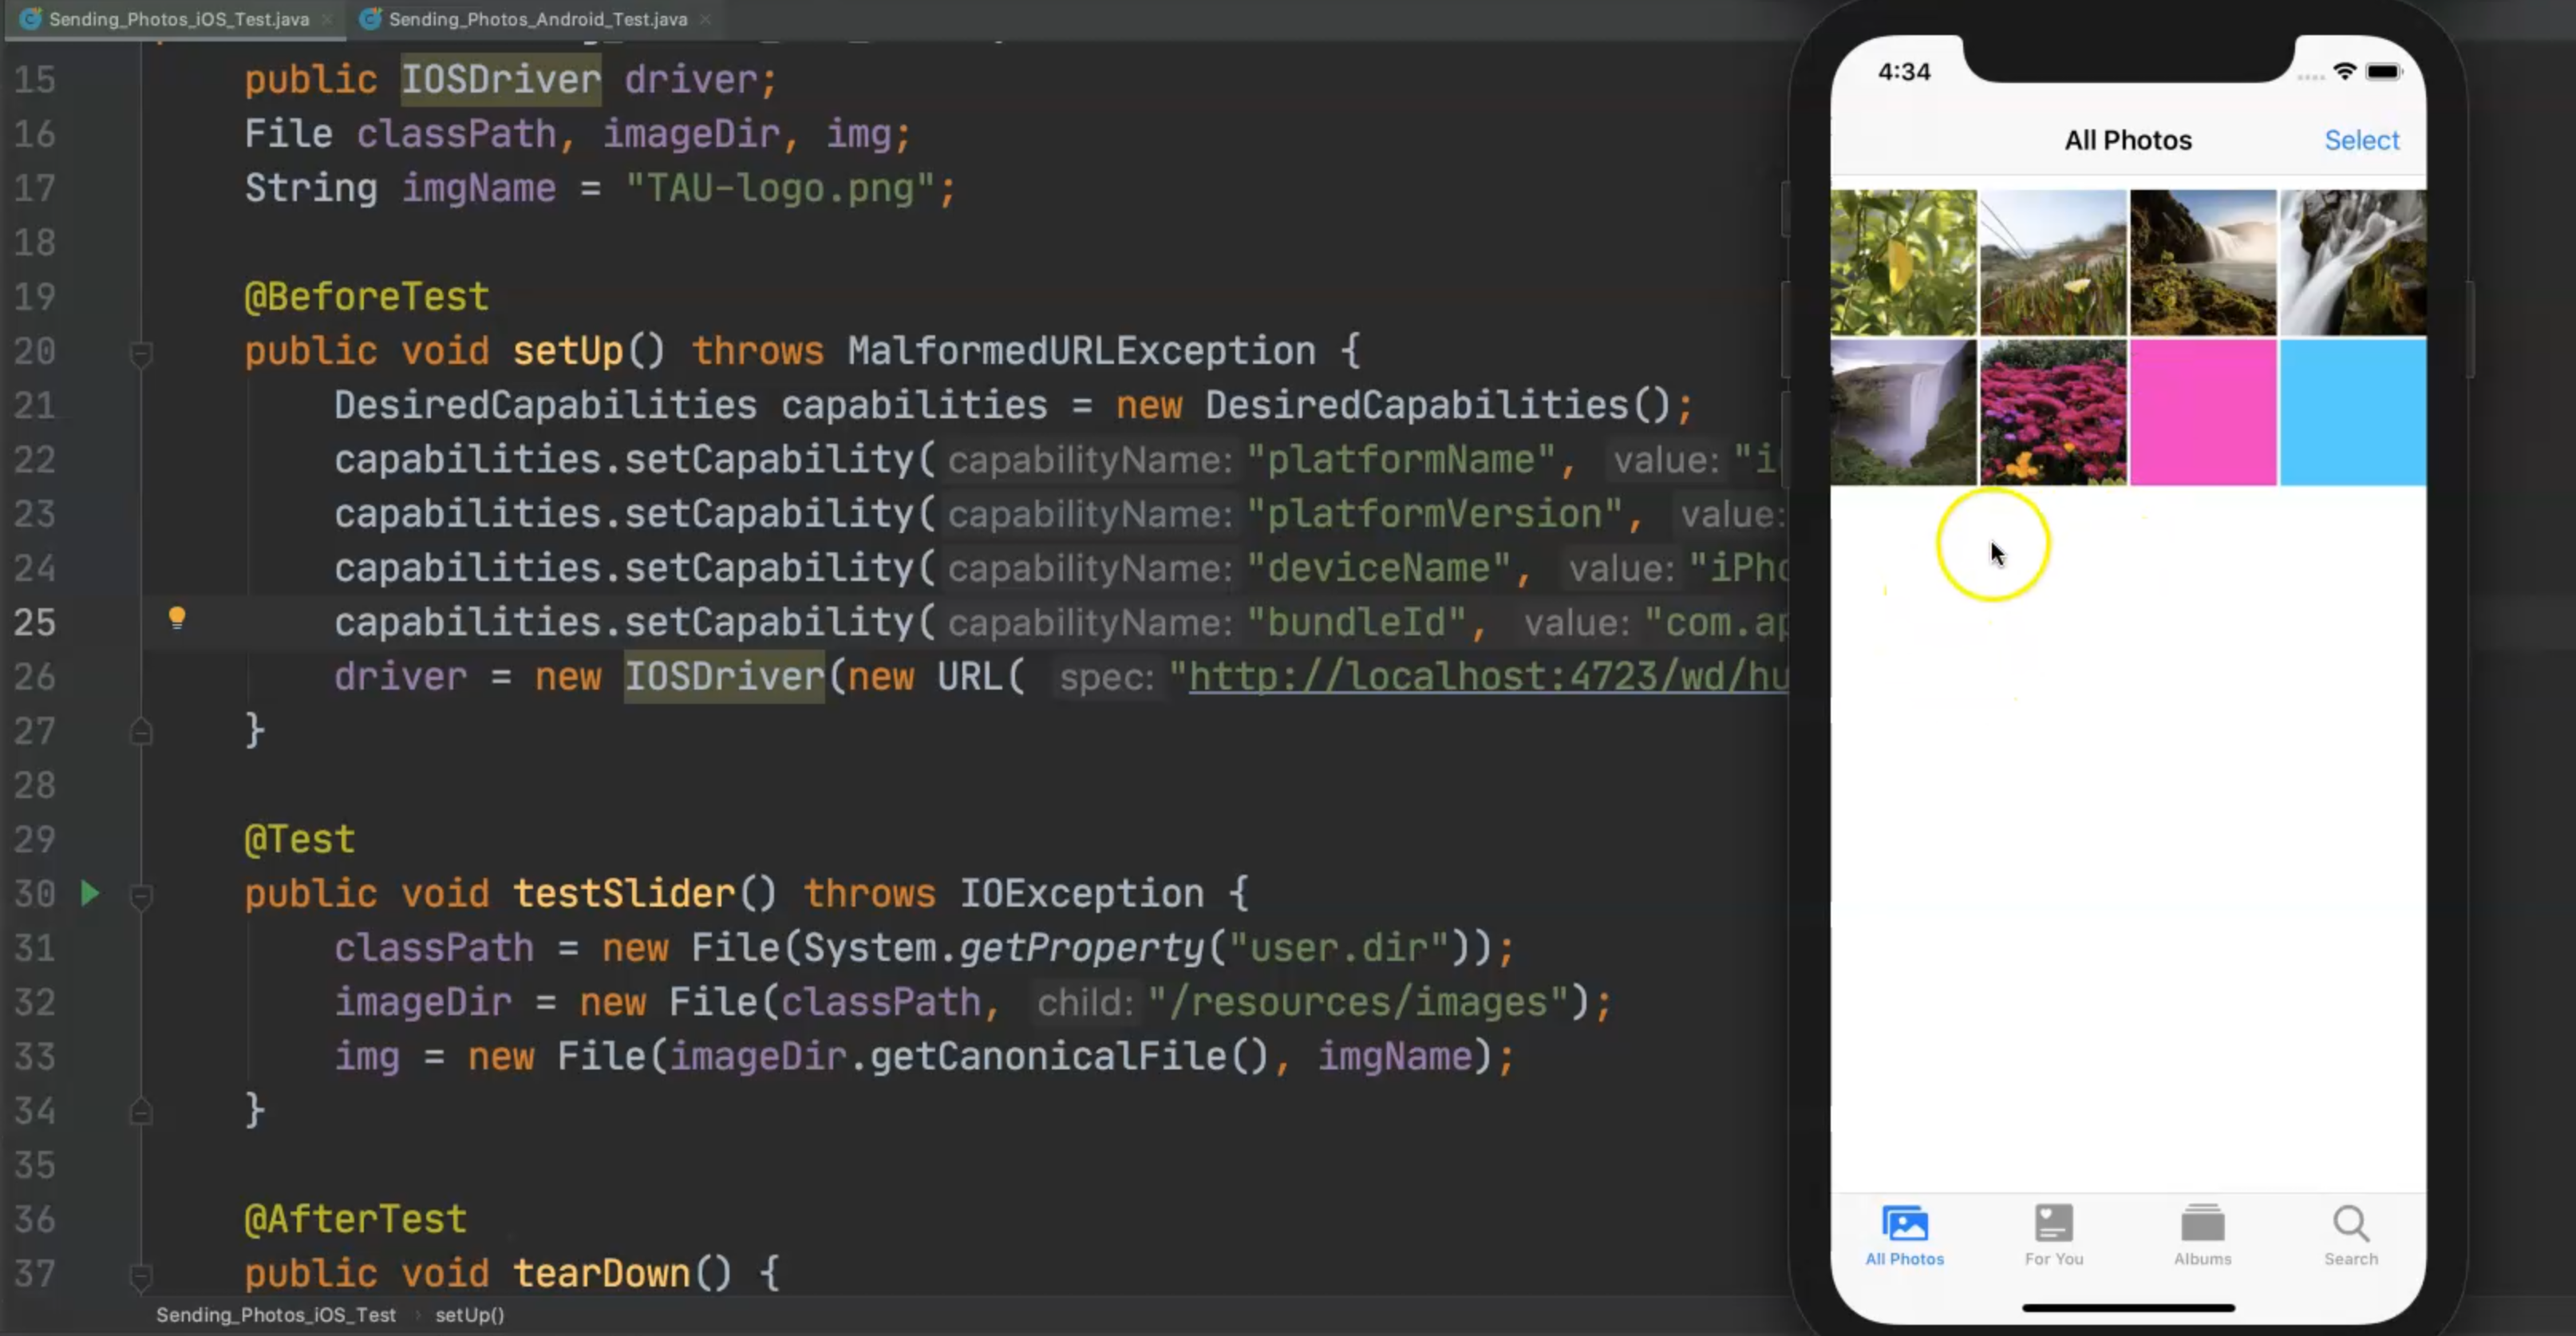
Here I have an iPhone 11 Pro application with a different version, just to try with a different version.
The application on this device is the com.apple.mobileslideshow application so we can detect our images are displayed correctly in this application.
So for the bundle ID, we are using com.apple.mobileslideshow.
If I open my simulator, I can open the images and this is the application that I wanted to send my photo to.
Then, I added the same code that I did for Android with classPath for reading the current user directory, then adding the path /resource/images.
Then, for sending the image with getCanonicalFile() or the path of the image, and this is a string imgName.
What we need to add is just one line, so here we will use the same command pushFile() and we need to push the string to a remote path.
So here, I just need to send the imgName, which is the image itself with the extension, and then the img file from the path.
    @Test
    public void testSlider() throws IOException {
        classPath = new File(System.getProperty("user.dir"));
        imageDir = new File(classPath, "/resources/images");
        img = new File(imageDir.getCanonicalFile(), imgName);
        driver.pushFile(imgName,img);
    }
Now let's just start to run our test and check what the test results are.
I am running my test, the application is opened and we will open the images or the photos, and then we will send our images.
So our test case is passed now, but let's open the photos again and to detect if it's uploaded or not.
We can find our images were already uploaded with the TAU logo.
After that, maybe you can continue to add an Assertion to check if the images were uploaded correctly or not, or maybe after that, you can longPress the image and then click delete, and then click delete again, if you wanted to delete the image after you upload this image.
Sending a photo is the same concept as using driver.pushFile, but for Android, it was AndroidDriver and here we are using iOS and we just need to send the image name and the path of the image using driver.pushFile.
# Scroll down in iOS
In this demo, we will learn how to automate scrolling down for iOS applications.
We will use a custom script to be able to scroll down to a specific view and then click on the element.
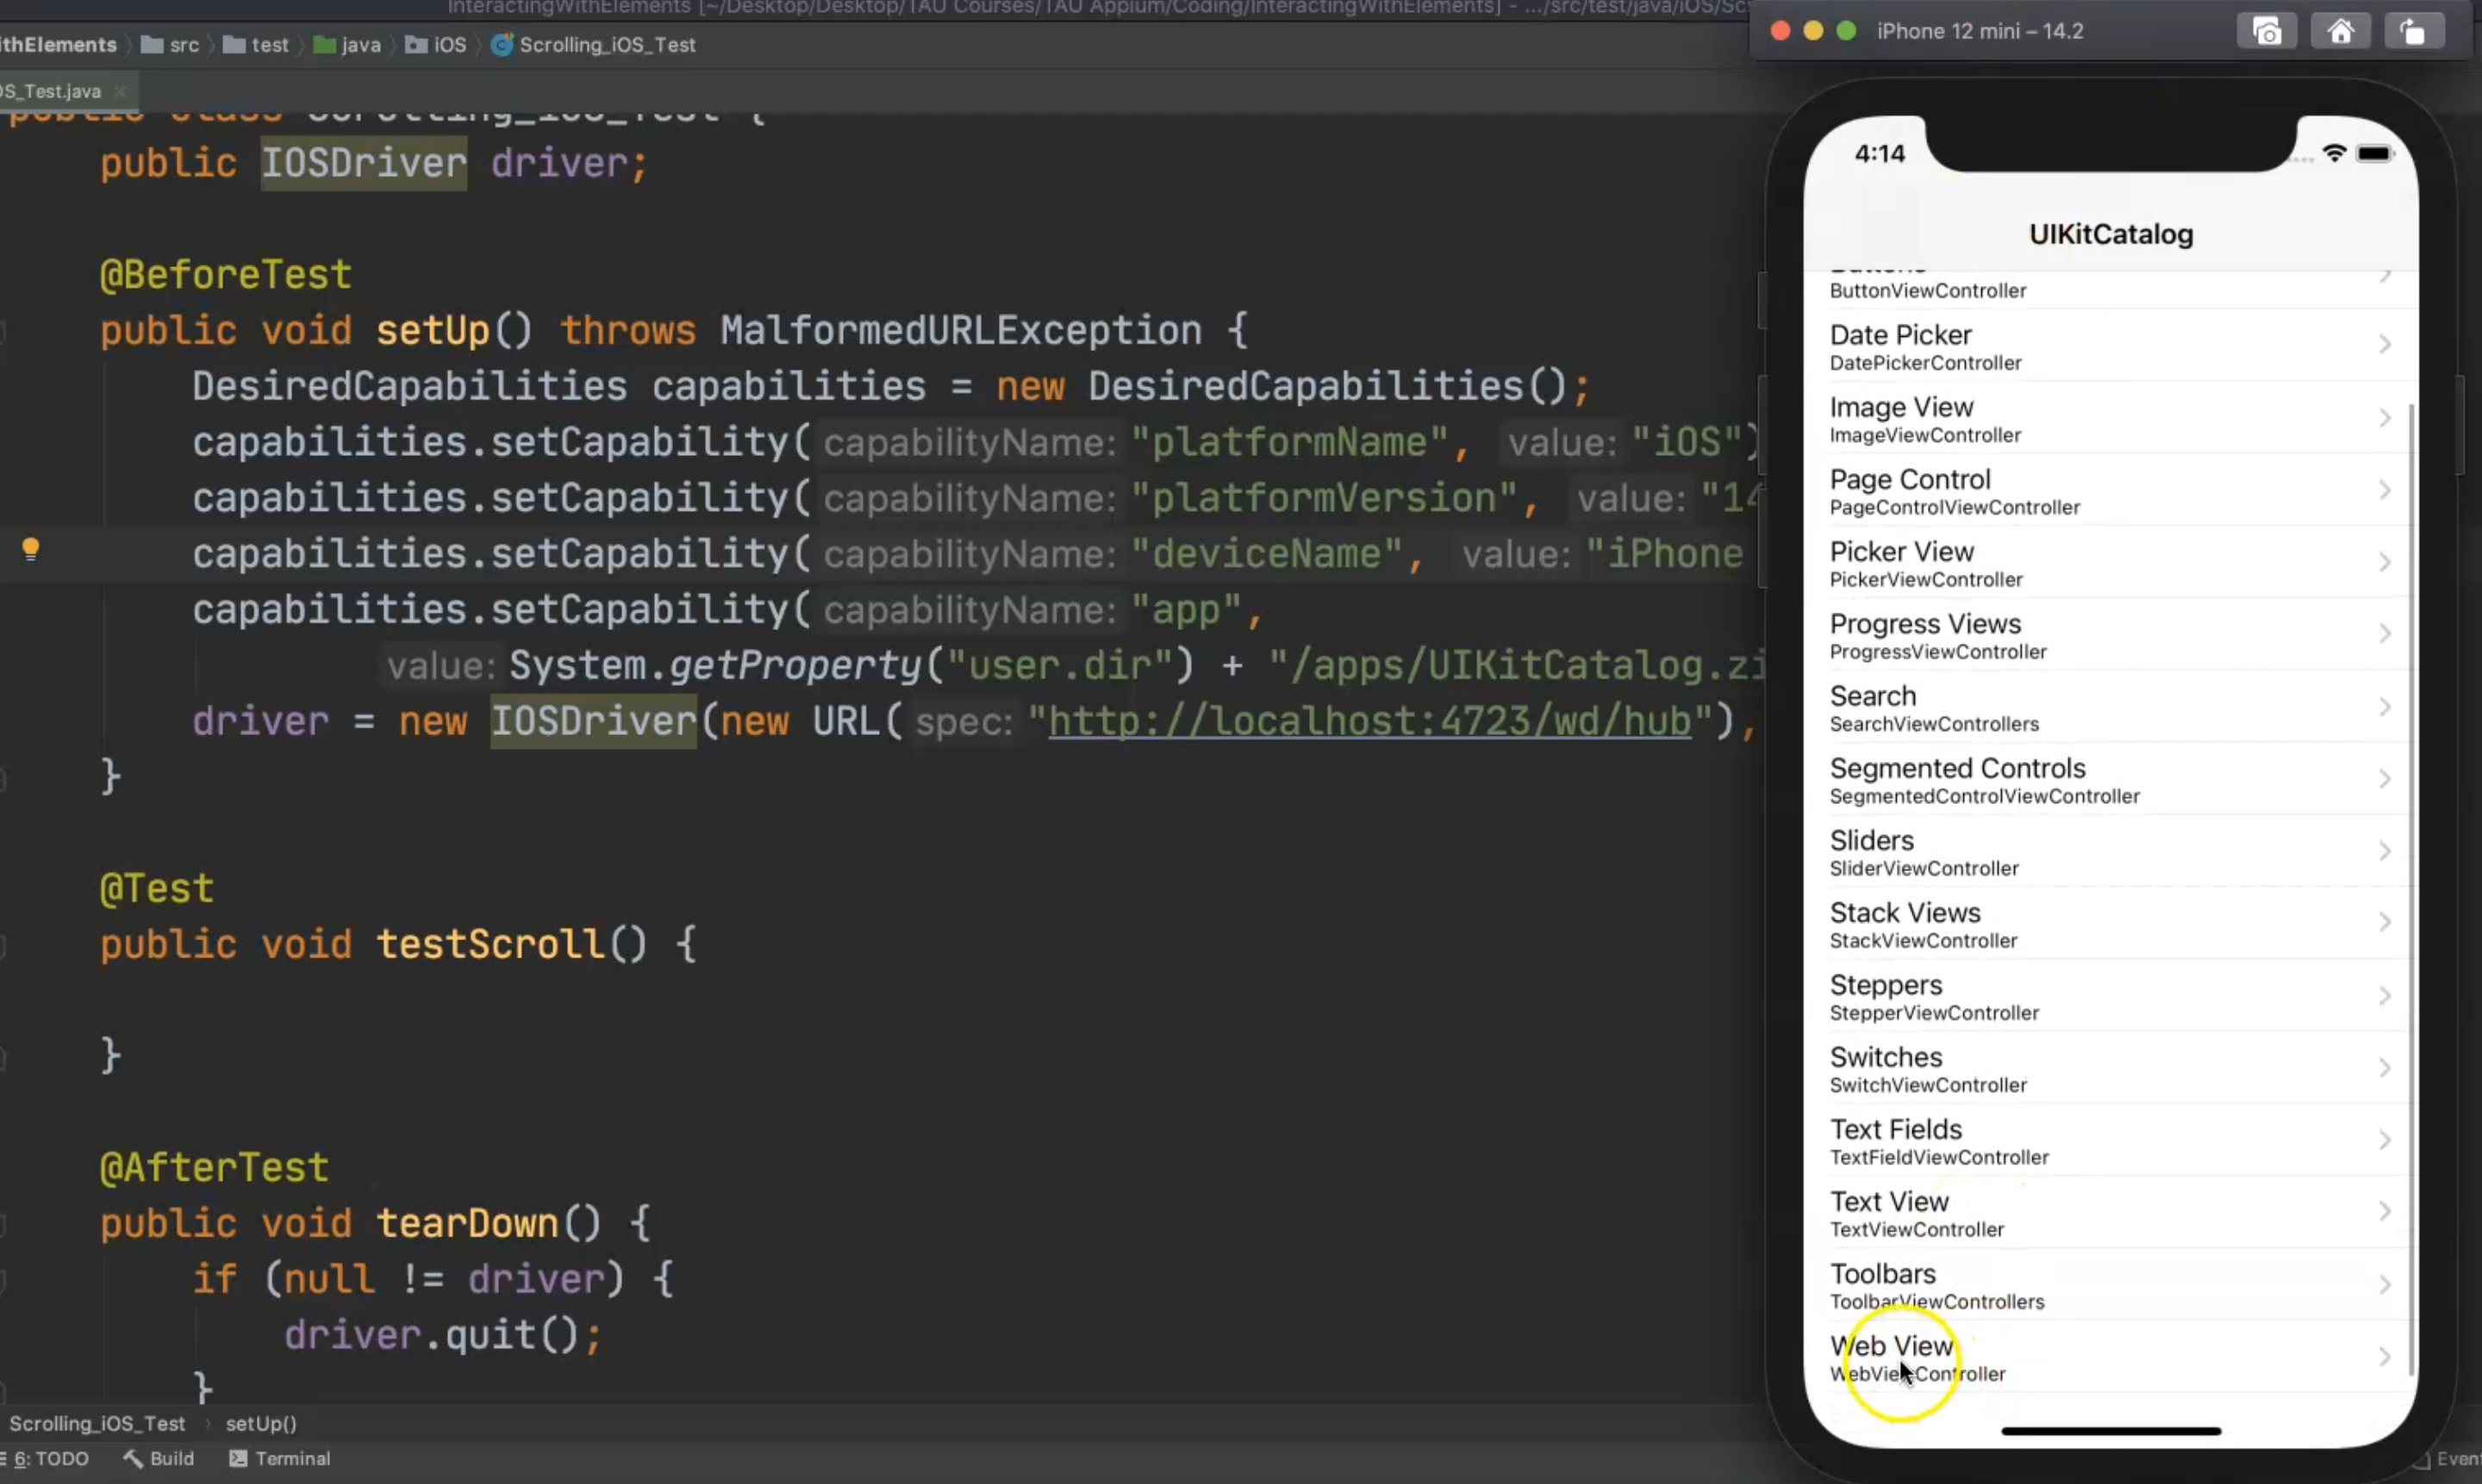
Here I prepared our test Scrolling_iOS_Test and this is our IOSDriver, and I just changed the desired capabilities here to use "iPhone 12 mini", because if we open our simulator and open our application, I need the view to be smaller than the iPhone X or the bigger iPhone.
package iOS;

import io.appium.java_client.ios.IOSDriver;
import org.openqa.selenium.remote.DesiredCapabilities;
import org.testng.annotations.AfterTest;
import org.testng.annotations.BeforeTest;
import org.testng.annotations.Test;

import java.net.MalformedURLException;
import java.net.URL;
import java.util.HashMap;

public class Scrolling_iOS_Test {
    public IOSDriver driver;

    @BeforeTest
    public void setUp() throws MalformedURLException {
        DesiredCapabilities capabilities = new DesiredCapabilities();
        capabilities.setCapability("platformName", "iOS");
        capabilities.setCapability("platformVersion", "14.2");
        capabilities.setCapability("deviceName", "iPhone 12 mini");
        capabilities.setCapability("app",
                System.getProperty("user.dir") + "/apps/UIKitCatalog.zip");
        driver = new IOSDriver(new URL("http://localhost:4723/wd/hub"), capabilities);
    }

    @Test
    public void testScroll() {
    }

    @AfterTest
    public void tearDown() {
        if (null != driver) {
            driver.quit();
        }
    }
}
I need to scroll down to and see "Web View", because with the normal view, "Web View" is not displayed.
Because of that, I changed it to an "iPhone mini" to be able to scroll down to "Web View" and then click on this one.
This is the only change in this example, and then in our test case, we will start writing code for scroll down.
In this case, we will use a HashMap and it will take a String and Object.
So we will pass in the values that we need to use with this HashMap, with the execute script we will use this HashMap in the scrolling.
Let's say this is a scrollObject and it equals new HashMap<>().
Then with scrollObject - we have a put() with HashMap and then we will add direction.
We need to scroll down, so we need to add the "direction", and in this case, the direction will be "down".
Then, with the scrollObject, we need to add another value "value".
We need to scroll until "Web View", so the value will be "Web View".
Then we will call driver.executeScript() - this takes a String script and then the Object.
The script is mobile:scroll and the object is the scrollObject. and scroll.
This is the main idea about scrolling using a script for an iOS application.
Then we will click on this button, so driver.findElementByAccessibilityId("Web View").click().
So, after we scroll down, we find the element, and then we can click on this one.
    @Test
    public void testScroll() {
        HashMap<String, Object> scrollObject = new HashMap<>();
        scrollObject.put("direction","down");
        scrollObject.put("value","Web View");
        driver.executeScript("mobile:scroll",scrollObject);
        driver.findElementByAccessibilityId("Web View").click();
    }
Let's try to run our script and check the test result.
So here I ran the test case, we will close the current application, we will open it again and then we will check the behavior of our test.
We scroll down to the "Web View" and then we should click on the "Web View".
We scroll down and sometimes it takes time to scroll down or click to that element that we are targeting.
In this demo, we use scroll using executeScript and you can change the direction and you can add everything with executeScript.
How can I find the command and description for this one?
If we open our browser and search about "appium execute script mobile", we will find the documentation under the Appium website, and here we can execute mobile commands.
For example, execute("mobile:scroll"), and here we have a "direction" "down" and you can add everything.
So we just create a HashMap for these actions and then pass it to the execute driver.
This execution was Java, and also you can find the different client libraries here, but we are using Java.
It's also supported in XCUITest, and some others, and here, you can find the description for this command.
So to be able to execute any mobile script, we can just add mobile and then pass the type of script that you want to do, and then we can pass in the value that you want.
Here also, you can click on the "Execute Script" link and you can find how we can execute the script.
Resources
Quiz
The quiz for this chapter can be found in Chapter 5.10
