

Transcripted Summary
Then after that, we will create our iOS test case to just go through the same steps that we added in Android.
Under the java folder, we can right-click and select a new Java class and then we can add iOS_Todo_Test and we will extend it from TestBase.
We will copy the class from ToDo_Android and we will change the Android setup to be iOS setup.
With the test we just need to do the imports, switch it to iOS setup, and everything else will be the same but we are using the iOS setup.
import org.testng.annotations.Test;

import java.net.MalformedURLException;

public class iOS_Todo_Test extends TestBase {
    CreateTaskPage createTaskPage;
    TasksListPage tasksListPage;

    @Test
    public void test_add_task() throws MalformedURLException {
        iOS_setUp();
        tasksListPage = new TasksListPage(driver);
        createTaskPage = new CreateTaskPage(driver);
        tasksListPage.clickAddTaskBtn();
        createTaskPage.enterTaskName("Finish Appium Course");
        createTaskPage.enterTaskDesc("Finishing my course ASAP");
        driver.hideKeyboard();
        createTaskPage.clickSaveBtn();
        tearDown();
    }
}
The iOS setup from TestBase is using the DailyCheck.zip application and running on an iPhone device.
Let's check what the current simulator is.
Here, we have iPhone 11 Pro with version 14.4.
We will just change the deviceName to the current device because we don't need to open another one from scratch.
We will start running our test case and check if we have any problems with the elements that we added or the test system.
Let's run our iOS_Todo_Test, and now we can run this and open the simulator, and here we have the Appium server.
Now we are installing the application, we also have to start installing the WebDriverAgent application.
We start creating our task, click on the "Add" new task button, add the title and the description and then we click save.
Our test case has passed now.
We have one script and we run it against two different platforms, iOS, and Android.
We are using the same page objects in both cases - if the driver is Android, we will start selecting with the PageFactory @AndroidFindBy, but if it's iOS, we can use the @iOXCUITFindBy.
Now we prepared our test case to be used with PageFactory objects.
After that, in the next video, we can check how to run our test cases from the command line or from the Maven command line to be able to run it on the CI servers or on any remote machine.
To complete our project, I just added two testng or XML files to add to our test cases for the upcoming classes or test cases that you want to add.
For example, I added androidtestng.xml which is including the tests suite and the test classes - I added the one class that I created.
<?xml version="1.0" encoding="UTF-8"?>
<suite name="Suite" parallel="tests">
    <test name="Android">
        <classes>
             <class name="ToDo_Android"/>
        </classes>
    </test>
</suite>
I did the same for iOS.
<?xml version="1.0" encoding="UTF-8"?>
<suite name="Suite" parallel="tests">
    <test name="iOS">
        <classes>
            <class name="iOS_Todo_Test"/>
        </classes>
    </test>
</suite>
This is to differentiate and run the different profiles or different test cases from the Maven command line.
One more thing that we added in the pom.xml file is the profiles.
Here, with the profile, under the dependencies, we have a plugin called Maven Surefire, which gives us the ability to add a different suite using TestNG.

Here, with the plugin, I added a profile for iOS id - this is the name of the profile - and I added one for Android.
For each one, I am just passing the XML file name - one for iOS and one for Android.
From the command line you can just run:
mvn clean test -PiOS
When we are passing the profile iOS, we will go to the pom.xml file and start searching for the profile id.
With Surefire, we will pick up iOS_testng.xml and iOS includes our test case.
Let's try to run and build our project from Maven and then we just need to open this one and check what happened during our test.
So now, we are running the test.
The Maven Surefire will give us the ability to run our test cases from the command line, to be ready for running on our CI server.
Now we send our test cases to the Appium server and start running our test case.
So we add the title and the description, click save, and then we finish our test case, but then we return back to Maven and our test case.
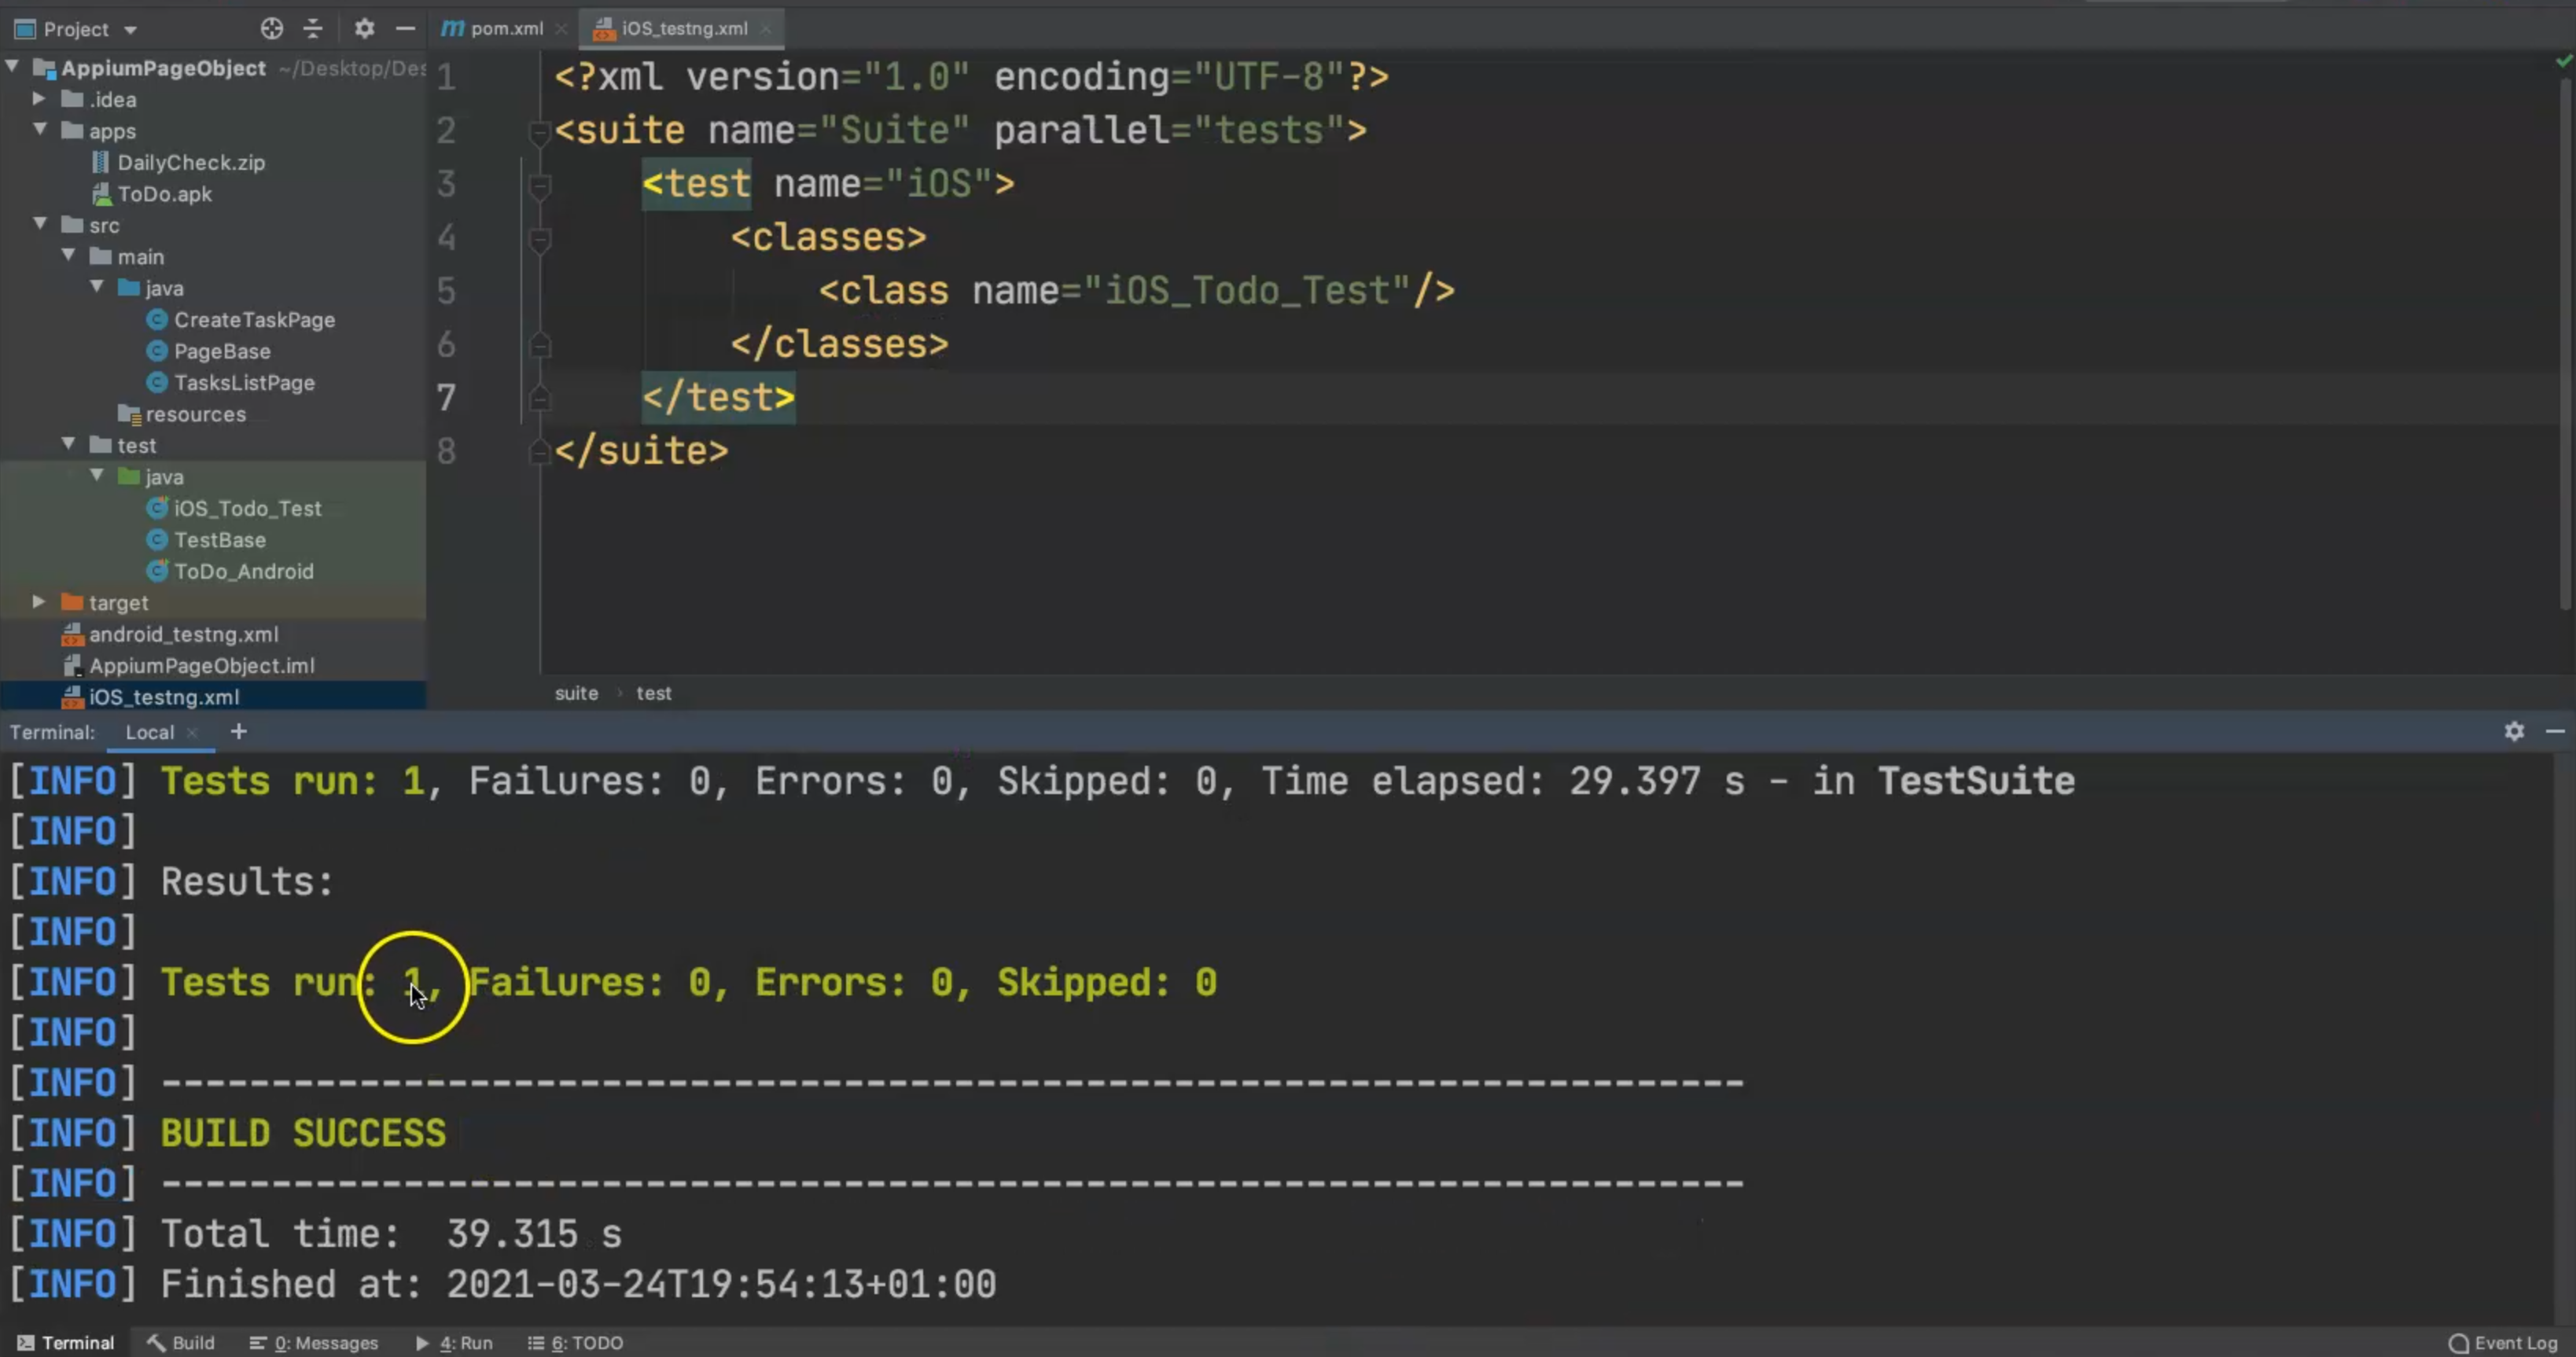
Here, we have one test run and our build succeeded.
So we ran 1 test case and this is the total time for our build.
Let's switch it to Android because we already have the emulator open, and let's run with Android and check the Android test case.
We build it again, we run the test now, we will pick up the testng file, which includes the test case that we created, and then we can run our test on the Android emulator.
Our test is open now and the script is running.
We add a title, add a description, and then we will save.
Maven is now collecting the results and then will give us the test result.
Now it's the same case - the build succeeded - and here in the target folder we can find the Maven surefire-reports and we can open index.html.

This is the test report and we can open index.html in the browser and here we will find the default testng report.
Here are the test cases for Android because they replaced the previous test with the latest results.
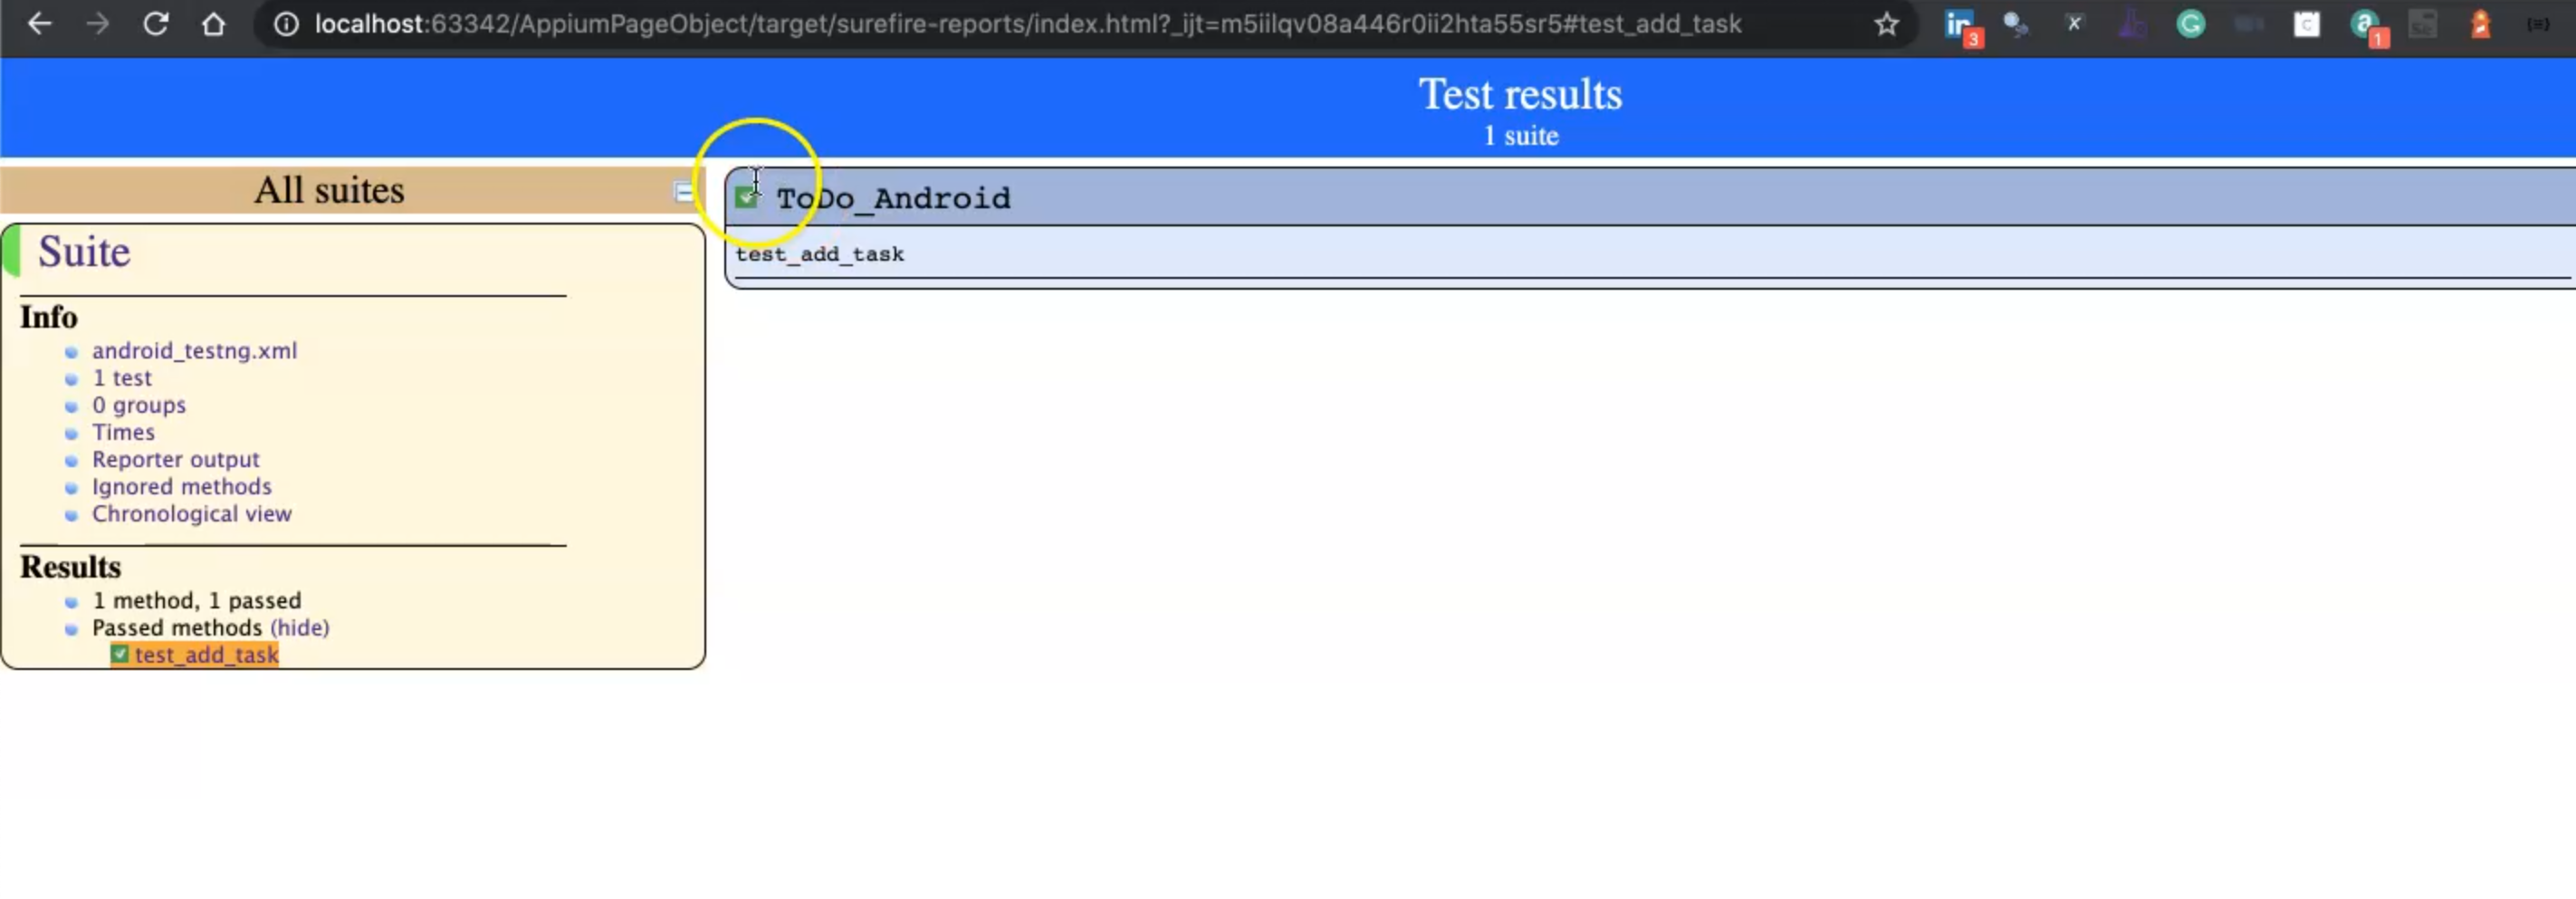
This is the report and with Appium you can integrate any reports or any external reports, like Allure or ReportPortal or extended reports, for example.
So it's like the Selenium WebDriver and you can do anything with your project.
