

Transcripted Summary
# TasksList Page Object for Android
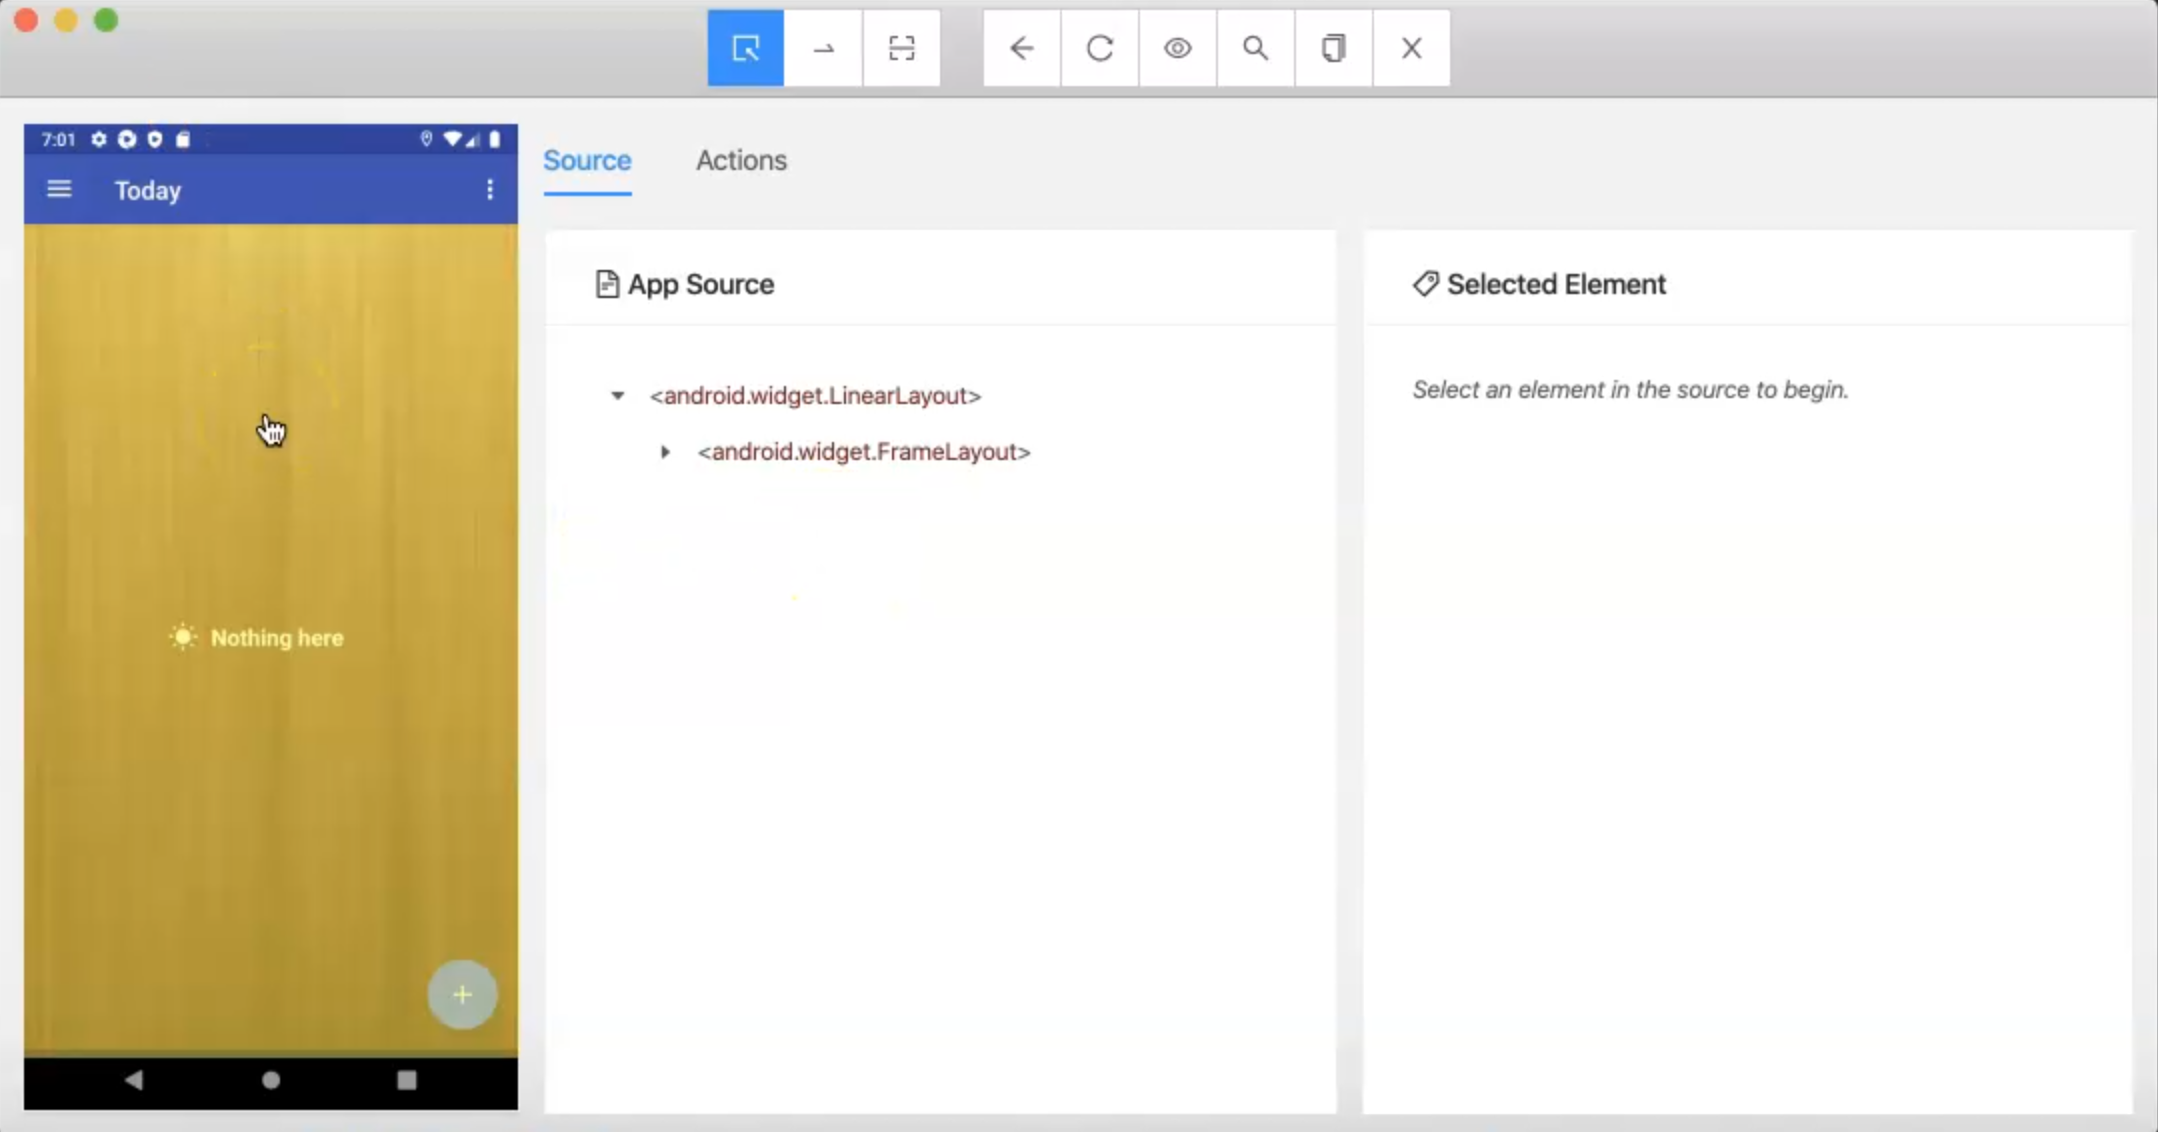
We can do the first PageObject class with the TasksList PageObject because here we have one button.
This one button is located here in the list, but when we click this "+" button, it will redirect to another screen, which is Create New Task, which will be the second PageObject class that we will create.
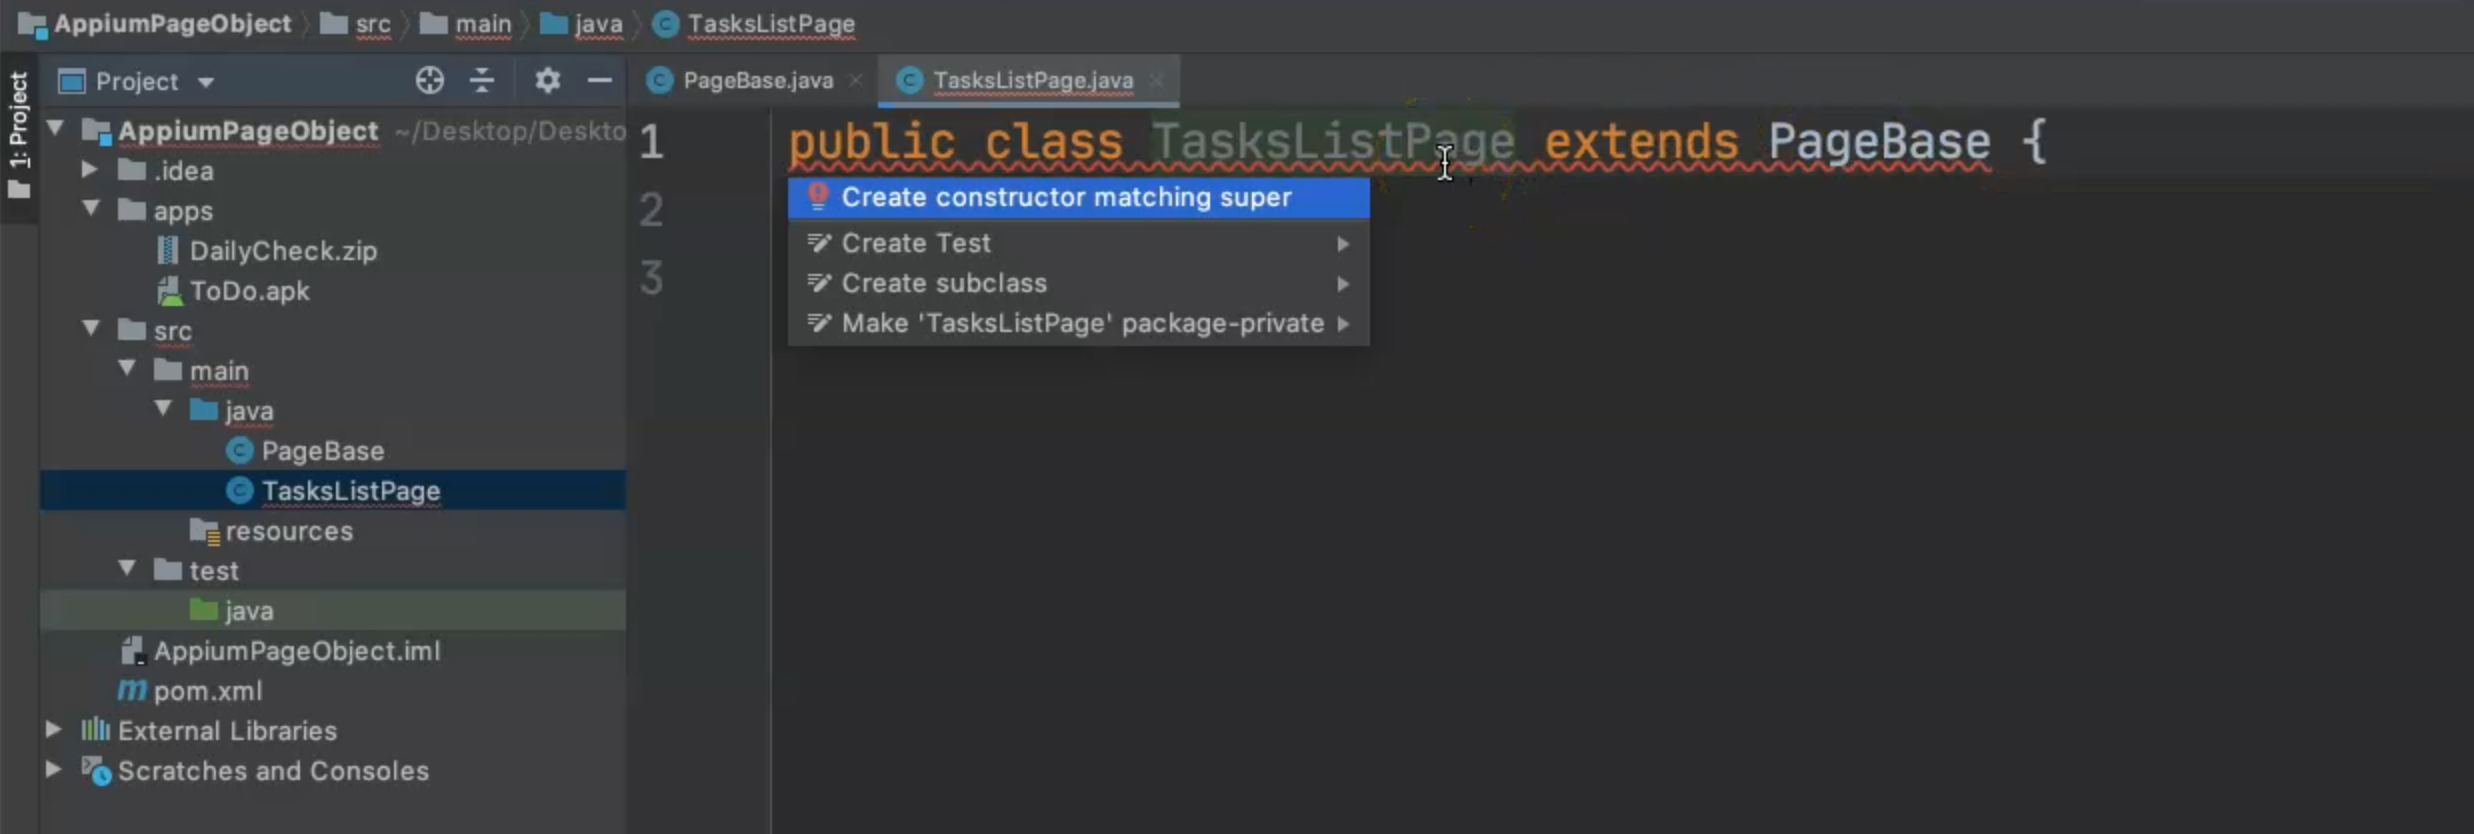
In the project, we will go to java under main, and then we click to create a new Java Class.
This is the TasksListPage and we can create this class.
The first thing that we need to do is to extend from PageBase.
Immediately, we have an error that there is no default constructor available for PageBase because we are extending from the class that includes the constructor.
So, we just need to click here and it will create the constructor that matches this one, passing appiumDriver and returning super(appiumDriver).
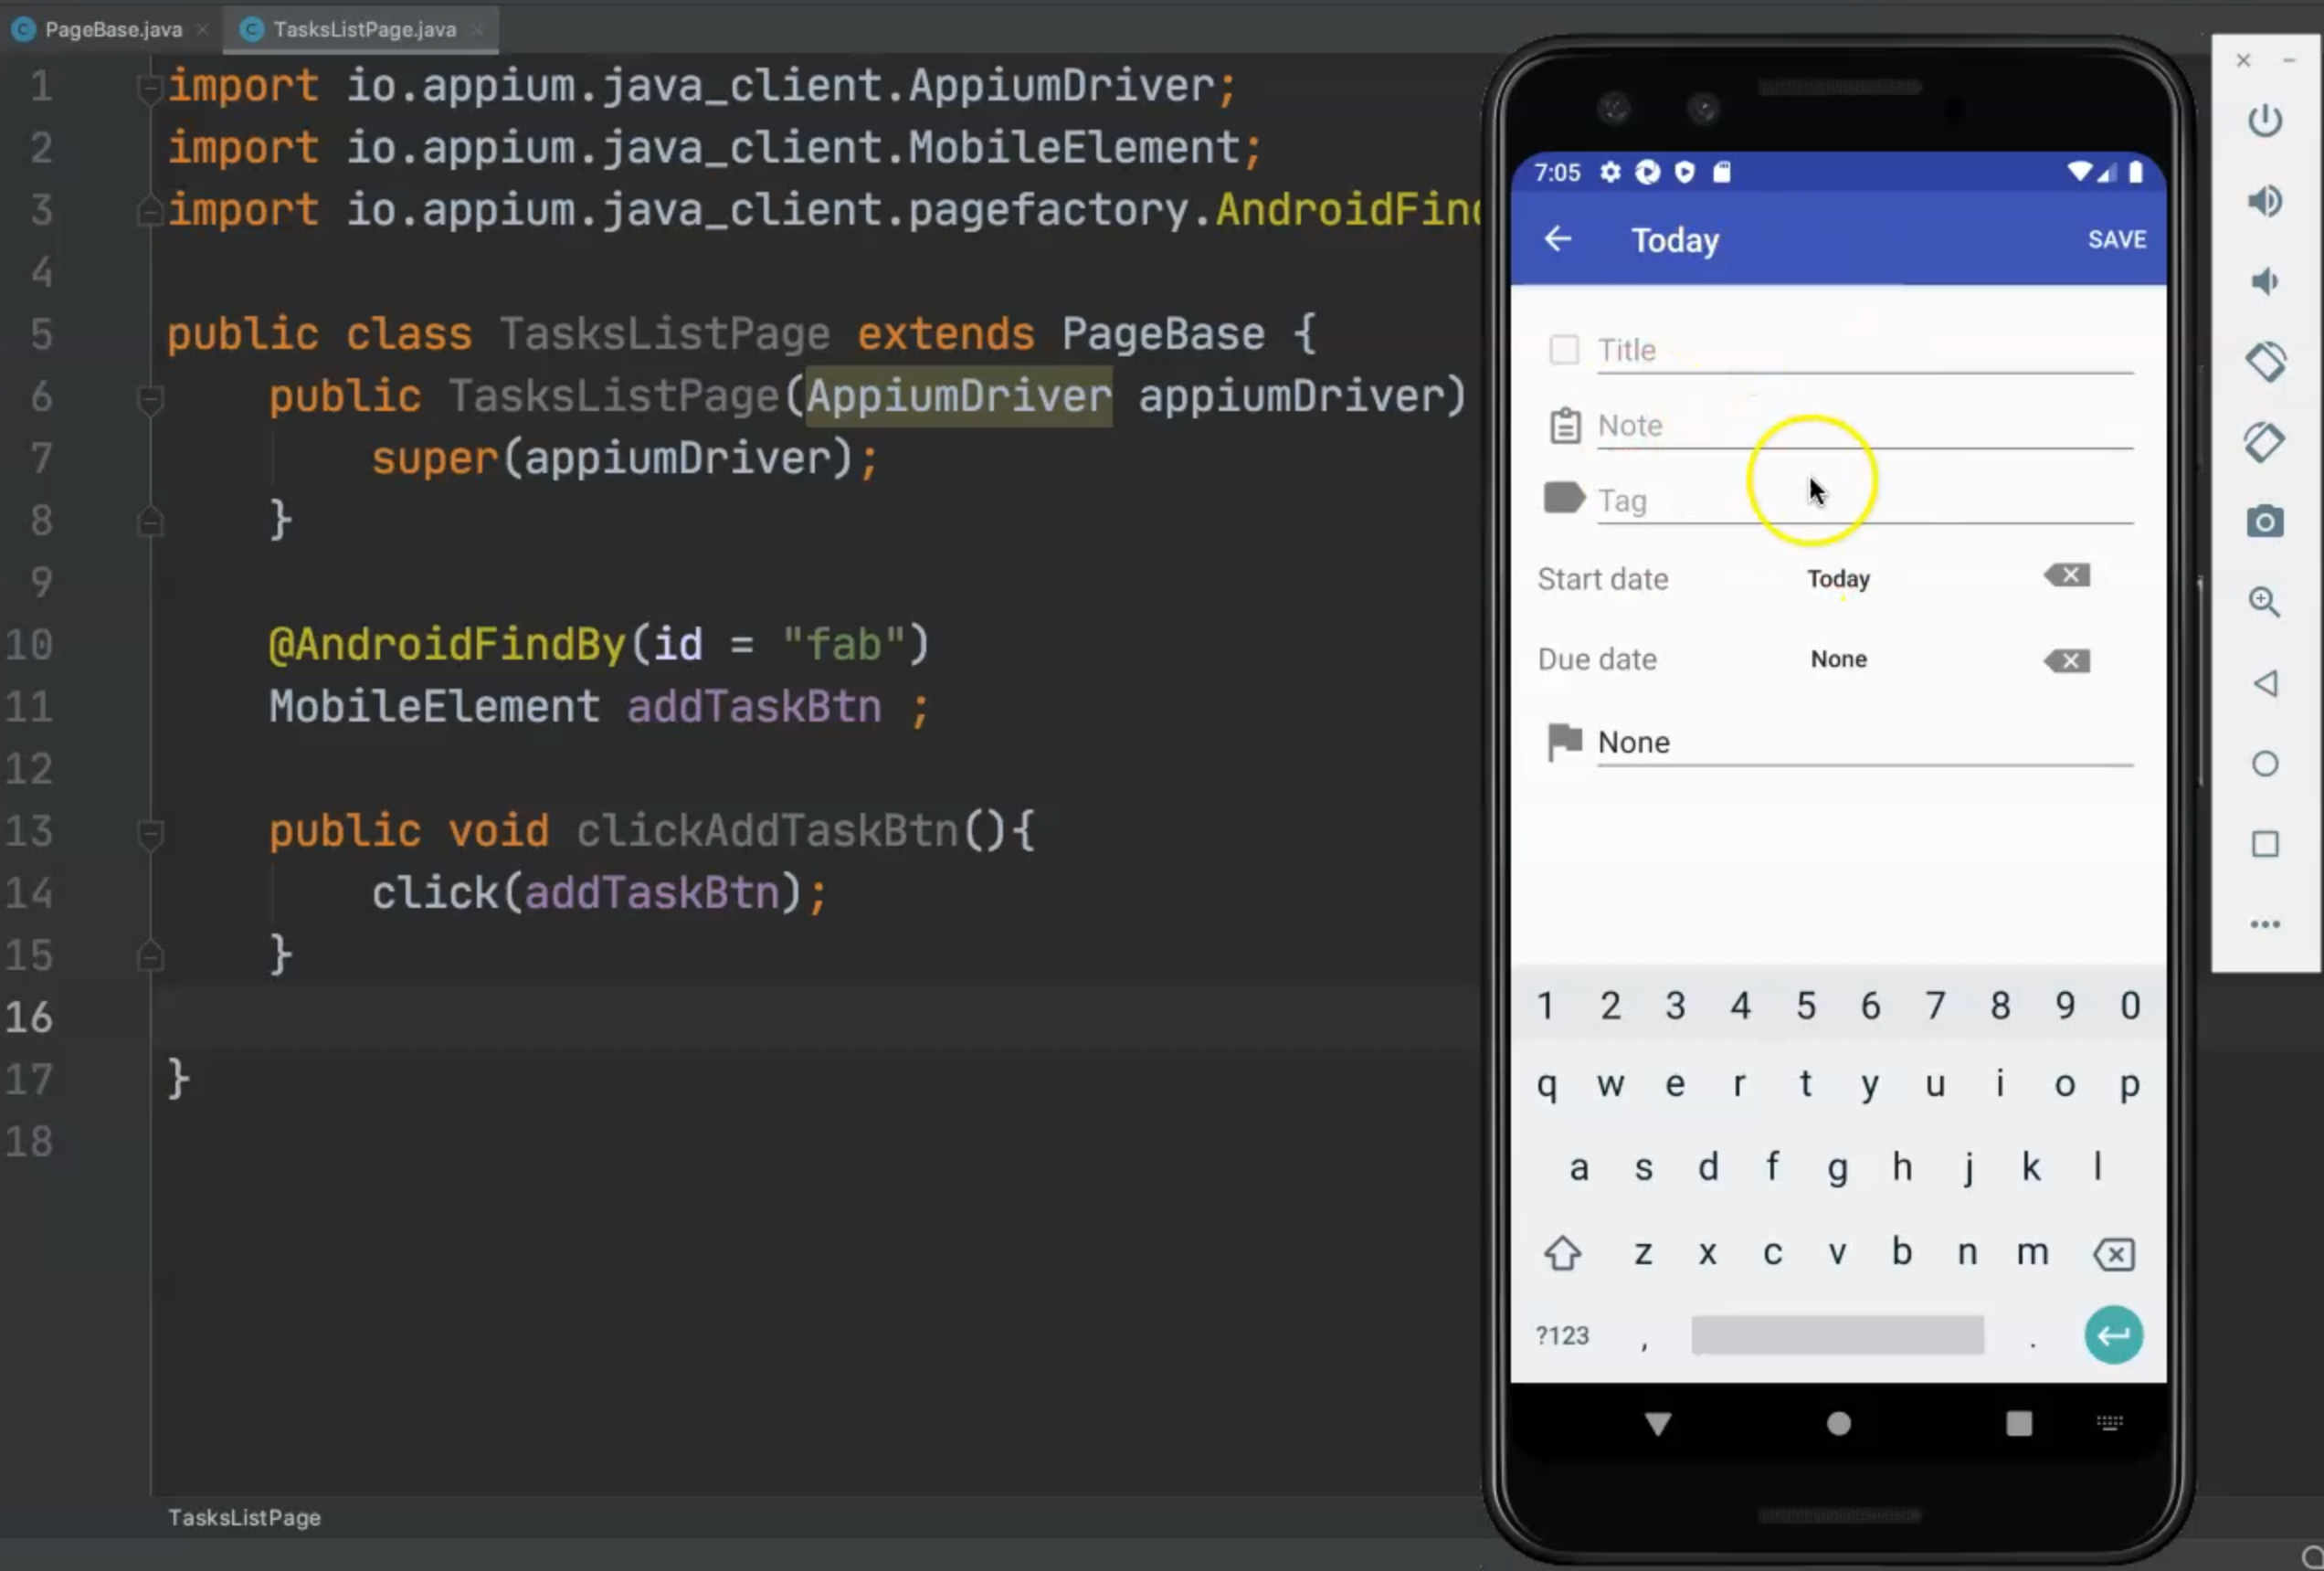
Then we need to start locating the elements and then add the "+" button.
So, I will start searching for this button and I will start opening all the chains until I get to this button.
I found it under ImageButton and here is the id.

I can copy this id and start adding the first element in my PageObject.
In this case, because we are using the PageFactory and AppiumFieldDecorator, we can use annotations.
For example, I can use @AndroidFindBy because it's an Android application.
Previously with Selenium, we were using @FindBy - but here we are using mobile and Appium, so we will use @AndroidFindBy, and then we can add the locator.
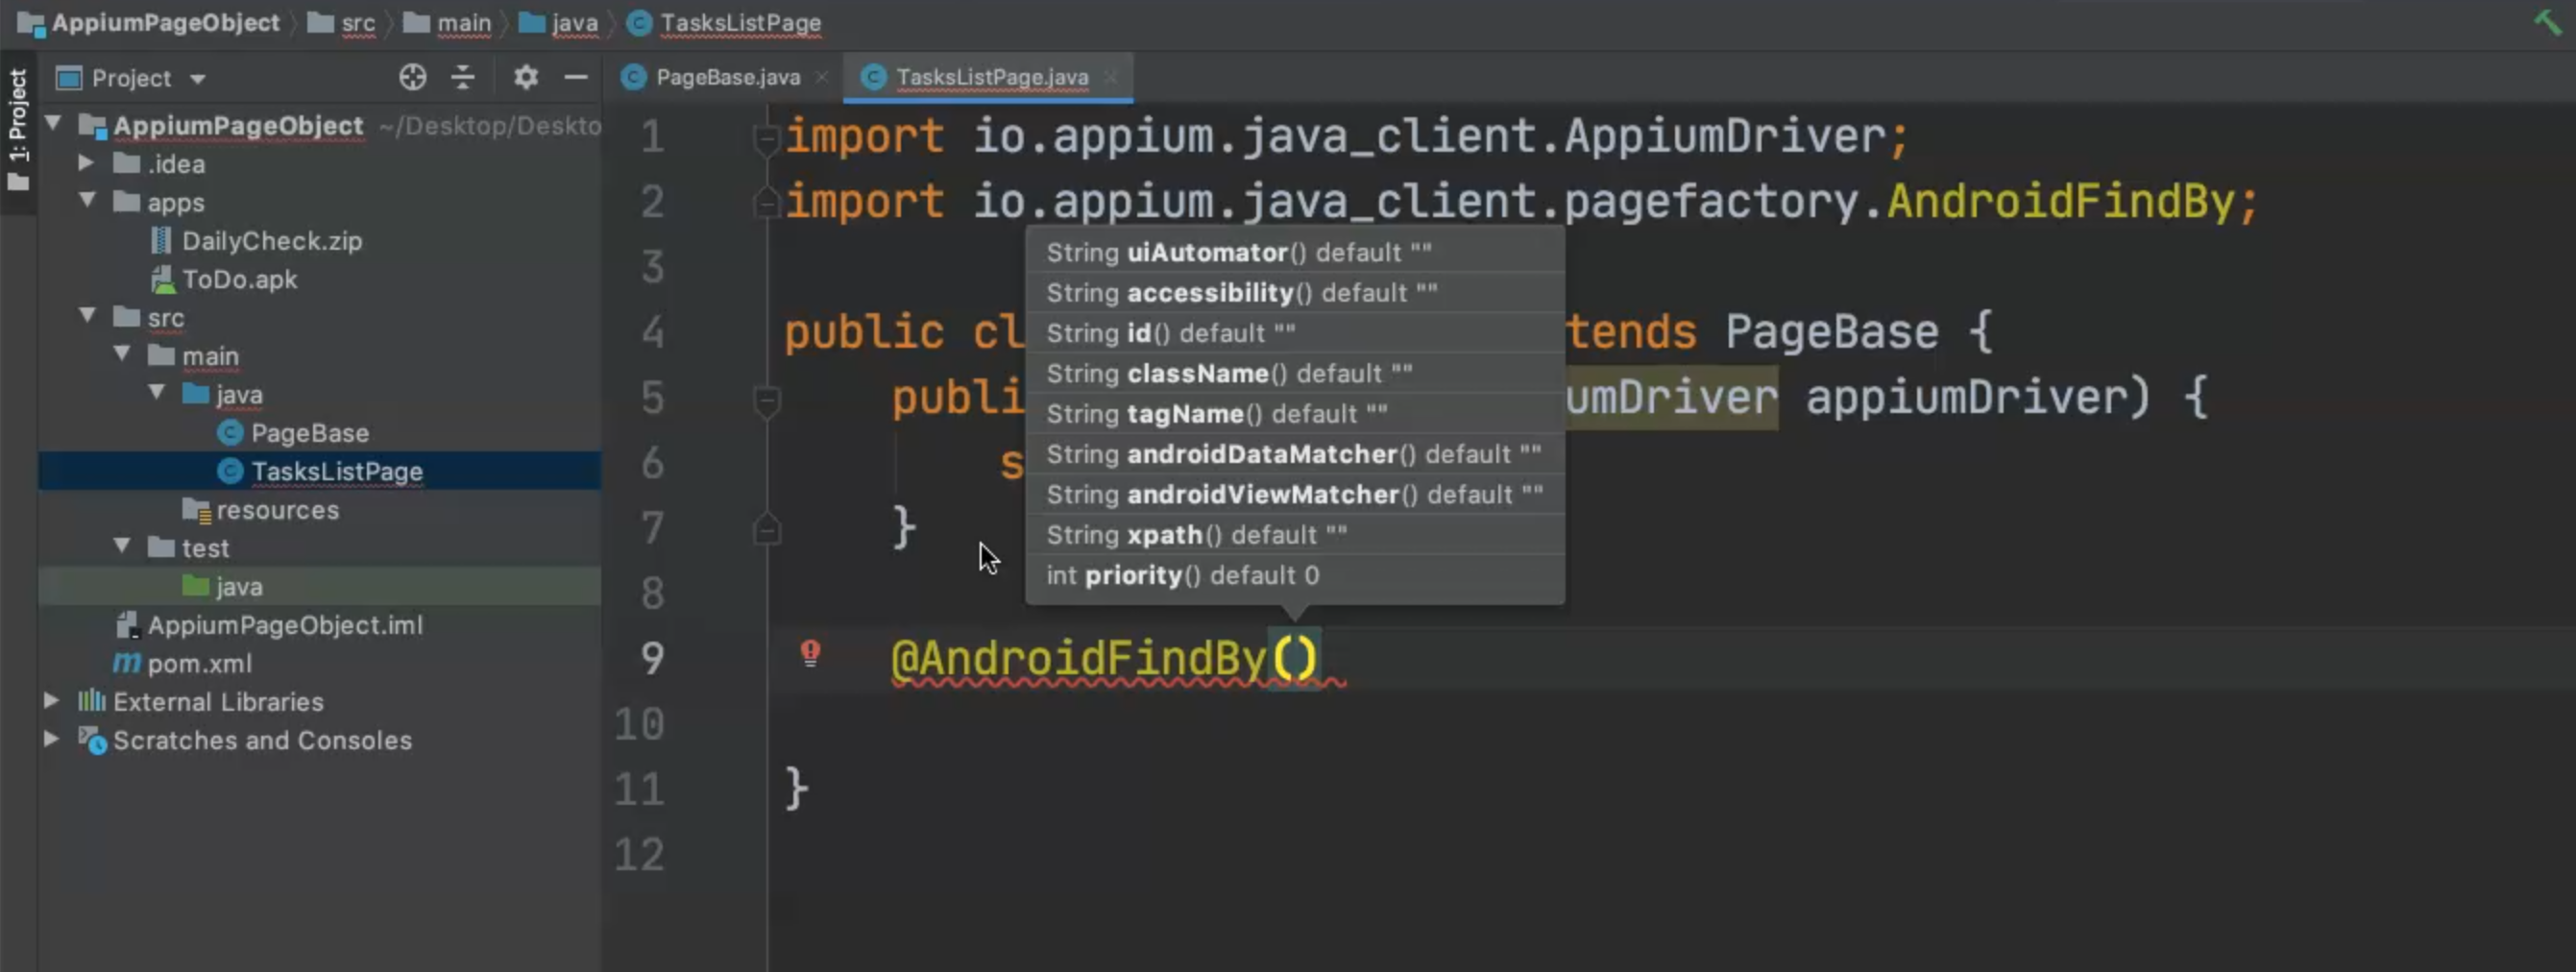
For example, here I can add uiAutomator, accessibility, id, className, tagName, androidDataMatcher, androidViewMatcher - in our case, I have already the id, so I will add id = "fab".
So, this is the FindBy and then I will add MobileElement addTaskBtn and then I will need to create a function to click on this button.
I will create public void clickAddTaskBtn() and then I need to call the click() method from PageBase, which I already have because I extended from PageBase.
I will select click() and then pass the MobileElement addTaskBtn that I already defined.
import io.appium.java_client.AppiumDriver;
import io.appium.java_client.MobileElement;
import io.appium.java_client.pagefactory.AndroidFindBy;

public class TasksListPage extends PageBase {
    public TasksListPage(AppiumDriver appiumDriver) {
        super(appiumDriver);
    }

    @AndroidFindBy(id = "fab")
    MobileElement addTaskBtn;

    public void clickAddTaskBtn() {
        click(addTaskBtn);
    }
}
So, here, I will click on the add task button and I created the first element on my screen, and this is what I need for the time being.

On this screen, I just need to click on this button and then I need to create another class for creating the task.
I will refresh the screenshot in the inspector to be able to start finding the element, but this is a different screen, so we will create another PageObject class for this screen.
# CreateTaskPage Page Object for Android
We will right-click on the java folder and then create a new Java class.
I will add CreateTaskPage and we will extend it from PageBase.
Then we need to also add the constructor for our page.
Then we need to start locating the elements here.

We need to select, for example, the two elements, title, and notes.
We have the title ID, so I will use @AndroidFindBy where id = "editTextTitre".
After that, I will add the MobileElement taskNameTxt and the second one will be the note.
For the note, I also have the ID so I will also add @AndroidFindBy where id = "editTextNote" and then the MobileElement taskDescTxt.
So, we have the task name and task description, and this is what we need.
The last thing that we need is the save button.
We can click on the "Save" button and we have also the ID for this one, we will add a third @AndroidFindBy, where the id = "action_save" and then the MobileElement saveBtn.
import io.appium.java_client.AppiumDriver;
import io.appium.java_client.MobileElement;
import io.appium.java_client.pagefactory.AndroidFindBy;

public class CreateTaskPage extends PageBase {
    public CreateTaskPage(AppiumDriver appiumDriver) {
        super(appiumDriver);
    }

    @AndroidFindBy(id = "editTextTitre")
    MobileElement taskNameTxt;

    @AndroidFindBy(id = "editTextNote")
    MobileElement taskDescTxt;

    @AndroidFindBy(id = "action_save")
    MobileElement saveBtn;
}
Now we have found the initial elements that we need on the screen, so now we need to start creating the function to handle these elements.
We will start to enter the task name so I will create public void enterTaskName() which will take an argument String taskName, which will be added from the test case.
Then, I need to call sendText().
First, I need to call clear() to clear the taskNameTxt if there is already one, and then I need to send the text that I need.
Then I will call sendText(), providing the element taskNameTxt and then the string taskName that is passed in.
    public void enterTaskName(String taskName) {
        clear(taskNameTxt);
        sendText(taskNameTxt, taskName);
    }
You can also create another one by copying this and creating another one for entering the task description.
So I can create public void enterTaskDesc() which takes in a String DescText.
Here, we can add taskDescTxt as the element, and also update taskName to descText.
    public void enterTaskDesc(String descText) {
        clear(taskDescTxt);
        sendText(taskDescTxt, descText);
    }
So, I entered the name and description, and now I need to create a new function for the save button - public void clickSaveBtn.
We just need to click() and we are clicking on the saveBtn.
import io.appium.java_client.AppiumDriver;
import io.appium.java_client.MobileElement;
import io.appium.java_client.pagefactory.AndroidFindBy;

public class CreateTaskPage extends PageBase {
    public CreateTaskPage(AppiumDriver appiumDriver) {
        super(appiumDriver);
    }

    @AndroidFindBy(id = "editTextTitre")
    MobileElement taskNameTxt;

    @AndroidFindBy(id = "editTextNote")
    MobileElement taskDescTxt;

    @AndroidFindBy(id = "action_save")
    MobileElement saveBtn;

    public void enterTaskName(String taskName) {
        clear(taskNameTxt);
        sendText(taskNameTxt, taskName);
    }

    public void enterTaskDesc(String descText) {
        clear(taskDescTxt);
        sendText(taskDescTxt, descText);
    }

    public void clickSaveBtn() {
        click(saveBtn);
    }
}
So, here we find the elements with ID, since we have the ID, and then we create a function that we will use in our example.
Resources
Quiz
The quiz for this chapter can be found in Chapter 7.5
