

Transcripted Summary
To create our GitHub Actions YML file, we can click on "Actions".

Here we can find different templates for the GitHub Actions projects.
You can find AWS, for Azure, for NodeJS, and a lot of things.
We can select Java with Maven and click "Set up this workflow".

For the first one, we will use it for Appium and Android, so we will name the workflow appium-android.yml.
Then we can change the name in this file to "Appium Android".
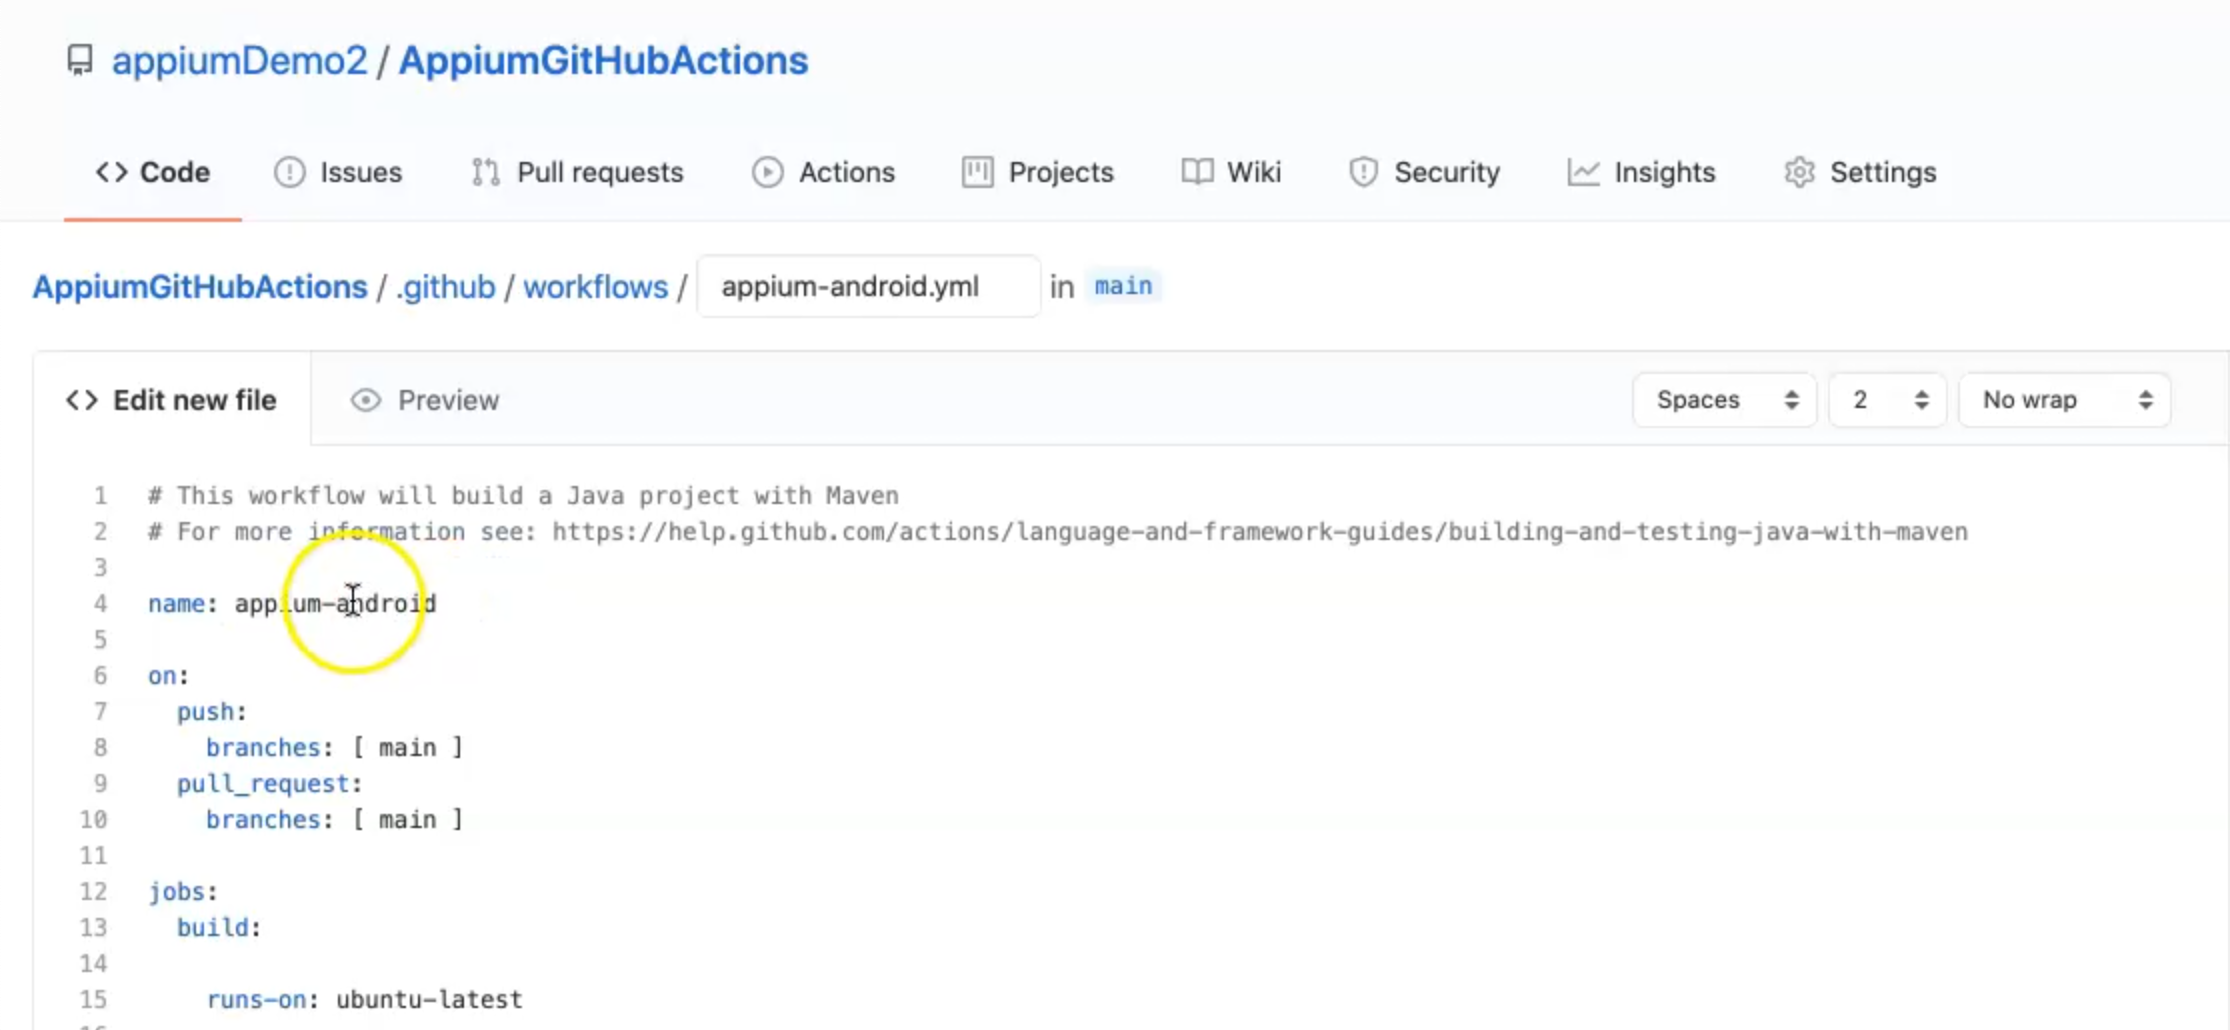
Here you will see that on every push of the main branch or every pull_request, we will run this trigger.
The build will be ubuntu-latest so we need to change the machine to be MacOS so we will change this to be macos-latest version.
Then, with the steps we have a checkout, we have Java, we have Maven, and everything we will need to add our test steps for installing the Appium, or running Appium in headless mode, or to be able to use the command line with Maven.
We need to change our workflow in this section.
So what did I change here?
I changed the operating system to be macos-latest instead of ubuntu, and I added strategy and under matrix we have api-level, so I will run Android devices with api-level "25" and target will be [default].
Then this is the checkout to check out the code from our repository and then with the Java version, we are setting up NodeJS because we need to use it with installing Appium.
After we use NodeJS with version 12, we can start here with npm installing the latest version of Appium.
Then we can double-check Appium is installed with the Appium version.
After that, we need to run the Appium in headless mode, so we need to use this command:
appium &>/dev/null &
Then, in the step to "Run Appium Tests", we are using the emulator to be able to run our test case in the emulator, and for GitHub Actions, we are using a predefined step with android-emulator-runner with the api-level from the matrix, which will be 25.
These are arrays so you can use different API versions with your test case.
The target is also from the matrix, and x86_64 is the architecture of the device, and the profile is Nexus 6.
After that, in our script, because it's already including Maven and Java in this workflow, from the command line we just need to run:
mvn clean test -Pandroid
This will take the test case or the Android test case and run it on GitHub Actions.
# This workflow will build a Java project with Maven
# For more information see: https://help.github.com/actions/language-and-framework-guides/building-and-testing-java-with-maven

name: Java CI with Maven

on:
  pull_request:
    branches: [ main ]

jobs:
  build:
    runs-on: macos-latest
    strategy:
      matrix:
        api-level: [25]
        target: [default]
    steps:
    - uses: actions/checkout@v2
    - name: Set up JDK 1.8
      uses: actions/setup-java@v1
      with:
        java-version: 1.8
    - uses: actions/setup-node@v2
      with:
       node-version: '12'
    - run: |
            npm install -g appium@v1.20.2
            appium -v
            appium &>/dev/null &
    - name: Run Appium Tests
      uses: reactivecircus/android-emulator-runner@v1
      with:
        api-level: ${{ matrix.api-level }}
        target: ${{ matrix.target }}
        arch: x86_64
        profile: Nexus 6
        script: mvn clean test -Pandroid
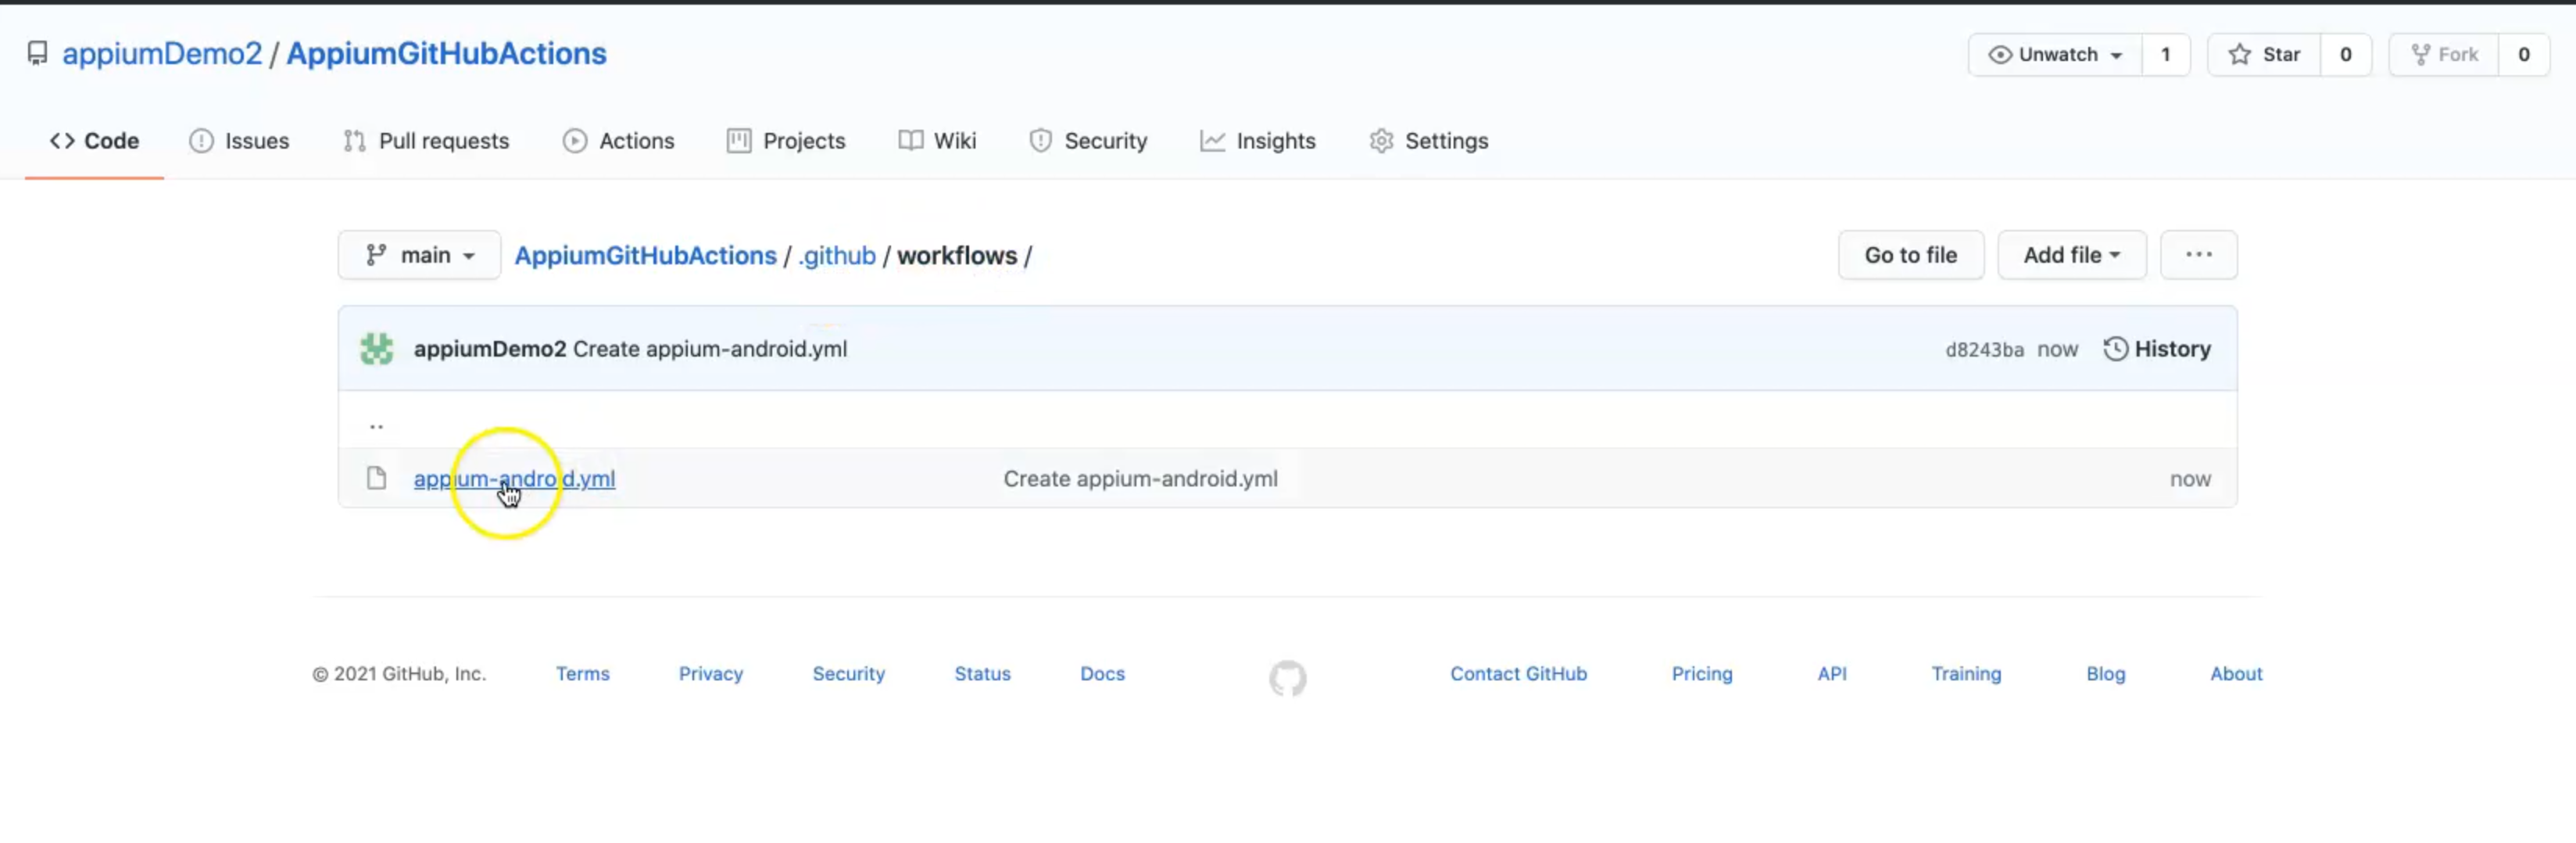
We can start to commit our workflow and we will not change the title.

We can commit directly to the main branch or create a new branch, but for the first time, we can commit directly to the main branch just to add the GitHub workflow and it's added under .github/workflows, and here, we have the first workflow in our application.
Now, we will click on "Actions" again, and we will find that we have already started running our
workflow.

From this link, we can click on the build and we are running on api-level 25.
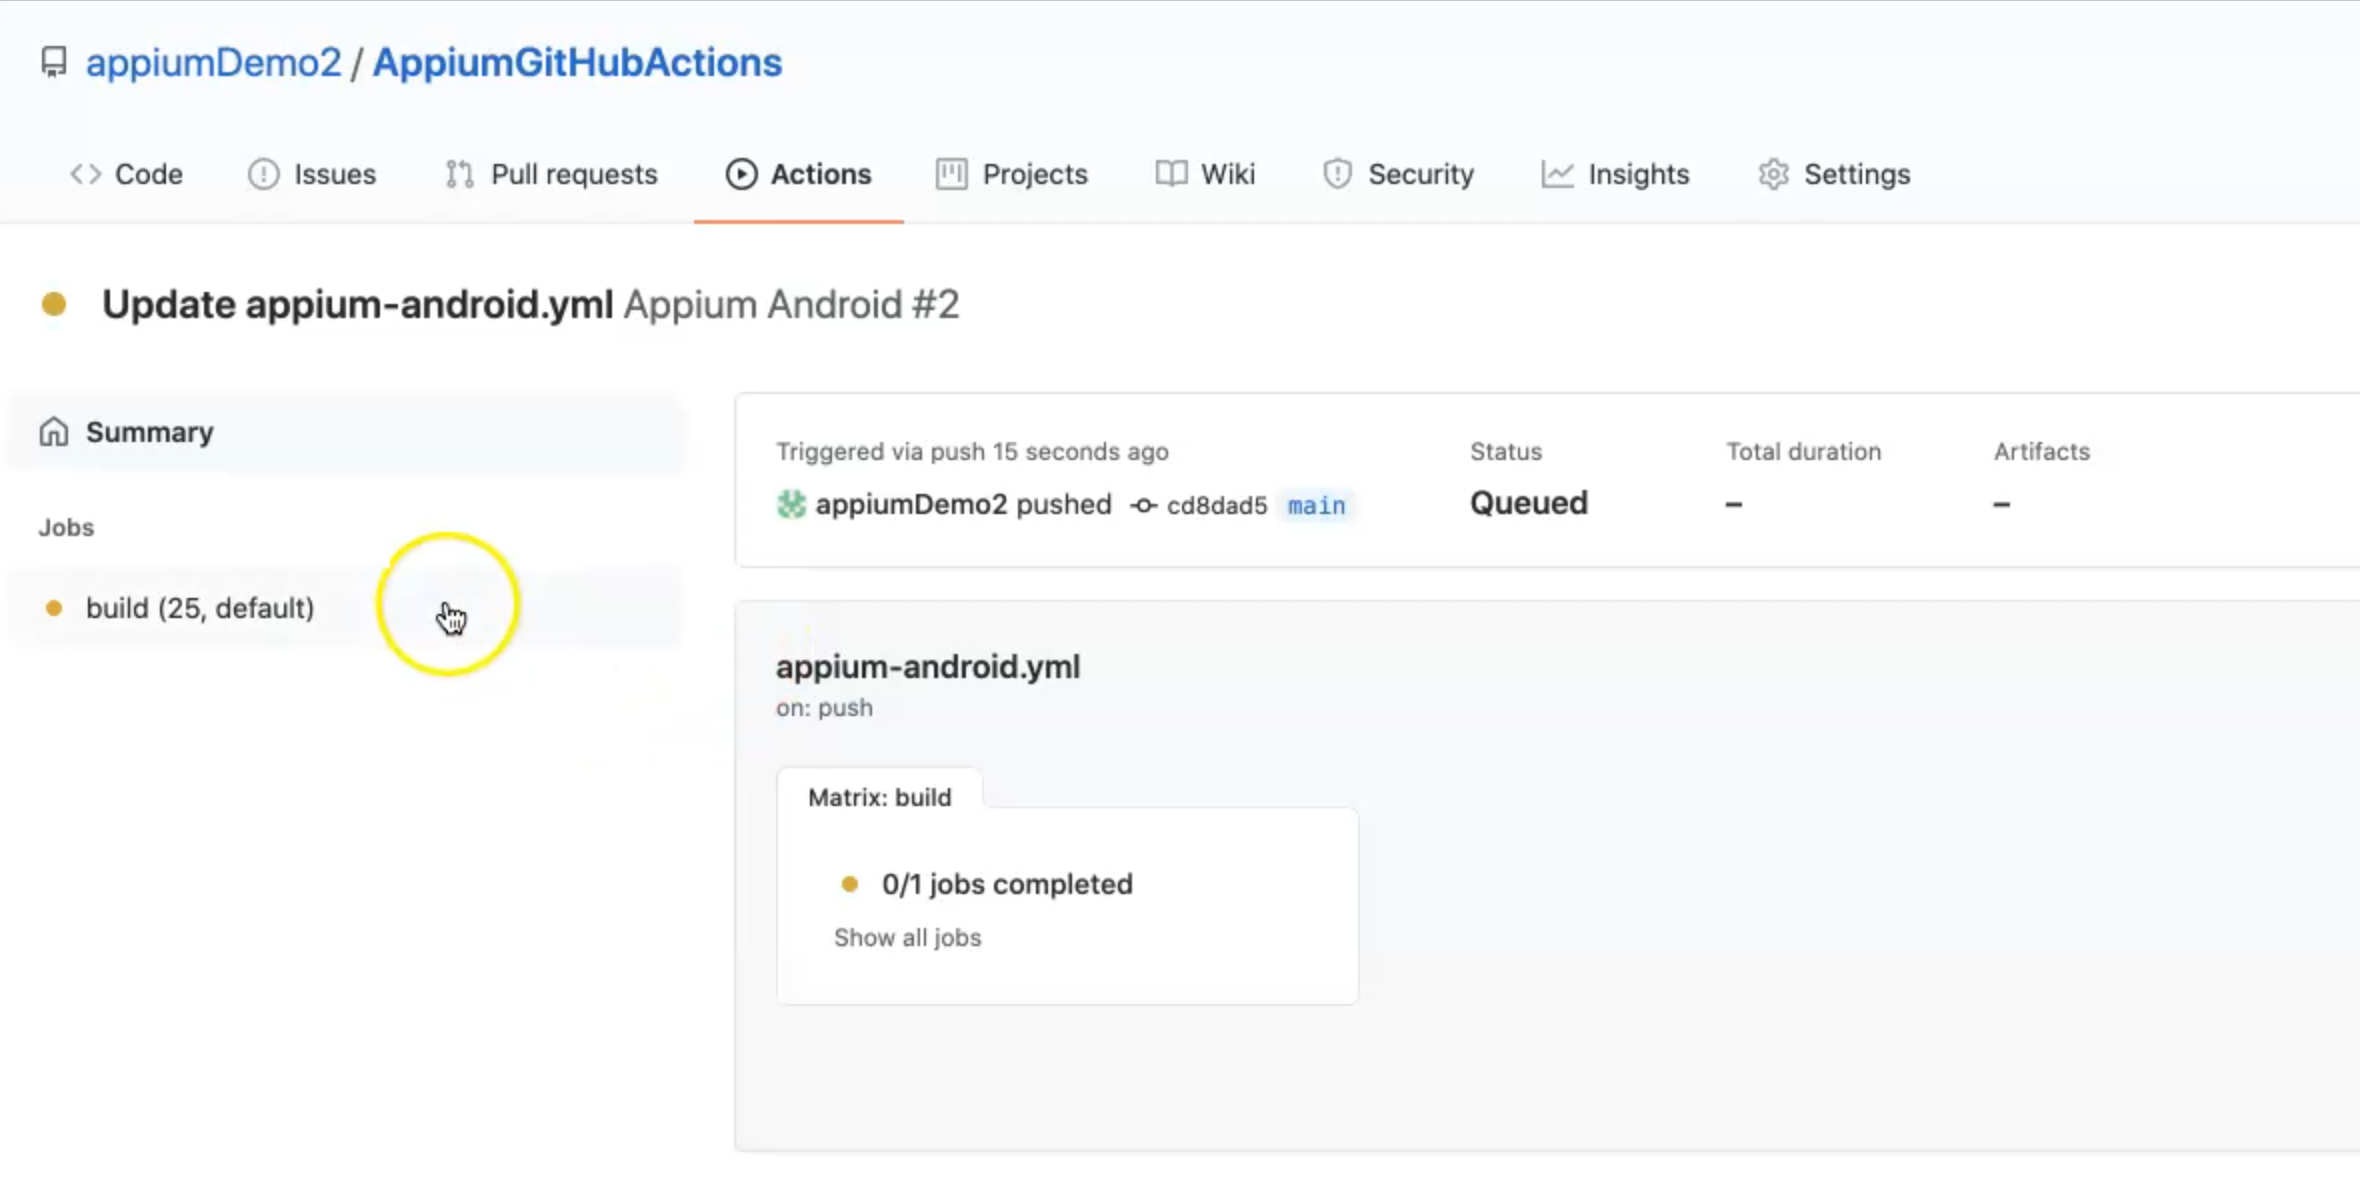
We can go to the build with the Matrix, and here we can find all the server logs for our Appium workflow with Android.
We will wait until all the logs will start and all the steps will initialize and install Java and install NodeJS and install Appium, run Appium in the background, and then we can start our test case.
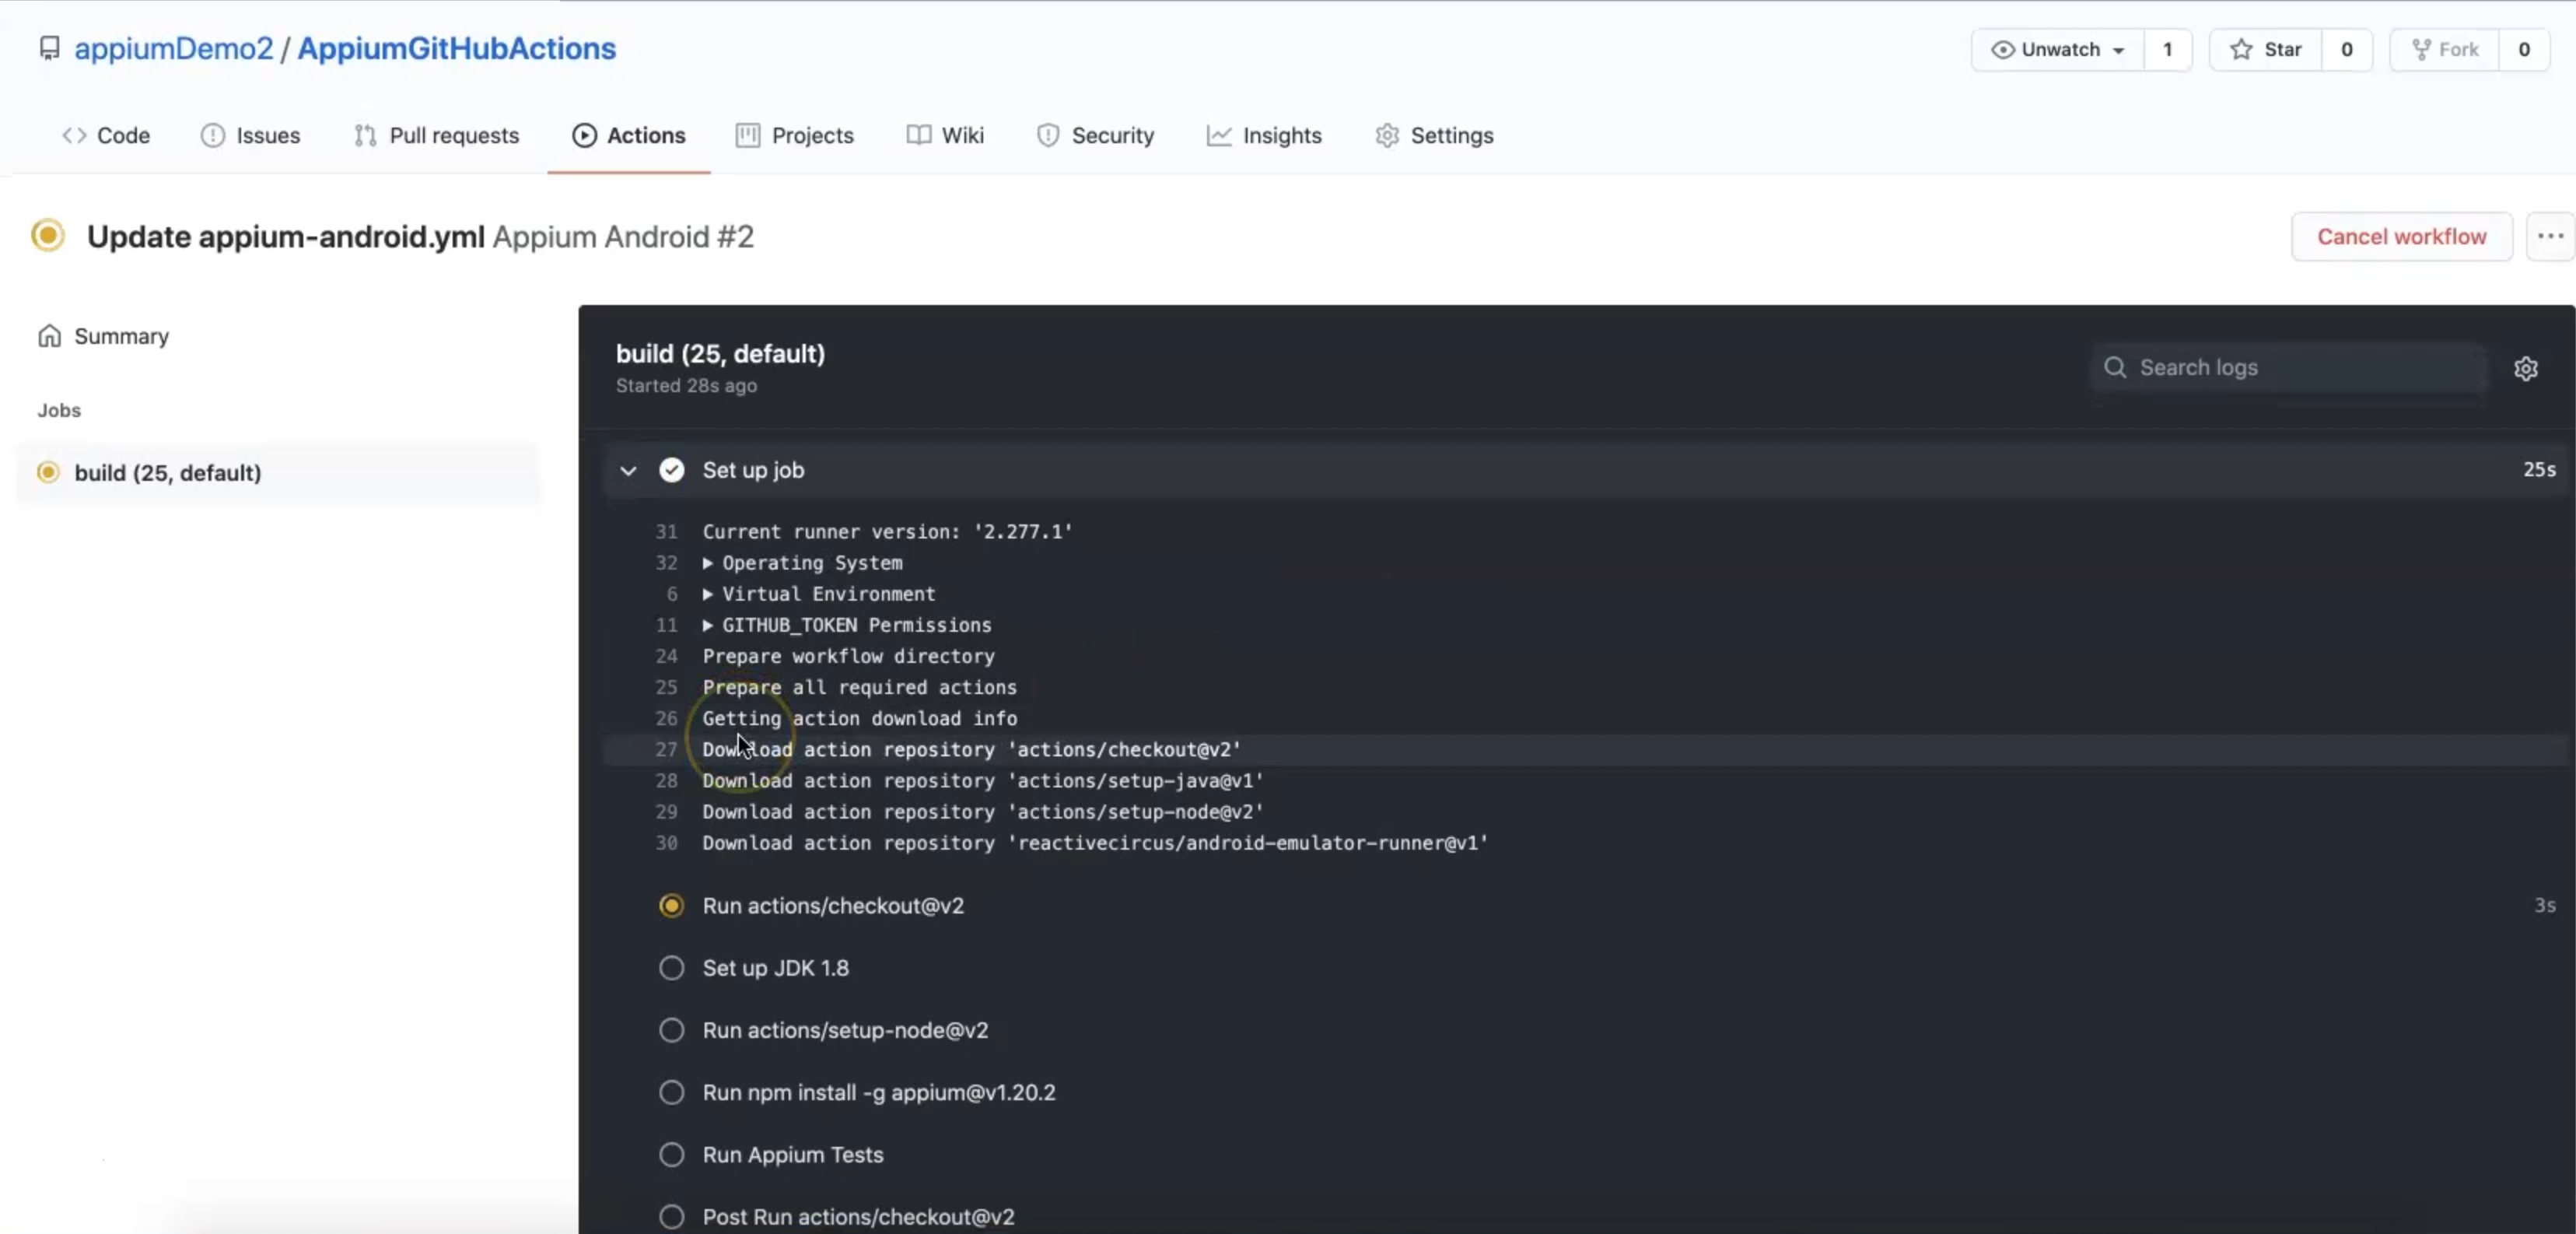
So, now we are starting with setting up with Java, Node, and the emulator, and we will continue watching our test cases.
Then we run checkout, then setup Java, and after that, we will set up NodeJS, and then we install Appium and put the Android emulator and then run our test cases from the command line using mvn.
Now we are running as a step for "Run Appium Tests" with the emulator at API level 25.

One more thing you need to double-check is the desired capabilities in your TestBase, the platform version is 7.1.1 because we are using API level 25.
Also, this is the "Hardware profile", and it will be run in "headless mode", and also "disable animation" to avoid any flakiness in running our tests.
Now the emulator is booted, and then we jumped directly to the mvn clean test, so now we are running our mvn, installing dependencies, and then we will start running our test cases.
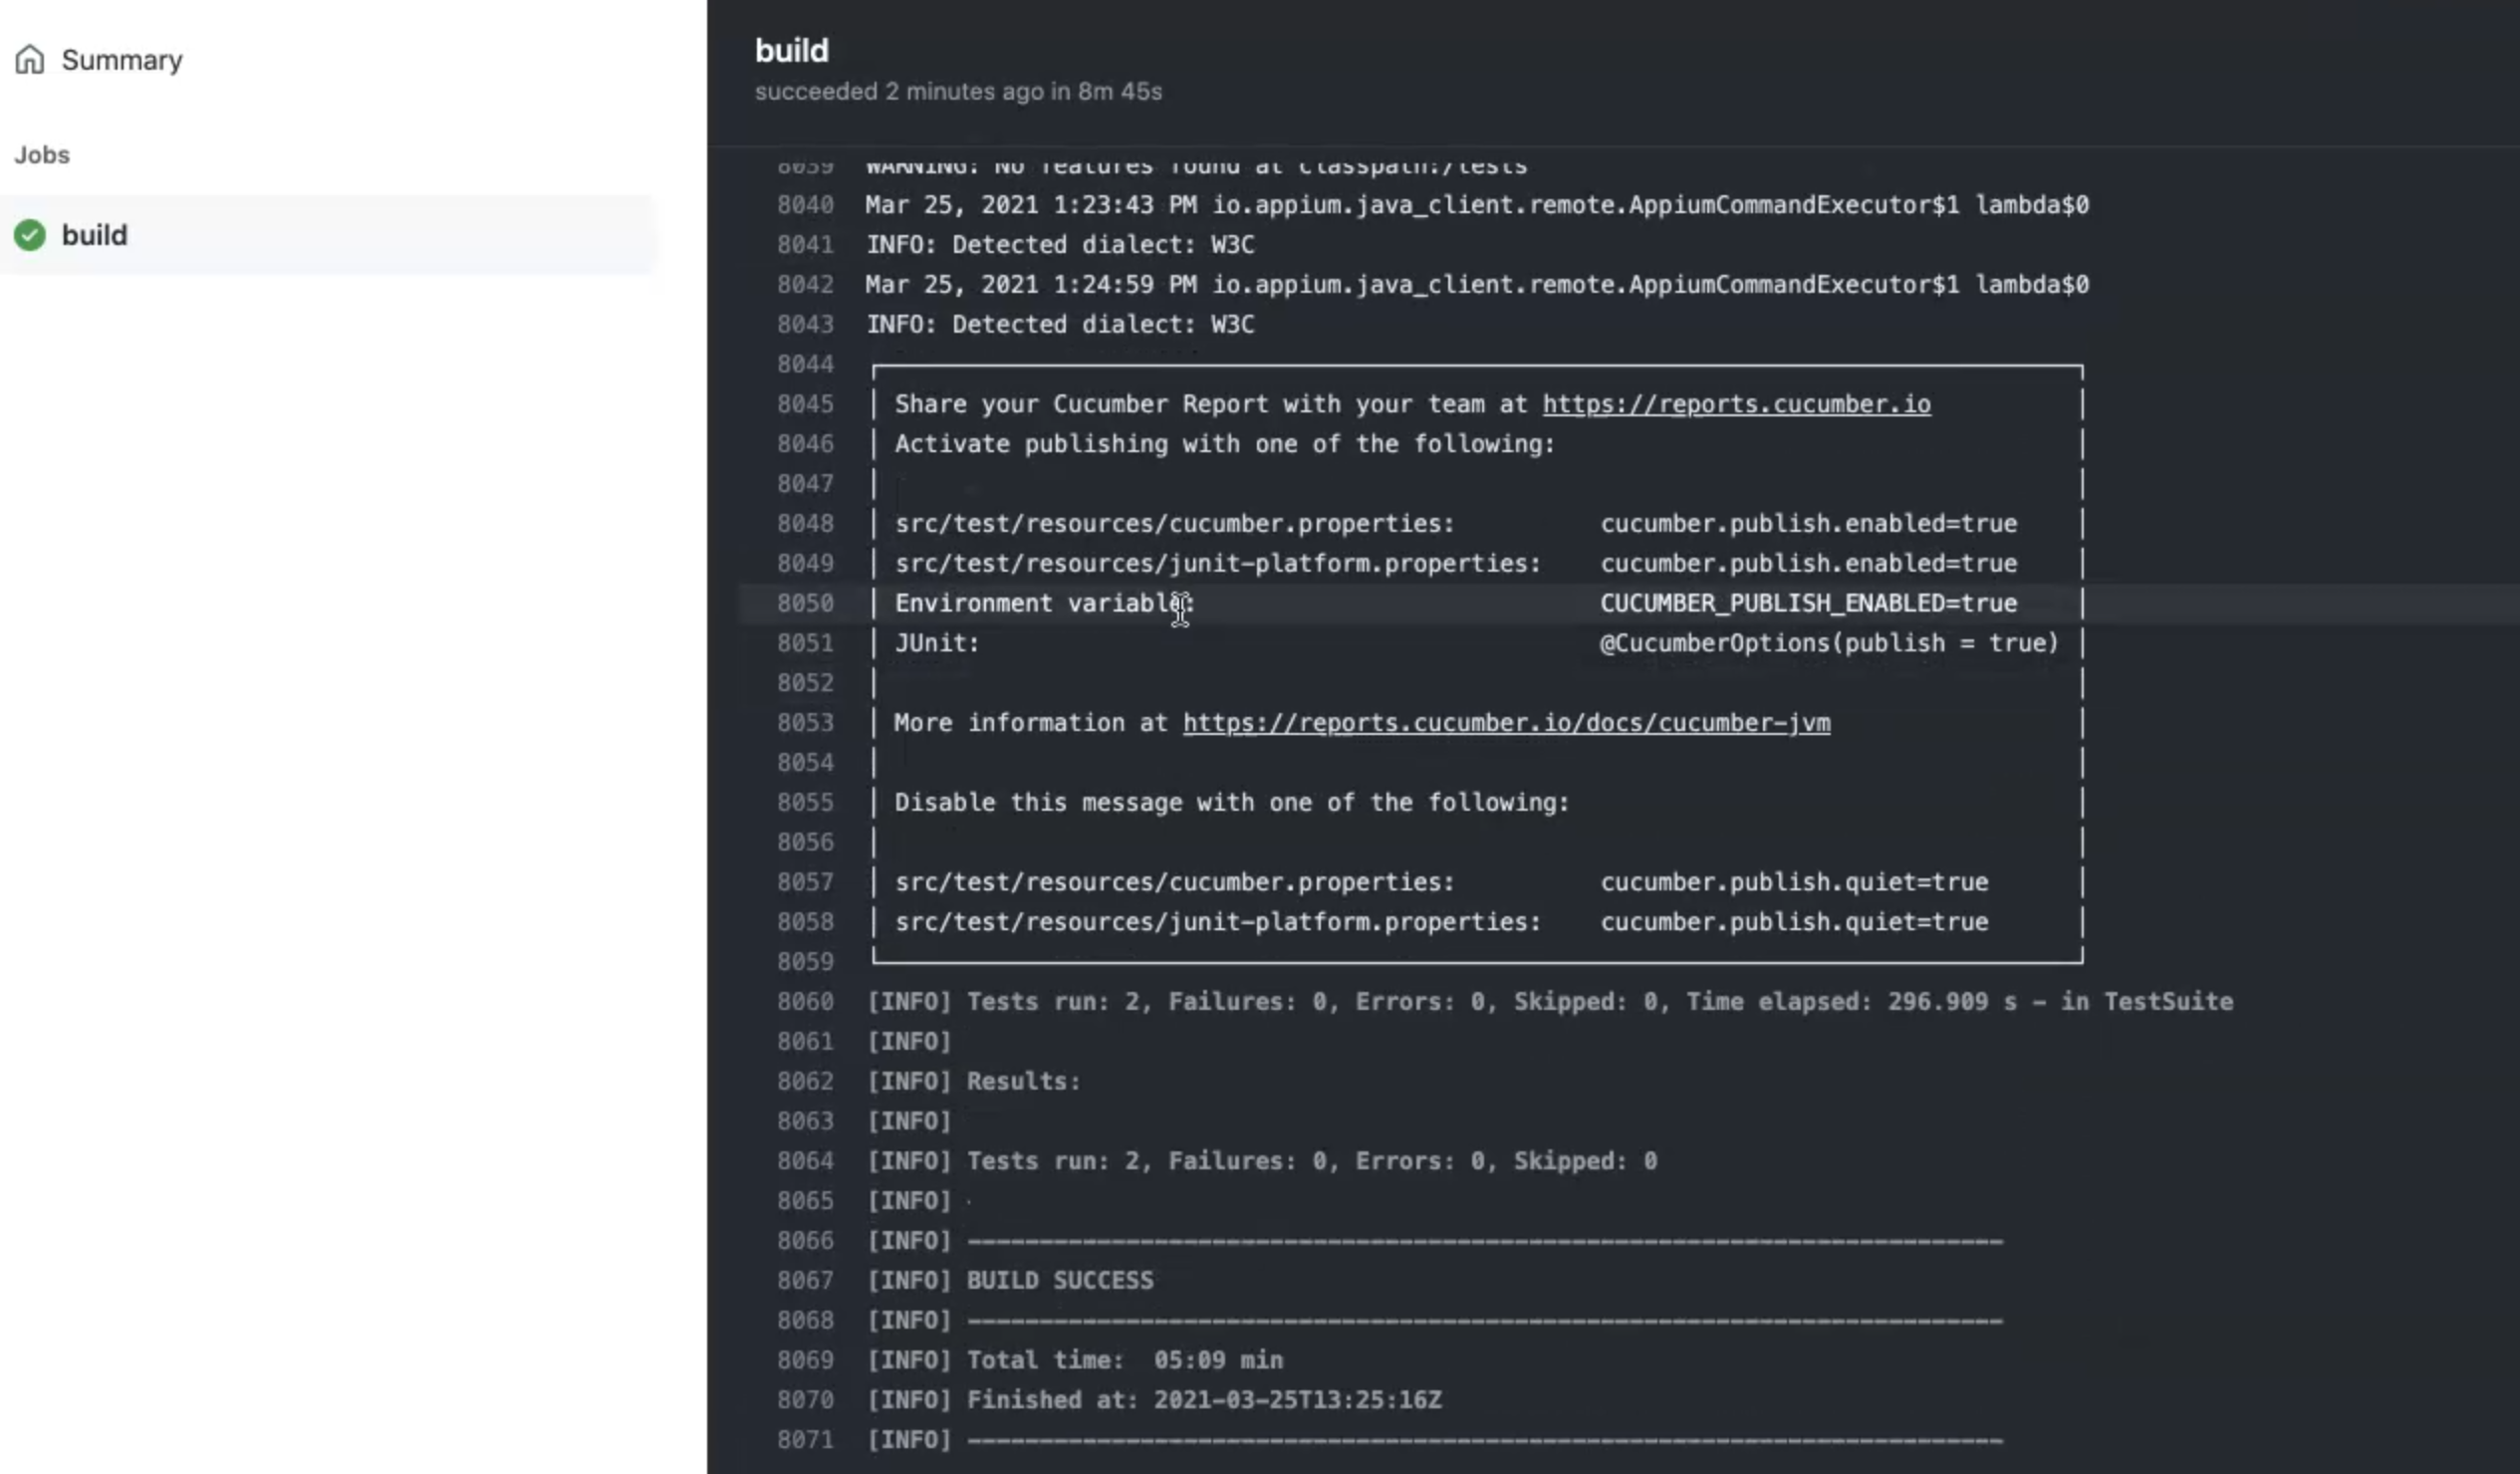
Finally, our build succeeded.
Here are the test results - you can see Maven downloaded all the dependencies, and we can scroll down and check that 2 test cases passed because we are running with data-driven.

So the build has succeeded, and here is the total time.
In the next demo, we will start adding a yml file for iOS to start running our test cases for iOS and GitHub Actions.
Again, we will click on "Actions" and then we will start creating a new workflow for the new workflow, we also select "Java with Maven" and then we will rename it appium-ios.yml.
Also, we will change the name to "Appium iOS" and also change the build to macos-latest and add the required steps for running our test cases using GitHub Actions.
We will change macos-latest to a specific version for macOS - macos-10.15. With the same steps we just went over, we will install Java and install NodeJS and run our Appium with Appium version and run in headless mode, and in the last step, we will run the Maven clean test for profile iOS to be able to run the test case.
One more thing - usually it's recommended to remove the platform version from our desired capabilities, in our iOS_setup, I just removed the platformVersion and switched the device name to "iPhone X" and also I added the "automationName" to be "XCUITest".
Then I also add one additional setCapability for isHeadless - to start the iOS simulator in headless modes, like the Android one.
The rest of the desired capabilities are the same - this is the application, and this is the URL for the Appium server.
Just make sure that you remove the platformVersion because sometimes it creates issues in GitHub Actions, and then after that, we can run our tests.
From here, we can start to commit, and also we will start committing our appium-ios.yml file to the main branch directory, and here we have two files now - one for Android and one for iOS.

Let's go to the Actions and check if we already have 2 runs.
We have 2 workflows running now, so maybe we can open one in a new tab and click on the other one here.
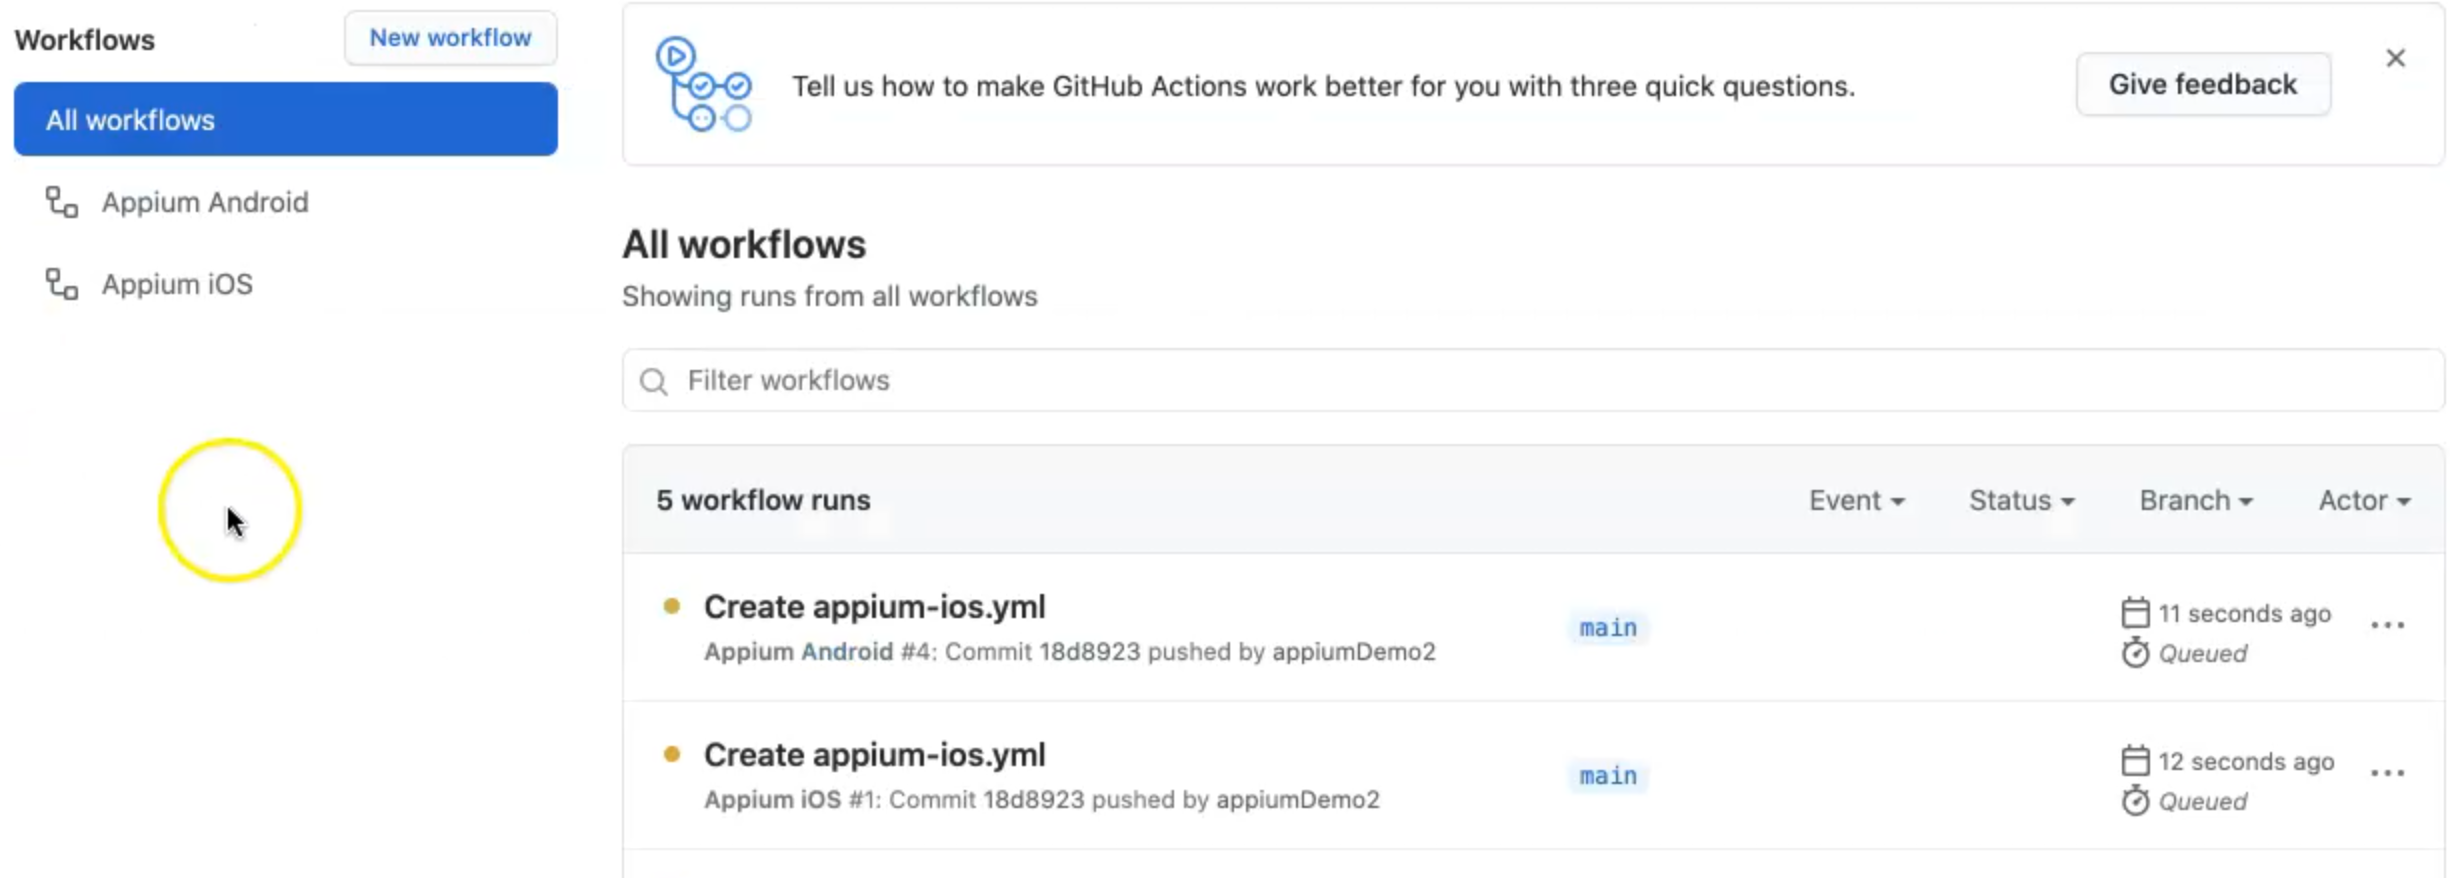
One is the appium-ios.yml file and the other is the appium-android.yml file.
This is Android, so we can click on the build to open the server log and for Appium with iOS, I will also click on the build to check the progress.
I'm installing Appium and I changed the profile from the command line and will run iOS.
Then our workflow succeeded and our test cases ran successfully on GitHub Actions.
You can also open the "Run Appium" step and scroll down and check so also you can open that around the Appium strip and also just so we can scroll down and check Maven - this is the same case because at the beginning we prepared our project to run in different platforms and the same framework to be able to do something like this.
We have two test cases that passed successfully.
The second one with Appium and Android has also succeeded from the last time, and also when we run this one again, it's passed.
So here, our yml files have run successfully using GitHub Actions.
The last thing we need to do in our demo is, what if we need to schedule our workflows with GitHub Actions to run at a specific time?
From the GitHub documentation, we have on.schedule.
If we go back to the GitHub Actions workflows and open the yml file for ios, we are now running on every push and every pull_request with a specific branch.
But if we change this one to remove the on push and change it to on schedule, we can copy this from the documentation cron: '30 5,17 * * *' and use something like this.
If we hover on this, it tells us what the cron job means.

We can change it to cron: '* * * * *' and this will run every minute or we can change a value like cron: '* 15 * * *' and this will run every minute of the 15th hour.
So with the schedule, we can just change this value, and with the cron, you can just change the syntax, and you can also search about the syntax format - one for minutes, one for seconds, and one for days, and one for hours.
You can change it and we'll commit the change in our GitHub workflow, and it will be scheduled to run at a specific time.
