

Transcripted Summary
Now that we know what events look like and why we might want to use them, it's time to try and get some examples from our build pipeline.
What we're going to be doing is using a library called Build Events, and this is going to create our first type of trace.
In Build Events, there's a few different words for the different techniques.
There's the idea of a root span, a command, a step - but today all we're going to be looking at is the root span.
We're just going to create one large span that indicates the entire build.
In order to keep going with this chapter, you're going to have to have a few things set up.
First of all, you're going to need a free Honeycomb.io account.
You can sign up for this at their website and the link to do this is in the notes below.
In addition, we want to make sure that everything we've done up until this point is fully operational so make sure that you have Pushgateway available and Ngrok URL, and that that's all configured in your pipeline.
If this is not working on your machine or you chose not to use Ngrok, you'll just need to make sure to remove those curl requests from the pipeline before continuing on or else you'll have errors.
Here we are in our codebase.
We're going to add something to our pipeline, so we're going to go under .github/workflows/actions.yaml.
Within this file, we need to bring in the Build Events library.
Luckily, there is another third party GitHub Action that we can use here.
Just like we're able to call a third party to do checkout and to set up Java, we can also call a third party to set up Build Events.
To do this we're going to introduce a new step with a uses command, which will use the public GitHub action, and that is kvrhdn/gha-buildevents and this is @v1.
There's a couple things we need to do to be able to use this.
First of all, we're going to need to pass it an API key - this is a secret and it should be kept private.
What we're going to do is we're going to pass this in the same way we did the Prometheus Pushgateway URL using the secrets command, and that is by default looking under BUILDEVENTS_APIKEY, and we'll need to go add that through the GitHub UI in a minute.
We also need to tell it what dataset to send this data to - we can really pick any name here, but I, for example, am going to call it tau-build-pipeline.
Finally a required field that is a little bit like boilerplating is job-status.
This gets used by the library, so therefore it needs to be passed in, but we don't actually see the impact of this.
      - uses: kvrhdn/gha-buildevents@v1
        with:
          apikey: ${{ secrets.BUILDEVENTS_APIKEY }}
          dataset: tau-build-pipeline
          job-status: ${{ job.status }}
Now that library is all set up, all that's left to do is to go get our BUILDEVENTS_APIKEY.
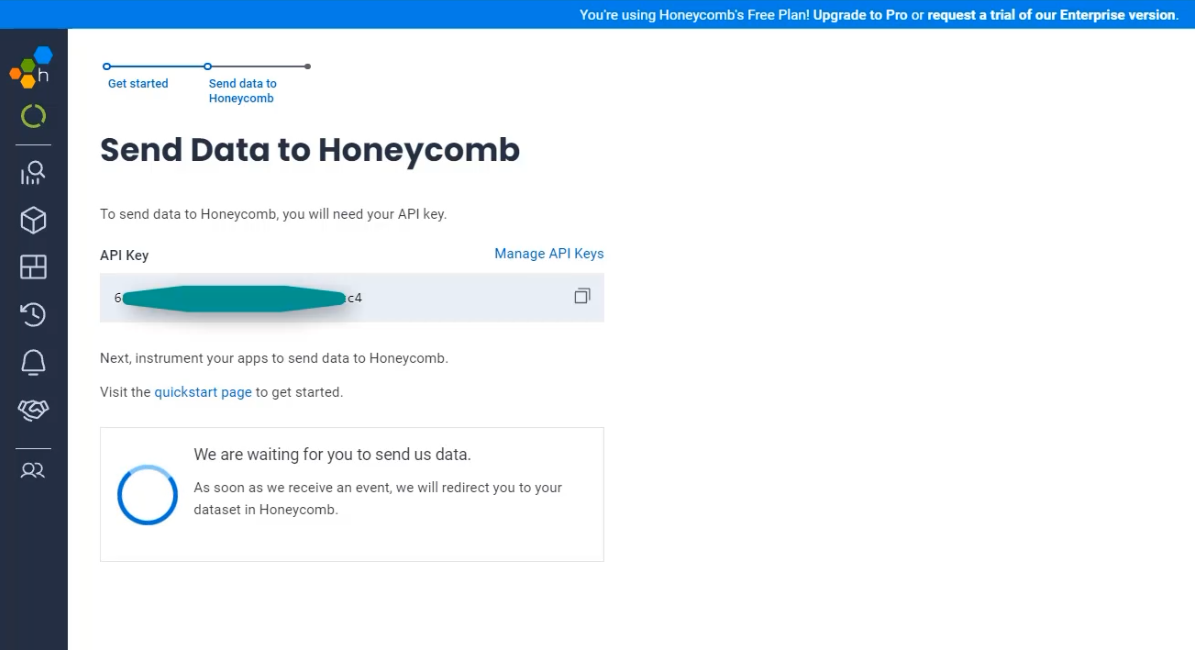
If you've just set up your first project on Honeycomb, you'll probably see a page like this and it has our API key right on the homepage.
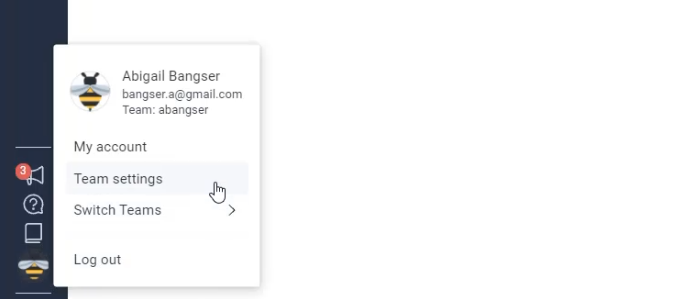
If you don't see that here, you can also find it under your user, which is the bee icon under "Team settings".
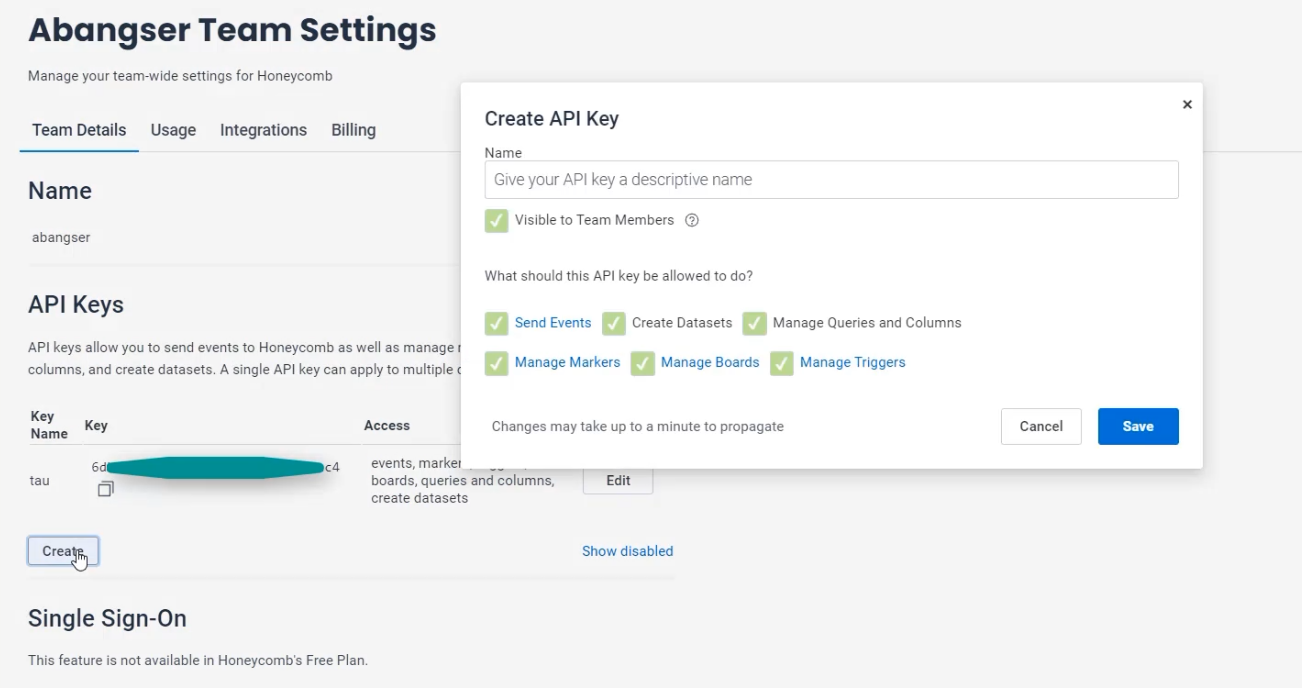
There should be an API key here, or you can create a new one and give it a name.
Using one of these techniques, go ahead and copy that API key and go to your repository in GitHub.
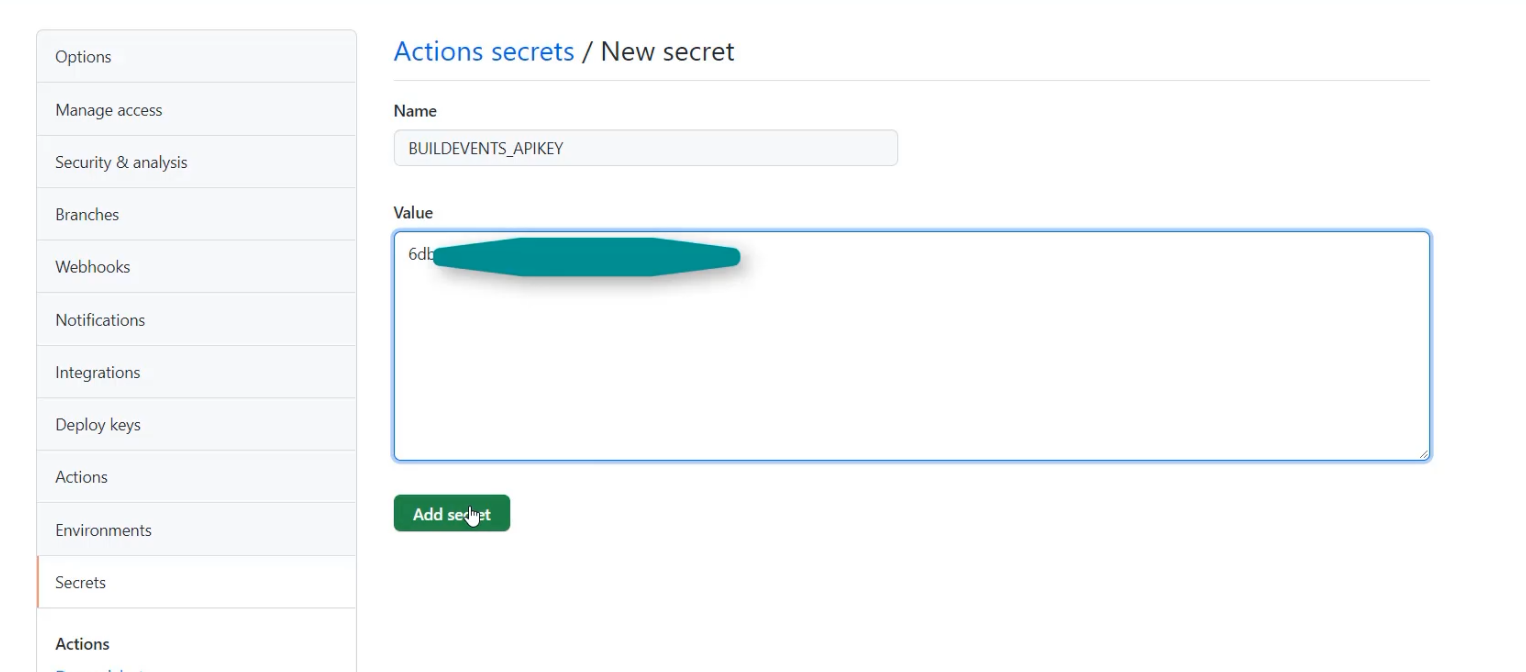
From your repository, go to the "Settings" tab and go down to "Secrets".
There, you should see the Pushgateway URL, which we already added here, and we can add a new repository secret with the name from our code, which is BUILDEVENTS_APIKEY, and paste in your key.
Once that secret's added, we'll be ready to be able to run this job.
I'm going to return to my code base and I'm going to make a commit.
With that, I can "Commit and Push".
With that pushed, I can return to the GitHub UI.
Once here, I can go to the Actions tab and I will see that running.
I now see that I have the "Run kvrhdn/gha-buildevents" job that has been introduced at the top here, and the "Run tests with maven" has begun.
This will take about a minute, so I'll speed up the video for ease of watching.
With that complete, I can return to Honeycomb and find that data. \
Here, I'll go to my "Datasets" and I will see that I now have that "tau-build-pipeline" ready to go.

When I click on that and I run my first query, I'll see that I have some data in there, and these are the individual events, which I can go see as a trace by clicking on this logo on the left.
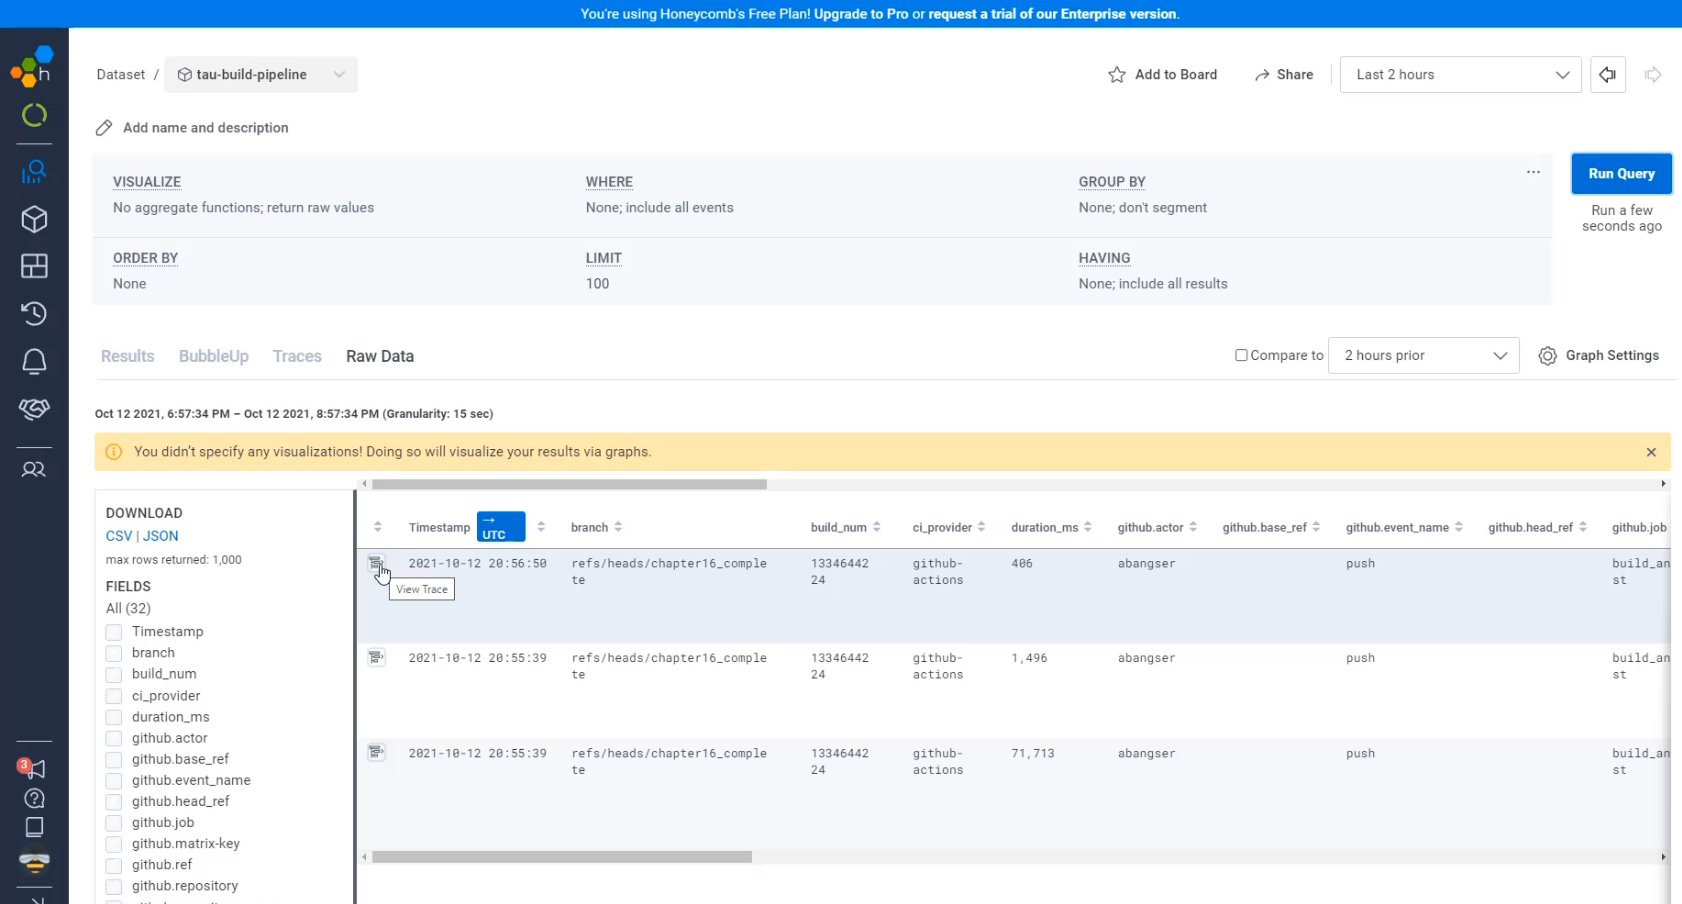
Here in this trace, I can see the overarching job and I can see the other steps completed by that GitHub Actions library that we're using.
By just sending this event, we have a lot of information already in our dataset.
For example, we get duration by default, but it's not just duration.
We also get things like the branch that comes for free, the build number, what type of event caused this?
This was a push, not a schedule.
This is the type of information that can start to help us track down when there are problems.
There isn't too much we can do with this data just yet with a single example pipeline.
Make sure if you don't still have that "on_schedule" set for your pipeline, that you add that back in, so you can generate some more data.
In the next couple chapters, we're going to be going through other ways of adding data, including understanding what this big gap is here under this purple bar and adding even more fields that are contextual to our specific Maven job and not just to GitHub.
