

Transcripted Summary
Now that the code is all okay, we can commit it to our version control repository.
This project that we're working on in this tutorial is enabled with Git, so the commit will be made against Git. For that, you don't need to use a separate tool than IntelliJ.
You can use all the Git commands directly from IntelliJ as there is a plugin that enables this.
You can right-click a package or a class that you want to commit.
Then you will see a menu under GIT where you will have all the options that will allow you to either commit a directory or a file, add some files to the repository, reverse some changes, or perform some Stash or Unstash operations, Fetch and so on.
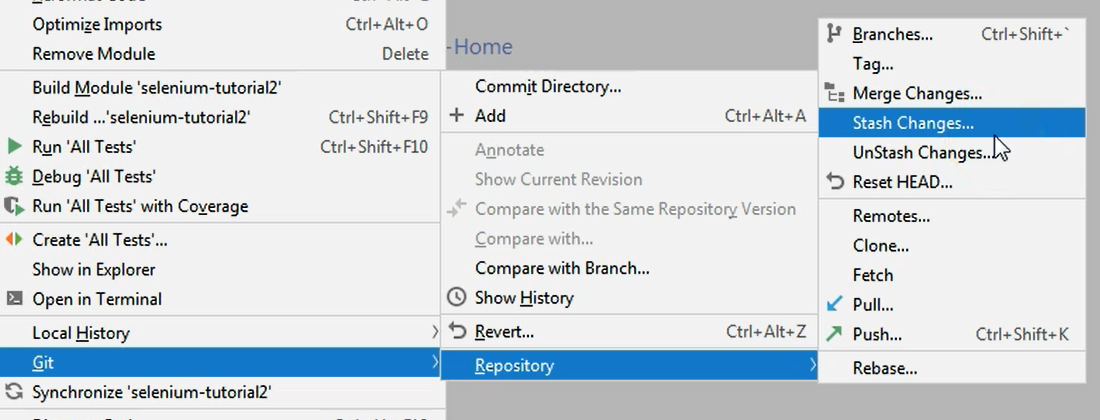
All of the commands that you might find in your Git tool that you are using can be found also here.
So, it's easier for you to work on the code, and as soon as you're done with it, just use the Git options directly from IntelliJ to save you some time from switching to another tool, and so on.
Let's see an example — let's try to commit the entire project.
Let's see what kind of changes we have here.
In blue, we have all those files in which changes were made.
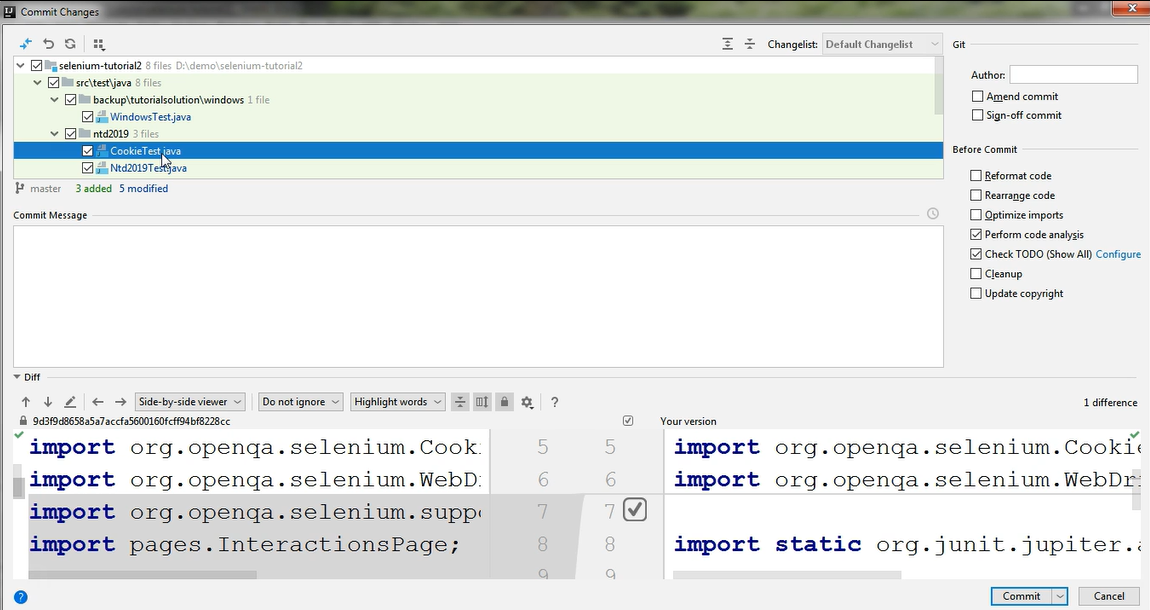
These are just files that are already in the repository, so they are already in Git.
But from the last commit that there was on the VCS repository, so on Git, there were some changes that you've made locally.
In the lower part of the screen, you can see the difference between what is in Git, and on the right-hand side, you can see your own code. This is the highlight of what is different between the two files.
In this case, the file which is committed in Git has some imports that you don't have in the new version, and that is because there was a step where we cleaned up the class by using the analysis functionality.

This is the change that is inside this class. If I scroll down, there isn't any other change.
If I go to another class, which is also changed, let's say UserPromptsTest.
Here, there is, again, another difference.
There is an import that was removed, and again, on the right-hand side, you can see the file with the changes.
On the left side, you can see what is currently in the repository, so in Git.
Marked with green are the new files — these are files that were created but they weren't yet committed into the repository.
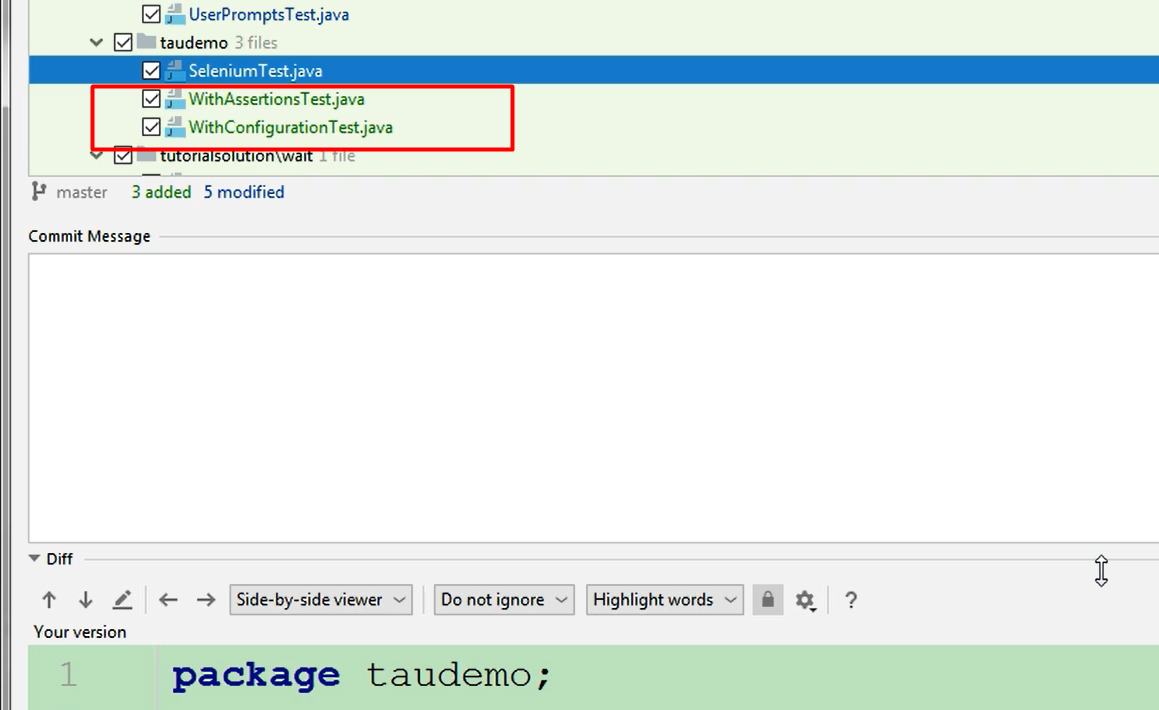
These were marked as Add, so they were added to the repository.
Remember that you had some screens that were asking you to add this file to Git now or later. That is when you added the files, and now, if you commit the entire folder, these classes will also be committed.
This will be a brand-new file with all the code that is inside it, and that you can see in the lower part of the screen. So, this is all the new code that goes into the repository.
Once you have decided on the scope of the commit — so whether you want to commit all of these things or maybe you want to remove something — you can take a look at the Before Commit section.

Before the code is actually put into Git, there can be some additional operations made by IntelliJ, like reformatting your code or rearranging your code, optimizing the imports, which is exactly that functionality I showed you about removing unused imports, performing some code analysis again.
So, you can, again, perform code analysis without having to do it manually, just by having this checkbox checked here.
And then of course, committing the code.
You can also check out the TODOs.
TODOs meaning you have a type of command of TODO type in your code, and these will be highlighted before you're actually putting the code in Git.
You won't commit the code if there are any issues, for example, in the code analysis step. Those issues will be brought up and there will be a new popup which will display all of these issues so that you might want to fix them before you commit them, or at least be aware of the fixes that might need to be done.
Of course, you have the area where you can type your commit message, and you can, as I said, decide to narrow down the scope of the commit.
Maybe you don't want to commit some of these folders, or maybe just some of these files at this time. You can commit less than all of these files. You can commit whatever you want out of all of these available files.
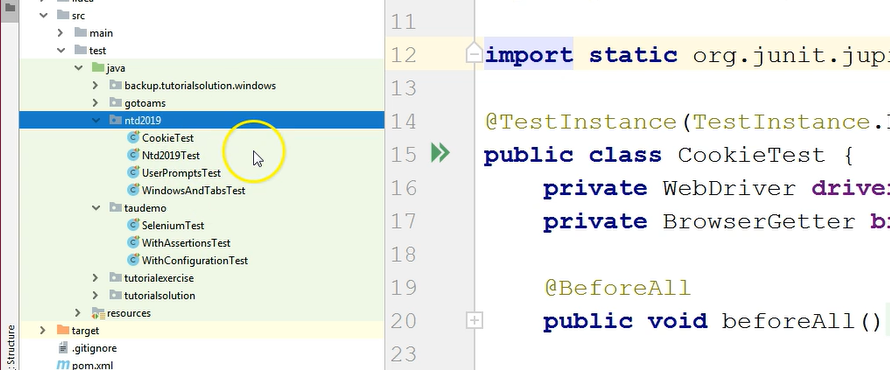
You could also (and I will cancel for now) go to a, let's say, lower level, so not on the entire project level, but let's say you want to only commit a specific package. Maybe you want to commit the "taudemo" package.
In this case, you could just go to "taudemo", right-click and choose Git > Commit directory.
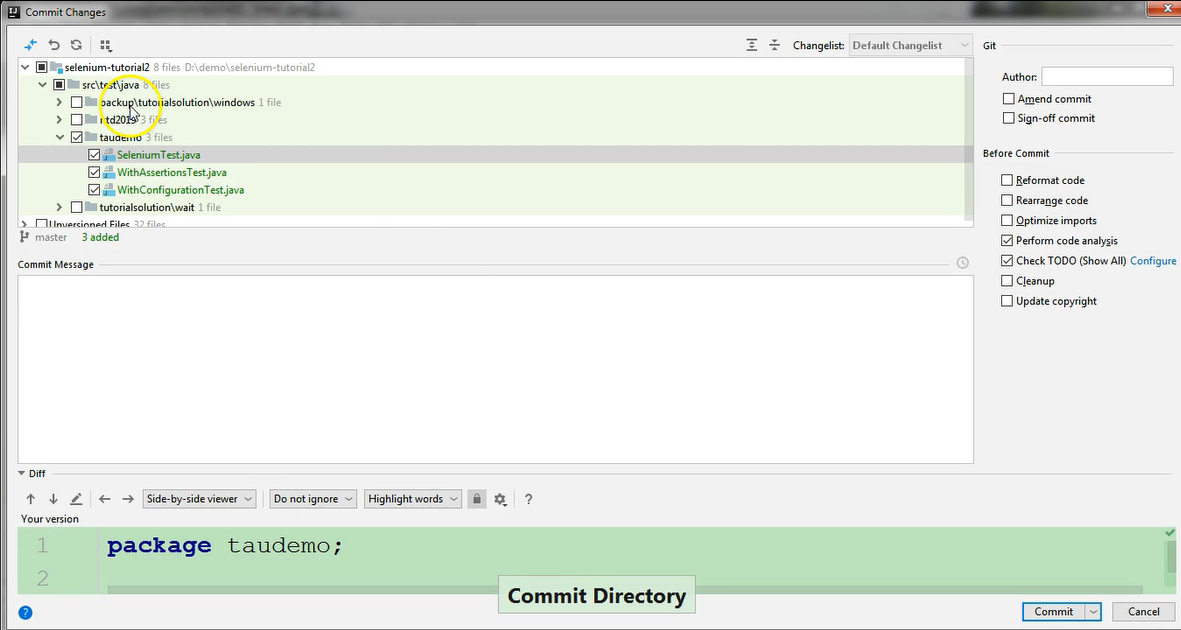
Here, the list of commits is already narrowed down in a sense that only the "taudemo" package is checked here. Whatever is checked here will go into the repository.
In this case, I only want to add these new files. I don't want to add any other changes that were made. Therefore, the next time I will perform a Commit, I could choose those files if I wanted to.
Let's say we want to commit this, so I could just say Commit Message, like "Demo TAU tutorial," and I can choose to commit.
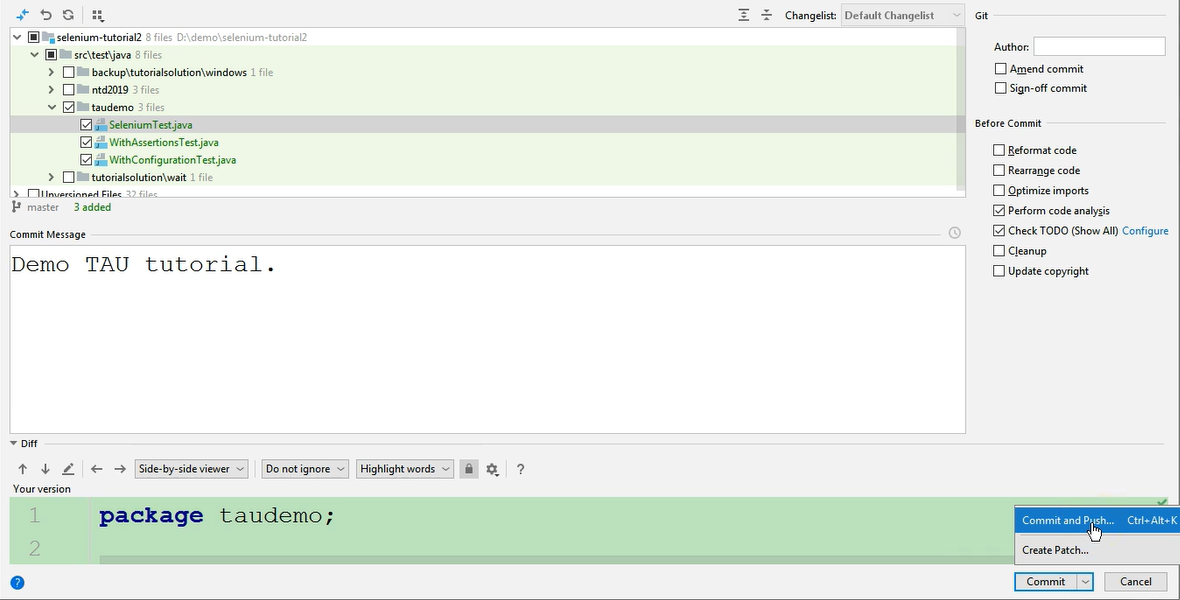
However, remember that for Git, we need to also Push after we do the Commit.
So, in order to perform the commit, in this dropdown next to the commit button, you have another option, Commit and Push.
This is the one you need to use when you want to commit the code so that you both commit it and push it to the repository.
I'm going to do this now, and I get the Push screen.
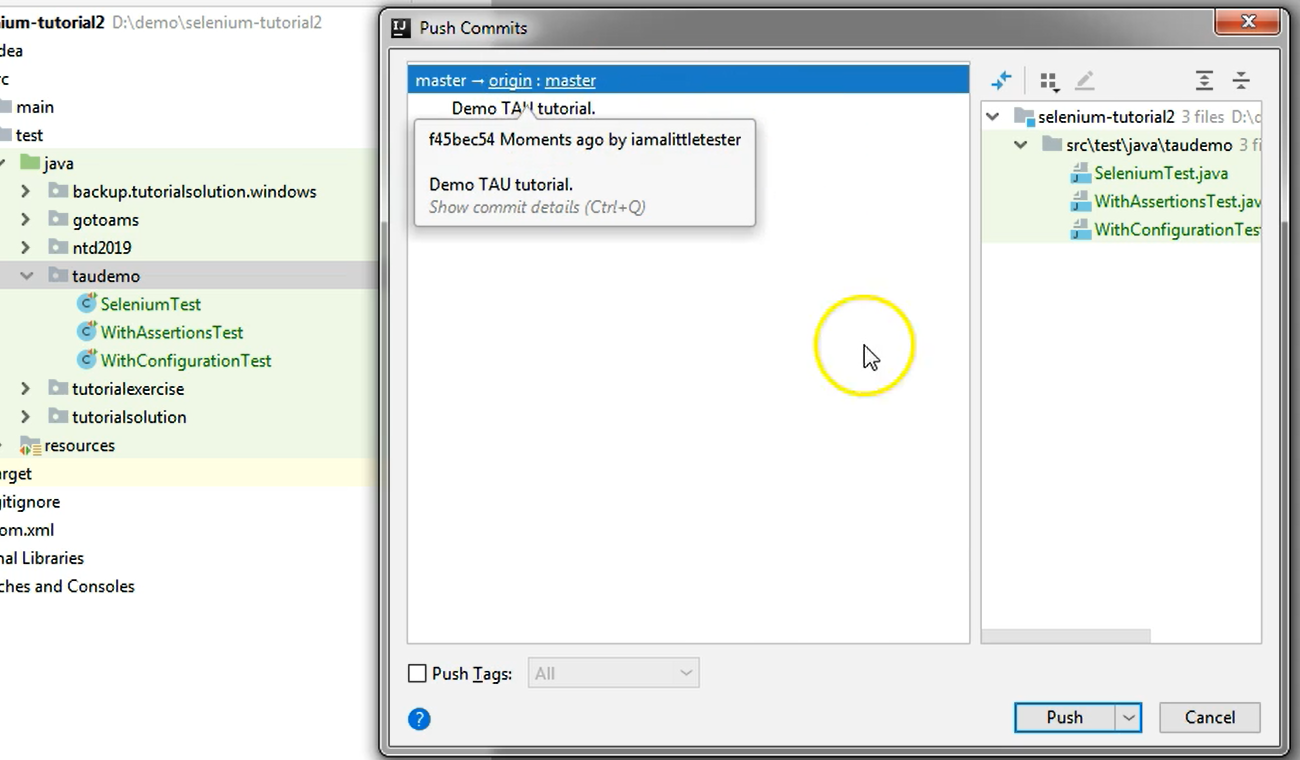
This is a confirmation that I do want to push this code into the repository, and I will say Push.
As you can see in the lower side of the screen, I had information that I have committed some files, and now I will need to put in the username and password.
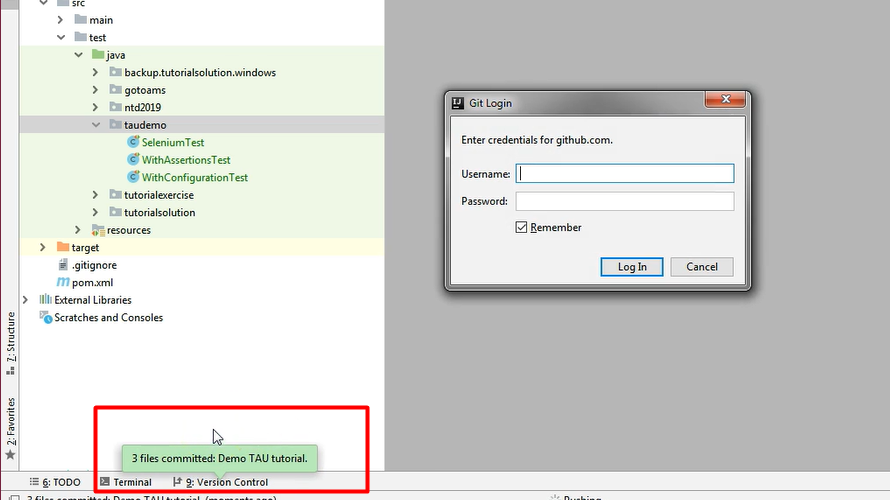
After I do this and I click Log In, the Push will also be made to the repository.
I will not do that right now because I want to show you something else. Basically, after you have entered your credentials, the push will go through. The code will be committed, and you will be able to see it in GitHub.
For now, I have just committed the code. So, if I did another Push right now, the code will be committed.
Let's say I want to revert some changes, but I don't want to revert the changes from the GitHub screen.
So, I don't want to say, Git > Commit, and only then, to do a Revert.
I can revert the changes on a file directly on the file. I could just go to, let's say, these 3 files.
These were all changed during this tutorial, and I will right-click, and I will go to Git, and I will say Revert.
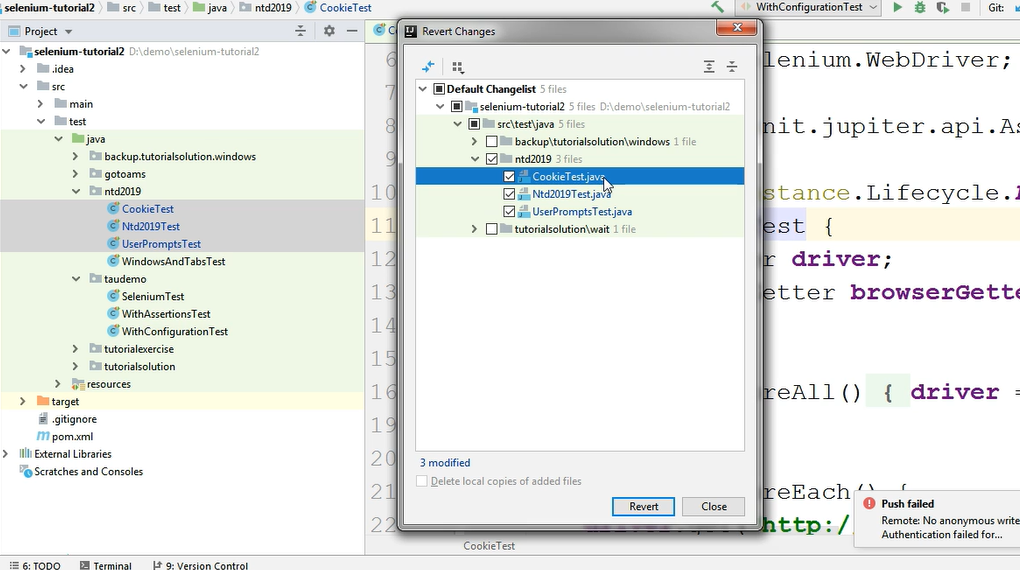
This revert operation will revert all of the changes that I made from the last commit, up to the current time. So, reverting will just revert these files to the version that they're at in the GitHub repository.
Once these changes are done, you can see that these files are not blue anymore.
As I've mentioned, you could also have files which are not added into the repository.
Those files will appear as brown here.
If you want to delete a file from the repository, you could just delete first from the project itself, and then you could commit that change. So, what would that look like?
Let's say I want to delete this folder. Then I would just say Delete from my keyboard, and I'm asked whether I really want to delete this folder.
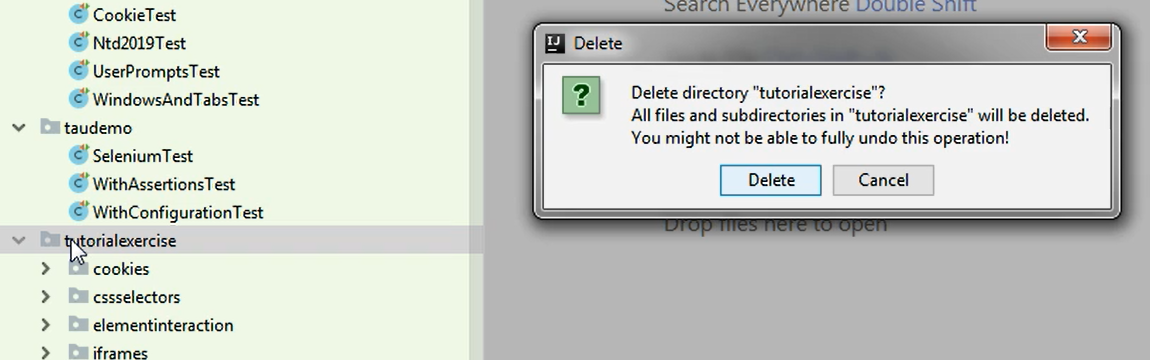
I will say yes, I want to Delete this folder.
Of course, in the project structure, you can't find that folder anymore. But you can go to the root level of the project, go to Git, again, commit.
This time, the deletion will be available for committing.
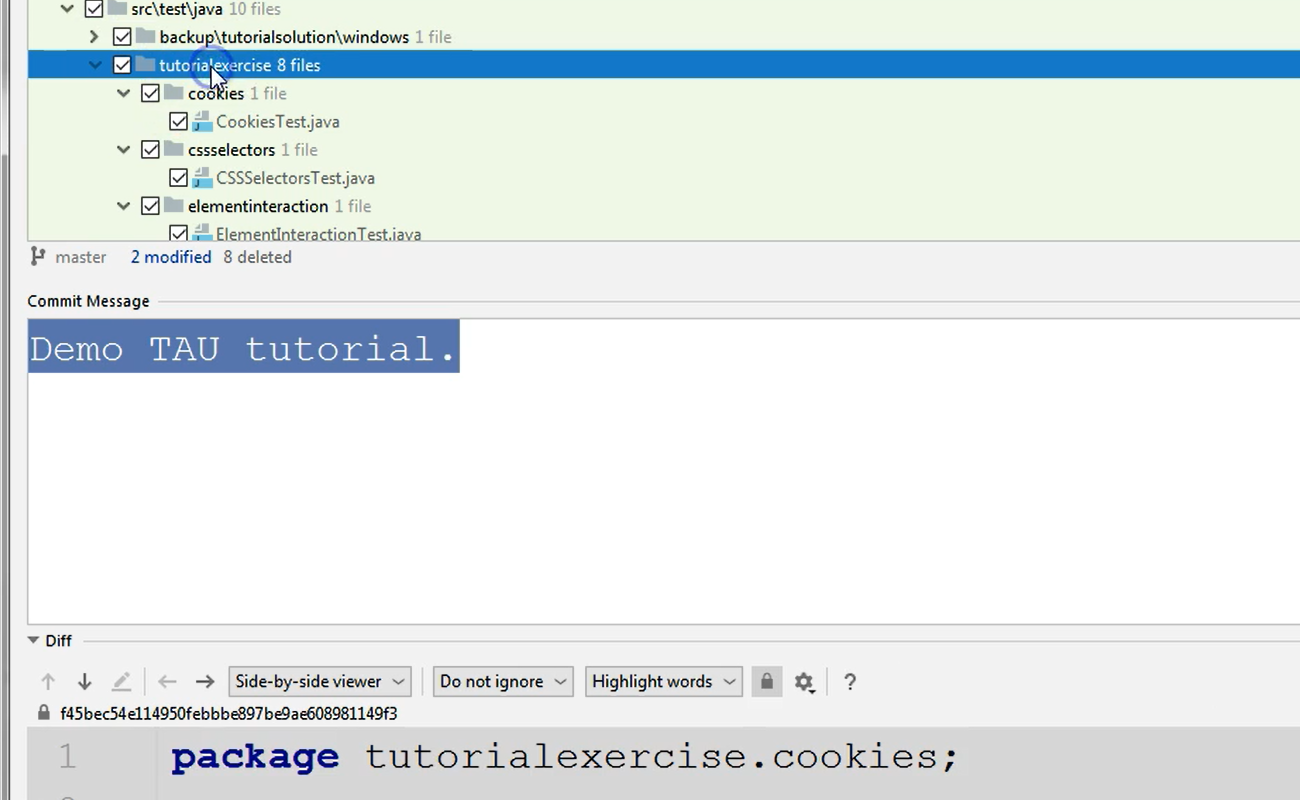
So, the "tutorialexercises" folder here is ready for being committed.
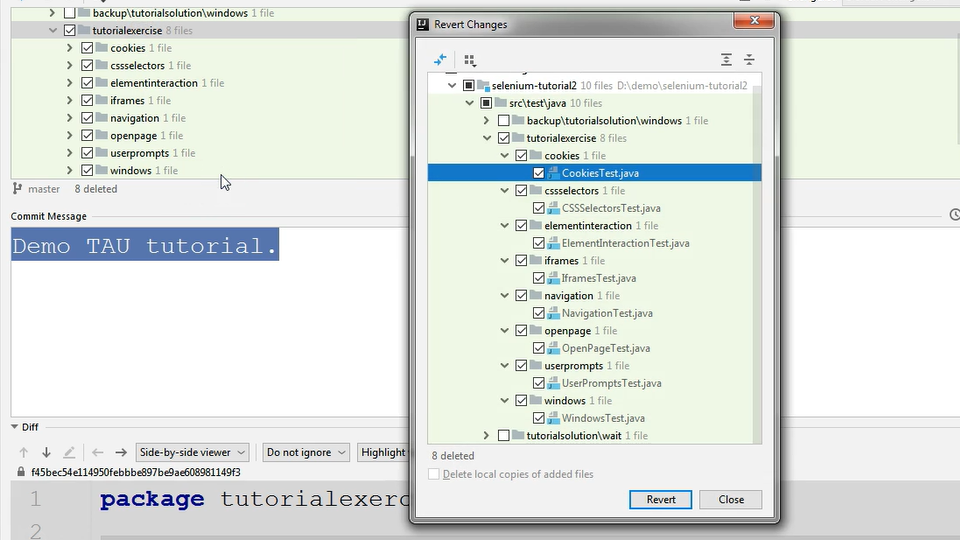
As you can see here, there are 2 modifications in the entire list of items to commit, and there are 8 deletions.
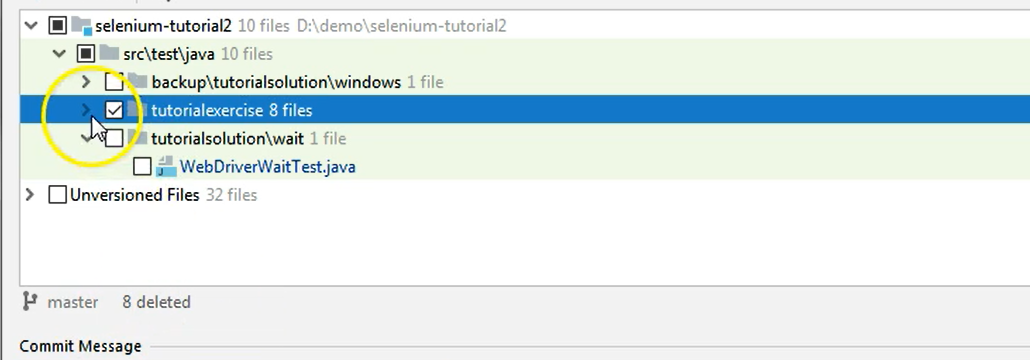
So, if I uncheck the other folder that I don't want to commit right now and this one.
So currently, for the folder that I wanted to delete, I have this information that there are 8 files to be deleted.
If I would now commit this change list, the deletion will be committed.
Let's say I don't want that, then I would just say Revert.
I want to revert the deletion. This means that the files will not be deleted anymore.
If I go to my project, the folder will be here. This is the folder I wanted to delete earlier.
So, reverting even a deletion is possible.
If we want to remove something from the repository, then we will do a Deletion, and then we will Commit and Push the deletion.
Otherwise, we can Revert the deletion.
That's about it on Git.
In a nutshell, go to the Git menu, and you can choose whatever Git operation you need from this menu in order to use IntelliJ as you would use your Git tool for pushing your code into the repository.
