

Transcripted Summary
Let's now take a look at the View menu.
Here you will find certain options for configuring your display — specifically configuring what toolbars to be displayed in your interface.
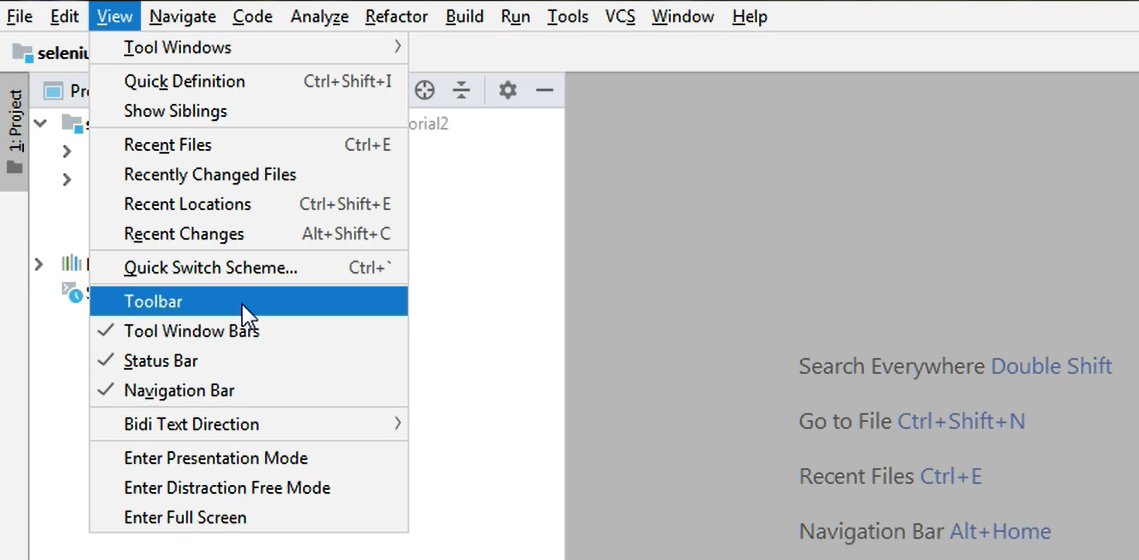
# View > Toolbar
For example, if you choose to enable a toolbar, notice that here on the upper side of the screen, the view changed and there is a new toolbar.
Initially when this was not active, on the right-hand side here, the options after this green hammer icon were displayed.
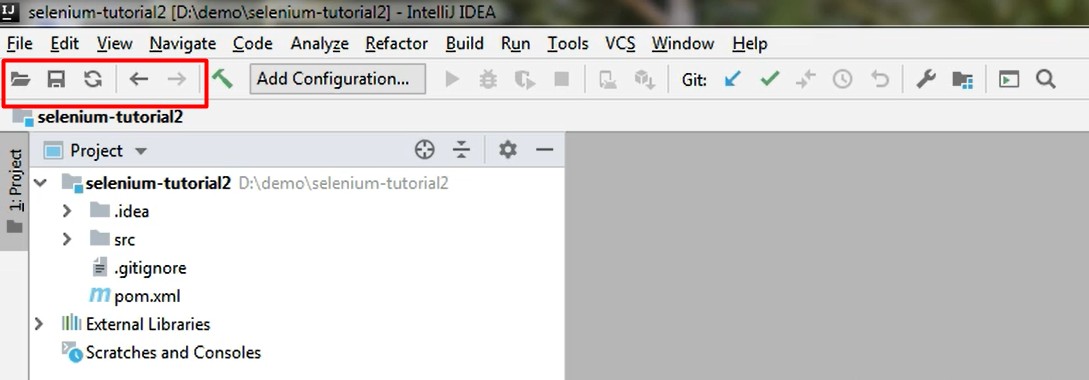
By introducing the toolbar, you have some additional options like opening and saving the project.
However, because IntelliJ doesn't require you to save any files, you don't really need the Save button. So how IntelliJ works is that whenever you're typing in a file, you never need to perform a save because the auto save is always on.
So, for me the Save button doesn't really make any sense. Therefore, I recommend that you just hide this toolbar as it doesn't really bring any useful functionality.
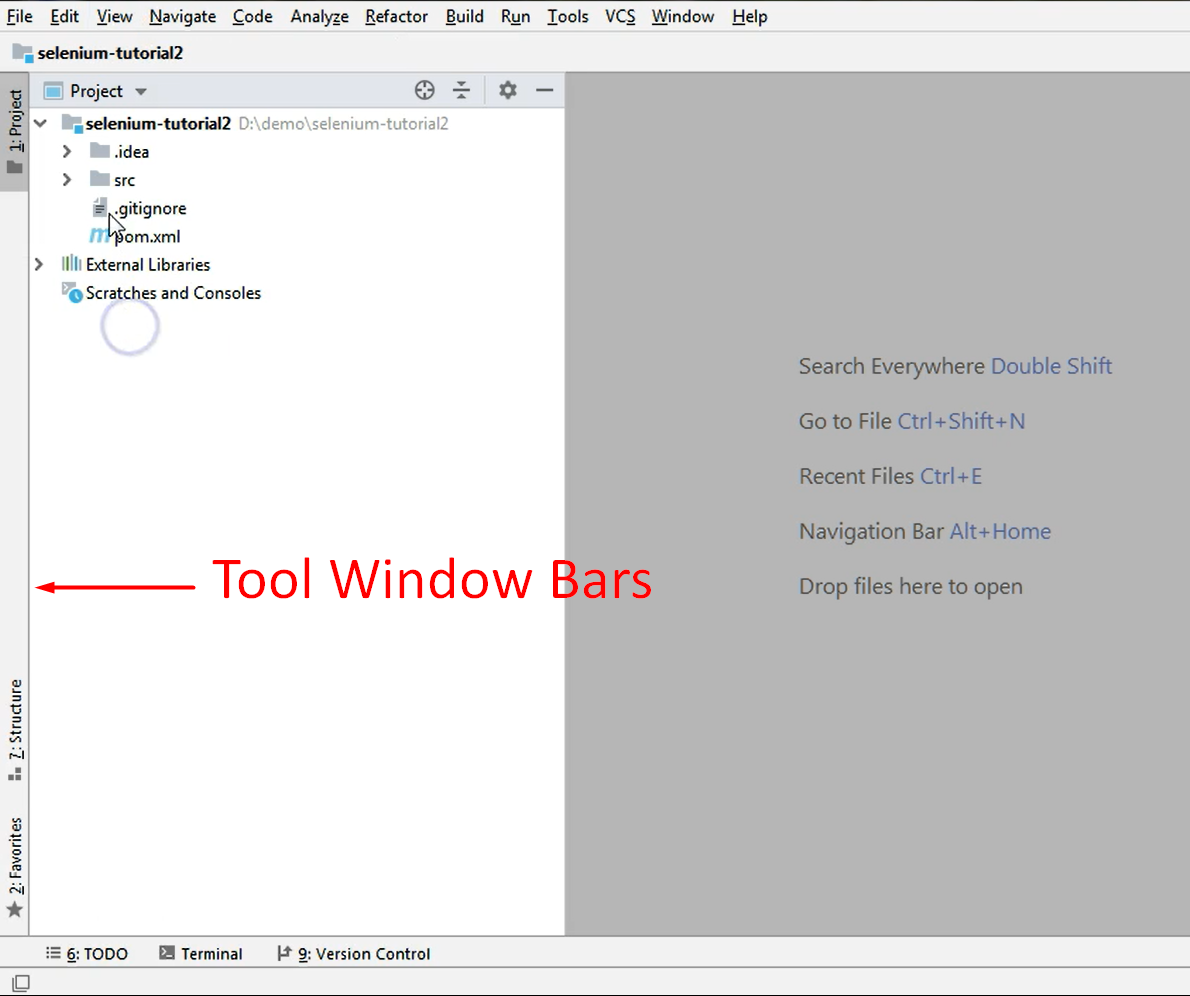
# View > Tool Window Bars
From the same View menu, you can also show or display the left side menu which is the Tool Window Bars.
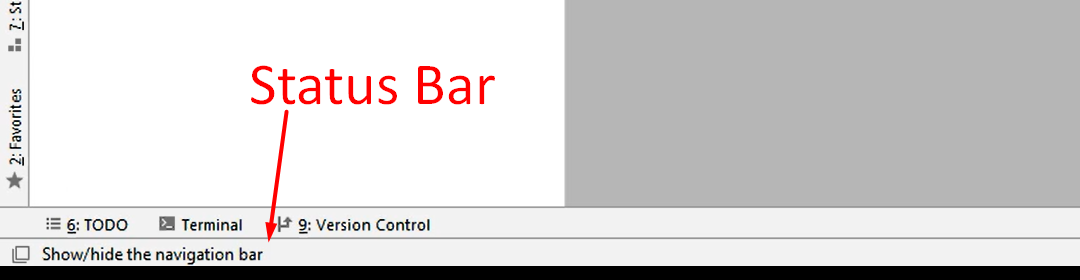
# View > Status Bar
Or the Status Bar which is a bar on the lower side of the screen.
Now I've hid it. And now I will show it again.
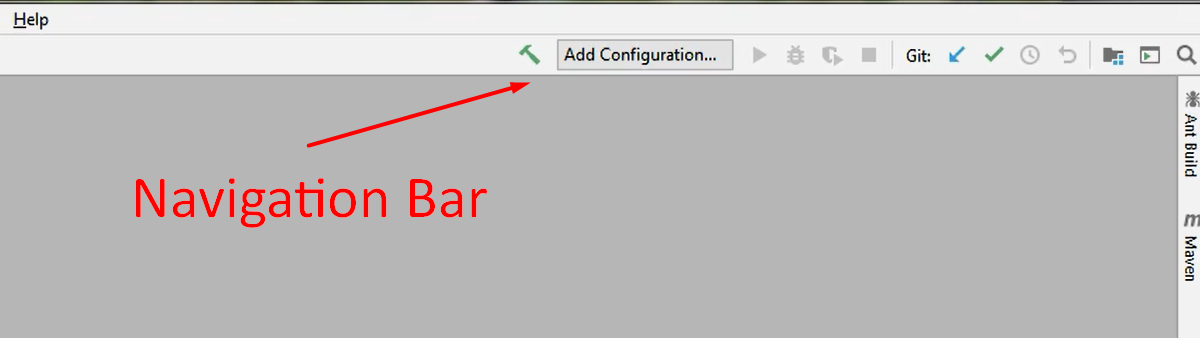
# View > Navigation Bar
And you can also show or hide the Navigation Bar, which is the one on the top part of the screen.
I recommend having all these 3 bars enabled because each of them will provide useful information and tools for you.
For example, from the left-hand side, you will have the option to show or hide the project view, and work with the structure of the project which I will show you in a few seconds.
Then you have some other information, for example, in the Status Bar on the lower side of screen.
Here on the right side you will see the branch on which your current VCS enabled project is working.
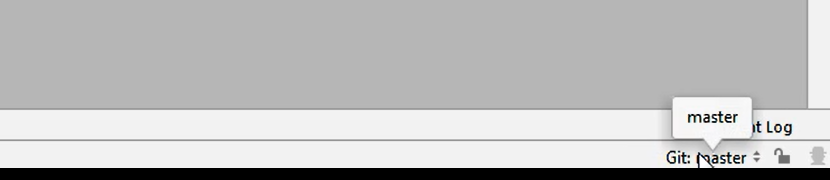
So, this is the branch on which you are currently writing your code.
Also, when the project is being compiled or when the dependencies that you specified in the pom.xml file are downloaded, you will see all of this information in the status bar.
You have already seen some of this when we initially created the project. So, the was some information that the project still indexing.
In the upper side of the screen in the navigation bar, you will see information like, configuring your test runs, running tests or debugging them,
Or on the left-hand side you will the path of the files that you open inside the project.
So, if I go to a specific path that I have here, I will just open one class let's say, and then here I will see the exact path inside the root folder of the file that I just opened.
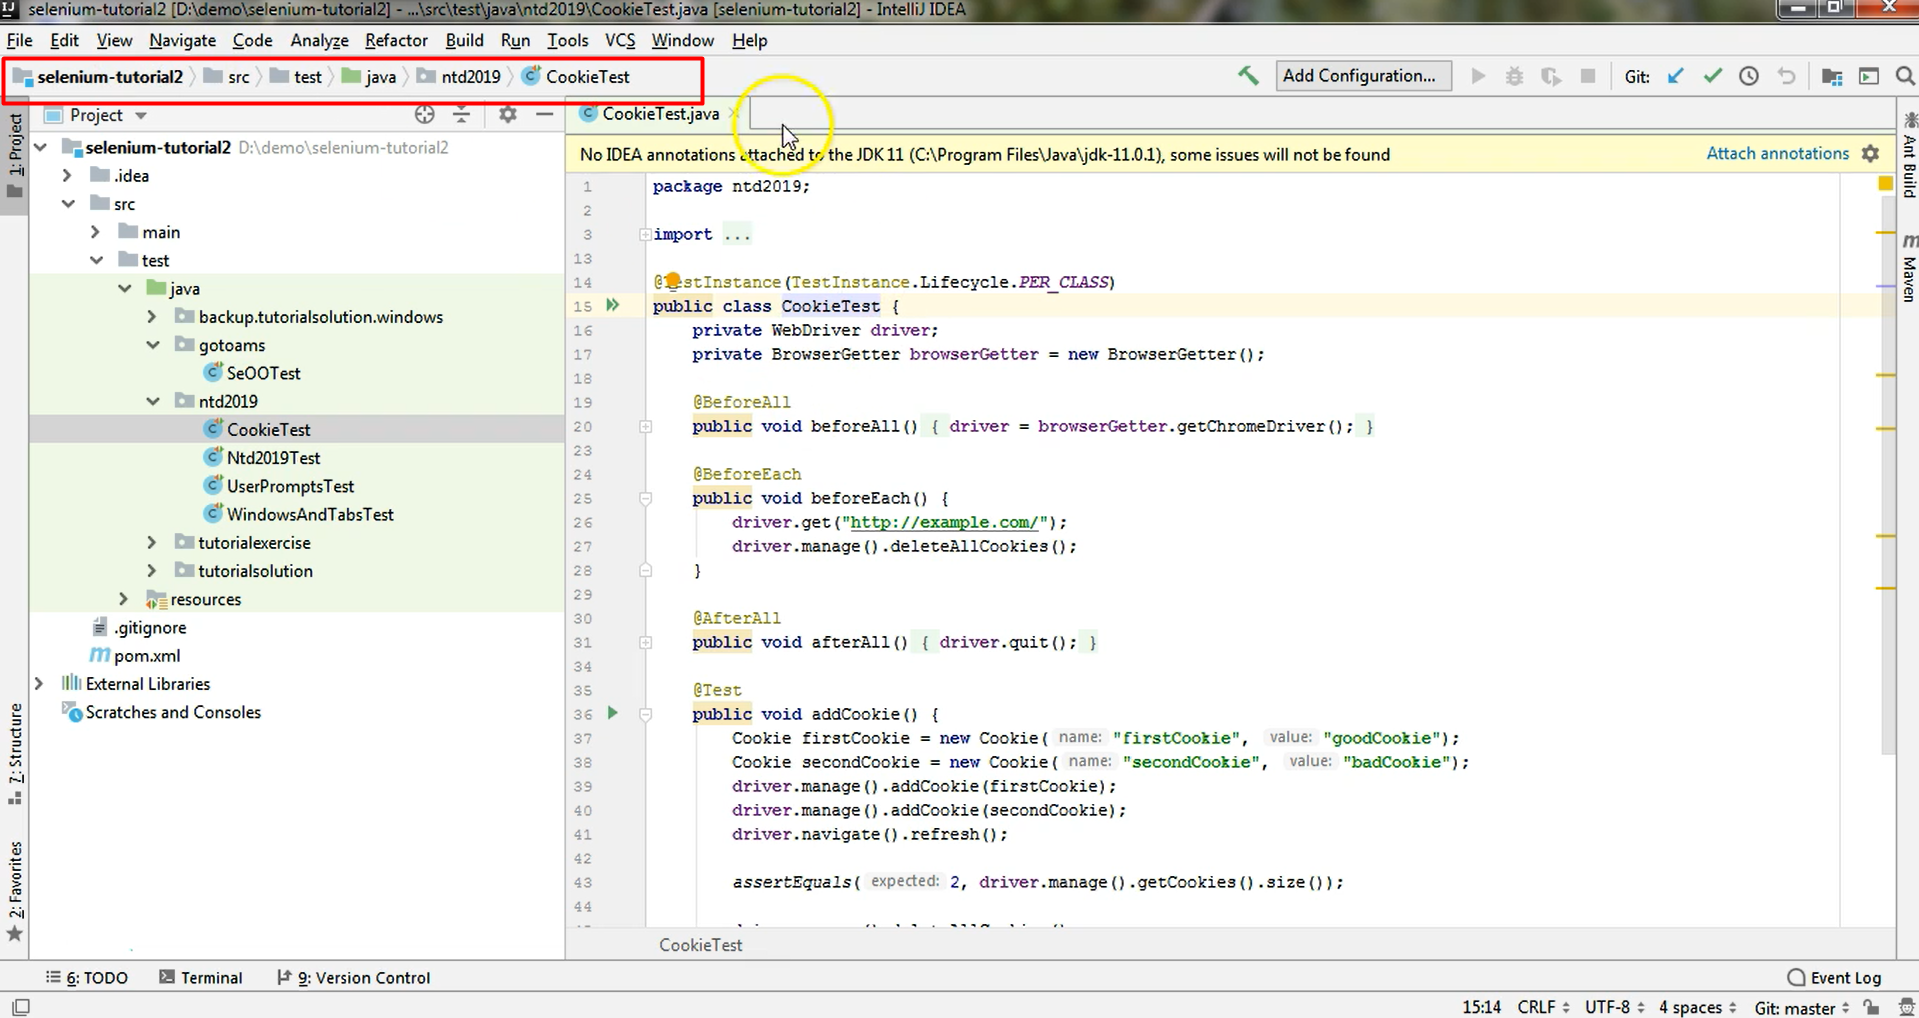
So, these are some very useful bars that you have at your disposal, so it's better that you have displayed on your screen.
# View > Enter Distraction Free Mode
However, sometimes people prefer to just work on the class, and they don't want to see any other information around the class, they just want to focus on the code.
Therefore, you can go to View and you can Enter Distraction Free Mode.
This will just leave you with the menu on the top of the screen and then with the class that you want to currently work on.
If you want to exit this view, you can just say, View > Exit Distraction Free Mode.
# View > Enter Full Screen Mode
You could also want to enter a full screen mode where there is absolutely no bar displayed and you can only work on your class, so nothing else will be in your view except for the class that you're working on.
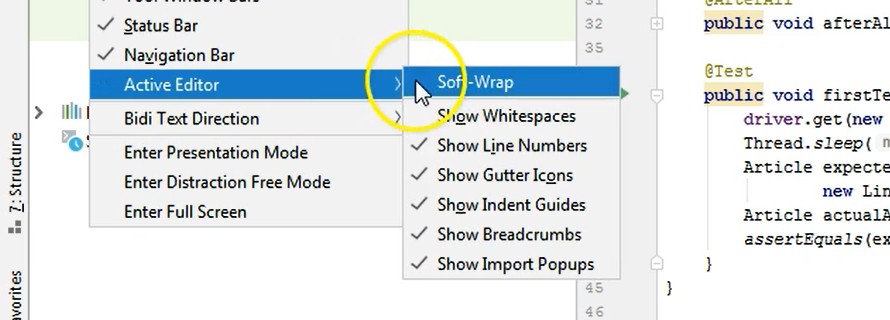
# View > Active Editor > Soft Wrap
Another setting from the View menu which regards the Active Editor will be useful.
If I open another file and you will see that here on the lower side, I have some text that is currently not visible on the screen.
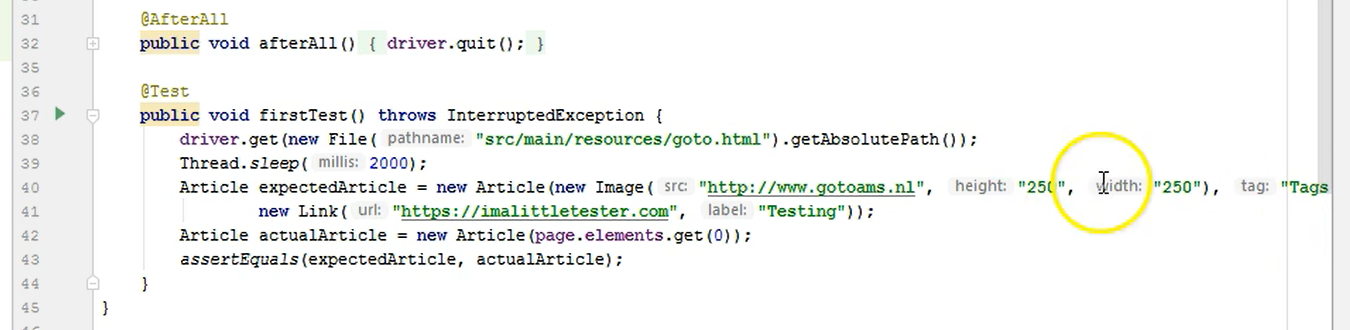
I have typed here something, but I can't see the entire text as I need to scroll to the right in order to see it.
You can also notice that I have a vertical bar here. It is a gray bar line on the right.
This bar serves as a margin by which we want the text in this class to wrap.
So, we don't want any text which is to the right-hand side of this bar to be present in our test classes because then this makes the text unreadable.
In order to auto arrange the text so that it fits, and it stops right before this bar, we can go to View > Active editor > Soft Wrap.
And notice that our text has now rearranged itself and a new line was created where the text that was to the right of this bar was relocated.
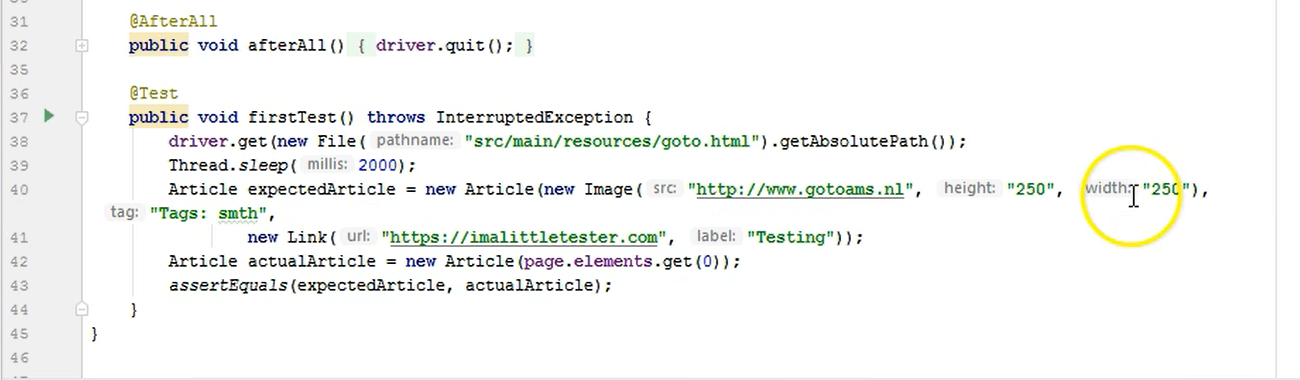
I think this is pretty neat and it helps to have our classes more readable without the need to scroll to the left or to the right.
And this concludes the view menu with the most interesting options that you have there.
Quiz
The quiz for this chapter can be found in section 3.3
