

Transcripted Summary
Let's now take a look at some settings that will allow you to customize your view.
The settings menu can be found by going to File > Settings.
Here you have a lot of options that you can browse from the left-hand menu.
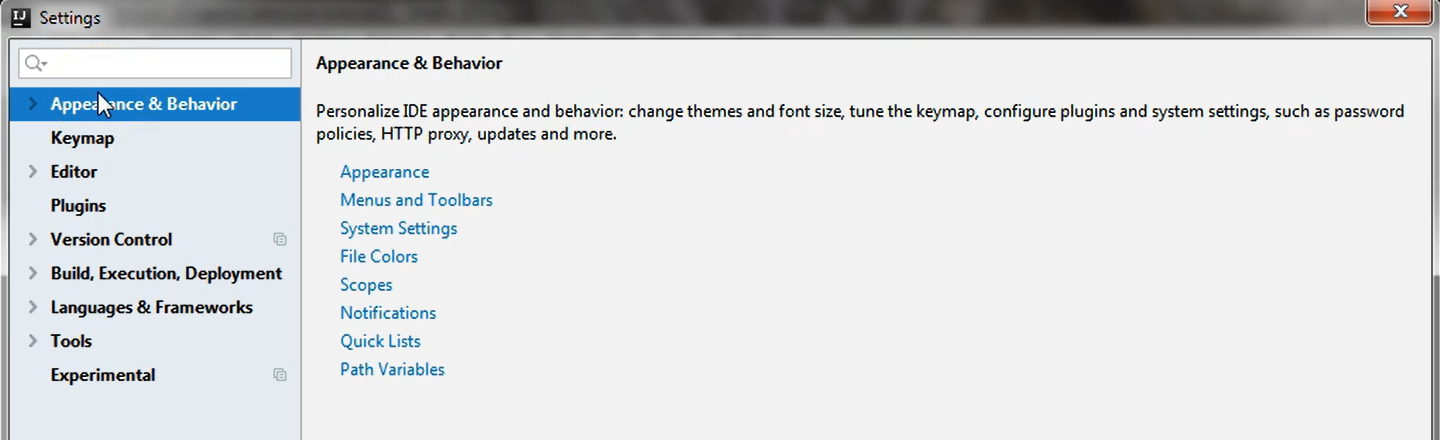
They are grouped in categories like appearance and behavior, editor, version control and so on.
There are a lot of options available, so you can customize everything that you see and all of your windows, screens and bars.
I will not go over all of these settings, but I will just refer to some that will make you more comfortable when you are writing your code, and I will start with the appearance of the screen.
Currently the theme I am using here has a light background and the text is in darker color, but there is also the option to choose from other themes (because these are actually themes that IntelliJ offers> and they can be changed by going to Appearance & Behavior > Appearance.
Alternatively, if you didn't want to just browse through this menu, you could have just typed “Appearance” in the search box.
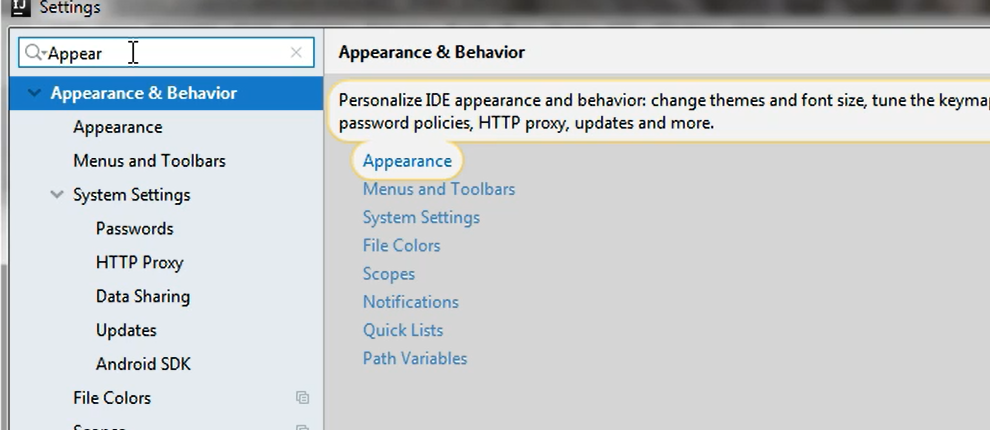
And the list of available options are displayed and the left-hand menu is narrowed down to only options or option screens where something related to appearance can be found.
# Settings > Appearance & Behavior > Appearance – Changing Theme
I will click on the first item from the Appearance & Behavior menu because I know that this is where I can change the theme of my IntelliJ instance.
Looking at the right side of this menu, you can see that you have a theme entry here and that it has a dropdown attached to it. So, in the dropdown currently, the IntelliJ theme is selected, so by default, this is the one that we have here.
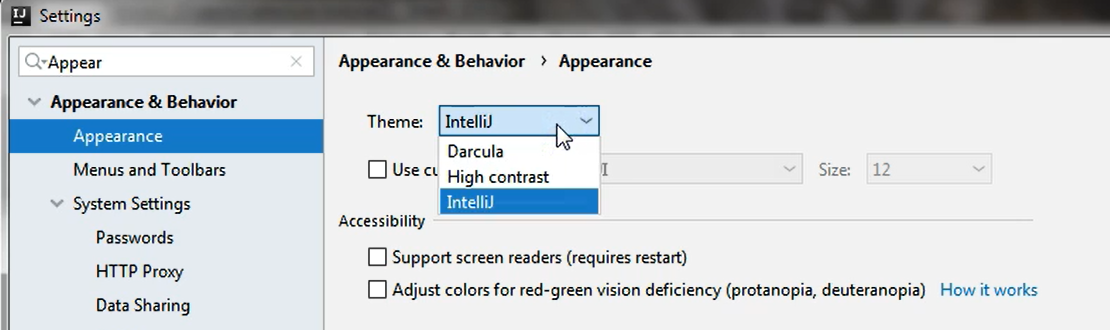
If we want to change it to something a little darker, we can select the Darcula option.
If we wanted to select a different darker theme, we can select from the dropdown either Dracula or High contrast. I will just choose Darcula for now to show you what it will look like if I change this.
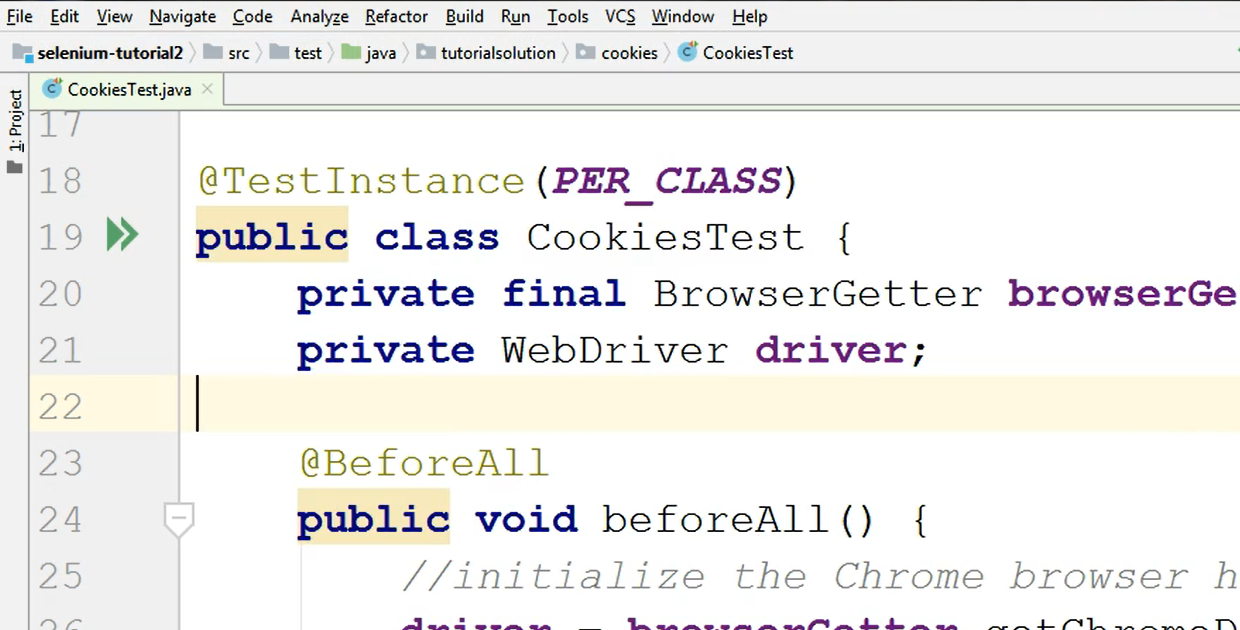
I will select this option, and then the Apply button is enabled, so I just click the Apply button and then the OK button just so that I can see what my project screen looks like. I will also open a test class to show you what the fonts are looking like right now.
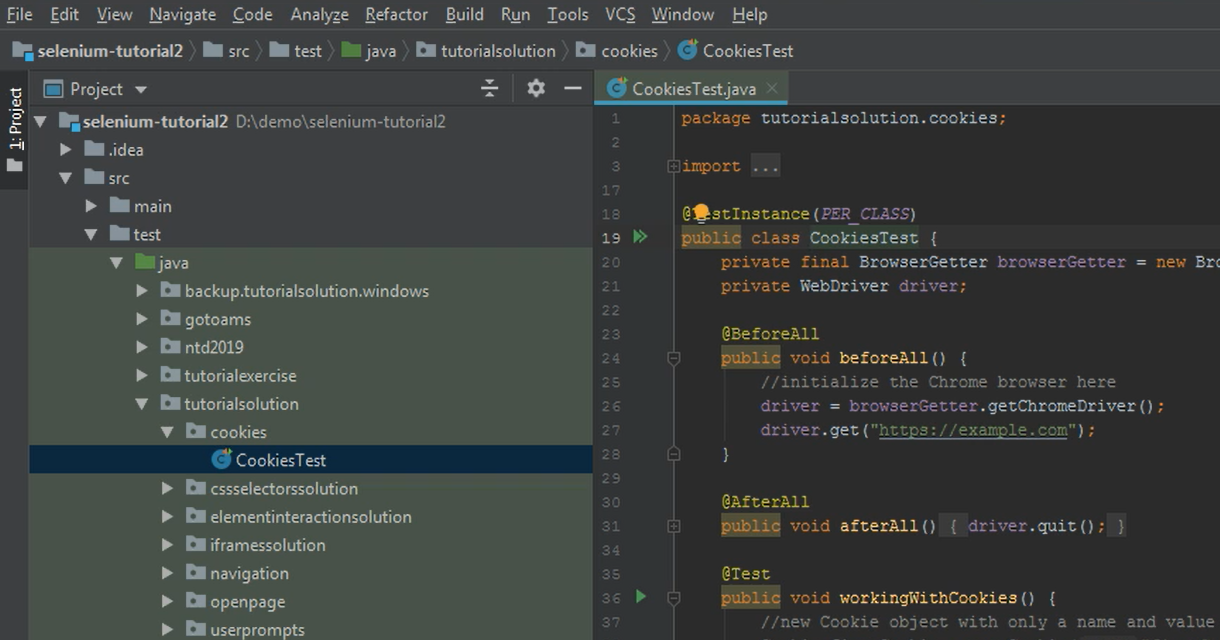
You can see in the editor that the background is darker, and the colors of the text are adjusted so as to highlight certain things like variables, parameters and so on. So, the coloring reflects what the items in the screen are.
I will go back, and I will change the appearance back to the IntelliJ theme, and I will again click Apply and then OK.
And now the theme has reverted back to the initial one, and you can see that the background is white, but there is also some highlighting regarding method names and variables and parameters and so on.
So, this is the theme that we will use throughout this tutorial.
# Settings > Editor > Font – Changing Font Size
Another thing you might notice on the right side in the editor is that the font is quite small, so it's barely readable.
So, what I will do is I would go back to File > Settings, and I want to change the font.
Now if I type “font” in the search bar, again I will have some other results here, so the result list will be narrowed down.
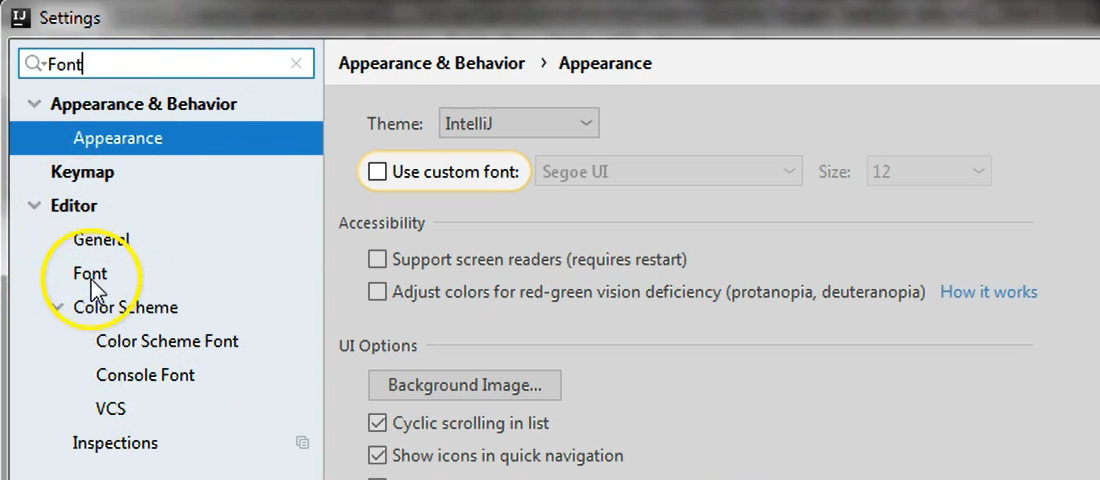
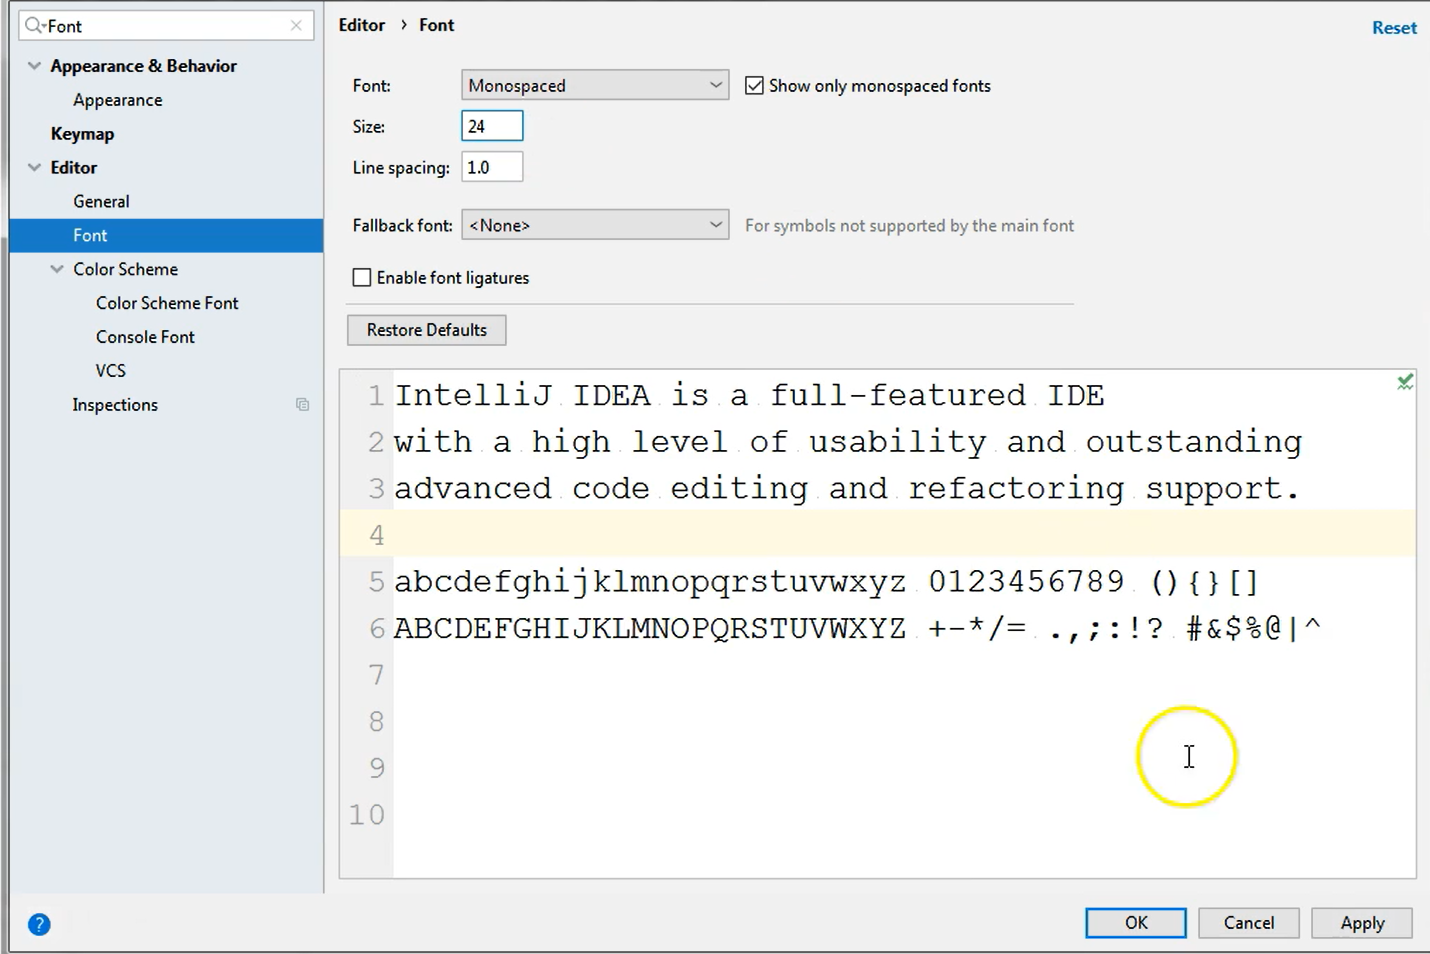
And I will go to Editor > Font because this is where I can change the size of the font of the text I will write, so of the test code.
I will select the font to be, let's say, 24 initially, and I will Apply and OK to see what it looks like.
So, it's pretty decent. The size is quite good.
If I wanted to make the size larger, I can go to File > Settings and the previously open screen is still open, so I can just change the value to let's say 30 and then just hit Apply and OK.
And now the font has been changed to size 30.
I find that this text is a little bit too large, so I would just go to File > Setting, and I will switch the value to 28.
I'm not going to hit Apply right now because there is something else I want to take a look at — I want to see the list of the shortcuts that are available in IntelliJ.
# Settings > Keymap — Setting Shortcuts
By default, IntelliJ has its own specific set of shortcuts that are available, and you can see from Help > Keymap, so that is the complete reference of all the implemented shortcuts that you have in IntelliJ.
However, it also supports using shortcuts from a different IDE that you might have been used to.
So, if we search for “Keymap” in the left-hand menu in the search bar, you will see a list on the right side of different entries.
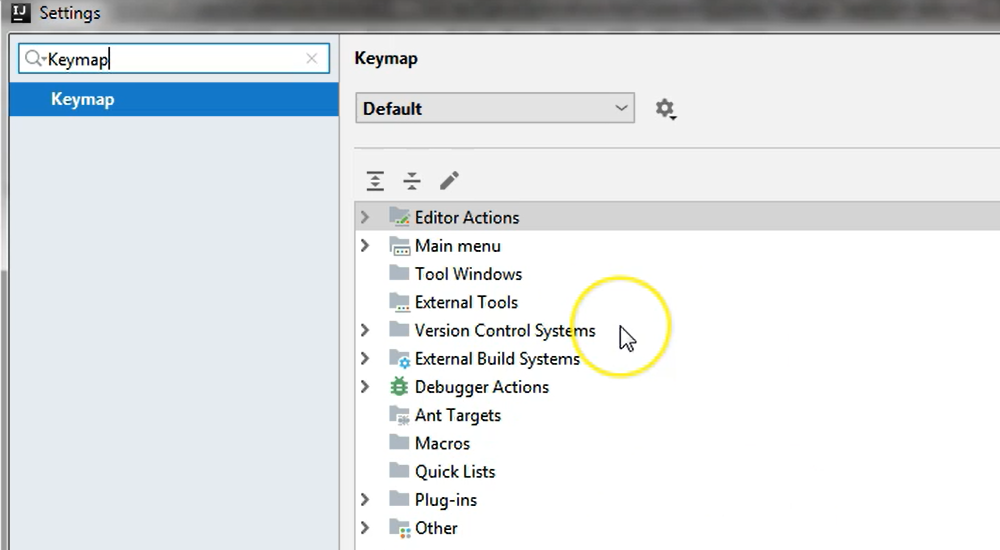
If you expand each entry, you can see the actions on the left side and their corresponding shortcuts.
For example, in order to delete a line, you can use the Ctrl+Y shortcut.
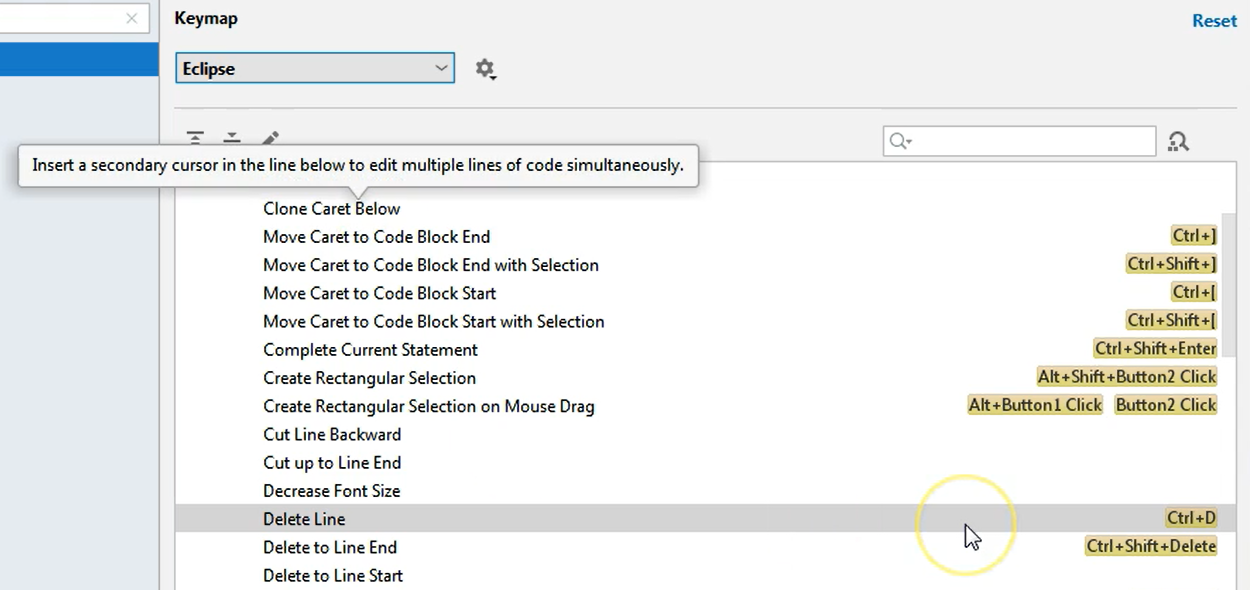
If instead you would prefer to use let's say the Eclipse shortcuts, you could go to the dropdown where you have Default currently selected and choose Eclipse.
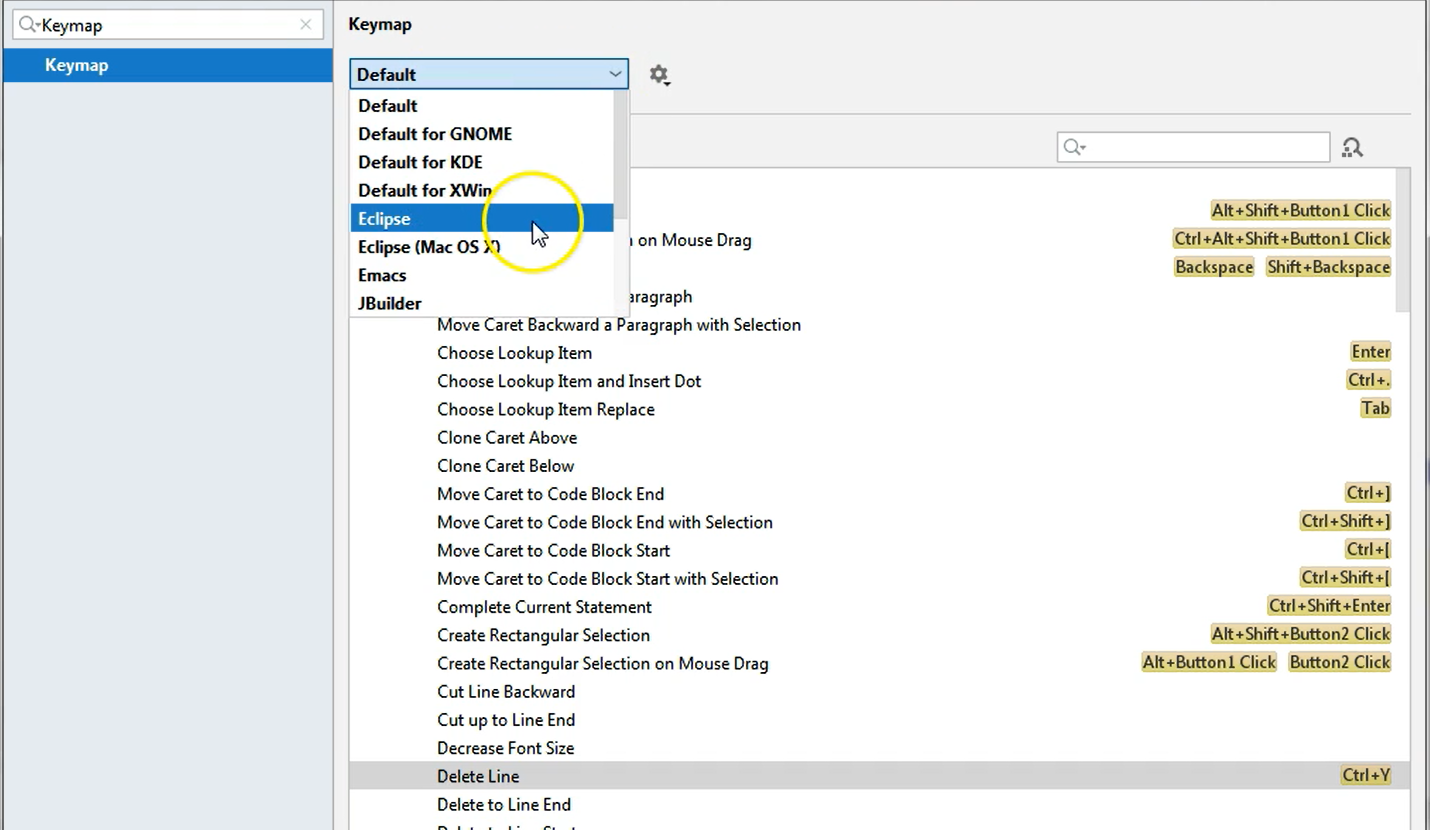
Notice that the shortcut list has changed and the delete line operation currently has a different shortcut which is Ctrl+D.
This is to allow you to still be comfortable using the shortcuts that you were used to but in a different IDE that you might have picked.
So, if you prefer to start learning the IntelliJ shortcuts, you can just go back to the Default Keymap setting here, and you can see that the delete line operation now has Ctrl+Y as its dedicated shortcut.
There are many other settings in the Settings menu, so you could just go through all of them and try to set up whatever you need because there are a lot of preferences and a lot of things that you can change.
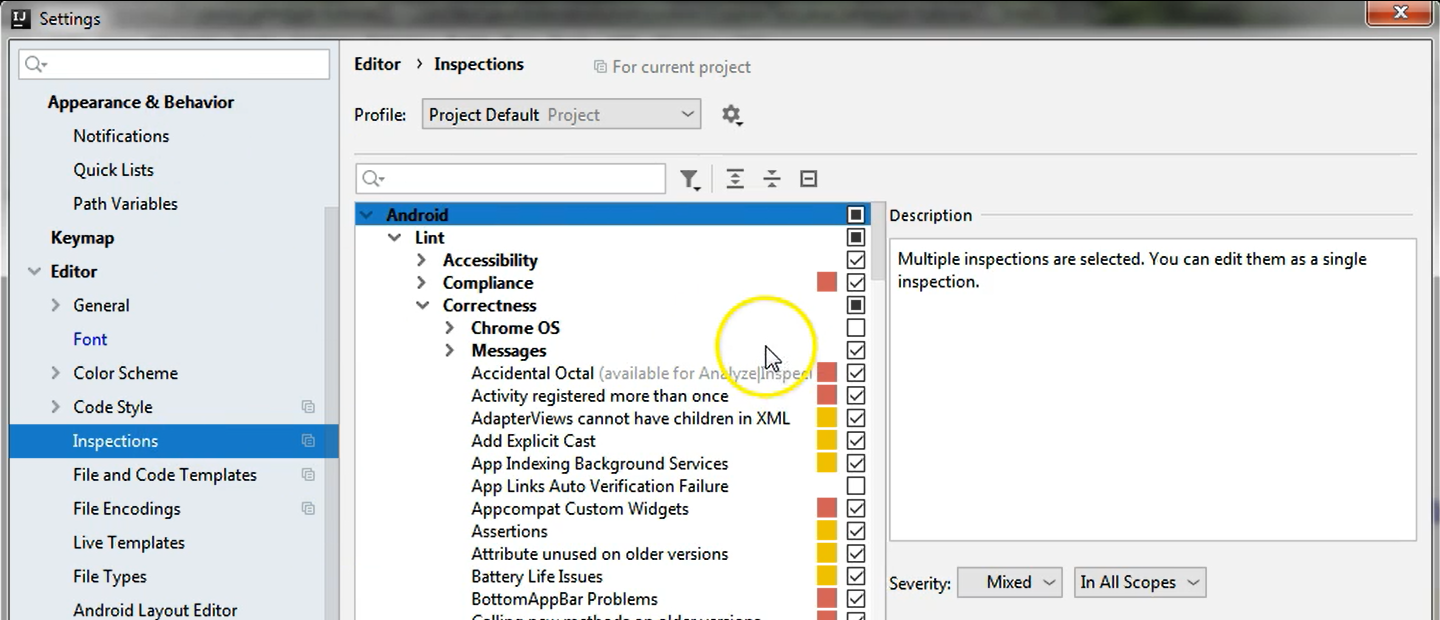
For example, we will go over Inspections a little bit later, but I will just show you that you can change settings regarding Inspections from this menu on the left-hand side [Settings > Editor > Inspections].
So, just take a look at this menu and try to set up your views, your screens, your toolbars as it is more comfortable for you to write your code.
For now, I will just hit Apply and OK for all of my settings to be in effect, and this concludes the settings chapter.
We can now actually start doing some real coding.
