

Transcripted Summary
The last menu I will show you right now is the Help one.
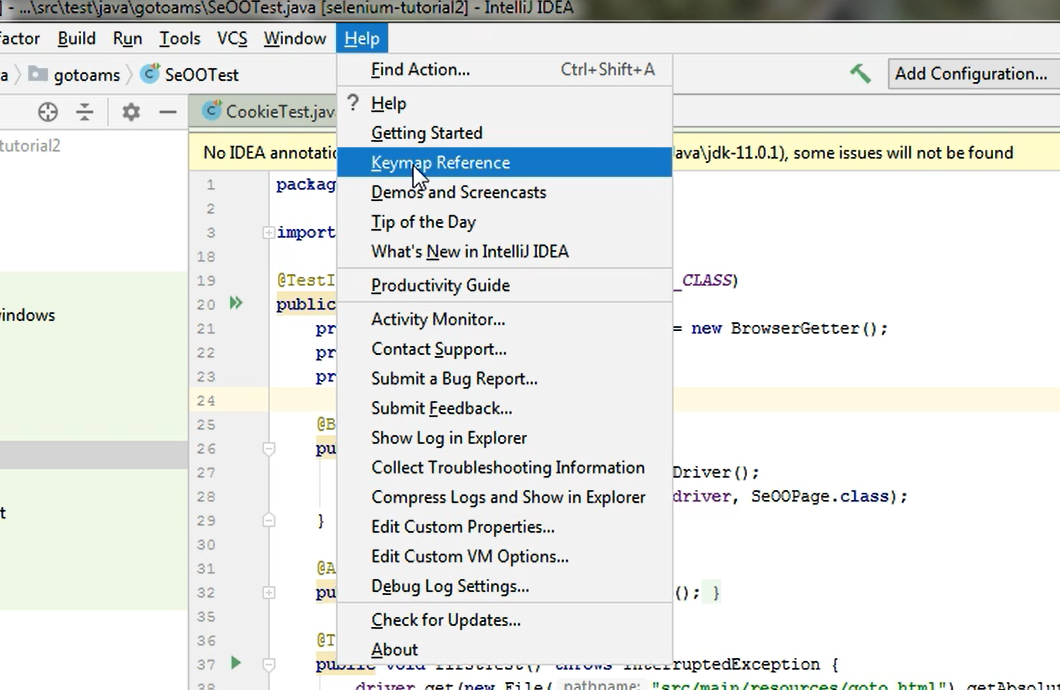
# Help > Keymap Reference
Here you have entries, like the Keymap Reference.
If you click on this entry, you will see in your browser that the DEFAULT KEYMAP cheat sheet is displayed.
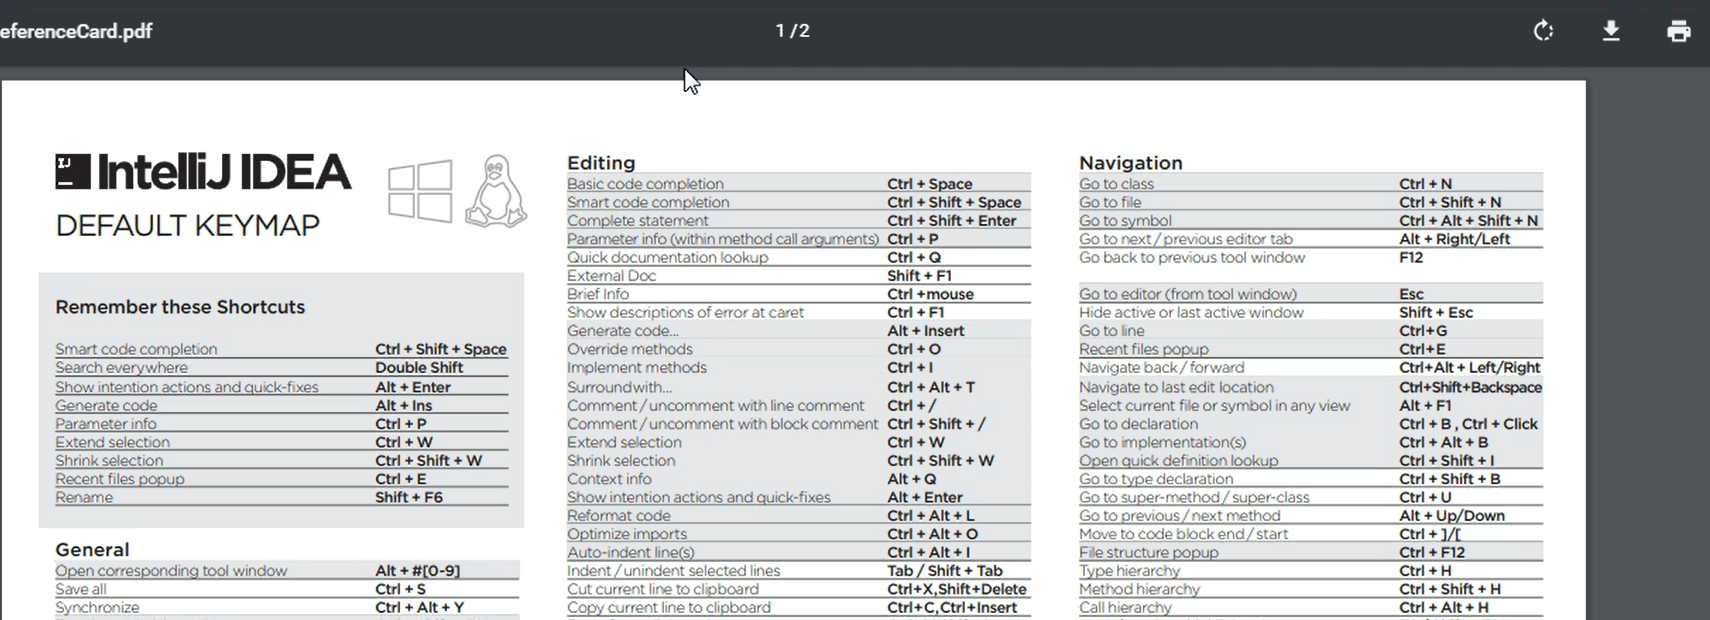
So basically, this is a list of all the shortcuts that IntelliJ offers, and this is in PDF format. You can download it and you can print it and have it with you at work if you want.
And what's really neat about this is that it comes in two versions. You have the Windows shortcuts and you also have the Mac shortcuts.
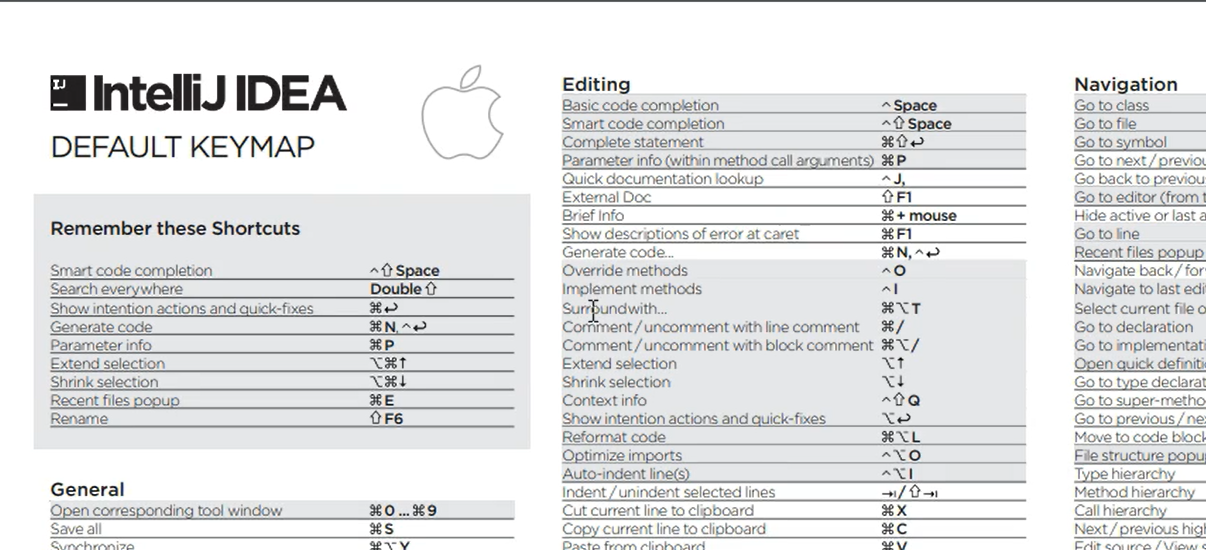
So, you have a document where you can find all of the shortcuts that are available in IntelliJ.
# Help > Submit a Bug Report
Another item in the help menu is the one where you can Submit a Bug Report.
So, if you encounter some weird behaviors or something that appears to be a bug, you can just go to Help, click Submit a Bug Report and then this will redirect to in the browser to the JetBrains issue tracker where you can create an issue.
You can take a look at other issues so that you don't report something that is already there and so on.
# Help > Submit Feedback
You could also provide feedback on your experience with IntelliJ by going to help and clicking on Submit Feedback, which will also open a web page in your browser.
# Help > Find Action
Probably the most interesting option available in this menu is the Find Action option.
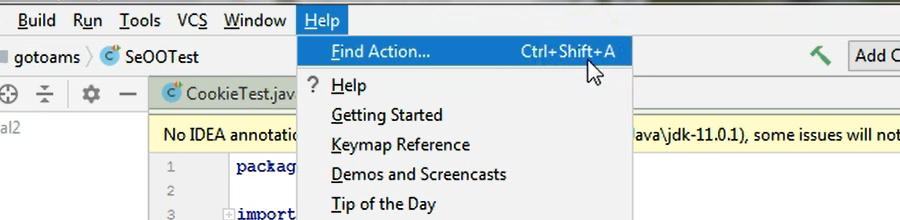
You might see that some items in the menus also have a combination of keys on the right side.
This is basically the shortcut that you could use from your keyboard in order to access that part of the menu without having to open the corresponding menu.
So, if I don't want to go to Help > Find Action, I could just hit Ctrl + Shift + A on my keyboard.
You have a repository, let's say, of all of the actions you can perform in IntelliJ.
You can search for some actions.
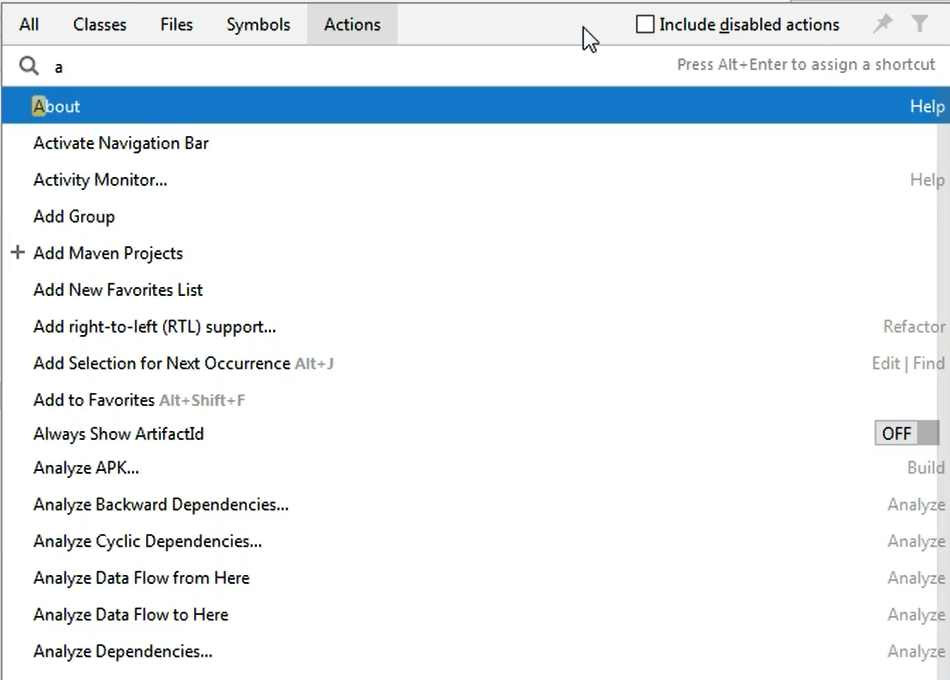
For example, I will type “a” and you will see all of the actions that you have available — all of the things you can do in IntelliJ that start with “A”.
Let's search for “maven”, for example.
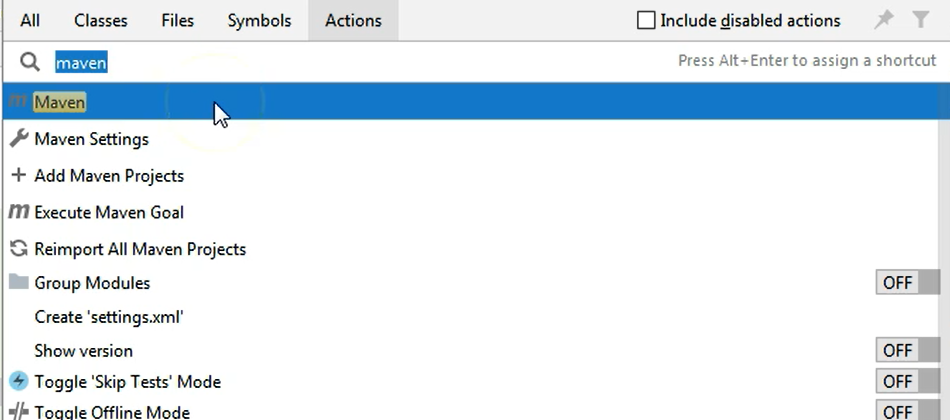
The first one has an icon to the left and this one will open the maven menu, which is embedded in IntelliJ and which is on the right side of the screen.
You notice that the menu has opened here.
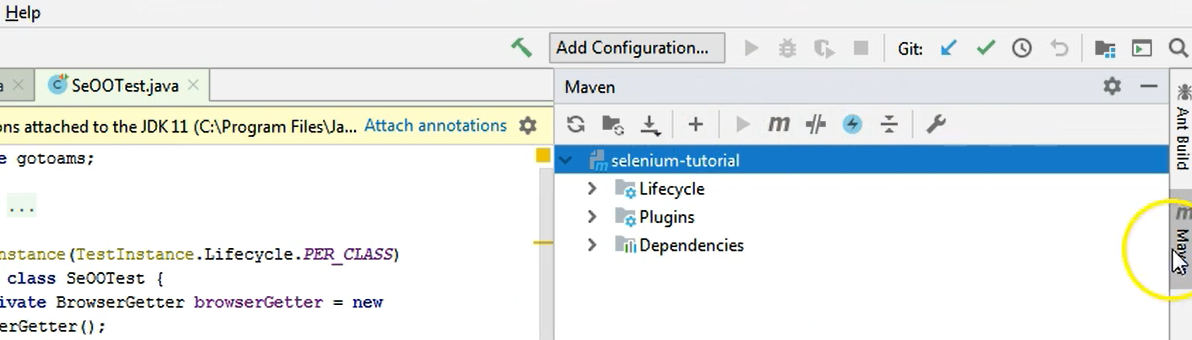
I would just close it for now.
I will open _Find Actions _again and you will notice that the second option in this menu is Maven Settings.
If I click on this option, I will see the Settings screen, which we haven't discussed yet, but we will, and it was already preset to the Maven entry. I can directly work with the Maven Settings that I'm interested in and so on.
So basically, anything that you can do or find Maven-related in IntelliJ, you will discover by opening the screen, the Action screen and by just typing Maven or whatever you're interested in.
# Help > Check for Updates
You could also Check for Updates, but by default the updates checker is enabled.
So, every time a new version of IntelliJ will be released, you will be able to see a notification in your IntelliJ instance and you can choose how to update from that particular notification.
# Options Accessible Outside of Main Menu Bar
I haven't shown you some of the menus because some of the options that you can find in these menus are available if you click somewhere inside the IntelliJ instance.
For example, if I right click on a class name, I can see the Git options.
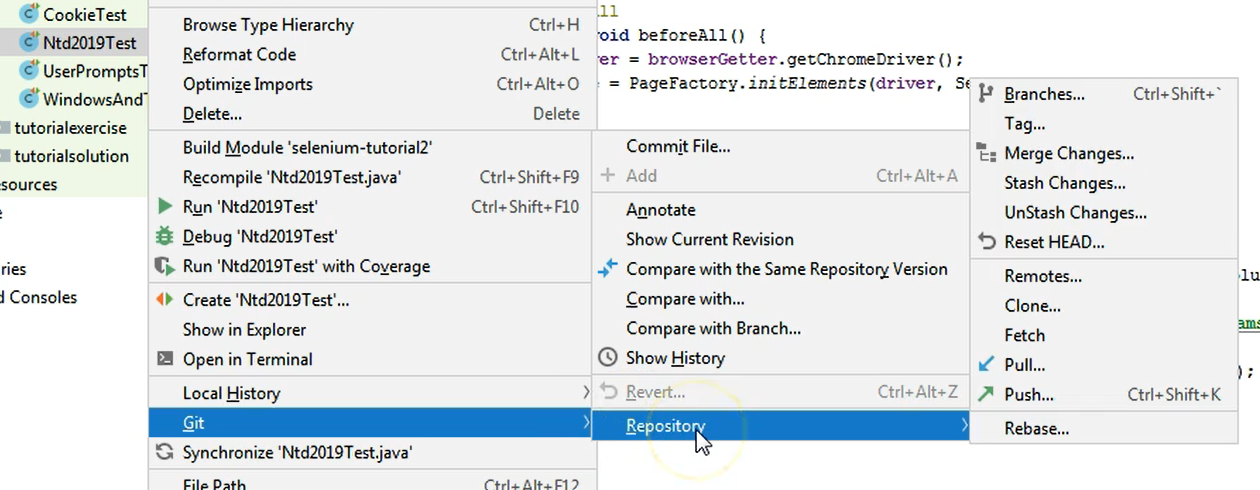
So, this is everything that is related to committing your changes into a VCS repository.
There might be some different options in the VCS menu.
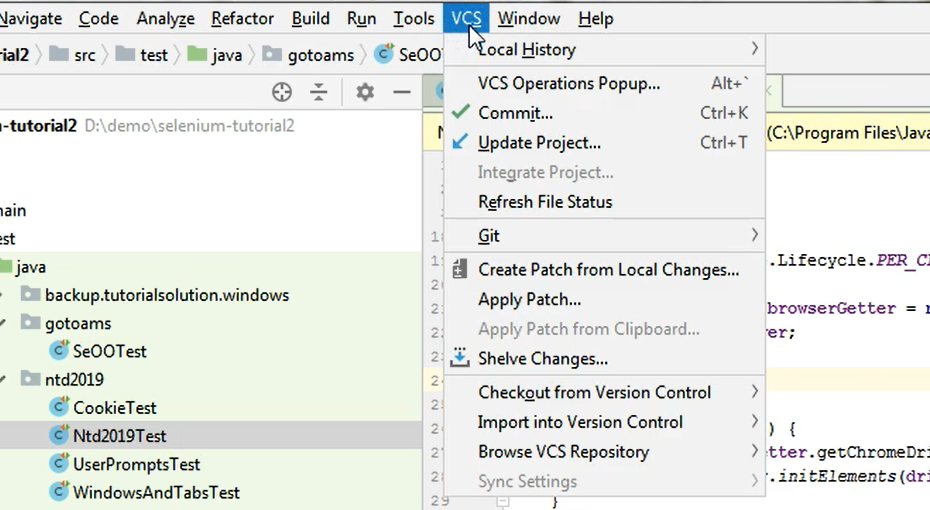
But these are the most important things that you need, and you can see them by right clicking on the class name.
Also, by doing that [right-clicking on a class], you can see the options that you have in the Analyze menu.
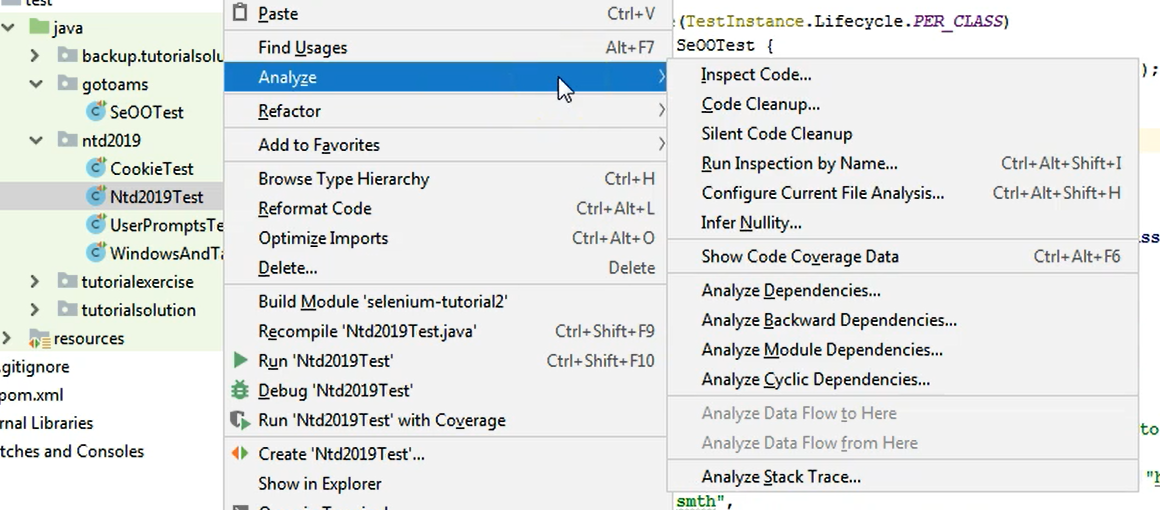
Everything here on the right can also be found in this Analyze menu.
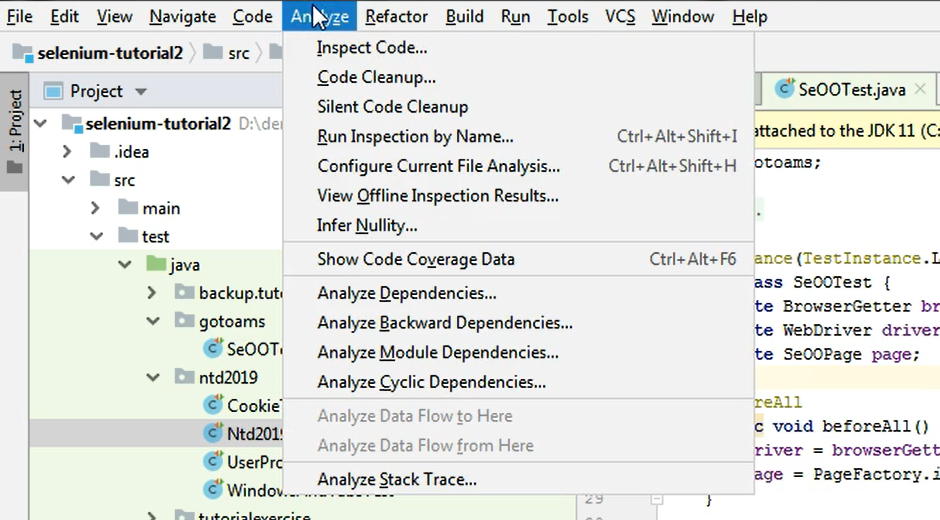
So, there's no need to go to some of these menus because the options that you have there might be available to you by interacting with specifics like classes or methods and so on.
This concludes our talk about the menus, and we can now move on to the next chapter.
