
Transcripted Summary
So, this is where the fun begins. We will now write some test code.
Before I do that, I will let you know that I installed a plugin called a Presentation Assistant, which will show on the lower side of the screen the shortcuts that I'm using, so that you can actually see what I am doing while I'm typing.
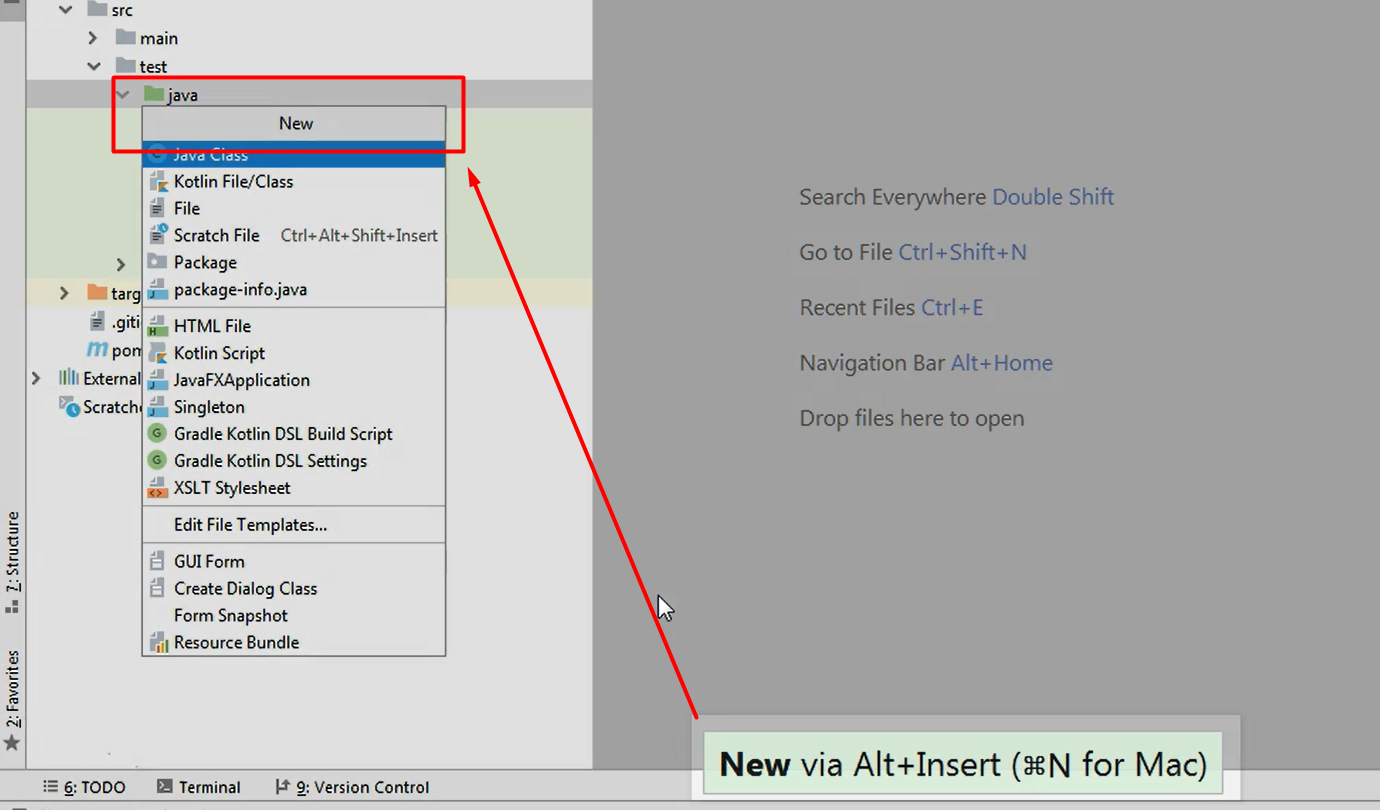
For example, if I'm currently clicking a shortcut you can see on the lower side of the screen that I've clicked a New shortcut, which has the corresponding keys of Alt + Insert.
The first thing we need to do before we start creating the code is to decide where we want to place that code.
We will create a new test, and we want to store that test in a new package. We want to group in that package all of the tests that we will create for this tutorial.
In the Java folder I want to create a new package, which is on the same level with these other packages.
I could also create a package within another package. Let's say I could create a package in the folder called tutorialsolution; but for now, I want to create a new package directly inside the Java folder.
I will click on the java folder, and I have two options here.
I can right-click and go to New and create package by selecting Package from this menu.
Or while still having the
javafolder selected, I can type from the keyboard a shortcut, which is Alt+Insert. This will bring up the New menu, so here I can choose what I want to create. A new what? In this case, I can select Package.
Now I will enter the new package name, and I will call it "taudemo" I will hit Enter and the new package will be created.
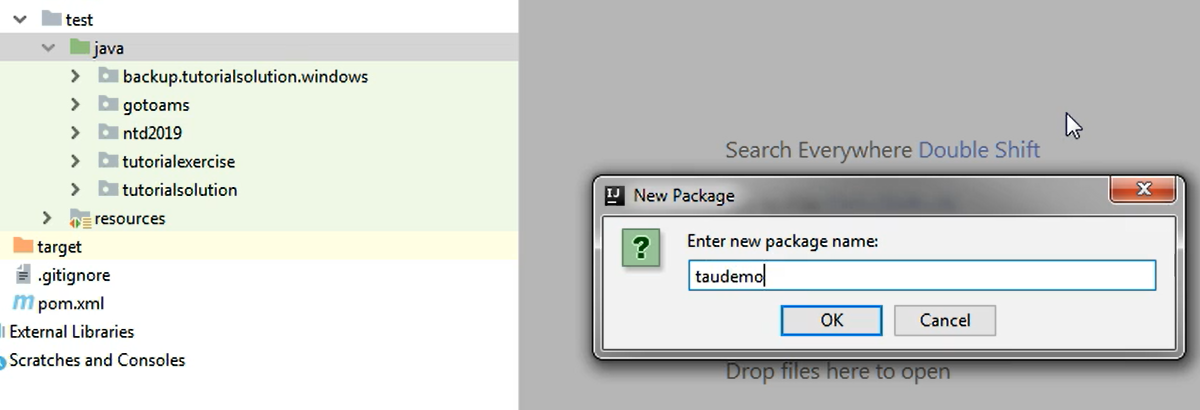
Currently it is an empty package, of course.
The next thing I want to do is to create the test class where I will store all of the tests.
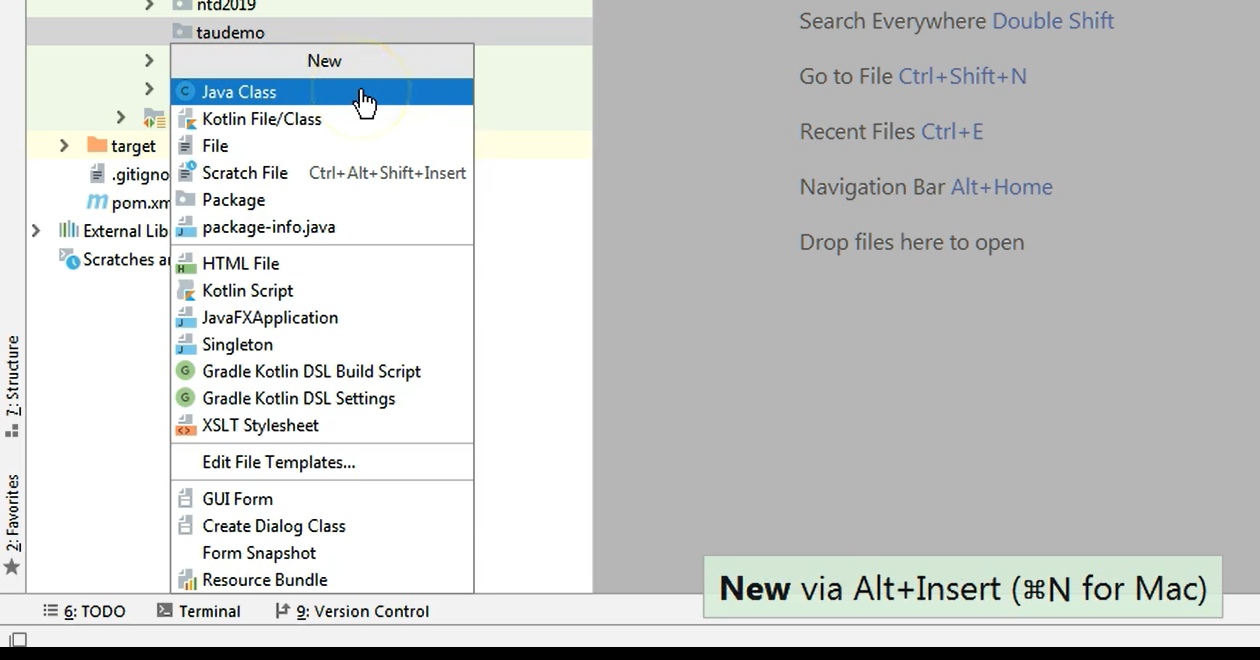
Here, I can again right-click and chose the Java Class option from the New menu, or I can just use Alt+Insert and select Java Class from these options.
I will have to type the name of the Java class; I will just call it "SeleniumTest" class.
There is also a drop-down where I can select the type of class that I want to create.
Right now, we want to create a simple Java class, but in this dropdown, we also have options like creating an interface or an enumeration.
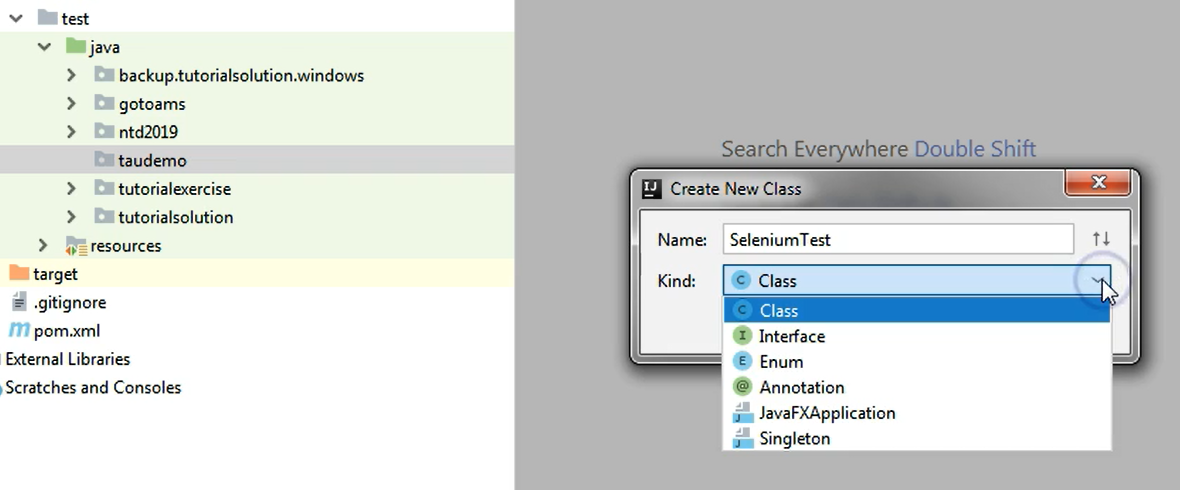
For now, I will just leave it as Class because this is what we need in order to create the test that we want.
Because my project was imported directly from a version control repository, which is Git, I have the option to automatically add this file into the change list when I create it.
So, I'm not going to directly put it into Git, but instead it will be marked as a new file and when I will go to commit all my changes, this new class will be present in the items that will be committed.
I can choose to click Add or I can choose not to add this file.
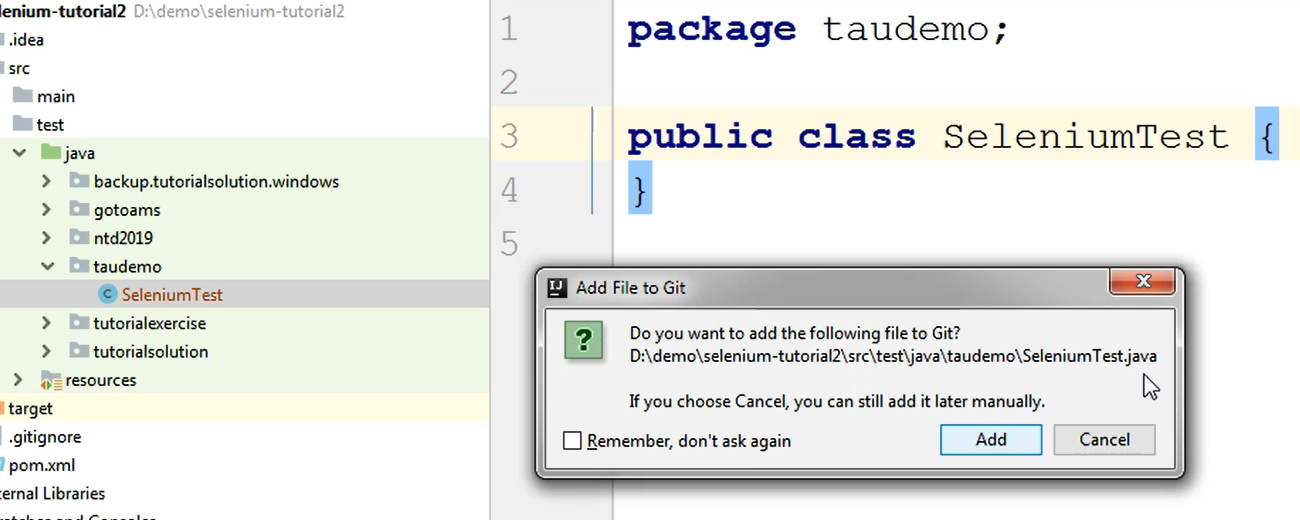
So, maybe I don't want to add this file to the repository, maybe I'm just doing some practice here? And in that case, I don't want to add it.
If I later decide that I want to add the file to the repository I can just go to the file and enable this option from there. I will show you the Git options a bit later.
But for now, I will just say "Add" and you will notice that on the left side, on the Projects screen, under the “taudemo” package, I have my new class “SeleniumTest”, and you will notice that this class is green.
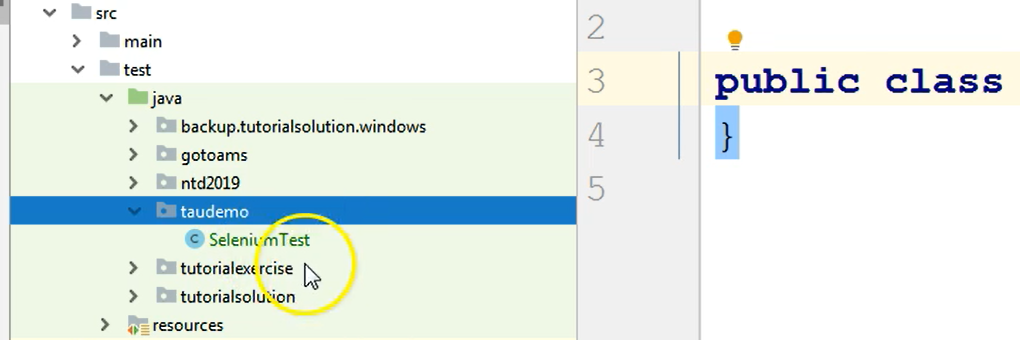
Green means that it was marked as to be added to GitHub once I'm done working with it.
So, this is how you create a new package, and a new test.
If I wanted to create a Helper class, which is not a Test class, I could create it in the Main folder in the java folder.
Again, depending on where you want to create your classes, you could either first create a new package, or you could create the class in one of the available folders or packages. For now, I will not do that.
I'm just happy to have my test in the “taudemo” folder and we will create some tests which demonstrate how to use some existing classes and other such things.
Resources
Quiz
The quiz for this chapter can be found in section 6.7
