

Transcripted Summary
Let's now talk about the available screens we have in our IntelliJ instance.
As you remember from the View menu, we were able to show or hide the left side menu, which is the Tool Window Bars.
We want to have this displayed because the first option that it offers is to show our project structure.
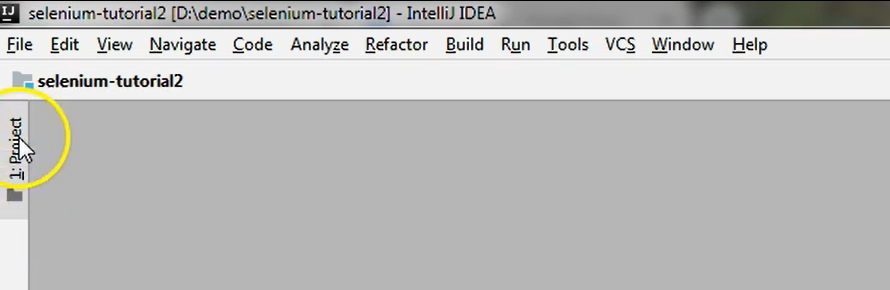
So, if we click on the Project button, we will see all of its folders, packages, classes and so on.
# Project Screen
Let's go over what we have in this screen — the project screen.
So, the top-level item is the project itself.
By expanding this drop down, we will see the pom.xml file that we discussed in an earlier chapter.
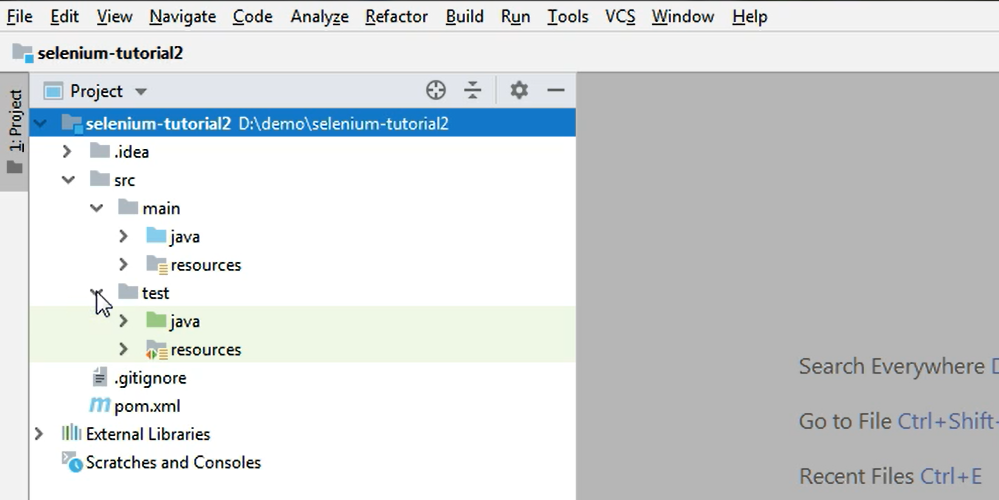
Then the src folder, with its main and test folders.
Of course, depending on your project, you might have a different structure here.
All of these gray folder looking icons, specify that we are looking at a folder. So, src is a folder that you have on your computer. main is a folder that you can also find on your computer.
The java and the other java folders — the one marked with a blue folder and the one marked with a green folder — are also folders, but one of them [the blue one] serves the purpose of storing all of the code that is not test code.
So, if you are a developer, this is where you would write all of your classes.
And the green java folder, holds all of the test classes.
Inside each java folder, you will see the packages.
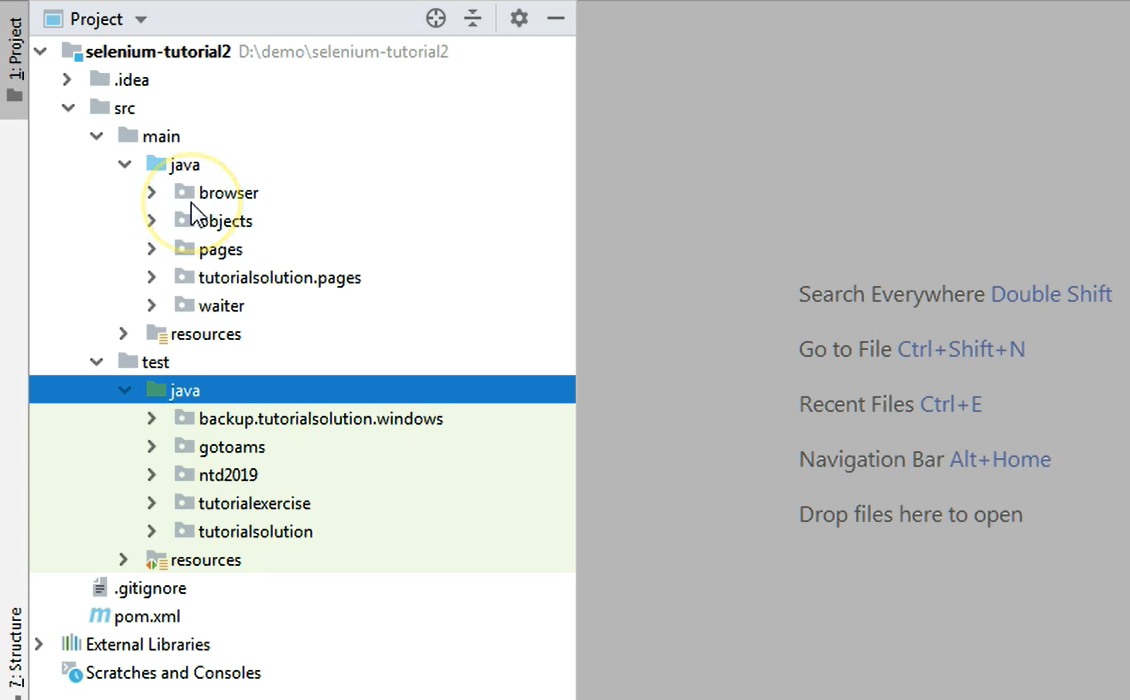
Packages are marked as gray folder icons with a white doc inside them.
As you know, a package groups all kinds of classes together.
So, if I expand one of the packages, I will see all of the classes that can be found, or even the packages that can be found inside this package.

In my case, I opened a package which first has a set of packages, and then if I open one of the packages, I will find the class that's stored inside.
I will open another package which is in the main java folder. And as you can see, I have some classes here.
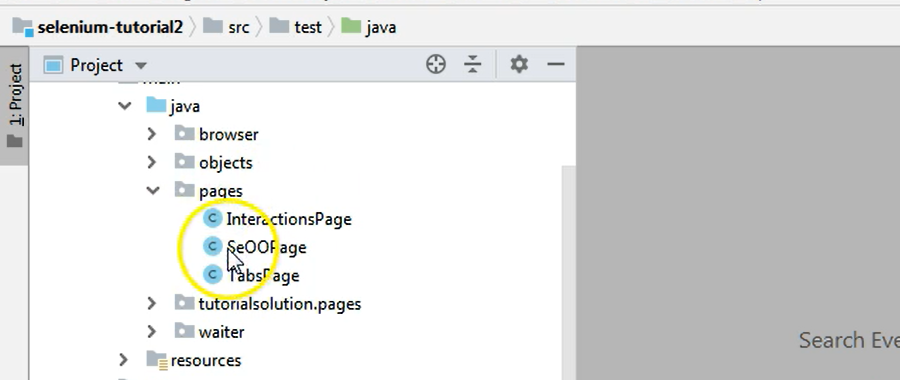
Classes can be identified by their blue icon — it's a round icon with a “c” inside (“c” is from class).
The difference between the classes from the main folder and the ones in the test folder is that, the ones in main do not have these 2 green and red icons on the top right side.
Those [green and red arrow] icons indicate that we are looking at a test class — this is how you know which is a non-test class and which is a test class.
Apart from these java folders in main and test, we also have a resources folder each.
They are also marked similarly, but the difference is that the folder from the test folder, has the additional red and green icons.
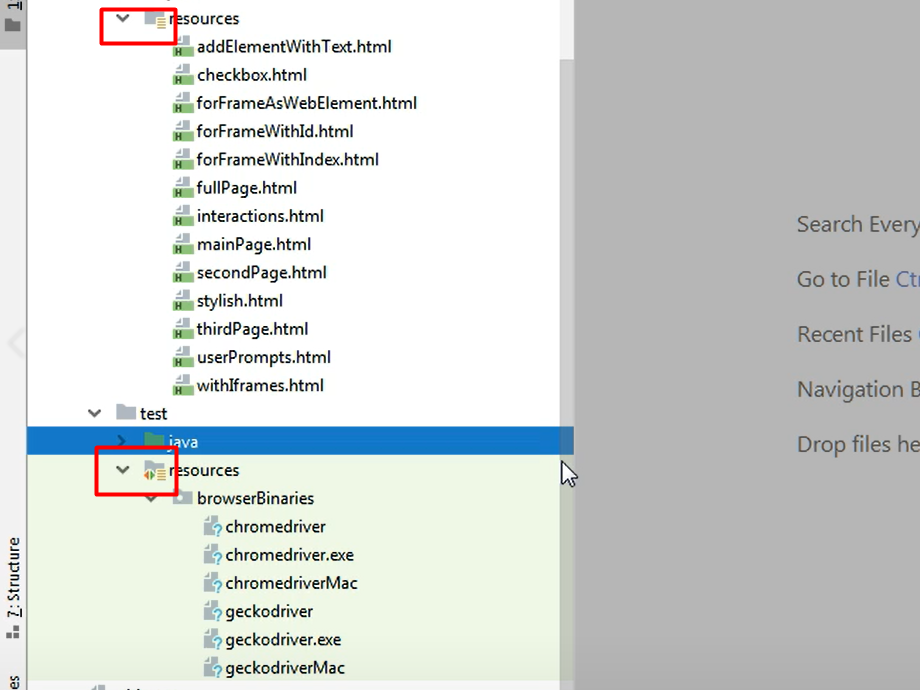
Resources are usually files that you need in your code, whether it's a test code or a non-test code. And these files can be anything from an html, a JSON file, a JS file, whatever file you need that is not a class.
These are usually resources that help you read certain properties or store certain properties. For example, you might have some environment files here where you store URLs to different environments and so on.
If we want to work on a test class, we can just collapse the main folder just so we see more of the test folders here in the left side project screen.
And I can go to a java folder, and I can just open whatever test class I want from the available packages.
I will just go to the navigation, test class — I will open this one by double clicking on it.
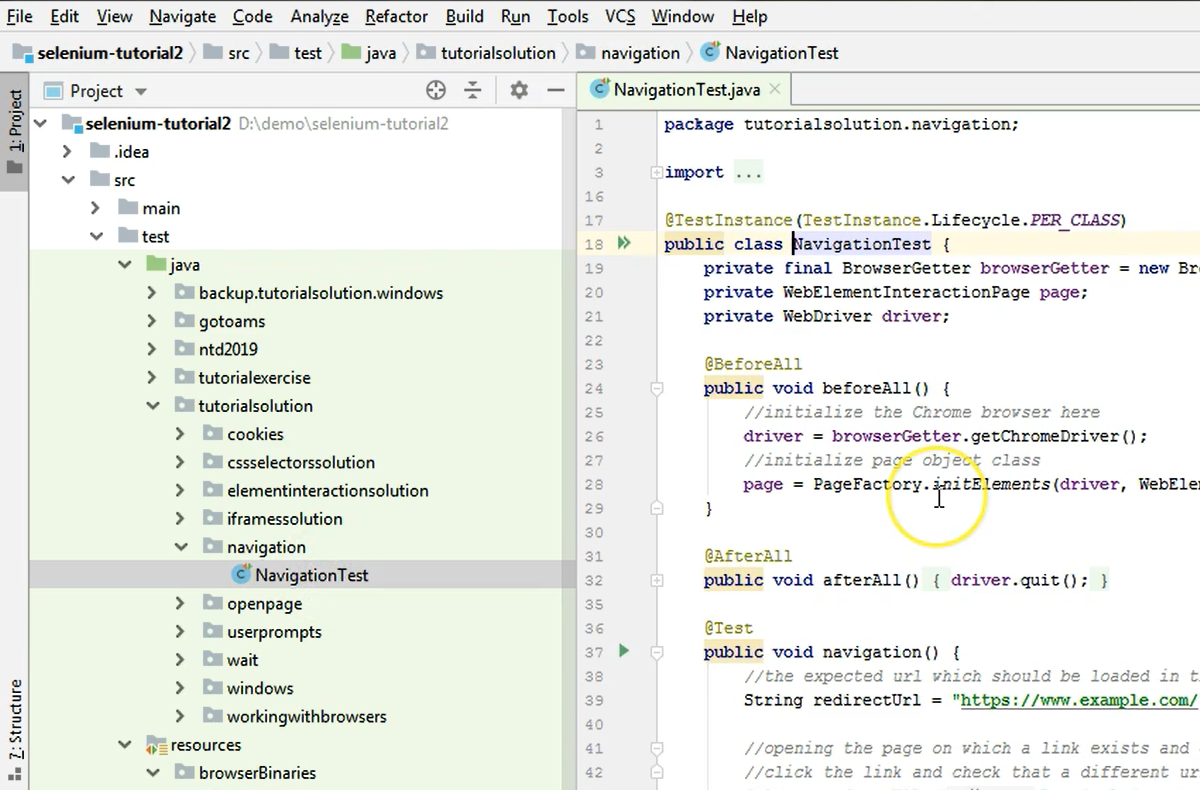
So now, my test has opened, and I can see it right next to the project screen.
Let's open a few more.
Now we will have exactly 3 classes open. Let's see what happens if I try to switch from a class to the other one.
All of the classes that I have opened, can be seen by clicking on the corresponding tab that has been opened here.
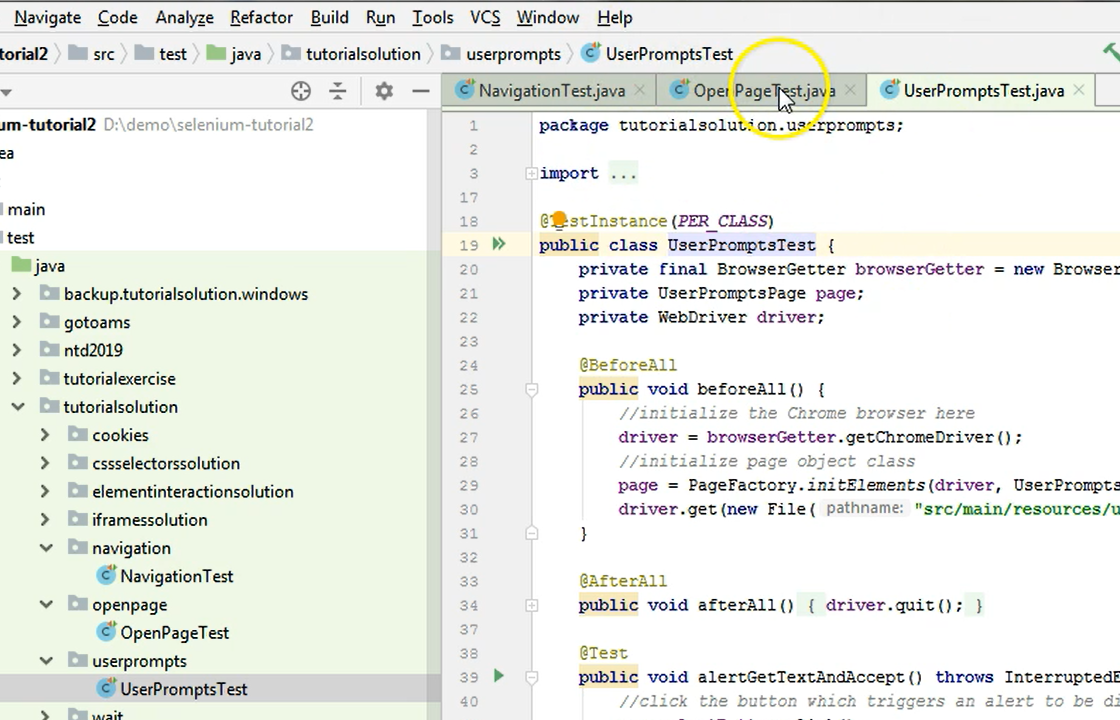
So, you can access all of these 3 classes that you have opened, by just clicking their name in this tab view.
Notice that when I click on any of these classes, nothing happens in the left-hand side.
I would expect for the class that I opened, to also be selected in the left-hand menu from the project screen.
This is not enabled by default, but by going to the Settings icon here, I can choose to Autoscroll to Source, and then to Autoscroll from Source.
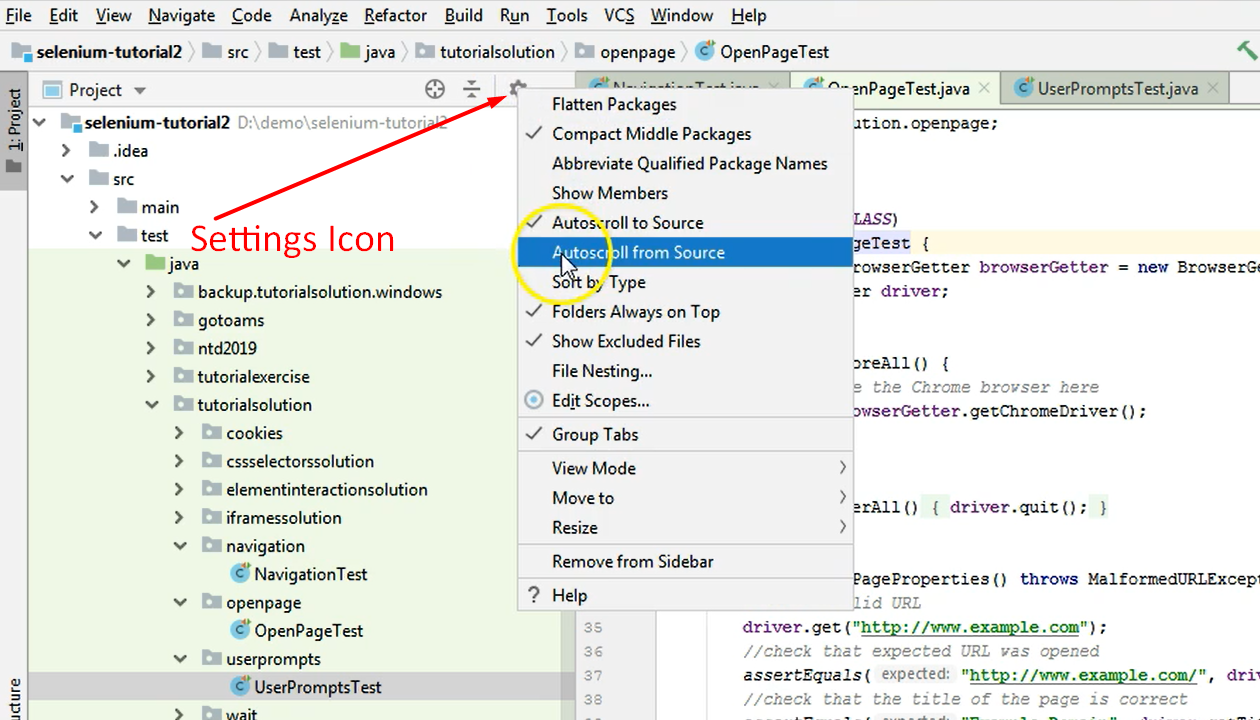
So, the behavior will be a little bit different now.
Click on the third class, and it will come in view in the left-hand menu.
Click on the first class, and this one will become highlighted in the left-hand menu.
The other way around, by clicking with a simple click on the class name, I will jump in the right-hand side pane, to the class that I have clicked only once in the project screen.
Initially before I enabled these options, in order to open a class, I had to double click it in the project view.
But now if I open another package and I just click on the class inside, it will automatically open in my navigation screen here.
And the highlight of the left-hand side will be the class test I just opened, until I click on a different class, which will come into view on the left-hand side.
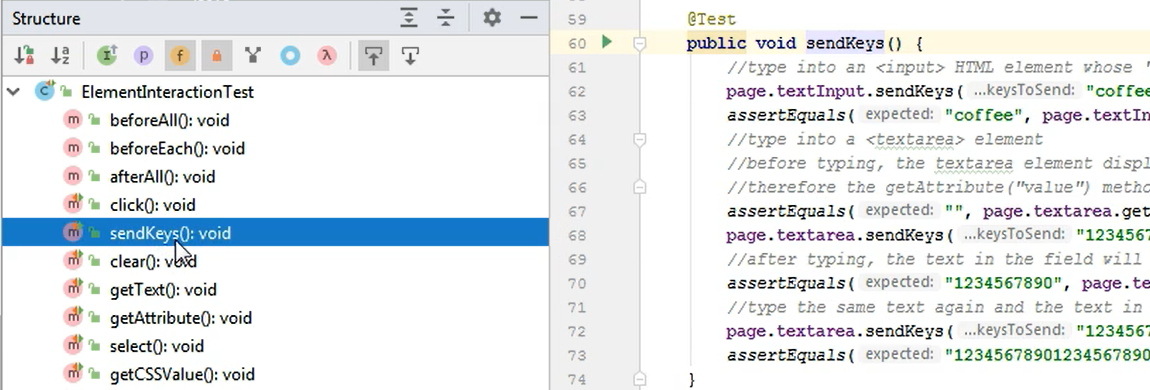
# Structure Screen
Classes usually have a lot of methods and a lot of fields inside them.
If you want to see the structure of a class, without having to open that class and having to browse a lot in order to see all of the method names that you have implemented here, you can go back to the left hand menu [the Tool Window Bars], and you can click on Structure.
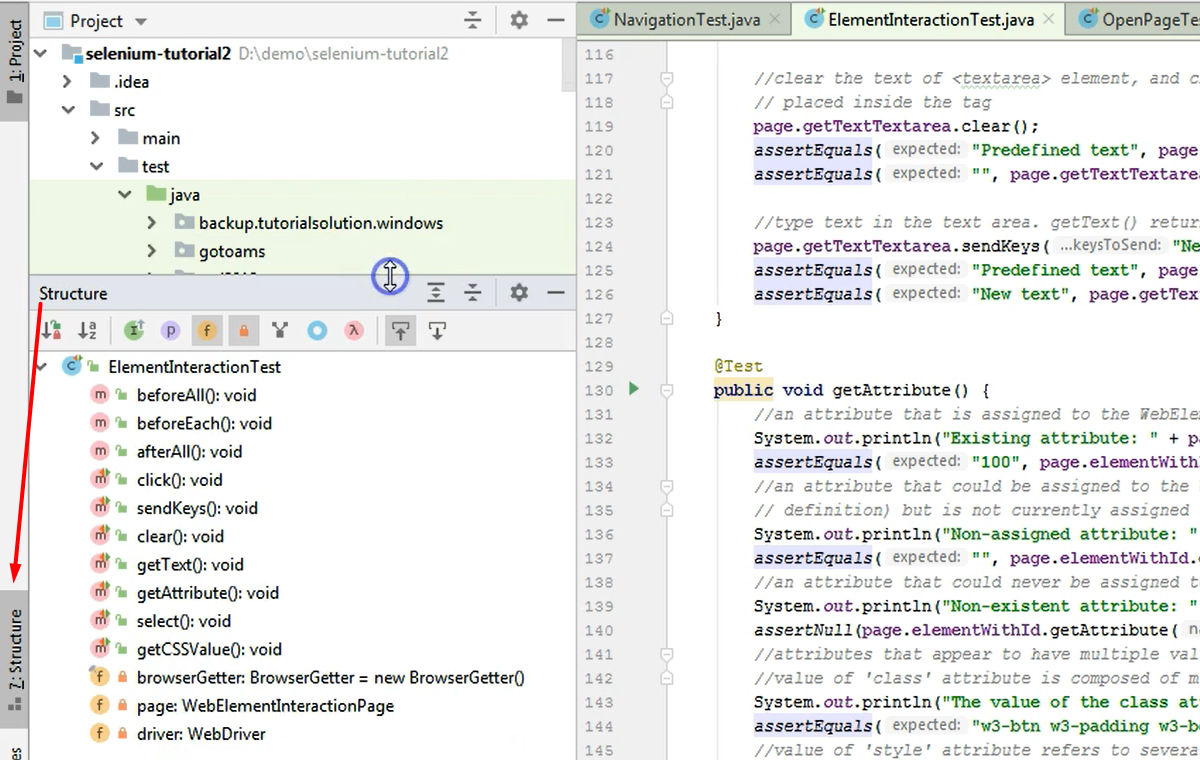
And so, the structure of this class will be displayed in this smaller structure screen (which we can enlarge by dragging it up and down).
If we look here, we have with an “m” icon, the names of all of the methods that we have in this class that we have open, and with an “f” icon, all of the fields that are defined inside this class.
So, if I click for example on the method sendKeys just once, this one will be brought into view in the editor screen.
If I click on beforeAll, this is the method that will be highlighted in the editor screen.
The same with the fields.
If I click on one of them, they will be highlighted, and I can just go to the editor screen and change something or work with them in whatever way I want.
So, this is the project and the structure screens.
The structure is not always very useful. So, what I normally do is that I just hide it unless I need it.
But the project screen is very useful.
Quiz
The quiz for this chapter can be found in section 4.2
