

Transcripted Summary
One of the items from the navigation bar, which is the one right above the project and the editor screens is the File Path.
Here you can see that the currently selected or the currently in view class is the one with the name “ElementInteractionTest”.
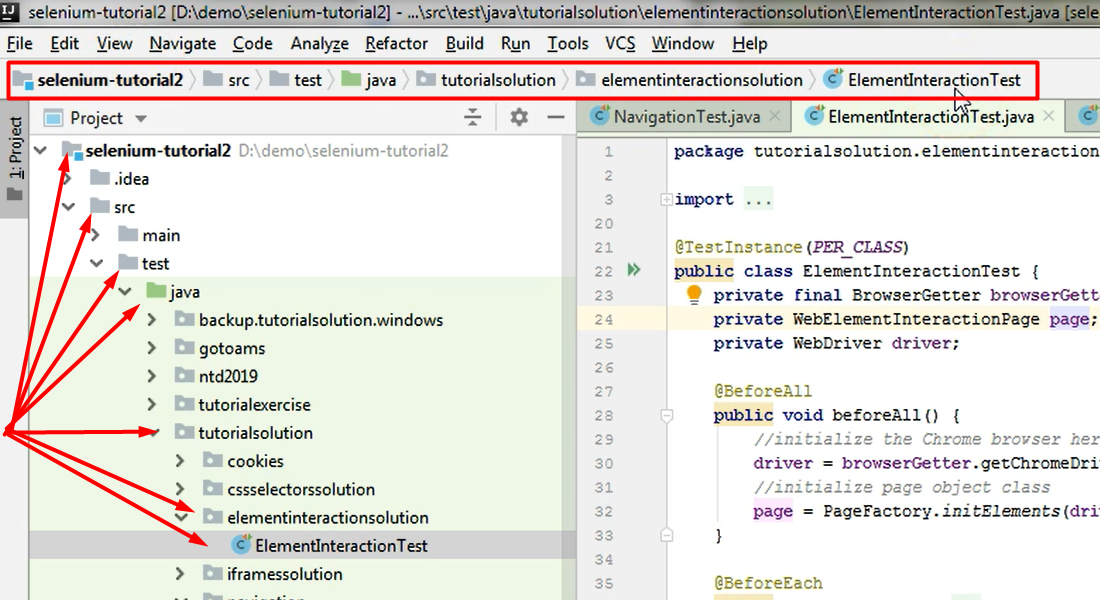
In the navigation bar you can see its entire path as you could find it on your computer from the root folder of the project up to the test class.
If you went to your machine and if you double click on the folder whose name is the project name, you would then see the
srcfolder.If you would click on the
srcfolder, if you would open it, you would go to thetestfolder.If you would open that one, you would go to the next one and so on and so on.
So, this is basically the path that reflects the structure of this project on your machine.
The navigation bar also contains the Add Configuration options, and these are related to your test runs and other things that we will discuss later on.
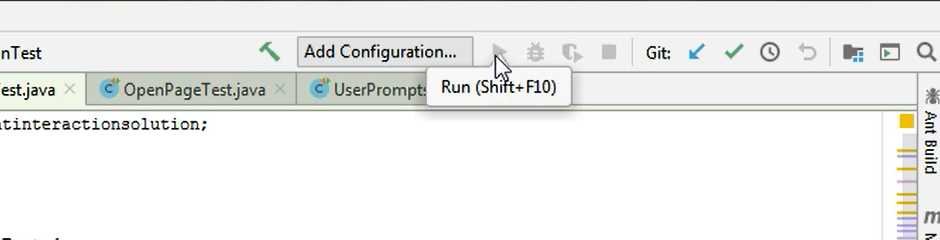
Once you will want to run your tests with a specific configuration, you will also have the option to run the test from here and then you would be able to debug the tests.
This is basically everything related to the navigation bar.
# Footer Bar
On the lower side of the screen, you will currently see 3 entries named TODO, Terminal, and Version Control.
If you open Terminal, this will be nothing more than a terminal as you have in Linux or a command line tool CMD that you have in Windows.
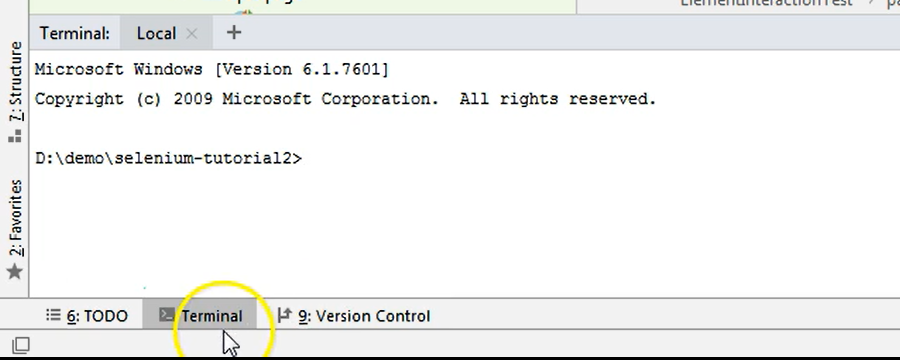
So here you can type any commands just as you would in those standalone tools.
In this bar, you will also find some other shortcuts when certain actions are performed.
- Let's say when you will run a test, you will see a new entry in this menu called Run.
- If you will analyze your code by using the built-in code analyzer, the results will be shown in a new entry here called Inspect.
Let's see what happens if we perform a build of our current Maven project.
# Maven Menu
In order to perform the build, we can use one of the menus that we have on the right-hand side, which is the Maven Menu.
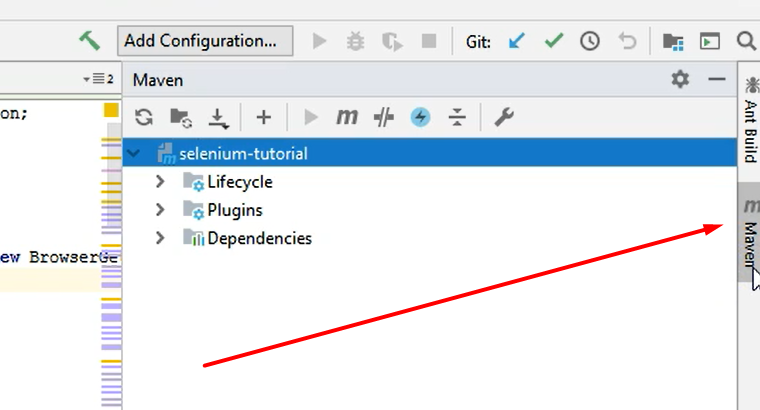
By clicking the icon called the maven, on the right side, we will see a new Maven screen.
This is basically the place where we can compile the project, run tests and so on based on the Maven goals which are displayed here.
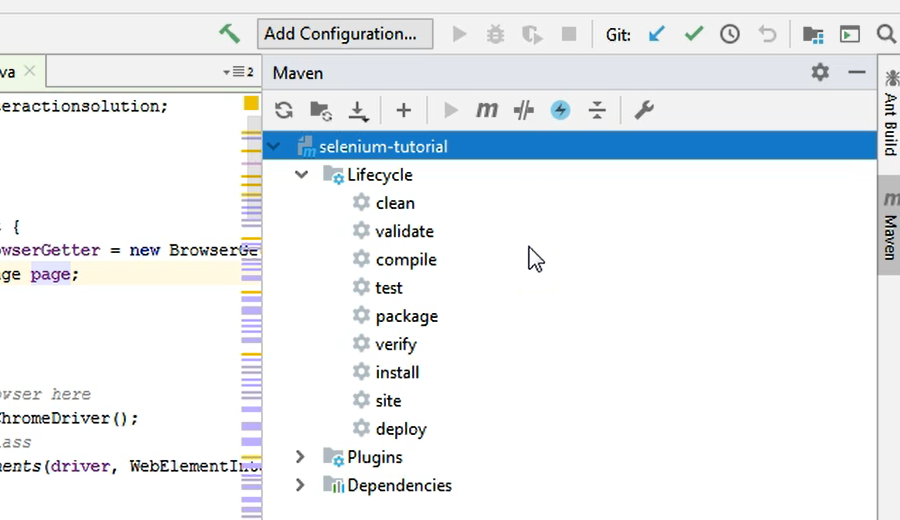
We can also take a look at some plugins that are installed, and we can also see what the dependency is defined in the pom.xml files are.
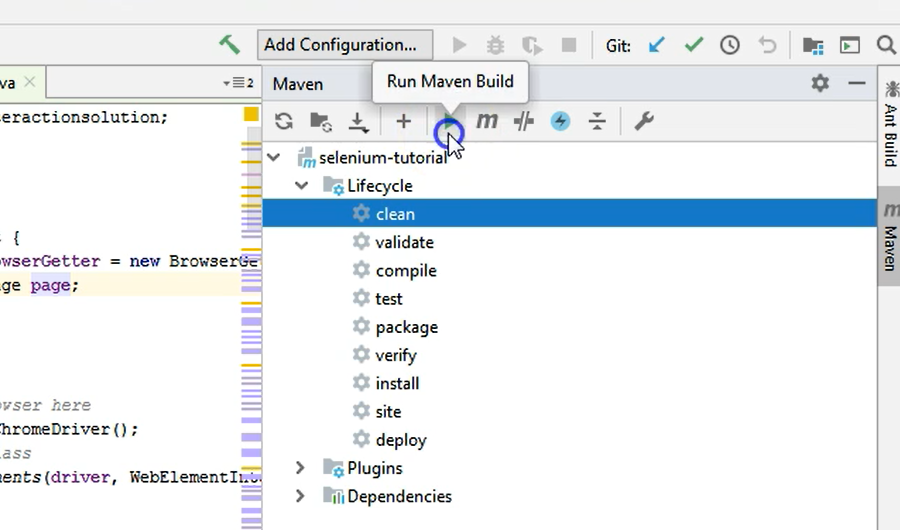
In order to perform a Maven clean command that you would otherwise perform in your command line, you can just select clean as a Lifecycle goal and you can just click the green button here.
By doing so, the Maven project will now be compiled, and you will see that you will have a new Run icon and entry displayed in the lower side menu.
This comes with its very own screen where you'll see information regarding the Maven build.
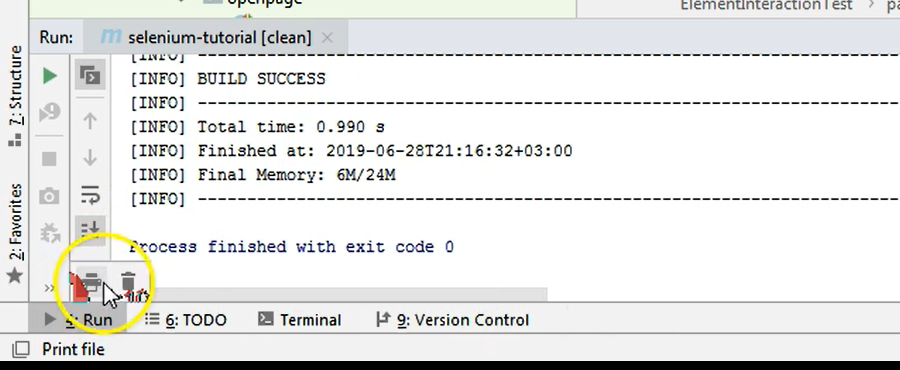
The Maven clean operation was successful, so your build is now successful.
You can minimize this screen if you want by clicking run again or you can leave it open.
If I want to perform a clean install goal, I can just select the clean and the install goals from this screen by holding down the control key.
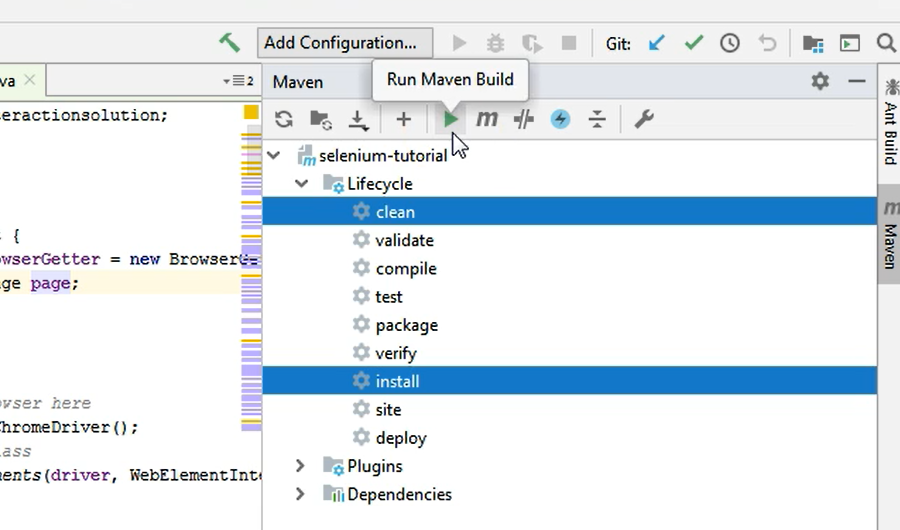
I will then click the Run button and I will just wait for the clean install to be successful.
This takes a while, so the compilation is going to go smooth and the build is a success.
If we want to run the same goal, but we don't want to run any tests that we have in the project, we can click the Skip Tests toggle, and this is equivalent to saying -DskipTests in your command line if you were running a Maven command.
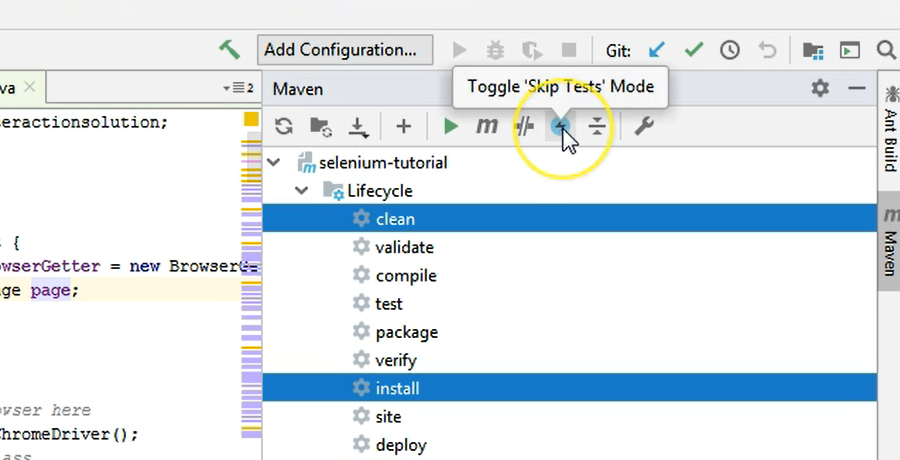
So, I will run this again by clicking the green Run Maven Build icon and the project will again go through the clean install goals but this time without running any tests that I might have had in my project.
You also have an interesting icon here, which is the first one which allows you to Reimport our Maven projects.
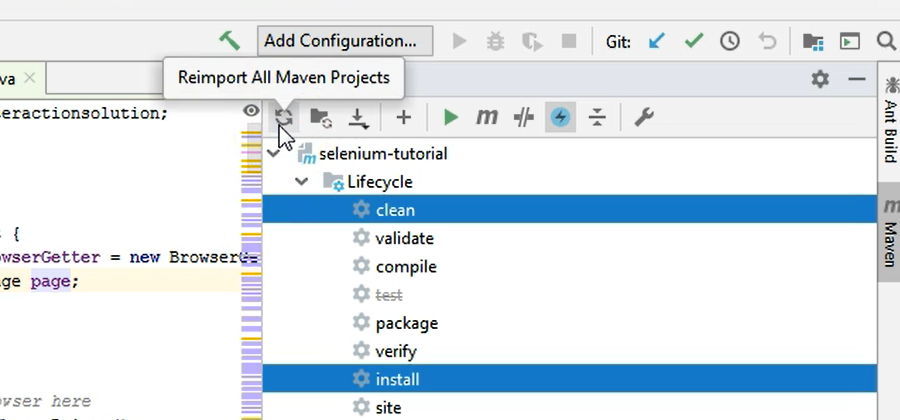
Sometimes because you're importing all kinds of dependencies, you might notice that some of them did not import well.
In that case, you can just click the Reimport button and on the lower side of the screen, you will see some activity.
You will see that the dependencies are being resolved. And once those notifications are not there anymore, the import was successful and you can try to do what you were doing before again, in order to see that the re-import was successful.
So, this is the maven screen.
This is what you can do here. Of course, you can choose any other goal that you want, and you can run that specific goal.
There is also an Ant Build screen, but we are not working with Ant right now, so this is of no use to us.
