

Transcripted Summary
In this chapter, we will be talking about reporting with TestCafe.
We will start by talking about:
How we can install the Reporters Plugins using NPM
Using different reporters plugins like HTML report and Allure report
As the first step, we will be talking about the reporters and how we can install them.
# Install the Reporters
Reporters are plugins used to output test run reports in a certain format.
Reporter plugins are npm packages.
TestCafe ships with the following reporters:
spec, which is the default
xUnit
JSON
List
HTML
Allure report
The reporter package name consists of two parts - the testcafe-reporter-[prefix] and the name of the reporter itself - for example, testcafe-reporter-list or testcafe-reporter-html.
You can search for available reporter packages on the NPM website that support TestCafe by hitting this URL.
# Use TestCafe HTML Report
In this demo, we will be learning how to use the TestCafe HTML report.
We will install the HTML reporter with npm install.
After that, we will use it while we are running or executing our tests.
As we mentioned in our slides, we can open the NPM or the node package manager website, and in the search bar, we can search for "testcafe-reporter", because, with this schema, we can find all the reporters that support TestCafe.
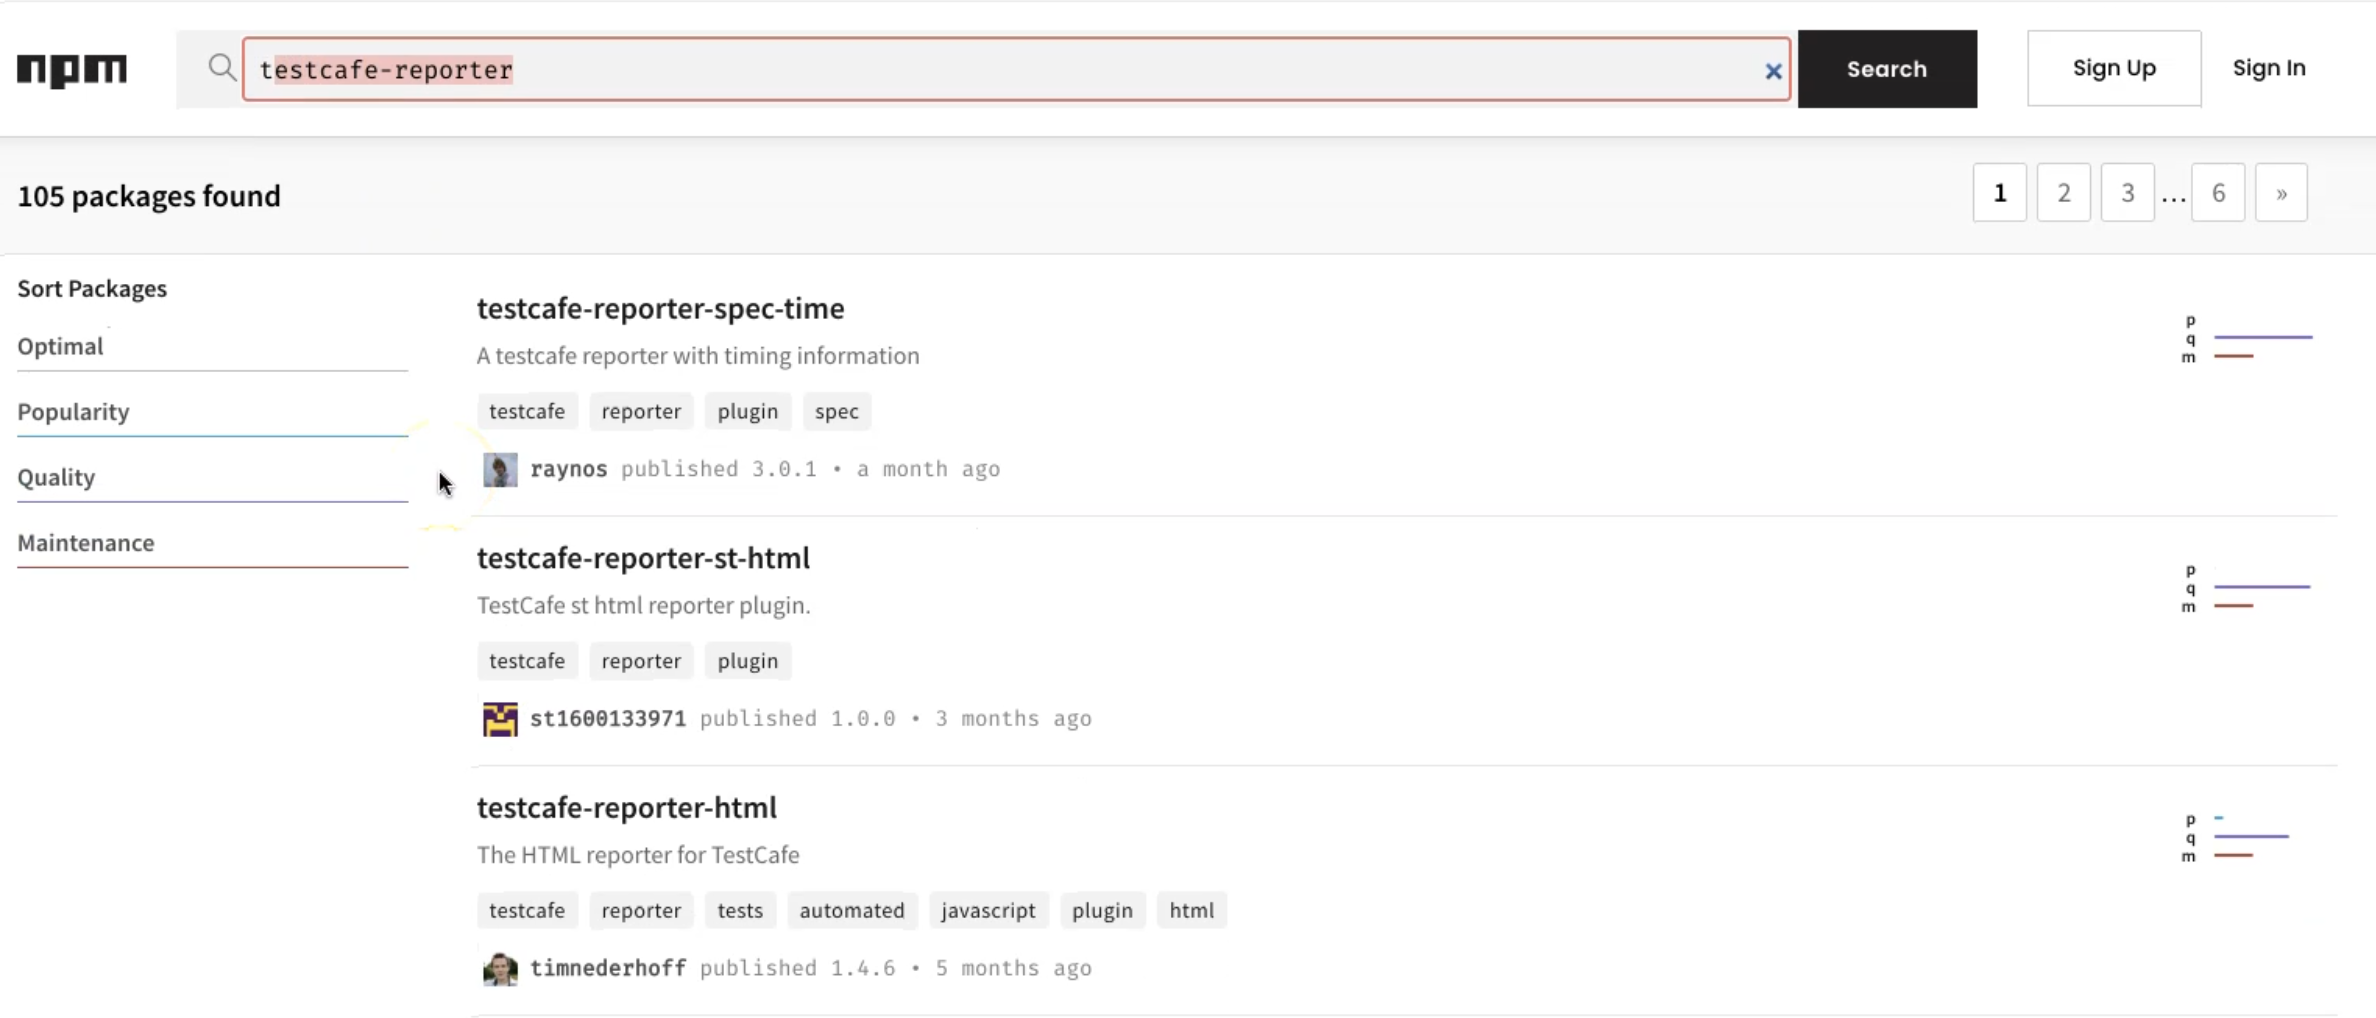
For example, here we have testcafe-reporter-html, this is the HTML reporter for TestCafe.
So we can click on this one.
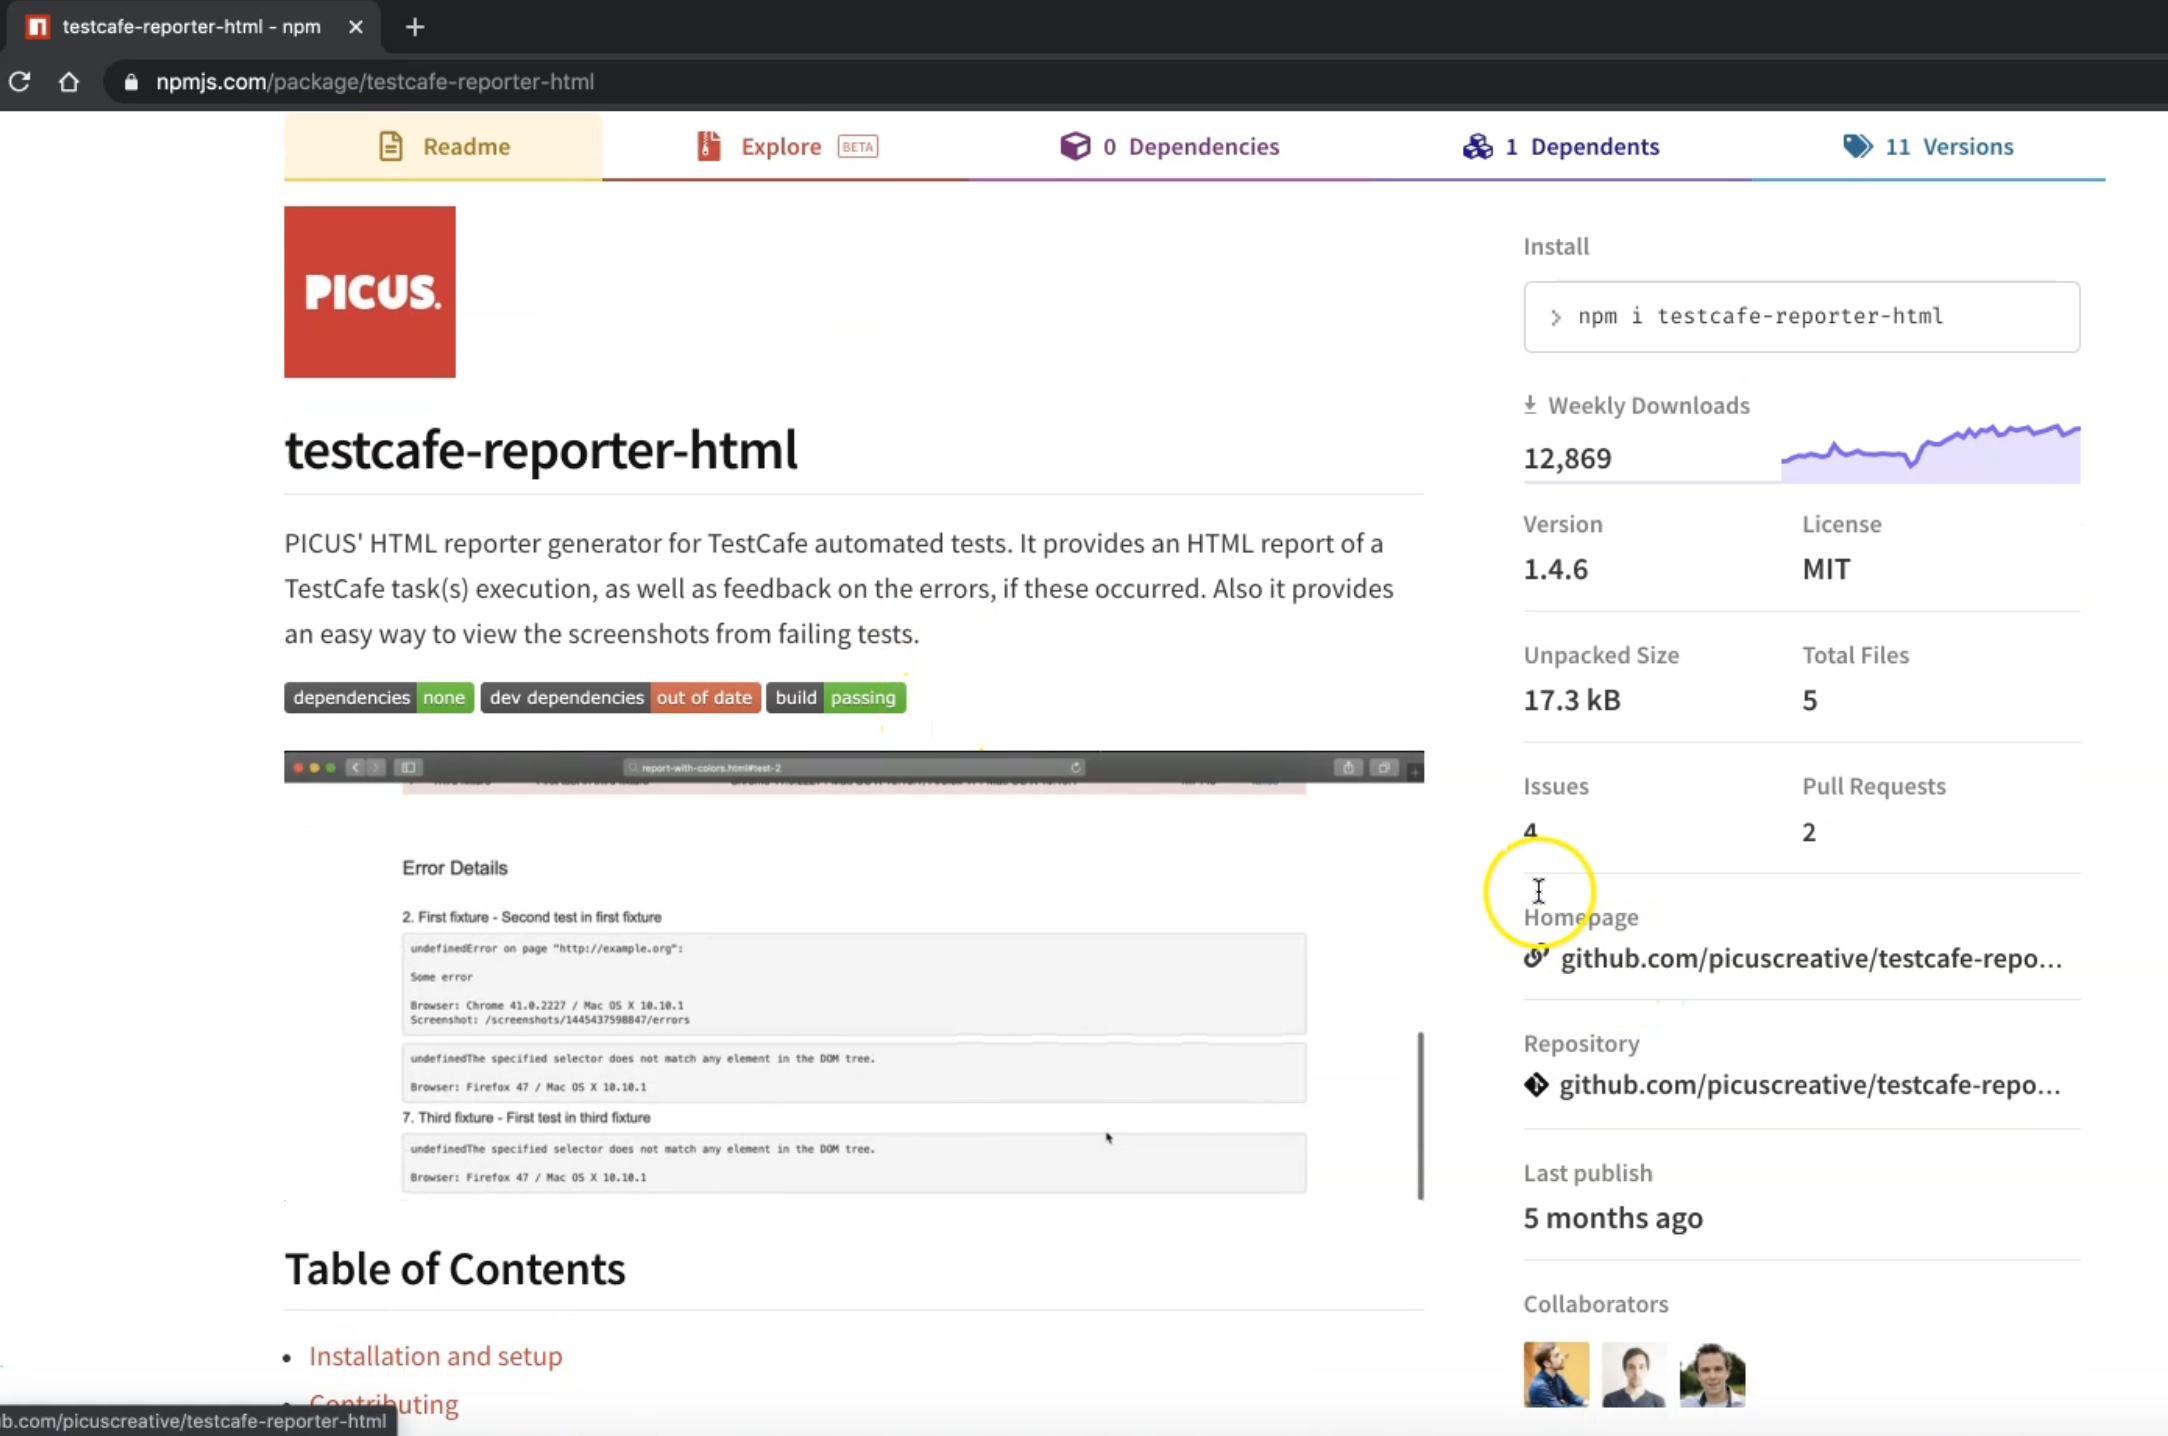
After that, we can find the description.
We can also find the GitHub repository for this report.
After that, we just need to run the registration test with our reporter HTML.
This is a normal command:
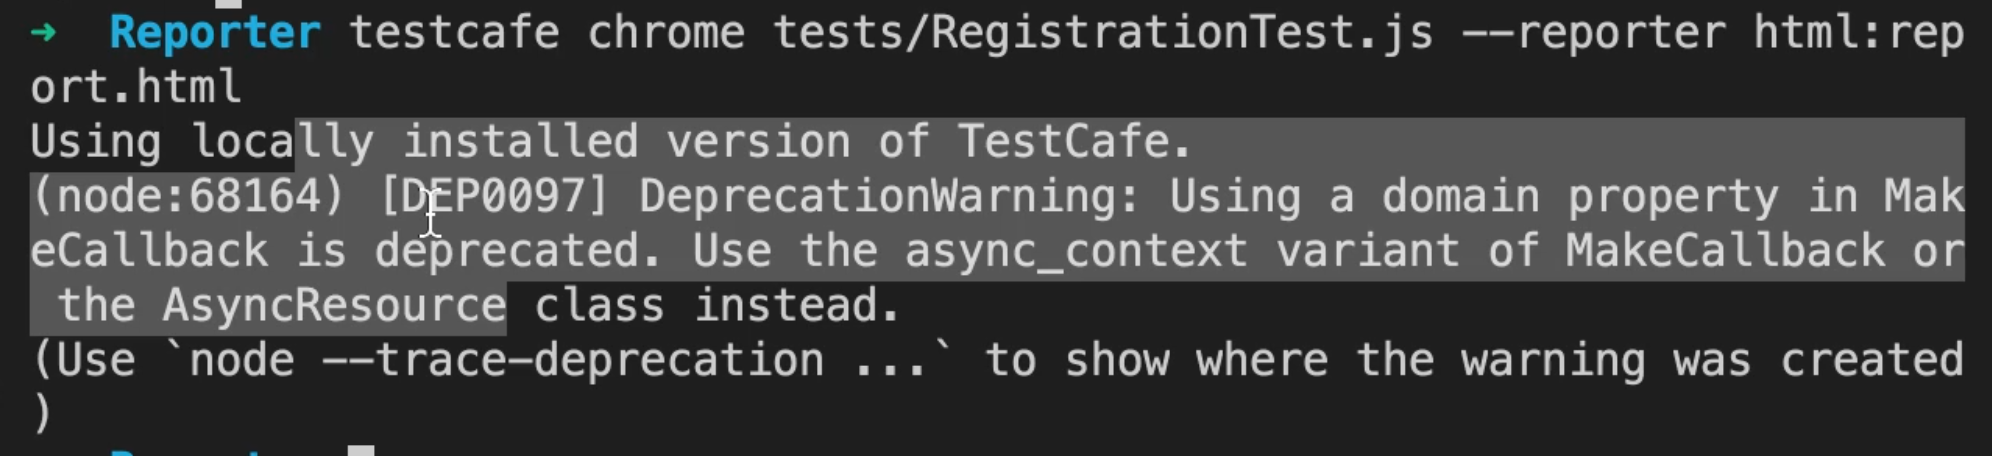
testcafe chrome tests/RegistrationTest.js --reporter html
We will just add --reporter html.
Then click "Enter".
TestCafe will start the server and we will check the test results after the test is finished.
So here's the registration test.
We filled the registration form, and then after that, we logged out.
This is our existing scenario and after that, log in, and then go to My orders to check that I have already logged into my account.
Here we notice that the test result is printed in the terminal as an HTML file.
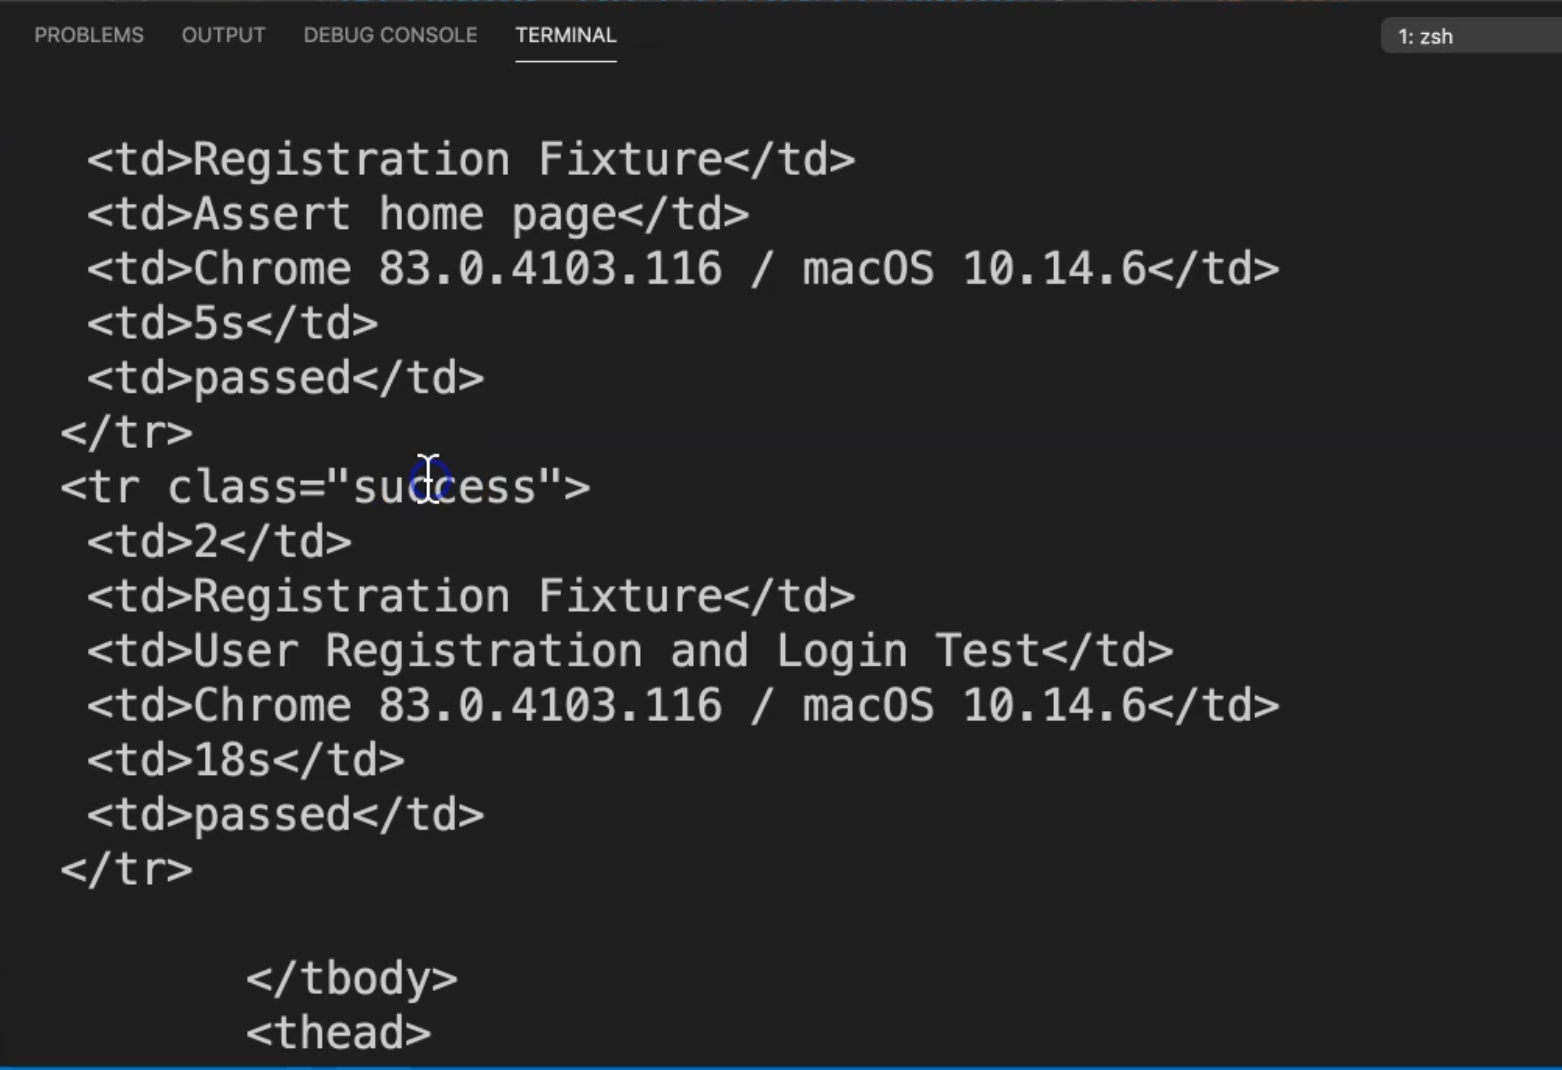
We can find all the tags or elements with HTML, and also this is the test result for the registration feature, but we need to put it in an HTML file here in the project.
We can do it, but we need to add something else.
We need to add the reporter name with the command line.
We can copy it and put it in an HTML file, but we can do it with one additional parameter with an HTML reporter.
Also, notice there are no console test results because it should be displayed in the HTML report.
So let's go again to our command line, and we can add the :report.html.
That means that we need to export the test result to the HTML page after we finish.
So we can run our test again and check the result.
testcafe chrome tests/RegistrationTest.js --reporter html:report.html
The HTML report file is created, but it will update it with the test results after the test is finished.
We are again running our registration and we click on the Register link.
We will fill out the form and log out, log in, go to My Account, and so on.
We don't have HTML here or HTML body here in the console.
But we have report.html in the root folder - here will find all the HTML results and we can just open this file.
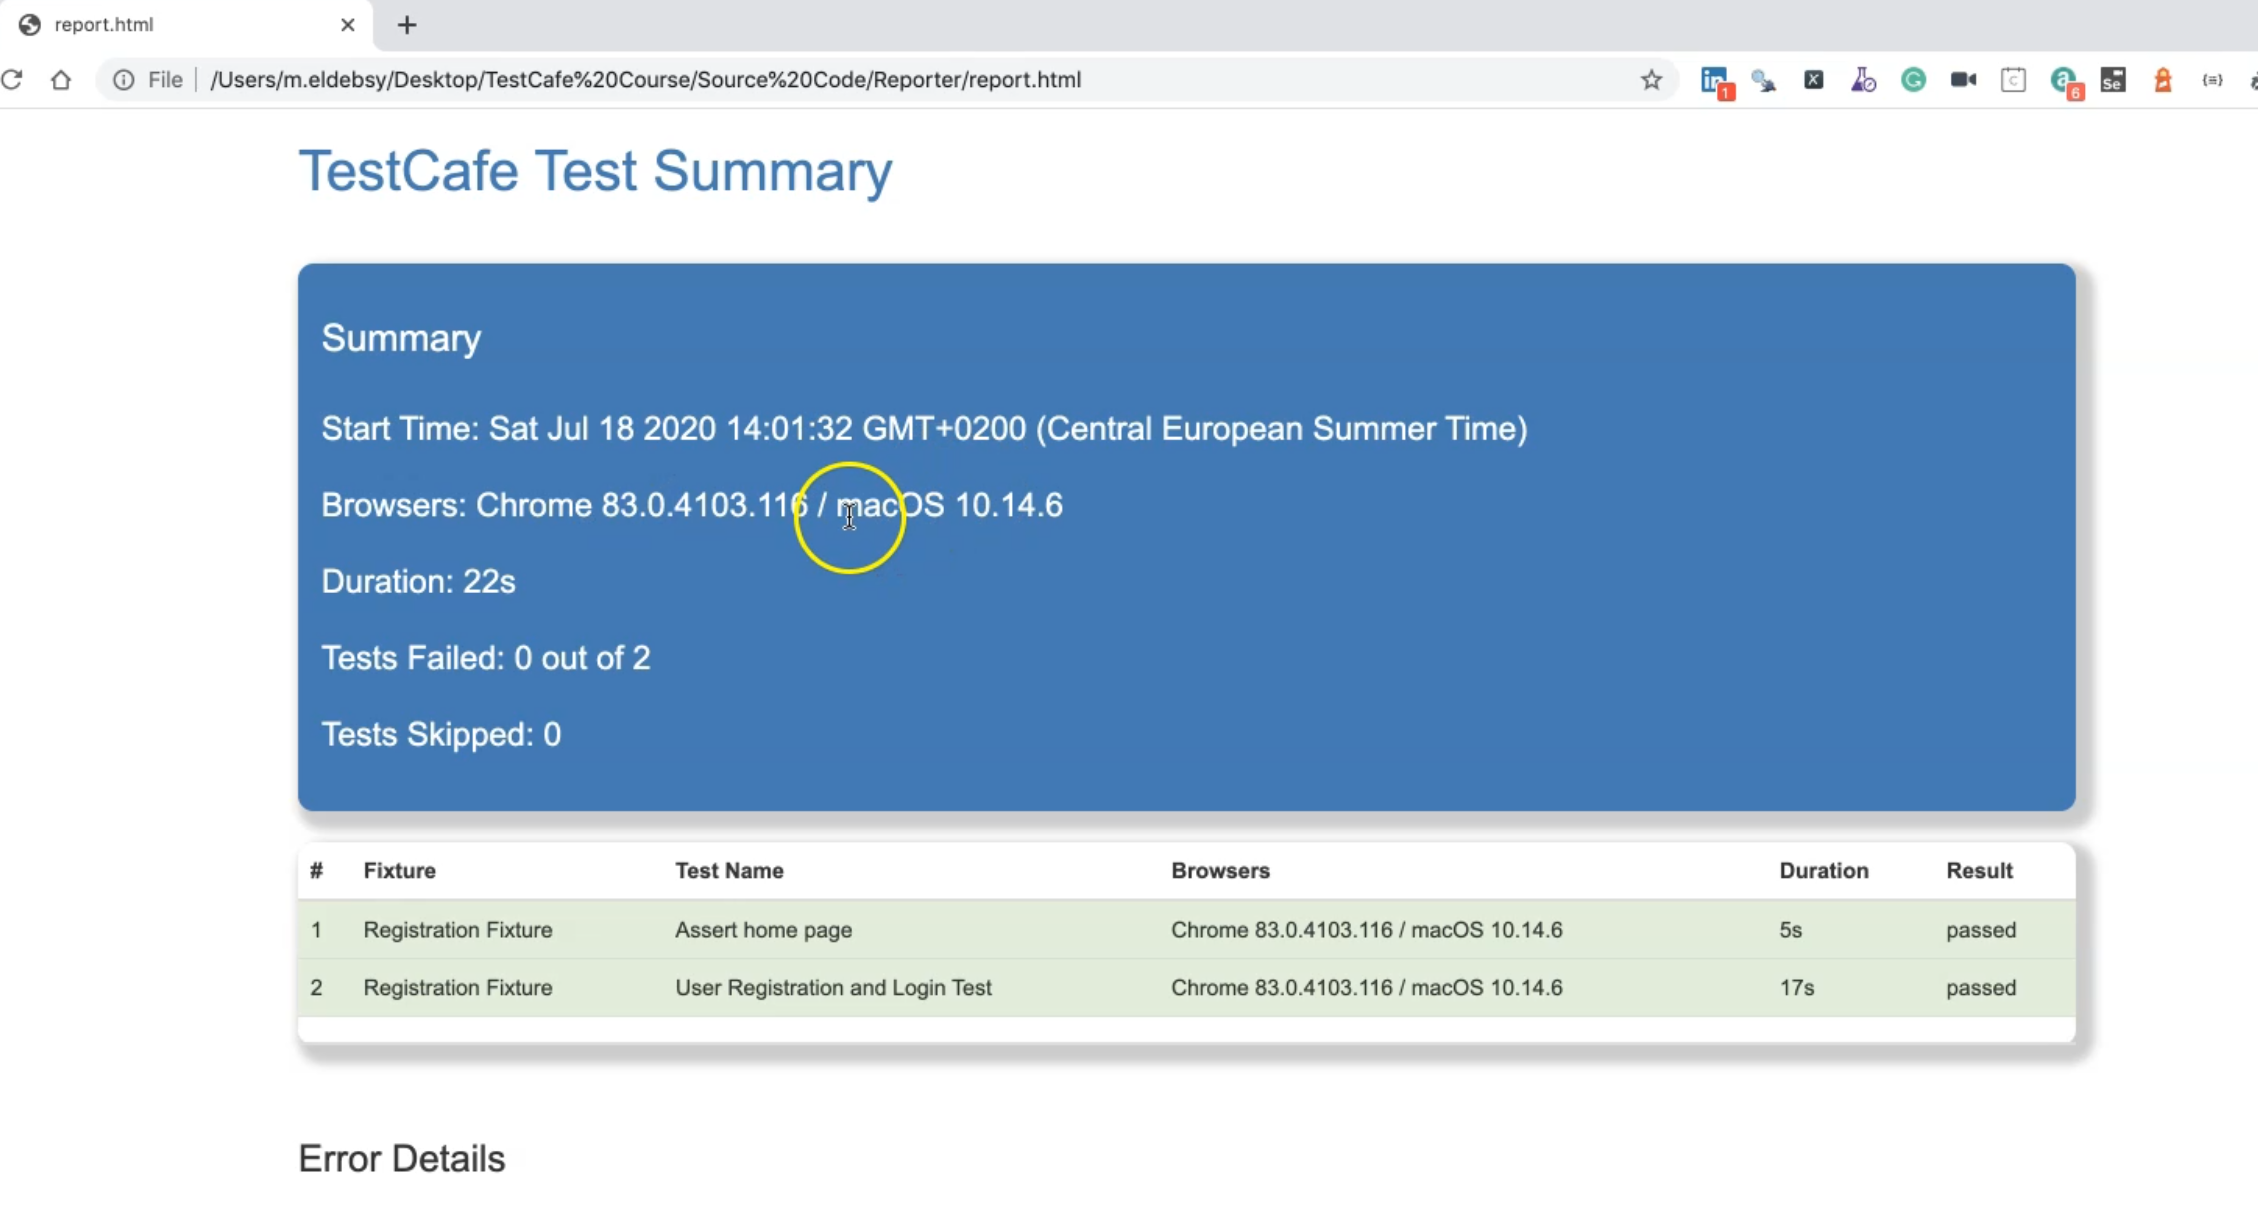
We have our TestCafe test summary or the HTML report that we generated.
It usually contains:
the date that we generated the report
the browser name
the operating system
the duration of the test
how many test cases that we have
how many test cases fail
how many test cases skipped
Here we have the Registration Fixture, feature, and we have the test name under the fixture with the project name, the duration, the result, and all things.
Here should display the error details if we have any error details.
So for example, let's make the "Assert homepage" test fail.
After that, we can check the report details.
We can open again our project, go to RegistrationTest.js, and under "Assert homepage", we can assert the URL is notOk(), for example, instead of ok().
Then we can rerun our command again and then check what happened during our test.
TestCafe will open the server, redirect to the URL, and run our test.
So ours is finished, the reporter has replaced the old report.html with the new result.
We can open report.html, and here we have one test failed - "Assert home page".
We can click on this one and go to the error details.

We also have a screenshot for the error because we are taking a screenshot with our TestCafe test cases and because takeScreenshot() is called before our error line.
This was our demo about how we can install HTML reporter and use it in our TestCafe test cases.
Resources
Quiz
The quiz for this chapter can be found in 10.2
