

Transcripted Summary
In this chapter, we will be getting started with TestCafe by writing our first test automation scripts using TestCafe.
What we will cover during this chapter:
Check the projects that we are going to use
Get knowledge about fixtures and tests
Create the first test, including:
Performing action on the page
Observing the page state
Running the test
Viewing the test results
# The projects we are going to use
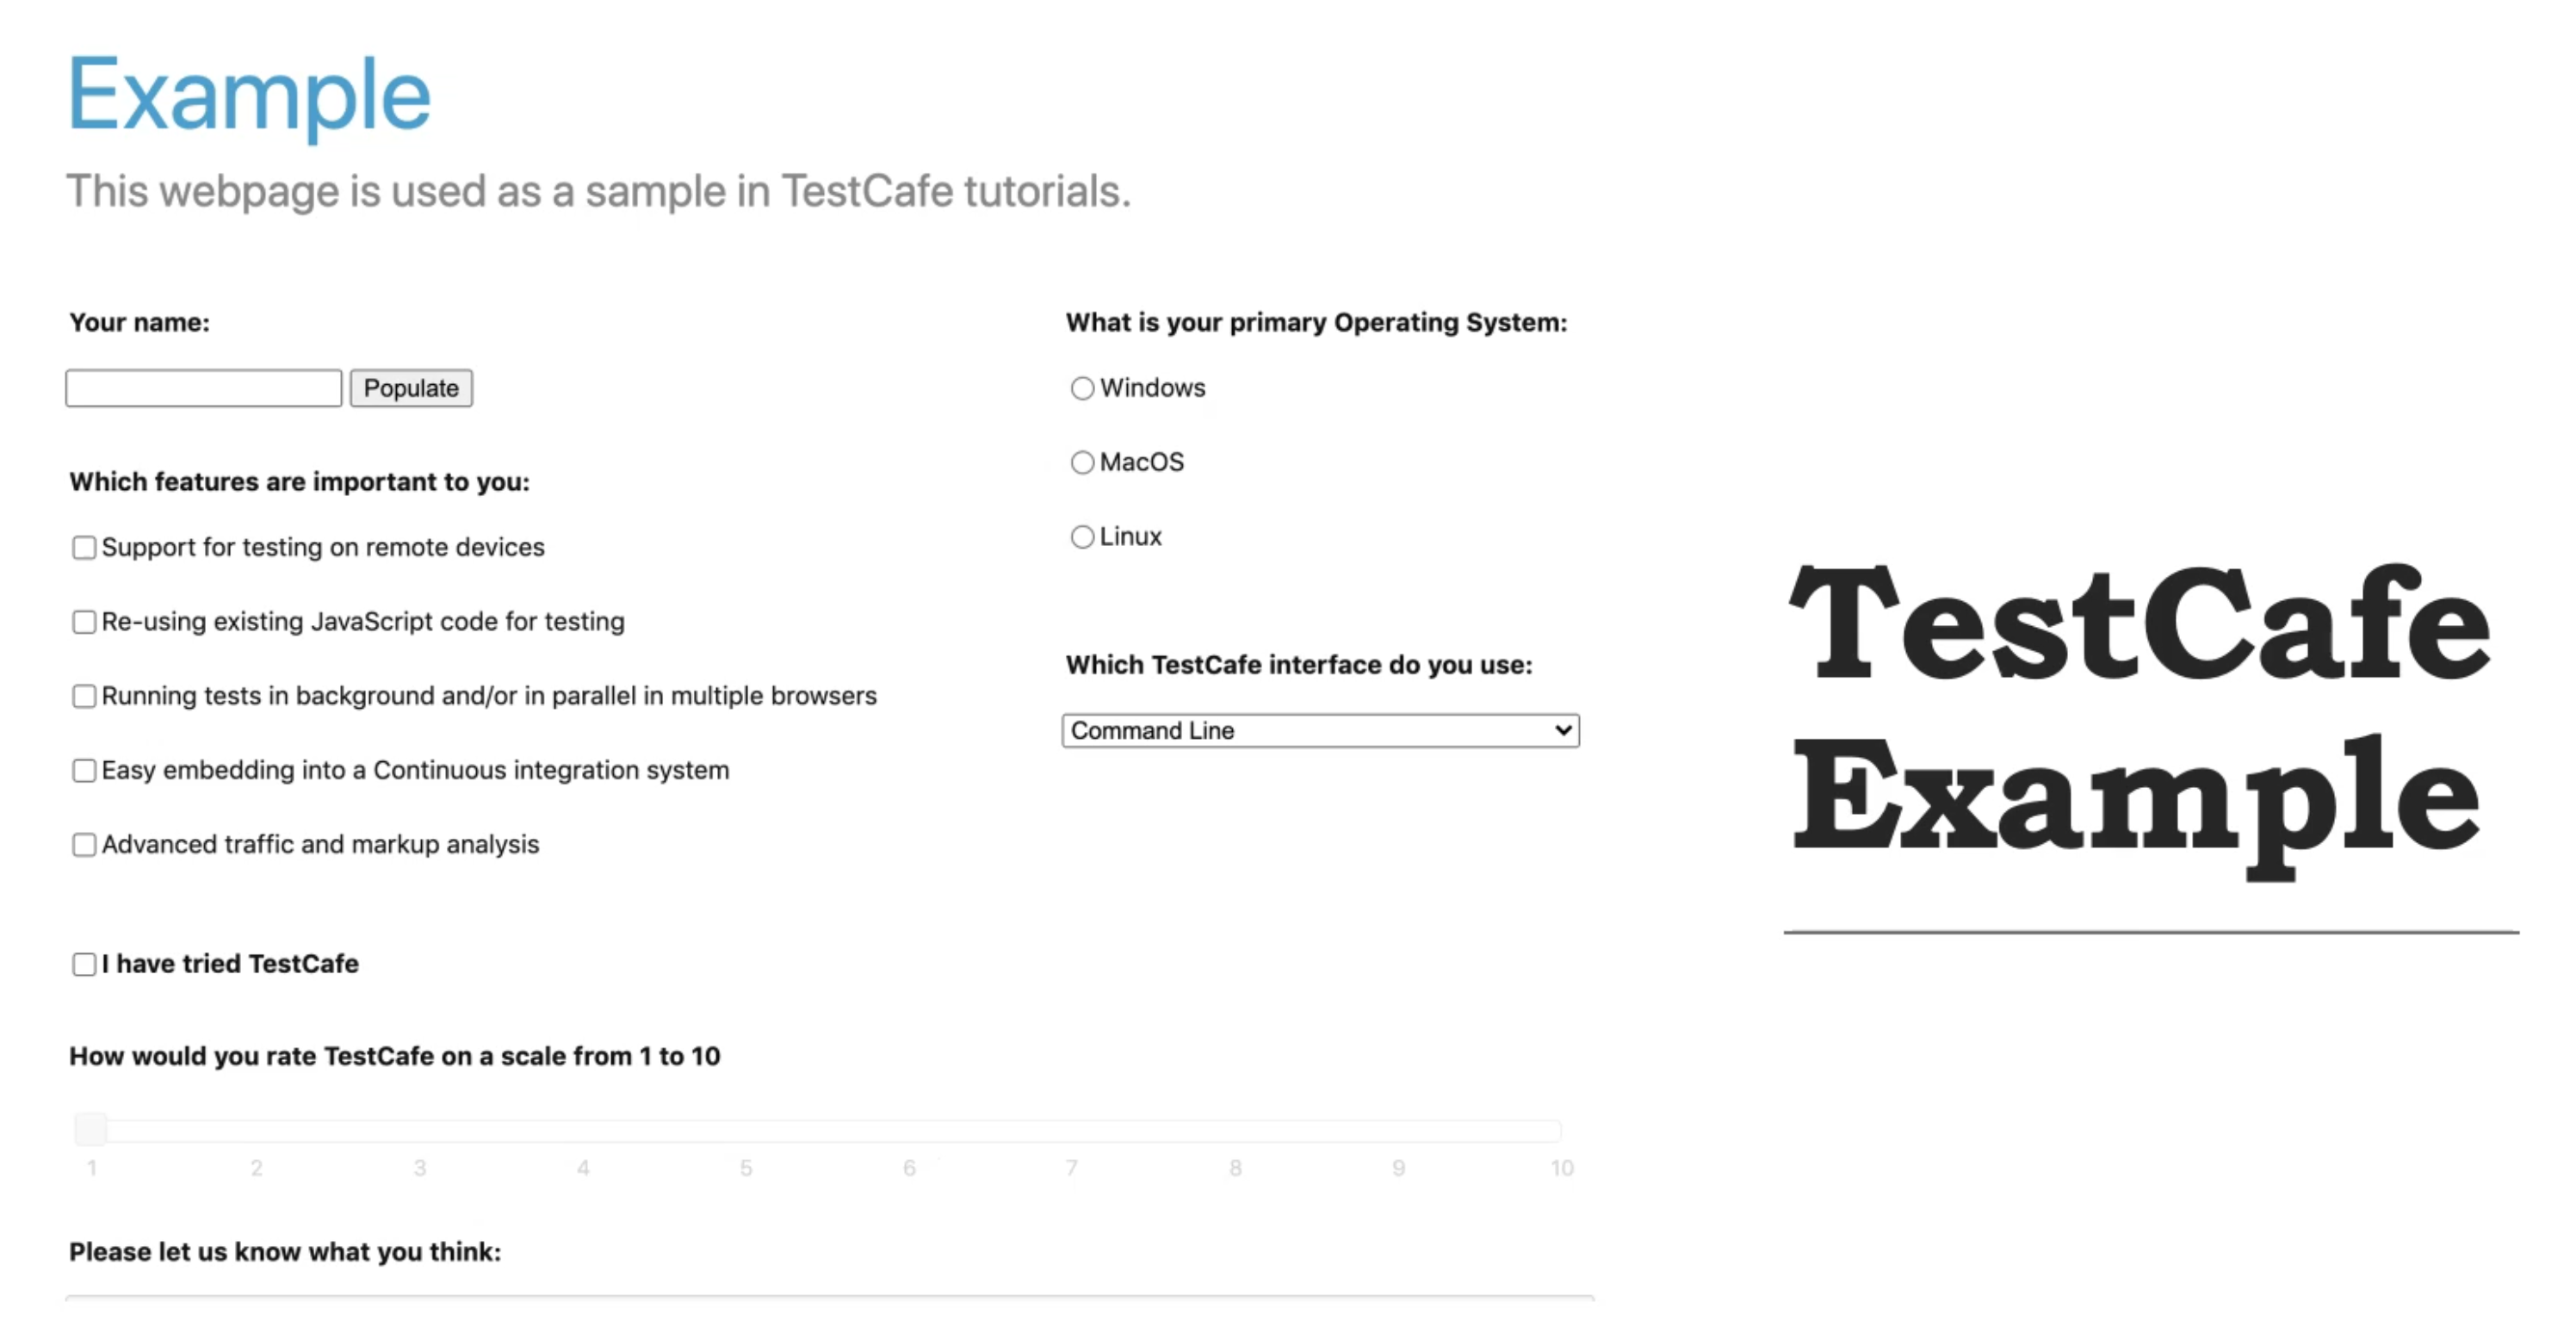
We will start our demos with an example page from TestCafe, that includes different elements such as:
Text boxes
Buttons
Radio buttons
Checkboxes
Drop-down lists
Sliders
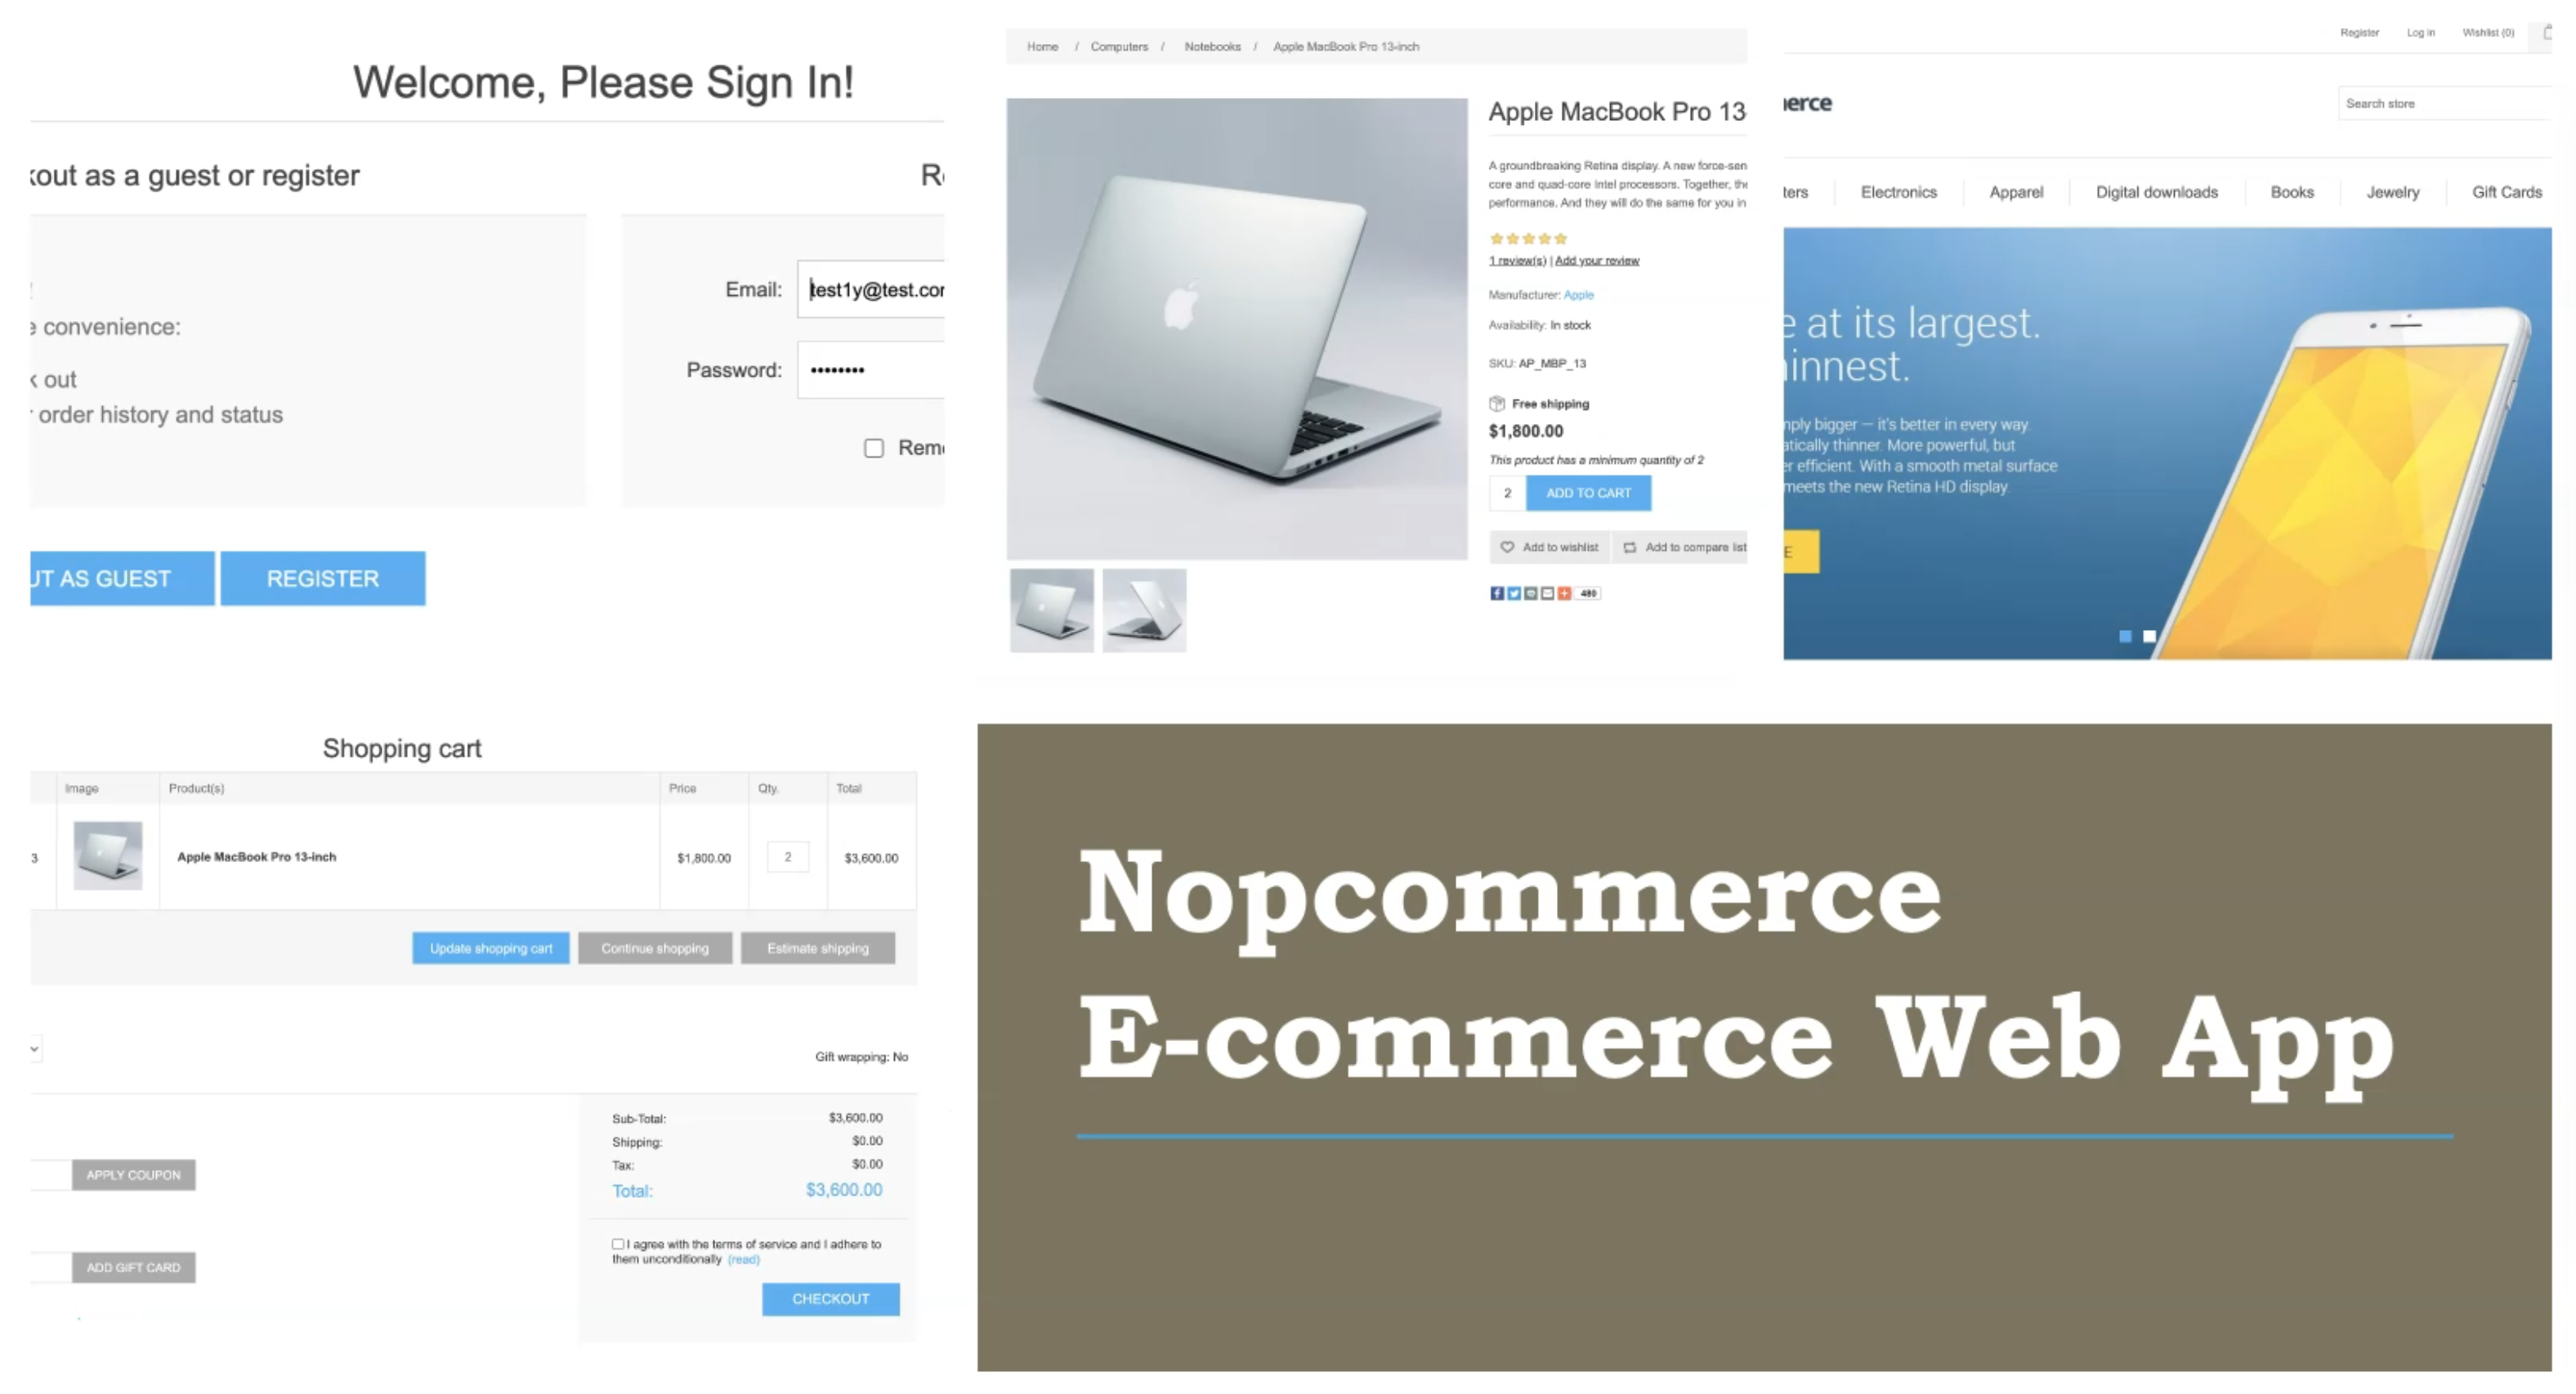
Then we will continue our demo with the Nopcommerce website. It's an eCommerce web application and contains different features and functions that we will cover during our course like:
Search for a product
Add a product in the cart
Checkout function
User login
User registration
And more features
# Async/await functions
Before we start writing our first script using TestCafe, we need to understand two functions with the JavaScript - async and await.
We will start with the async function, which stands for asynchronous.
For example, here we have a function and we have a keyword async before the function keyword. And this function returns 1.
async function f() {
    return 1;
}
The word async before a function means one simple thing - a function always returns a promise.
Other values are wrapped in a resolved promise automatically.
So async ensures that the function returns a promise and wraps the non-promises in it. Simple enough, right?
But not only that, there is another keyword, await, that works only inside async functions and it's really pretty cool.
What is the await function?
The keyword await literally makes JavaScript wait until the promise settles and then go with the result.
For example, here,
let result = await promise; // wait until the promise resolves (*)
So we wait until the promise is resolved, or returns the values, or returns the result.
That doesn't cost any CPU resources because the engine can do other jobs in the meantime. For example - execute other scripts or handle events and more.
But why do we mention these two functions on our course with TestCafe? Because, actually, TestCafe is using these two functions in all the test cases.
For example, we are using async with the test controller. And after that, we are using await with selectors, actions, assertions, verifications, redirect the pages, and all the things that we can do with TestCafe.
Because of that, we don't need to add a lot of waits in our course like the other test frameworks, because TestCafe automatically handles this with the JavaScript. So with await and async, our test cases are usually stabilized and we don't have any flaky test cases.
Now let's start with TestCafe by knowing the most important features or components with TestCafe.
# The first thing that we need to know when we start writing test scripts using TestCafe, is fixtures.
TestCafe tests must be organized into categories called fixtures.
A JavaScript, TypeScript, or CoffeeScript file with TestCafe tests can contain one or more fixtures.
To declare the test fixtures use a fixture function.
For example, here we have the fixture keyword from TestCafe, and then you are passing the name of this fixture, for example, Authentication tests.
fixture `Authentication tests`
    .page `[https://devexpress.github.io/testcafe](https://devexpress.github.io/testcafe)`
Then, if you wanted to add the URL or the application under tests to this fixture we can use ".page." After that, we are passing a URL as a string value.
# The second word or the second component in the TestCafe test case file is the test itself.
To create a test, call the test function and pass a function with the test code inside. The test code function accepts the test controller object as a parameter.
For example, here we have the fixture and MyFixture is the title or the name of the fixture.
fixture `MyFixture`;

test('Test1', async t => {
    /* Test 1 Code */
});

test('Test2', async t => {
    /* Test 2 Code */
});
After that, we can add one or more tests inside or with this fixture. We are passing async, which will help us after that is running parallel tests.
t a test controller, or an object from the test controller, which will control our test to be able to run in the browsers. Then, we are adding our test code inside this test. And if you have another or additional test case, it will be here or we can add one or more test cases inside one file. So 'Test 1' and 'Test 2' are our test names, and we are passing async, or asynchronous test controller.
# The Test Controller
So what is a test controller? We said for the test controller object, we need to pass it as a parameter for each test. And it handles, or this test function accepts this controller to be able to run this test.
A test controller exposes the test API's methods and passing to each function that can run server-side test code.
For example, functions like test, beforeEach or afterEach.
Use a test controller to:
Call test actions
Handle browser dialogs
Use the wait functions
Execute assertions
The test runner also uses a test controller to access the internal context required for the test API to operate.
# Creating the first test
For creating the first test we will cover the following steps:
Open the application, or open the application on the test webpage
Enter the first name or enter your name here
Choose the operating system from this list
Click the submit button
Resources
Quiz
The quiz for this chapter can be found in 3.3
