

Transcripted Summary
In this chapter, we will be talking about install and the setup of TestCafe. We will cover:
What is NodeJS and NPM?
How to install NodeJS and NPM on macOS and the Windows OS
Install Visual Studio Code (or our IDE) on macOS and the Windows OS
Install the recommended plugins for Visual Studio and TestCafe
TestCafe screen recording permissions for macOS
# What is Node.js?
Node.js is a runtime environment for running JavaScript code.
We often use Node for building backend services such as APIs.
It's super fast and highly scalable and also, it includes a large ecosystem of open-source libraries or modules.
# What is NPM or Node Package Manager?
Node Package Manager makes installing the node packages fast and easy.
A package, also called the module, is just a code library that extends Node by adding useful features.
For example, the request module simplifies the process of making HTTP requests, so you can easily get web resources from the other websites.
NPM is usually installed when you install Node.js.
In this demo, we will learn how to install Node.js and NPM on macOS operating system. We have different options to install Node.js on macOS:
The first one - that we can open the browser - in my case, it's Google Chrome - and search about Node.js.
Then we will find the official website for Node.js displayed in the search result with Google, and after that, we can click on Node.js.
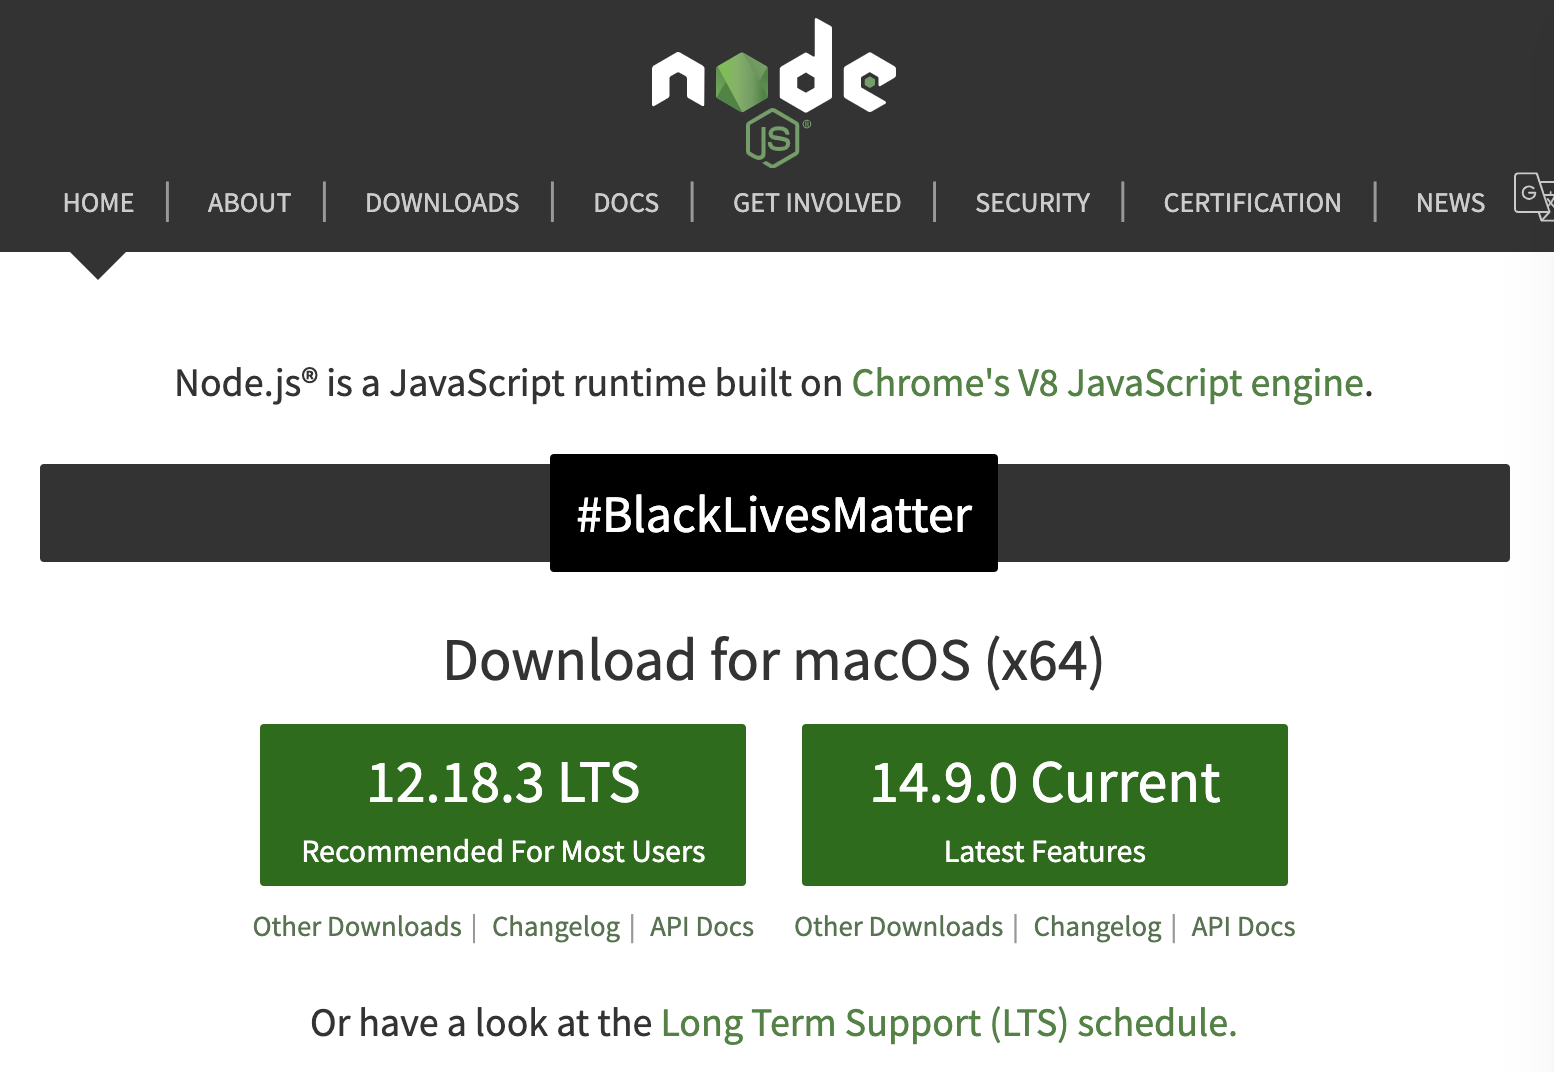
Here, we can click on Downloads and we can get all the information about Node.js and the learning material, certification, and a lot of things related to Node.js.
We will click on Downloads and then we will have different installers for the different operating systems.
For example, we have a Windows installer, and we have a macOS installer, or we can download the source code also. So, for example, in our case, because it's macOS, we will click on the macOS installer, which will download the package file.
So then after we download it, we can continue with the installation steps with the package to be able to run Node.js on our machine.
The second option to install Node.js on macOS and it's always highly recommended to use it - we can use Homebrew from the command line.
For example, if we have already installed Homebrew in our machine, so we can in the command line, write
brew install node
Then, we can click enter.
So, just wait until brew installs all the Node.js and updates the Homebrew dependencies and after that, you can check the node version.
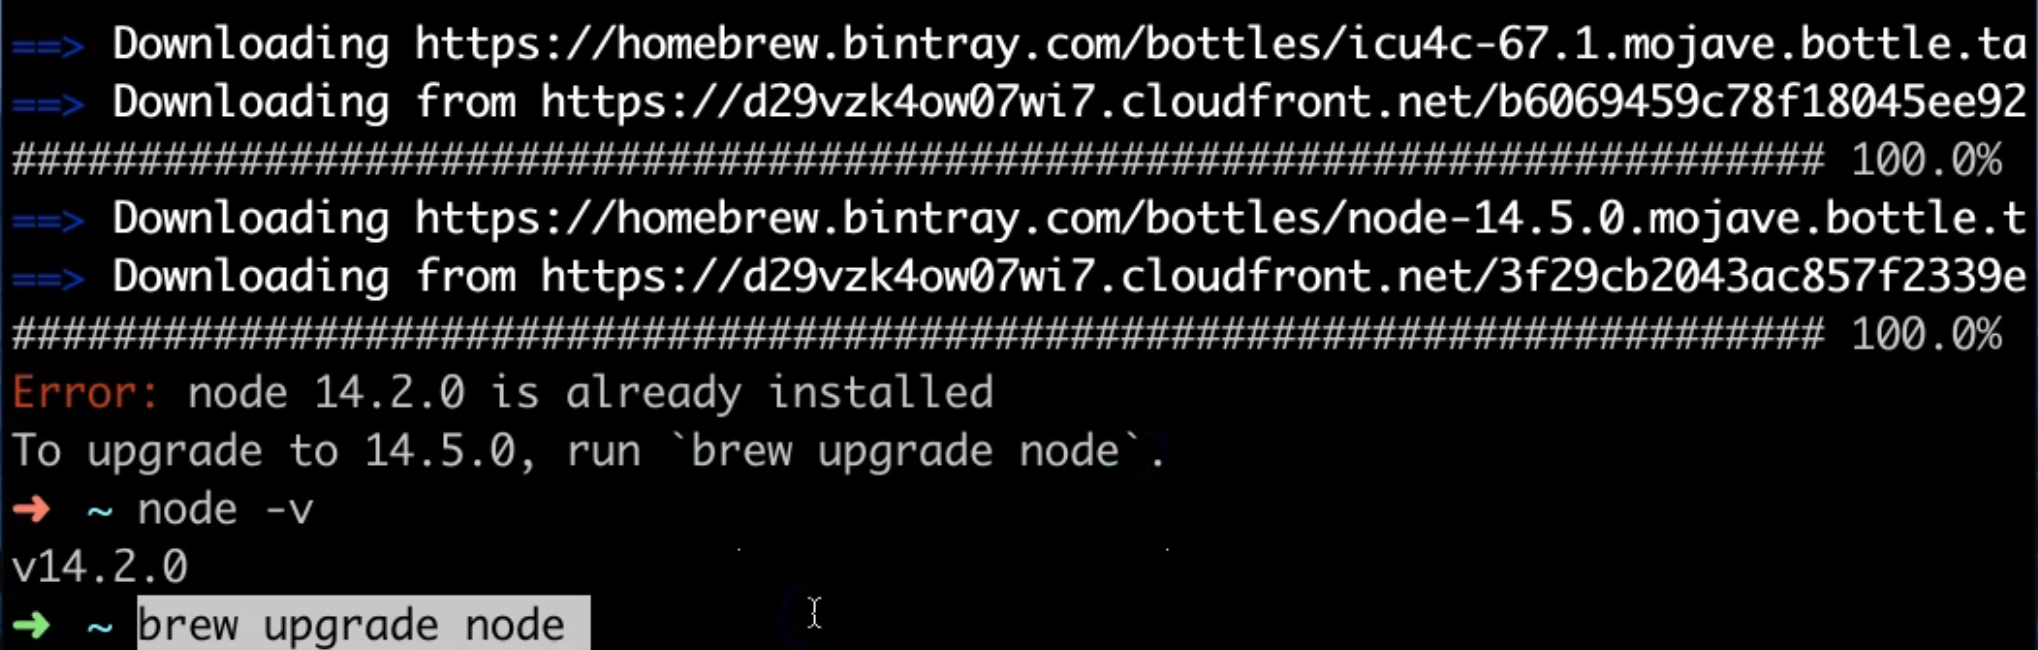
And because I already have Node.js installed on my machine, so I got this error that the node is already installed.
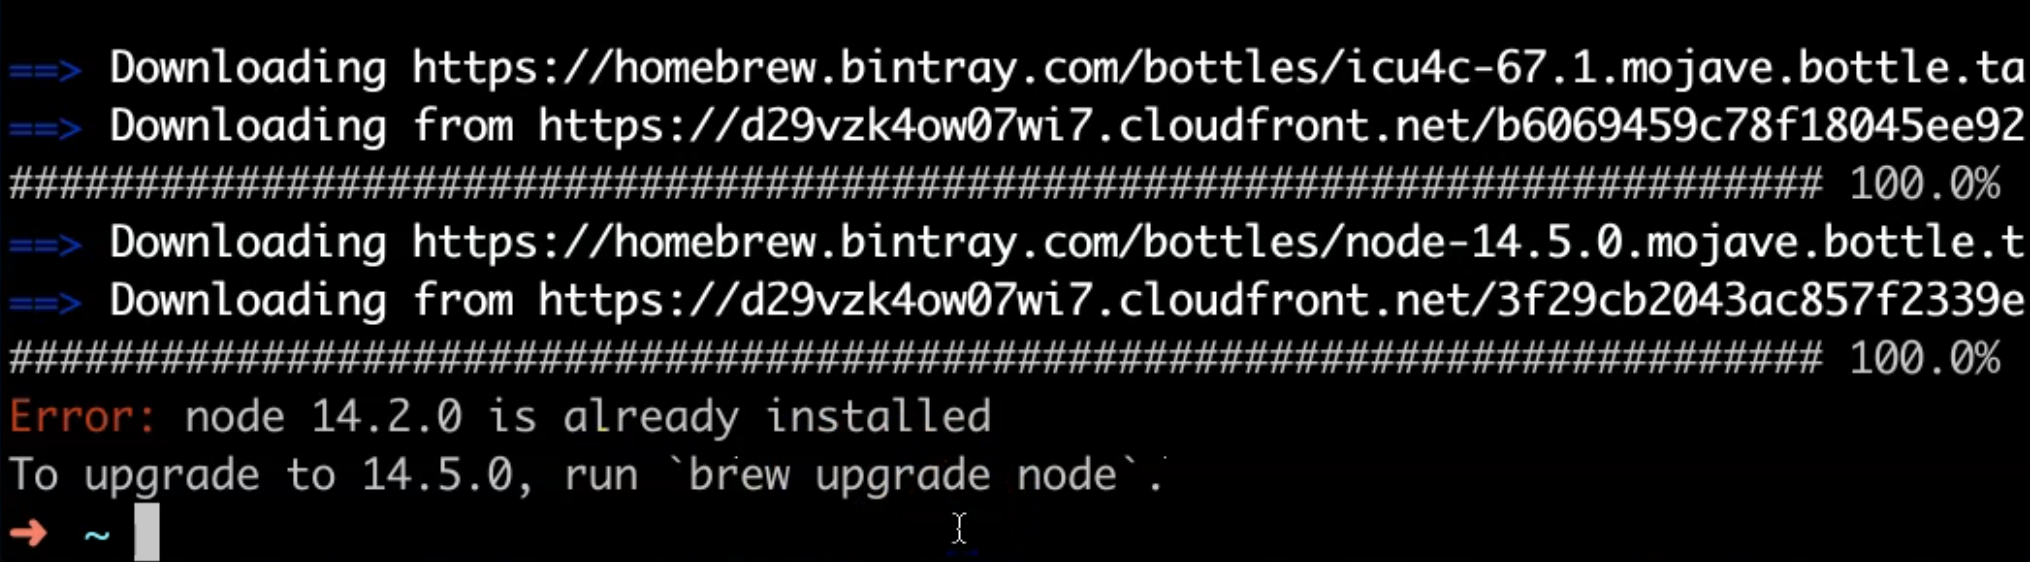
To update it, you can run brew upgrade node.
Then, to be able to check if the node is already installed or not, so we can run this command:
node -v
to check the version, and here, the latest version or the version that we have already.
To install the latest one, we can run:
brew upgrade node
For example, we can get this command, and after that, we can run upgrade node. Then, the node will update the files to the latest version, and we need to wait until it's finished and after that, we can check the version after we upgrade our version.
After we upgraded our current version with Node.js, we can run again node -v and we'll find that the version is the latest version of Node.js.
Now, it's time to check whether NPM is installed with Node.js or not. So, for example, we can run
npm -v
Here we can find that we already have a version of NPM.
So, as we mentioned in our slides - NPM is installed bundled with the Node.js. So now, we are ready to use any Node.js code in our machine with macOS.
# How to install Visual Studio Code on macOS
In this demo, we will learn how to install the Visual Studio Code on macOS. I will open my browser - in my case, Google Chrome, and after that, I will search about VS Code, and then I will click on the official site for Visual Studio Code for Microsoft.
So here, also, we can check all the features that are available in the new version.
And here I can "Download for macOS". It's a "Stable Build" and also, the website automatically detects your operating system. So because of that, it's here - "Download for Mac".
So I will click on the "Stable Build", and after that, it will start to install the package or the zip folder.
After that, I will extract the zip folder and run the Visual Studio Code on my Mac machine.
After the zip folder is downloaded, we can extract it in the Download folders or any folder that you specify from the beginning.
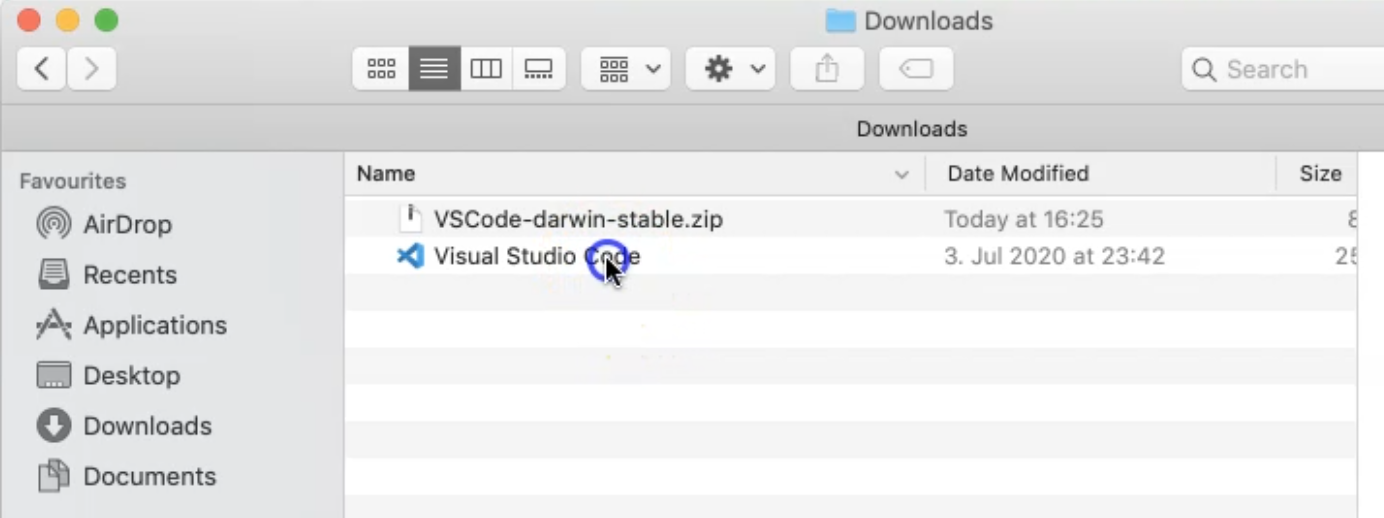
And then, we can double-click on the application, and here we can open the Visual Studio Code.
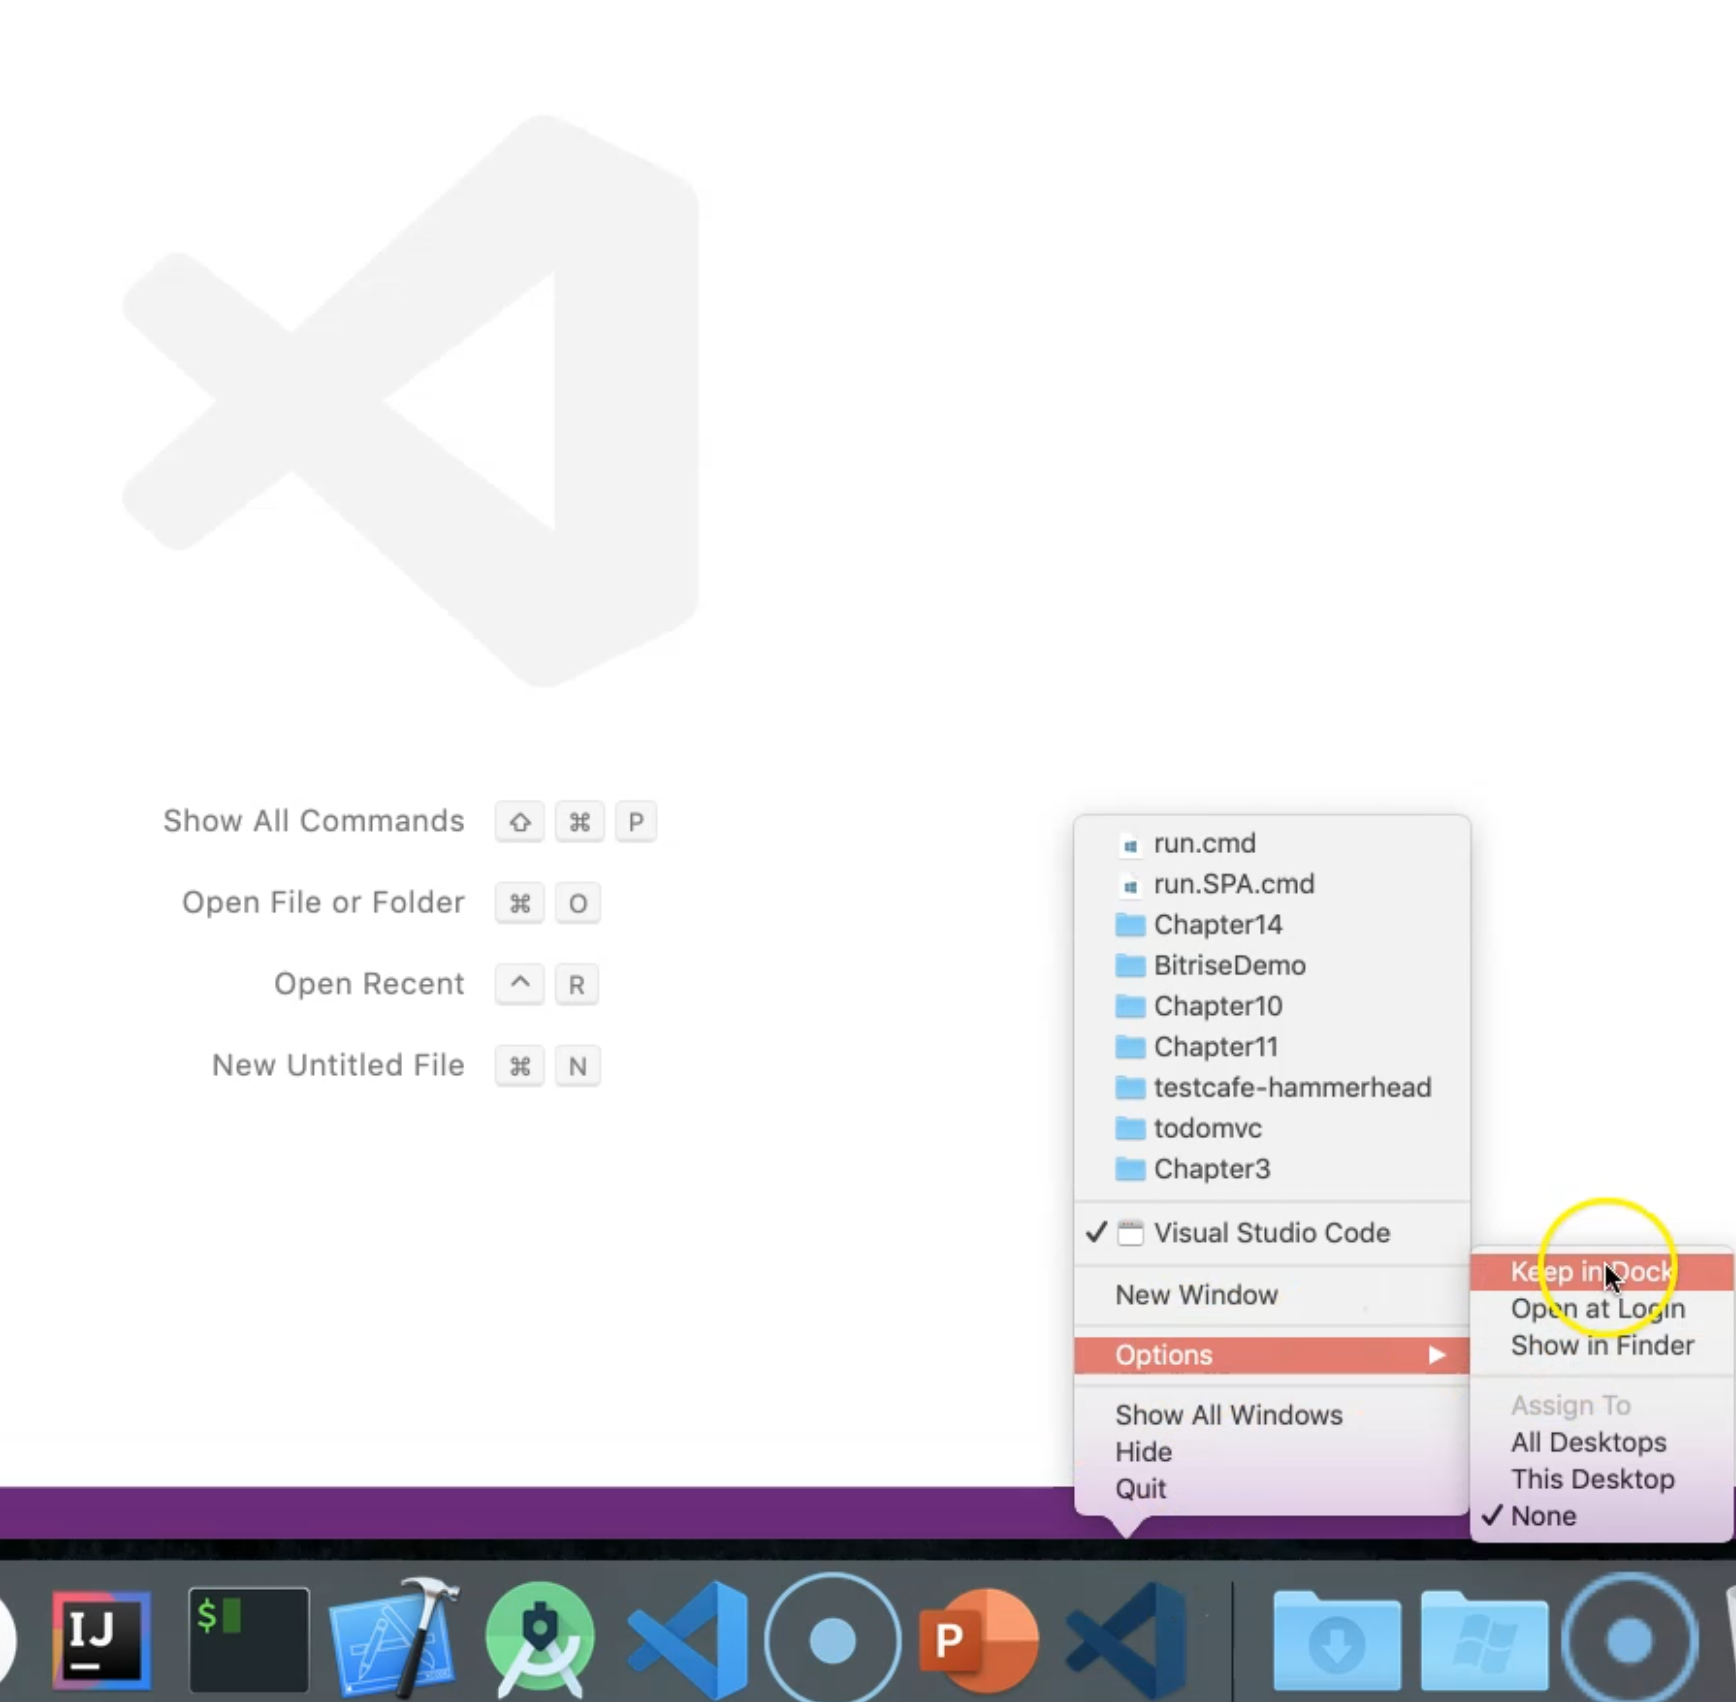
After that, if you wanted to enable using it every time - so from the options, we can choose "Keep in Dock" to be able to open it every time from this command bar.
Then after that, we can start exploring the Visual Studio Code.
For example, here in the side menu, we can explore files or open folders or files, search about something.
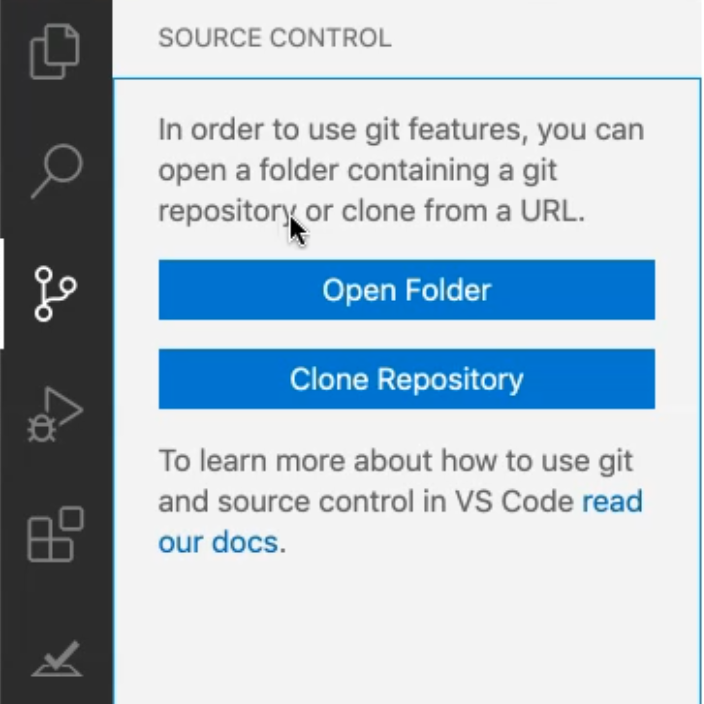
If you have already set up a source control like git, we can address the clone repositories from here in Visual Studio.
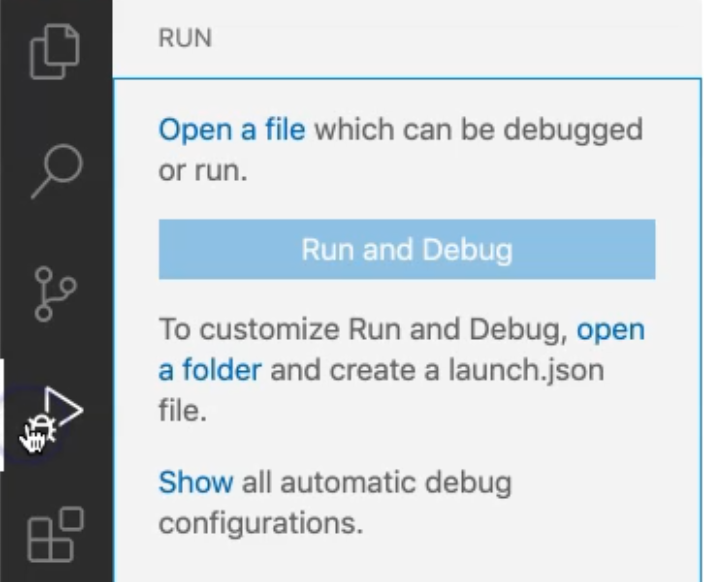
We can click here - for example - to run or debug any file.
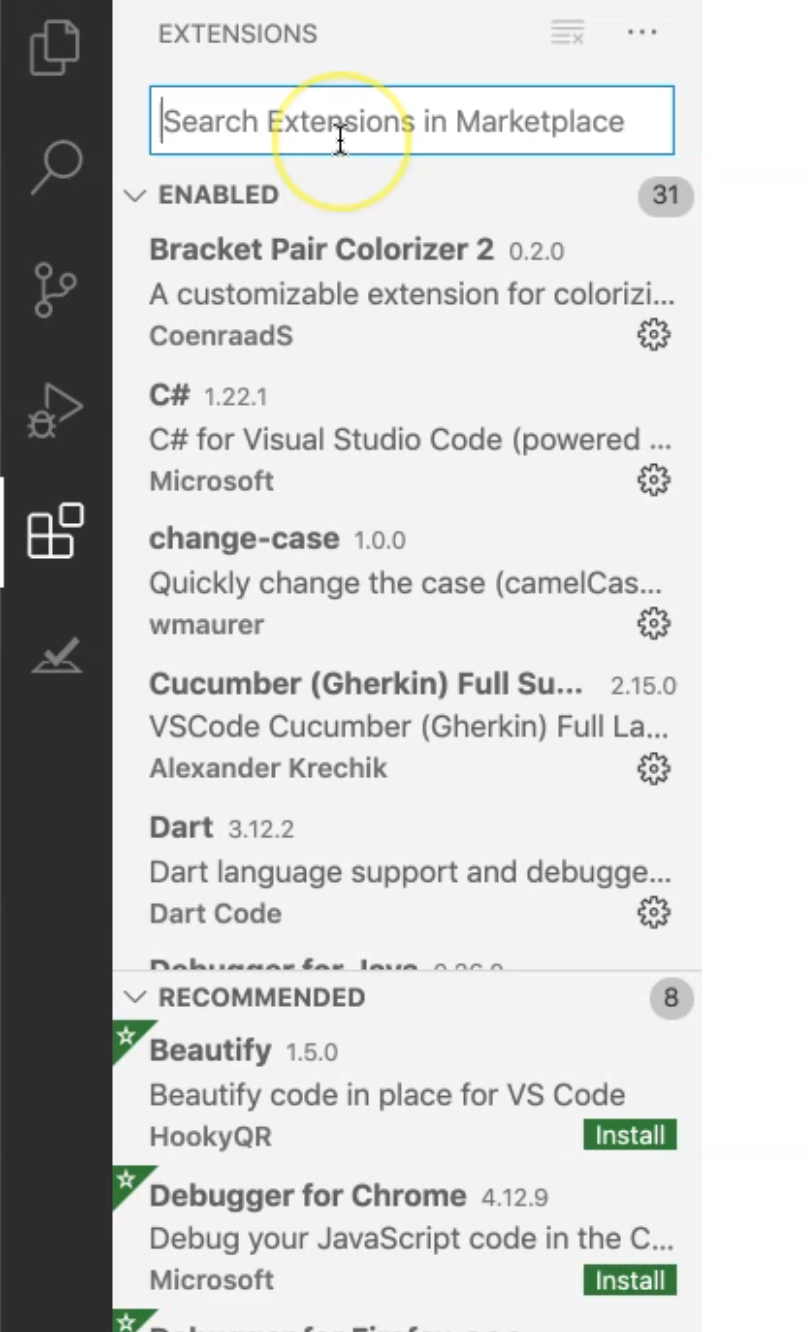
We click here for the extensions that we will use to download all the extensions that are related to TestCafe, for example.
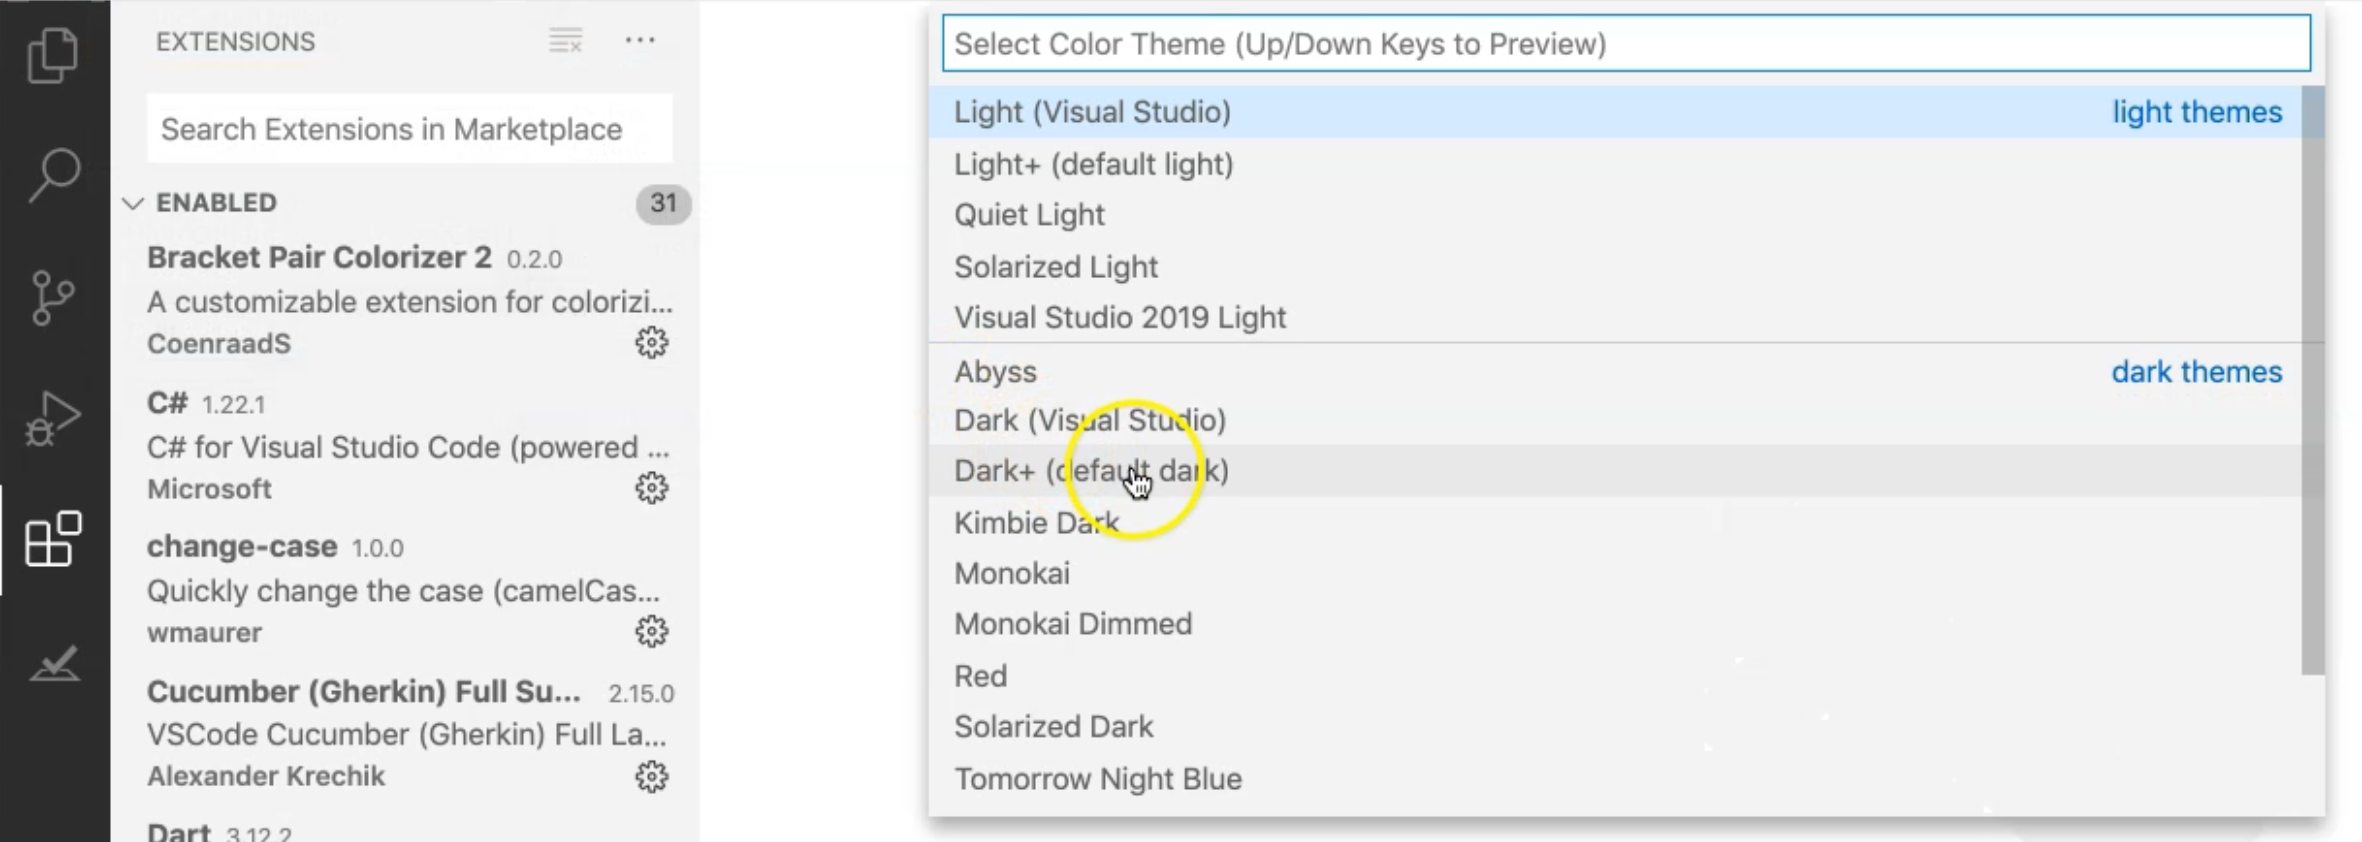
And also from Code > Preferences, we can change the color theme, for example.
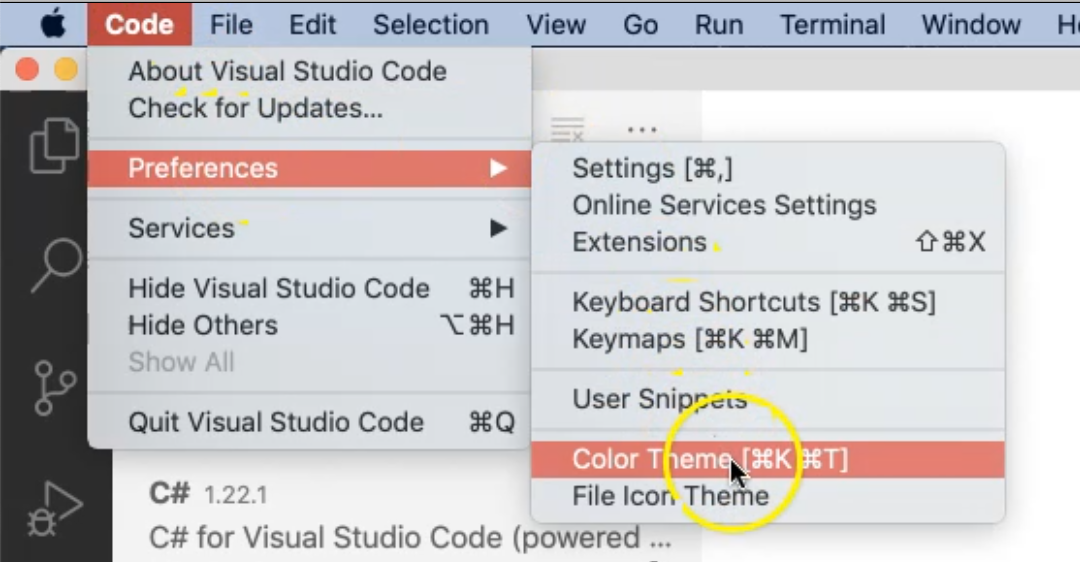
And we can select this dark mode.
After that, we can use Visual Studio and we can change anything else from that menu command.
# How to install Visual Studio extensions or plugin on macOS
In this demo, we will learn how to install Visual Studio extensions or plugin on macOS. In this demo, we will learn how to install extensions for TestCafe with Visual Studio Code.
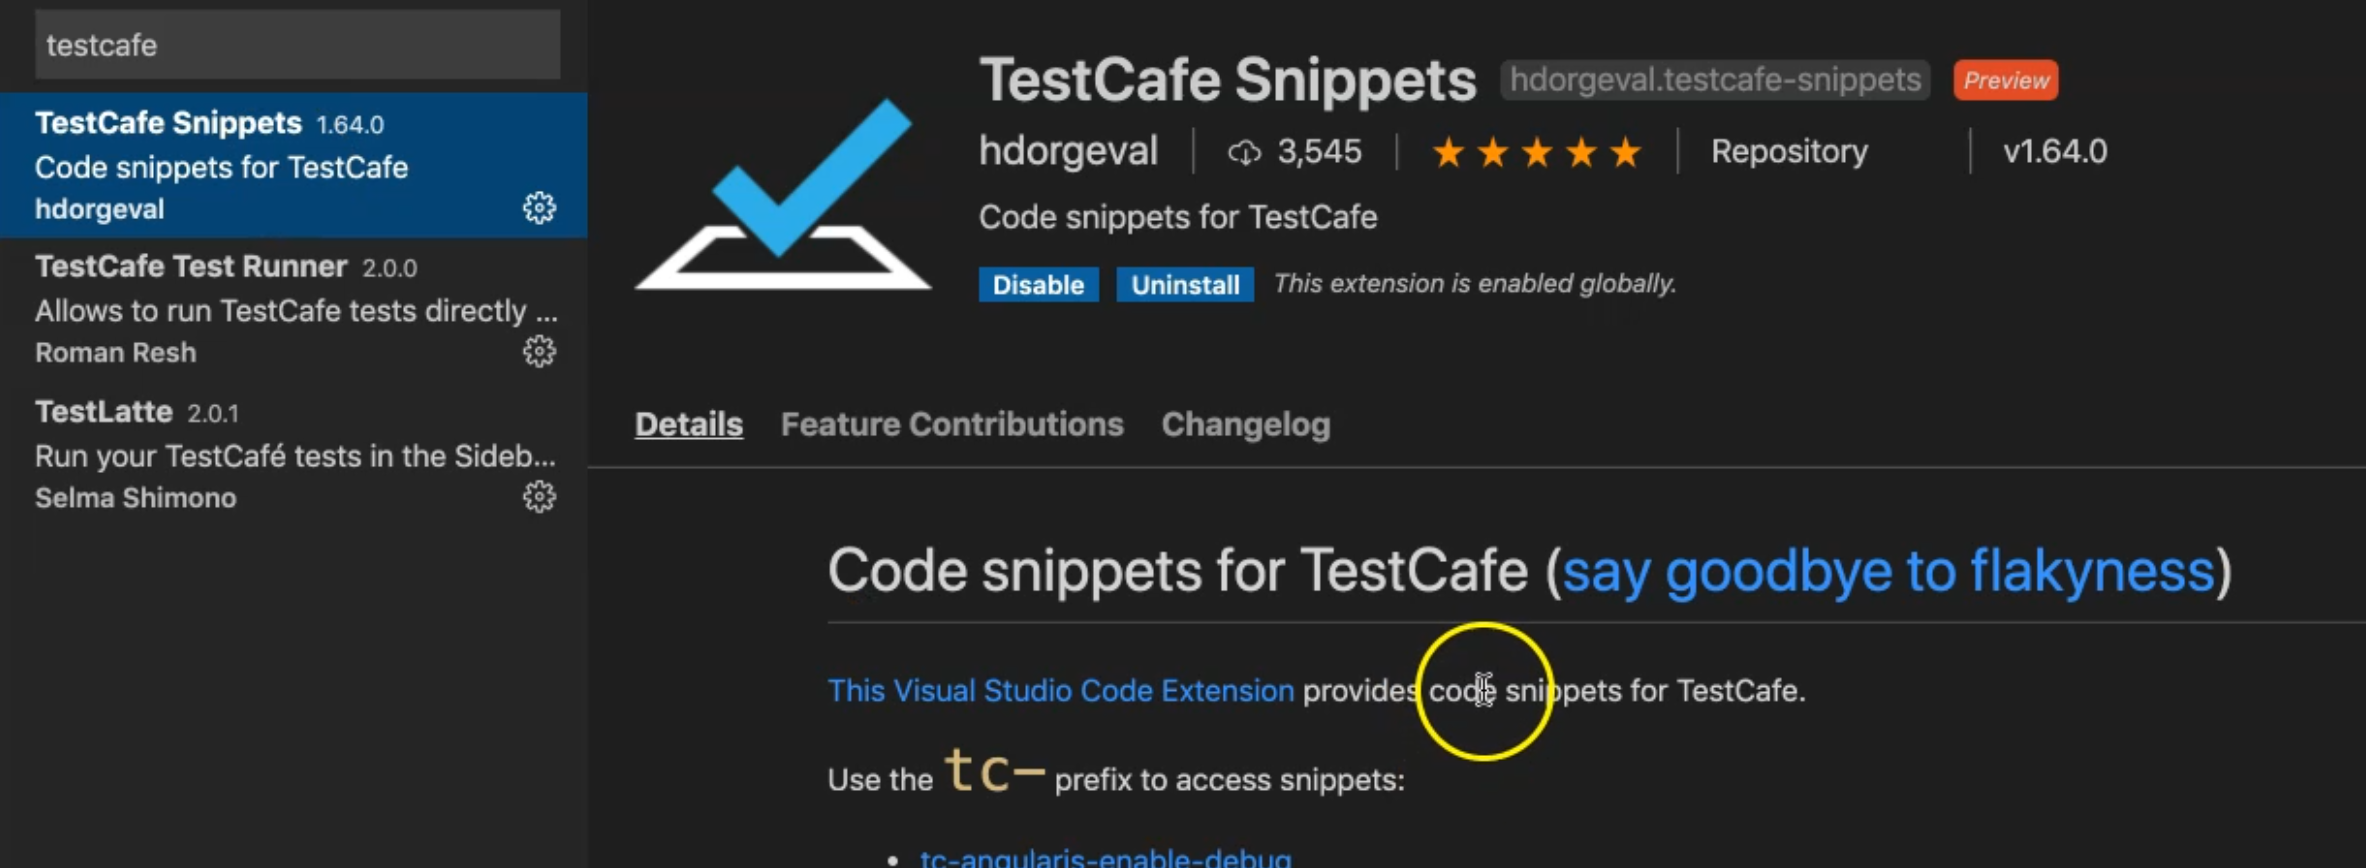
We can open the marketplace of Visual Studio Code, and after that in the search bar, we can search about TestCafe, and then we can click on search.
So here, we have three extensions that are related to TestCafe. We have:
TestCafe Snippets
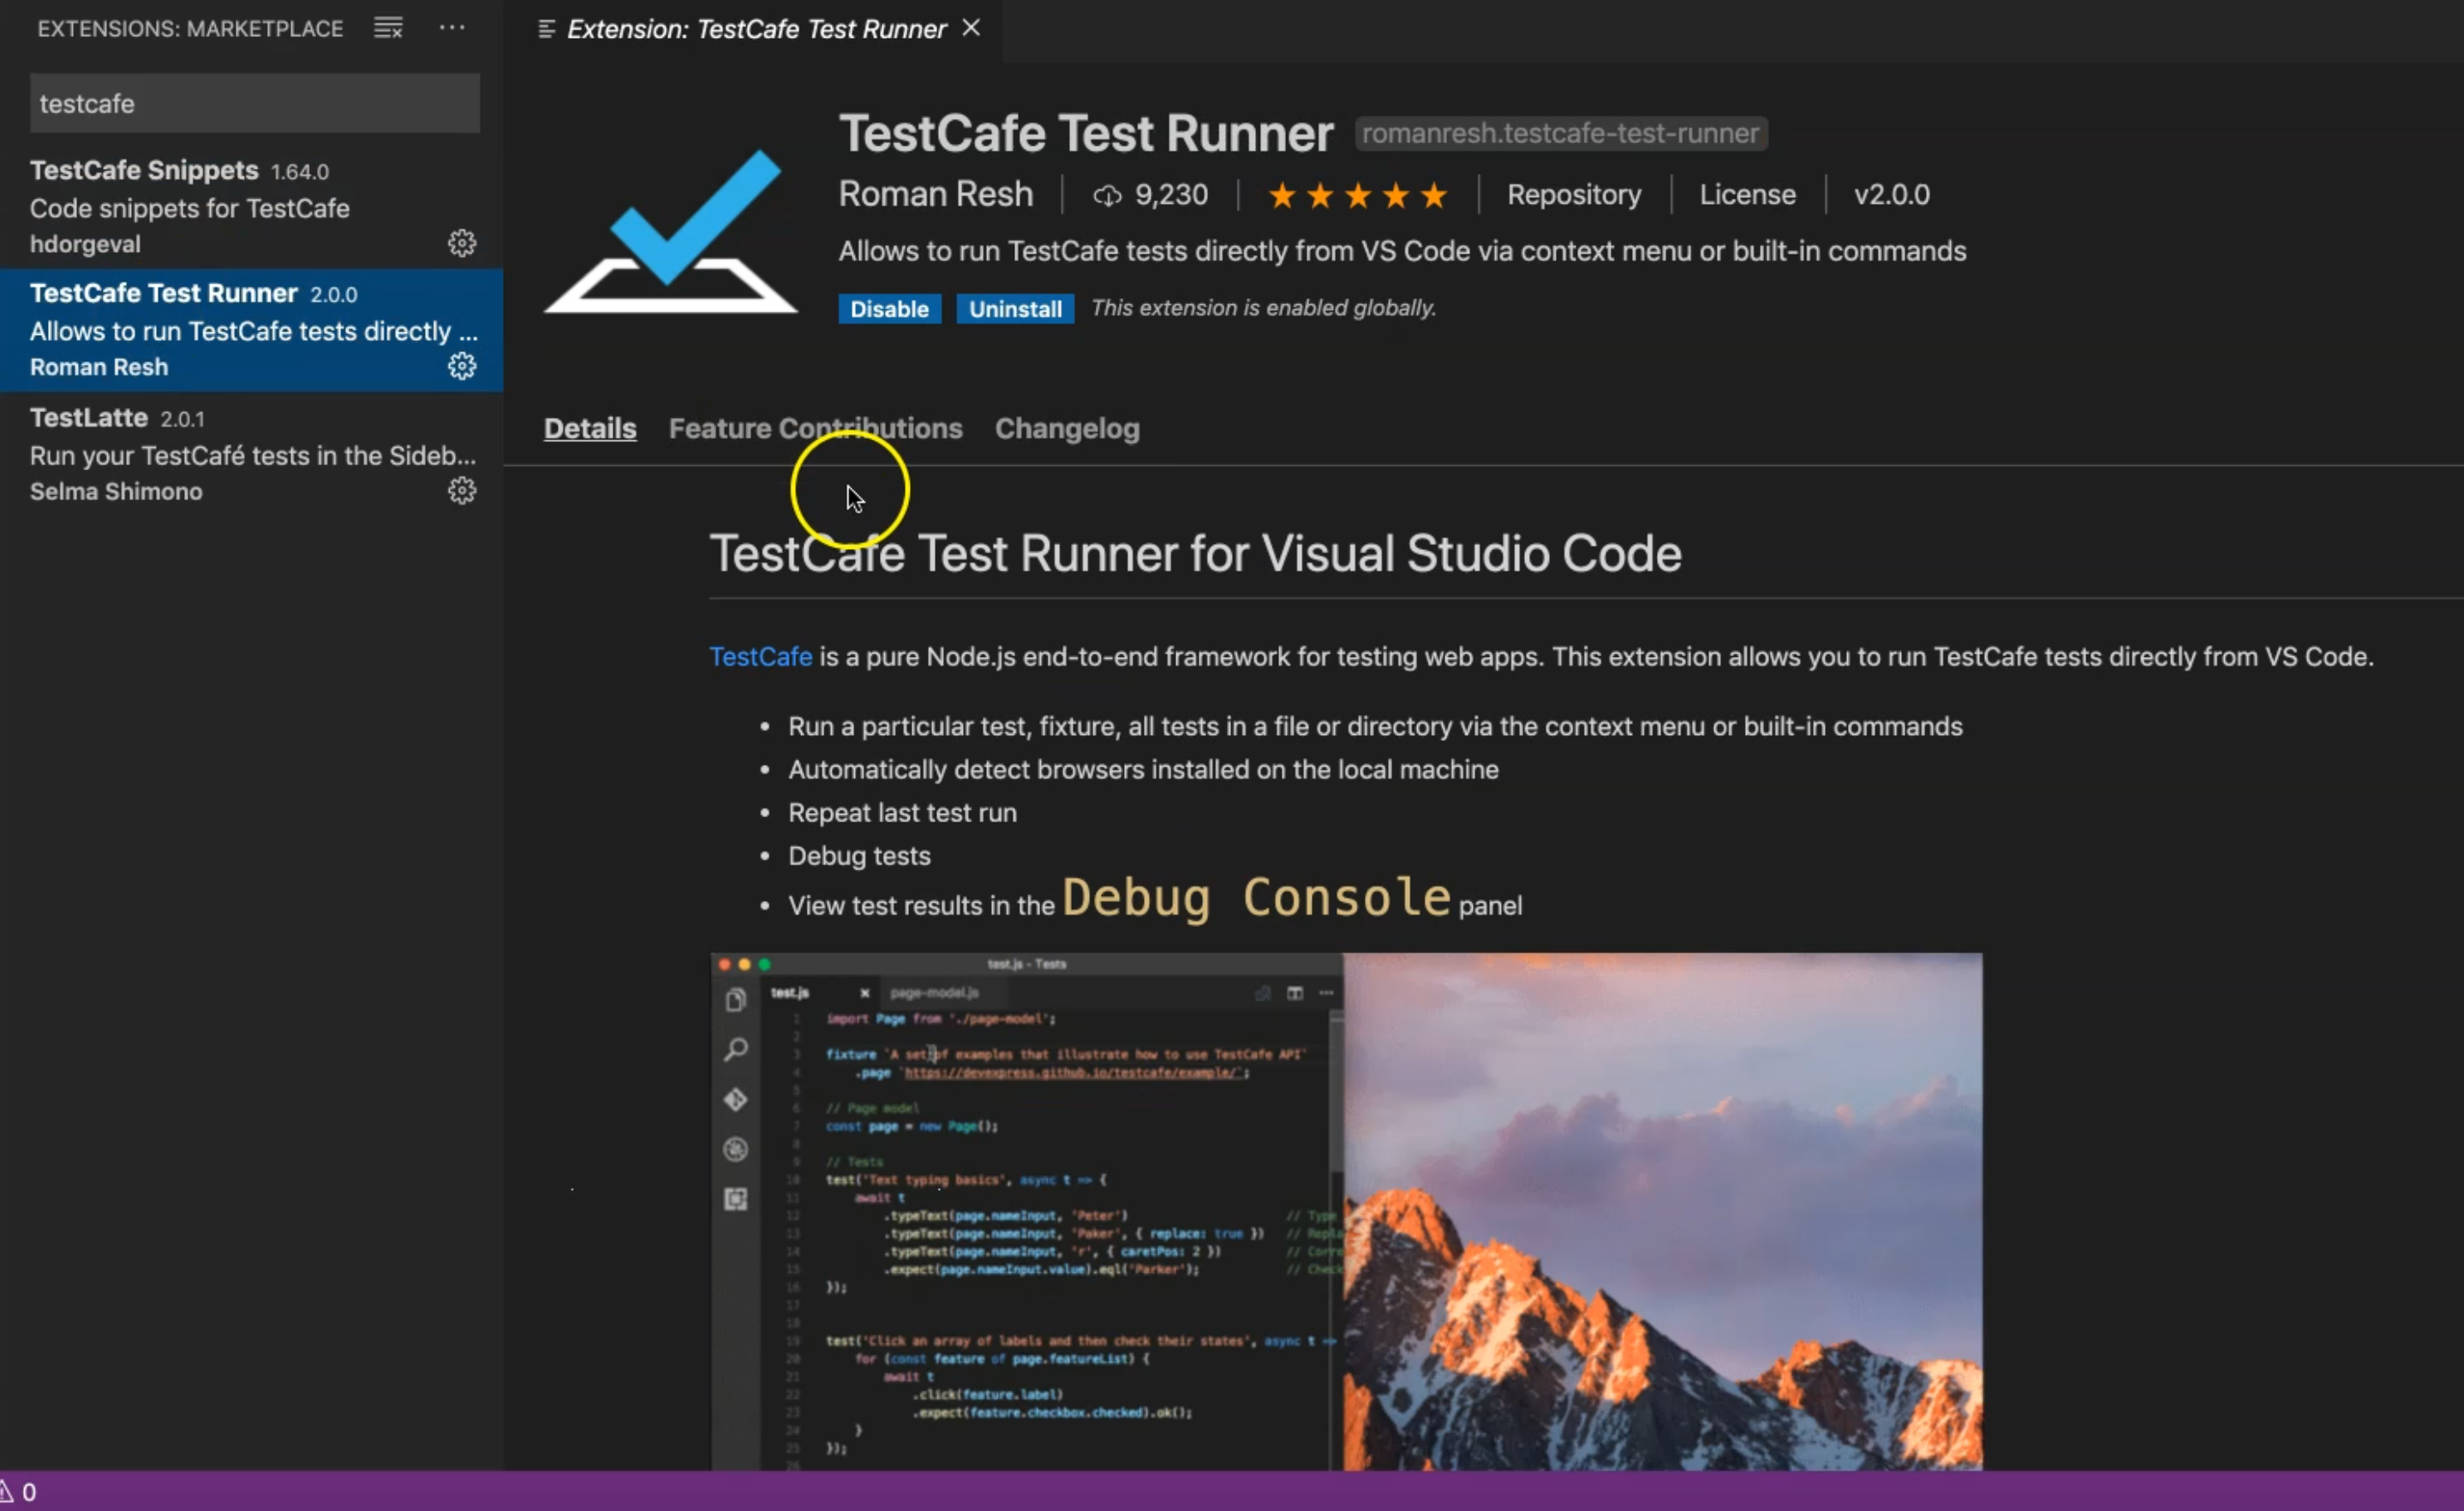
TestCafe Test Runner
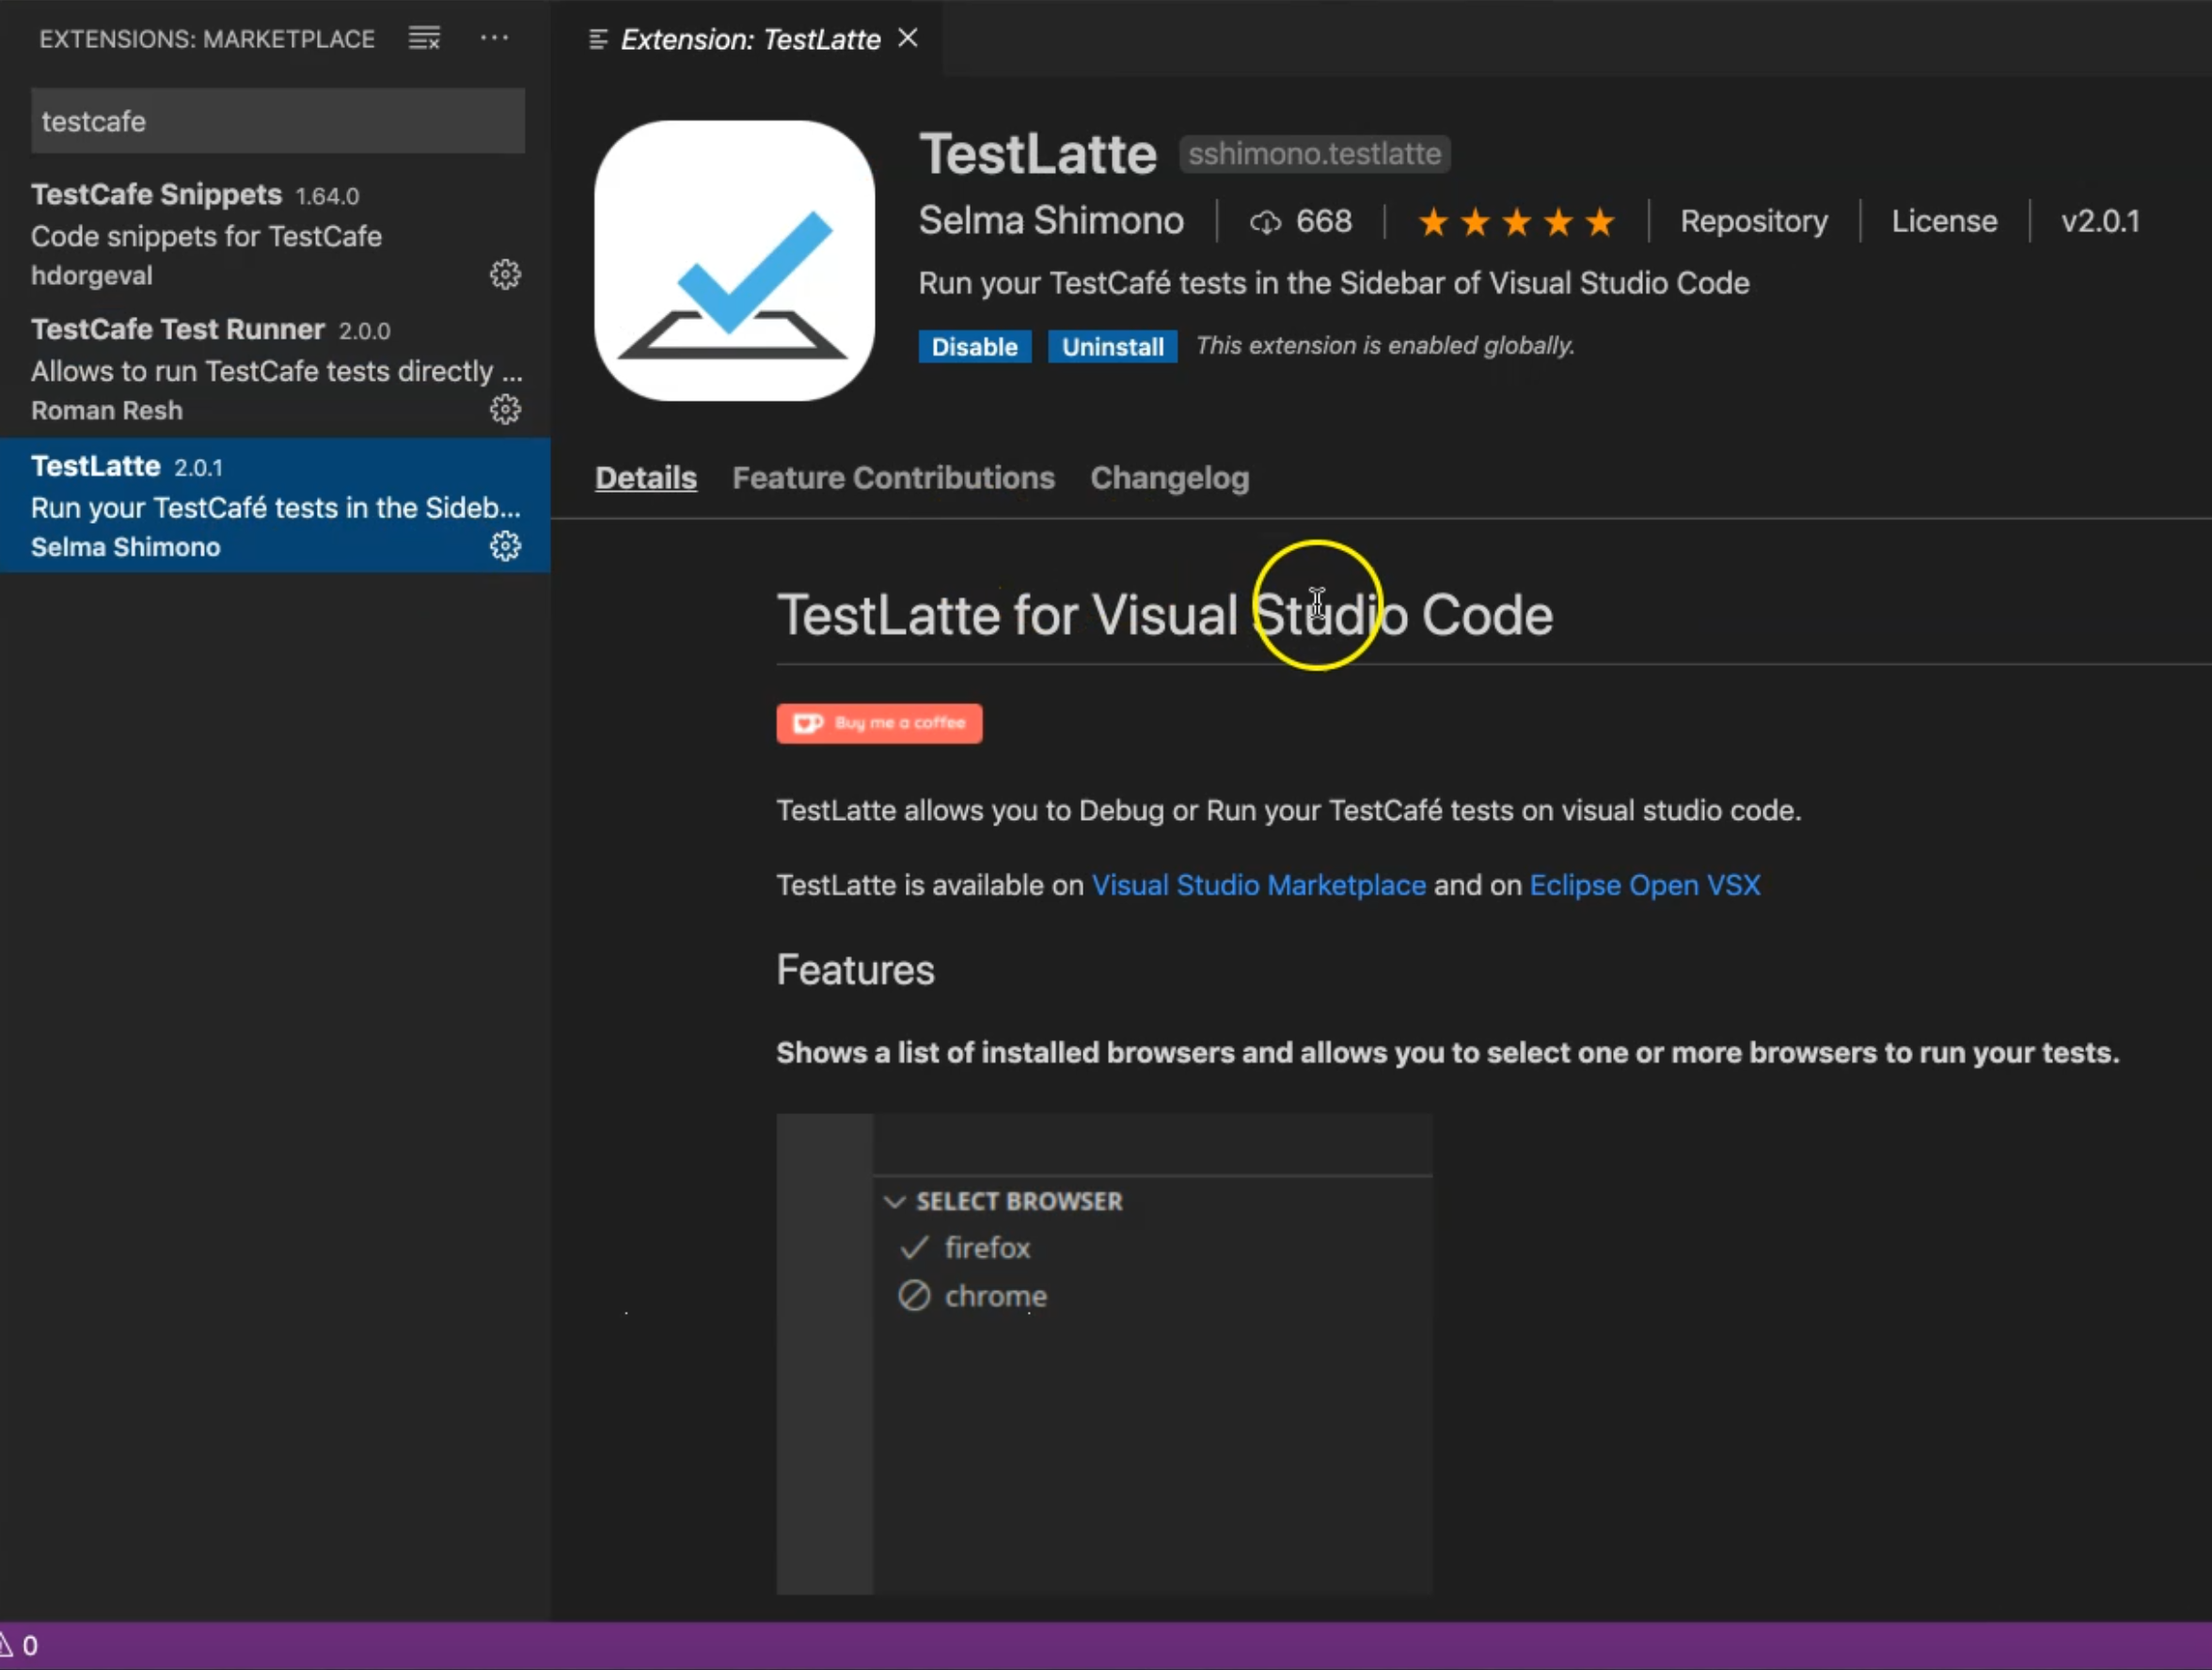
TestLatte
Also, there is additional, or another way, to download or install extensions directly from Visual Studio Code.
For example, we can open the Visual Studio Code and click here on the extensions on the side menu.
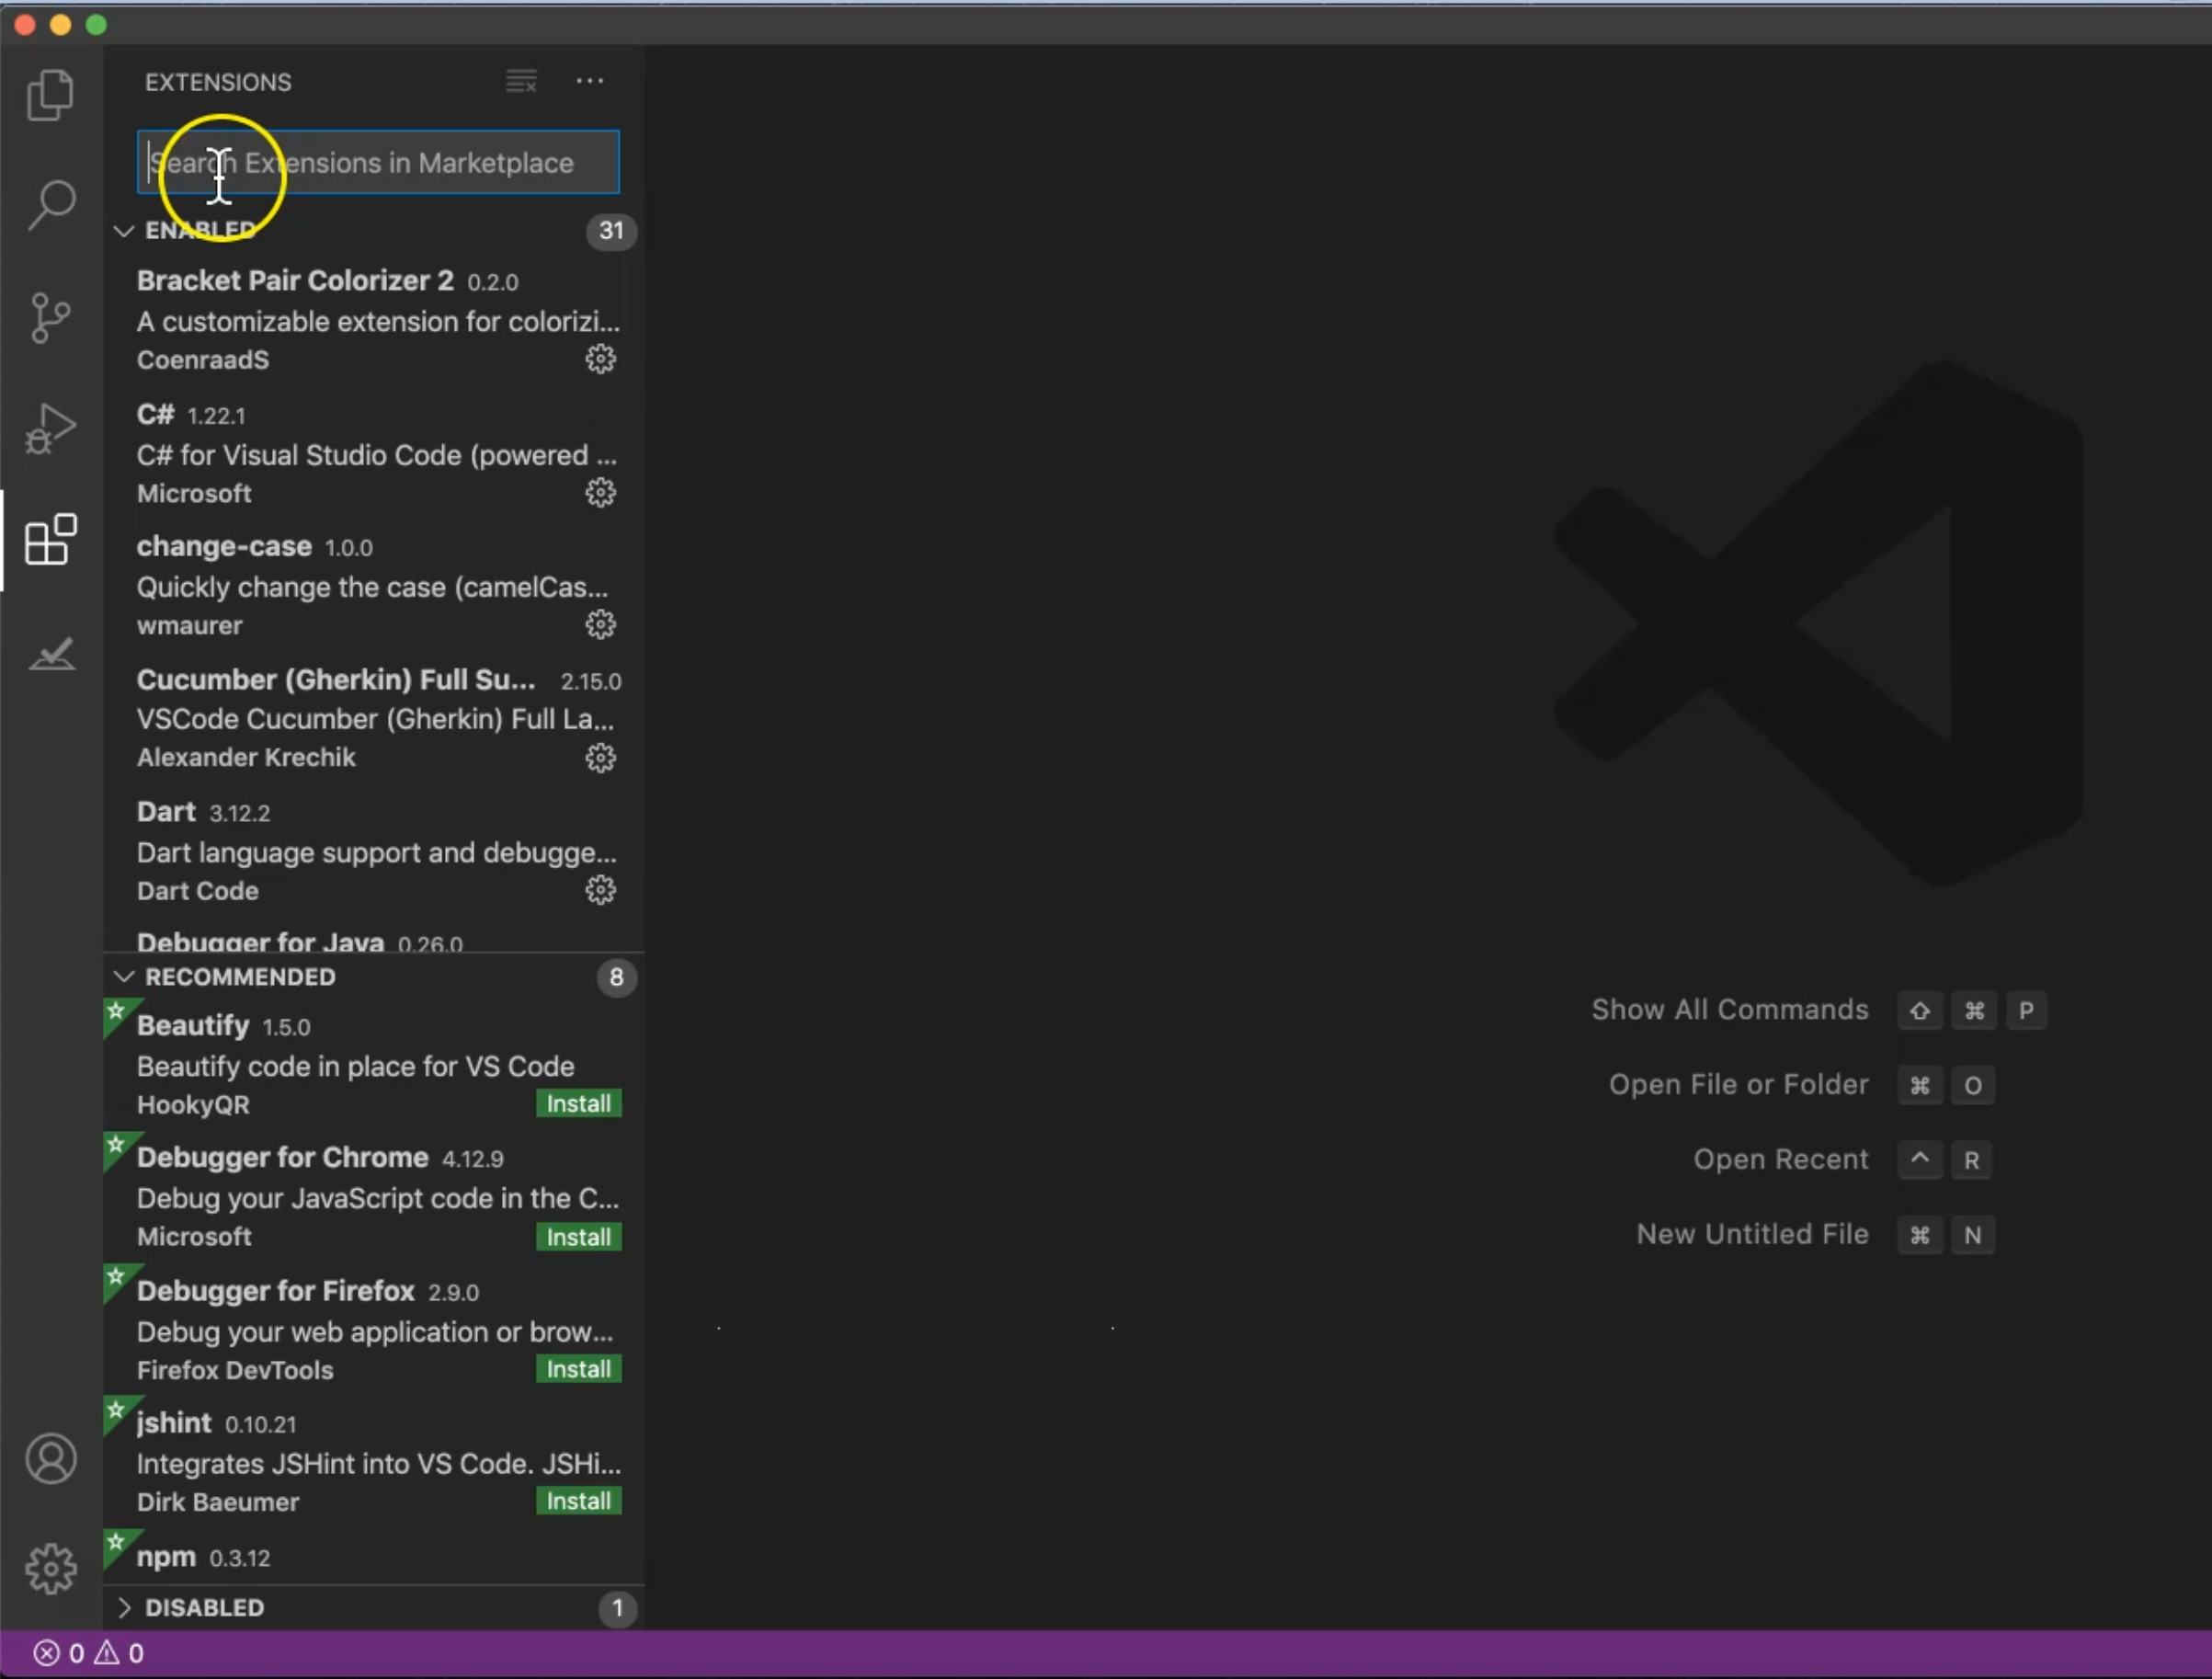
After that, we can search about TestCafe, and then we will have three plugins or extensions also with TestCafe.
TestCafe Snippet - that provides us with code snippets for TestCafe and it will help us more after we understand how TestCafe works and how we can write test cases with TestCafe.
TestCafe Test Runner gives us the ability to run our tests from Visual Studio directly using the different browsers.
TestLatte to run TestCafe - this is a sidebar runner with Visual Studio Code.
So we can download the three of them by clicking on "Install", but I have already installed it, so because that is displayed as "Uninstall". Then we can restart our Visual Studio Code to make the changes in the Visual Studio IDE.
# Installing TestCafe
After we installed the Node.js and NPM on our macOS machine, now it's time to install TestCafe.
We need to open the Visual Studio Code and then we will select from "Start", we will select "Open folder…". We will create a new folder and for example, we can name it TestCafeDemo.
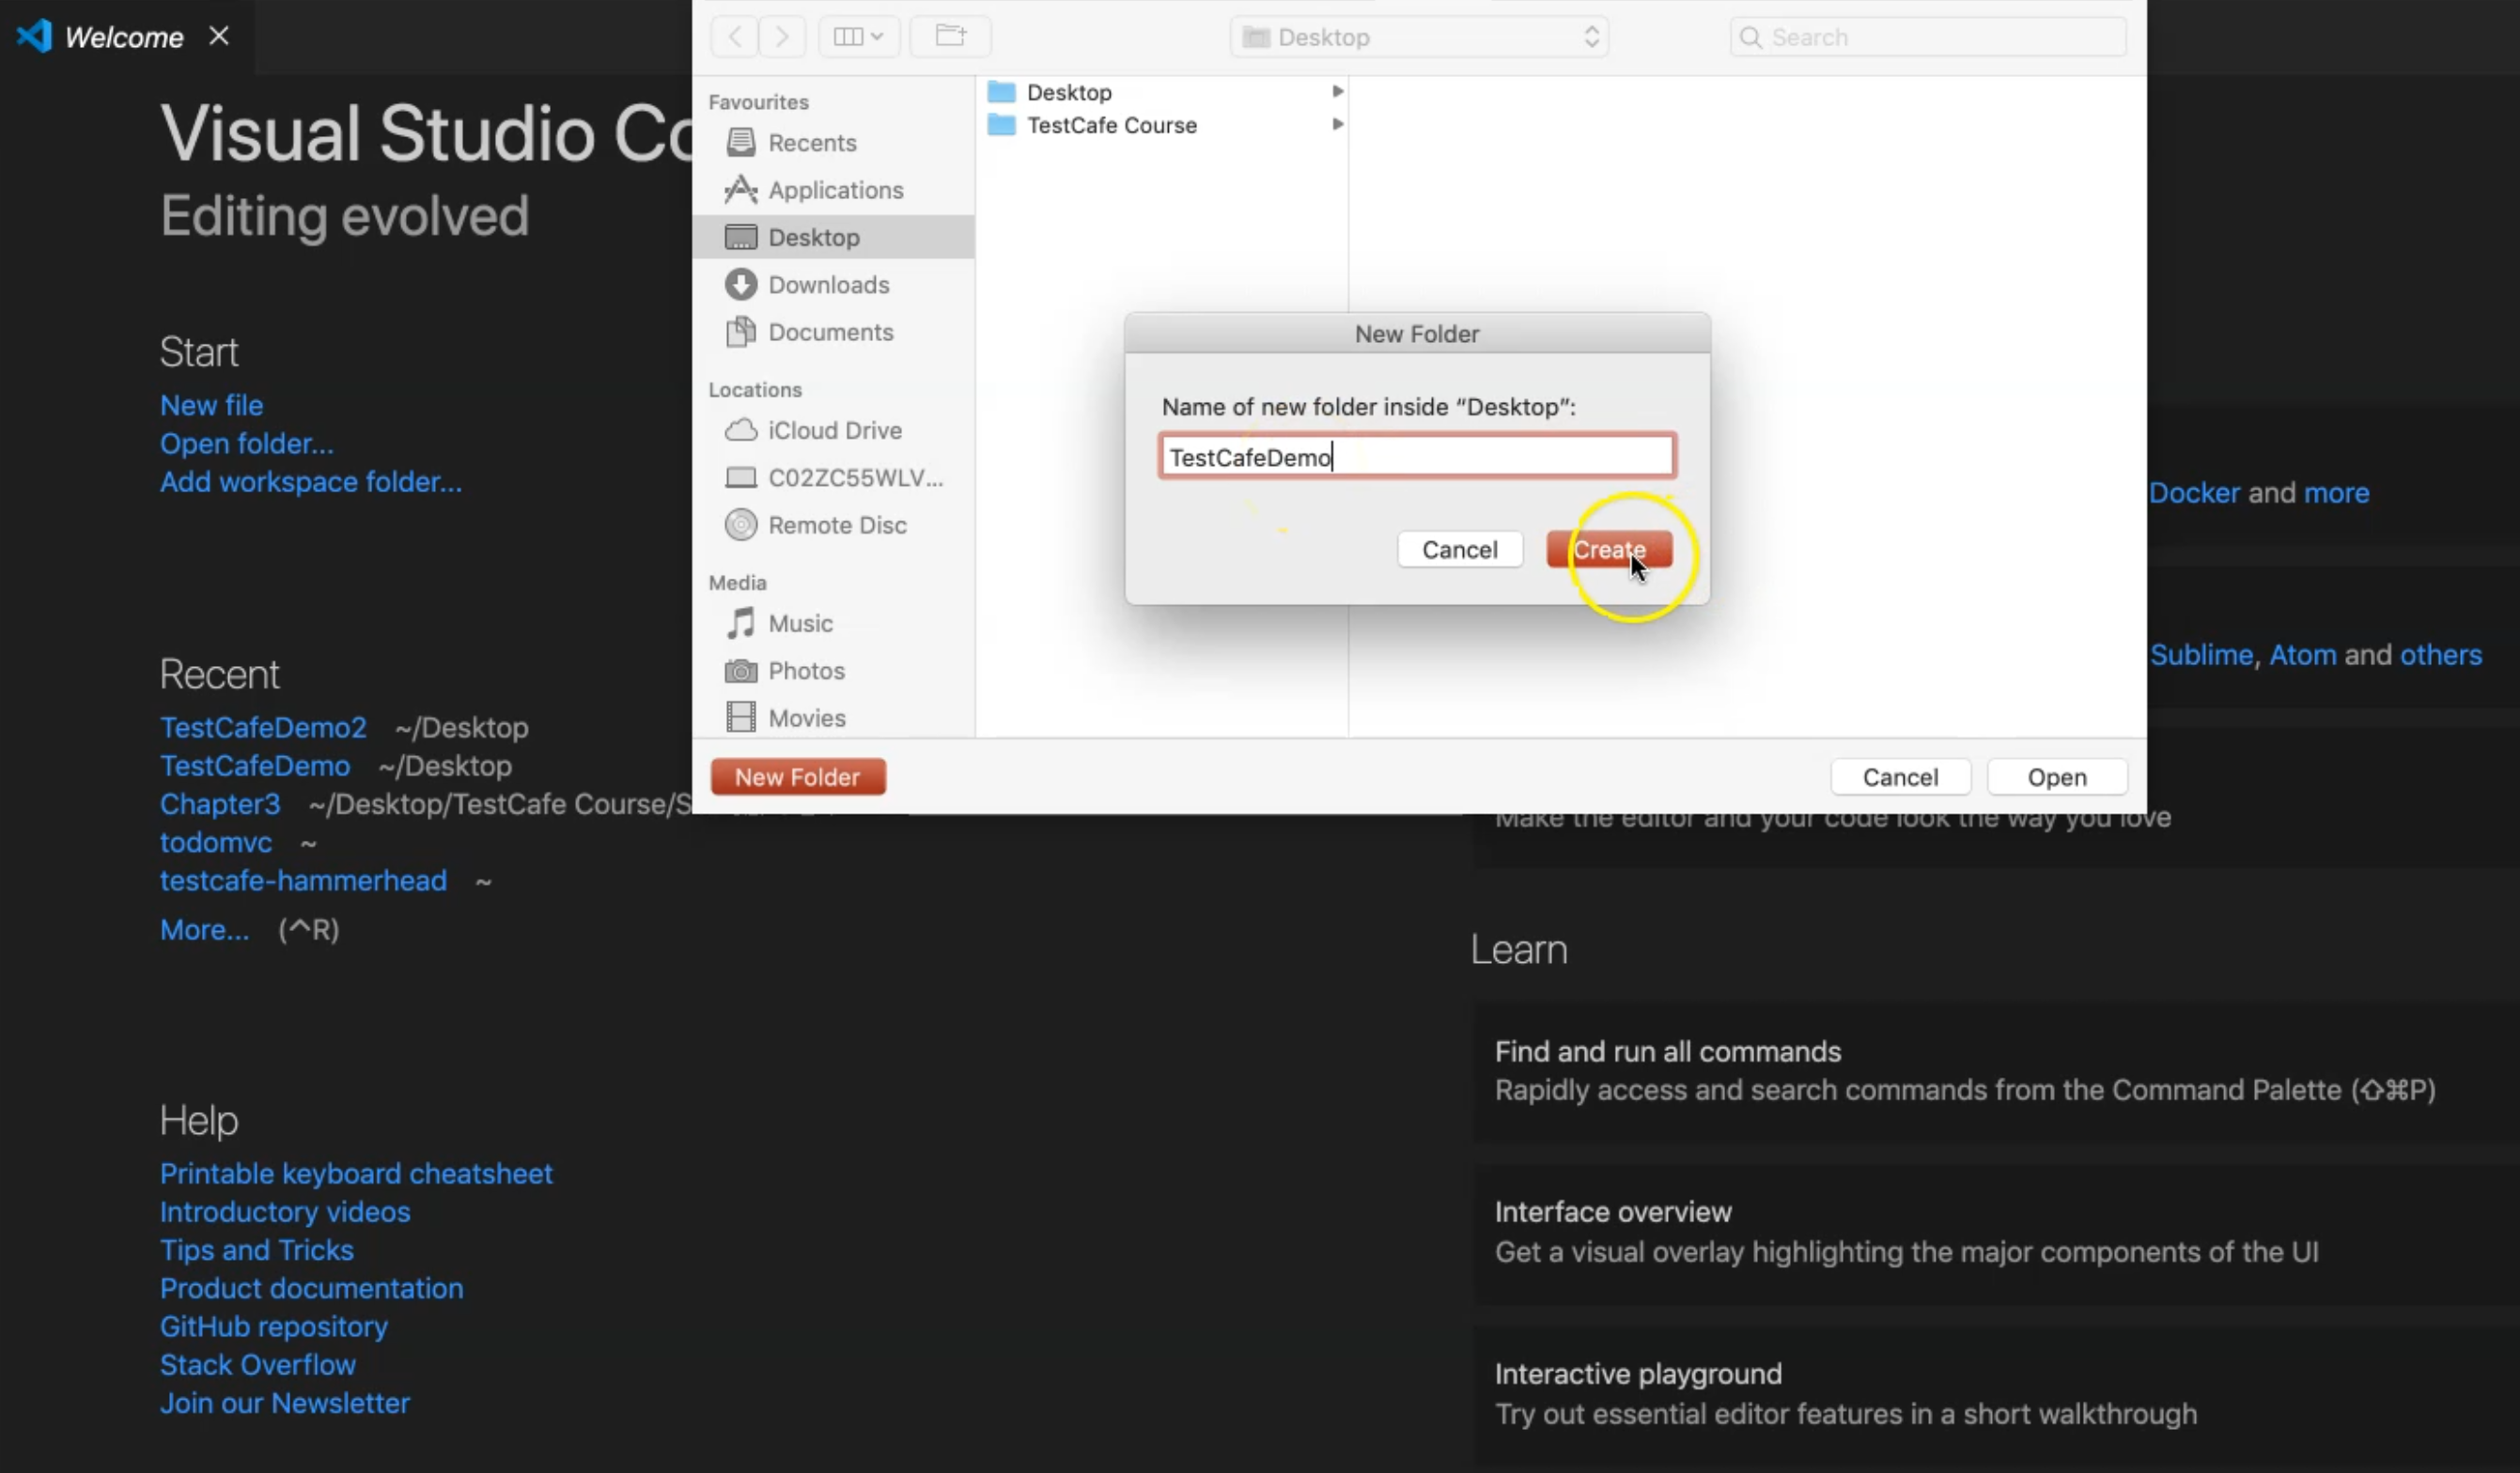
Click on "Create", and after that "Open".
So here is an empty folder and we just need to install TestCafe and node_modules in this folder.
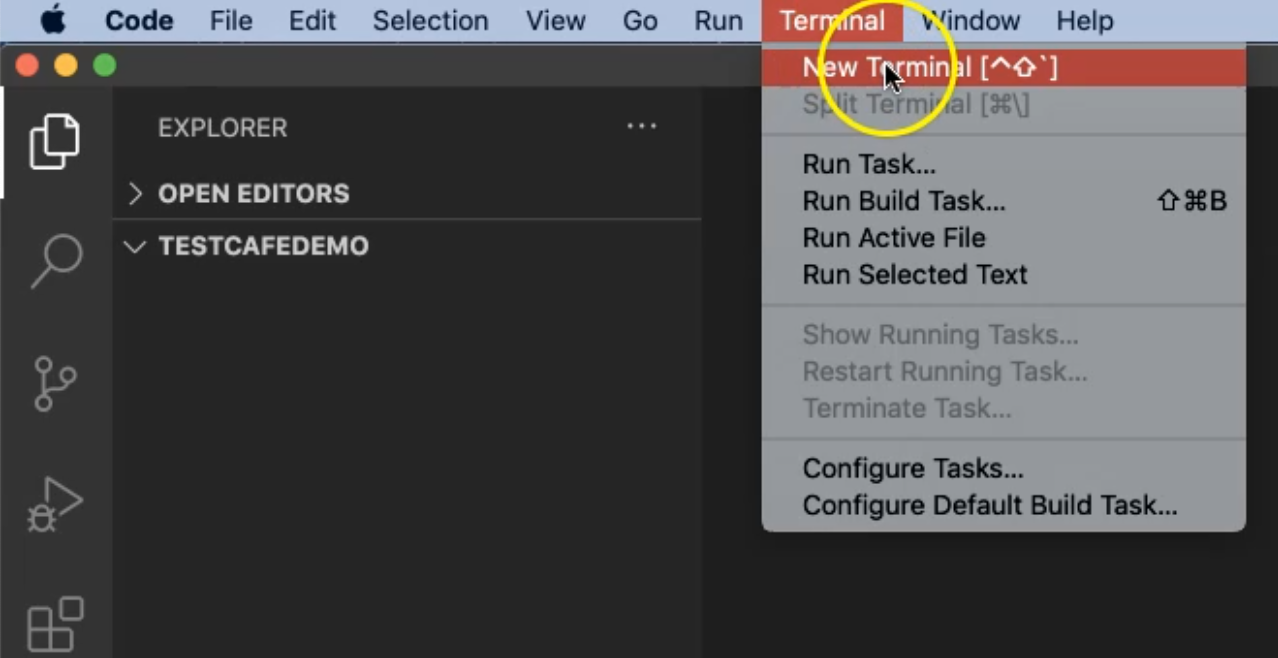
From the terminal, we can click on "New terminal" and it will open the command line terminal here.
After that, we can run:
npm install testcafe
After that, Node and NPM will start downloading its dependencies with TestCafe.
Then we can run
testcafe -v
and here we have the version of TestCafe.
Then inside this folder, we need to initialize the node project, to be able to find the node_modules and to start writing our TestCafe test cases.
From the command line also, we can run
npm init
Then, it asks us about the package name. So we will leave it as a default - as the version name, description, entry point, test command, GitHub Repositories, keywords, author, license.
Confirm with 'yes' because we don't need to change any values now in this file.
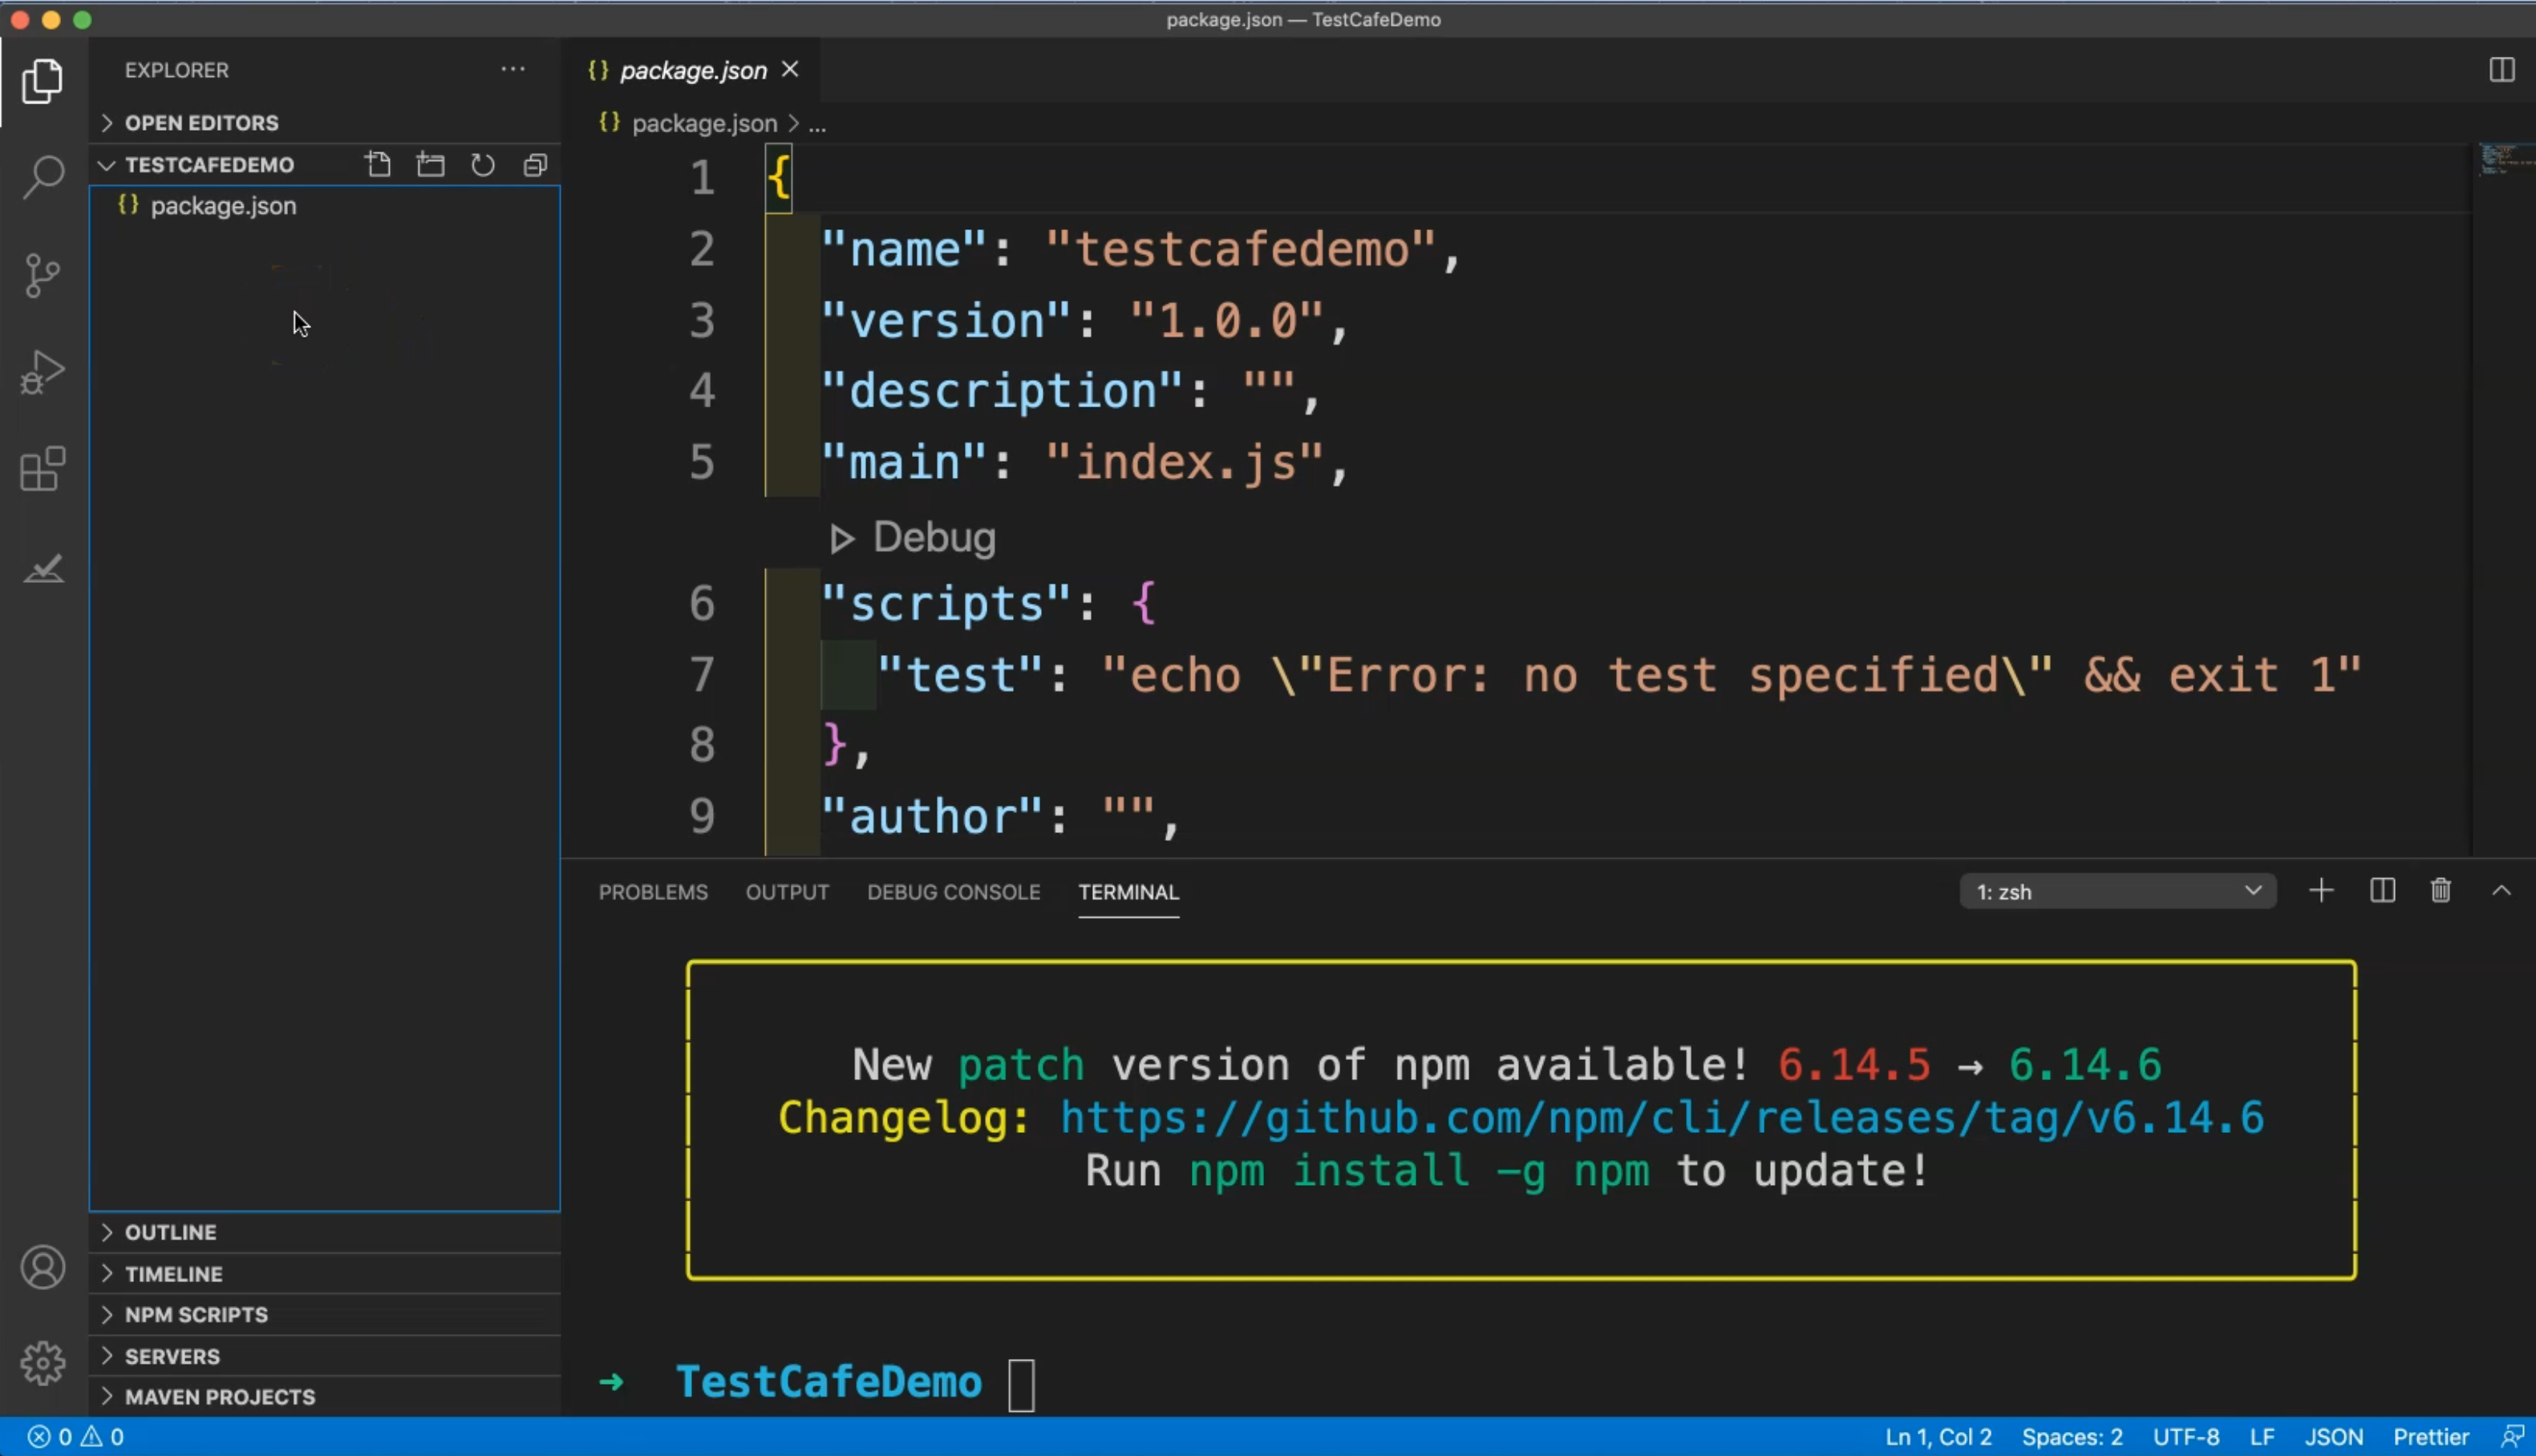
Here we will find the package.json, inside this folder.
So here, we can start writing or creating TestCafe test cases in our project.
We will notice that when we installed TestCafe, it's installed globally in our machine.
But what if we need to install it inside our project? So after we initialize the NPM project with the package.json file, So we can run the command line again with...
npm install testcafe
...and see what happened and the result.
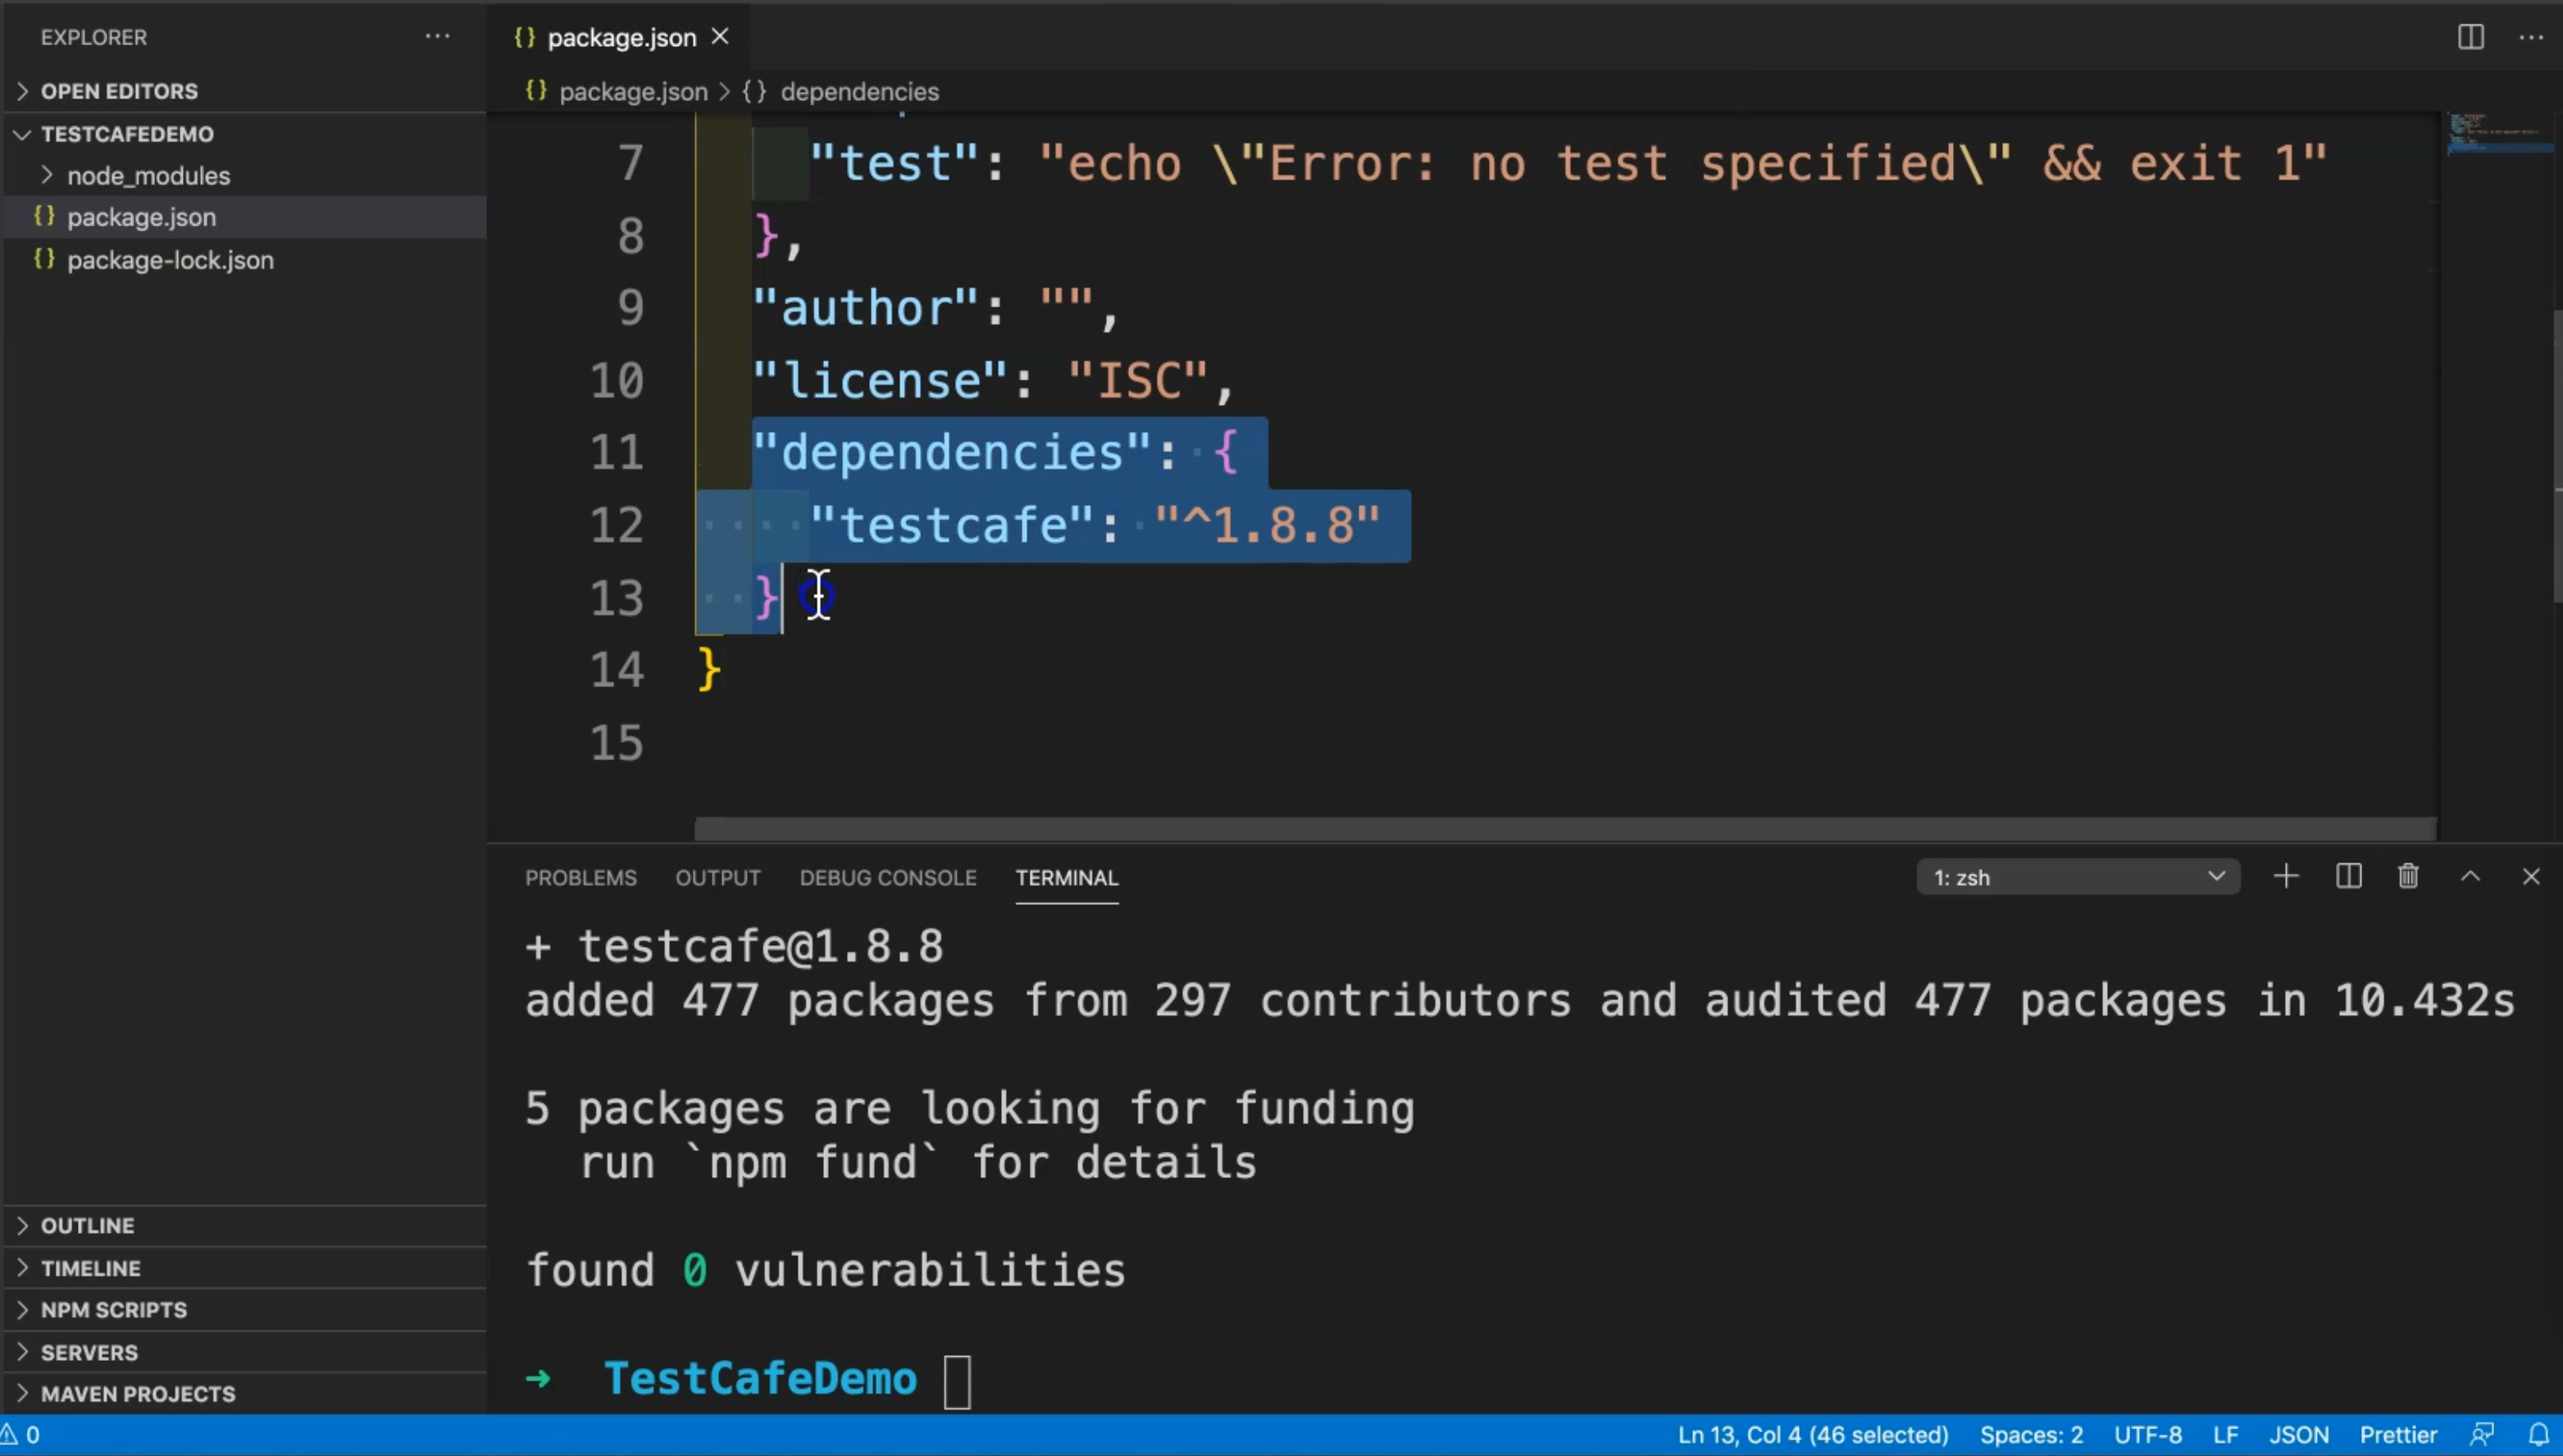
After we installed TestCafe, we will find that we have a dependencies section inside the package.json file with testcafe and with the version of the TestCafe. And after that, we found that the node_modules is installed or added in our project with package.json and package-lock.json.
So after that, we can start writing our first test case with TestCafe and Node.js.
# How to enable the screen recording permissions for macOS
In this demo, we will learn how to enable the screen recording permissions for macOS.
TestCafe requires the screen recording permission on macOS with the newer version to perform test actions, take a screenshot, and record the videos.
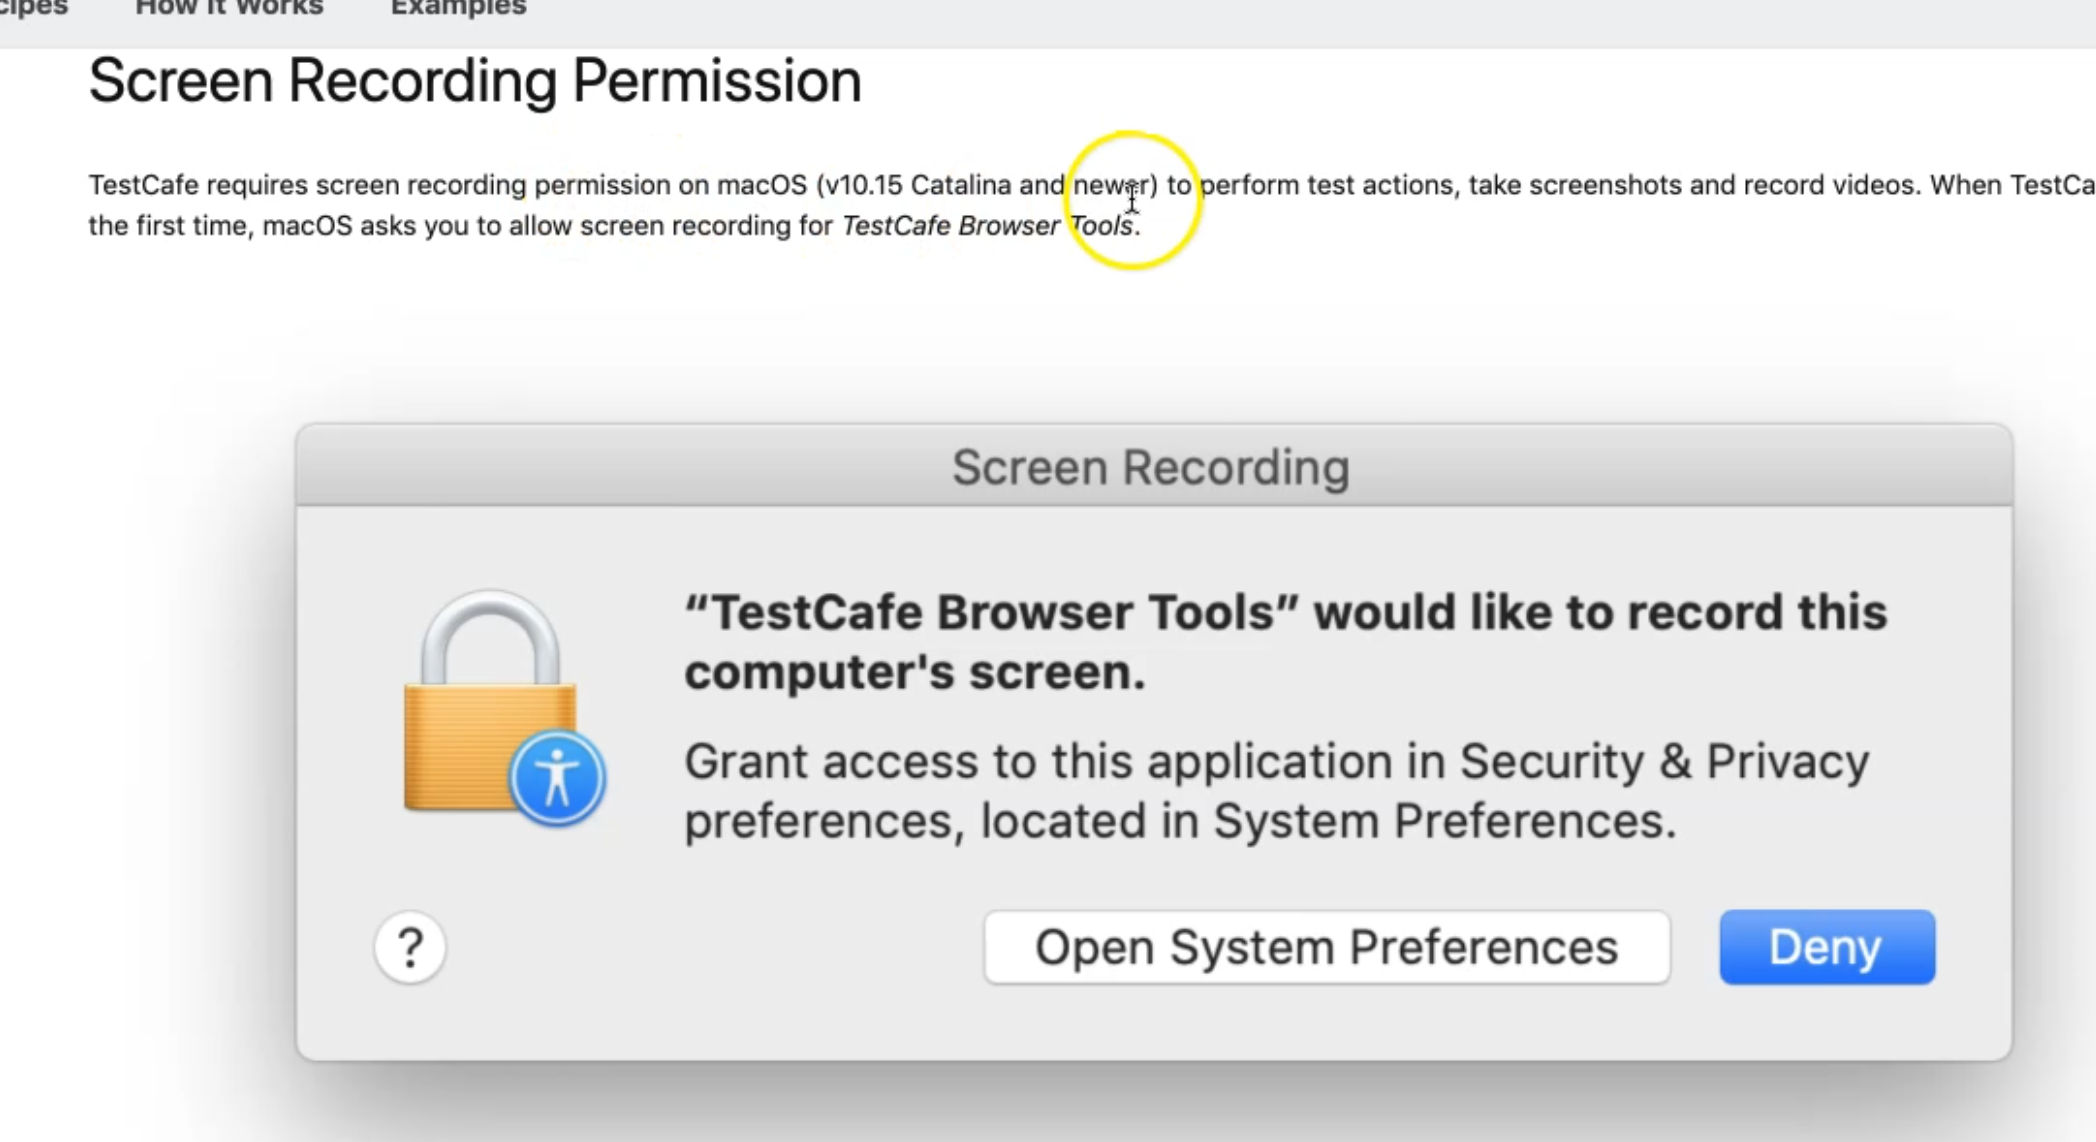
When TestCafe starts the first time, macOS asks you to allow screen recording with TestCafe.
If you face this problem or this message, you need to open the System Preferences, check the TestCafe Browser Tools, and the granted permission for it. This is only for the newer versions with macOS.
Resources
Quiz
The quiz for this chapter can be found in 2.2
