

Transcripted Summary
# TestCafe Configuration File
TestCafe uses the .testcaferc.json configuration file to store its settings.
Settings you specify when you run TestCafe from the command line and the programming interfaces override settings from .testcaferc.json.
TestCafe prints information about every overridden property in the console.
Keep .testcaferc.json in the directory from which you run test cases, which is the main directory of the application, or our project.
This is usually the project root directory. TestCafe doesn't take into account configuration files located in other directories (for instance, project subdirectories).
For example, if we have a .testcaferc.json file and we are adding Chrome as the browser that we will use to run our test.
After that, from the command line, if we say - for example - we will run on Firefox, this will override the settings or the configuration in this file.
And after that, the configuration or TestCafe will print as the override settings in the console.
# TestCafe Configuration File Demo
In this demo, we will create the TestCafe Configuration File.
We can add all the configurations that we need in this file and run with the test or npm test command from the command line.
We don't need to add any parameters with the command line after that.
If we open the TestCafe documentation and under Reference, here we can find the section for the configuration file.
TestCafe uses the .testcaferc.json configuration file to store its settings.
So, in this file, we can specify all the things that we need - like browsers, src, reporter, screenshots, path, takeOnFails, fullPage, disableScreenshots, videos, filter everything that we can use on the command line, we can just add in one file.
After that, we can run the command line with the npm test from the command line.
Let's start creating our file in our project.
Here we can just copy this file name and open the project and in the root - it should be in the root, usually - here we can create the file .testcaferc.json.
Inside the file, we can add any configuration related to our source location or where our tests are located and what browser we need to run.
We need to add a screenshot - on fail or not. We need to record the video or not.
We need to install a reporter, for example, an HTML reporter or any special reporter in our project.
So for example, here, we can create this configuration.
{
    "browsers": "chrome",
    "src": "test",
    "reporter": "list",
    "screenshots": {
        "path": "report/screenshots",
        "takeOnFails": true,
        "fullPage": true
    },
    "videoPath": "report/videos",
        "videoOptions": {
        "singleFile": true,
        "failedOnly": true
        },
    "concurrency": 1,
    "selectorTimeout": 3000,
    "assertionTimeout": 1000,
    "pageLoadTimeout": 1000,
    "speed": 0.1
}
This is JSON, so we will start our JSON file.
Underneath here, we have browsers. For example, we usually run on Chrome, so we will specify the browser here as chrome.
As an src, we are using test. In our case, it's "test", and not "tests".
For reporter - we are using the default reporter, which is list.
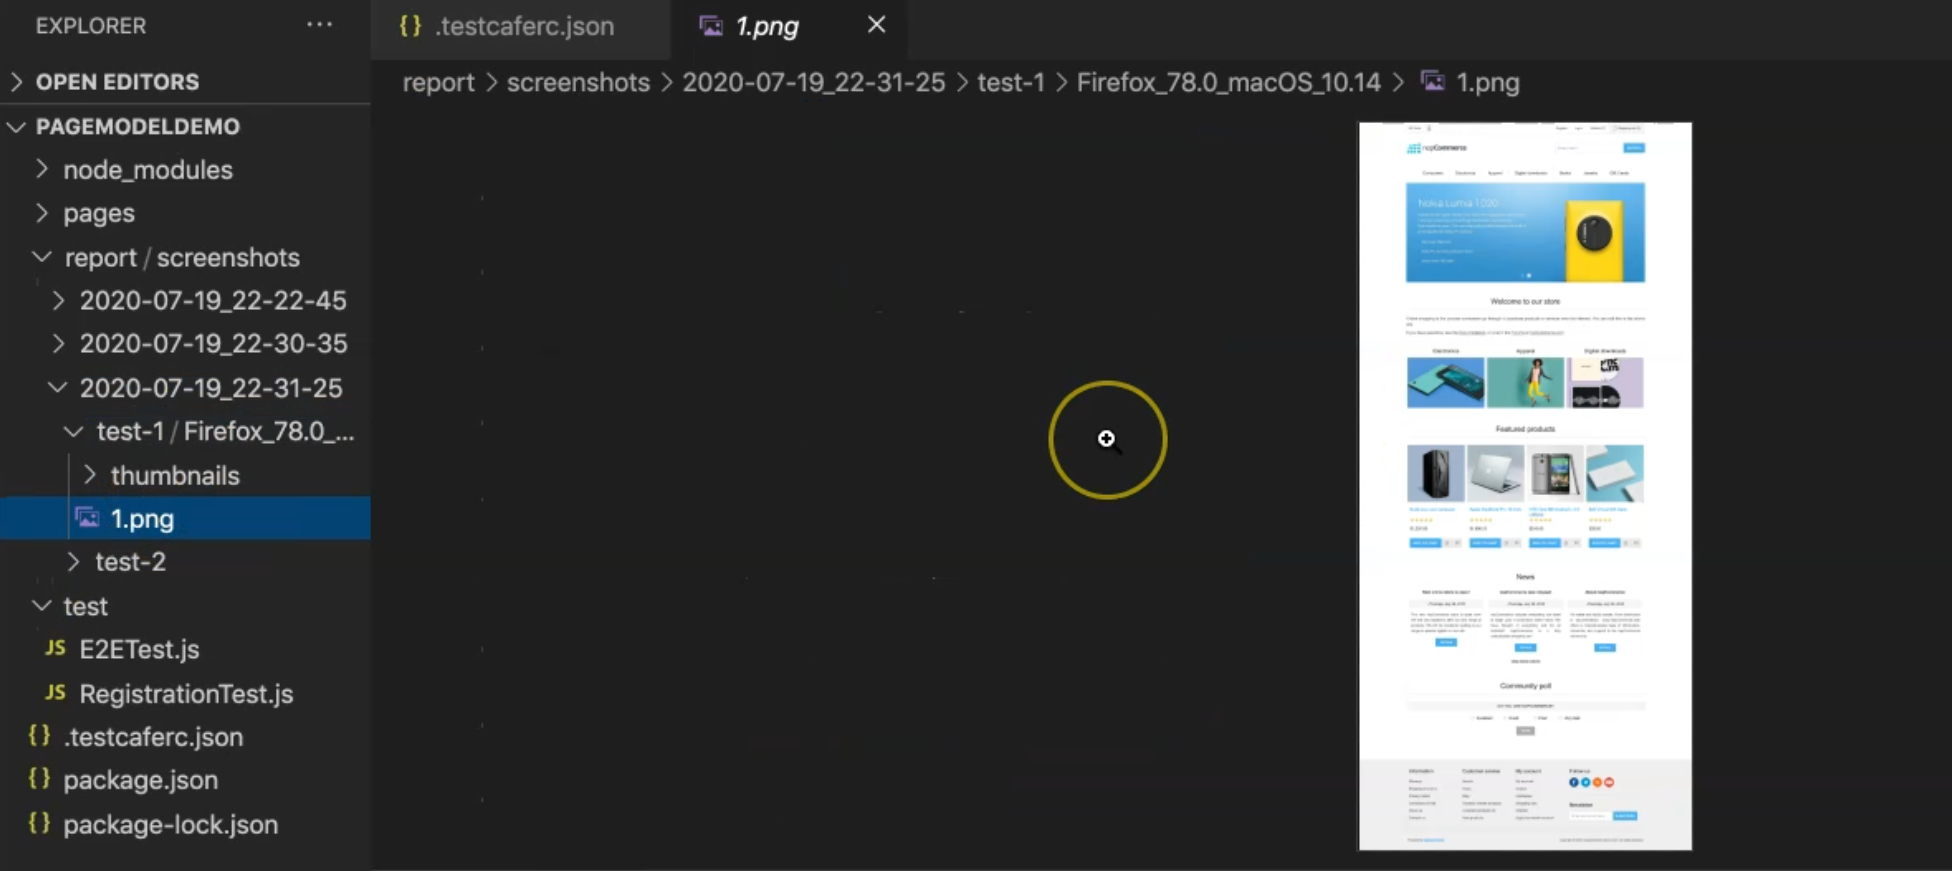
For the screenshots, we can add the screenshot path here - so we will save all the screenshots in this folder in the root folder.
Also, we can take a screenshot only on failed test cases with fullPage - so it's true. You can specify if it's false or true.
And this one for videoPath is under report. For example, we can add screenshots and videos under the folder report so we can have the videos and screenshots in the same place.
The concurrency can be 1.
Also, we can override these values from the command line if we need them, but this is just to put one configuration file in our project.
Here this is a selectorTimeout and you can increase it if you need it.
This is assertionTimeout, the pageLoadTimeout, and this is the speed.
For example, then after that, we can run our test using the npm test from the command line, and we can try this configuration.
After that, we can also override the configuration and to check what happened.
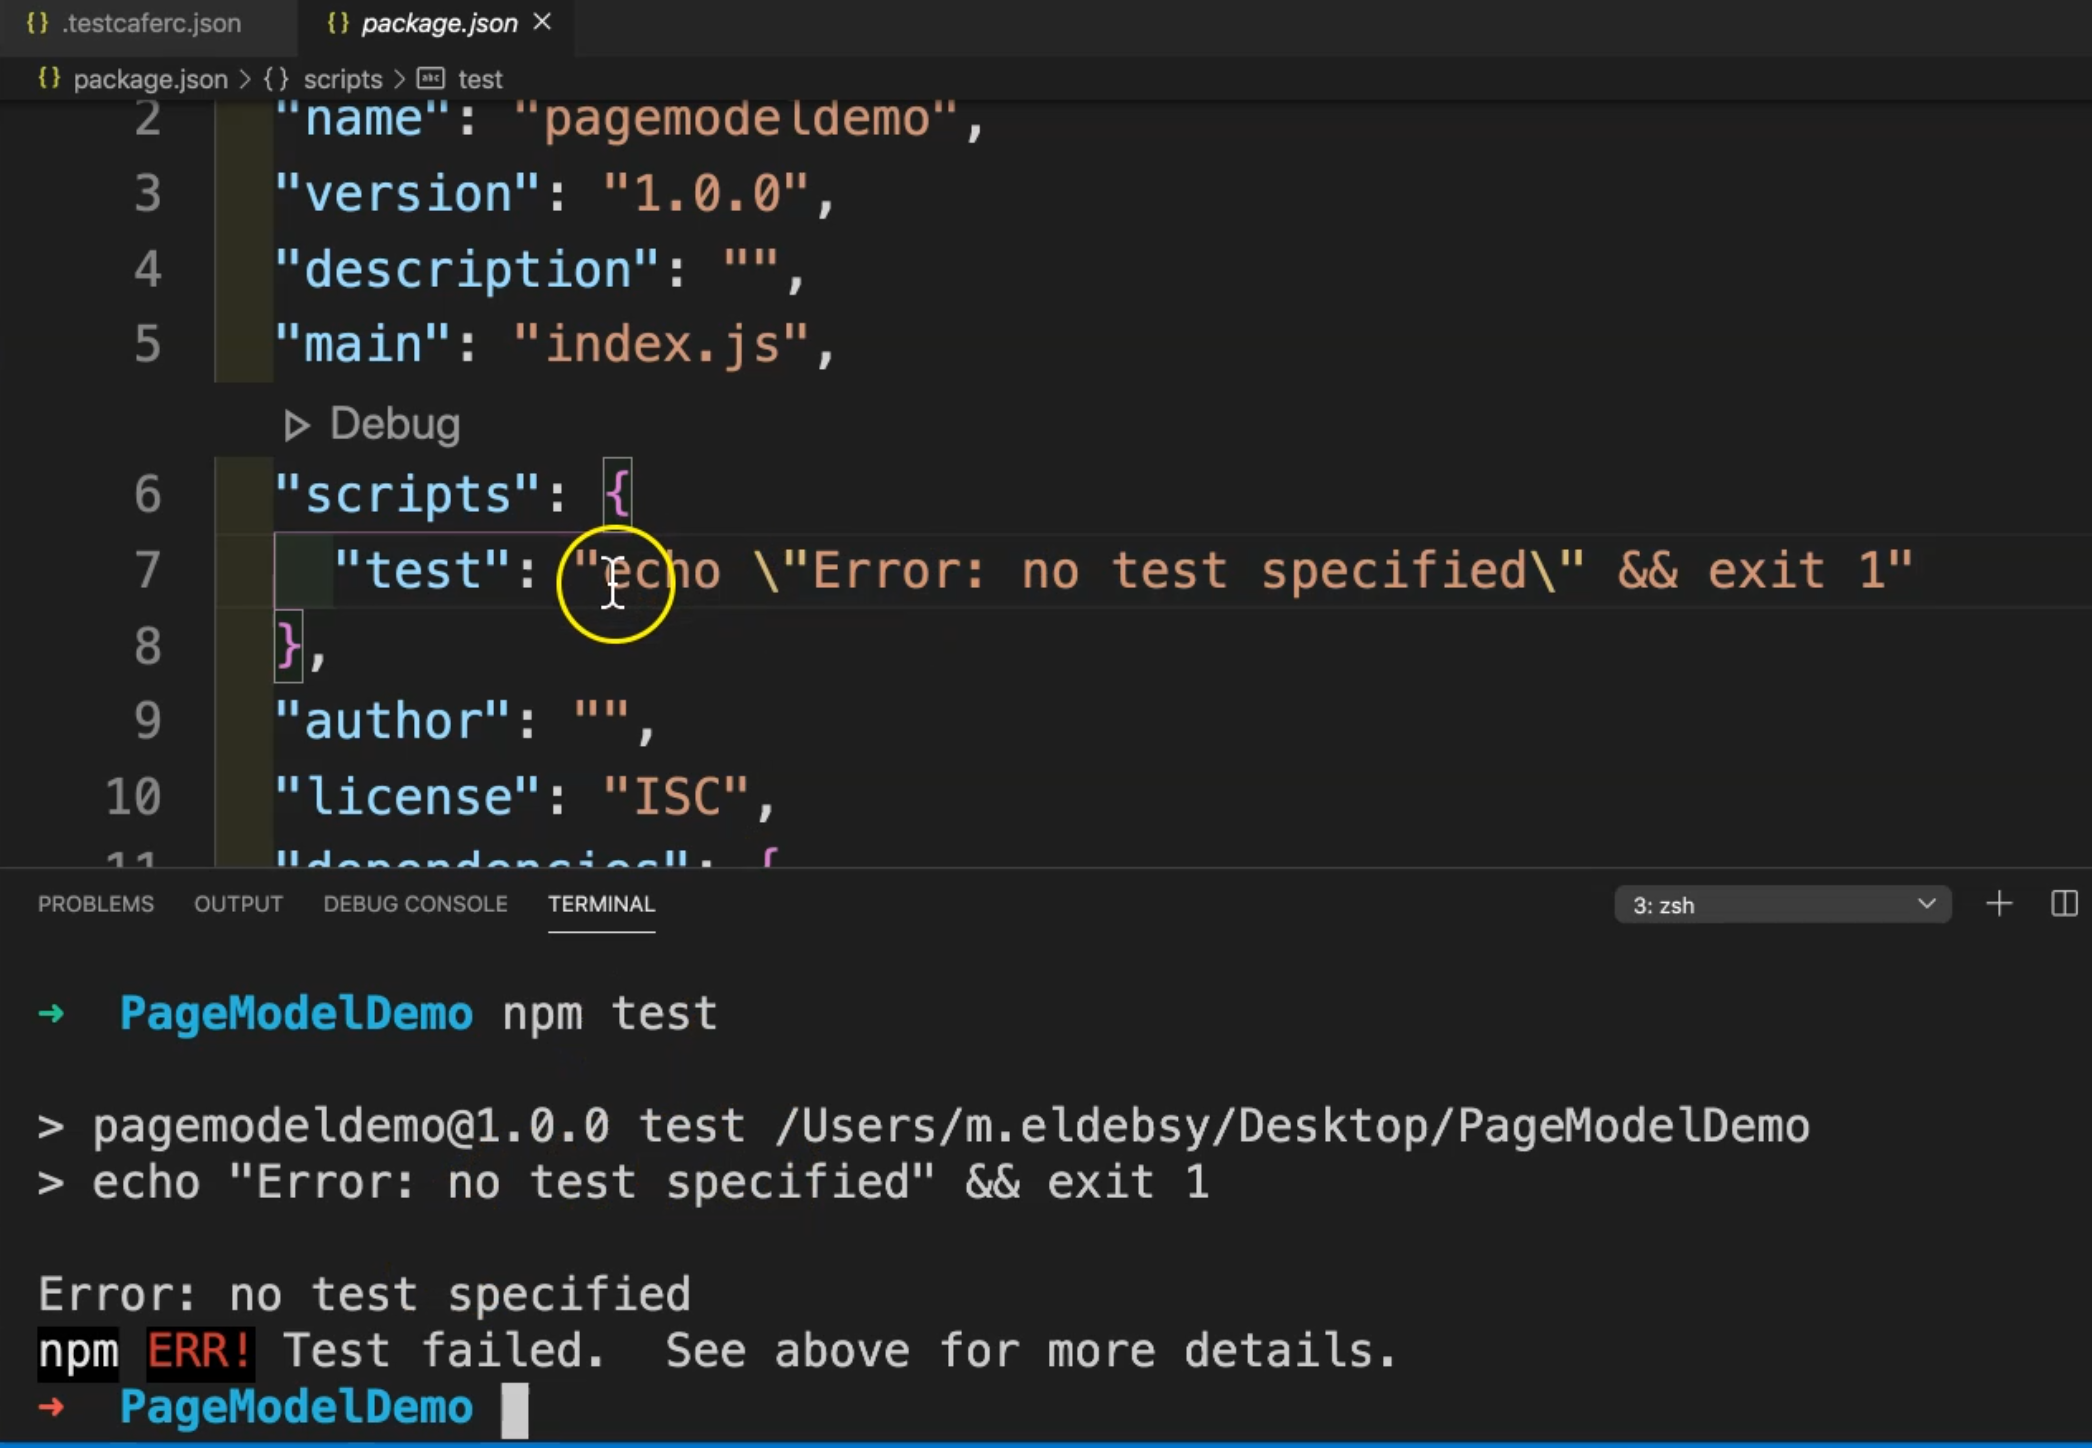
To be able to run our test with this configuration, we just need to open the package.json file.
After that, under scripts we have test and we don't have anything related or assigned to the test command line. For example, here, it will print "Error: no test specified"
If we run
npm test
from the command line… we have "echo Error" - this is an error that is placed here - there is no test specified.
So what if we remove the error text and add testcafe?
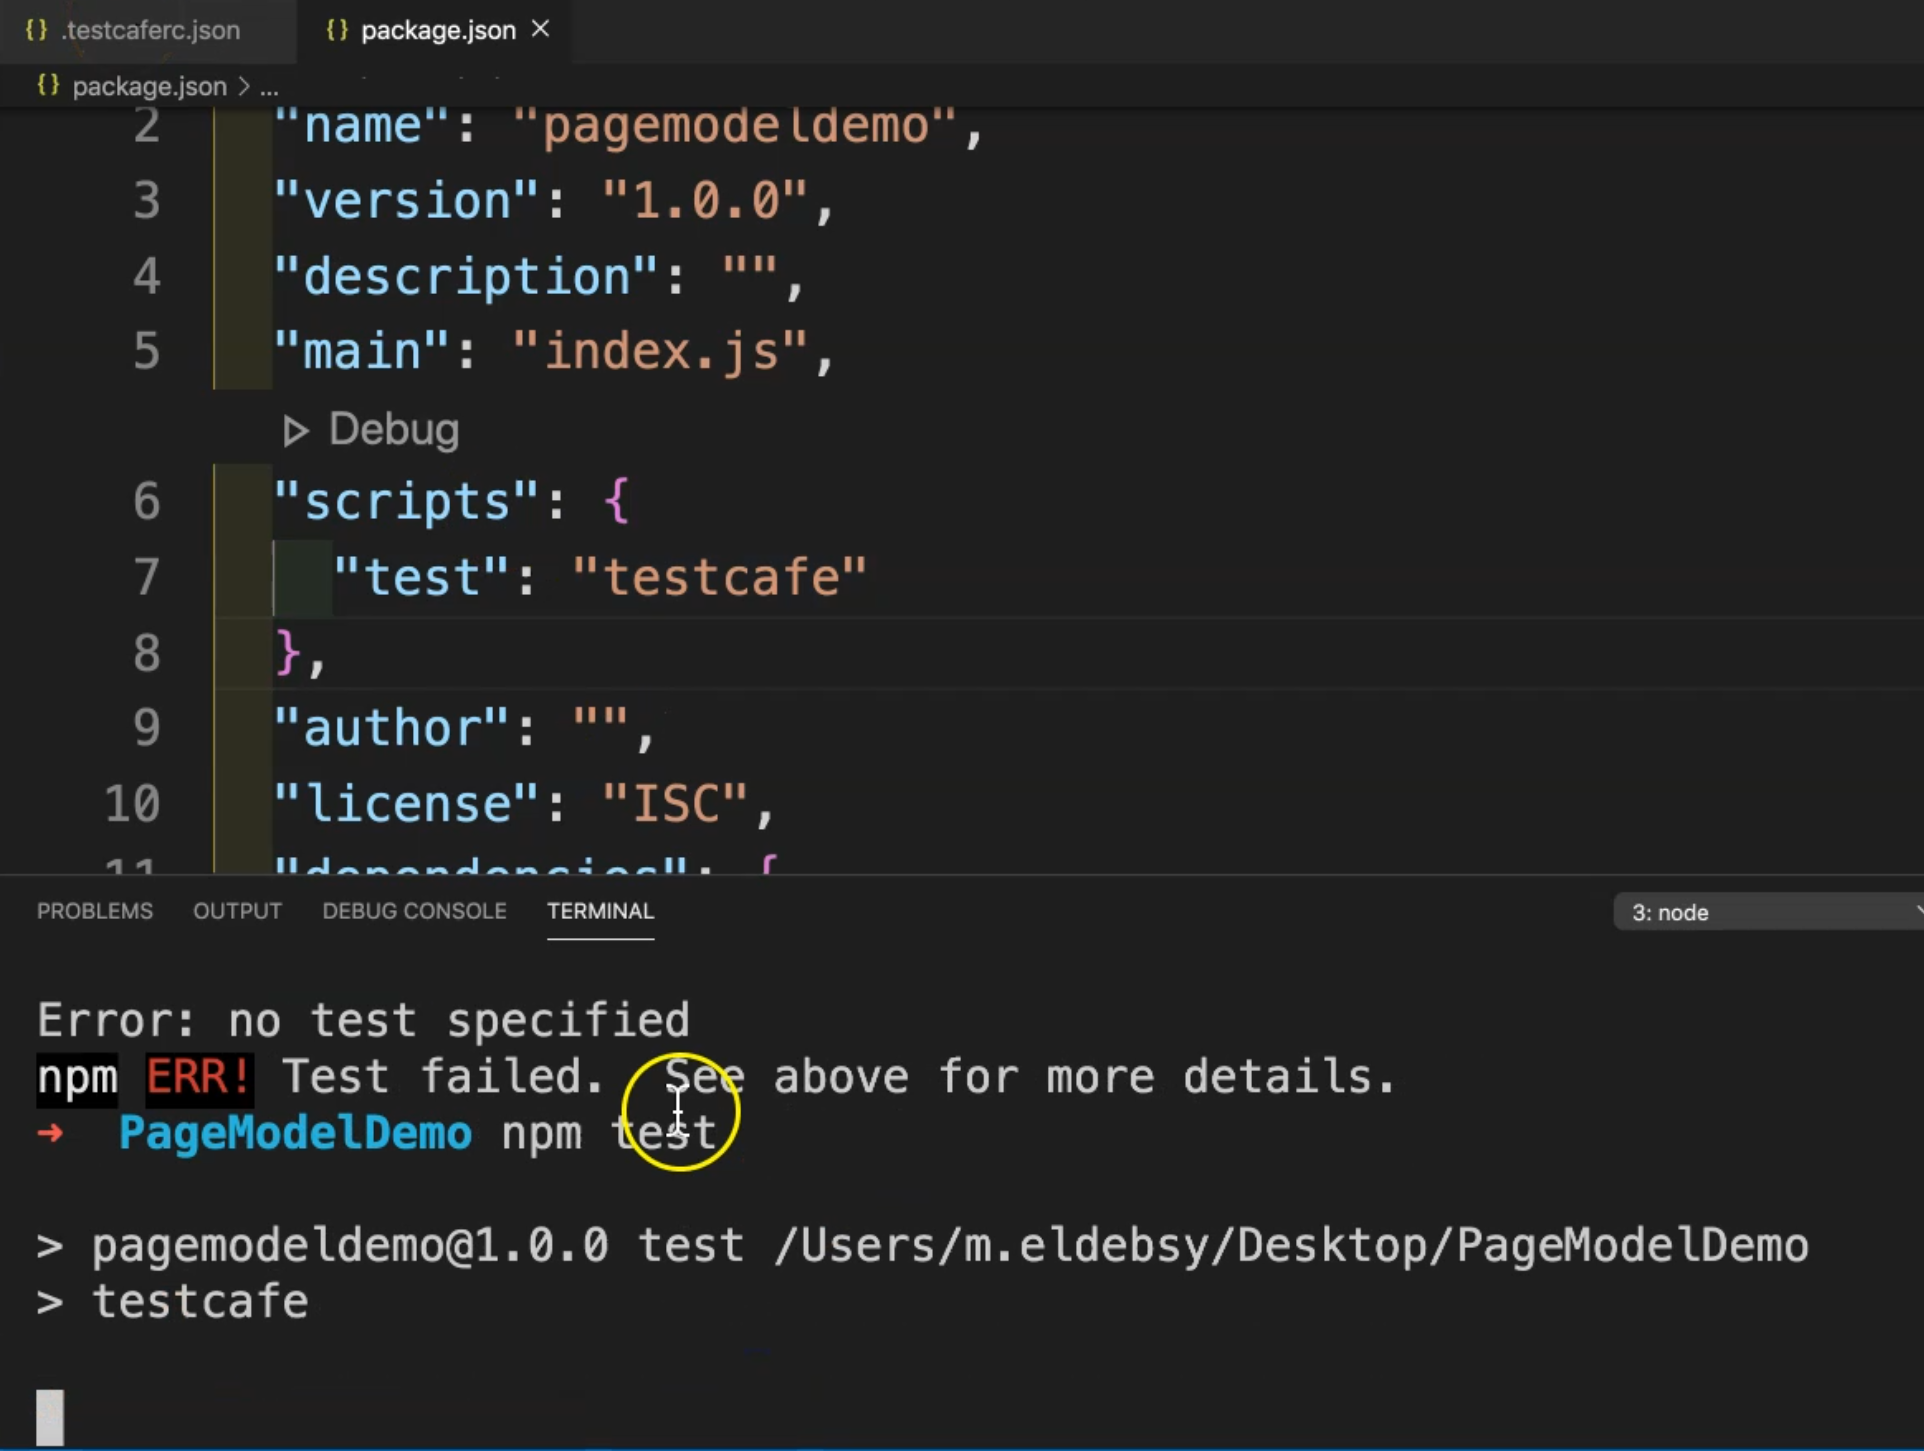
So we will run testcafe, and after that, the configuration will be loaded from the .testcaferc.json file.
Let's run it again. Here we are running testcafe, and testcafe is now spinning up the server and running our test.
Let's check what happened during our test.
We are opening our test cases - registration and user login and so on - our test from that previous video.
You will note that the steps are slower than the normal because we specified the speed test in that JSON file to be not the normal one or not the fastest one.
Here we can check what happened during our test, and also we can check other things.
So, that means that we are now running from the test configuration file and we will wait until the test finishes.
Also, we can start changing the values in the file and override the values in that file.
After we finished running our test, now we have five test cases passed because we are running all the tests inside the test folder.
Here also, this is a configuration, so for example, if you wanted to return back to the normal speed, we can just put 1 here.
For videos, we will also find the report folder including screenshots, but this is because we are adding explicitly in our test case that we need to take a screenshot for a specific step.
But if we don't add this, or if we remove this, we will not find this because we don't have any test case for it.
So we can try by failing one test and after that, you can find the video recorded and the screenshots with your report folder.
Then after that, you can add anything here.
But what if we need to override our test configuration from here, from the command line?
For example, what if I wanted to run only the registration test and I wanted to run on Firefox headless mode?
This will override two things - the browsers and the source.
So, let's try it.
We can run
testcafe- we will not runnpm testnow - we will run the normal one or the old commandtestcafe.I will pass Firefox as a browser and then I will run headless.
Under the
test, I will select only the registration test.Click Enter.
testcafe firefox:headless test/RegistrationTest.js
So here we will find that we have a confirmation that the source and the browser’s options from the configuration file will be ignored.
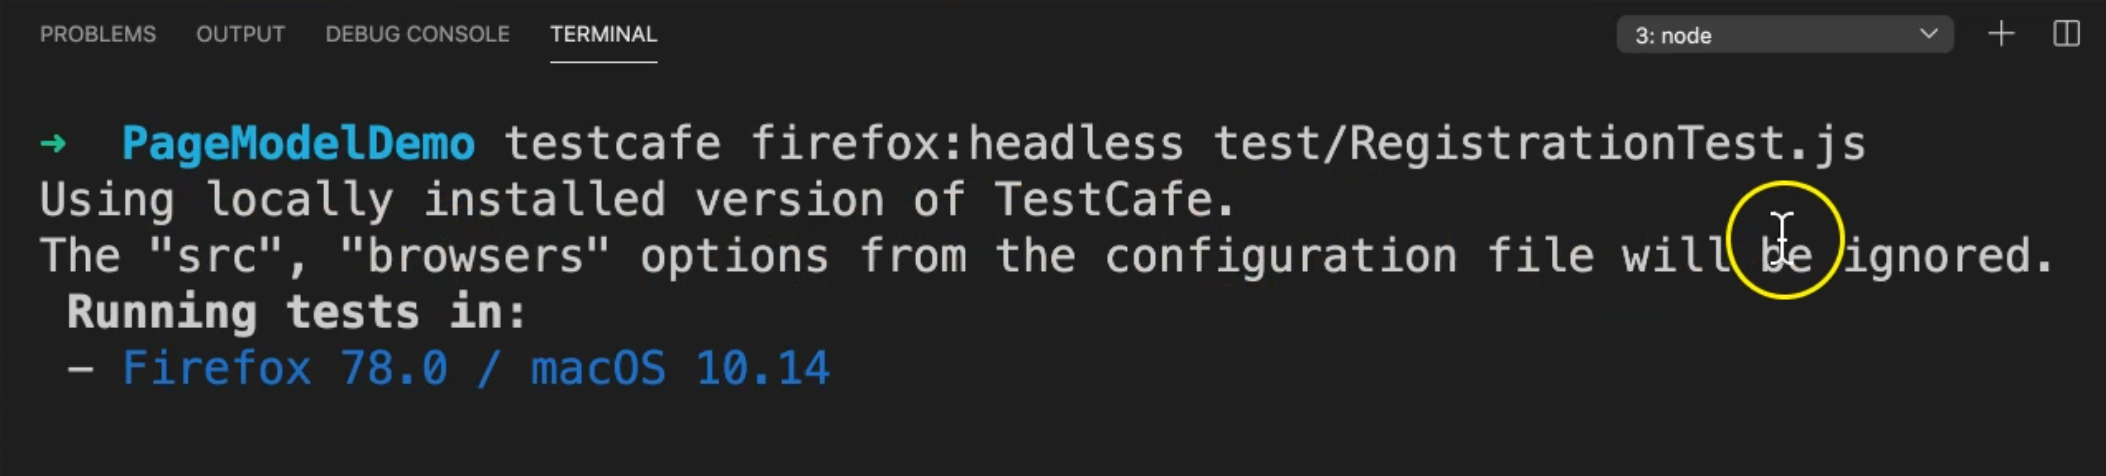
Now we are running on Firefox, which is a different browser, and we are running one single test, which is overridden because, in the config, we are running all the tests.
Also, if you change anything - for example - you need to take a screenshot not only on fail, then it will be overridden.
Or we can disable the video or we can increase the concurrency, and it will be overridden also.
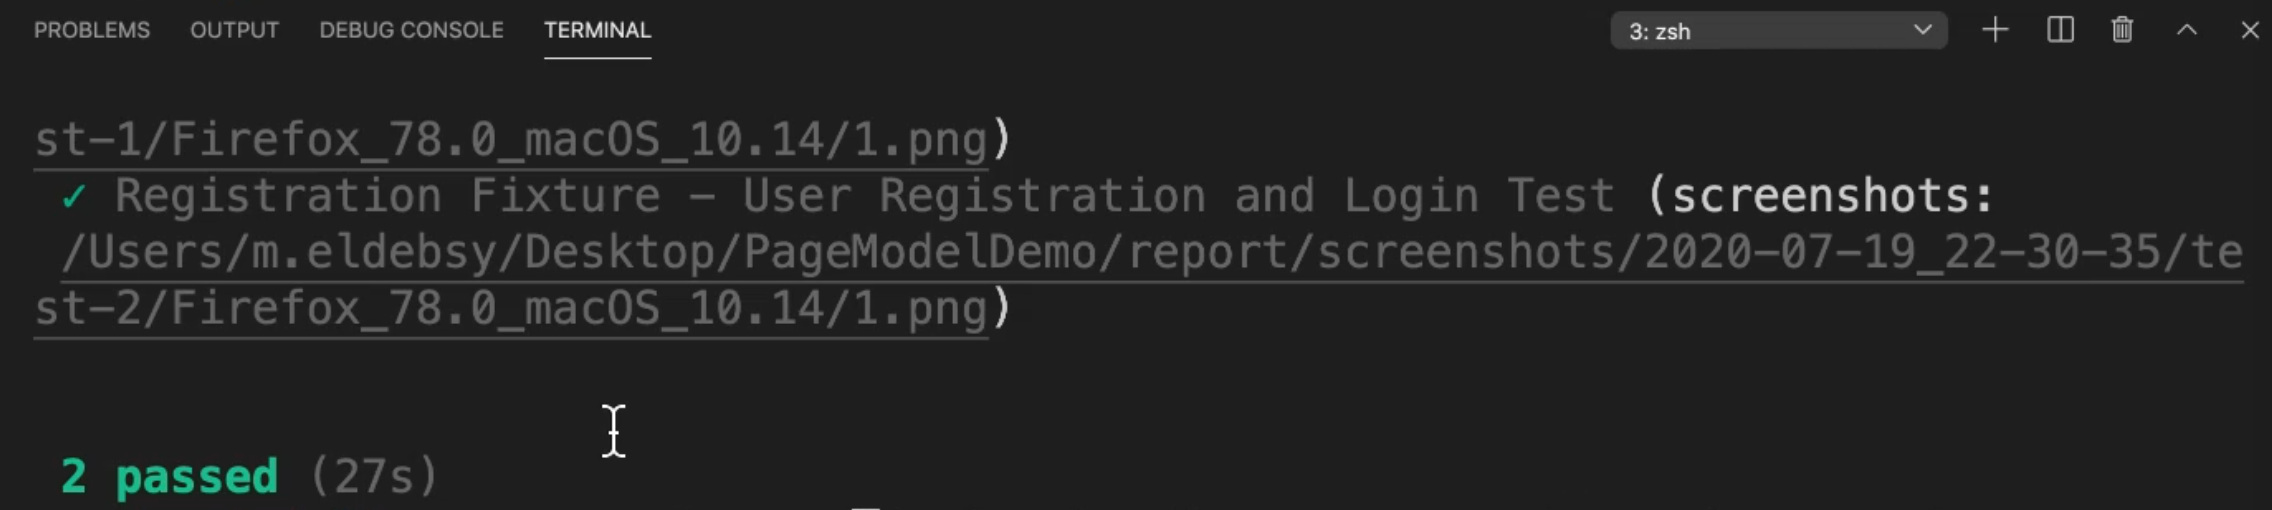
So for example, here we are running it now on Firefox and we have two test cases passed because we are running the registration test.
What if we run it with concurrency? So -c, for example, and 3, with firefox:headless.
testcafe -c 3 firefox:headless test/RegistrationTest.js
Here we will find that the src, browsers, and concurrency options are ignored because we changed it.
concurrency was 1 and we overrode it with 3.

So, with configuration - this is a different configuration, but if we need to override or to use a specific command, we can do it without any problem.
We are running our test now, and after that, we will check the result after the test ends.
We have two test cases passed.
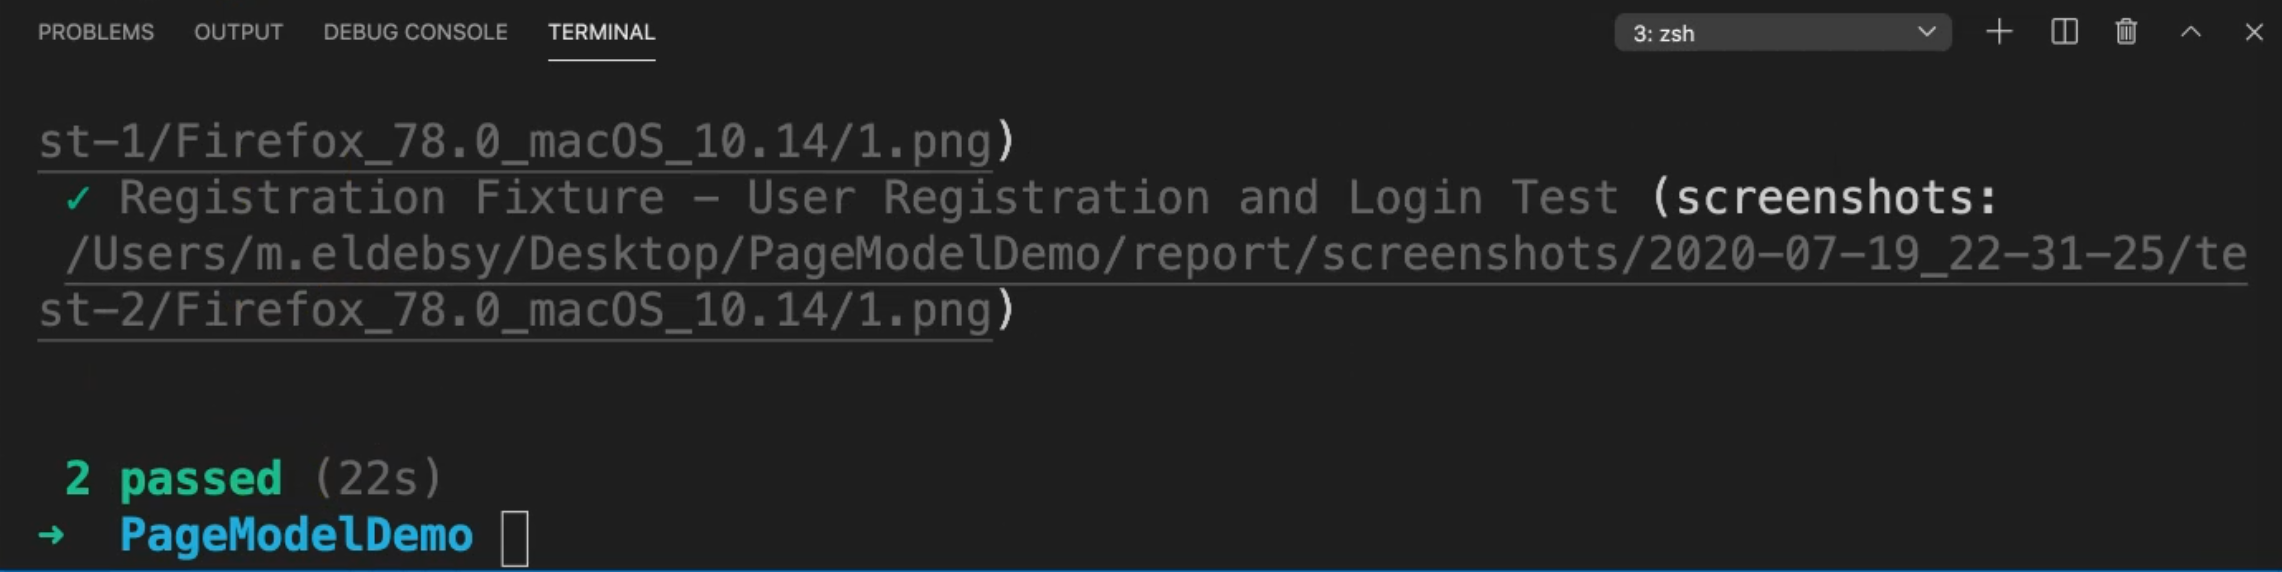
So, with that configuration file, and also with override options with this configuration, we don't have any problems.
Here also we have the screenshot of our test.
So with test configuration, you can specify your configuration in one JSON file.
Also, you can in package.json specify the command line to be able to run testcafe, which will take the configuration from the testcafe JSON file. And you can run npm test from the command line.
