Transcripted Summary
# How to use TestCafe Extensions with Visual Studio Code
In this demo, we will learn how to use TestCafe extensions with Visual Studio Code.
Previously, we installed three extensions with Visual Studio.
The first one is TestLatte - this is a runner, TestCafe runner, and also TestCafe snippet.
For example, here in tests, we can just create one file called testExt.js.
We will start with the TestCafe code snippet.
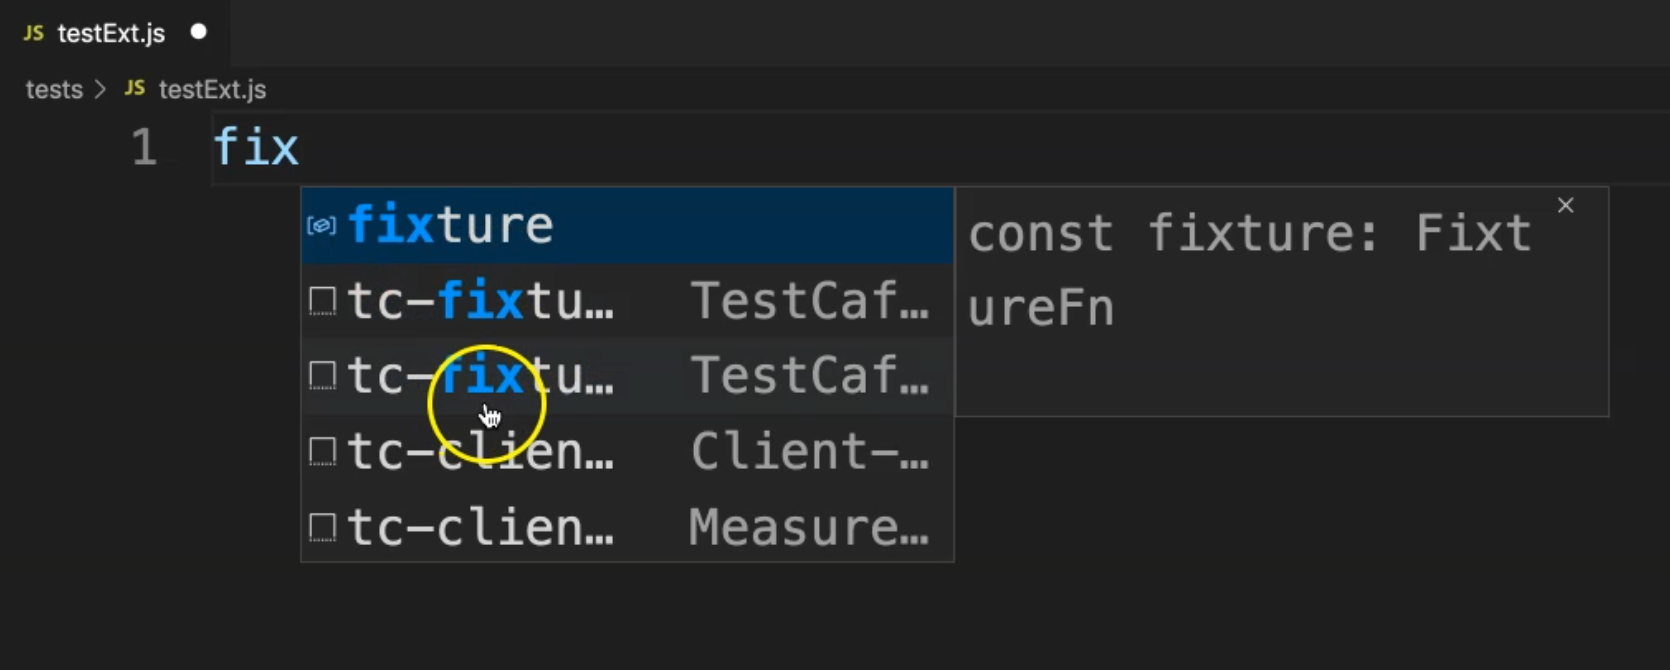
Here, if I start writing fixture - this is a normal import from TestCafe.
This is a const fixture and after, that we are adding the fixture name. But if we notice, we have here something like tc-... or TestCafe fixture, and we have different things from it.
So for example, if we select the second one, here we have a code snippet to add or create a fixture with a title or with a name. So here, this is a "TestCafe Fixture with a Start Page (TestCafe Snippets).
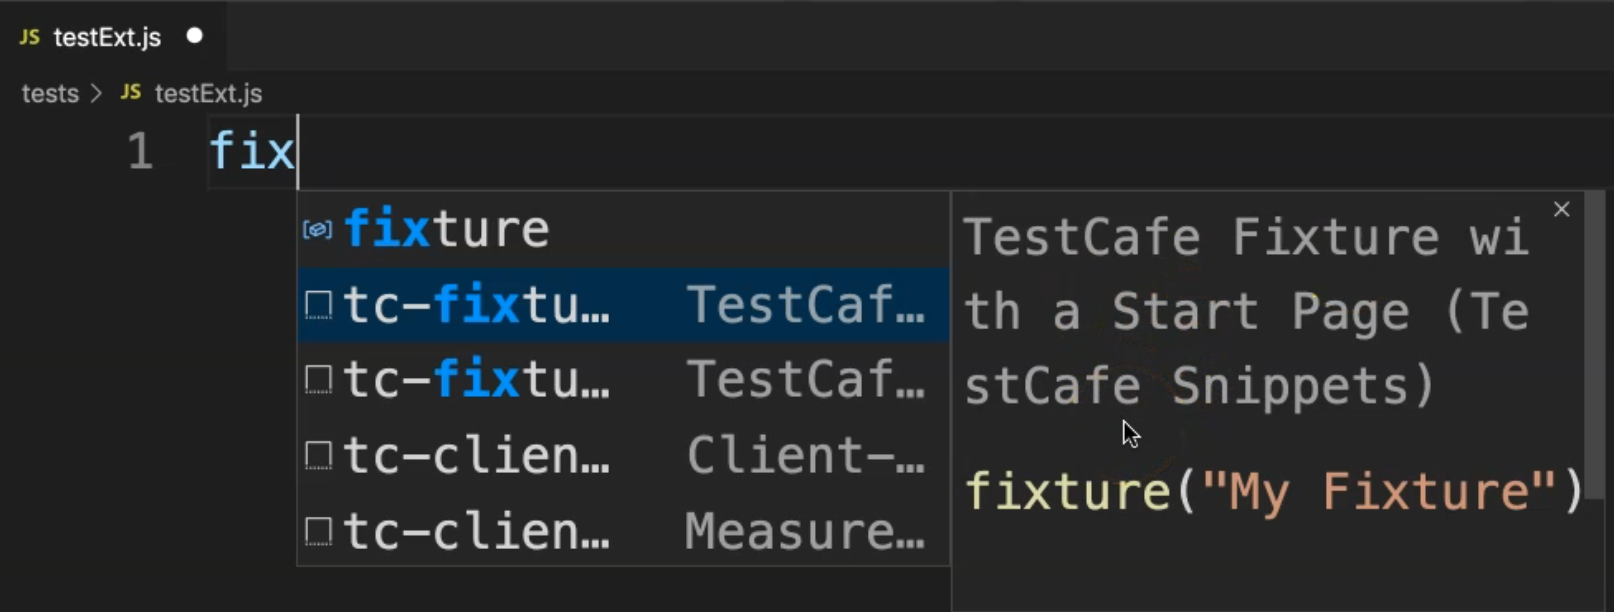
If I just click "enter", I have here the page, the fixture name, and also I can after that just change the URL.
So I have here the page, the fixture name, and also I can, after that, just the change the URL. For example, here I will enter "google.com".

So in a few steps, code snippets help us to create the TestCafe blocks of code.
If I start writing test - this test is from TestCafe imports normally, but here we have different tests.
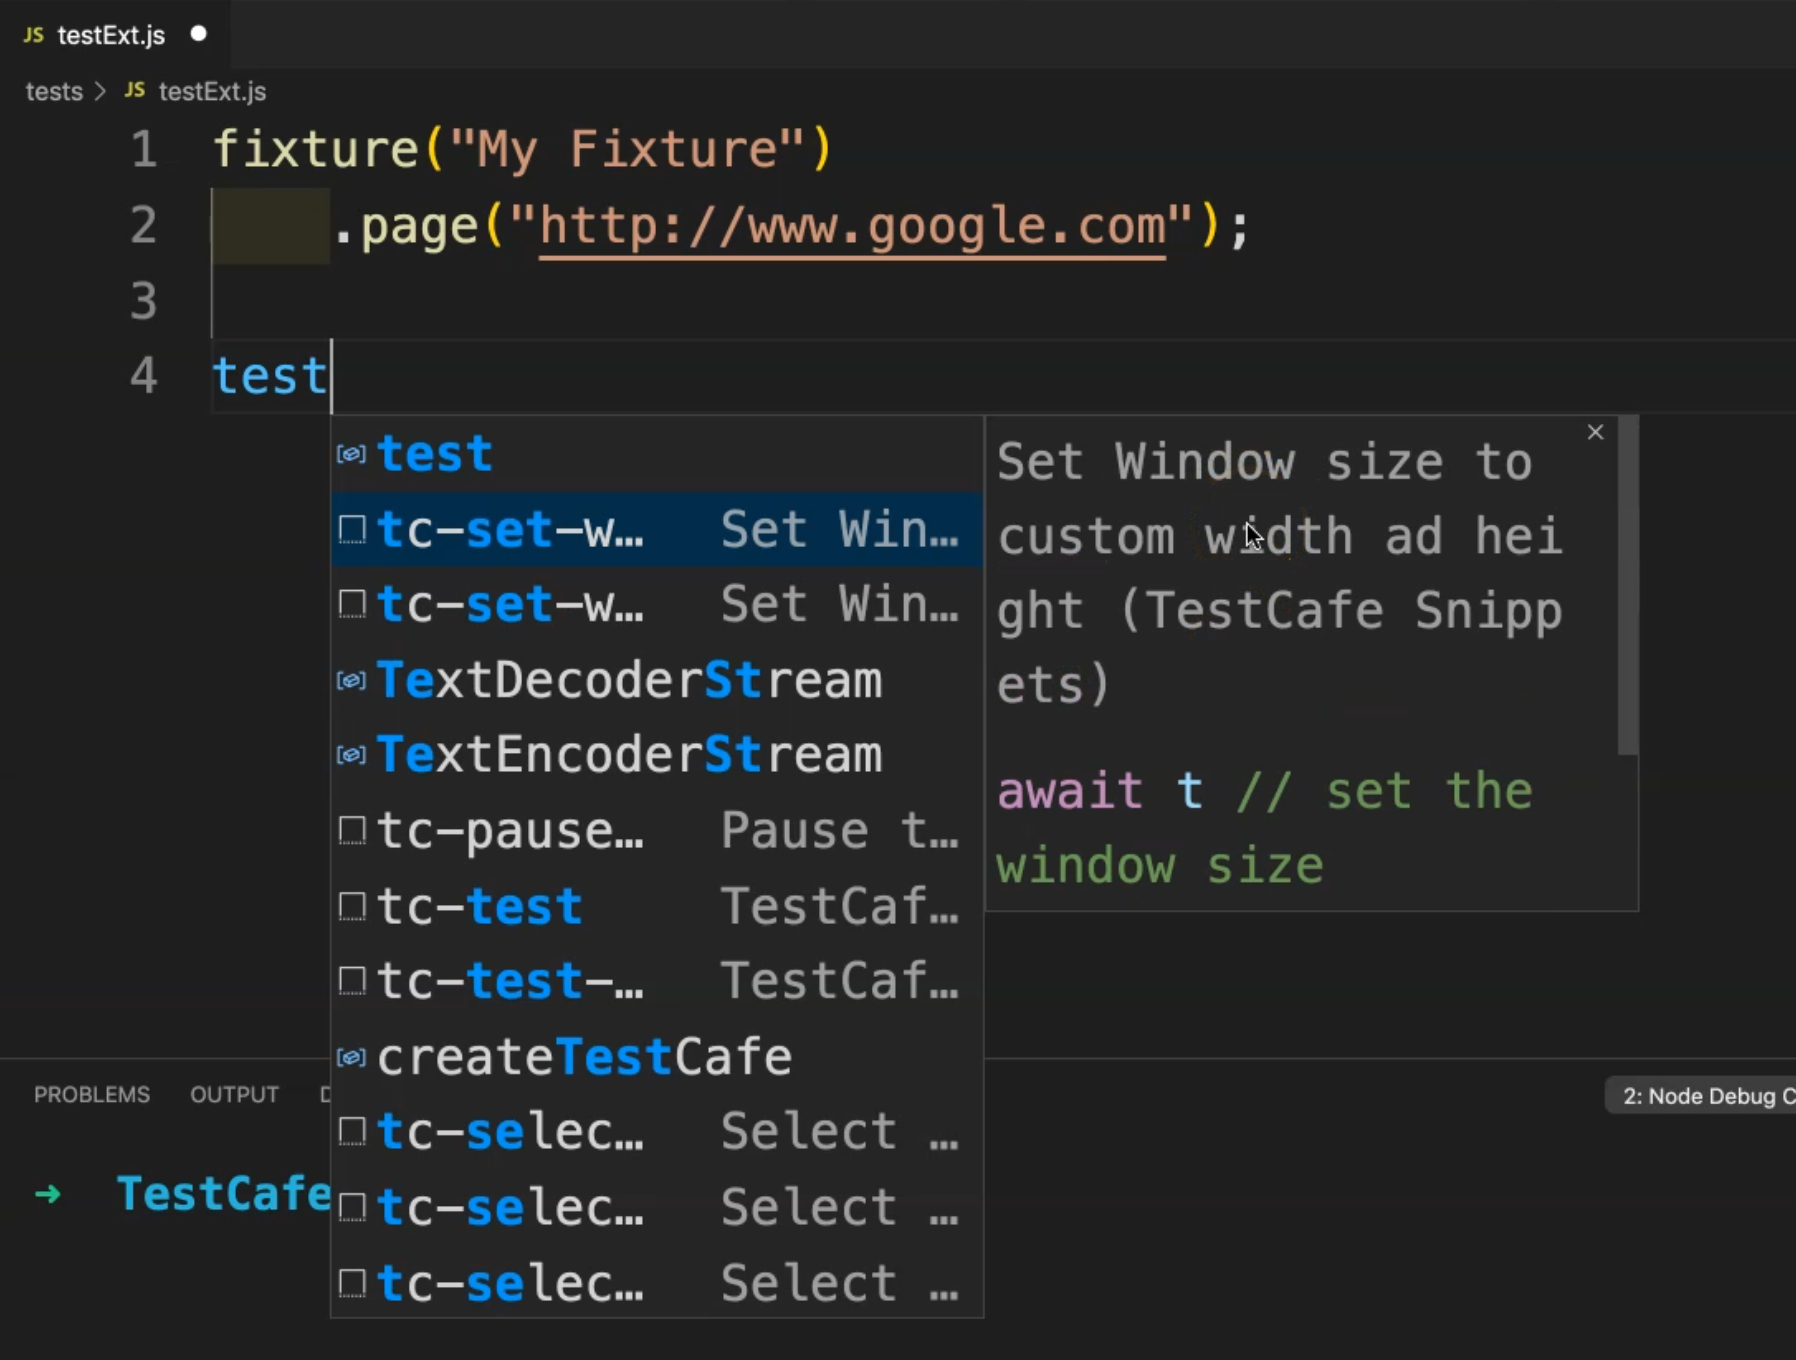
For example here, it says, "Set the window size to custom width and height".
Another example, here, and also there is one to resize the windows to be able to run it in Galaxy Nexus.
Then Testcafe test - this is a code snippet for creating a new TestCafe test.
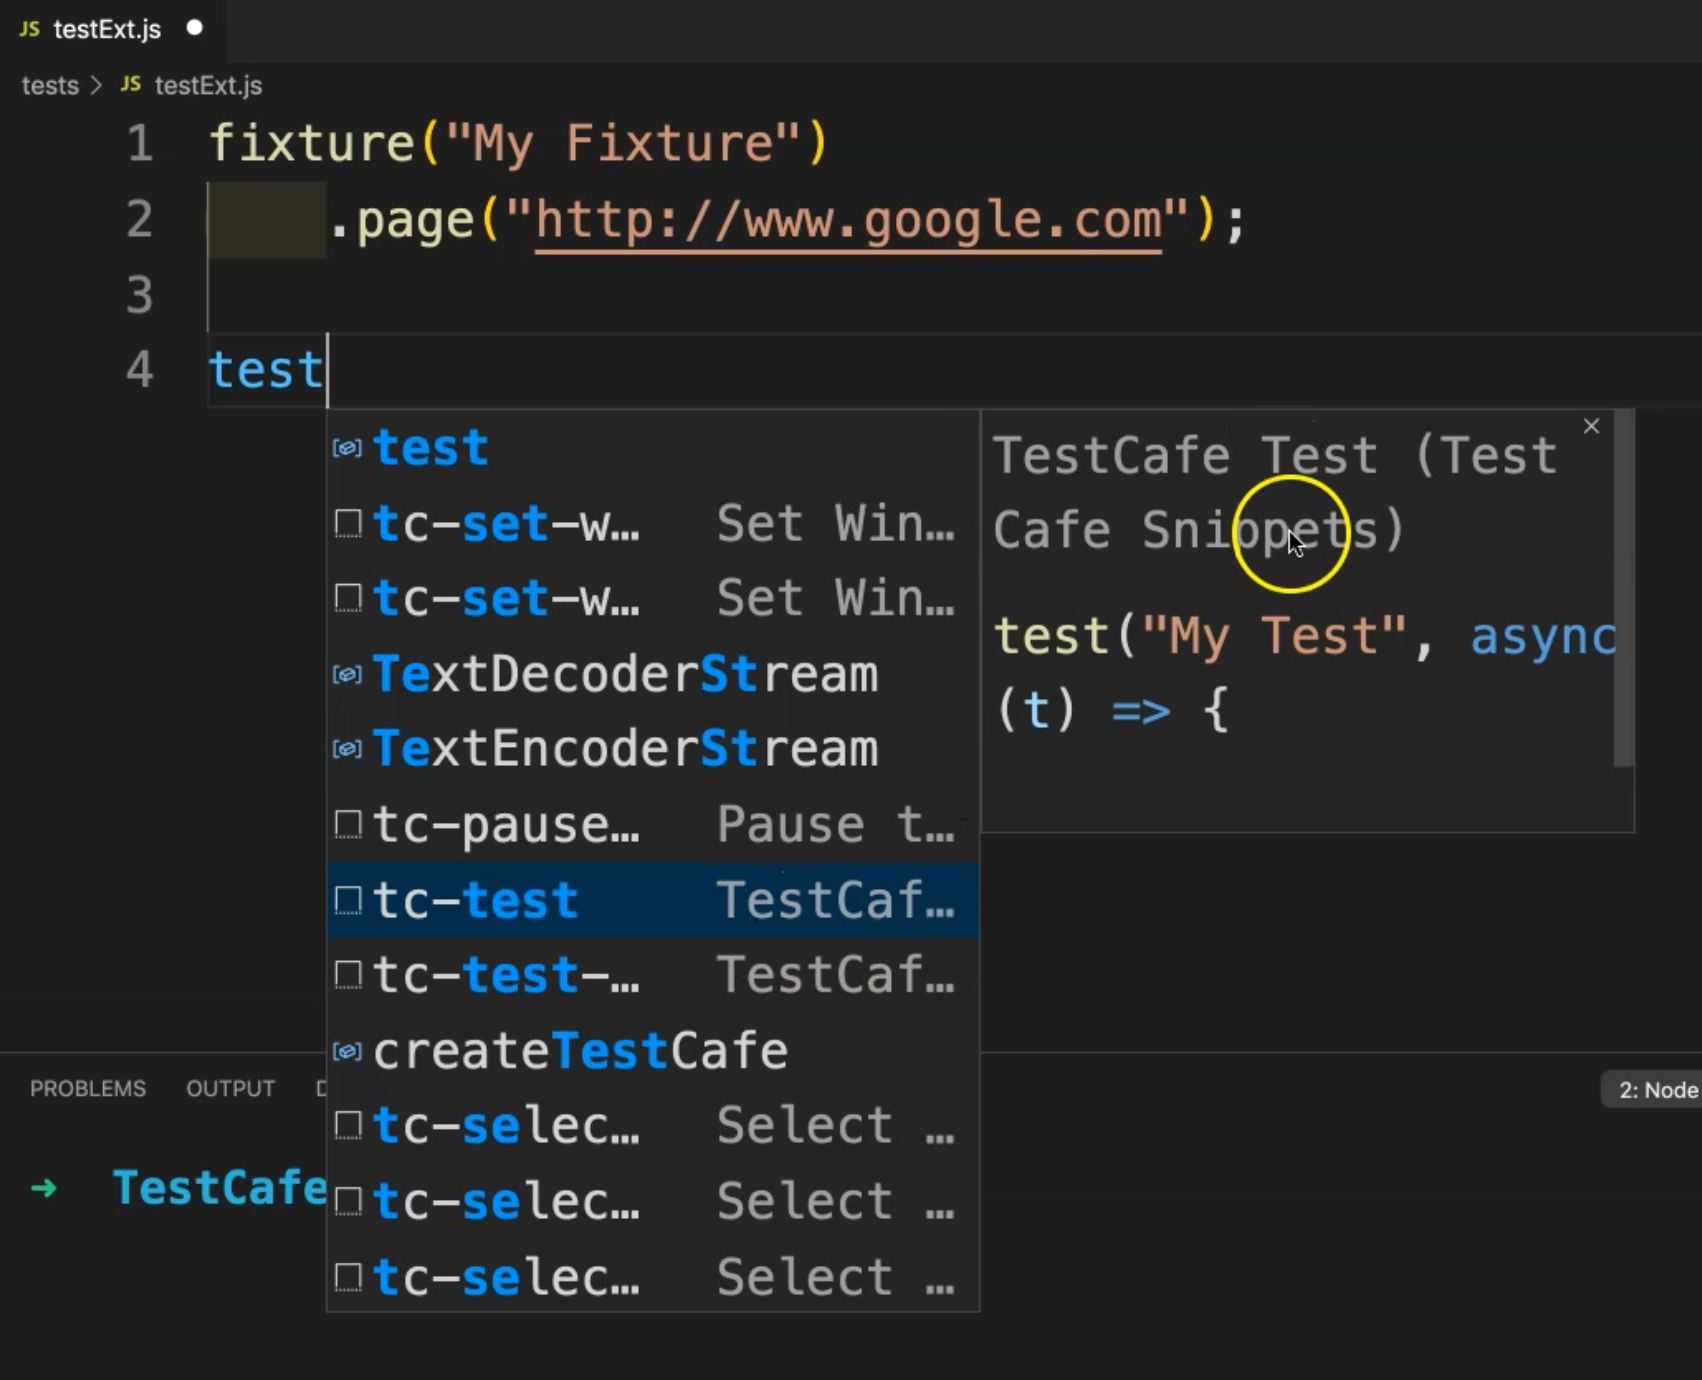
For example, if I create this, it includes async t and also the arrow function, and then you just need to add your logic for your test case.
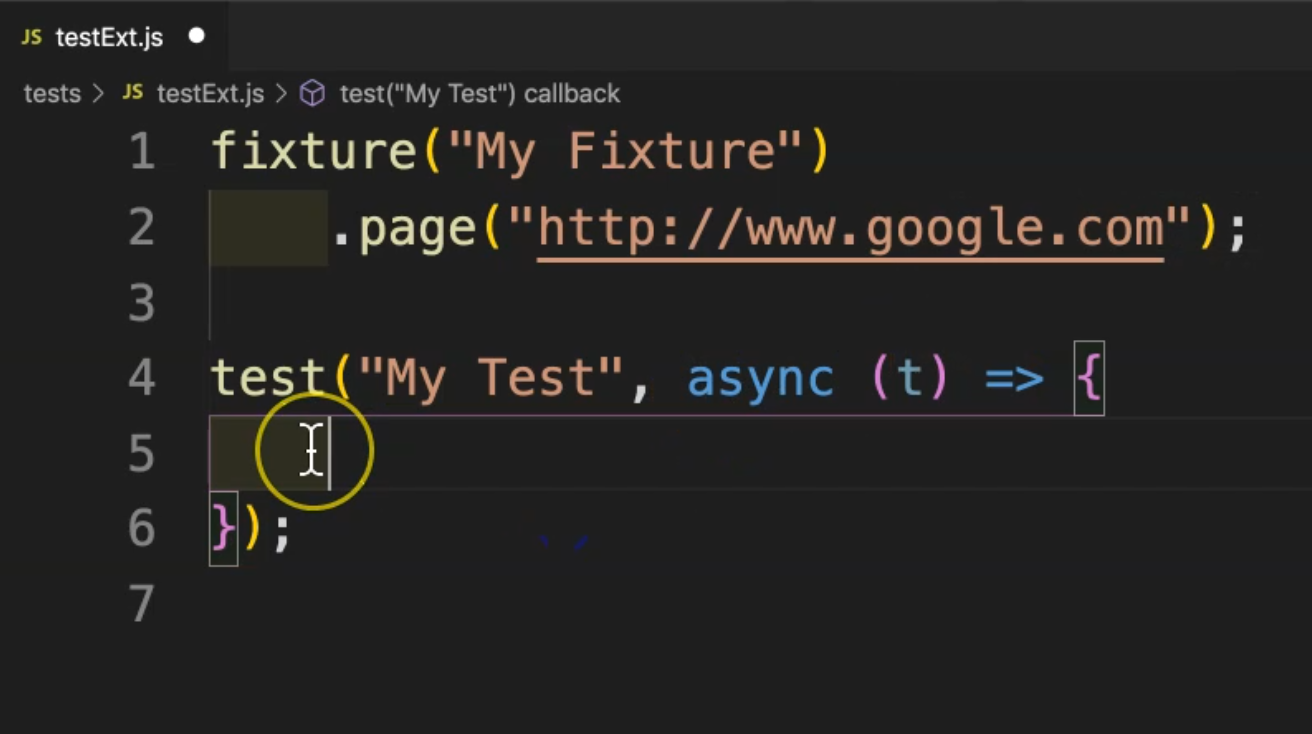
So I can just add here, this is "My test", and this is "My fixture", and after that, I can continue with await t and then start importing or adding anything that I want.
Let's continue.
So here, for example, this one is for "selecting an option by its content by press tab".
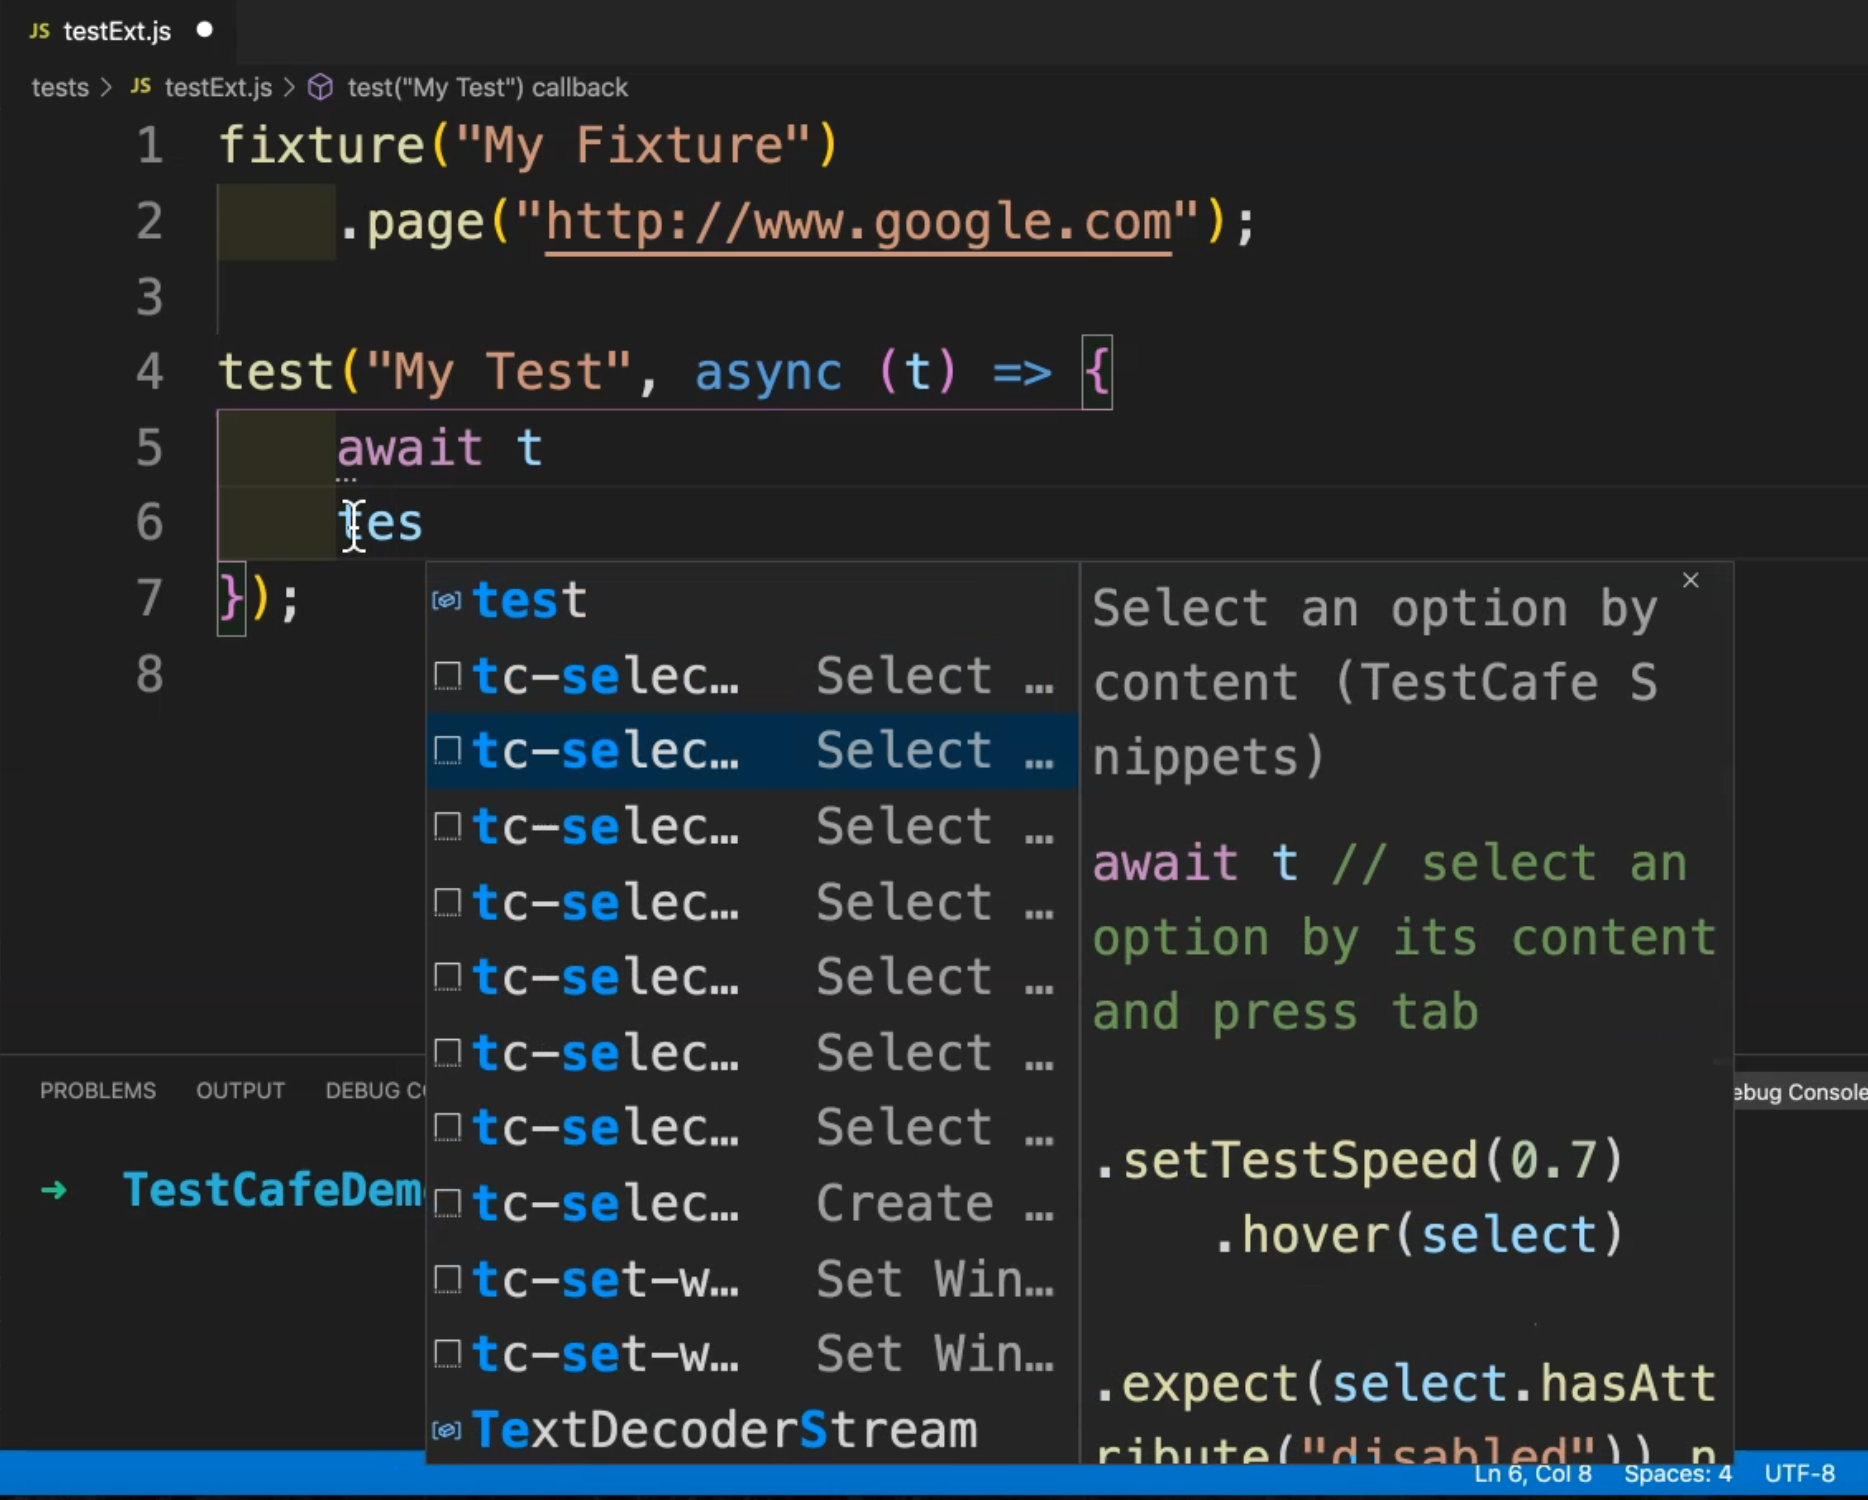
It adds this block of code.
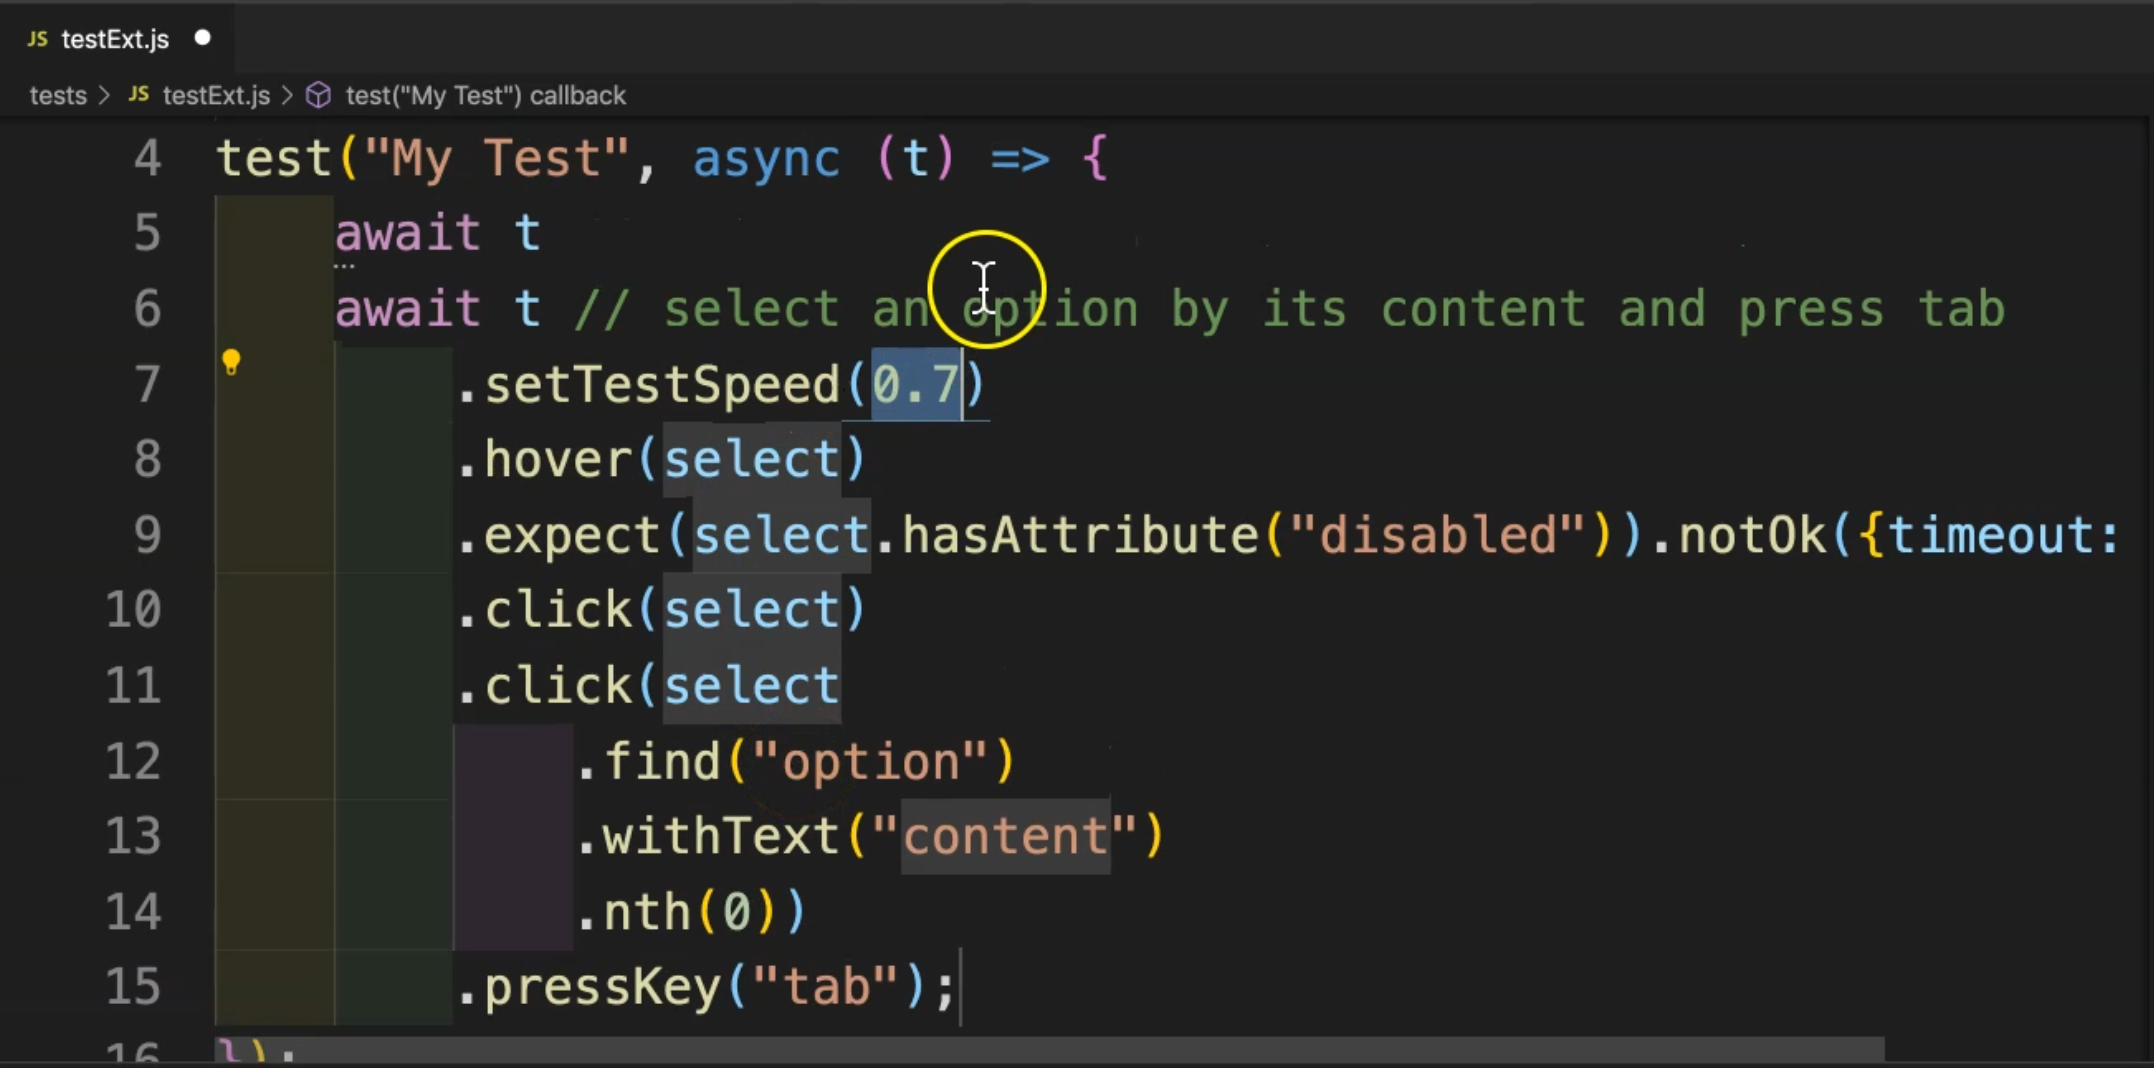
It's including the assertions, including await, test the speed, and everything that we need.
I will revert this one and start to continue with tc-pause. This adds await for debug to switch to the debug mode, for example.
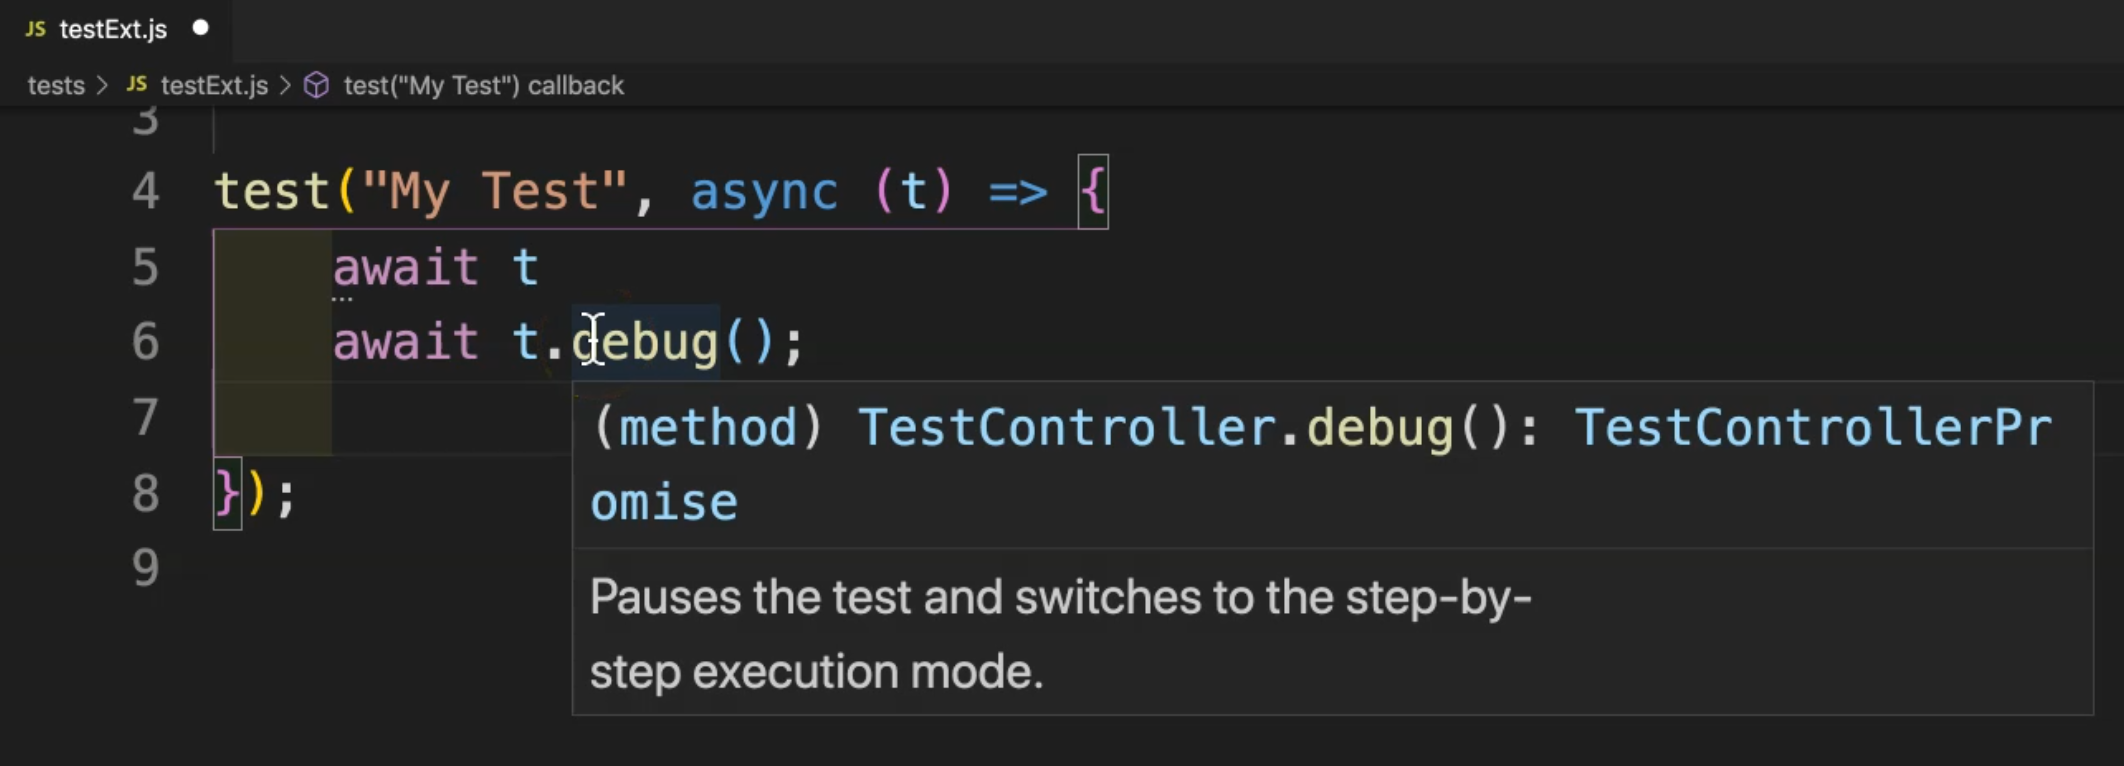
And I will also start to continue.
And this, for example, takes a screenshot of an element, and here is a URL for the examples, and here have a selector.
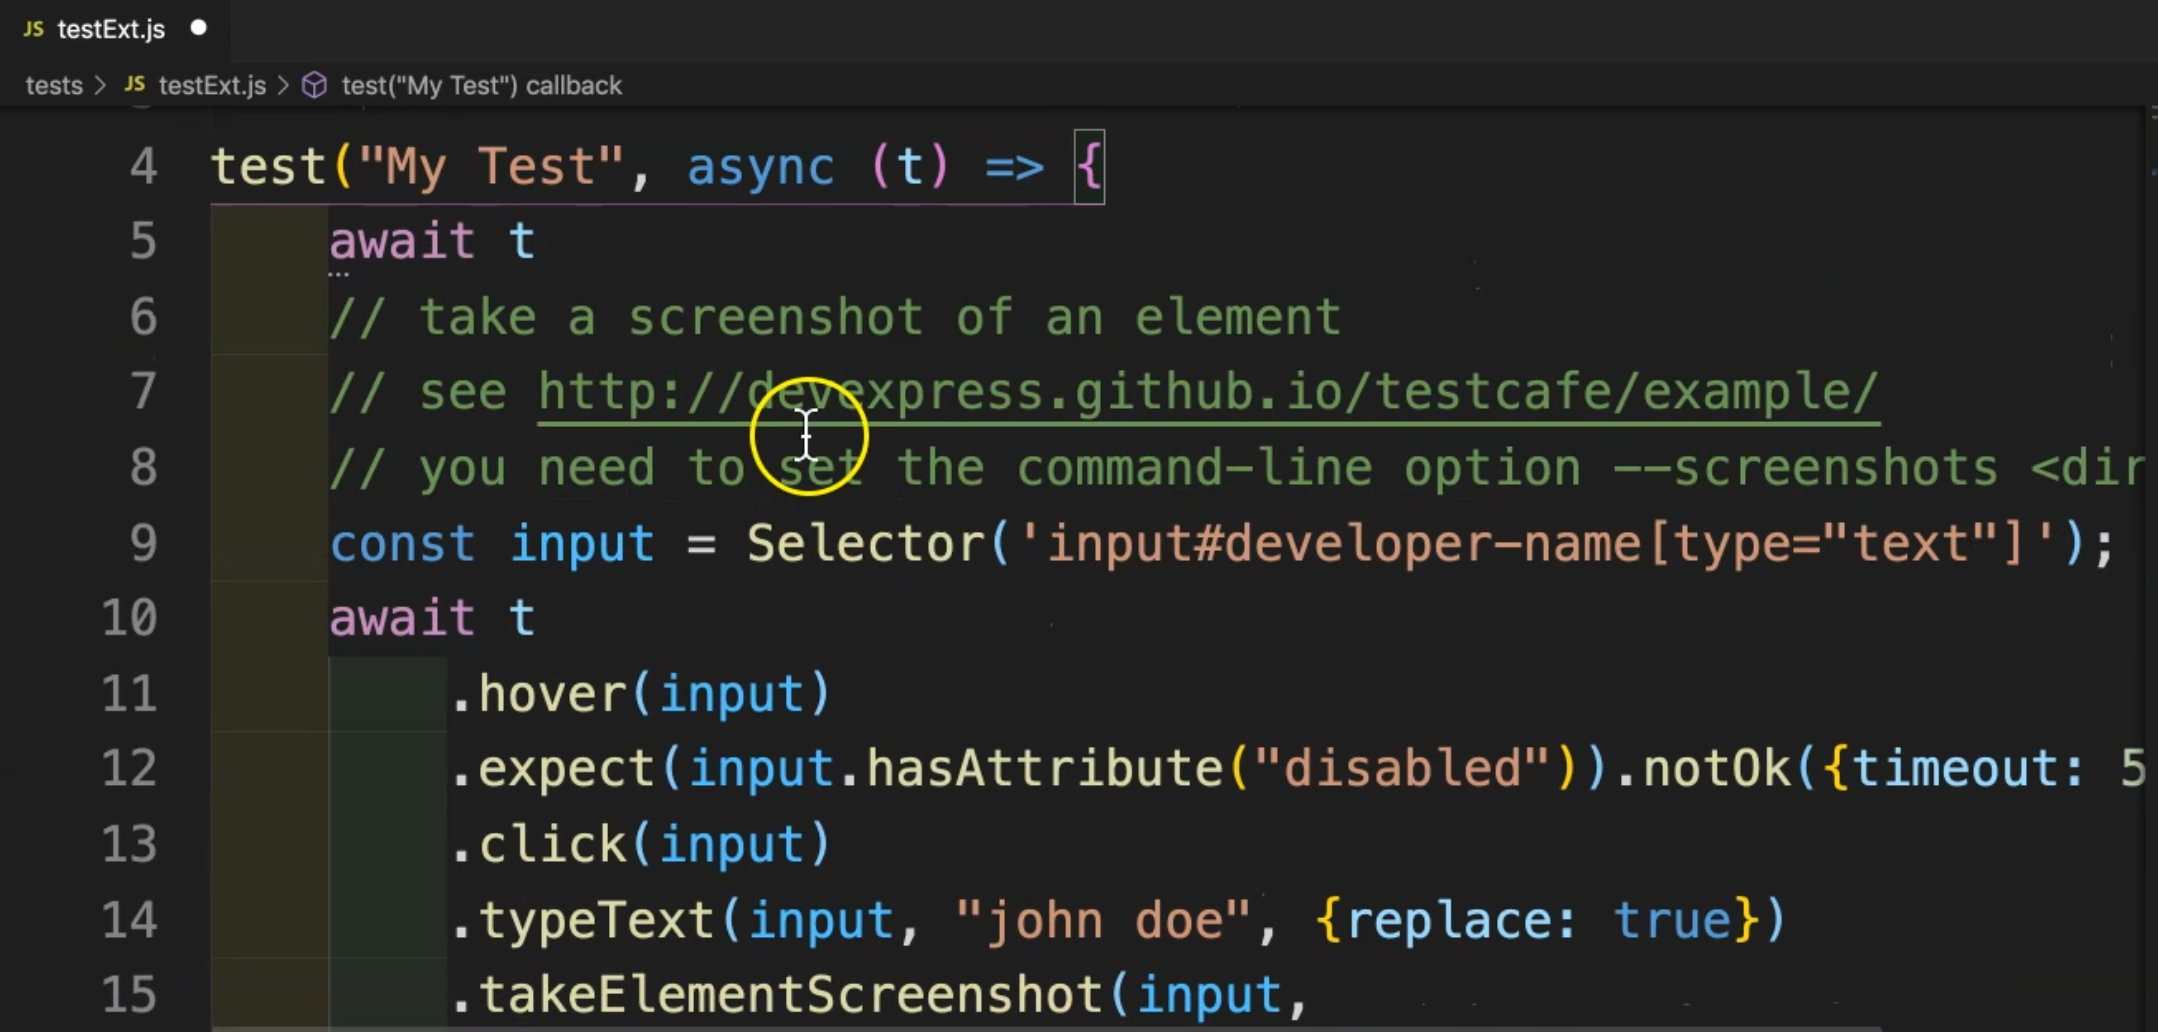
From the code snippets, we can learn a lot about the implementations related to TestCafe.
Expect or typeText with replace it with true or take a screenshot with an element with input. And also you can rename the screenshot or also you can add additional parameters or options with taking screenshots.
Let's go again and check different options -, for example, test client function.
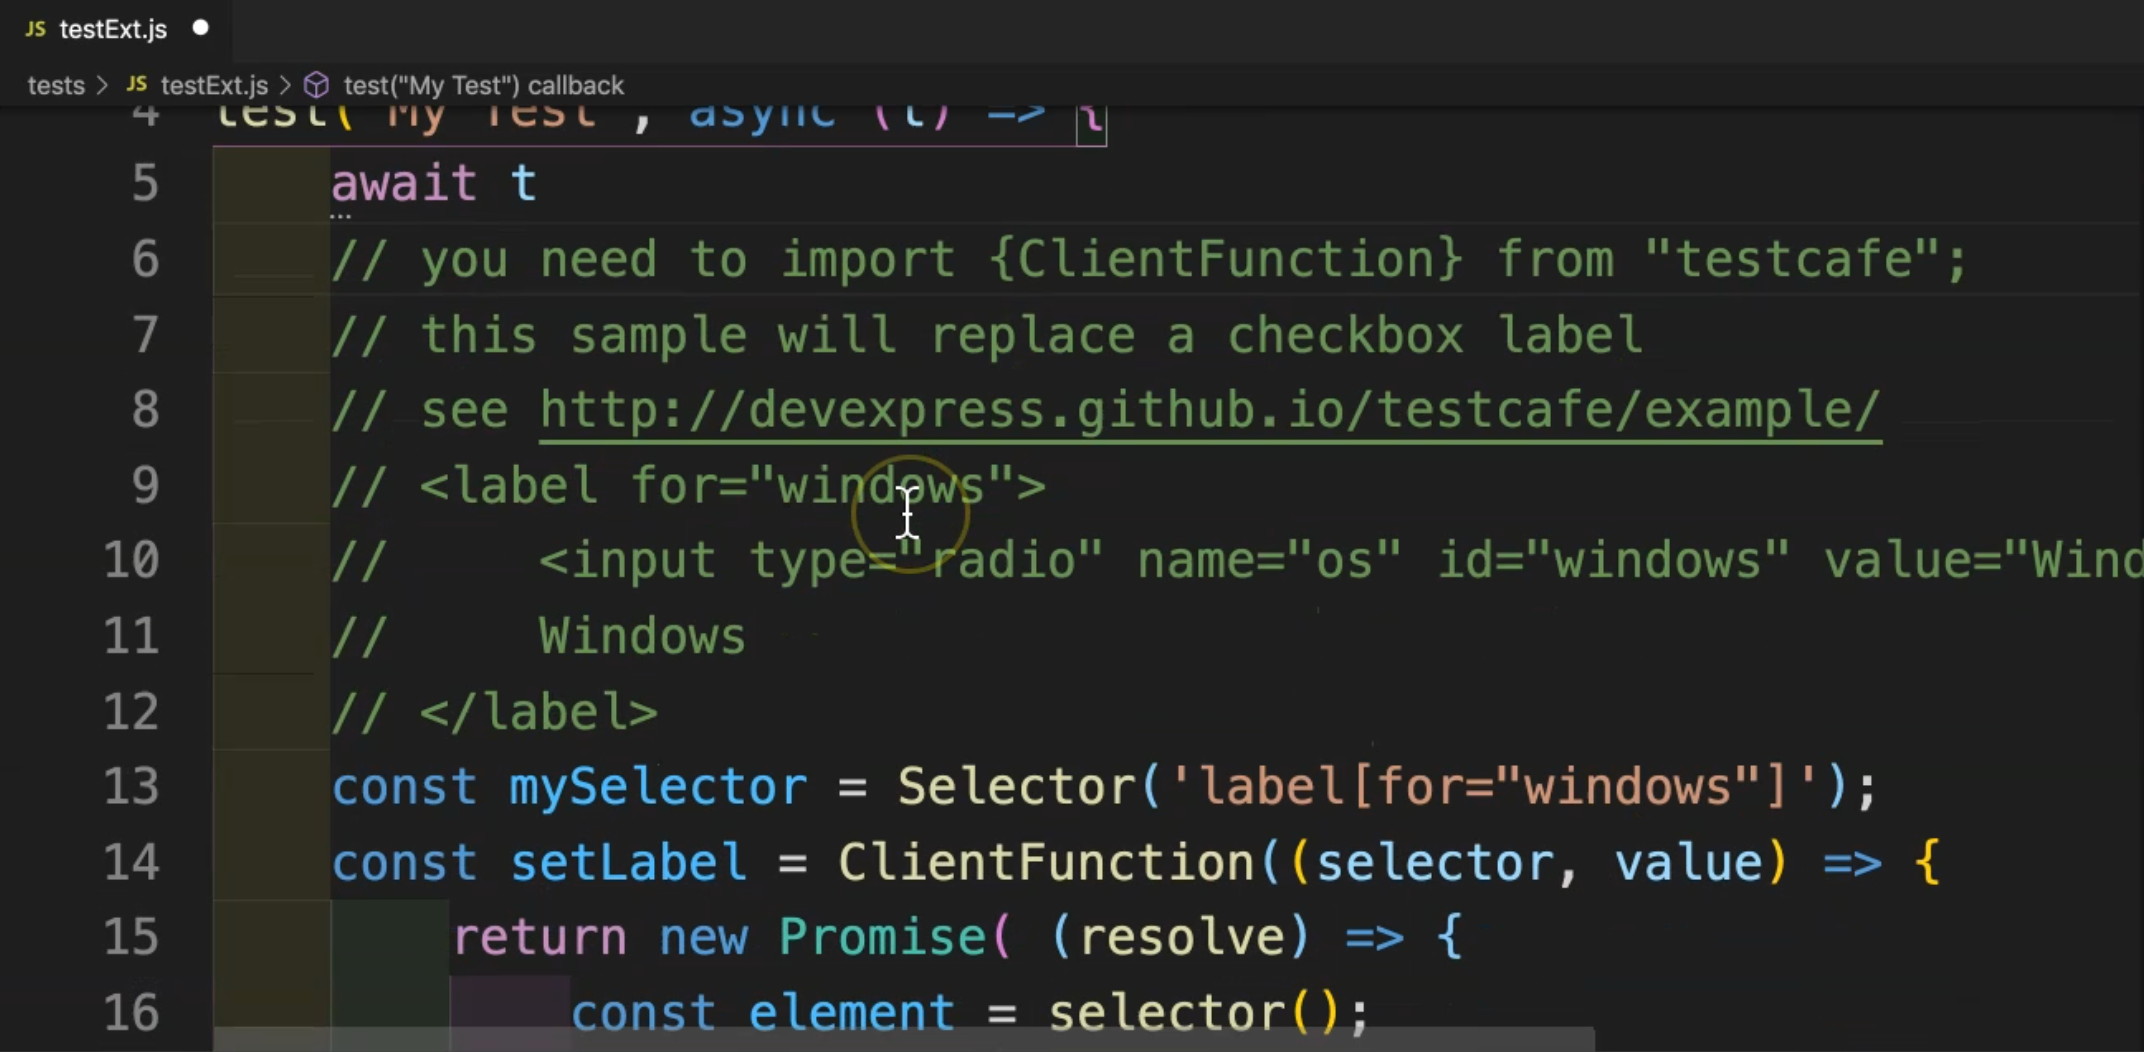
Here, you need to import the ClientFunction from TestCafe and also this is a code snippet for using a client function.
So, let's just... not add anything.
And we just… here we are exploring the TestCafe code snippet that we added as an extension to Visual Studio Code.
The second extension is the runner from TestCafe.
After we installed the TestCafe runner, here inside our test, we can just right-click inside the test body, and we will find three or four options.
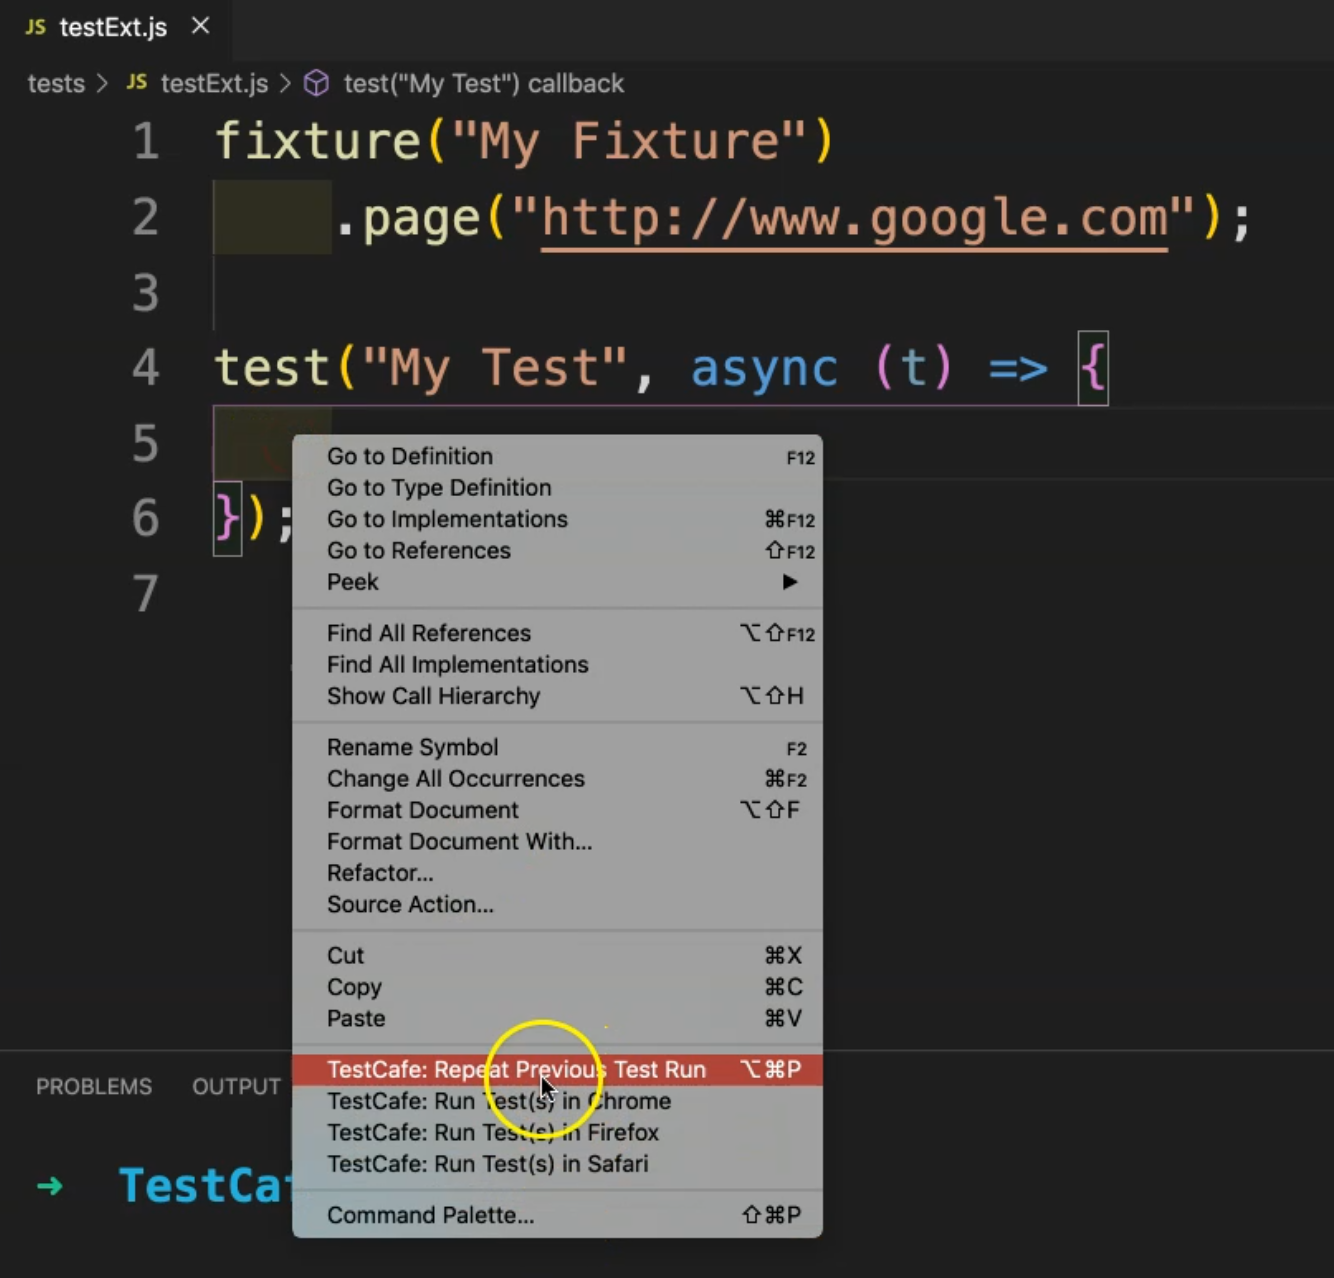
"TestCafe: Run Test(s) in Chrome", "TestCafe: Run Test(s) in Firefox", and "TestCafe: Run Test(s) in Safari" because this is a supported browser on my machine.
Also if you wanted to Repeat the Previous Test Run, you can also select this one.
If I click on "TestCafe: Run Test(s) in Chrome", it would run our test, start the local browser, and after that redirect to our TestCafe URL.
We opened Google and here we can find a banner to repeat or to post the test.
What if I clicked outside the test and try to run our test in Chrome?
Our test will run also.
But what if I go outside the fixture and run it? Here I have an error.
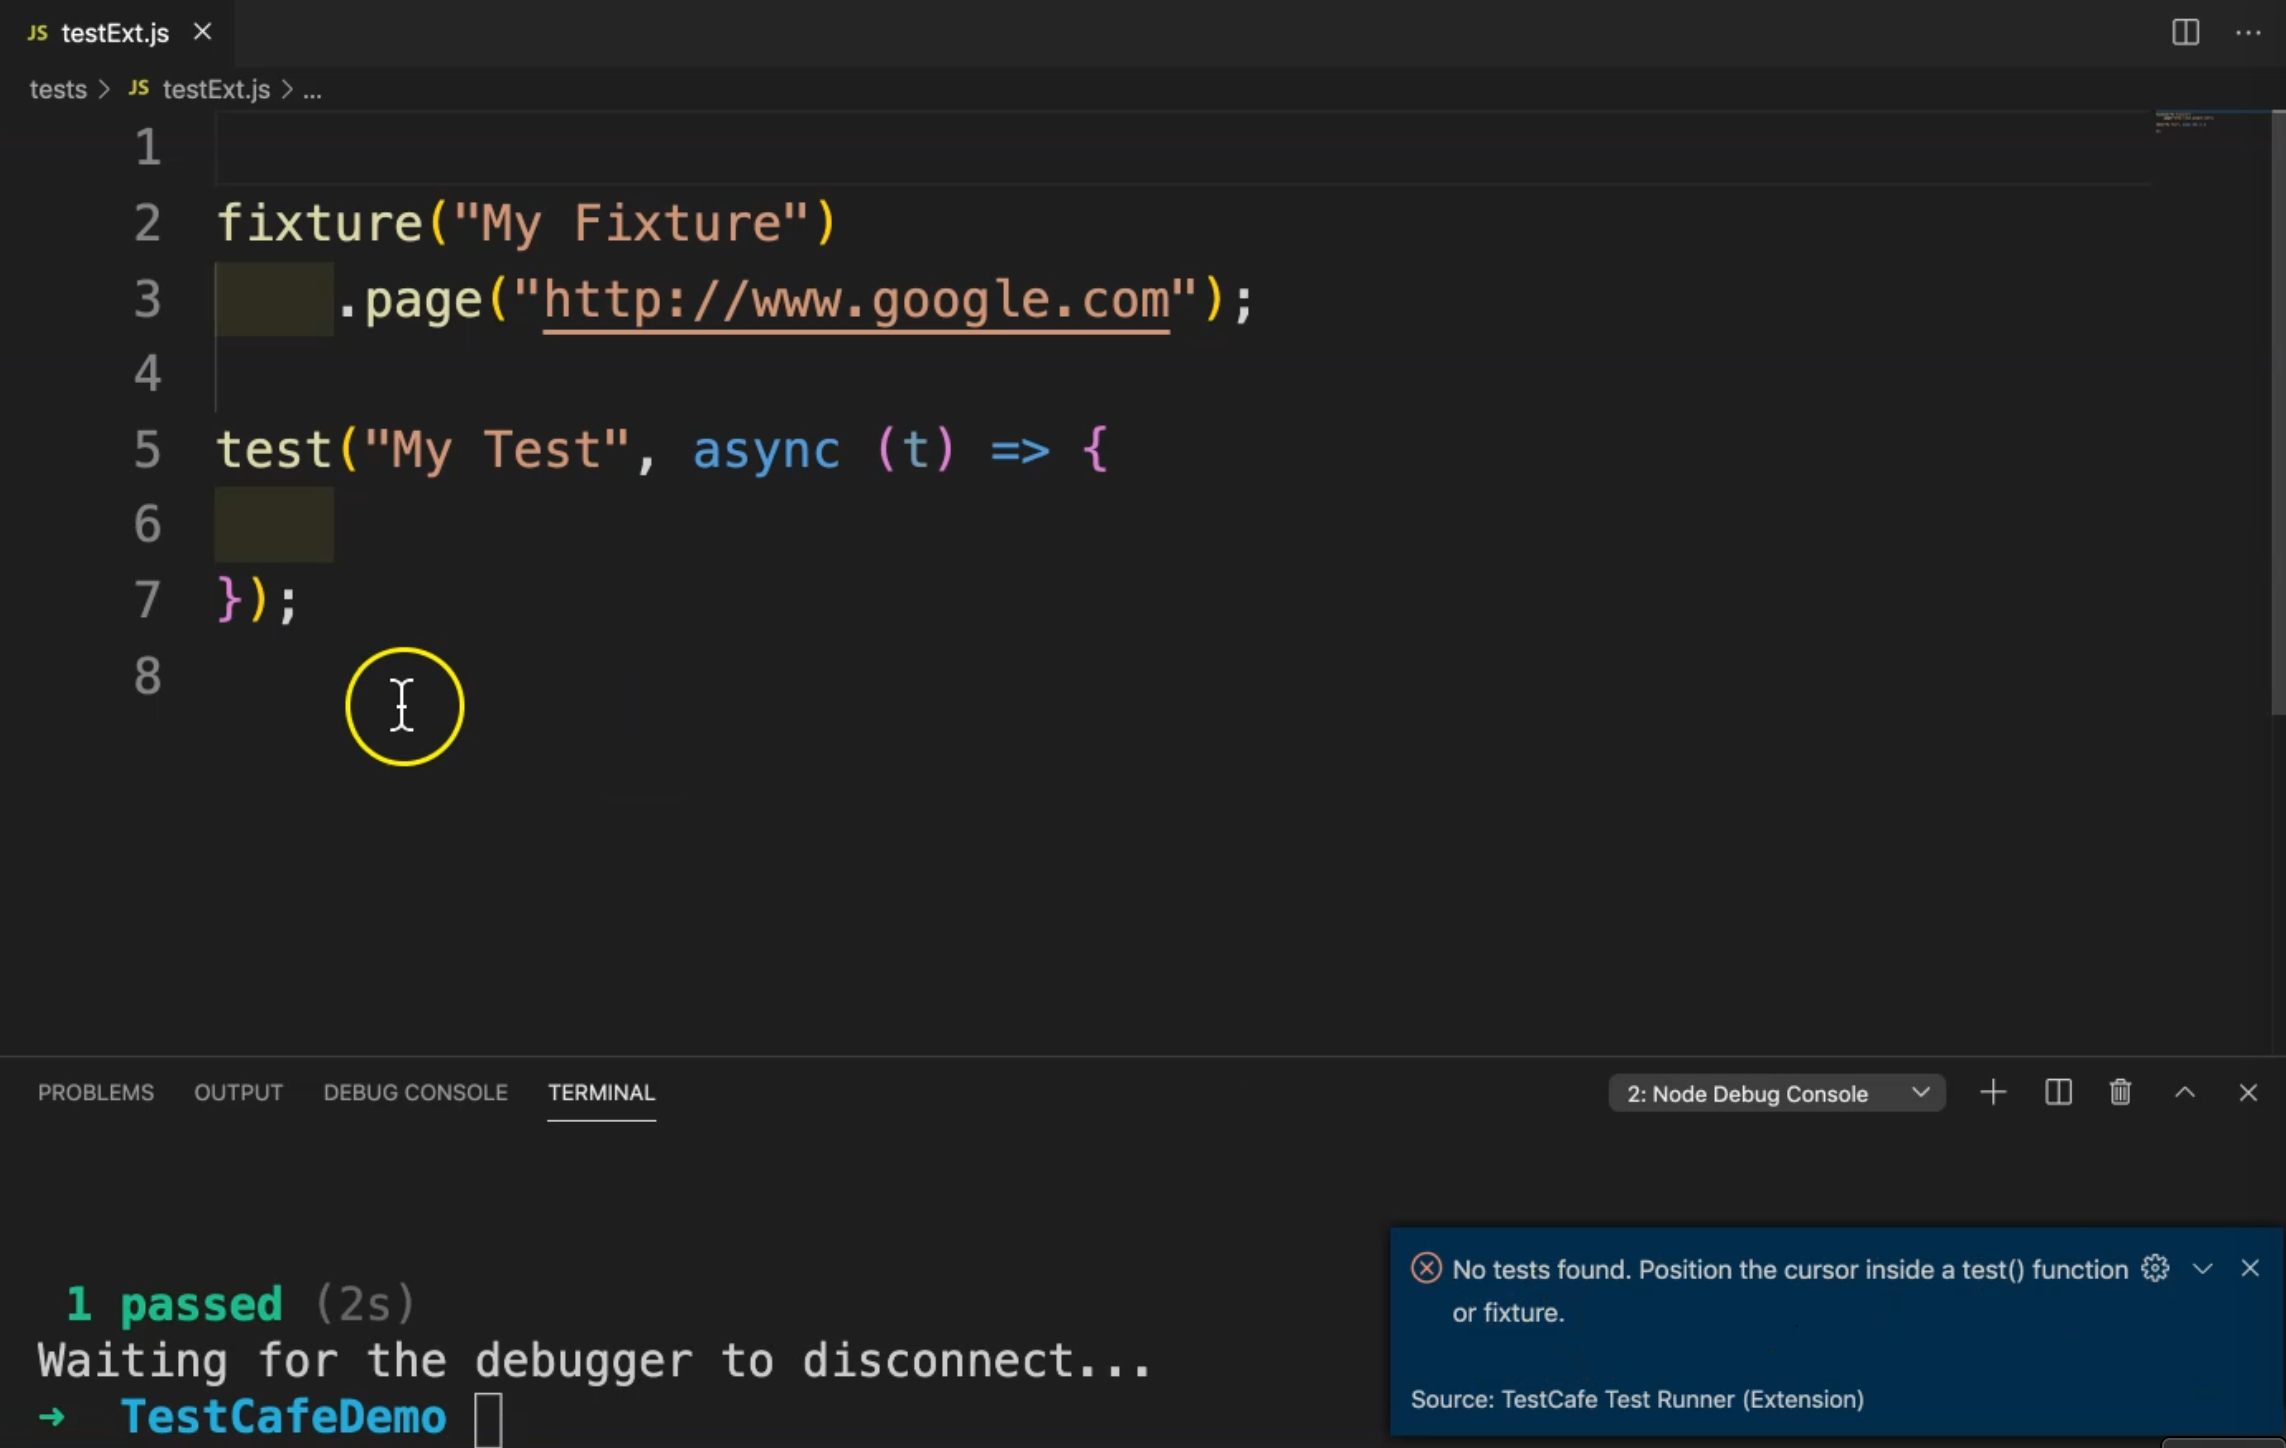
What is the error?
"No tests found. Position the cursor inside a test() function or fixture."
Because of that, we usually recommend being inside the fixture or inside the test to be able to run it.
For example, I will select Safari. And here, we have a banner to stop the test, pause it, run it again, and everything.
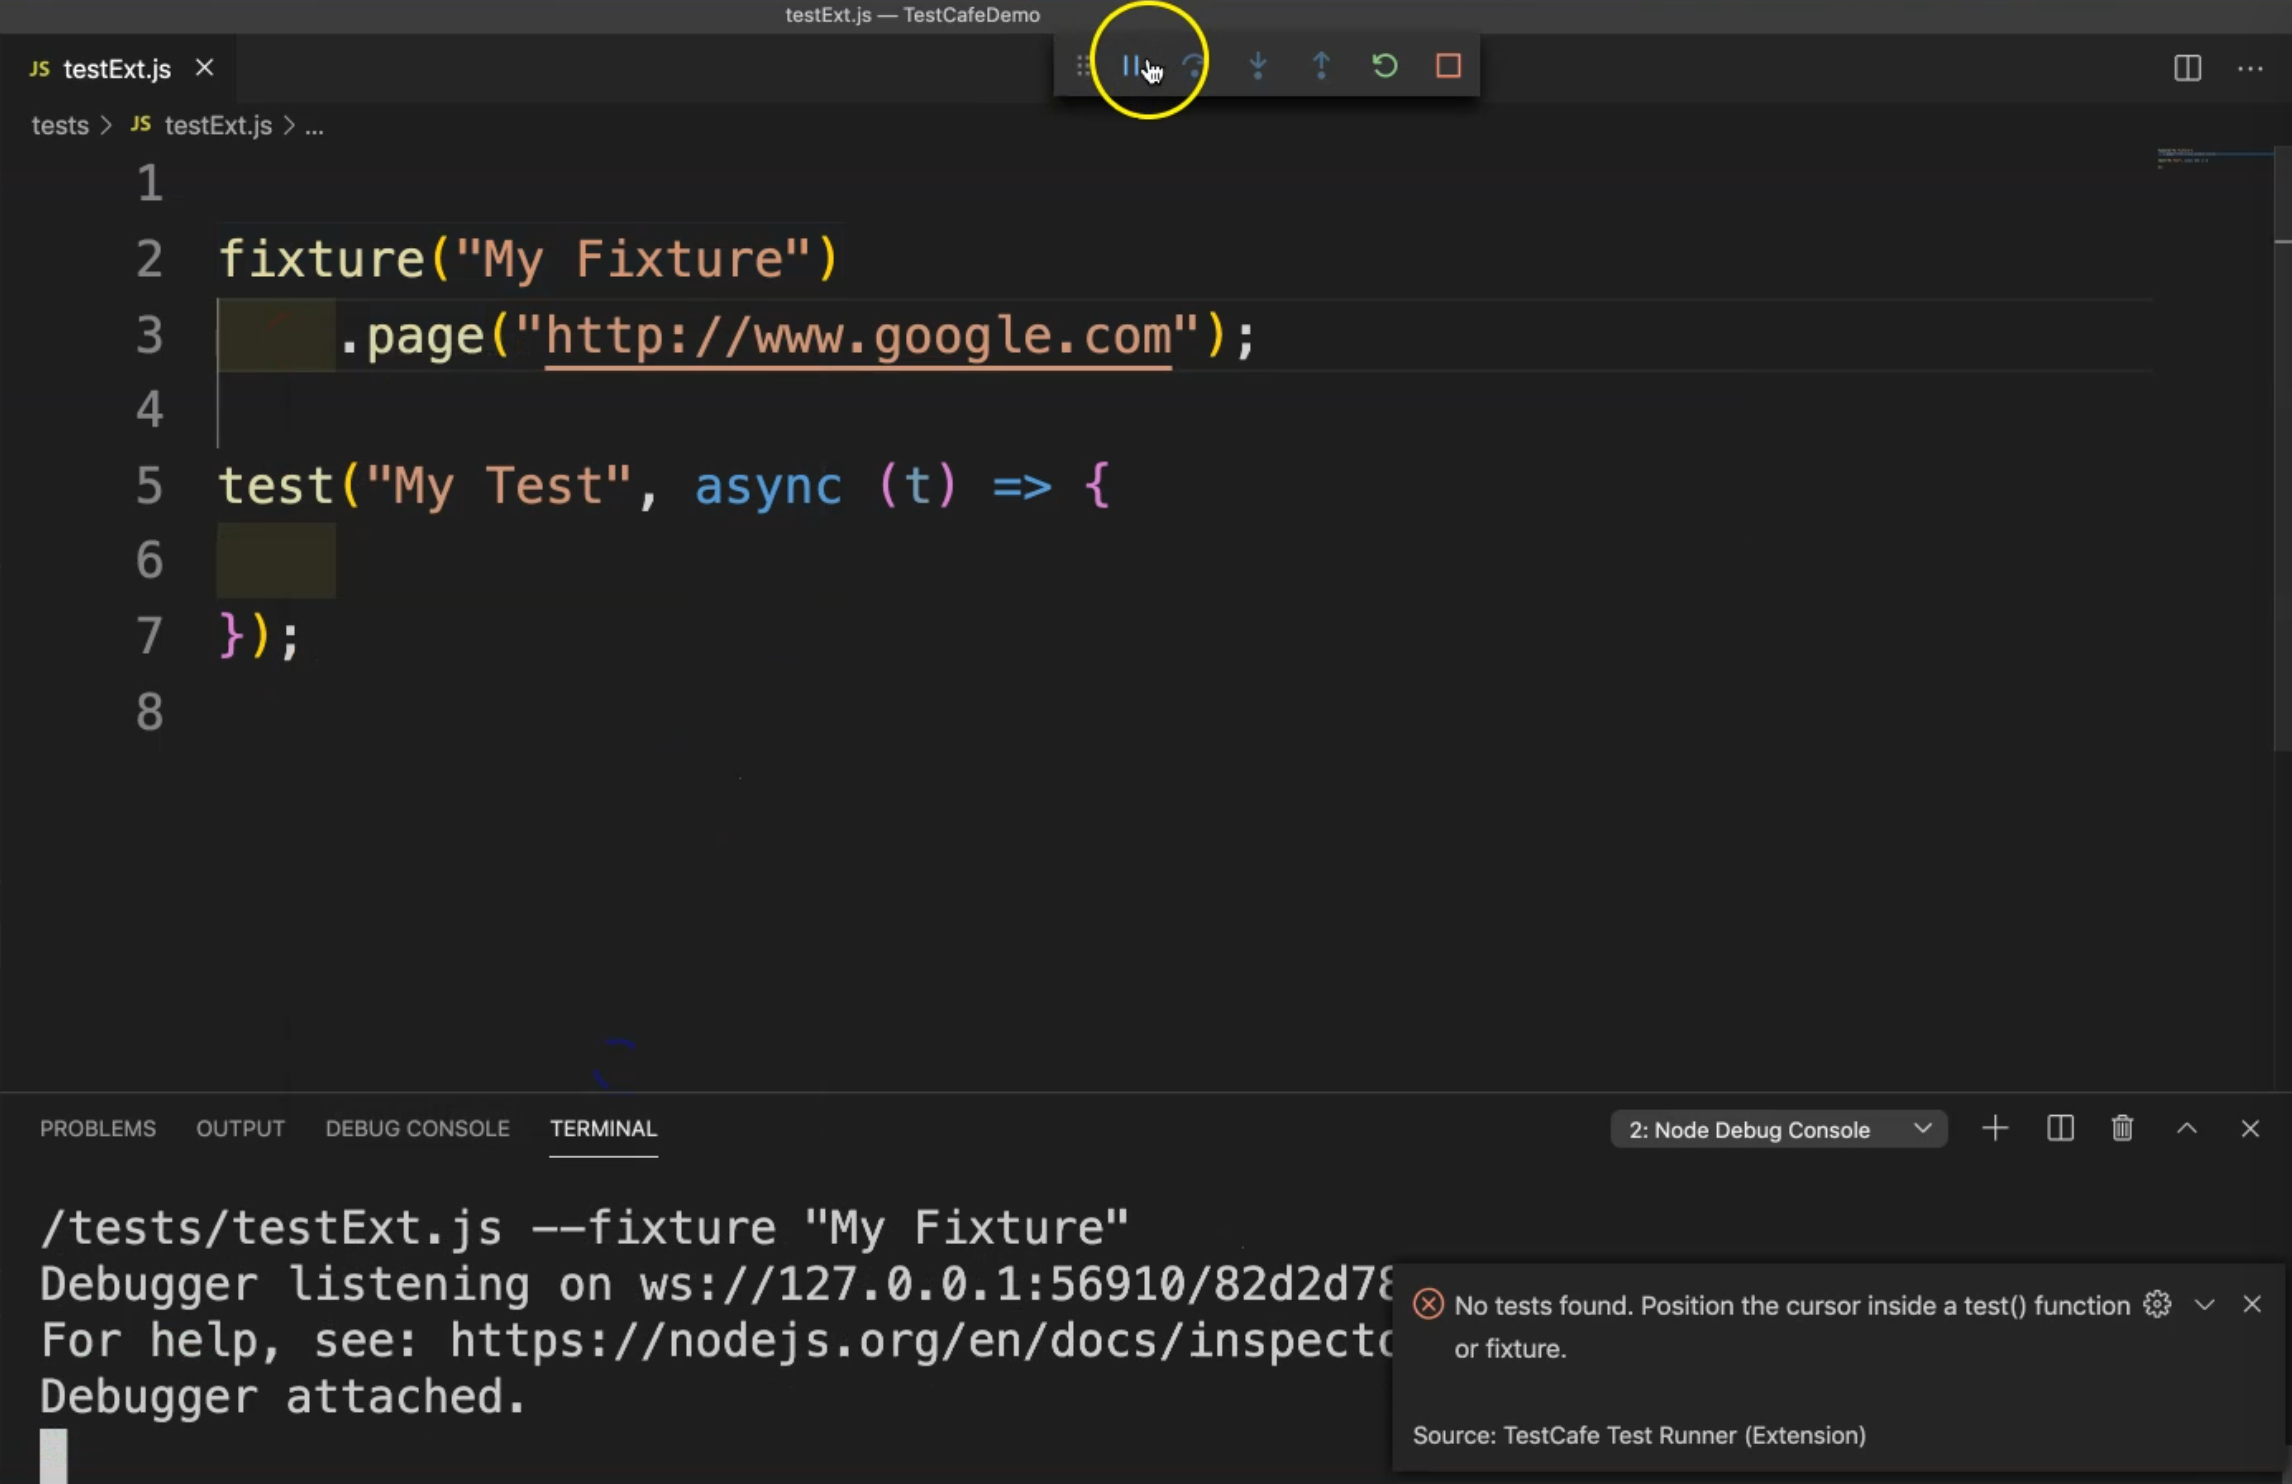
So we open Safari and run our tests.
This was the second extension that we installed with Visual Studio code.
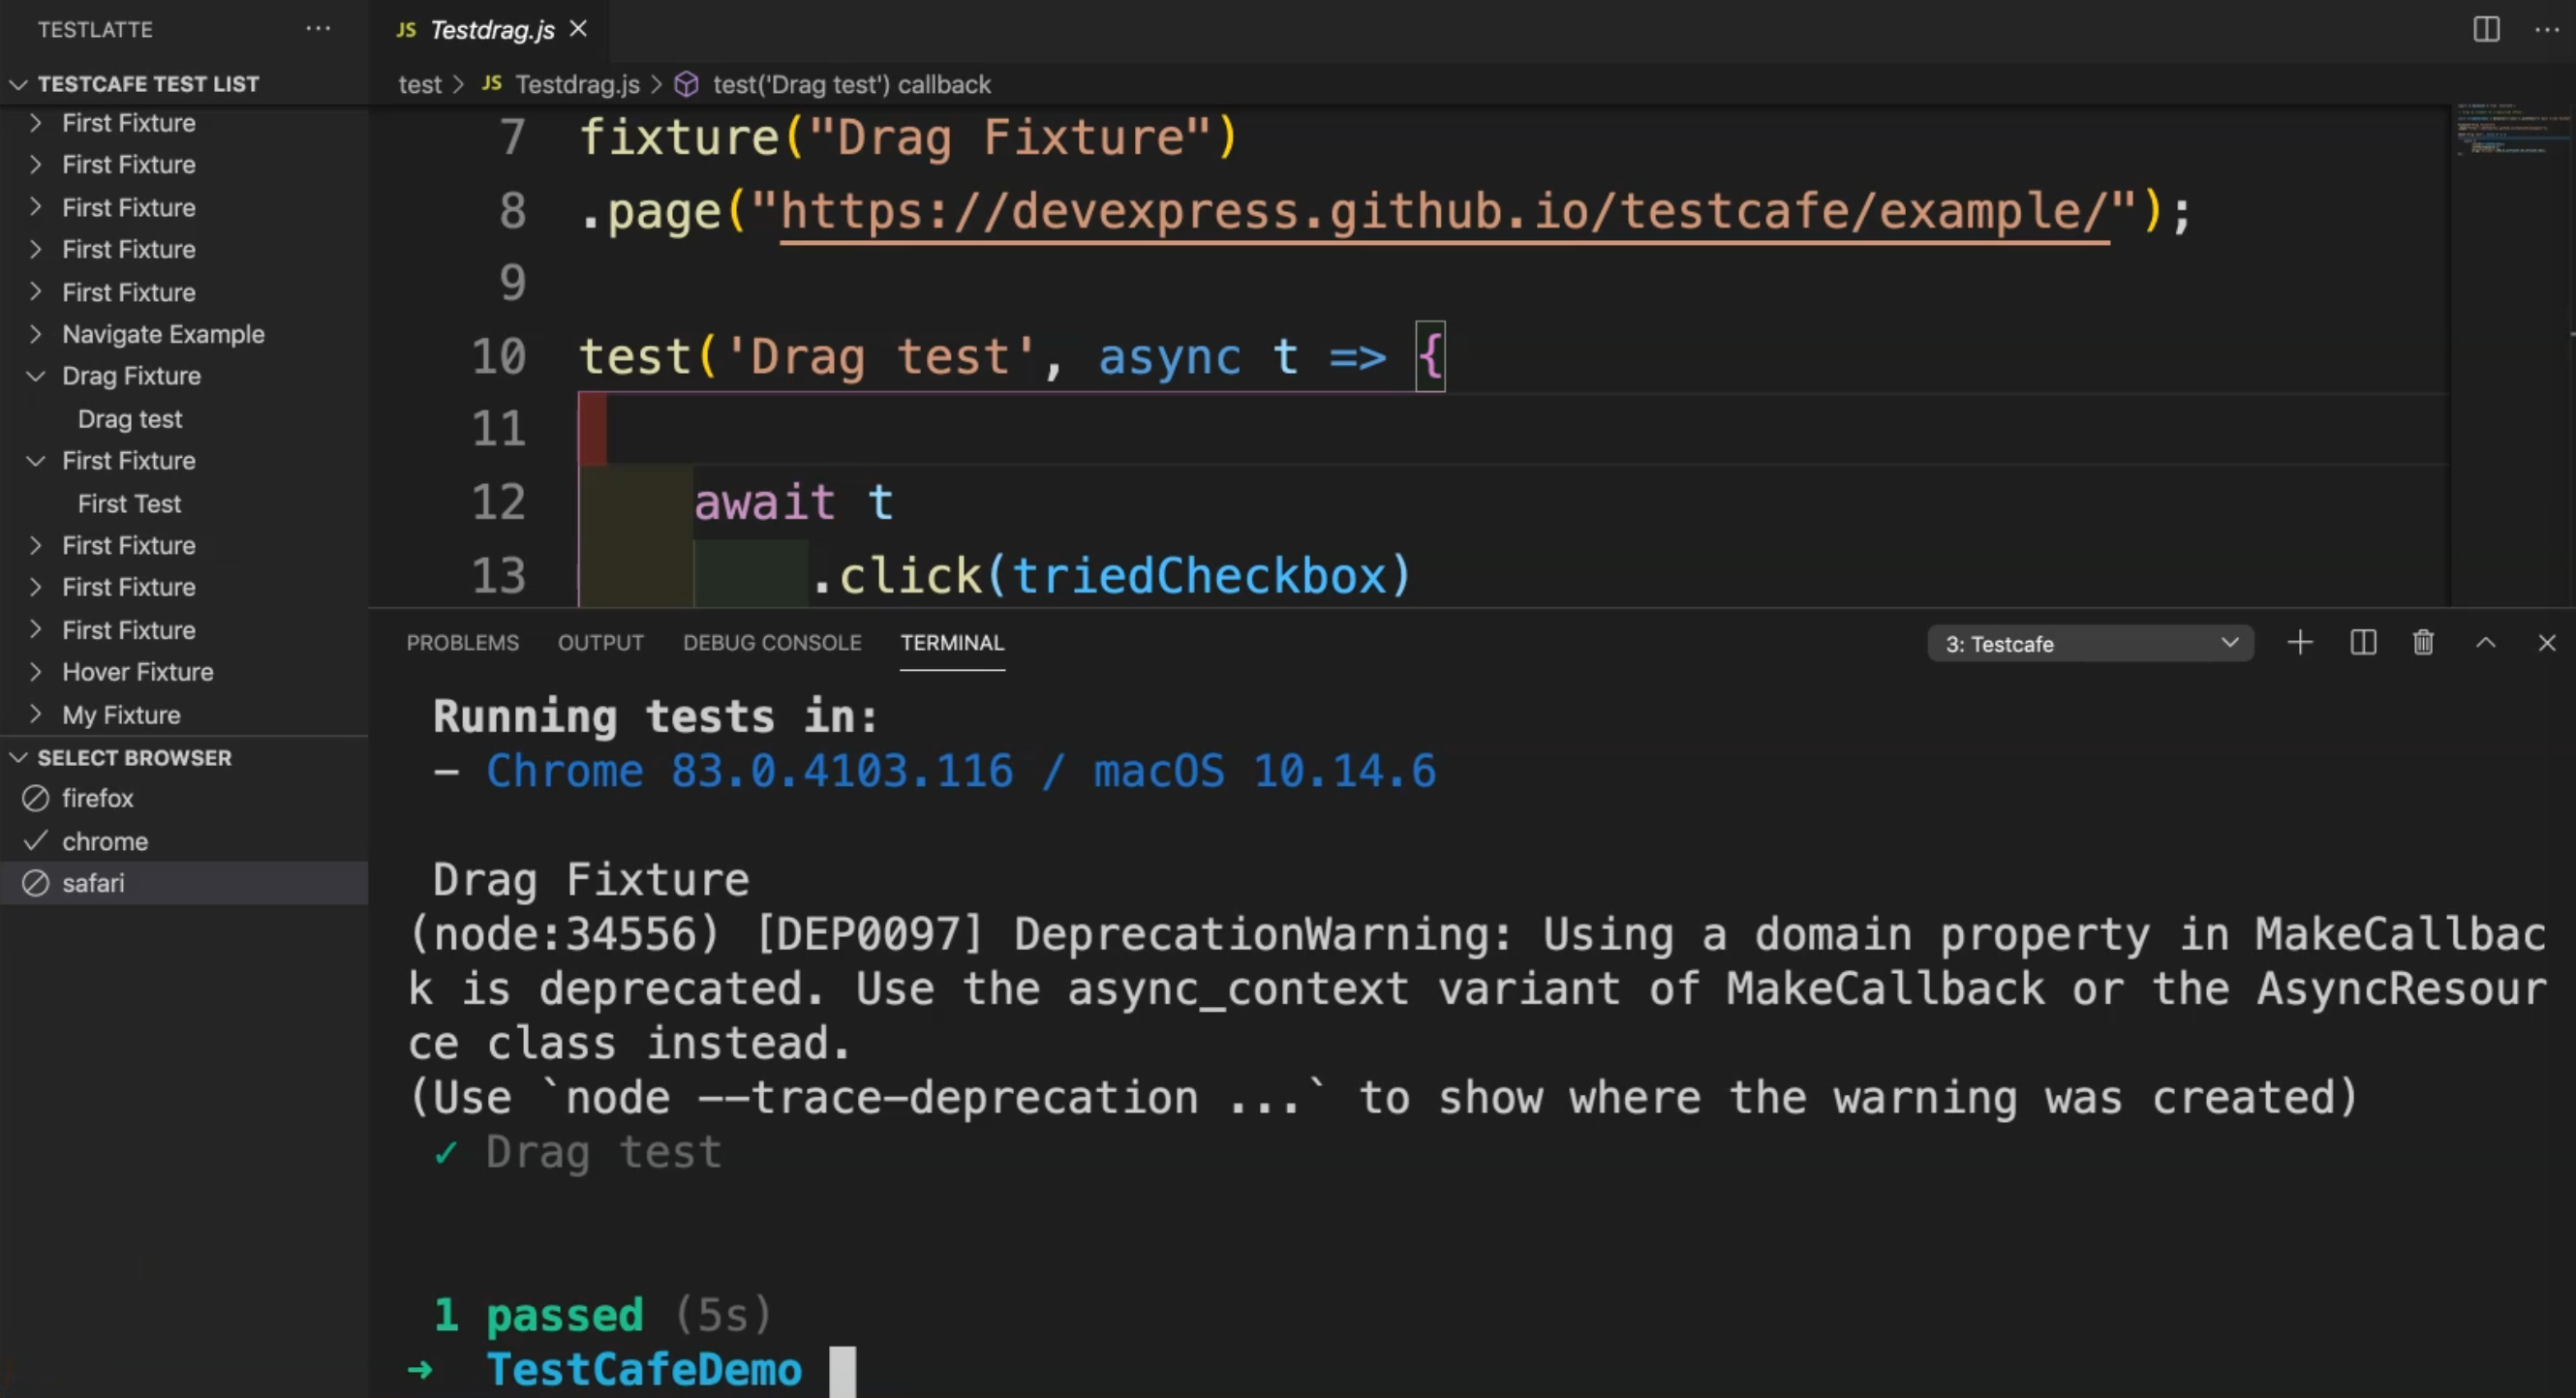
The third extension is the TestLatte runner. And after we installed the TestLatte with Visual Studio Code, we will find this icon here. And this is for TestLatte.

If we click on TestLatte, we will open the runner here.

If we refresh TestLatte, we will notice that we don't have any tests found, but we have a lot of tests inside this folder.
There is something wrong we need to change to be able to run with this TestCafe runner.
We have another section here to select a browser. We have Chrome, Firefox, or Safari, and you just need to enable or disable which browsers you need to run your test.
Let's run all the tests or click on "Run All" tests and to check what happened or what error messages we have.
So we will run all and from the command line or terminal, TestCafe is now running our test.
It opens the three browsers, there is no problem with this. We have Chrome, Safari, and Firefox. But here we have an error.
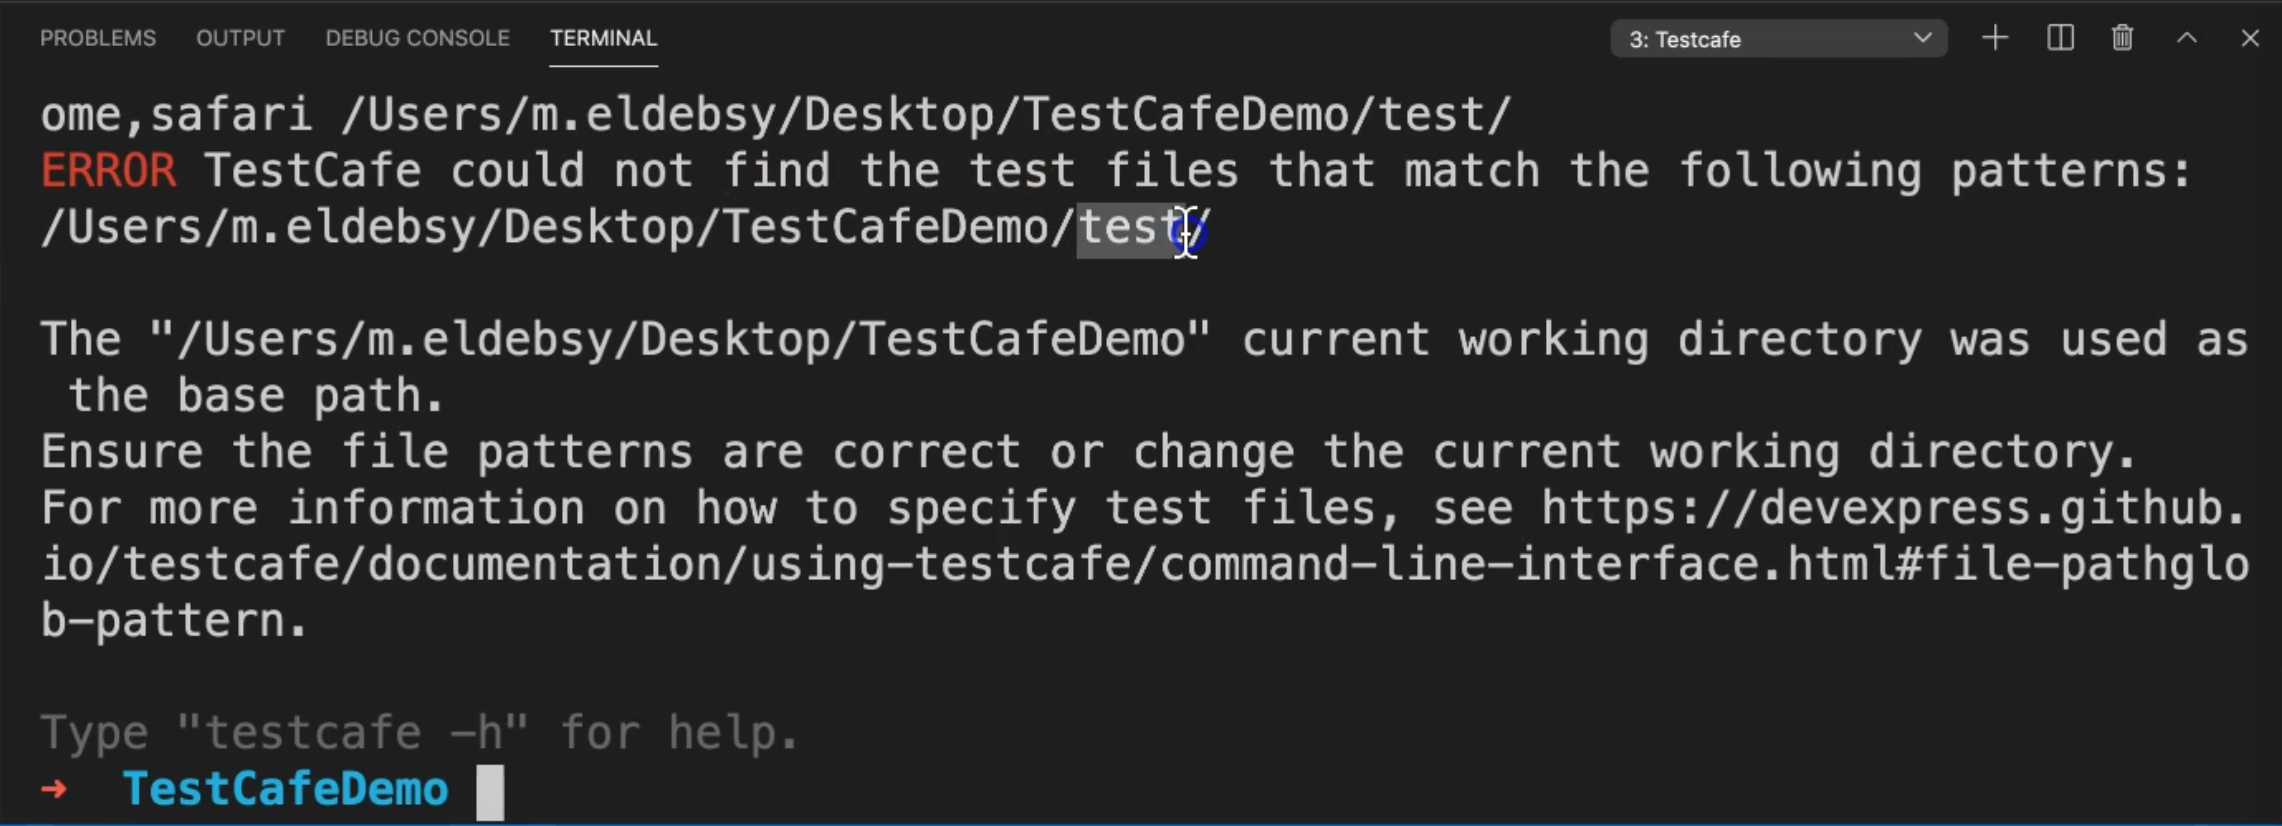
The error says "TestCafe couldn't find the test files that match the following patterns".
Usually, it should be inside the test folder. In our case, our test cases are not displayed because we are using tests not test.
We just need to go to the tests folder and rename it to test, and then we will go back again to TestCafe runner, refresh it, and here we have all the tests that we have.
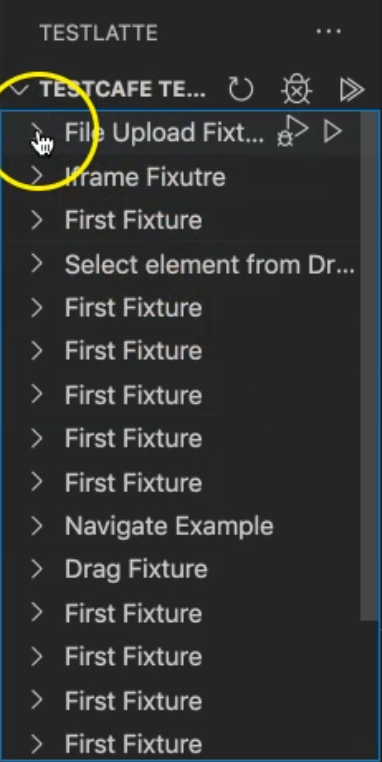
We have the fixture name - "File Upload Fixture" - for example and the inside that we have one test.
You can run all the fixtures, or you can run only the test inside the fixture.
Here also we have the "Drag Fixture", for example. We can debug the test or run the test.
We can just run it on Chrome, so we can select Chrome and run it.
TestCafe will start, something like -t Testdrag.js, like the command line that we usually use with TestCafe. And after that TestCafe will run on Chrome and our test is passed.
