

Transcripted Summary
After we installed ReportPortal and we checked that the URL is working, now it's time to configure TestCafe to run with ReportPortal.
So after we install ReportPortal in our local machine, now it's time to install the plug-in for ReportPortal with TestCafe.
So, we will search for npm, and then we can go to that URL for npm, and there, we can search for "testcafe reportportal".
Here, we have a plug-in for testcafe-reporter, plugin reporter for reportportal.io.
We can install it with npm:
npm install testcafe-reporter-reportportal
Inside our project in the terminal, we can install ReportPortal.
In the package.json after we install, we can find that it's downloaded here.
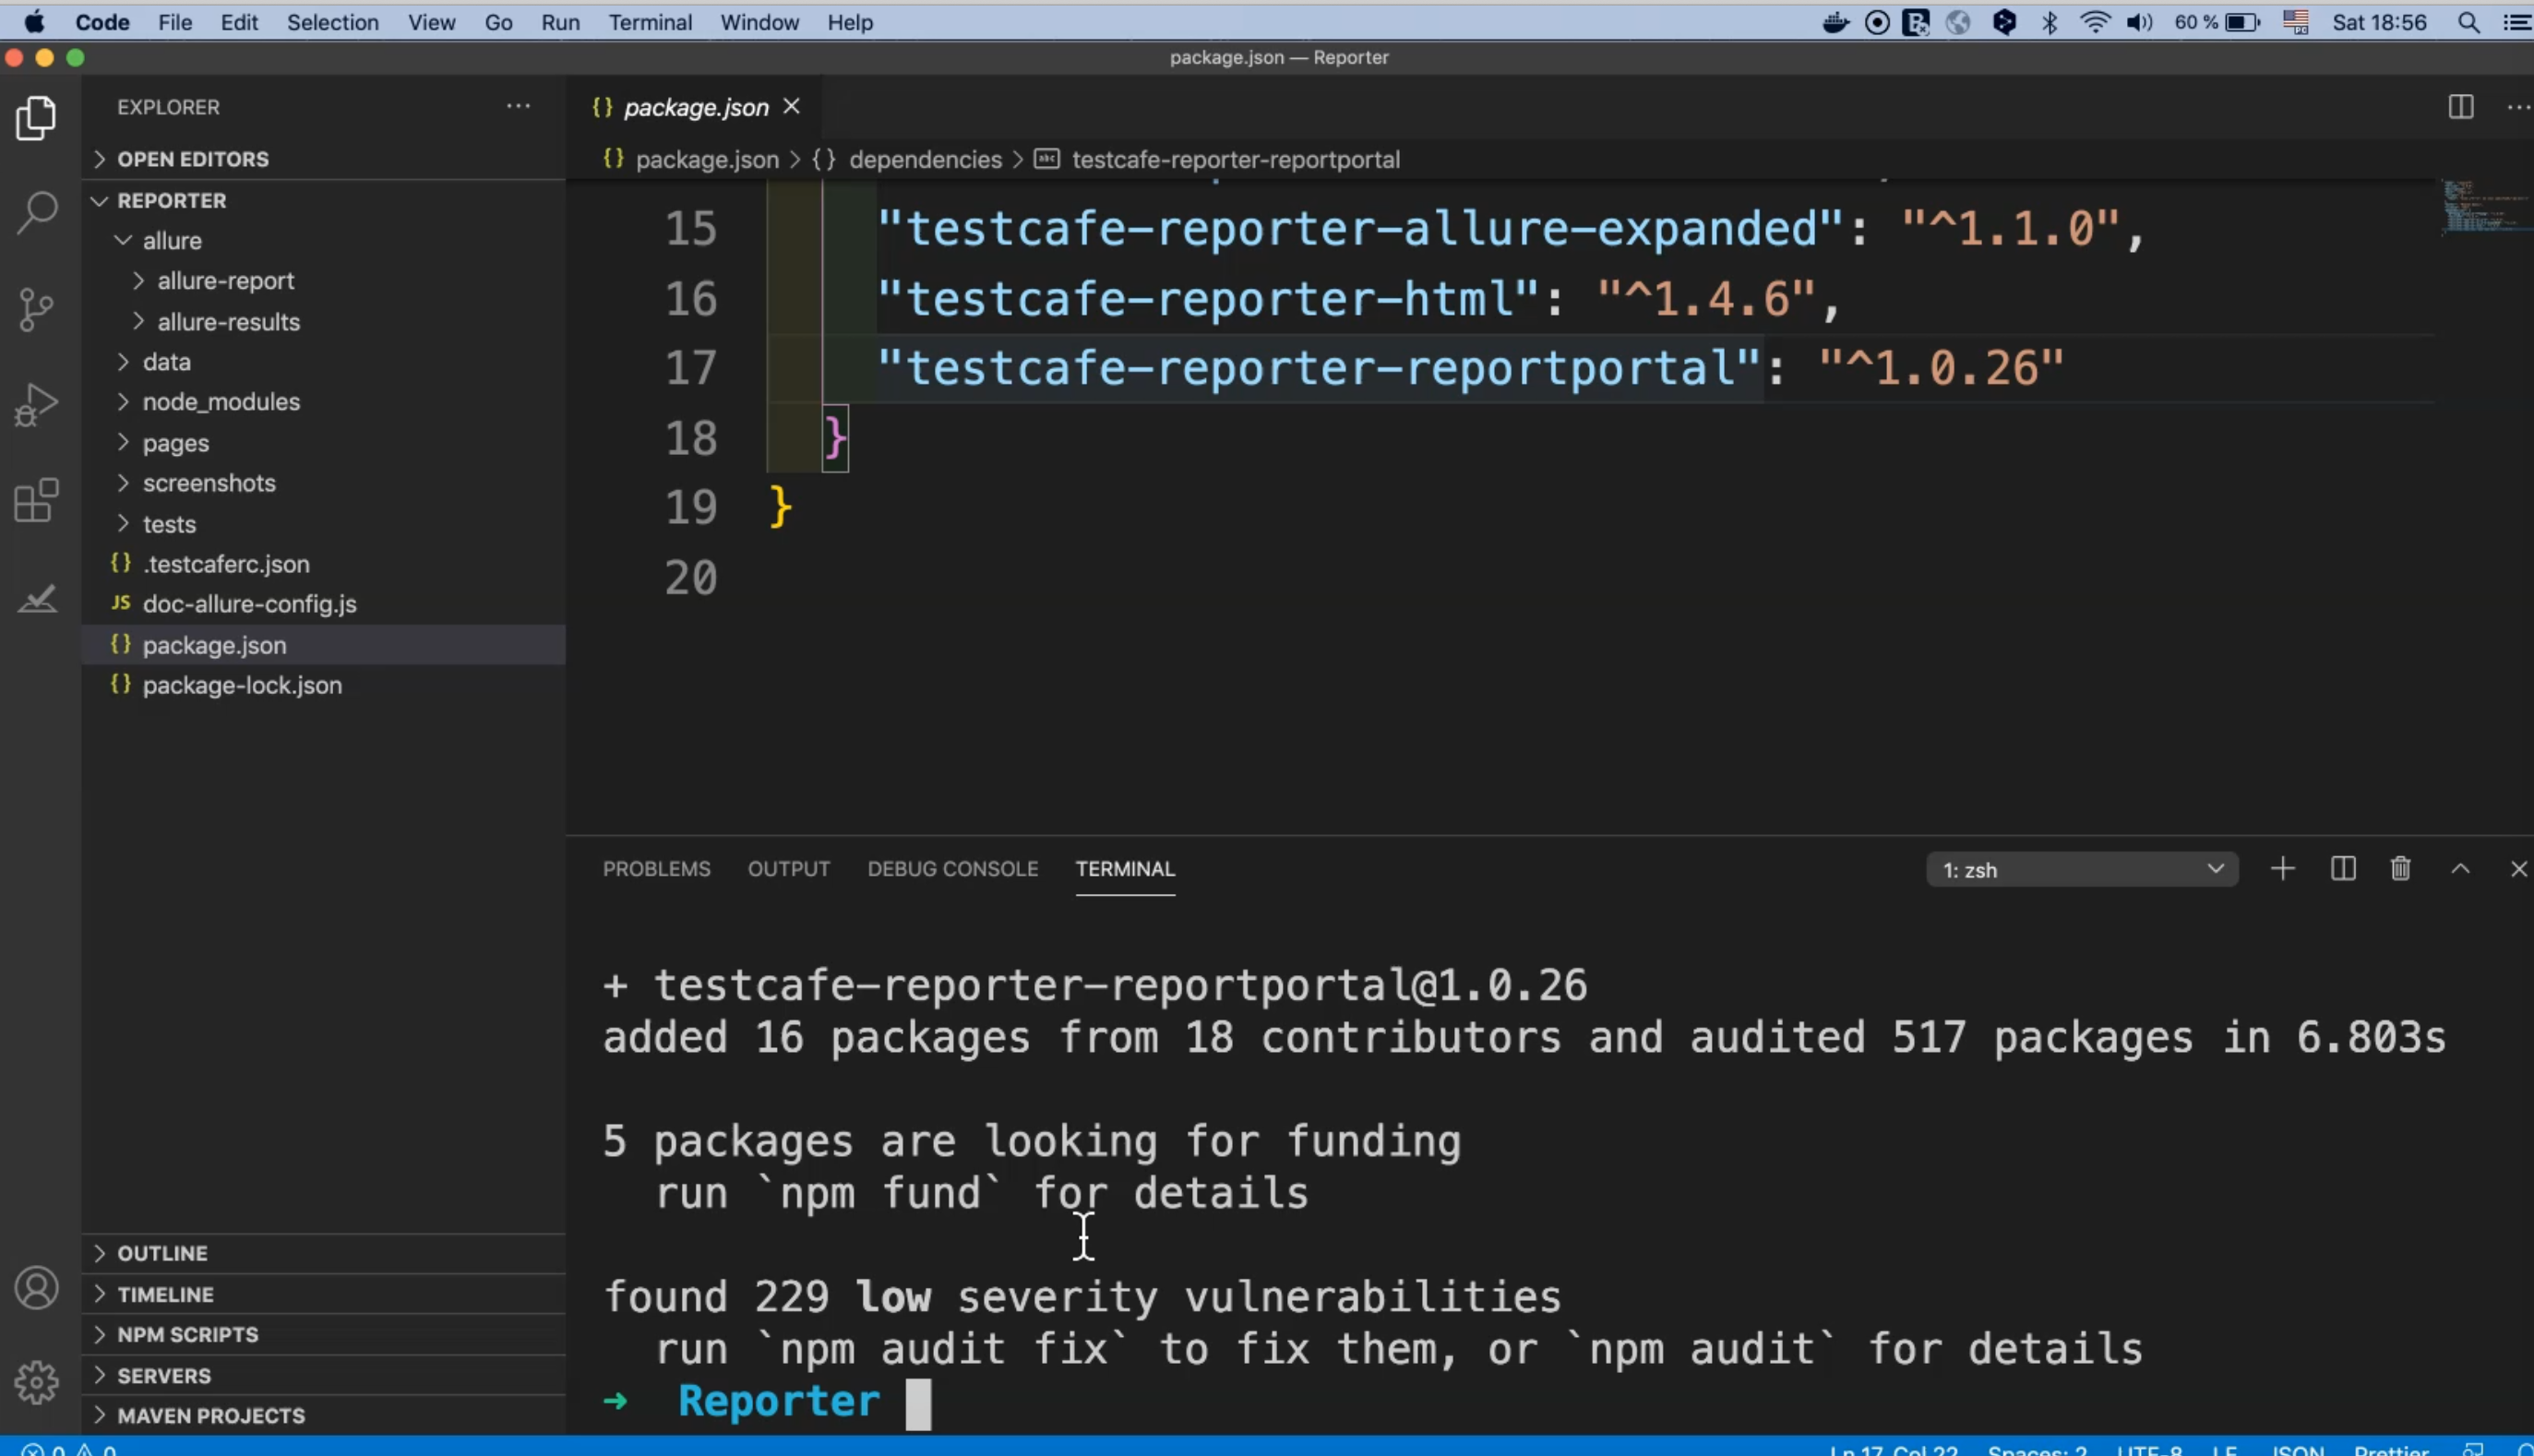
We have our ReportPortal installed in our project, and we can use it.
The second step is the usage.
When you run the test from the command line, specify the reporter name by using --reporter and after that, we can say reportportal, like html-reporter and allure-reporter.
But in the beginning, we need to create the .env file in our project.
We will copy this:
REPORT_PORTAL_BASE_URL=http://example.com
REPORT_PORTAL_TOKEN=XXXXXXXX-XXXX-XXXX-XXXX-XXXXXXXXXXXX
REPORT_PORTAL_PROJECT_NAME=My_Demo
# Launch name is optional, if not specified the name will default to the project name
REPORT_PORTAL_LAUNCH_NAME=The Launch Name
# Tags are optional, should be separated by coma
REPORT_PORTAL_TAGS=Tag1, Tag2
# Description is optional
REPORT_PORTAL_DESCRIPTION=Run description
We will go to our project at the root directory, and create a new file .env and paste this setting.
This setting is required to be able to connect to ReportPortal API and send our result to the ReportPortal.
Here, we have optional parameters, and we have the required parameters.
For example, REPORT_PORTAL_TAGS and REPORT_PORTAL_DESCRIPTION are optional, so we can remove it for now.
The REPORT_PORTAL_LAUNCH_NAME is optional also, but we will leave it.
The required values here are the REPORT_PORTAL_BASE_URL, the REPORT_PORTAL_TOKEN, the REPORT_PORTAL_PROJECT_NAME, and also we can add the optional REPORT_PORTAL_LAUNCH_NAME.
We can open again our ReportPortal and our account, and here we have the access token.
So, we can take the access token and replace the REPORT_PORTAL_TOKEN value with the access token.
And the REPORT_PORTAL_BASE_URL, it's the ReportPortal URL, so, we can just copy this URL with the http://localhost:8080/, and replace this value.
Now, it's time to rename or change the project name.
So also to change the project name, we can also find it in our account - this is the project name - default_personal and we can replace this value.
There's a launch name, so also we can put it and change it from the account default_TEST_EXAMPLE or we can change this value with a new value that we need.
So, this is the launch name, project name, portal token, and the base URL.
Now, we configured our project to be able to connect with the ReportPortal.
It's time to run our test to check what happened during our test.
We will go back to the TestCafe ReportPortal plug-in page.
And to run the test, we just need to pass --reporter, and then add reportportal, like html-reporter or allure-reporter but we need to change the value to reportportal.
So, we will open our terminal in our project, and run:
testcafe chrome:headless tests/RegistrationTest.js --reporter reportportal
After that, we will run our test to check if our configuration is correct, or we need to change anything in the base URL or the token.
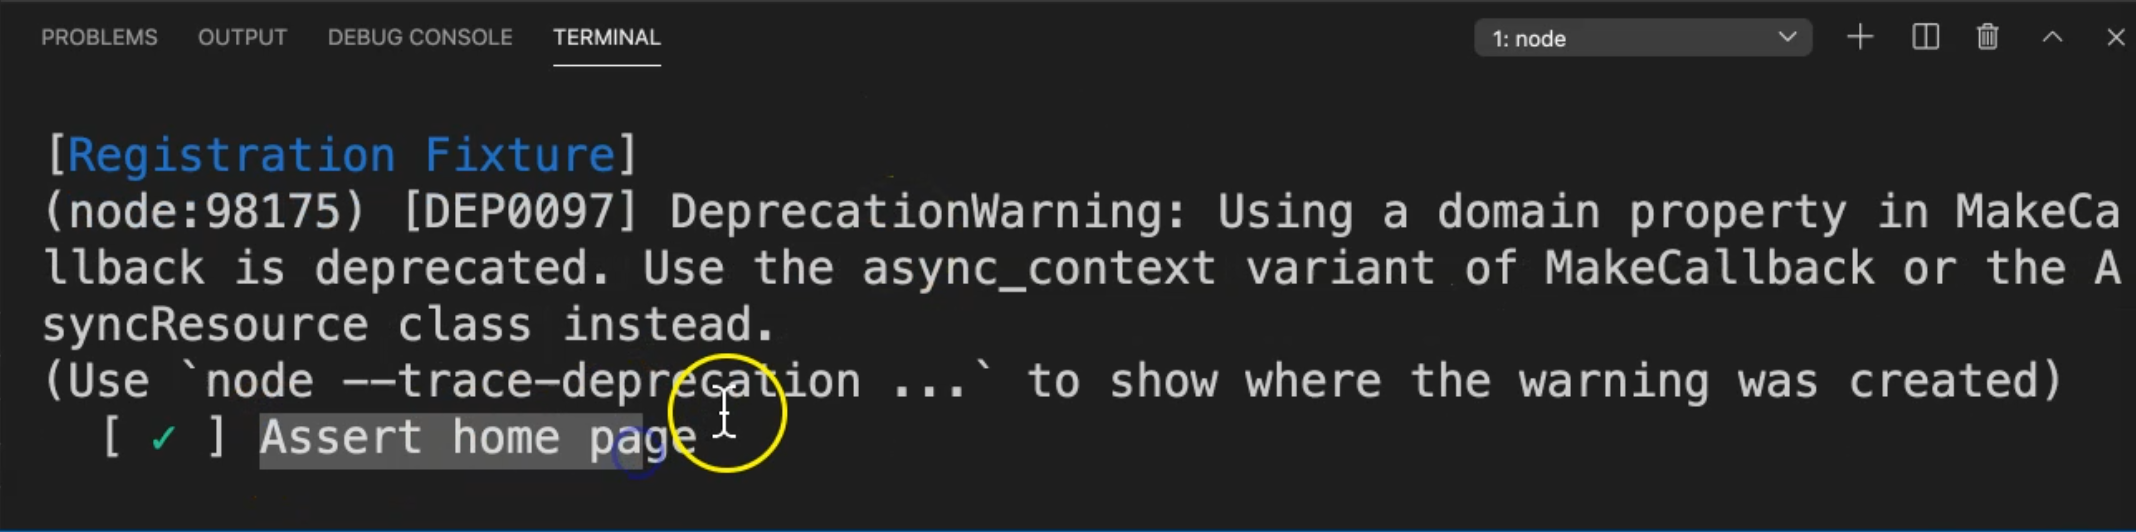
Now, our test is running, and also, we will start connecting from TestCafe to the ReportPortal.
So, our test is running because the "Assert home page" or the first test has passed.
So, let's open the ReportPortal launches here we have one default-test example run - this is the launch name.
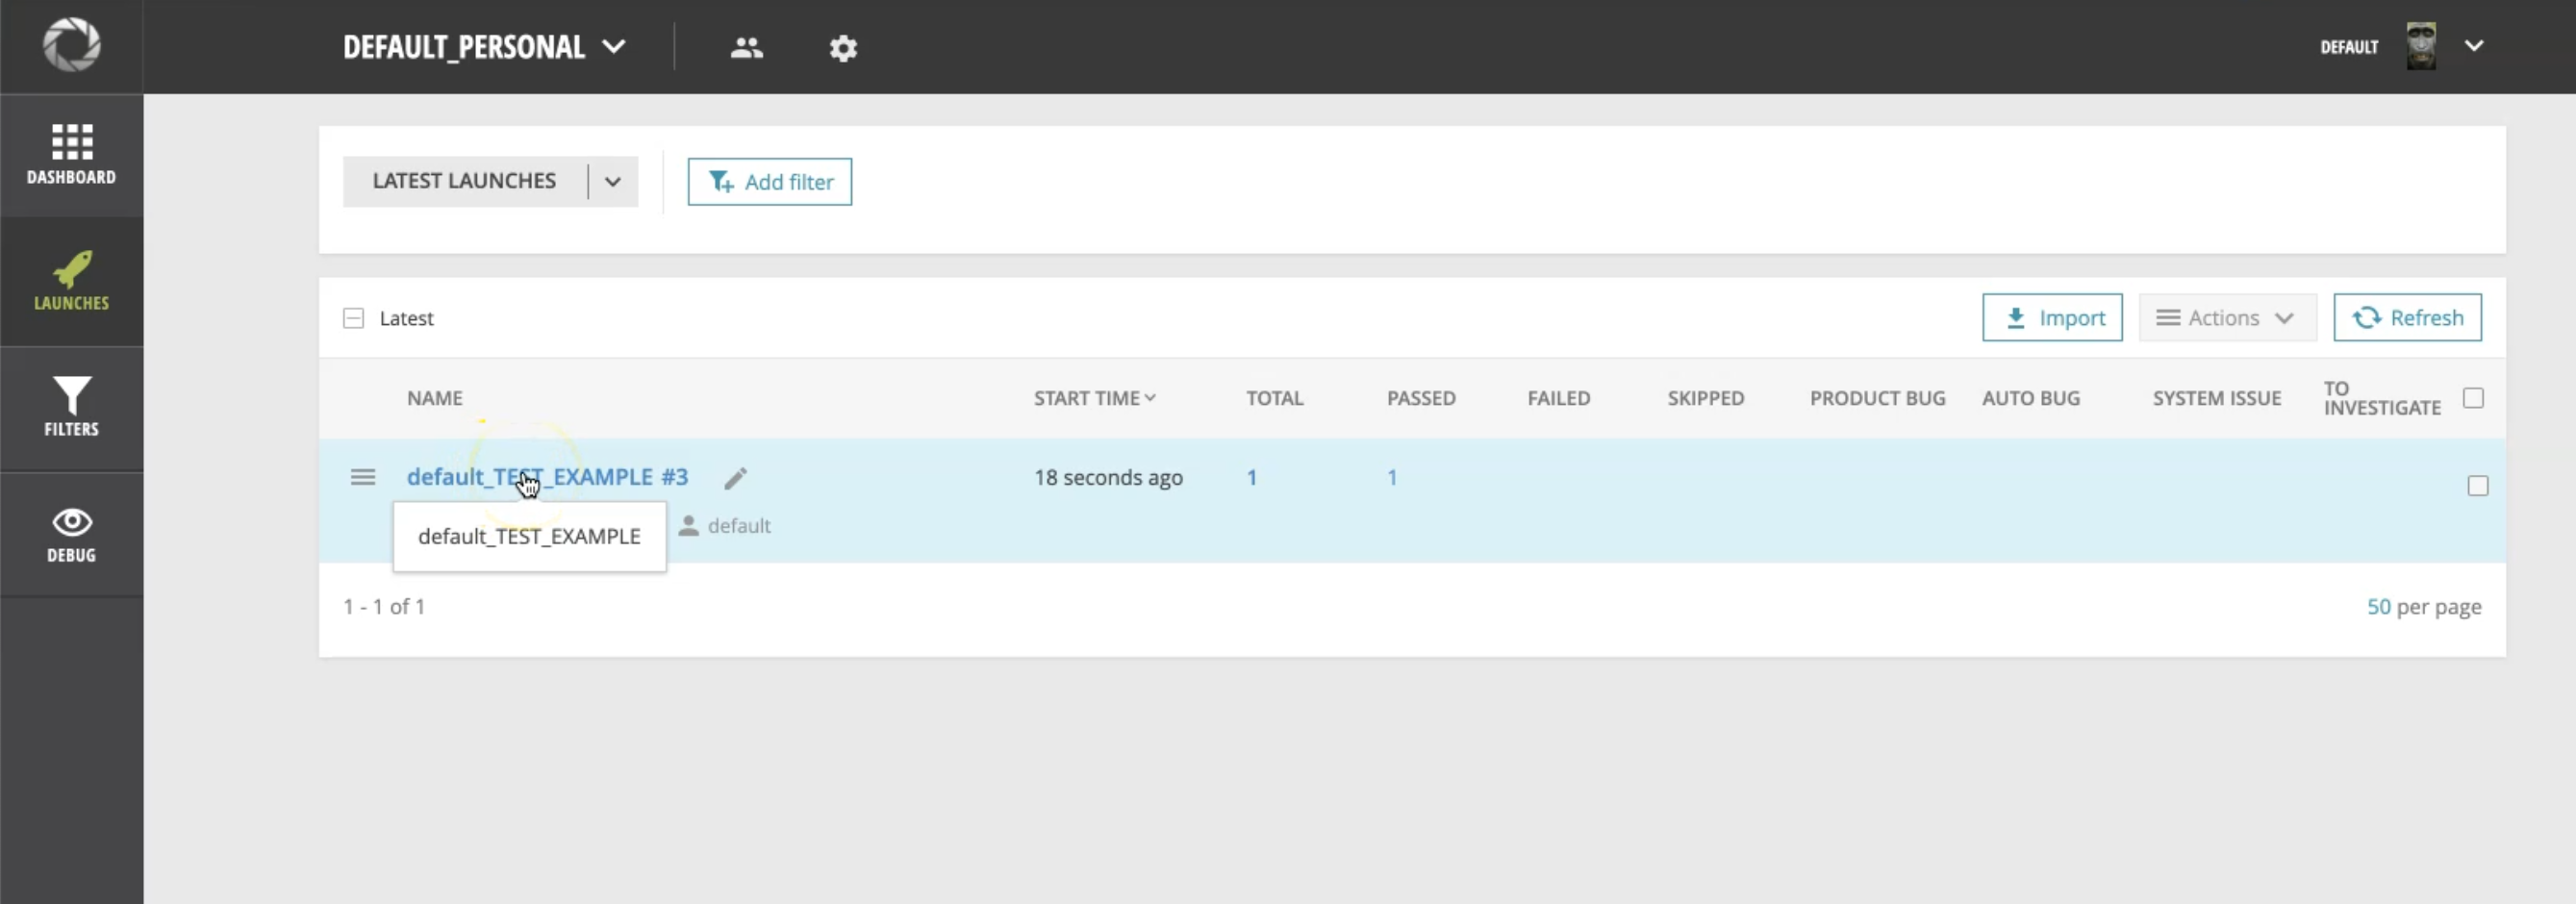
If we go inside this launch name, we can find that now it's real-time running our test, and we have the test result here.
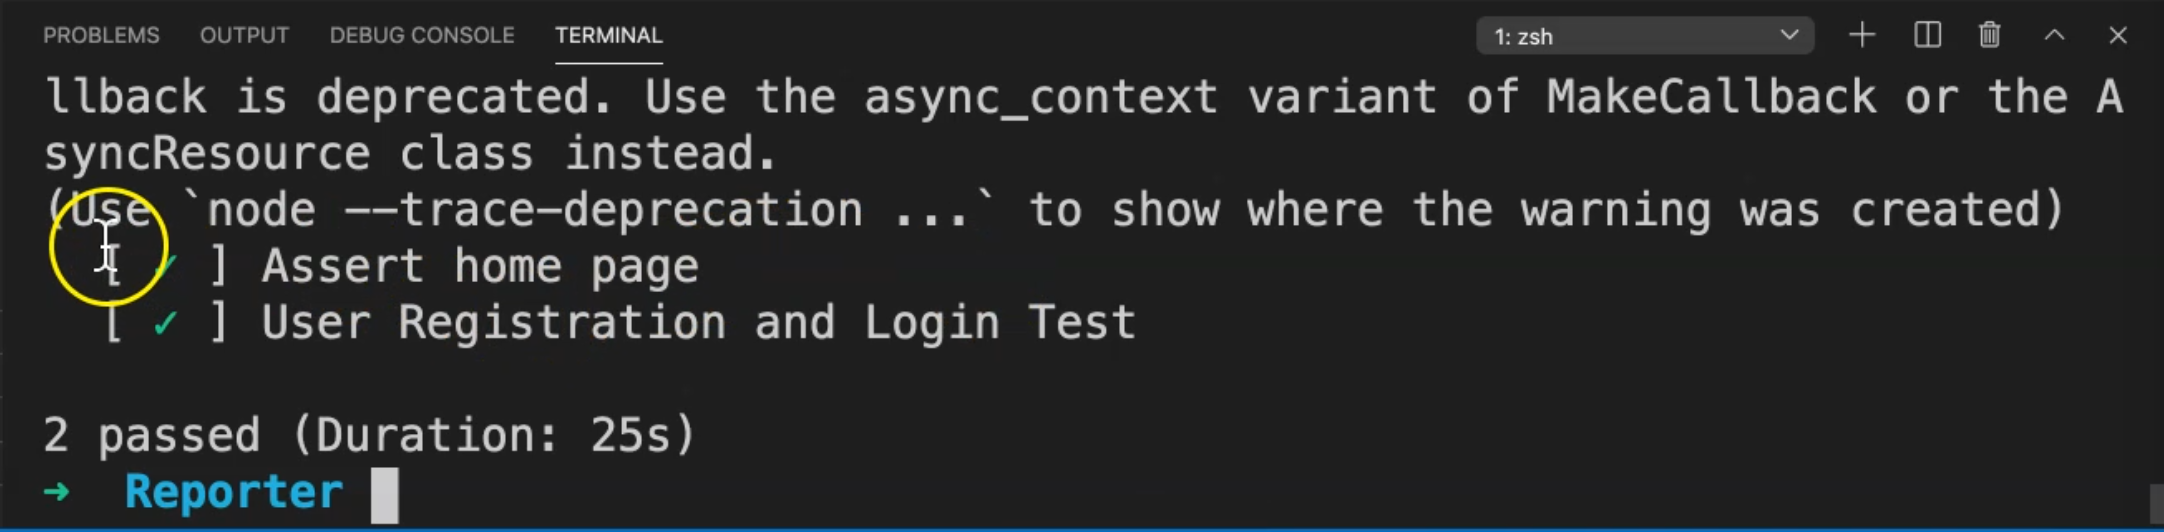
So, this is the "Assert home page", and this is the "User Registration and Login Test" and our tests passed, and we can also check that we have two passed cases in the terminal result.
We can go into the "User Registration and Login Test" case, and we can find there is nothing in the Stack Trace or Attachments because we don't have any failures in the test.
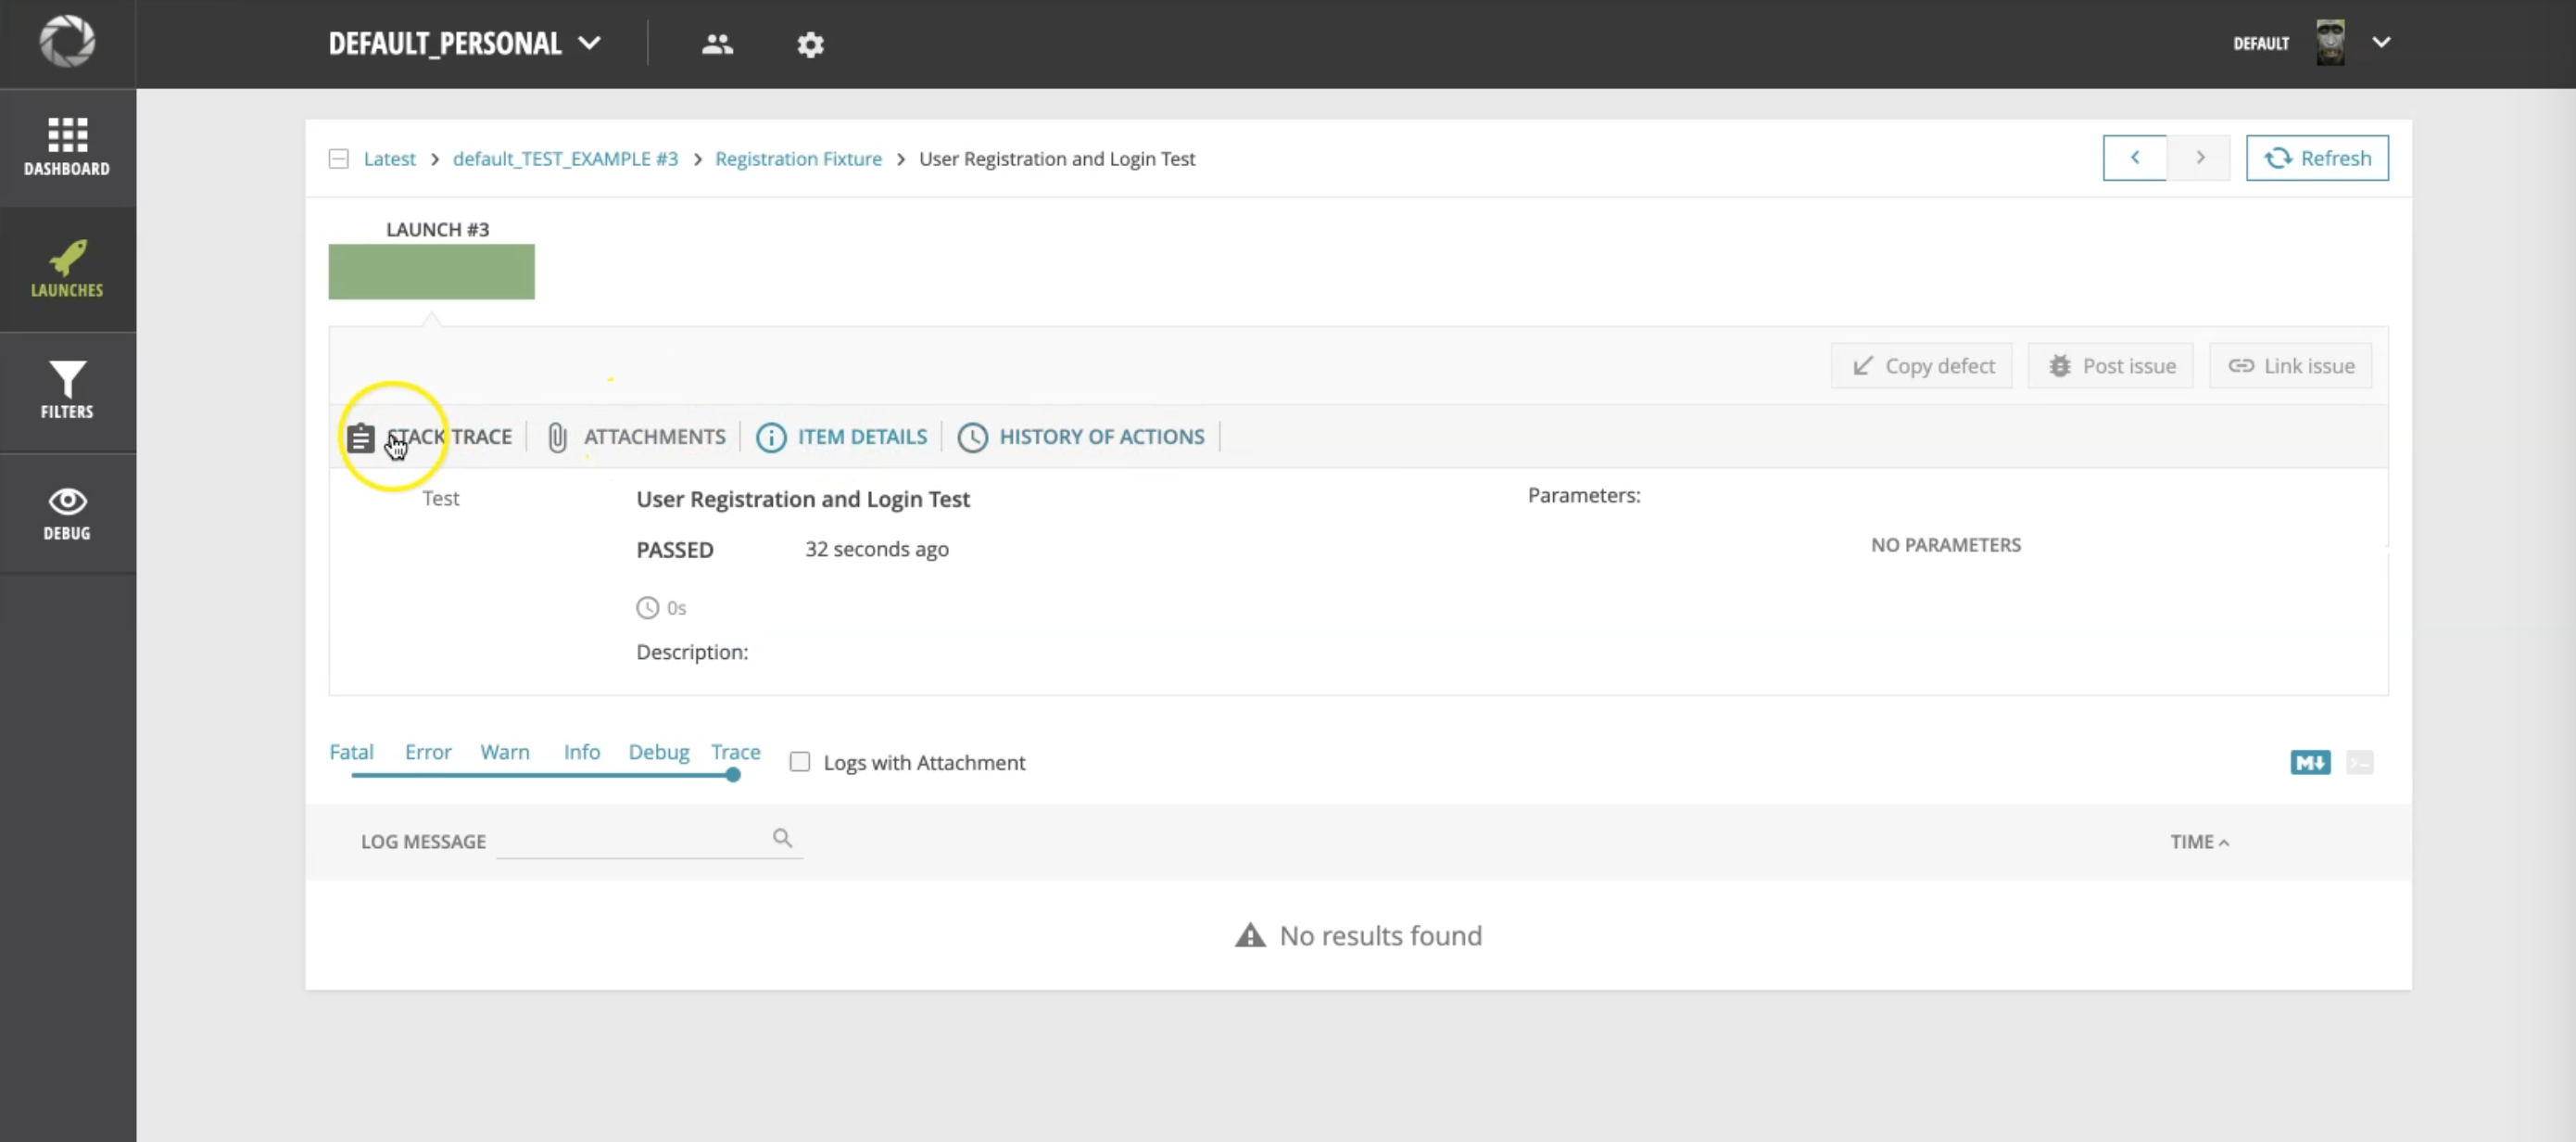
This is the integration between ReportPortal and TestCafe.
So, what if we tried to make one test fail?
For example, here we can change the expect in "Assert home page" to be notOk() instead of ok() and this test should fail when it runs.
So, let's try to run it again, and repeat the command line.
Then we will open the ReportPortal and check the launch.
So here, we can just refresh and check that we have already "default_TEST_EXAMPLE_#4".
It's running it now, and we can go to the details to check the test cases.
So, we have the Registration Fixture, and we still don't have any problems or any test results here.
We can just refresh the page, or go to the default and wait until the test is finished.
We have here one failure.
So, we can go to the test, and still, we can wait until the test finishes.
For the test Registration, we have one to investigate.
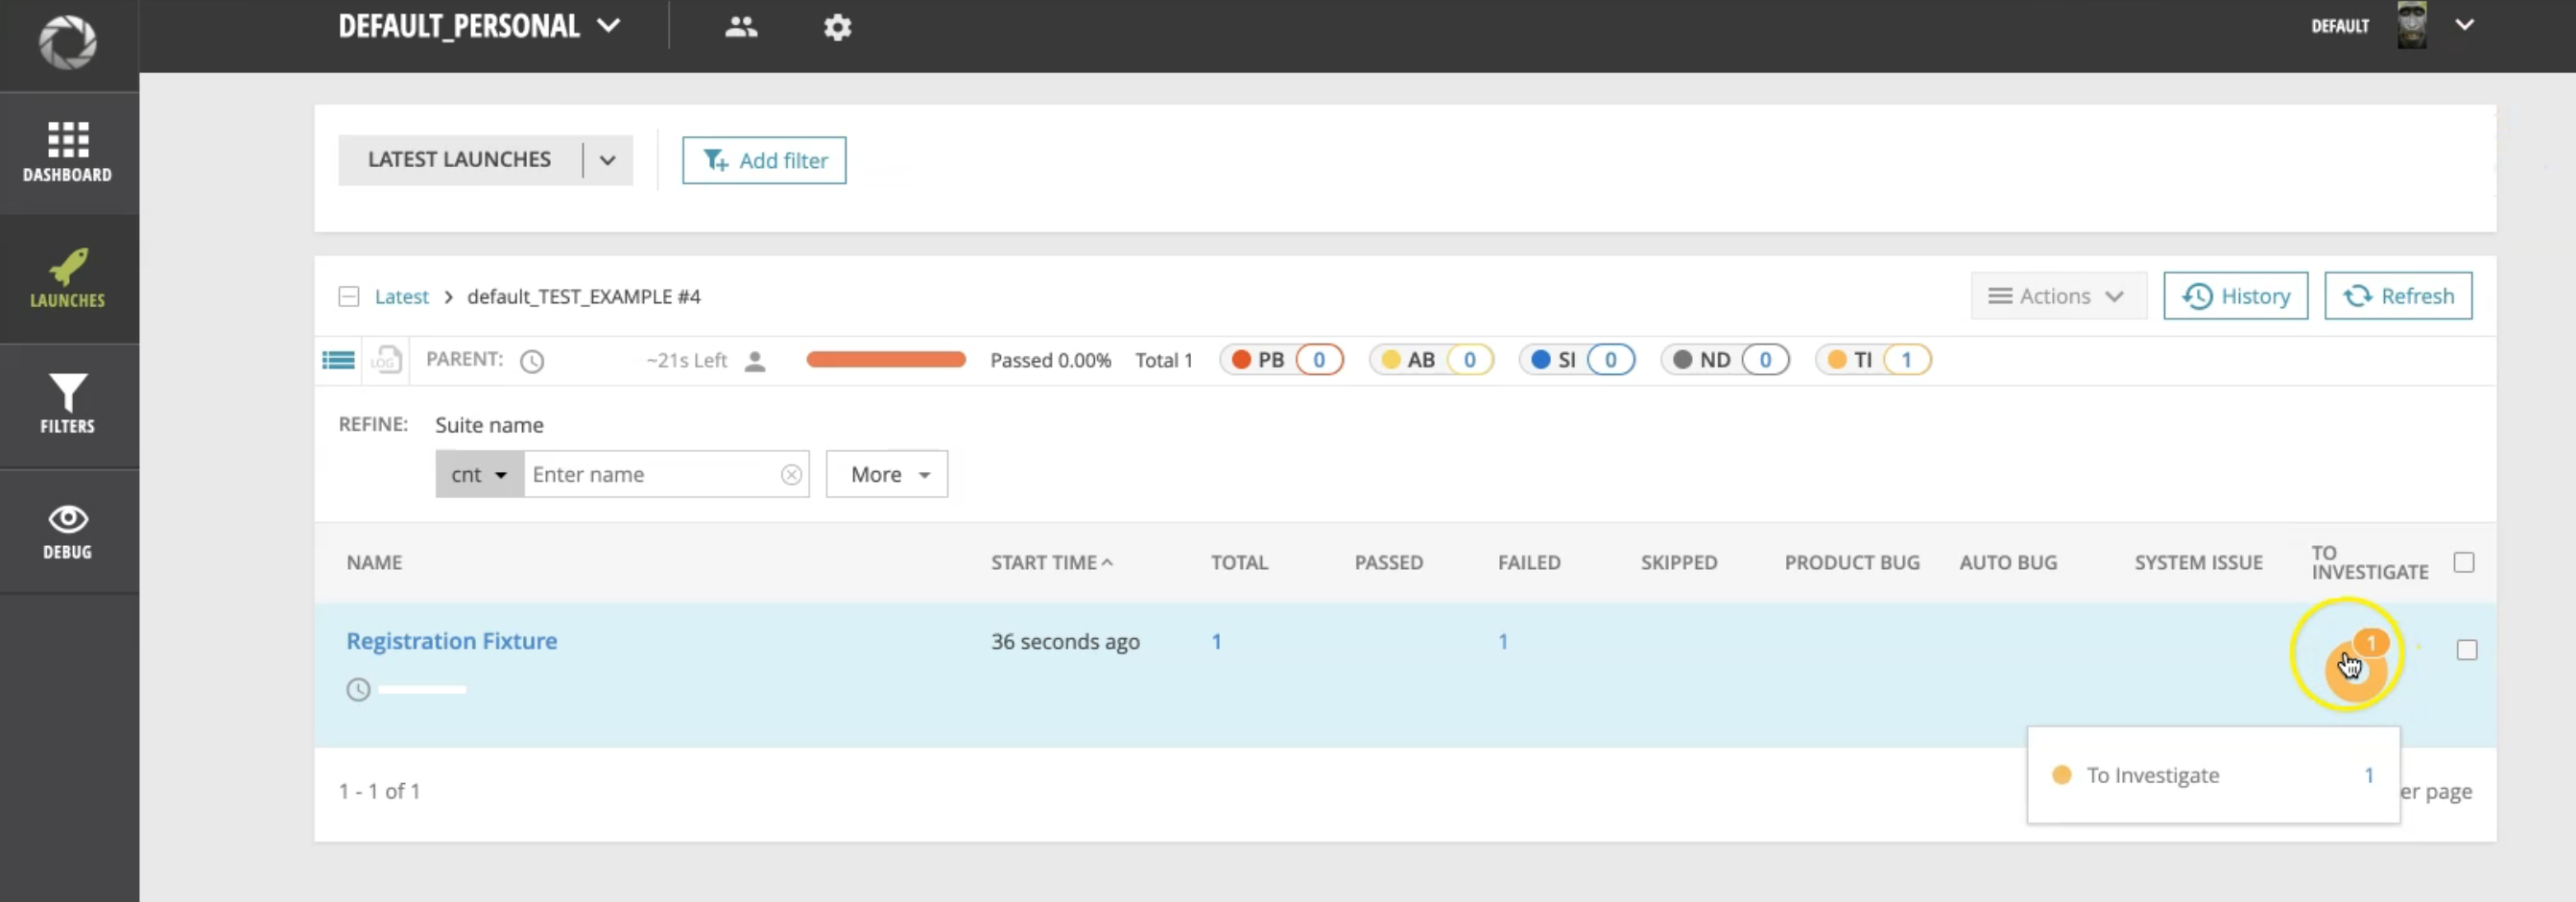
This means that we have one error.
We will open it and it says the "Assert home page" has failed.
The Status is "Failed", and the Defect type is "To investigate" because we need to check what happened during this test.
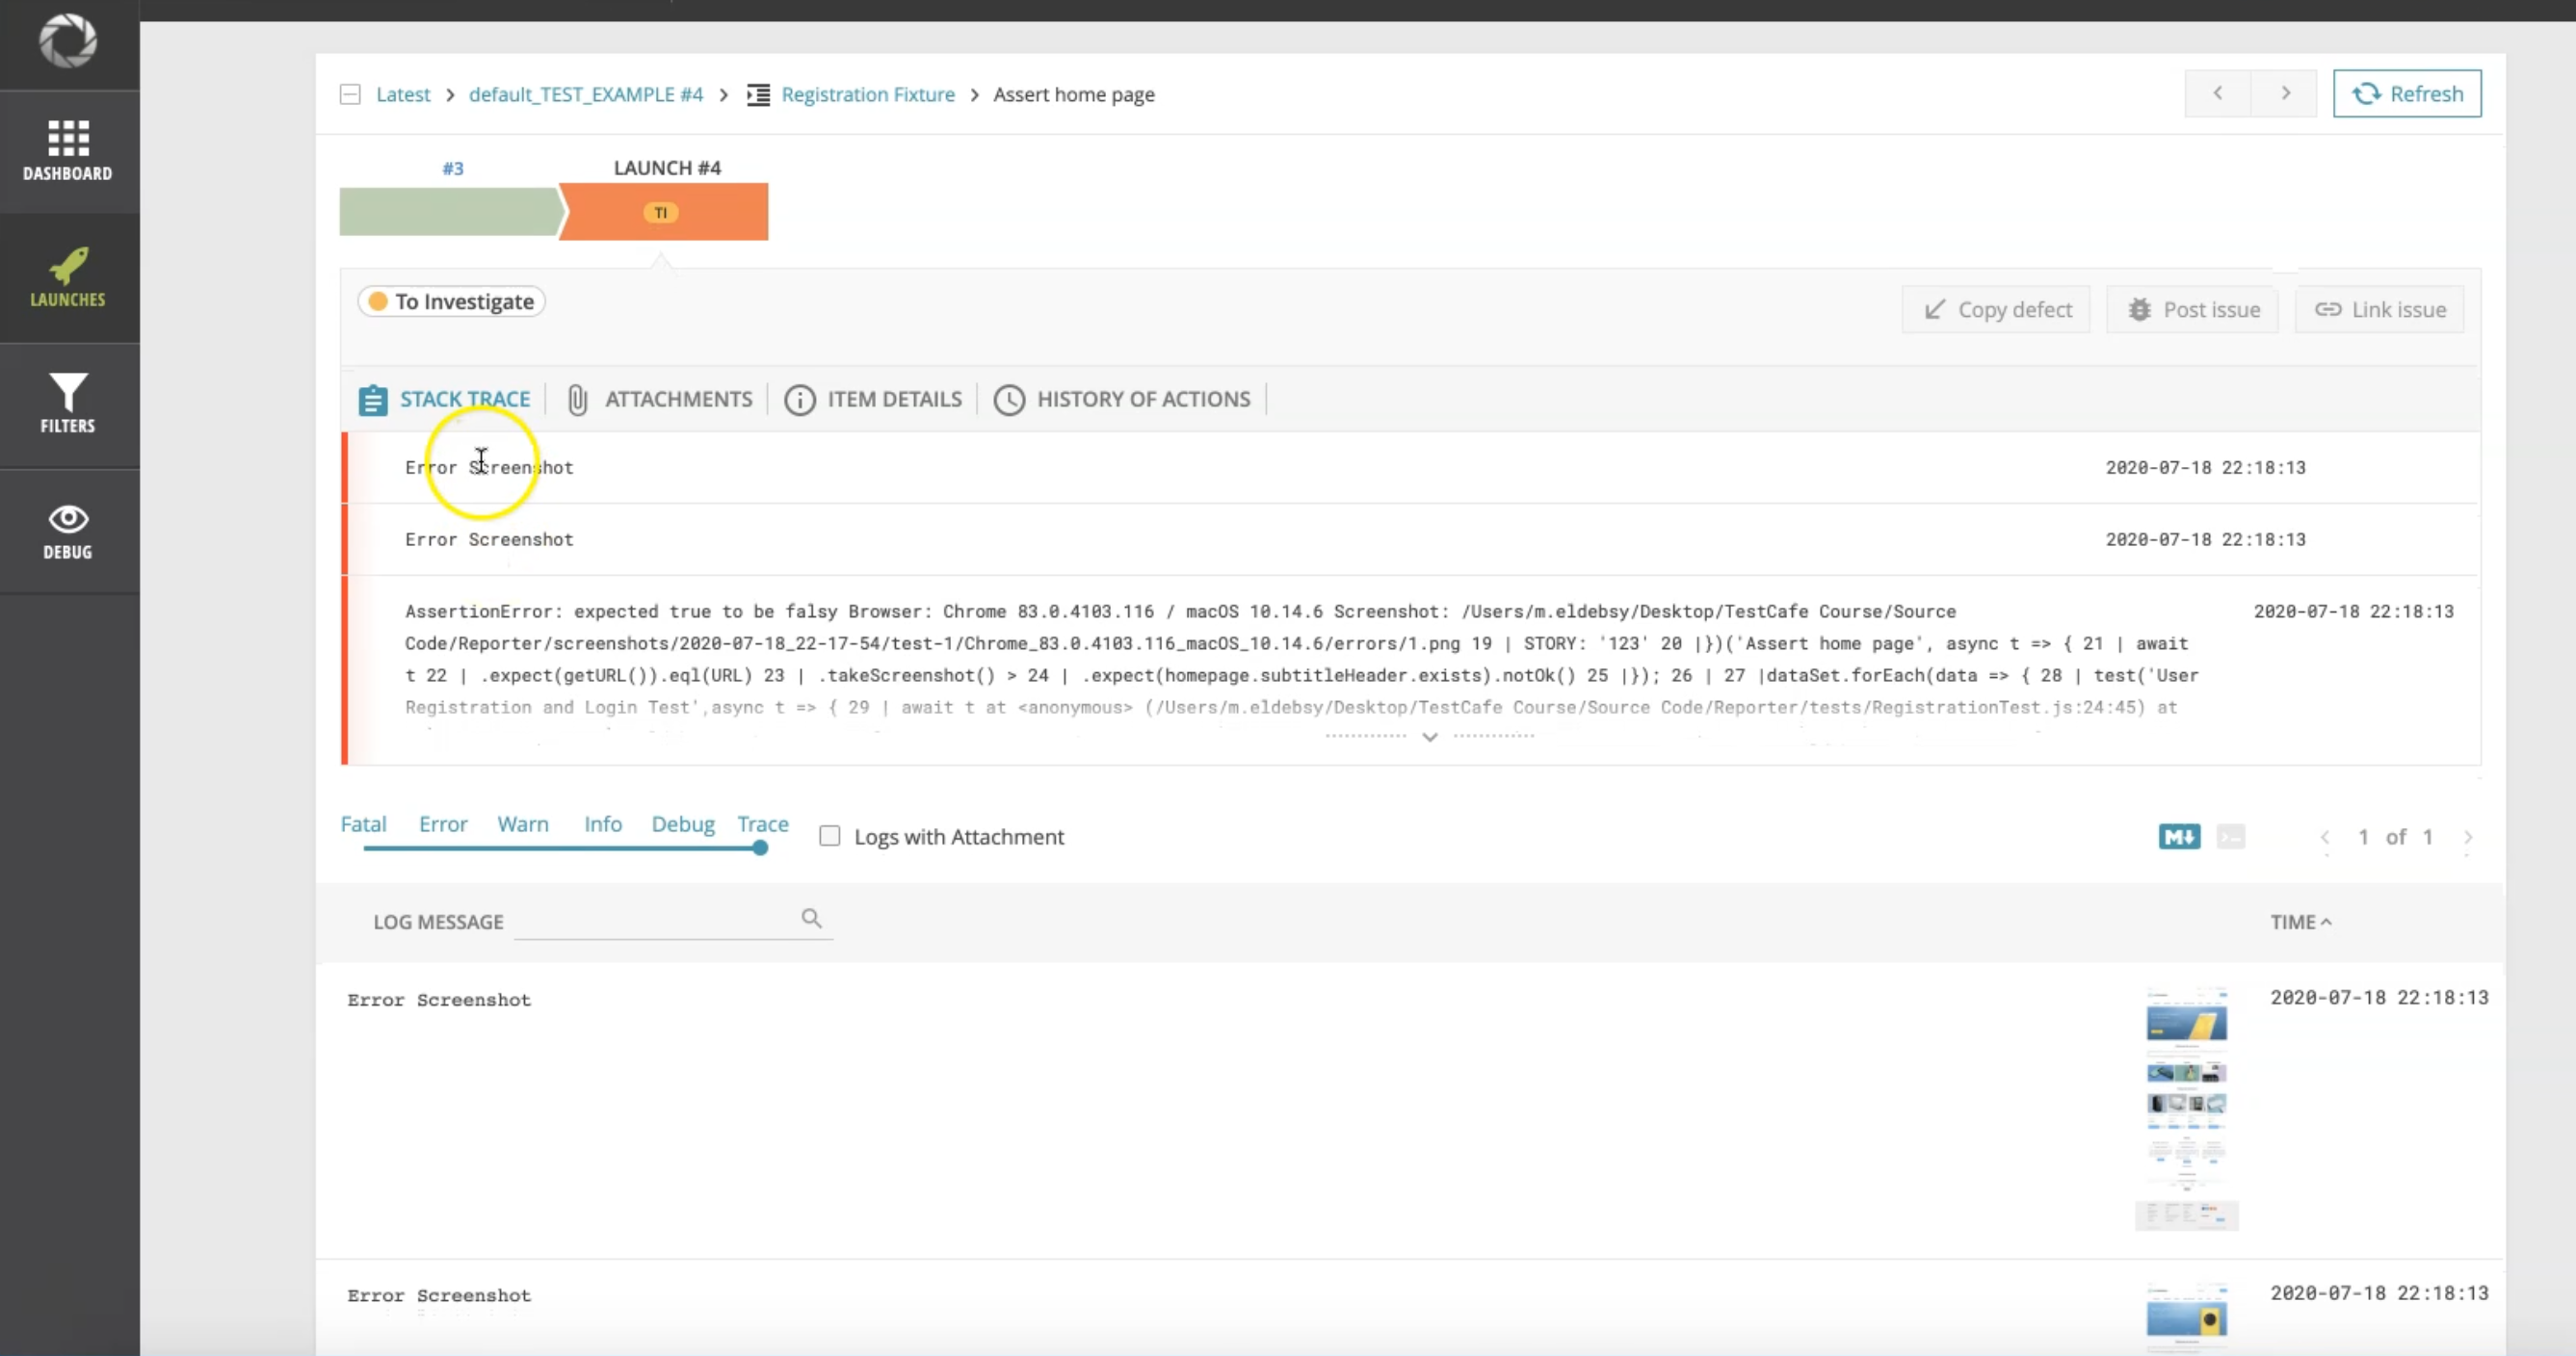
We can go to the details and we have the error screenshots, and also we have the error.
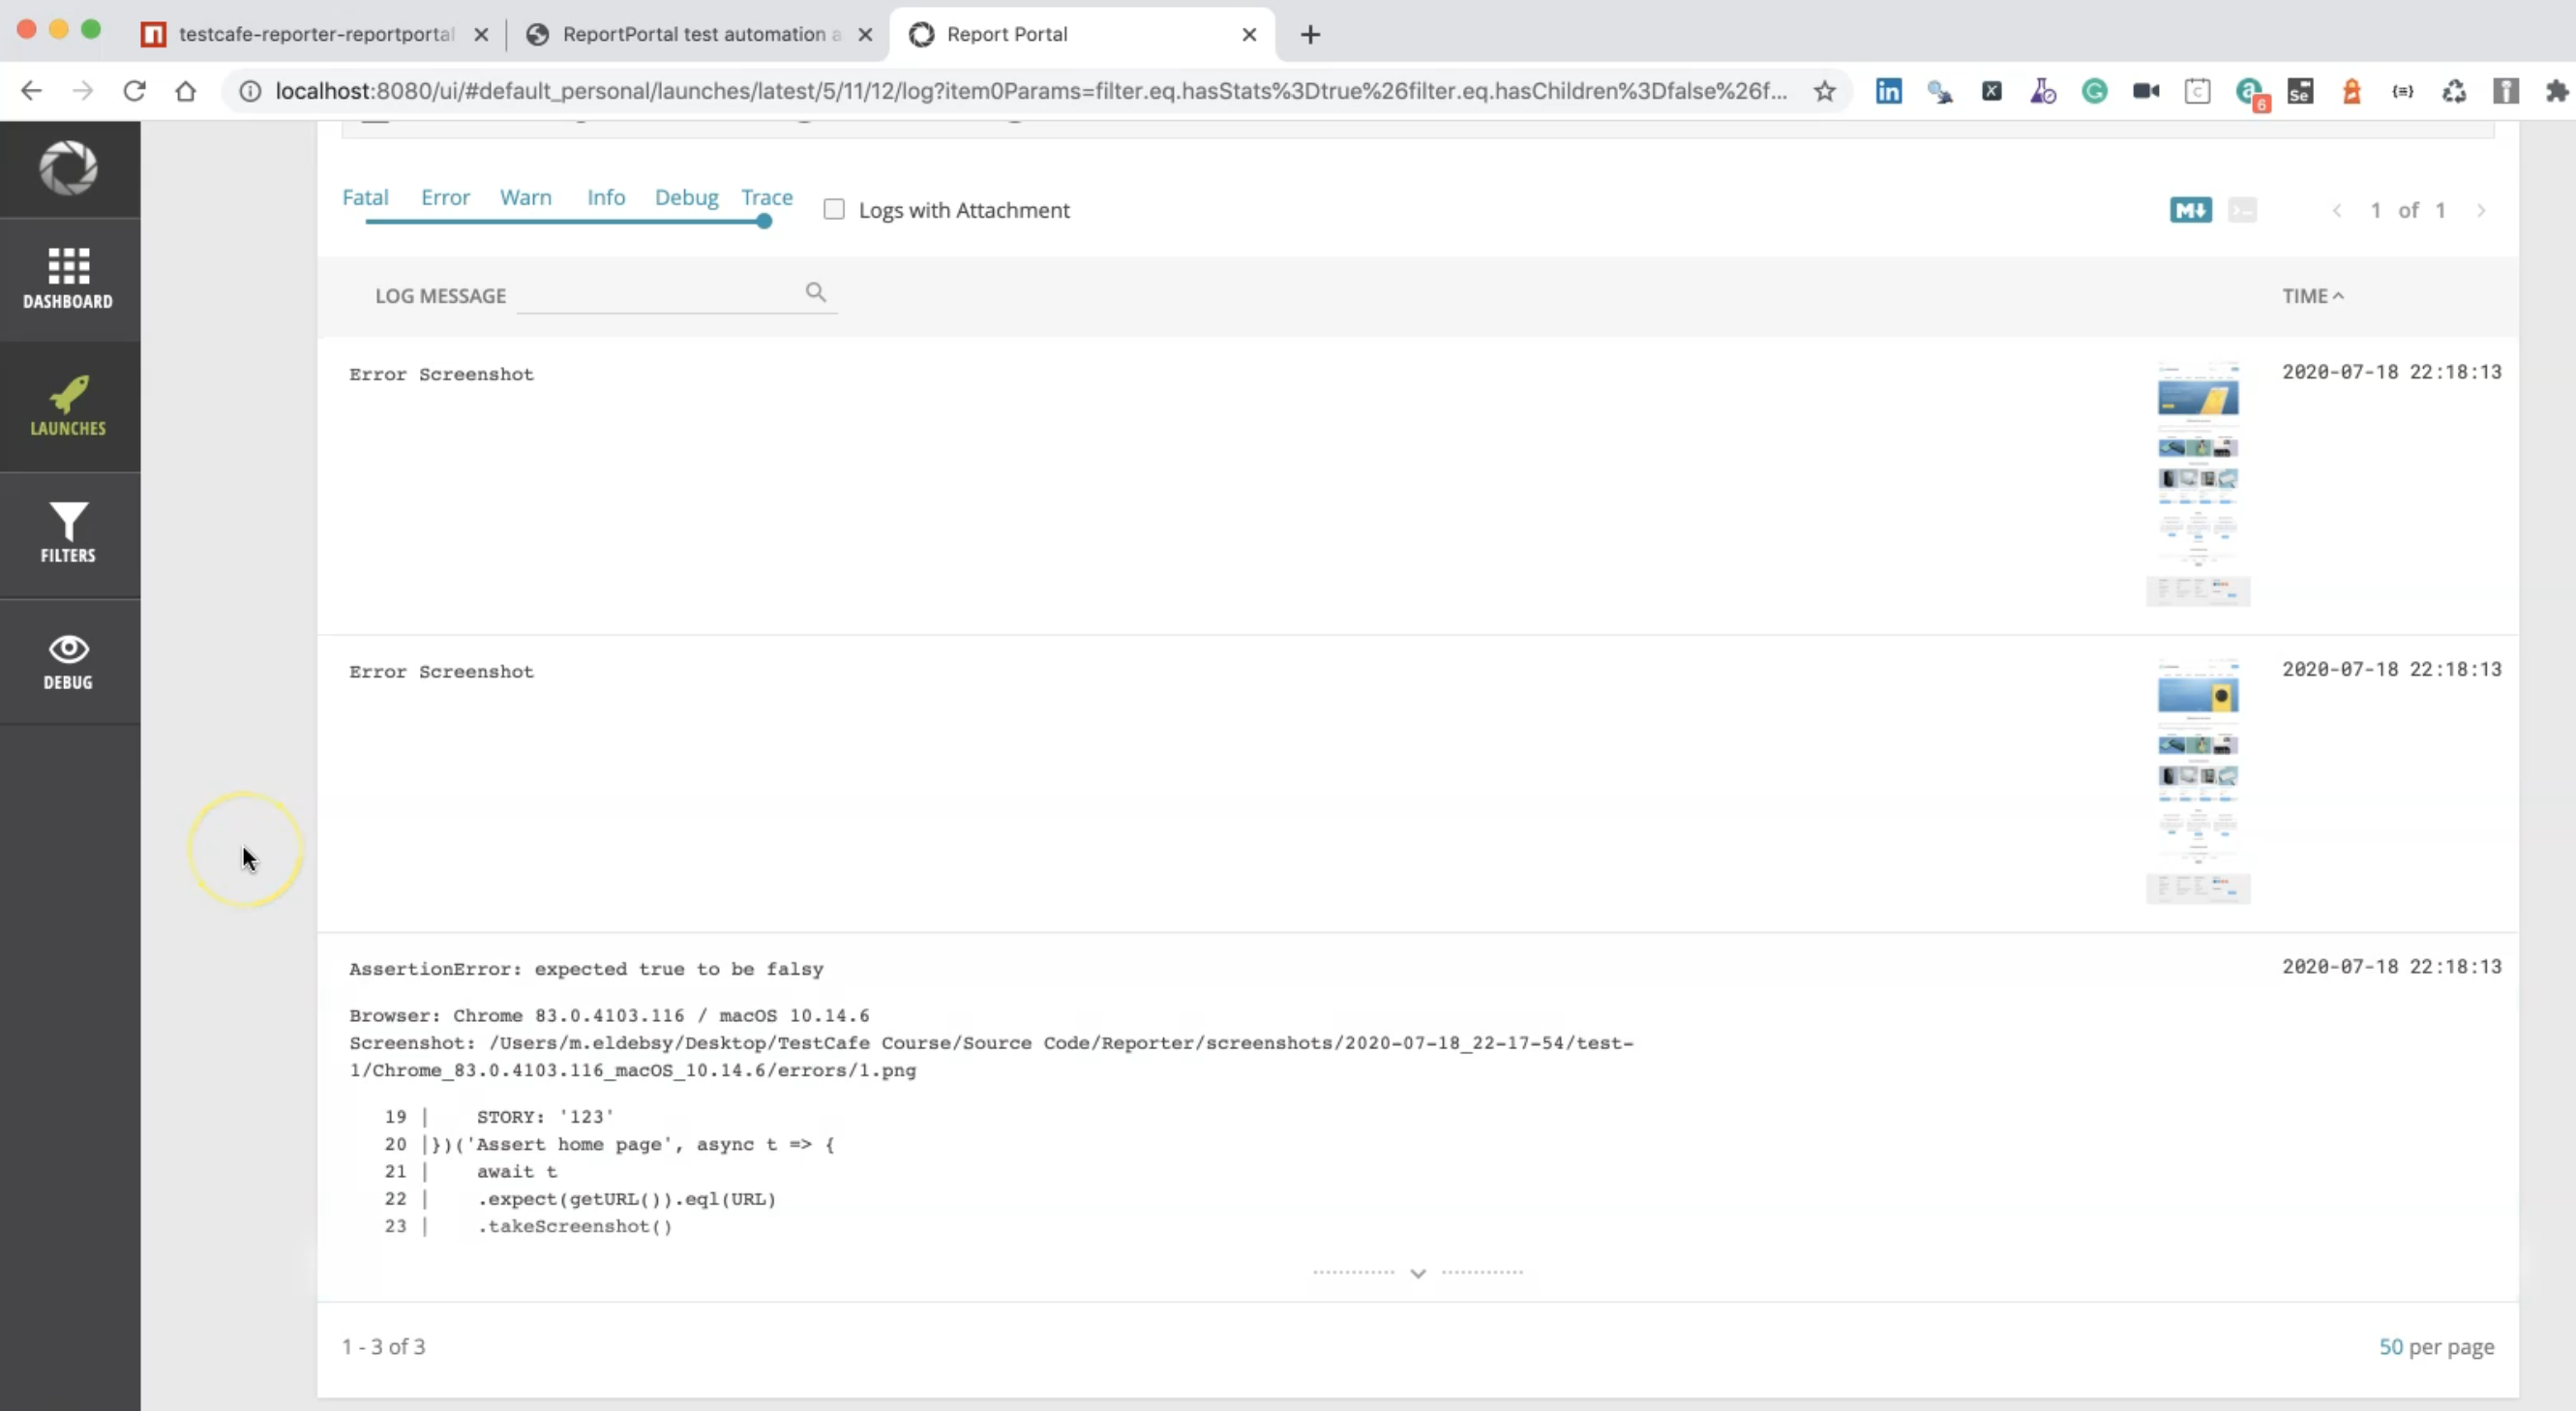
So, we can just open the screenshot, and then we can find that the error is attached and also here in the log message or the attachments section.
Then we have the stack trace, and we have "Error Screenshot" and the AssertionError, and we will have the history of this error repeated.
Here we can see also "Logs with Attachment", and also we can go back to our default launch, and check what happened.
So here, we have one passed test case, and one failed so because of that, we have 50% - we have one and one.
And we have one error to investigate, and we can, from here, click directly and go to the failed cases to check the result, or we can also go into detail and check what happened during our test.
We have the screenshot, and everything is attached to the test in the ReportPortal.
So, it's real-time.
The reporter was sending the results directly from our TestCafe test runs, and we can also check the result immediately without waiting for the test finish.
