Transcripted Summary
In this chapter, we will be talking about using the TestCafe Docker Image and how we can run our tests inside the Docker container.
What we will cover during this chapter
Introduction to Docker
How we can install Docker on Mac OS
Download TestCafe image
Run test inside Docker container
# What is Docker?
Wikipedia defines Docker as "An open-source project that automates the deployment of software applications inside containers by providing an additional layer of abstraction and automation of OS-level virtualization on Linux."
So Docker is a tool that allows developers or system admins to easily deploy their applications in a sandbox - called containers - to run on the host operating systems, for example, Linux.
The key benefit of Docker is that it allows users to package an application with all of its dependencies into a standardized unit for software development.
Unlike virtual machines, containers don't have high overhead and hence enable more efficient usage of the underlying system and resources.
# What are the containers?
Previously, we were using virtual machines or VMs to run software applications.
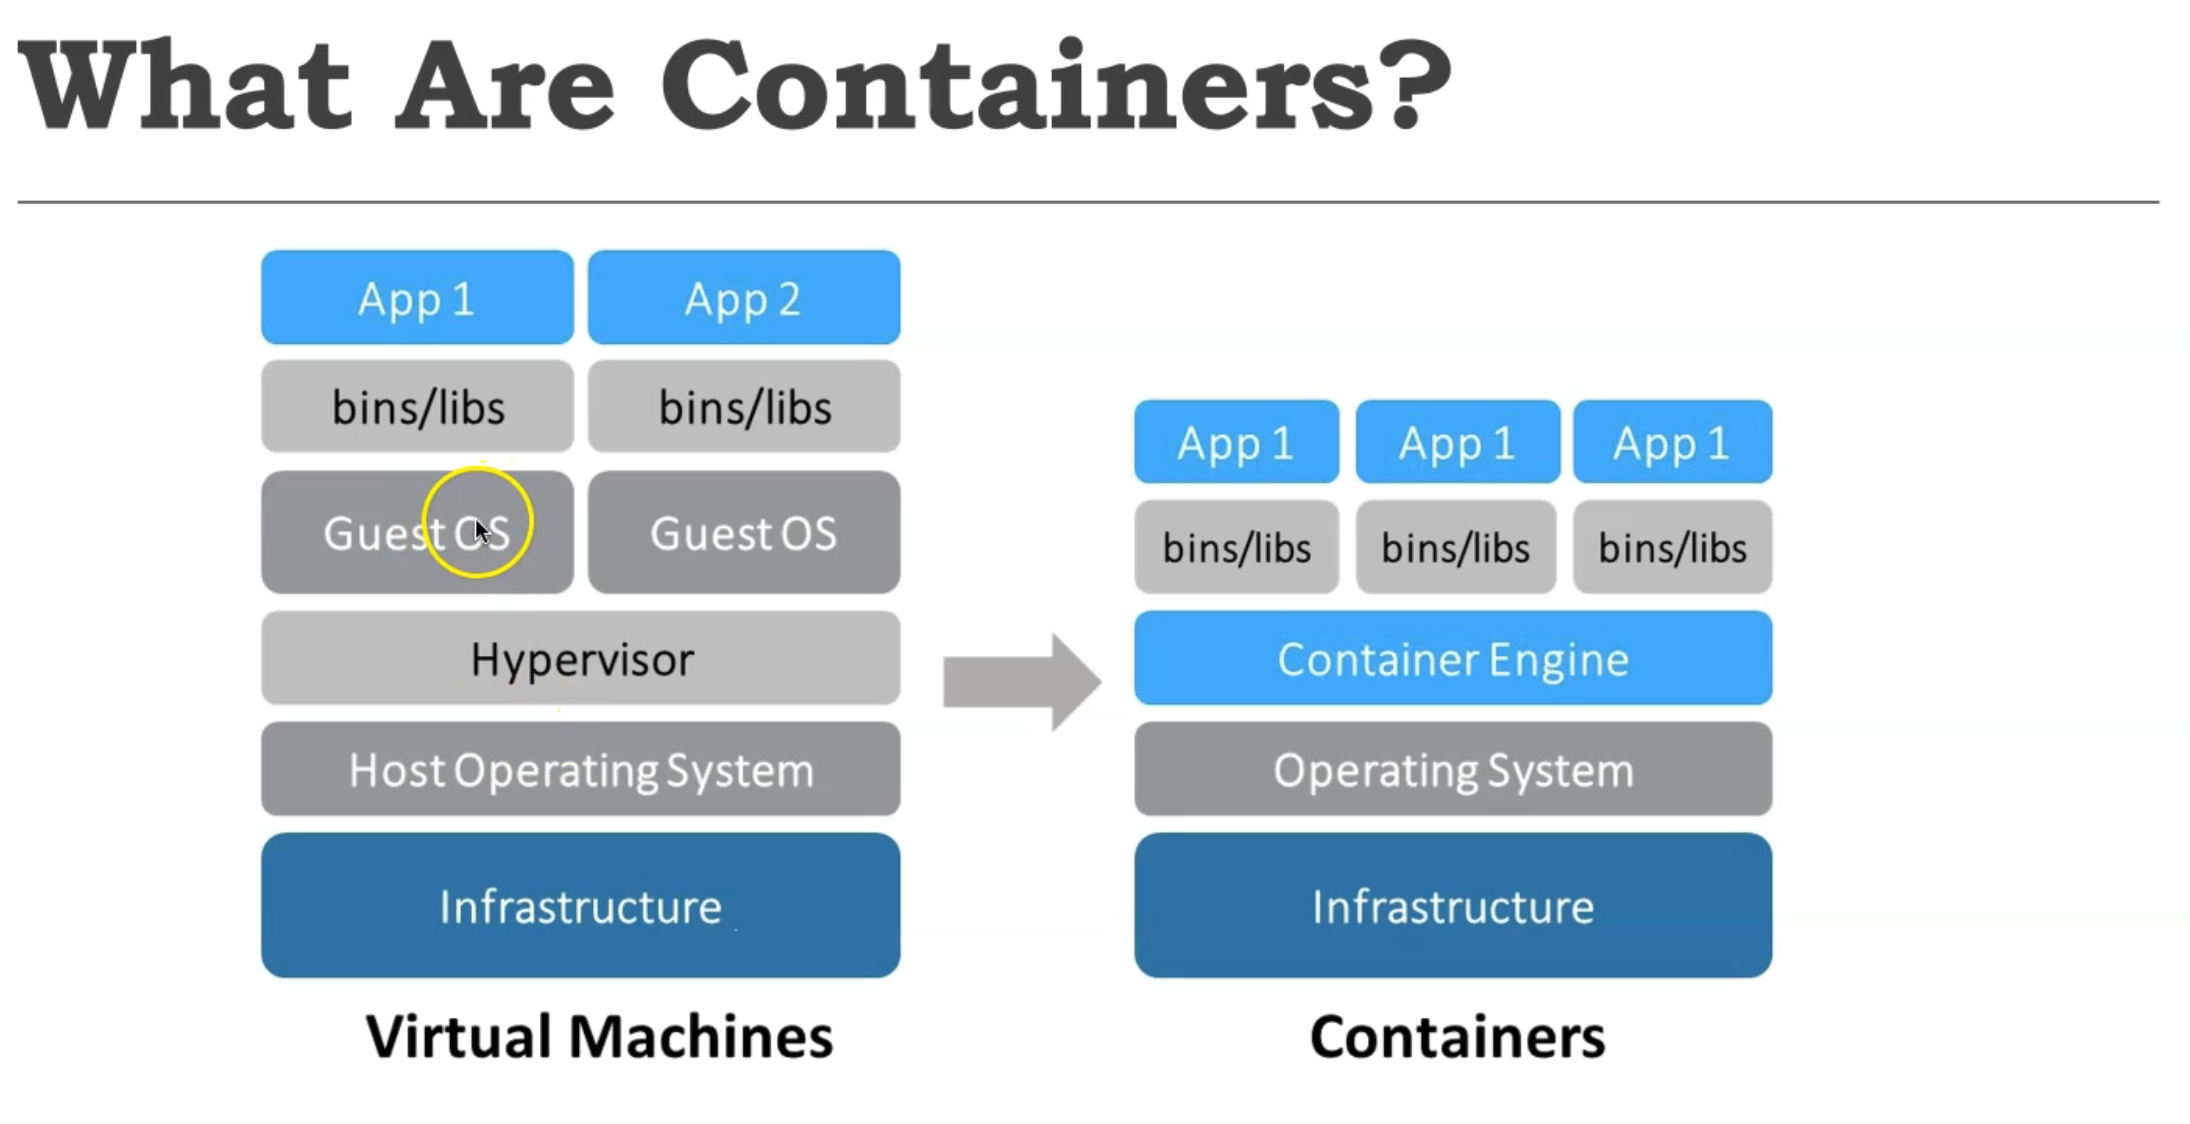
VMs run applications inside the guest operating systems, which run on virtual hard powered by server host OS.
VMs are great at providing full process isolation for applications.
There are very few ways a problem in the host operating system can affect a software running as a guest operating system and vice versa, but this isolation comes at great cost.
Containers take a different approach by leveraging the low-level mechanics of the host operating system.
Containers provide most of the isolation of virtual machines at a fraction of the computing power.
And then now the question is, why use containers?
Containers offer a logical packaging mechanism in which applications can be abstracted from the environment in which they run.
This decoupling allows container-based applications to be deployed easily and consistently regardless of whether the target environment is a private data center, the public cloud, or even a developer's laptop.
This gives the developers the ability to create predictable environments that are isolated from the rest of the application and they can be run anywhere.
# How to install Docker on Mac OS
In this demo, we will learn how to install Docker on Mac OS.
To install Docker on Mac OS, we can open our browser and search about Docker for Mac OS.
Then here we can find "Install Docker desktop on Mac OS" - we will click on this one.
And from the documentation for Docker, we can find here Docker desktop for Mac - we can download it from here.
This is the community version for Docker Mac.
So I can click on "Download from Docker hub".
Here I can get Docker for free because it's available for free.
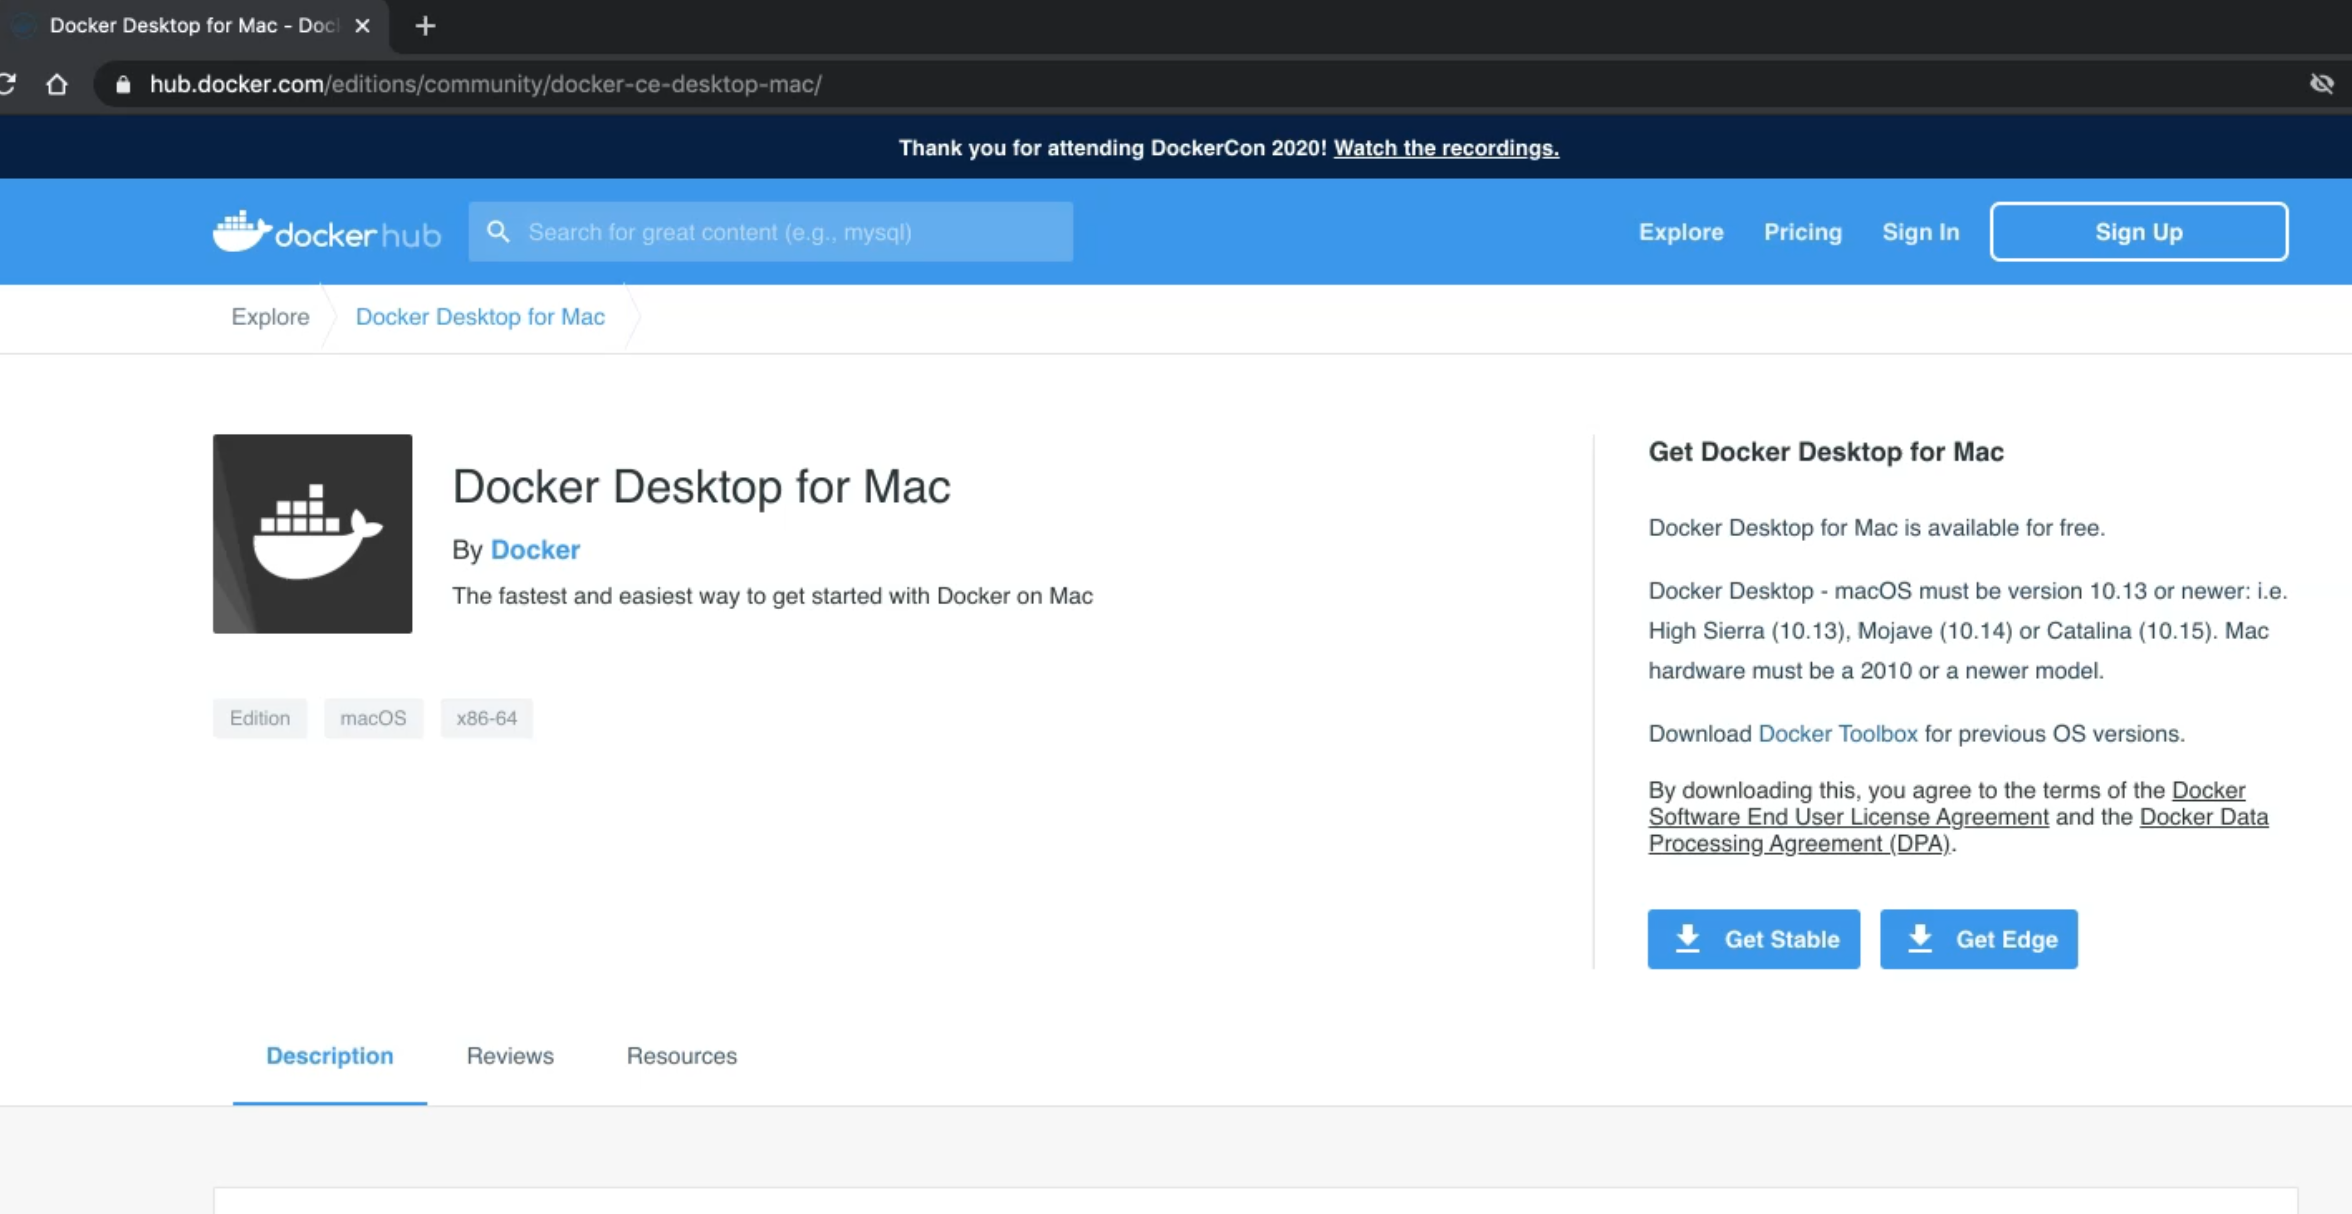
I can get a stable version and after that, I can download it.
So I will click on save and here I have the .dmg.
After the installation is finished, I can double click on the .dmg and continue with the installation step on Mac OS.
After I downloaded the Docker file, I can double-click on this .dm file, and here I can drag and drop the Docker desktop in the application folder.
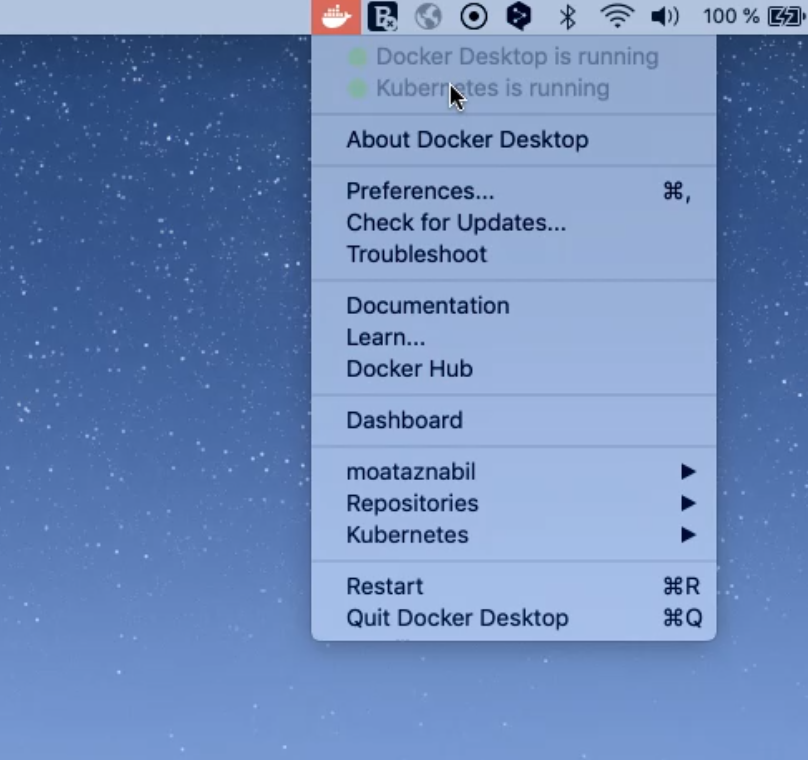
After we install Docker, we can find the Docker icon here. And now Docker desktop is running and Docker desktop contains Kubernetes also, and Kubernetes is running.
So after that, we can open a terminal and check if Docker is installed successfully or not from the docker info command line.
So here from the terminal, we can just run:
docker info
Here we can get all the details about the Docker desktop version - the containers, images, and all the info that's related to Docker.

# Download TestCafe Docker Image
In this demo, you will download the latest version of the TestCafe Docker Image using the Docker command line.
To download the TestCafe Image with Docker - this is the official documentation from TestCafe.
So we can use this command:
docker pull testcafe/testcafe
From the terminal, we can just copy this command and put it here.
Here, we are downloading the latest version from TestCafe Docker Image.
Because I already have the image installed or downloaded in my machine, it doesn't take time.
But in your case, it will take a little bit of time to download the Docker image file.
The latest Docker image contains all the dependencies you need to run TestCafe.
The image includes the Test Cafe executable for running tests and this also includes recent versions of Firefox and chromium-browser to run your tests.
You can run your test in headless mode or normal mode since the image is set up with the XVFB display server.
This display server allows you to use functionality like taking a screenshot during your test runs.
One additional note - when you run the test using Docker image, you want to see the browser open up and run your test, even in Normal mode.
Running a graphical interface using Docker on your desktop such as a web browser, requires additional configuration to allow Docker to use your desktop display server.
It's not a simple solution and varies by system.
If you want to see a browser run your test, you will need to set up TestCafe in your local system.
# Running your tests inside TestCafe's Docker Container
After we downloaded and installed Docker desktop on Mac OS and pulled the latest version of TestCafe Docker Image, now it's time to run our tests inside Docker Container.
And as I mentioned in the documentation from TestCafe, to run the test to inside the Docker container, we can use this command:
docker run -v ${TEST_FOLDER}:/tests -it testcafe/testcafe ${TESTCAFE_ARGS}
${TEST_FOLDER} is the local folder for our tests.
/tests is the folder that we need to copy our tests inside the Docker container.
Then we name the version of the container with TestCafe.
After that, we need to pass the TestCafe arguments - like the browser name, the test file, and all the things that we need to pass.
Here in this example:
-it testcafe/testcafe chromium,firefox /tests/test.js
We can just mention that we can run on Chromium or Firefox because the Docker container just includes these two browsers - it does not include the Chrome browser.
And we can pass the test for example - test.js.
So we will open our project and that's one change here - we are putting all the folders or subfolders in our project into one folder tests because we need to copy this folder with the data and pages to be able to run our system.
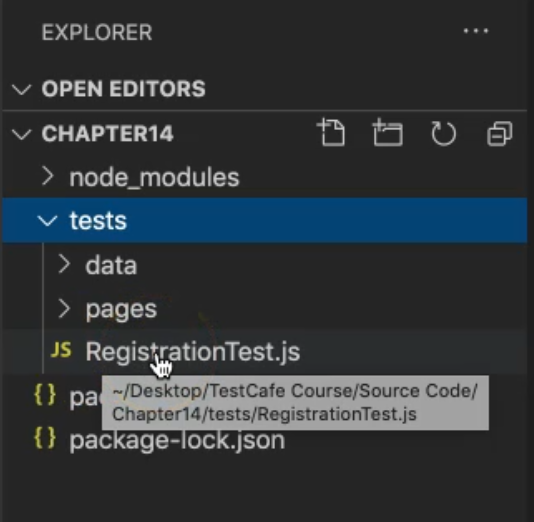
So inside the tests, we put the data and the pages, and this is our test case - we just take the RegistrationTest.js from the previous demos.
After that, we need to copy this folder into the Docker container.
So here from the command line, we can run:
docker run -v {$PWD}/tests:/tests -it testcafe/testcafe firefox /tests
{$PWD} means that we need to take the tests from our local current folder.
After that, we copy it inside the tests folder inside the Docker container, -it testcafe/testcafe and firefox, because the container includes Firefox and Chromium only.
After that, we need to run the test, so we can just click enter.
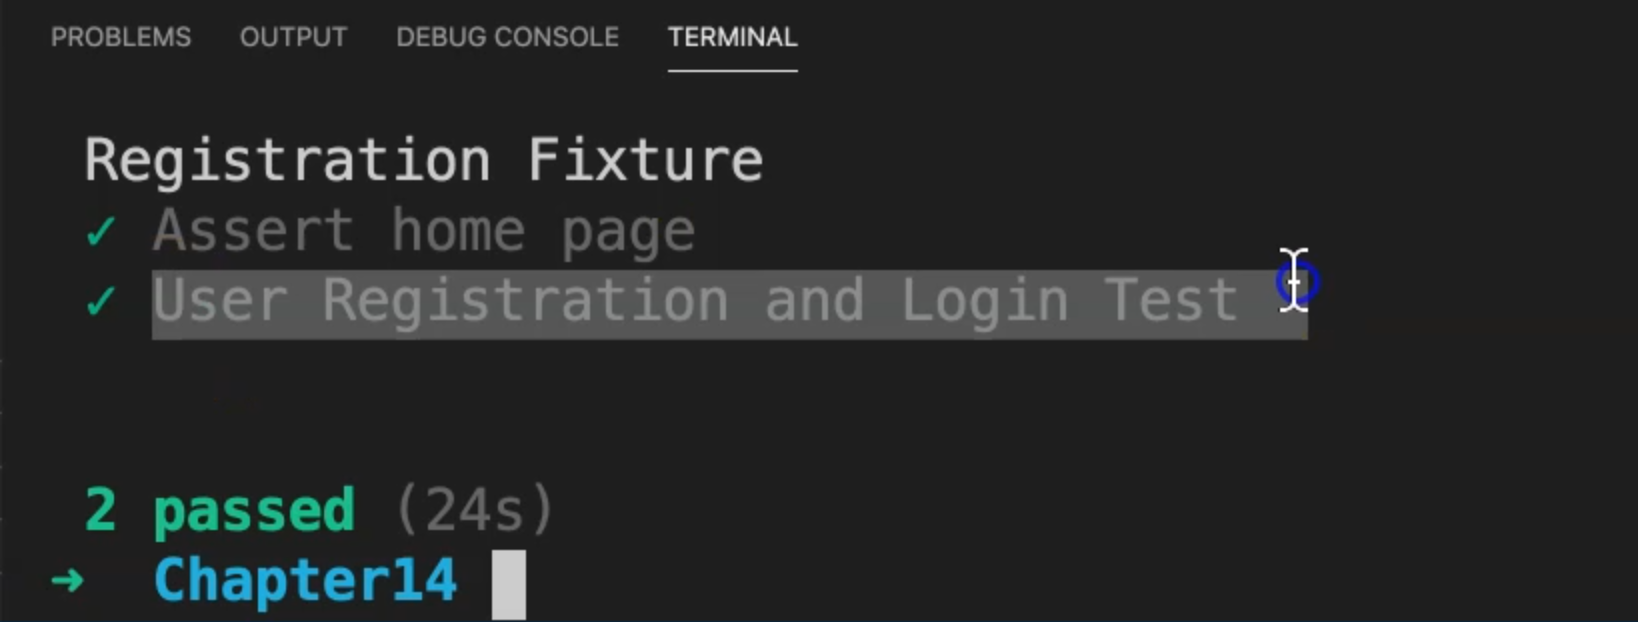
We can see now that TestCafe is running our test but we will not see any browser open because it's running inside the Docker container.
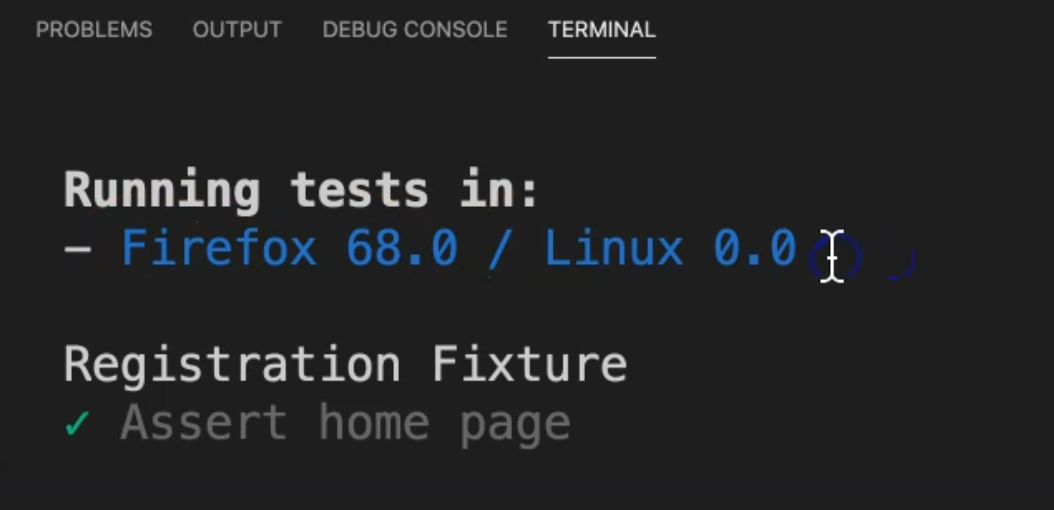
So here we can find the test result - that we are now running on Firefox with this version, and the operating system is Linux because we are running inside the Docker container.
This is the first test passed and we are waiting for the second one. So now we have two test cases passed, and our test ran inside our Docker container.