

Transcripted Summary
# How to install NodeJS and NPM on Windows OS
In this demo, we will learn how to install NodeJS and NPM on Windows OS.
Here I am opening the browser - it's in my case, in Microsoft Edge - and I can search about NodeJS and go to the NodeJS website.
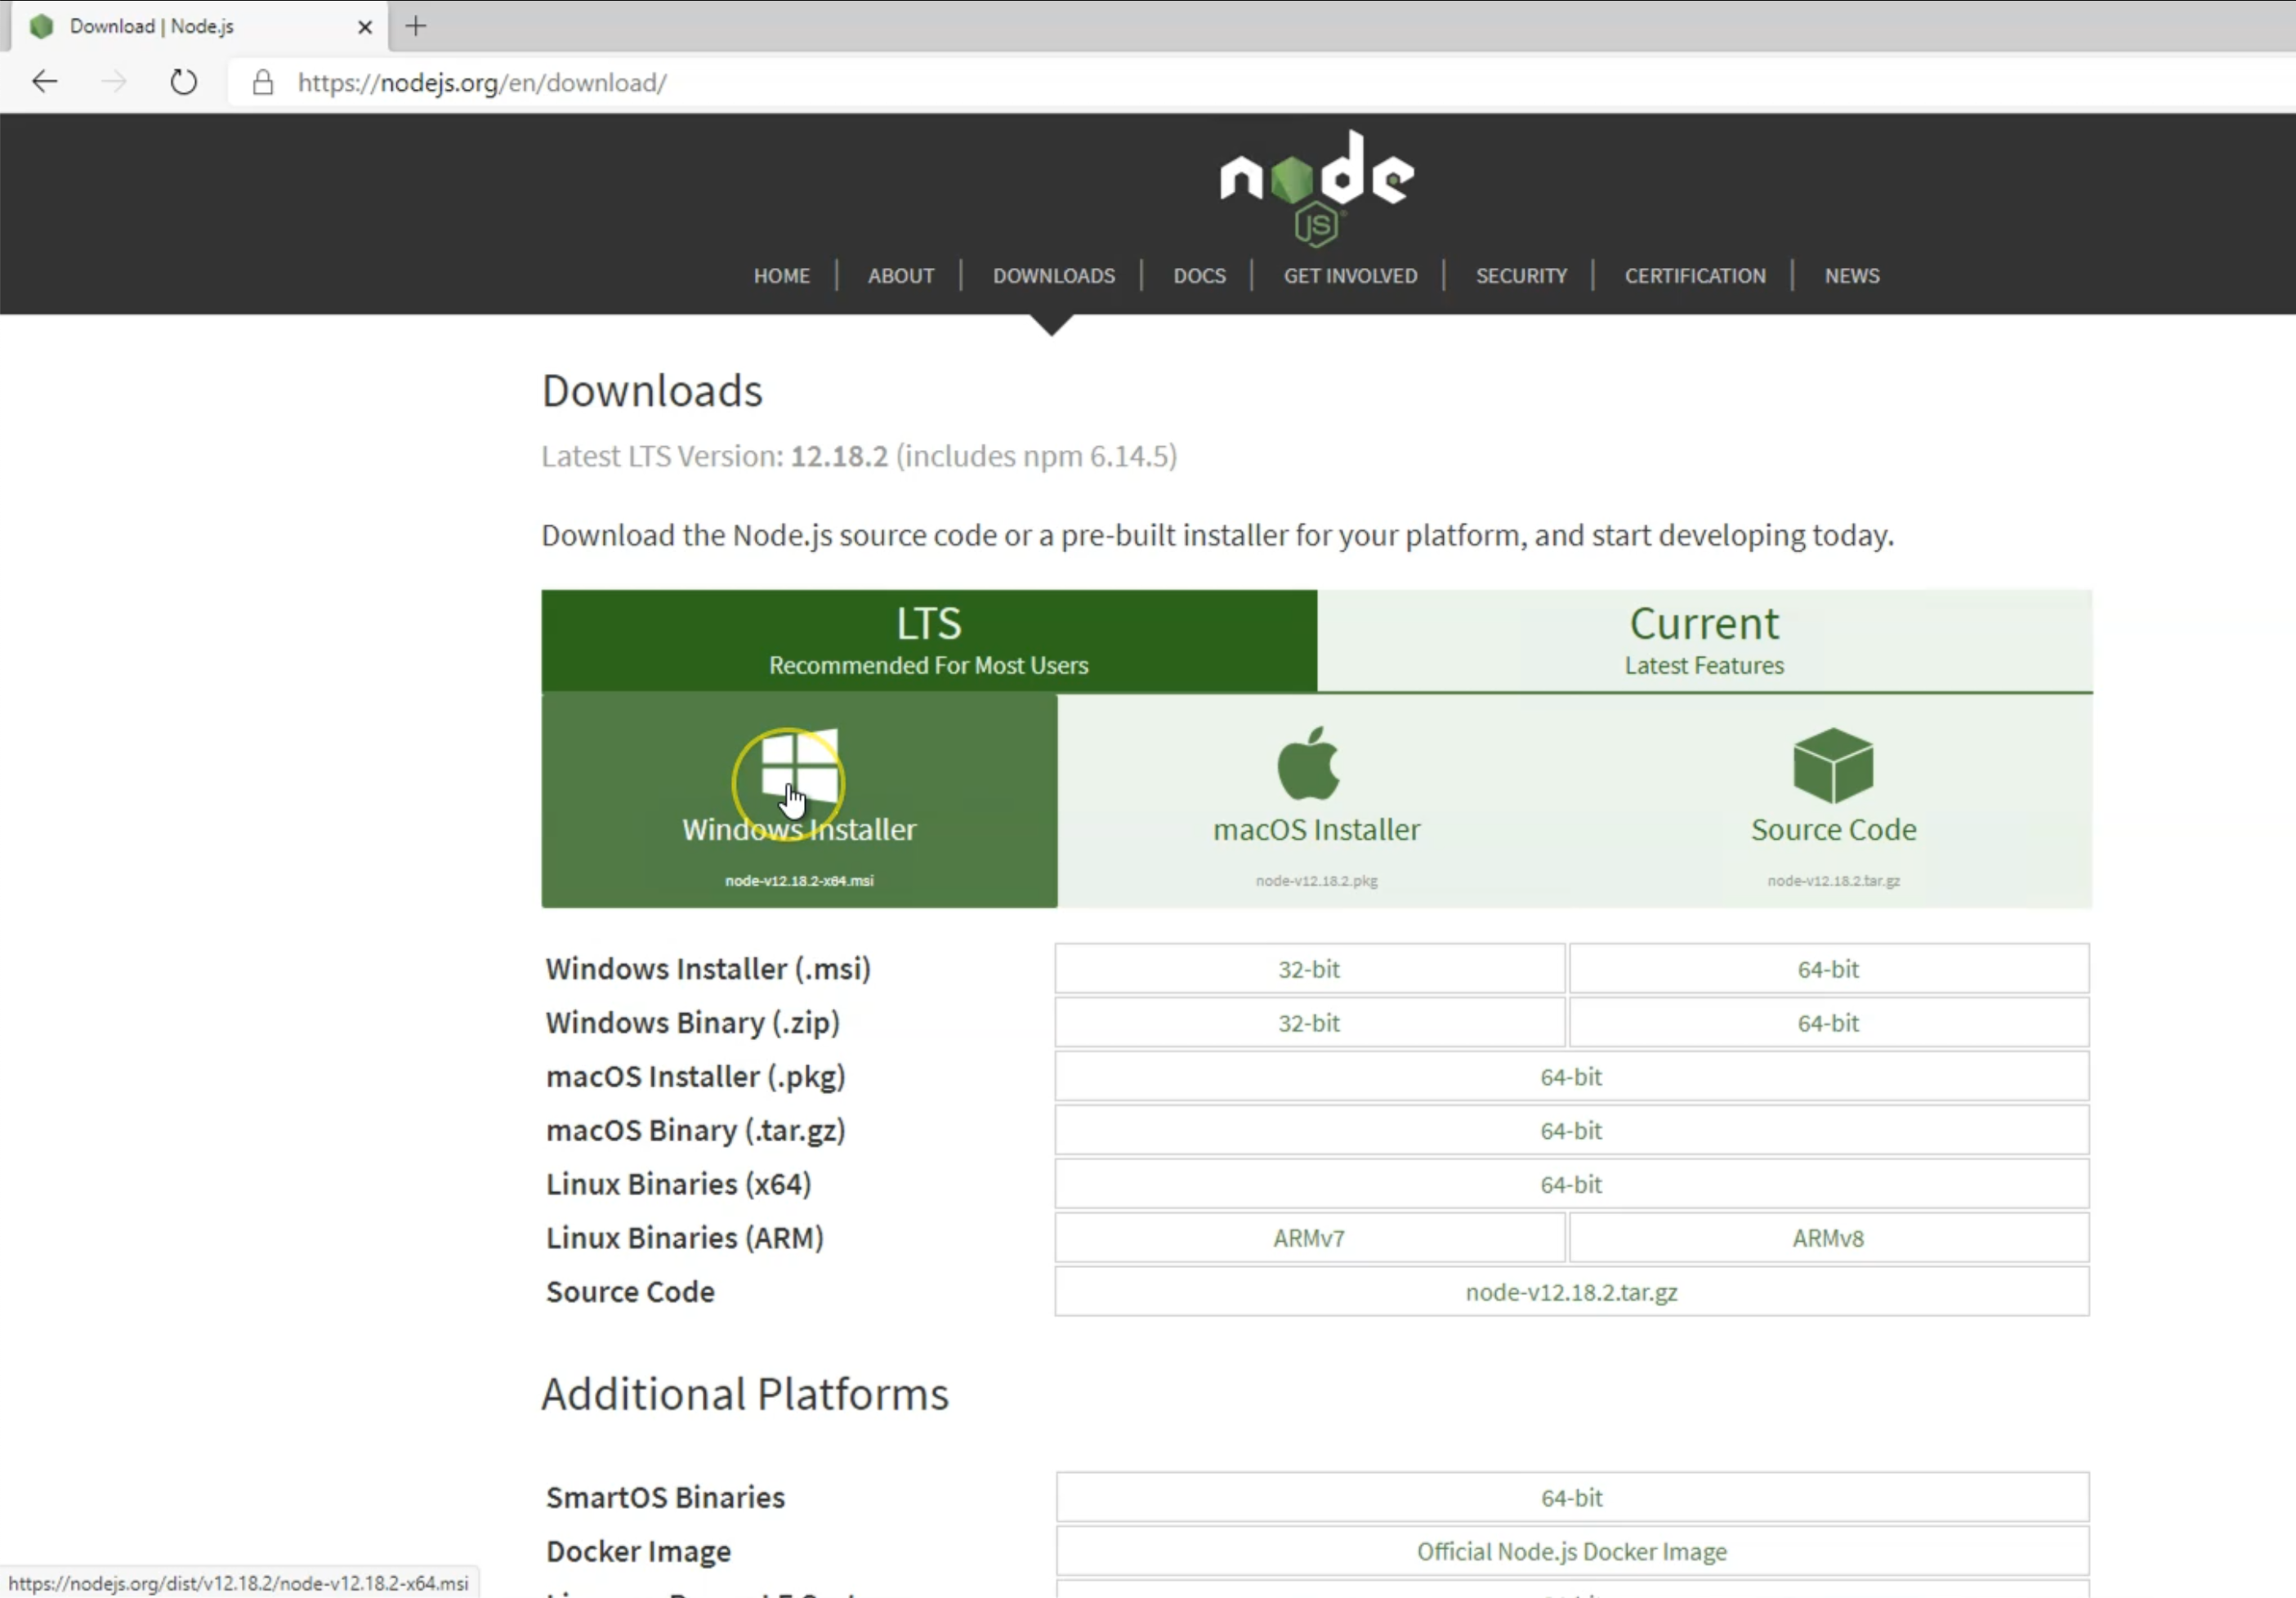
At the Downloads link, I can download the Windows installer because I'm already using Microsoft Windows. Then, I will install the MSI file or the executable files to install NodeJS on my machine.
Here now, I have an install file. I can open it and click through the setup wizard, and it will install NodeJS and the NPM also - it will be included in this installation. After the installation is finished, I can check if NodeJS is installed or not on my machine from the command line. So I will finish.
On the command line, I can run
node -v
which will give us that version of NodeJS.
Let's just try to search about NPM.
npm -v
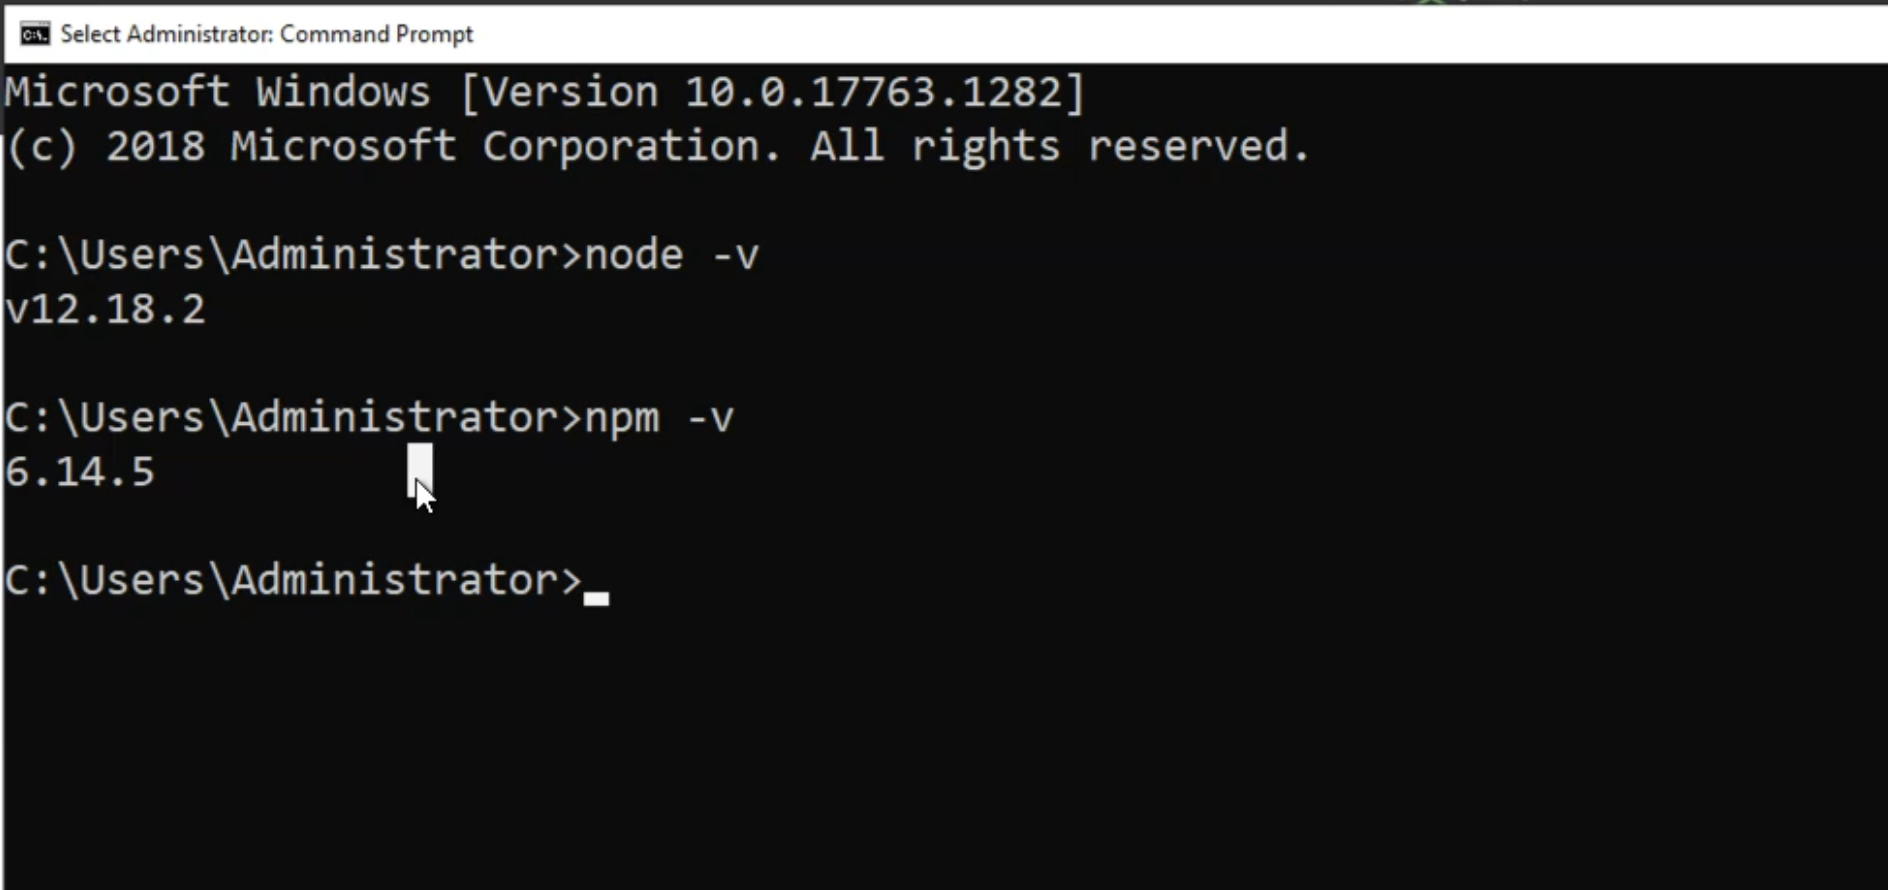
Here, we have the version also for NPM. So now our machine is ready to use any code with NodeJS, and also we can install anything using NPM.
# How to install Visual Studio Code on Windows OS
In this demo, we will learn how to install the Visual Studio Code on Windows operating system. I will open my browser and go to the Visual Studio Code website.
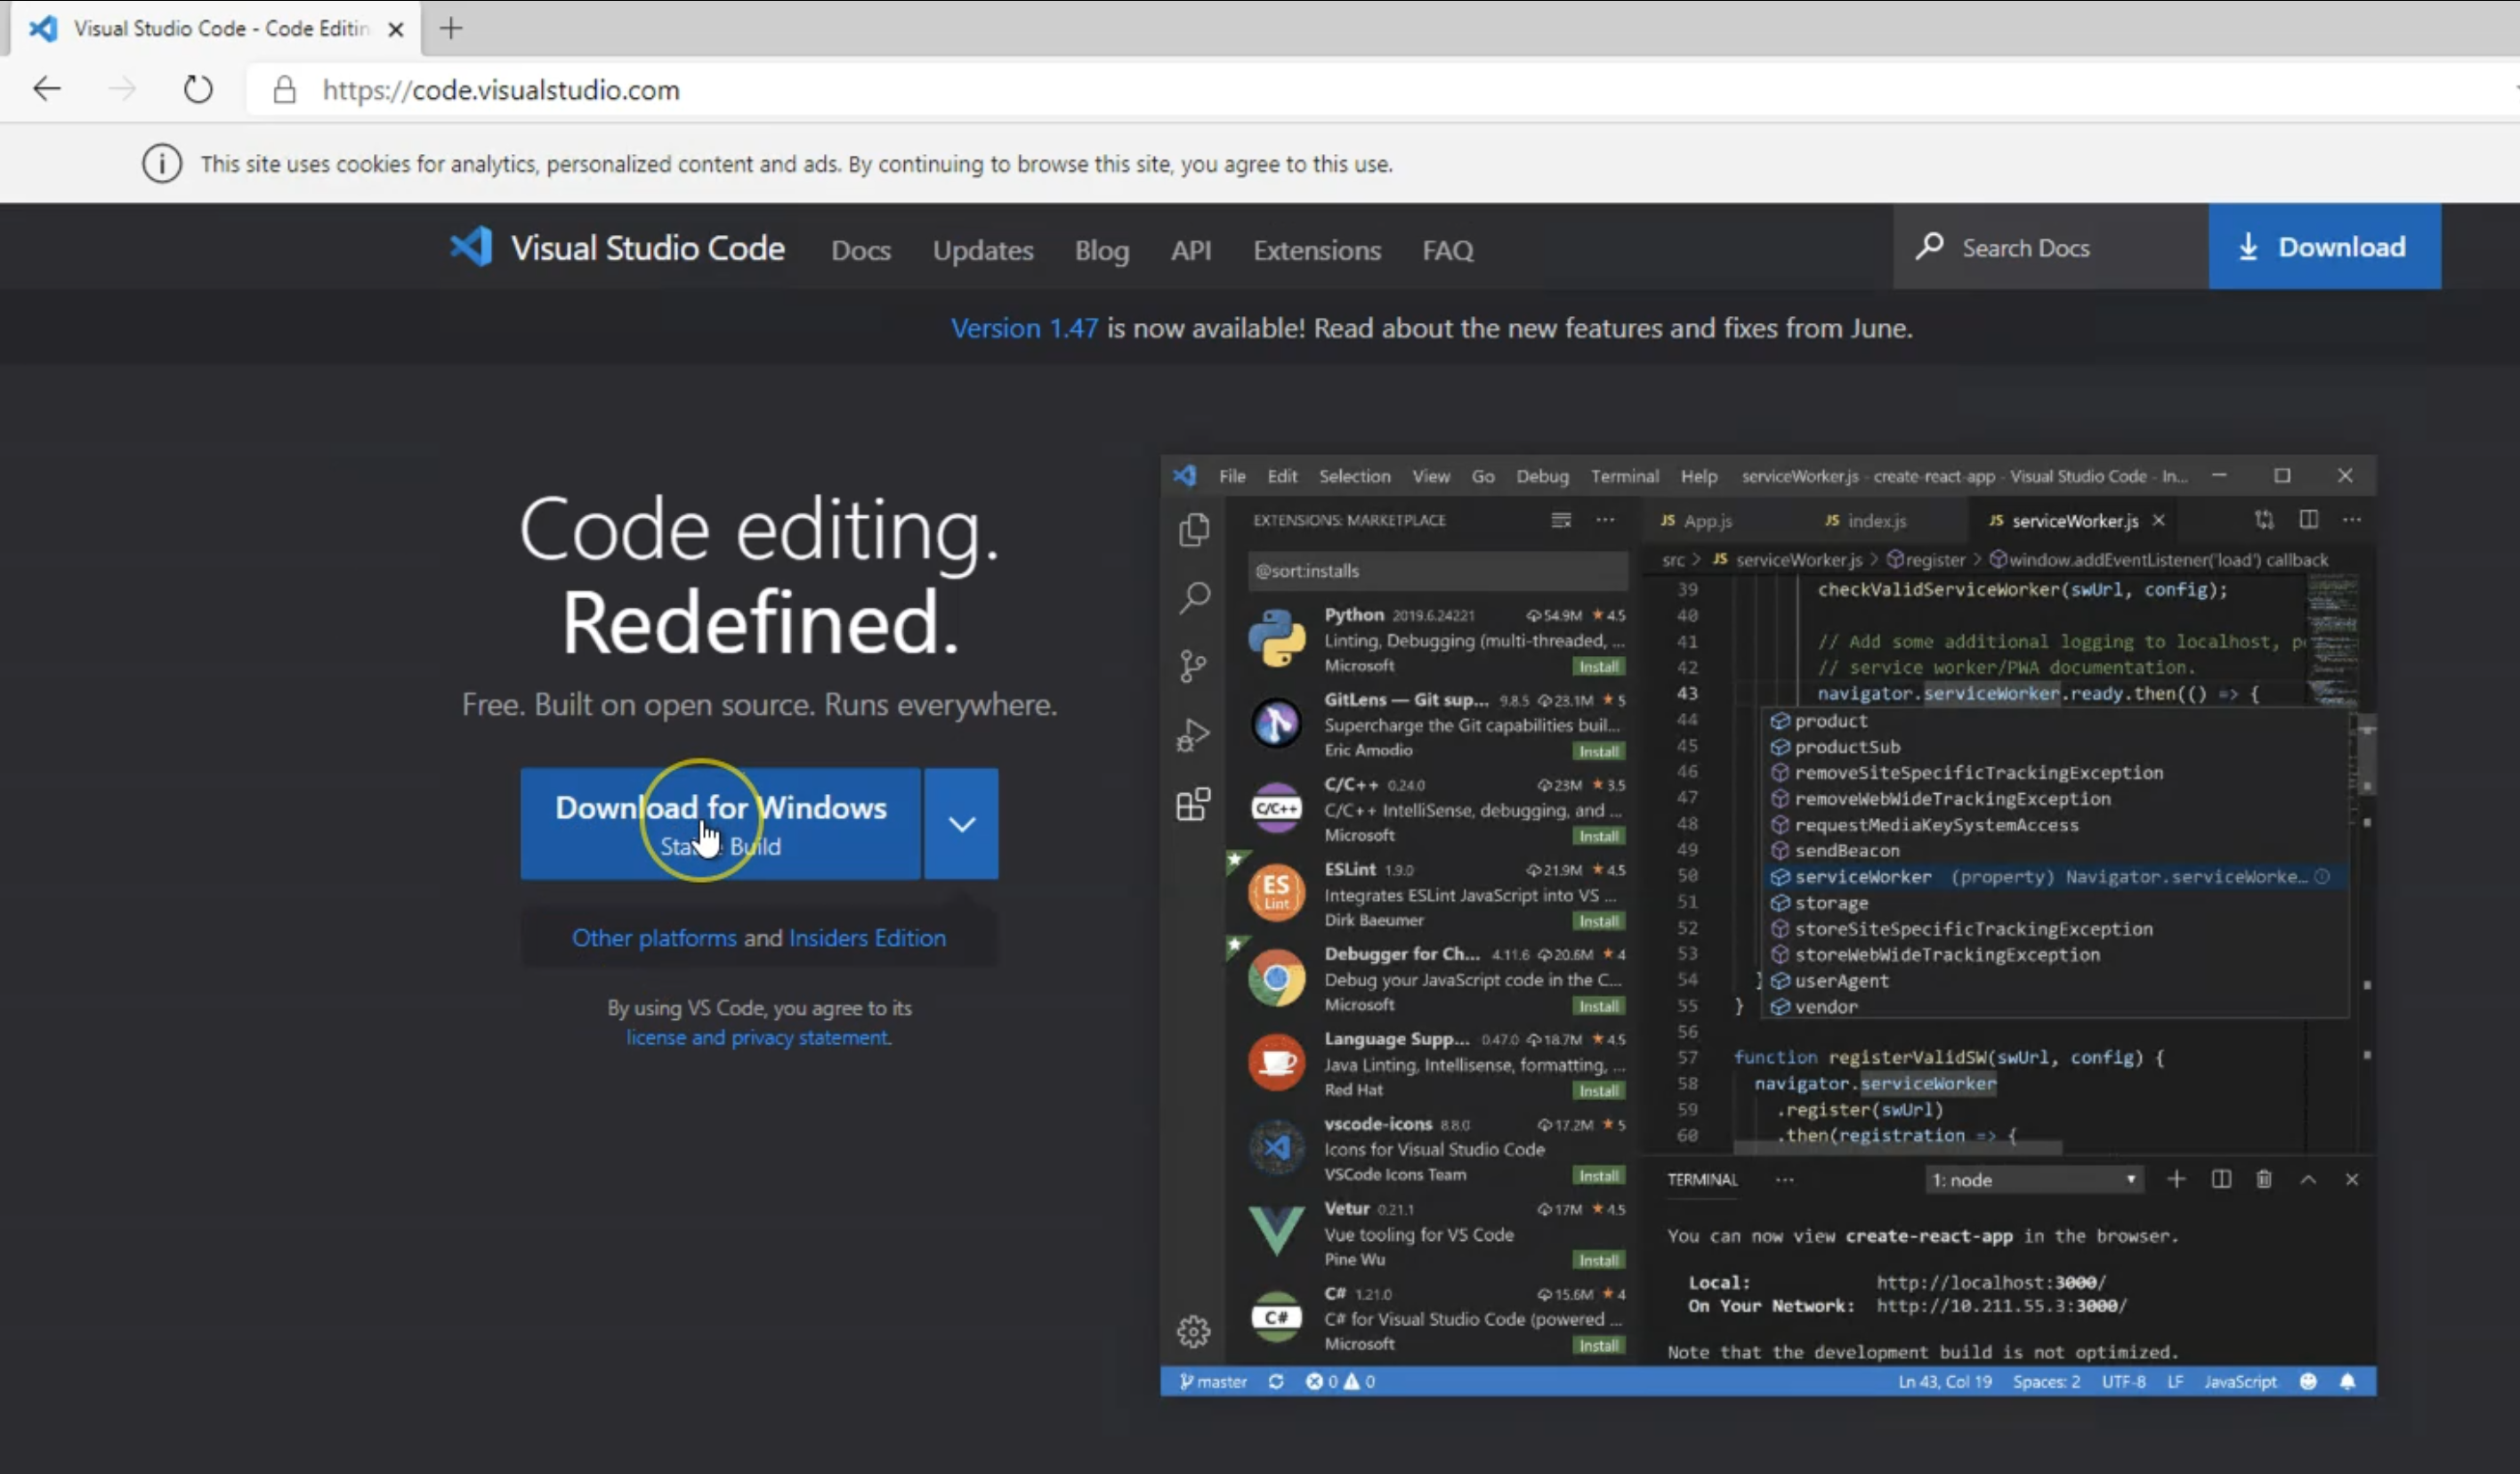
It automatically detects the operating system, so I will download it for Windows.
Once it's downloaded, click on the .exe file and install it. Accept the terms and continue through the flow to install Visual Studio.
After we finish, it will launch Visual Studio Code for us.
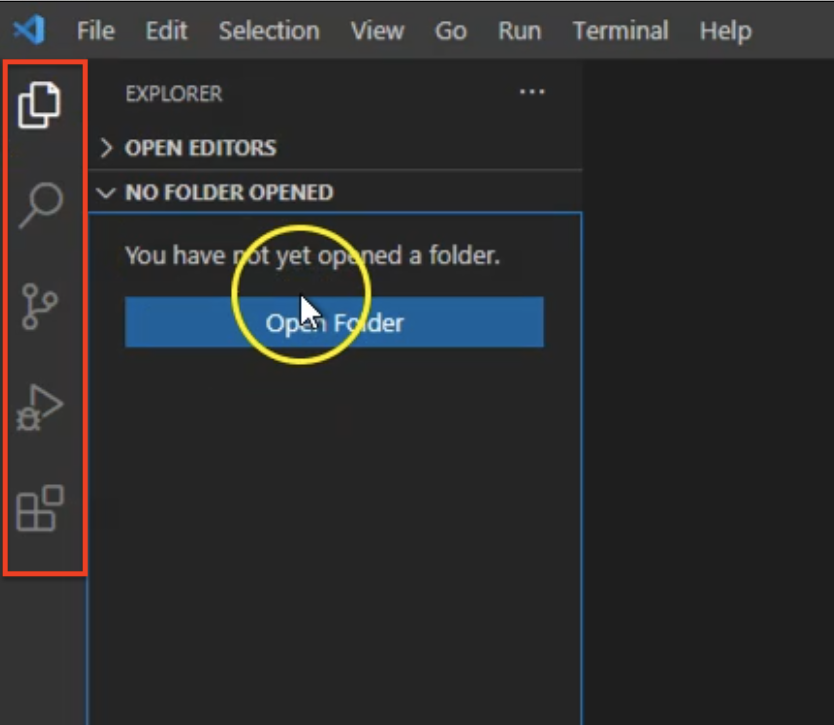
Here also we can use Visual Studio, with the steps that we used with macOS. For example, here in the left navigation menu, we can open any folder or create new folders, check or search about something, open the source control code, open or debug any file, and search for extensions.
And that's where we install the Visual Studio Code in Windows OS.
# How to install Visual Studio extensions or plugins on Windows OS
Now, we will learn how to install Visual Studio extensions or plugins on Windows operating system.
In this demo, we will install the extensions that are required for TestCafe with Visual Studio Code.
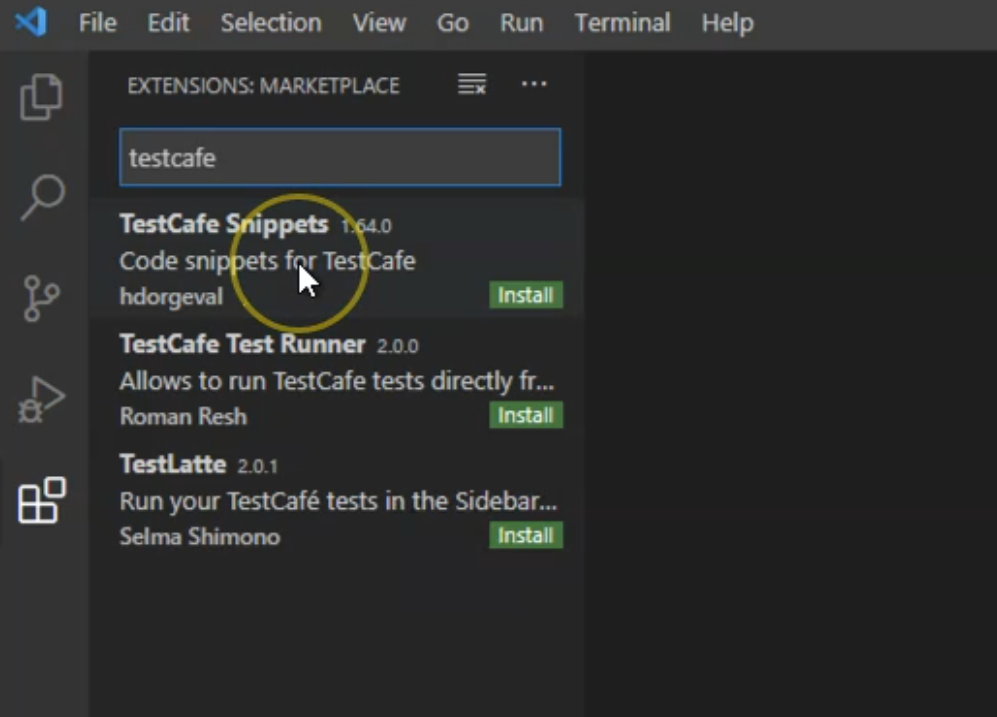
In the extension side menu, we can click and start searching about testcafe, and here we will find the three plugins or extensions with TestCafe. We will install TestCafe Code Snippets, TestCafe Test Runner, and also TestLatte, which is another runner from the sidebar.
# How to install TestCafe on Windows OS
After we installed NPM, Node JS, and Visual Studio Code, and we have opened the Visual Studio Code, and now it's time to install TestCafe.
We will open a folder and then maybe we can create a new folder and we can name it TestDemo.
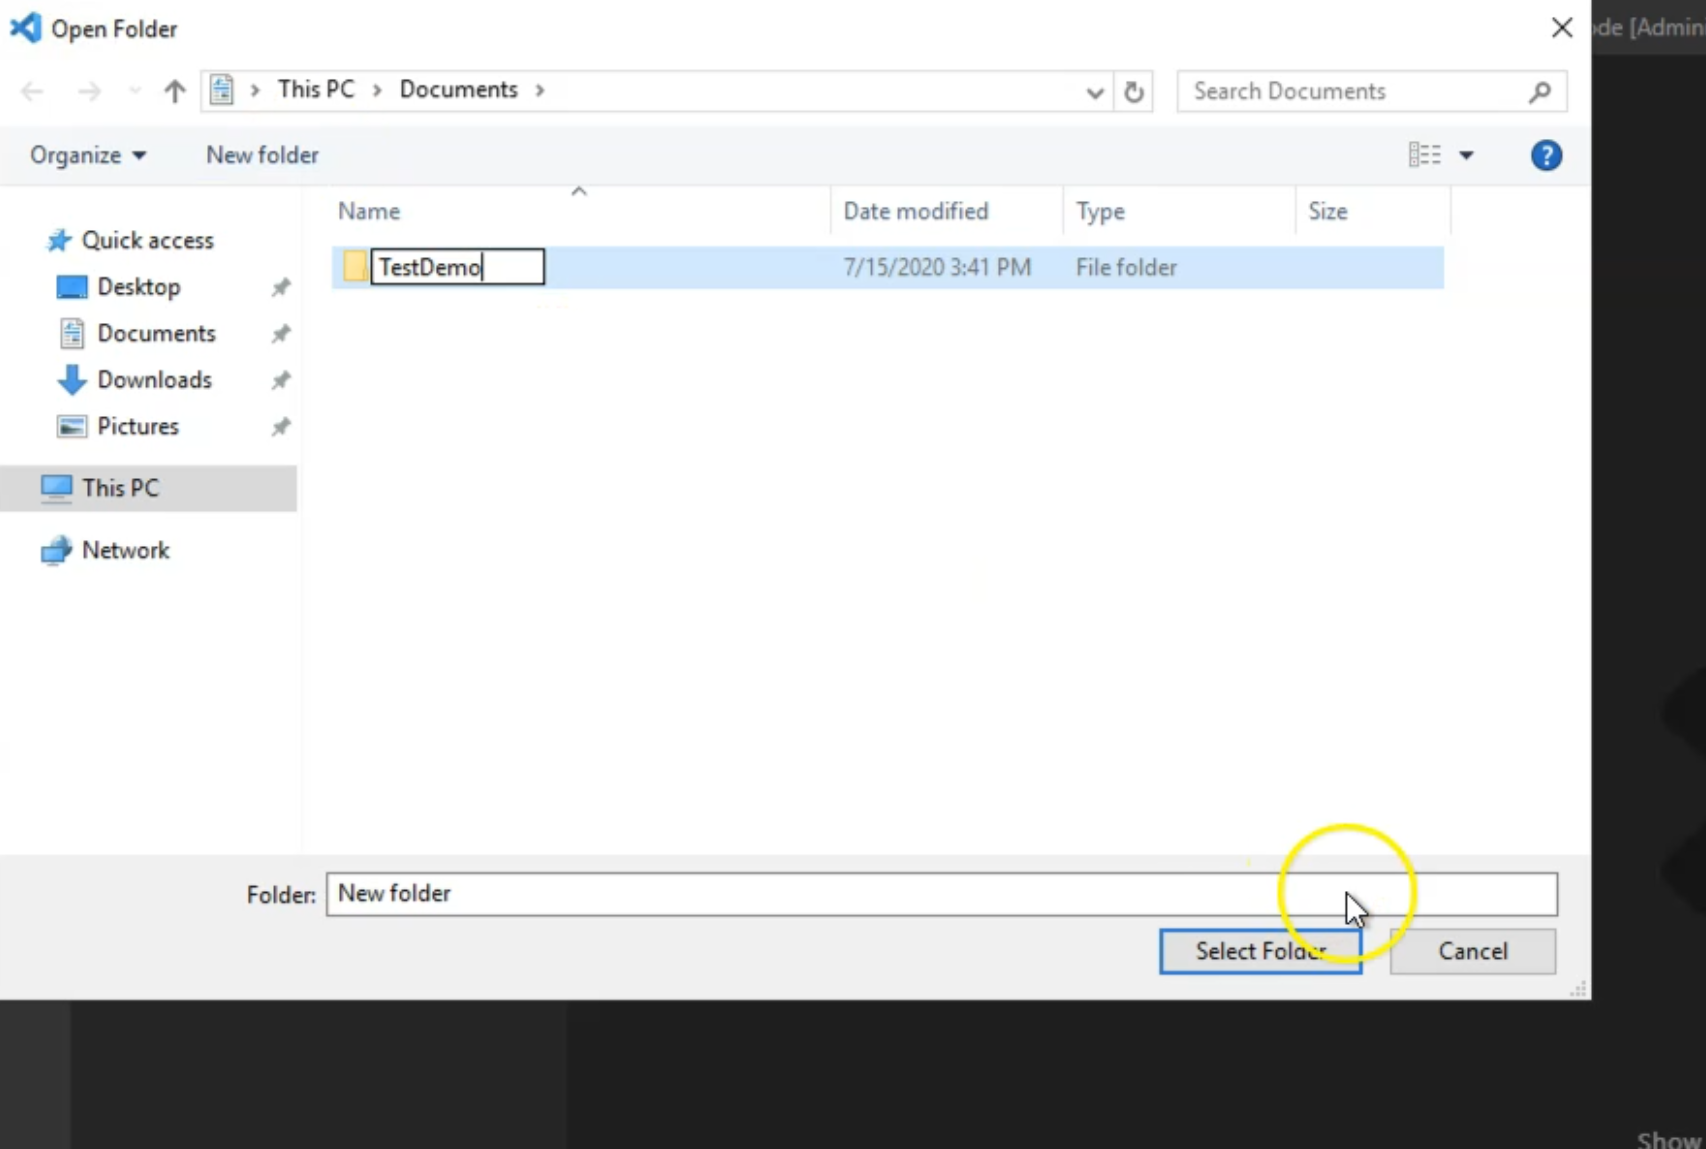
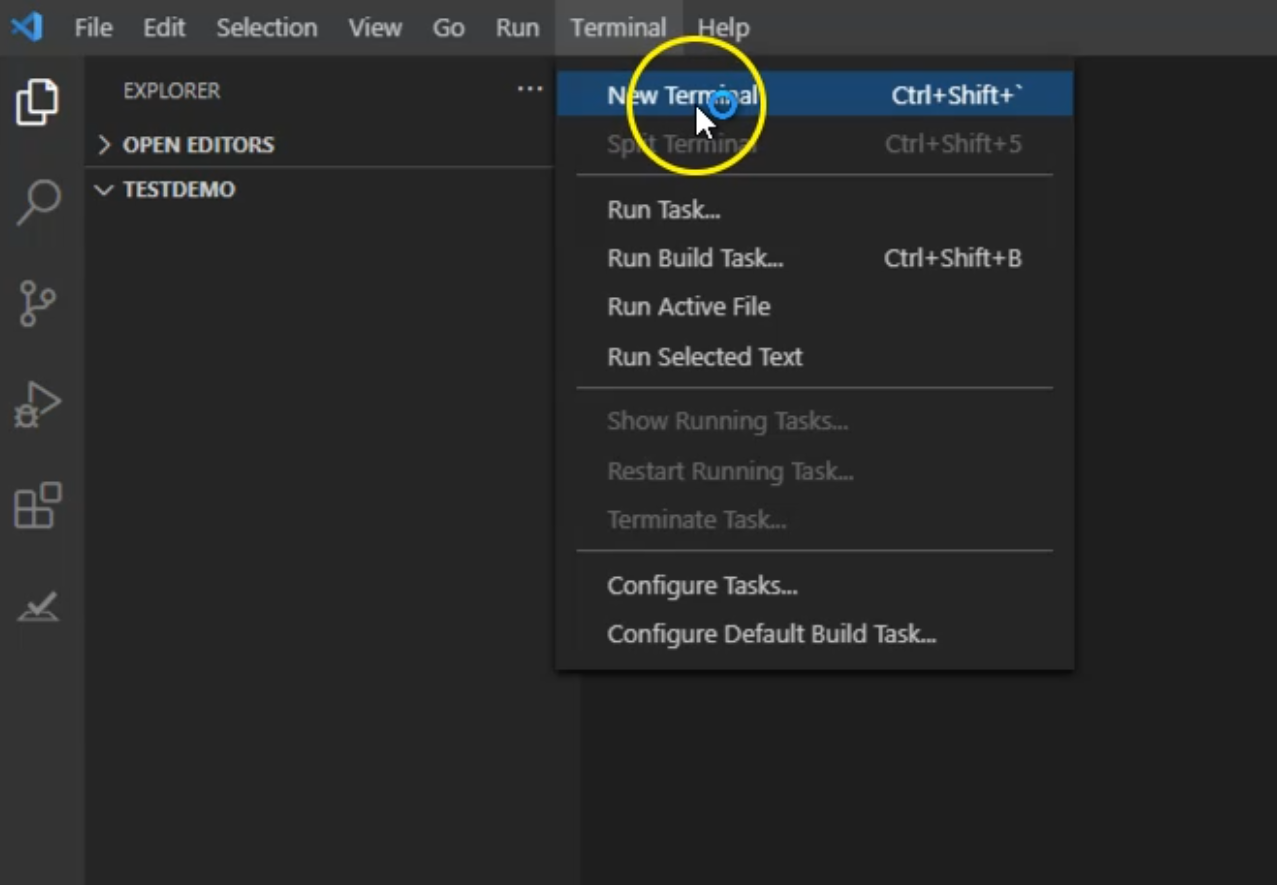
Then we can select the folder, and inside this folder, we can also open "Terminal" and select "New Terminal".
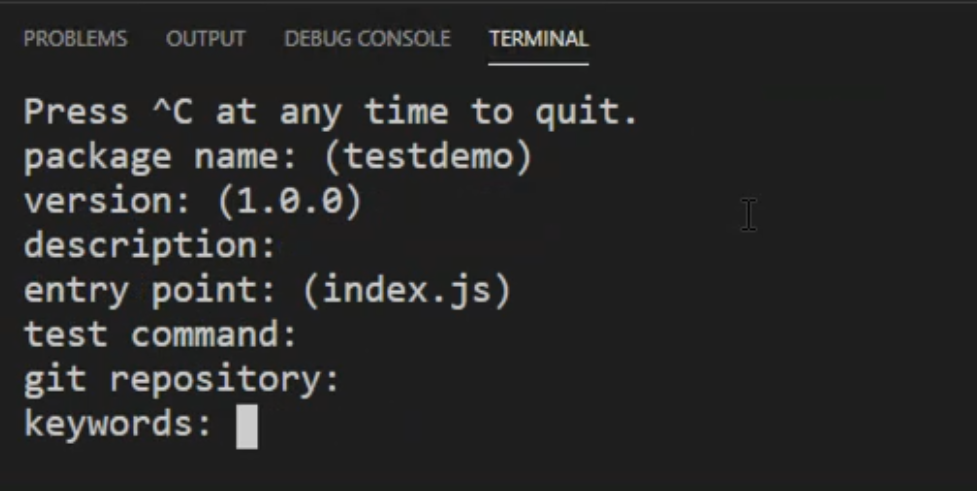
In the terminal, we will run
npm init
...to initialize a new project with NodeJS.
Today, we will also leave the default package and the version description and all the data, because we don't need it at the beginning.
Here, now we have package.json. So then, we need to install TestCafe with NPM.
npm install testcafe
After that, NPM and NodeJS will start installing the required dependencies for TestCafe.
After the installation is finished, now we have testcafe in the dependencies in package.json, And after that, we have a package.json and package-lock.json.
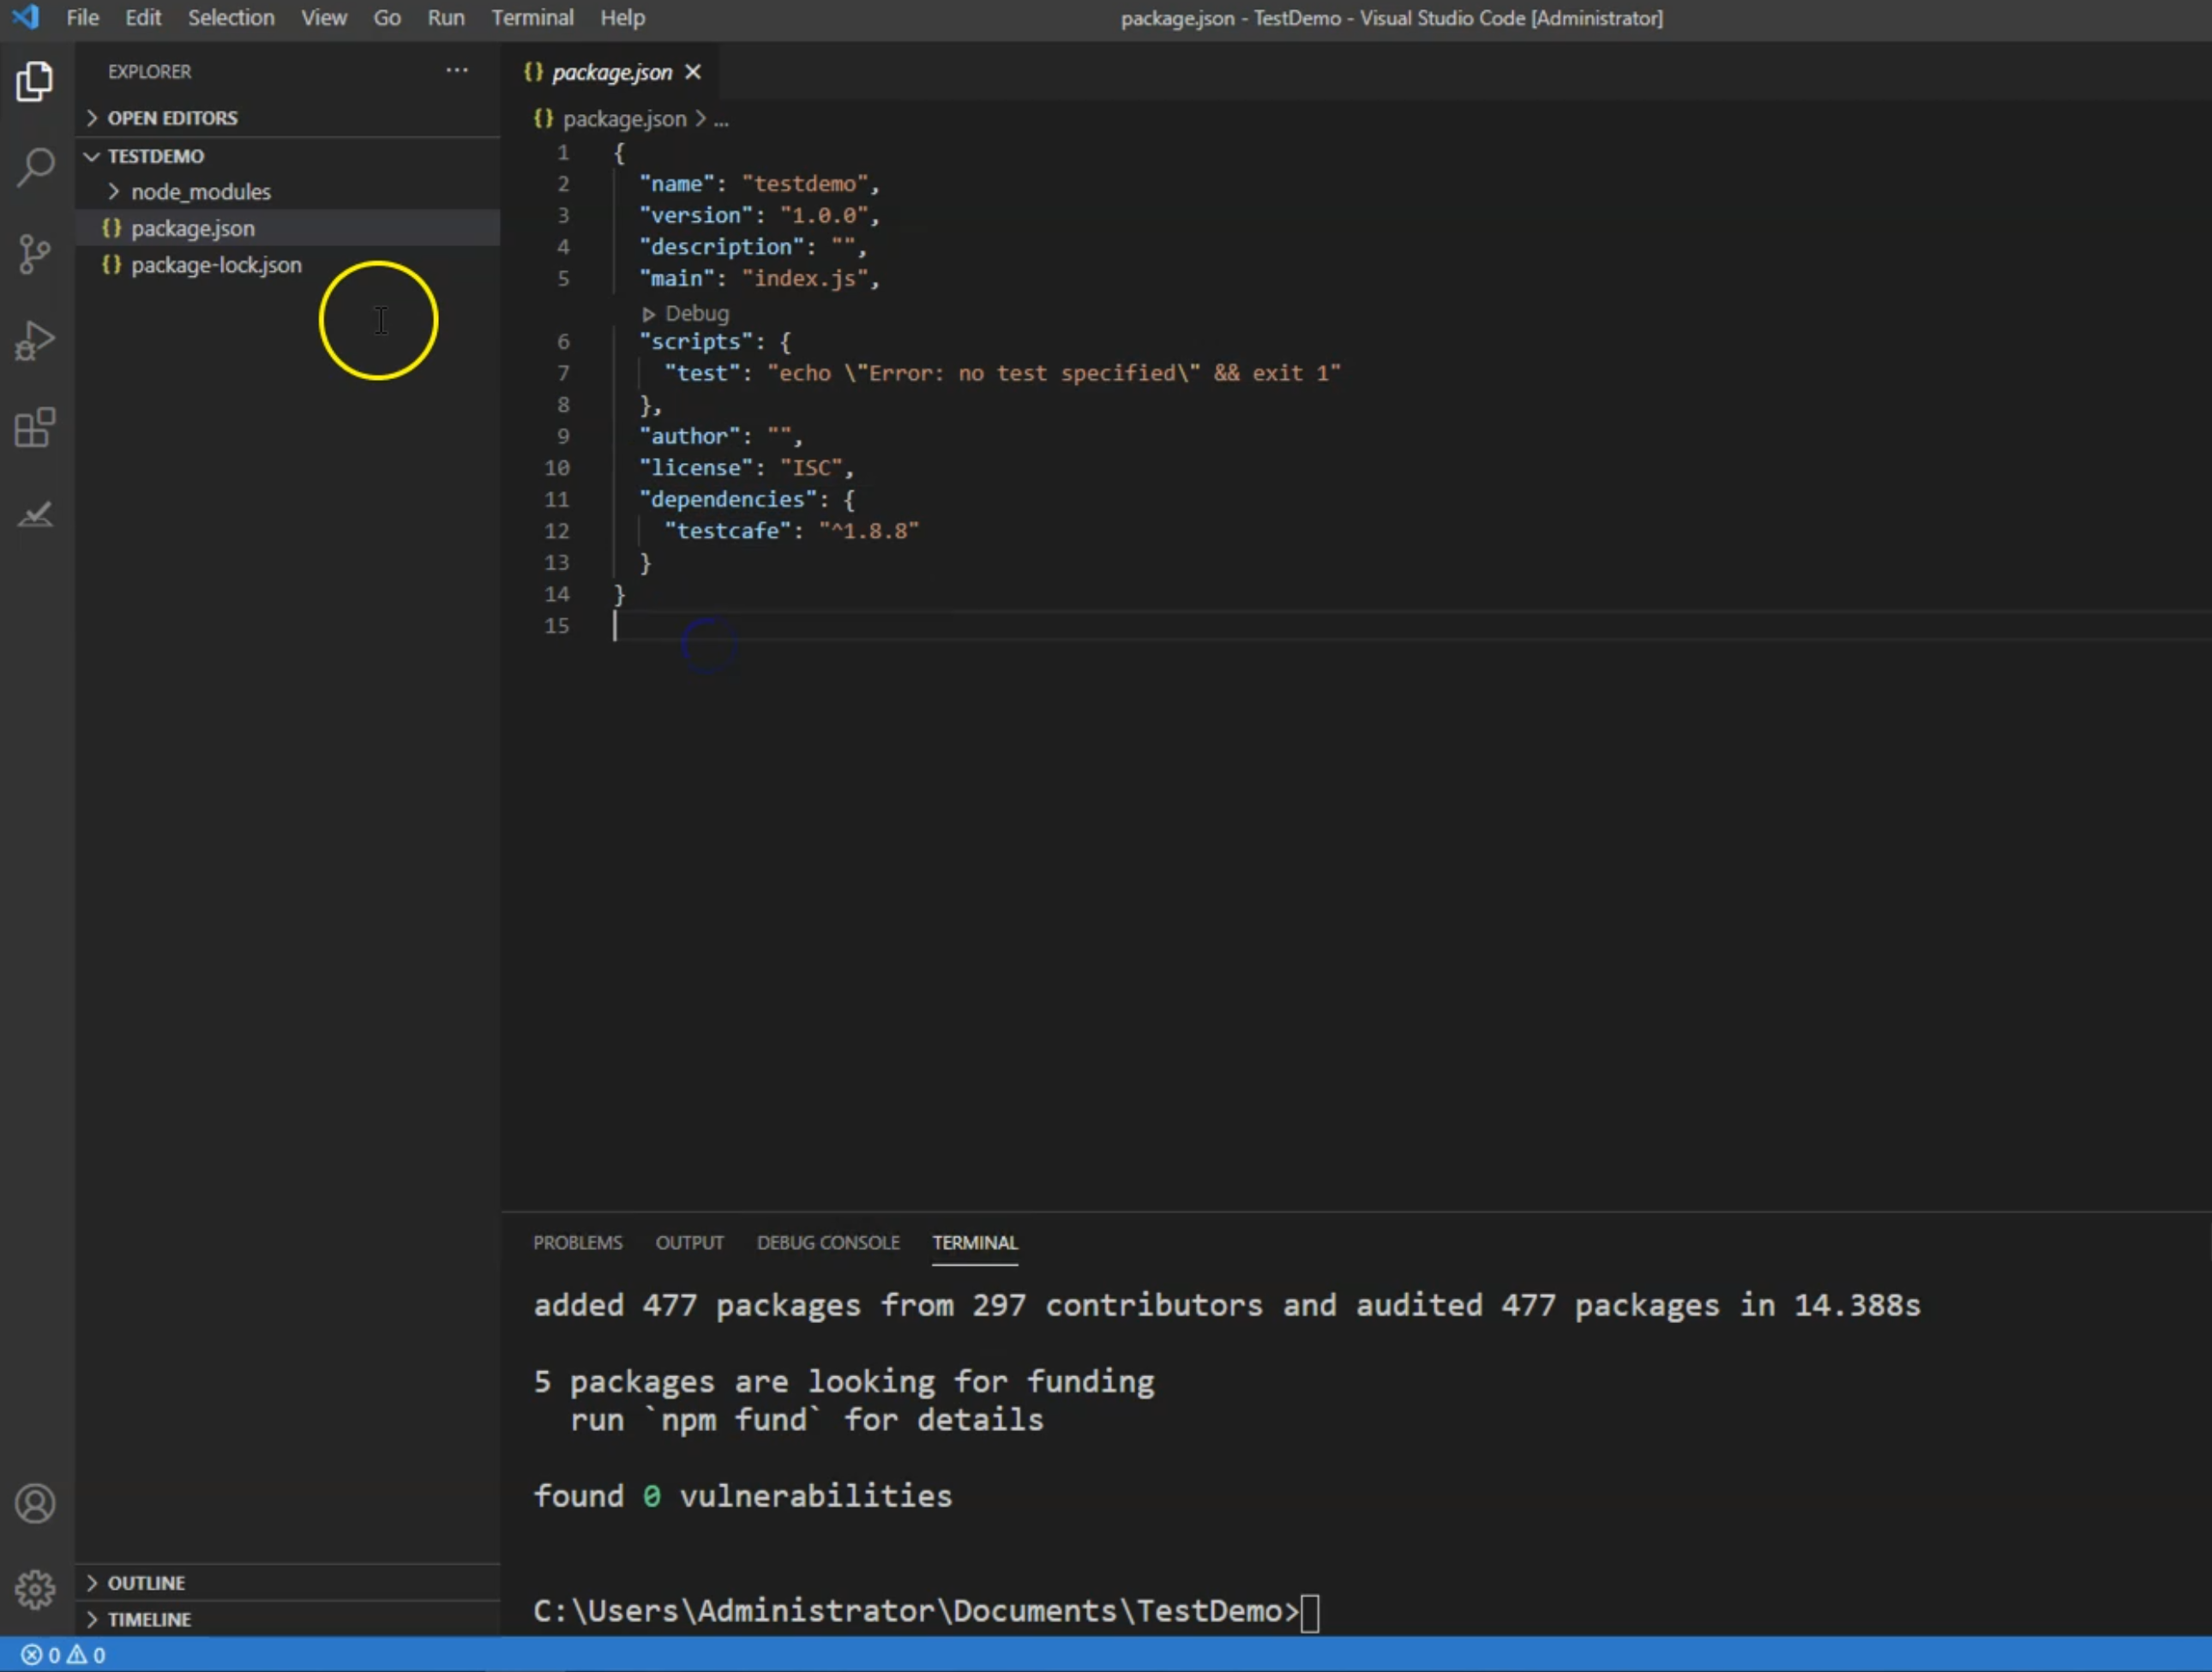
We also have the node_modules that were installed or included or the required node_modules for our project.
Then we can start writing our JavaScript or our test.js using TestCafe with Visual Studio and Windows operating system.
