
Transcripted Summary
In this chapter, we will talk about the Page Model with TestCafe.
What we will cover in this chapter.
- What is a Page Model?
- Why are we using Page Model or Page Object Pattern?
- How can we create Page Classes with TestCafe?
- Write a test with Page Model
- TestCafe configuration file for using Page Model and other configurations
# What is the Page Model?
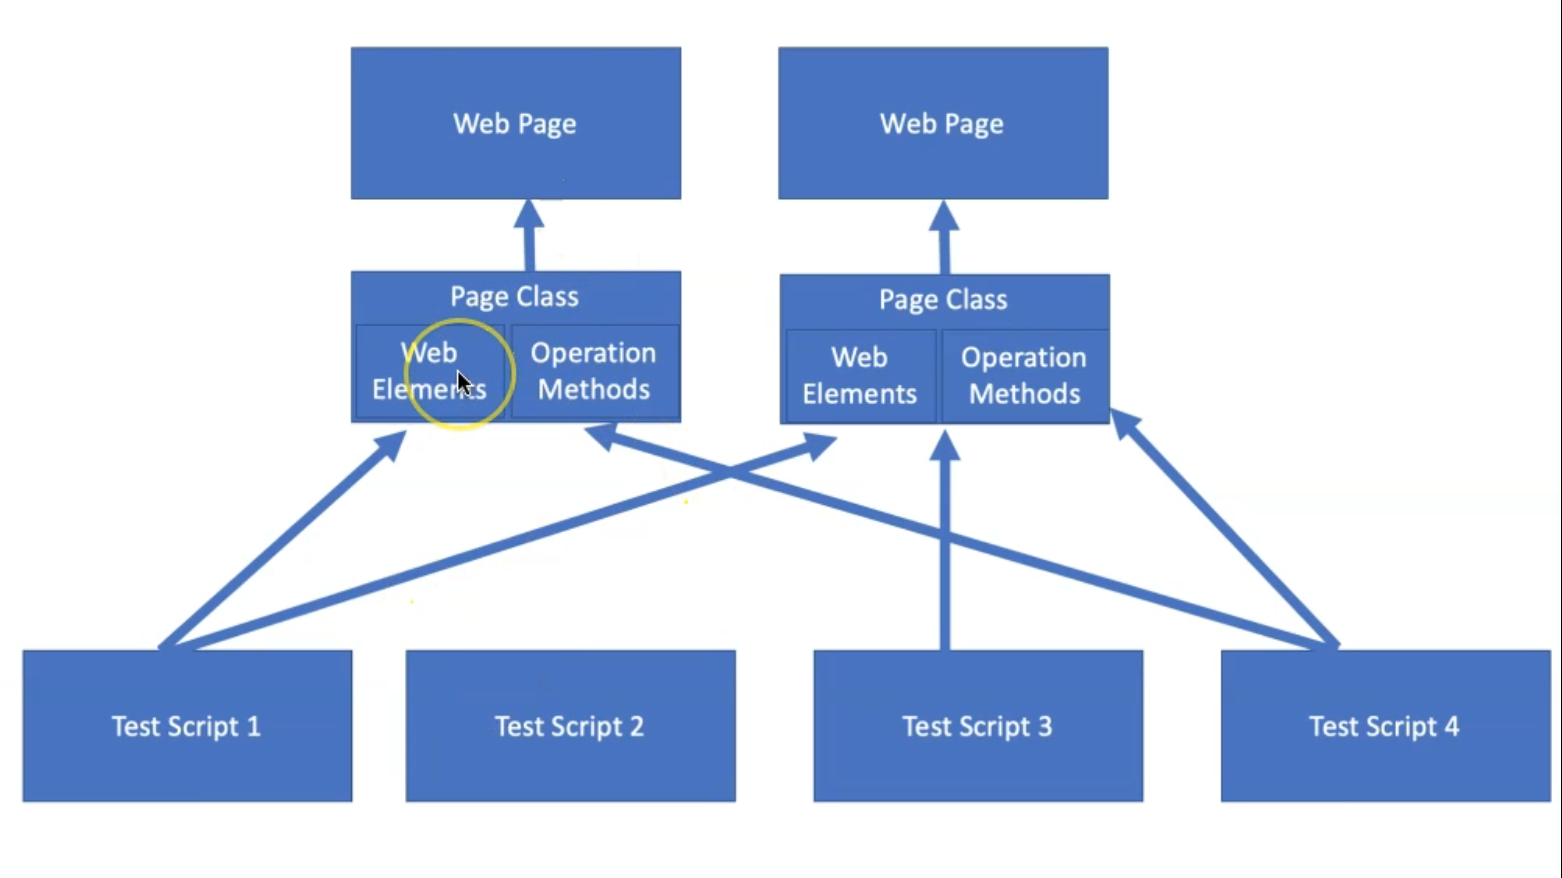
Page Model is a test automation pattern that allows you to create an abstraction of the test pages and use it in the test code to refer to the page element.
In this model, we create classes for each web page in the application.
In this class, we add the element of the web page and also add the methods which perform actions or operations on those elements, as shown in the image.
# Why use the Page Object Model or Page Model?
Without the Page Object Model, we have several problems like the following:
If you have changes in locator names and we are using these locators in different test files or different test classes, we need to adjust the change for all of the tests because it's not located in one shared file.
The duplication of code that is created from the repeated functions will be a big problem because it will be hard to maintain all of these files.
And the unnecessary code increases the cost of maintenance in the whole project.
Because of that, we are using the Page Model or Page Object Model to create or structure our application using shared files and reusable components, and it will be easy to maintain.
How to create Page Model Classes with TestCafe Demo
With this demo, we will learn how to create Page Model Classes with TestCafe.
In the beginning, before we write our Page Object Classes, we want to check our application and our test.
So here we are working, as we mentioned our application in the previous chapters, that we will work with the nopCommerce website - it's an eCommerce website.
And there we can use the store to search for products, add to cart, checkout, user registration, login, and more features.
The first thing we will cover that we can change is the currency to the euro instead of the dollar.
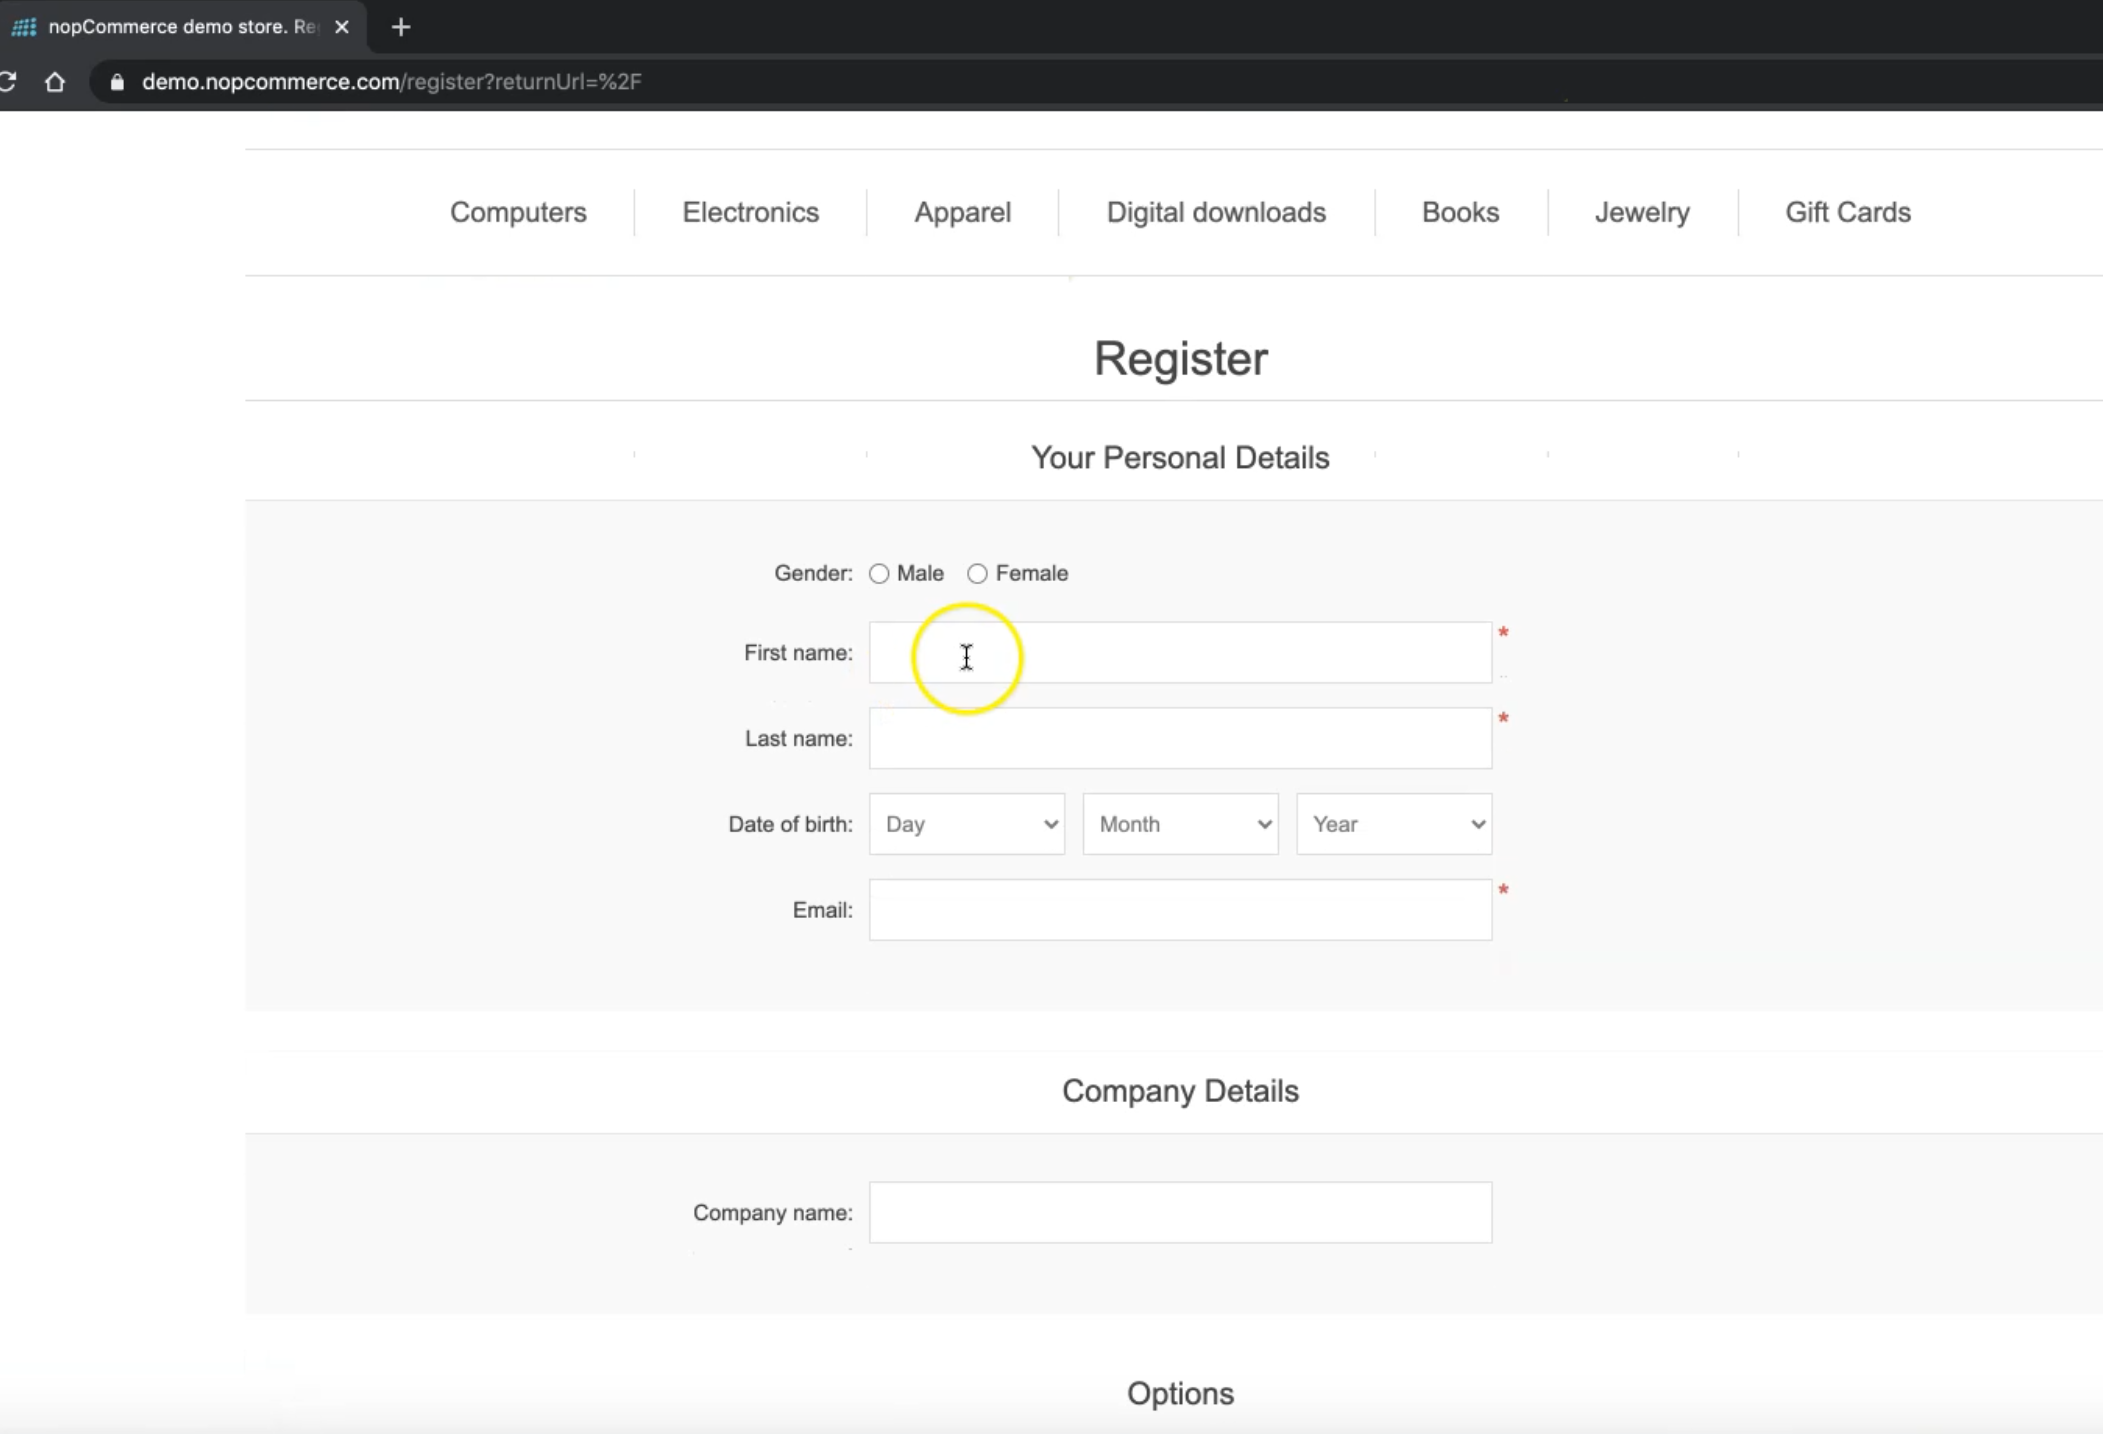
Then also here we have a login and registration. If we click on Register, so here we can fill the form registration with TestCafe.
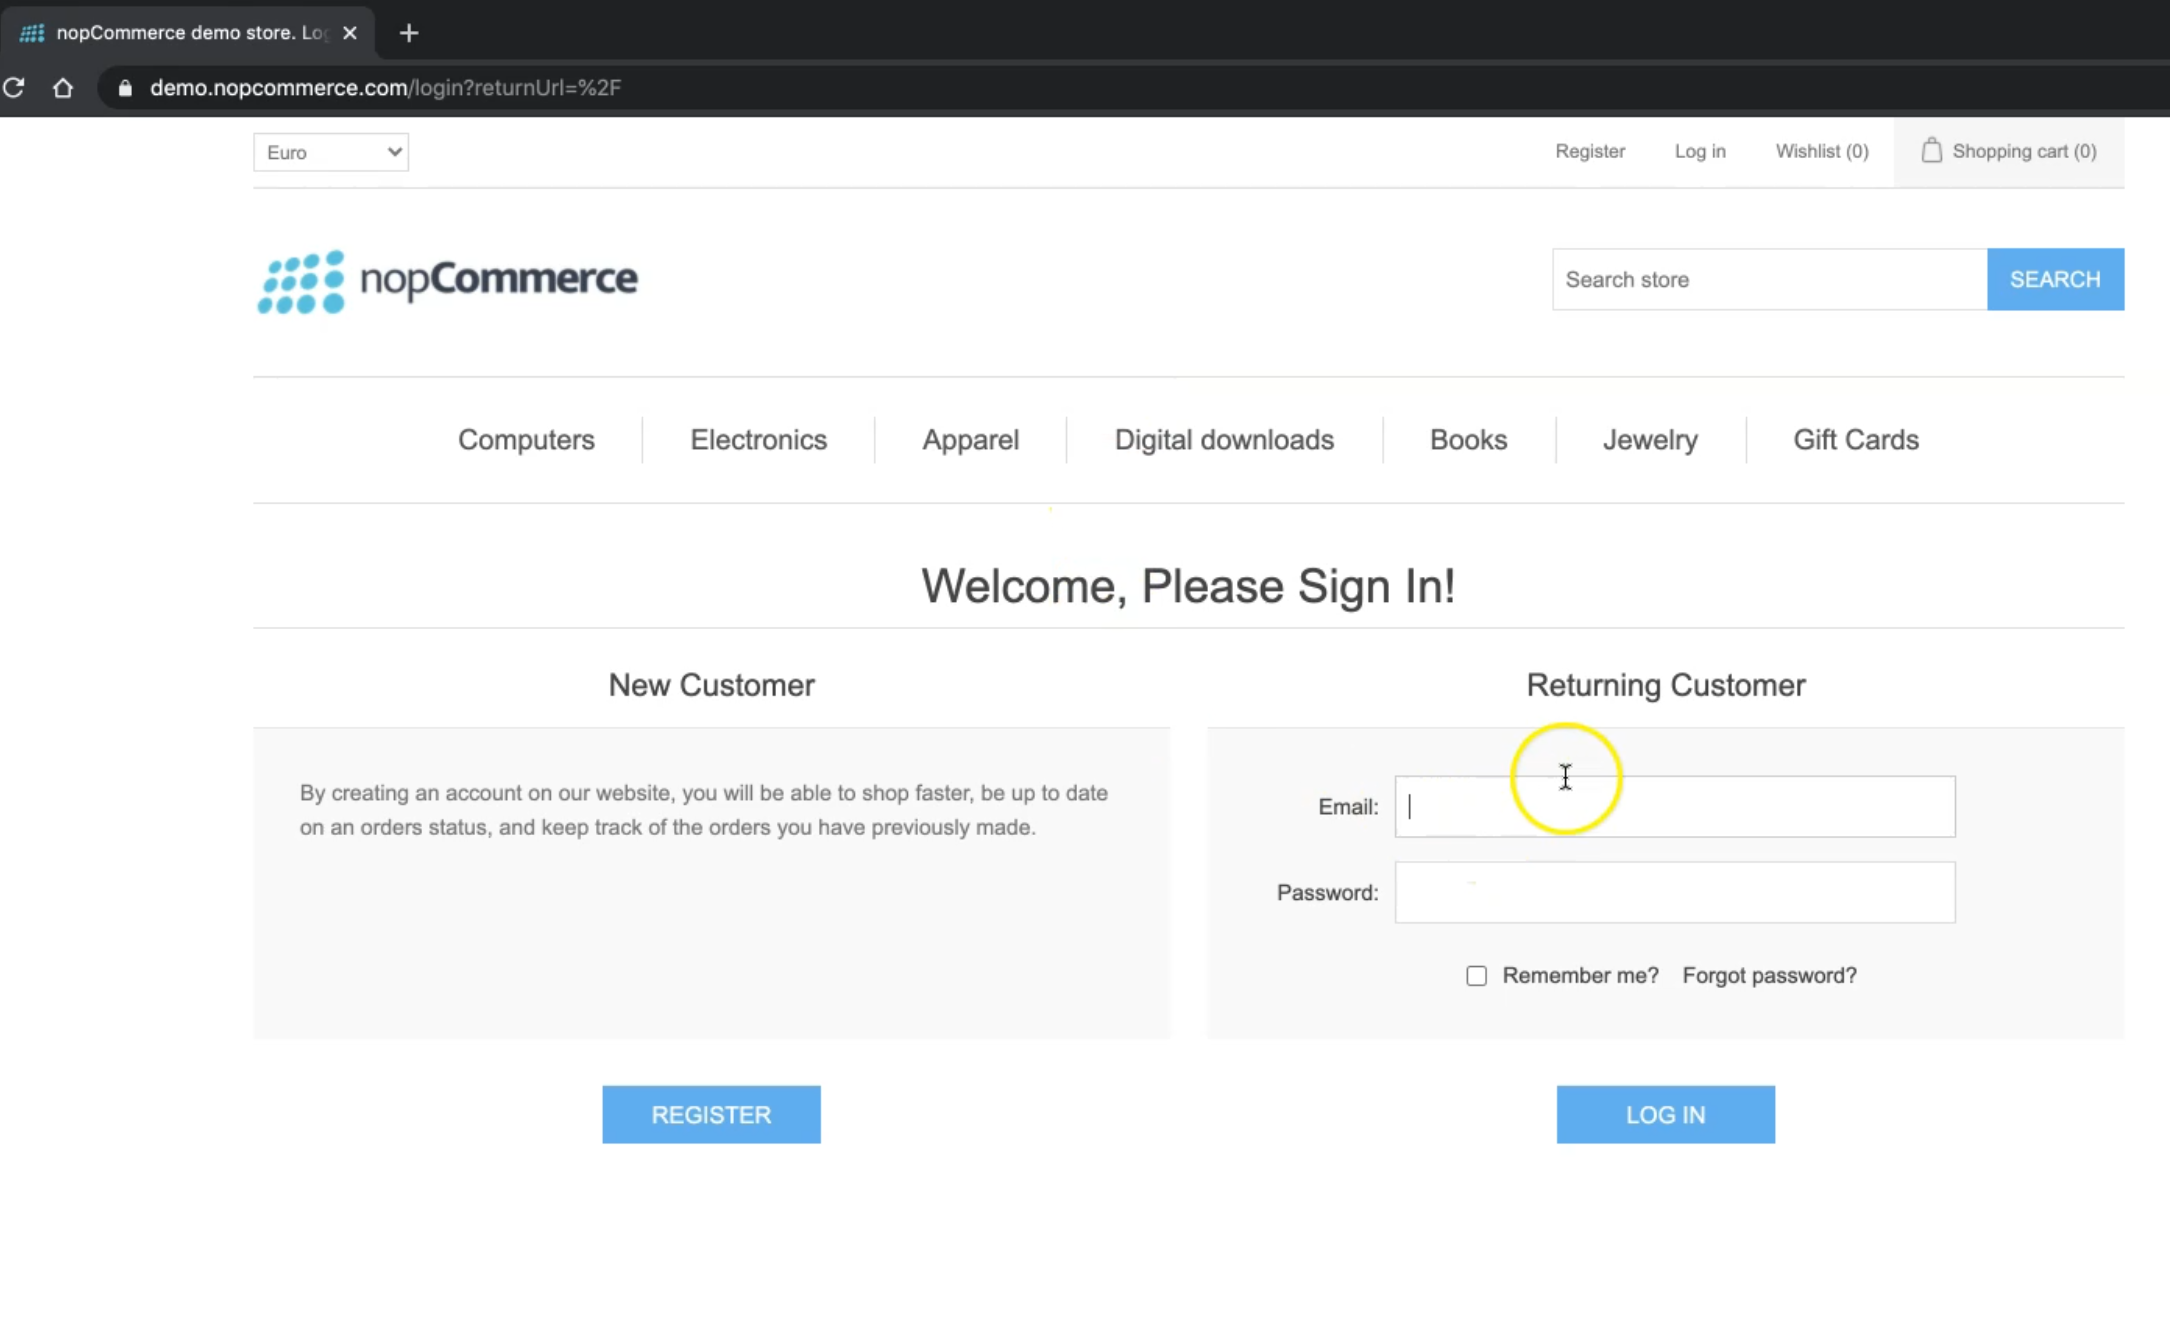
After that, we can try to log in with the user that we registered.
Then here we can search for products. For example, we can search for Apple or MacBook.
Then, for example, we can add different items here, and add to the cart.
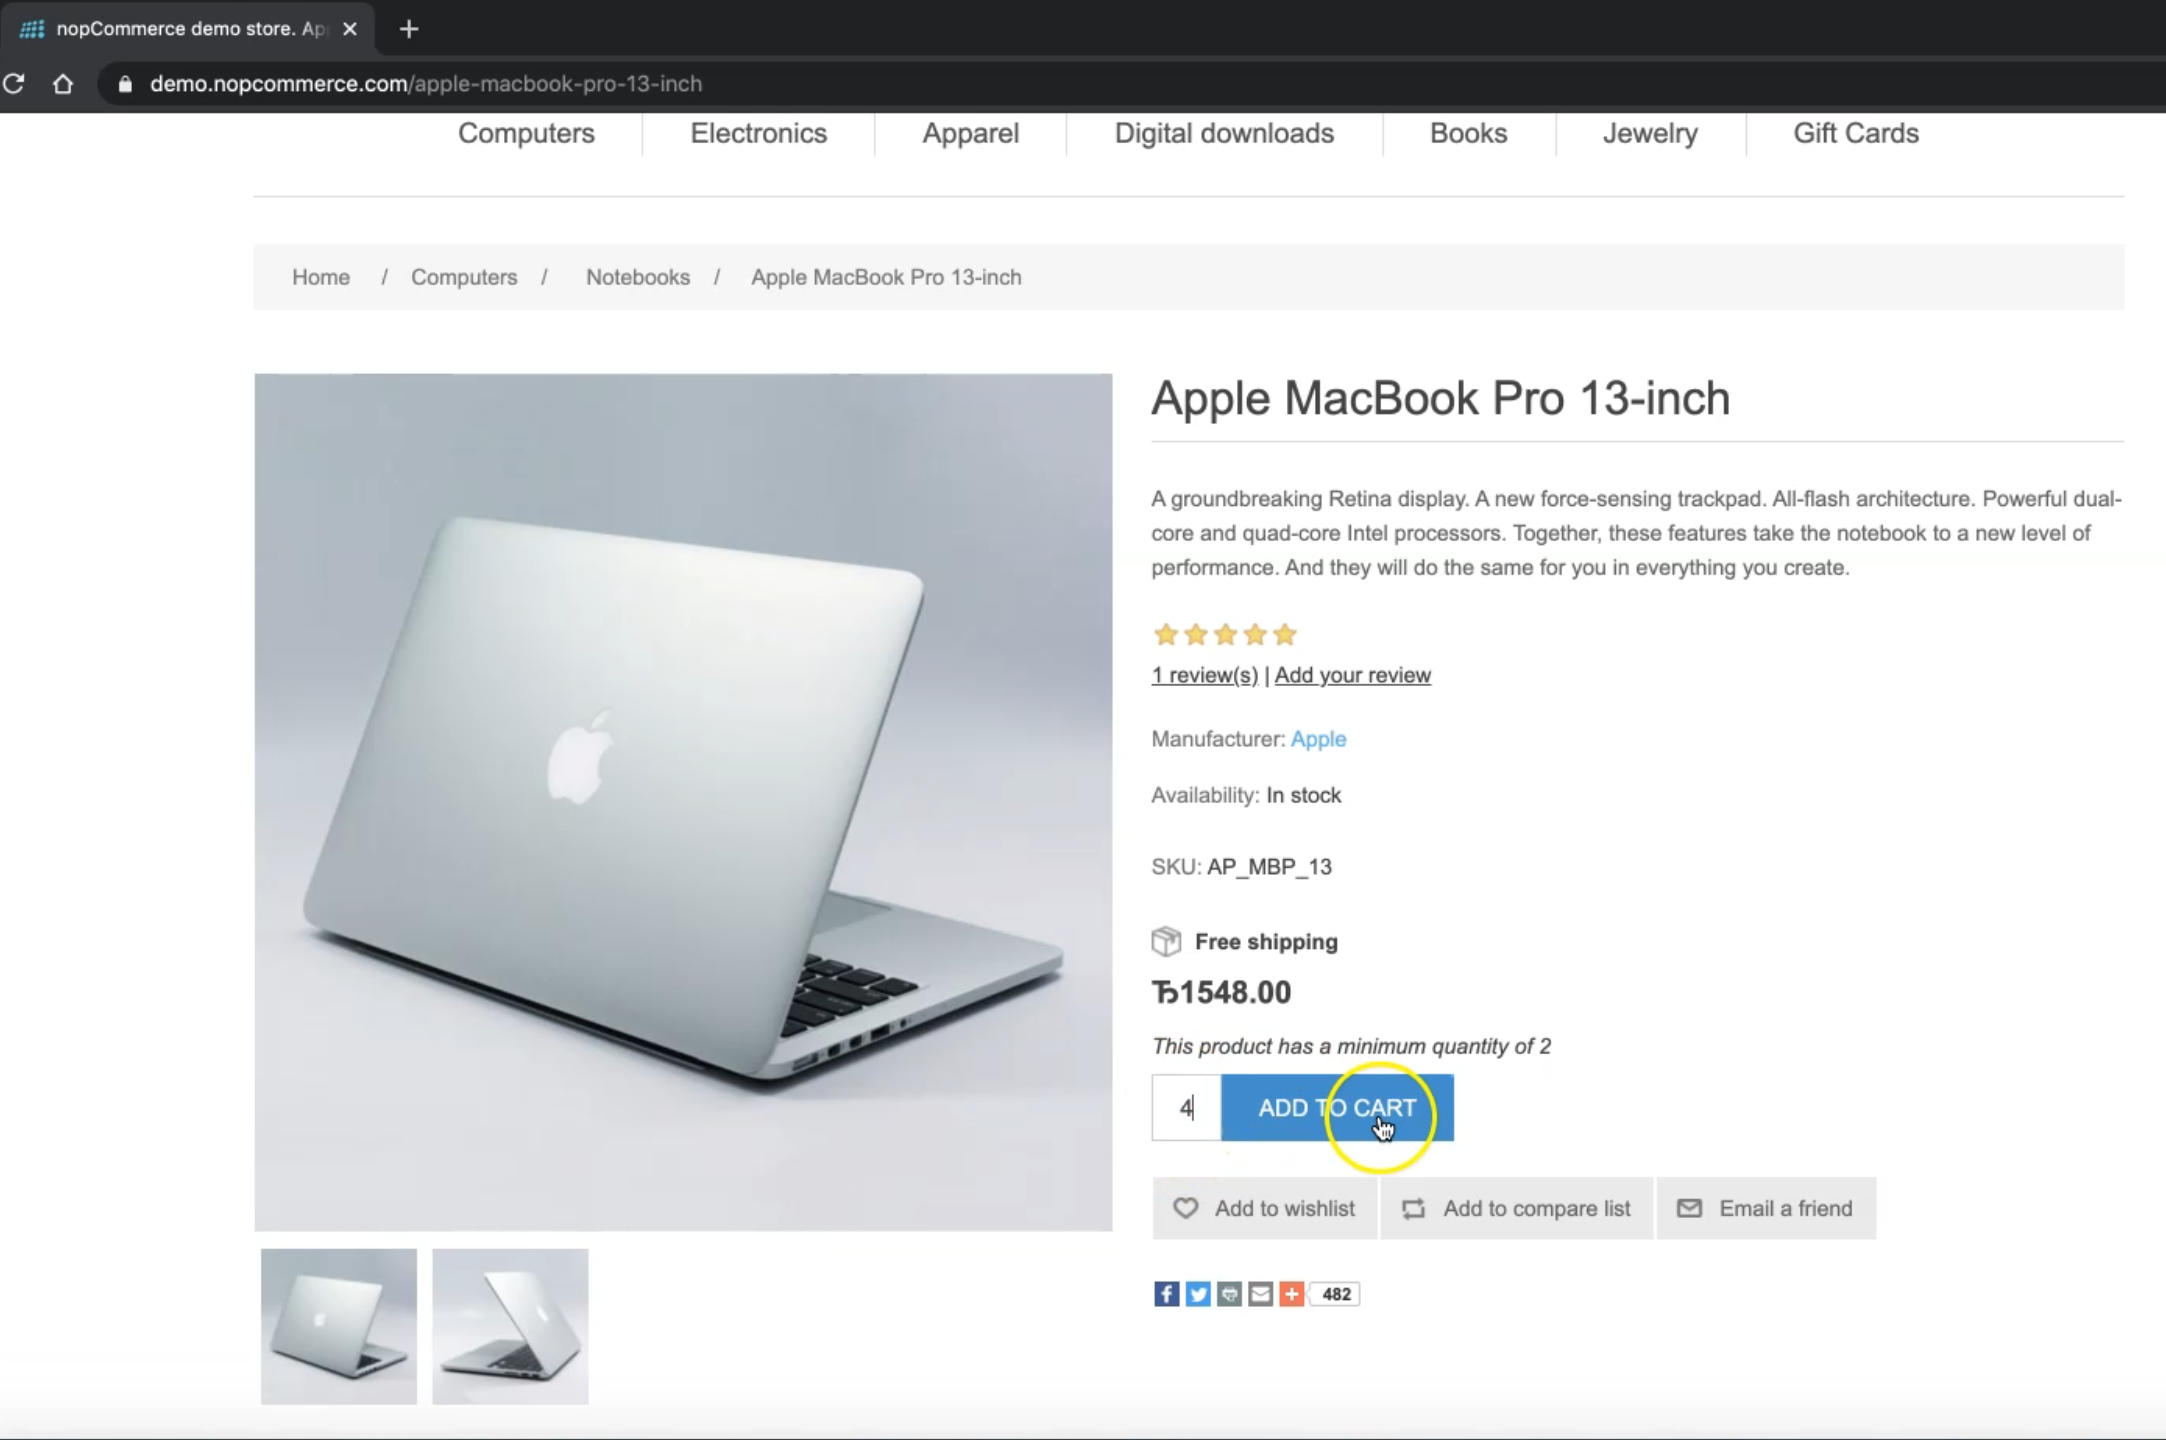
Then we can go to the checkout or shopping cart. We can update the shopping cart here, continue shopping, click on the agreement, and then check out, and continue with the user registration, and continue with the rest of the steps.
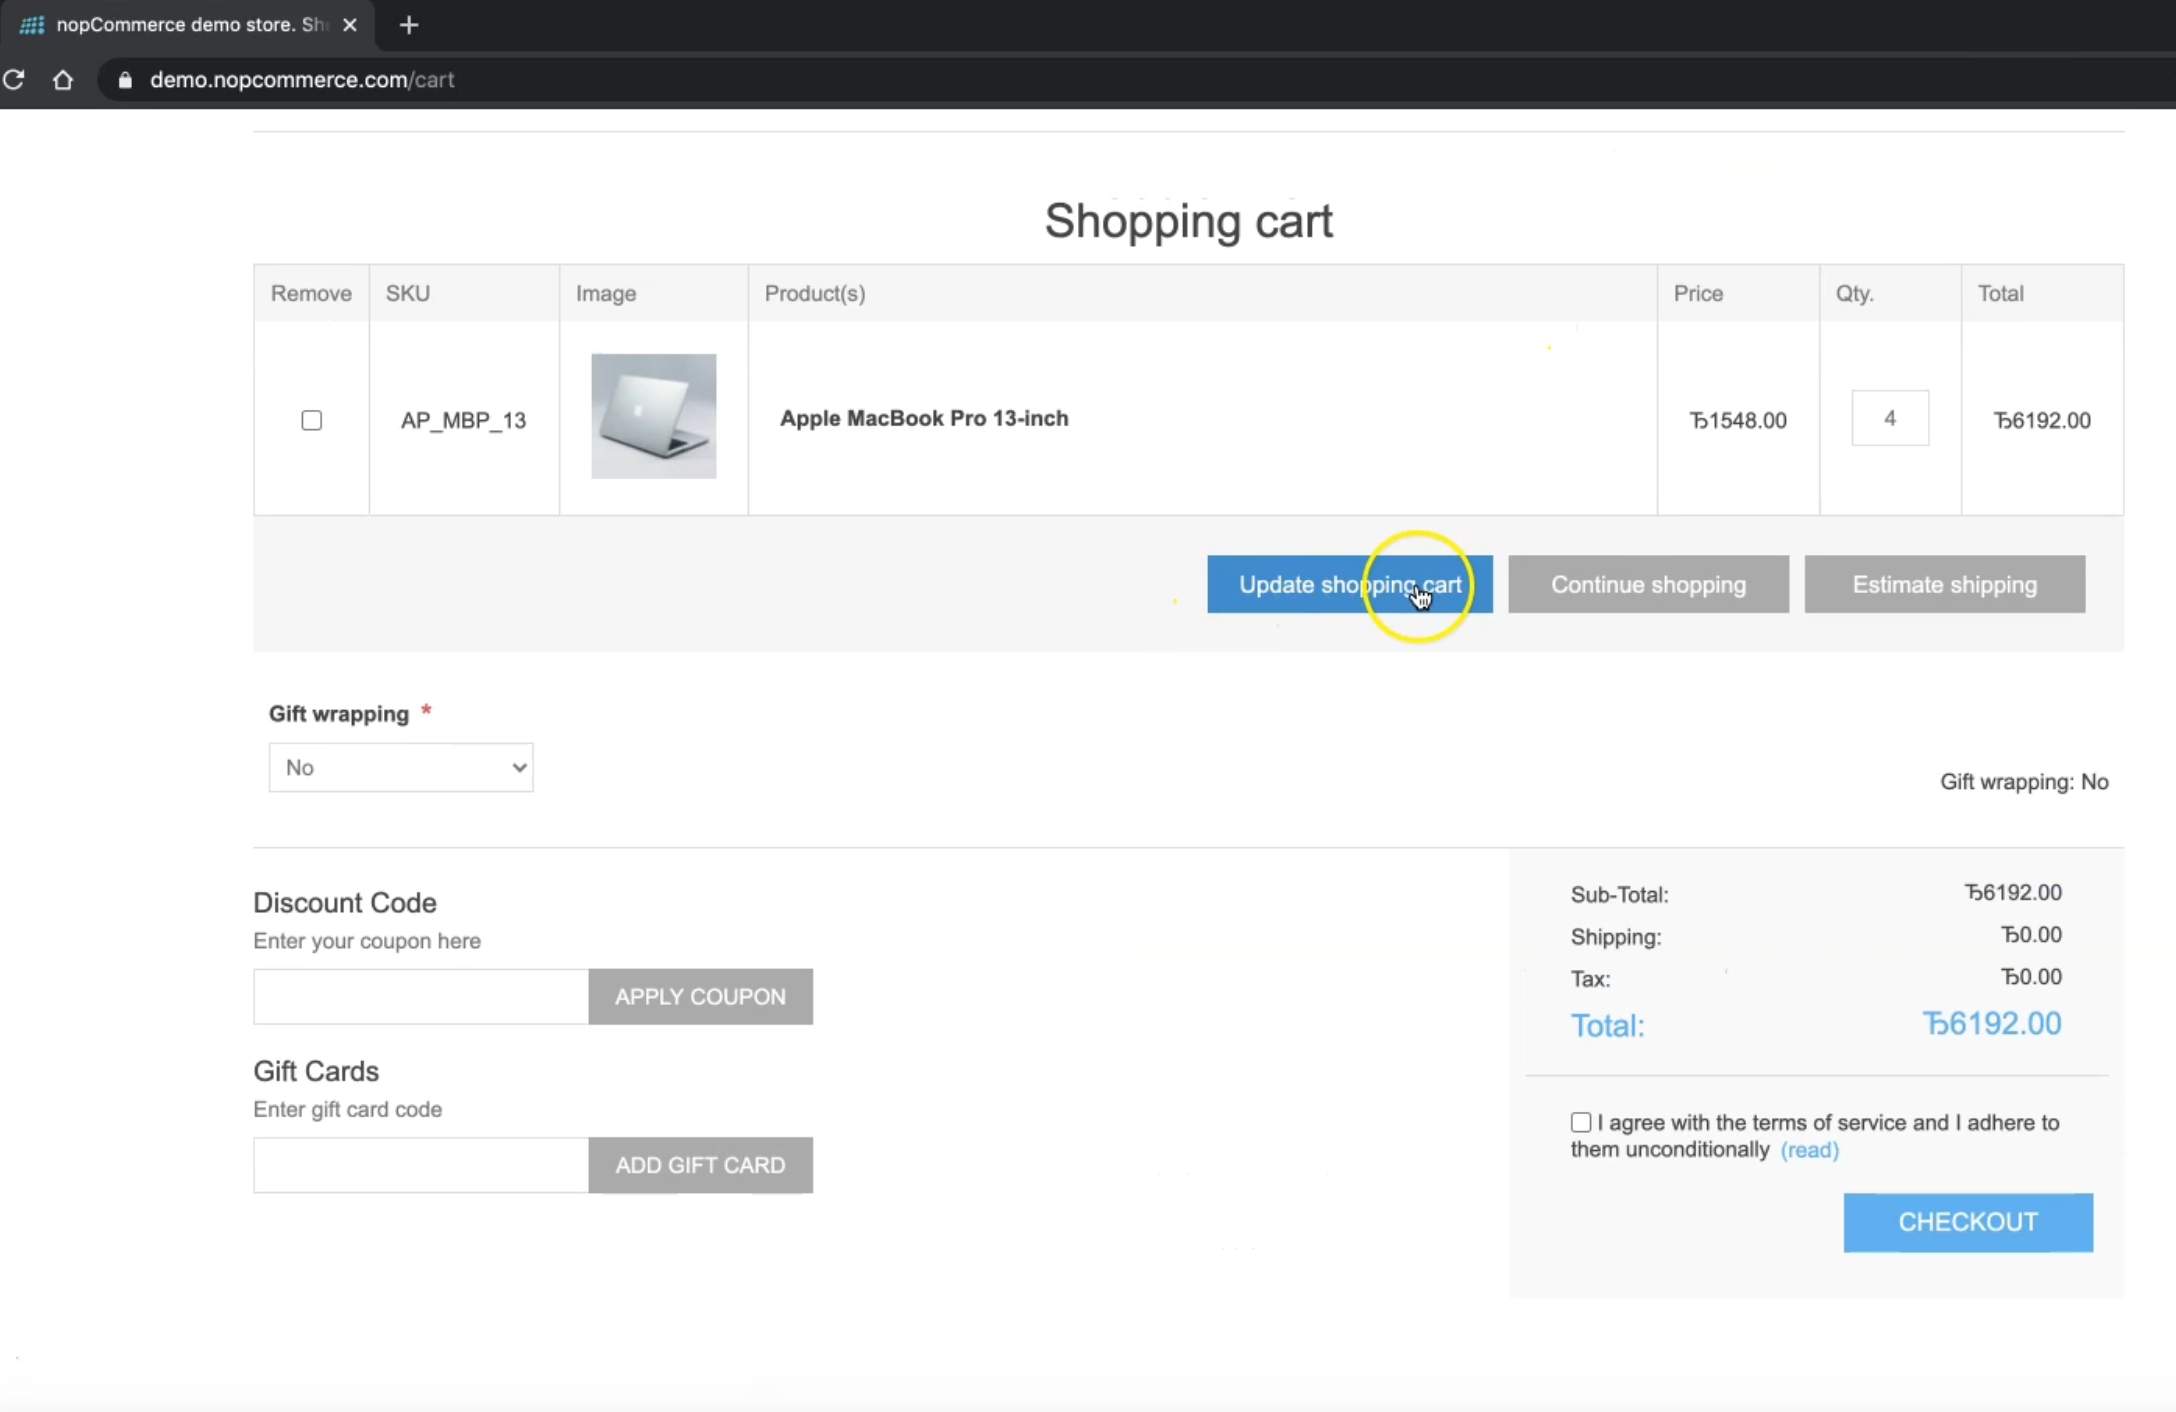
With nopCommerce, we will start creating our Page Object Classes, and then we can cover the first scenario with user registration and user login.
The test scenario that will be covered during our videos:
Start by user registration
Log in with the registered user
Change the currency
Search about product
Add product to cart
Checkout with the registered user
Place orders
Open our orders
Check the orders exist
Resources
Quiz
The quiz for this chapter can be found in 7.7
