

Transcripted Summary
In this chapter, we will talk about running TestCafe with ReportPortal, the AI-powered test automation dashboard.
What we will cover during this chapter:
What is ReportPortal?
ReportPortal features
What technologies are used in ReportPortal?
The installation steps with Docker
Configure ReportPortal with TestCafe
# What is ReportPortal?
ReportPortal is a service that provides increased capabilities to speed up result analysis and reporting through the use of built-in analytics features.
ReportPortal is a great addition to continuous integration and to the continuous testing process.
What are the main features of the ReportPortal?
The first one is the mainstream platform integration.
ReportPortal seamlessly integrates with mainstream platforms, such as Jenkins, Jira, BDD process, majority of functional and unit testing frameworks.
Real-time integration provides businesses the ability to manage and to track execution statuses directly from the ReportPortal.
Test case execution results are stored following the same structure you have in your reporting suites and test plan.
The test cases are shown together with all related data in one place - right where you need it.
Logs, screenshots, binary data, the execution pipeline of certain test cases are also available for you.
So one can see previous execution results in one click.
Collaborative analysis - ReportPortal also gives you the ability to analyze the test automation result.
Particular test cases can be associated with a product, a bug, an automation issue, a system issue, or can be submitted as an issue taken directly from the execution result.
Historical data of test execution - ReportPortal provides enhanced capabilities along with auto result analysis by historical data of test execution and automatic analysis with each execution.
ReportPortal automatically figures out the root cause of a fail.
As a result of this analysis, ReportPortal is making a test result with a flag.
The engineer will be alerted about this issue to provide further analysis - if it has been resolved already or if the test result required actual human analysis.
# What technologies are used with ReportPortal?
Considering a high load rate and the performance requirements, they use cutting edge technologies, such as PostgreSQL, REST Web services, and mobile responsive UI.
# Installation steps with Docker
To be able to run ReportPortal locally, you need to use Docker Engine or Docker Compose.
So at the first step, you need to make sure that the Docker Engine and Docker Compose are installed.
Then you need to download the latest version of the ReportPortal Docker compose file by running the following command:
curl [https://raw.githubusercontent.com/reportportal/reportportal/master/docker](https://raw.githubusercontent.com/reportportal/reportportal/master/docker) -compose.yml -o docker-compose.yml
Then start the application using the following command:
docker-compose -p reportportal up -d --force-recreate
-d is the detach mode.
And --force-recreate, if we already have a previous installation of ReportPortal, recreate it from the beginning.
After that, open your web browser with an IP address of the deployed environment at port 8080.
It's mainly localhost:8080.
# Install and Run ReportPortal with Docker
In this demo, we will install and run ReportPortal with Docker on our local machine.
To install ReportPortal on our local machine, we can open the browser and search about ReportPortal.
Then, we can click on the official link for ReportPortal.
In this section, we can find Install.
And here we can configure and deploy ReportPortal using Docker or Kubernetes.
So here we can select Docker.
Then after that, after we install Docker and we have already Docker installed in our machine, we can just pull this YAML file for Docker Compose on our local machine.
After that, we can run the file.
We can open the terminal and create a new directory, for example,
mkdir reportportalnew
We can go into this folder:
cd reportportalnew
Then we can use the download command to download the Docker compose file from this URL:
curl [https://raw.githubusercontent.com/reportportal/reportportal/master/docker](https://raw.githubusercontent.com/reportportal/reportportal/master/docker) -compose.yml -o docker-compose.yml
It's downloaded and we can check it.
So we have here the Docker compose file.
Then we can go back to the URL and we can run this command to start the application:
docker-compose -p reportportal up -d --force-recreate
So now Docker Compose starts pulling the images for ReportPortal and since I already have these images on my machine, we are now downloading the new version or the missing images with the Docker compose, and we need to wait until Docker finishes to install or download the required images.
After Docker finished pulling the images for ReportPortal and recreating the Docker containers, now we have Docker running ReportPortal.
We can just redirect or check.
You can redirect to http://IP_ADDRESS with port 8080 - in our case - localhost:8080.
So this is a login page with ReportPortal with the version for the API service and authorization service and service UI.
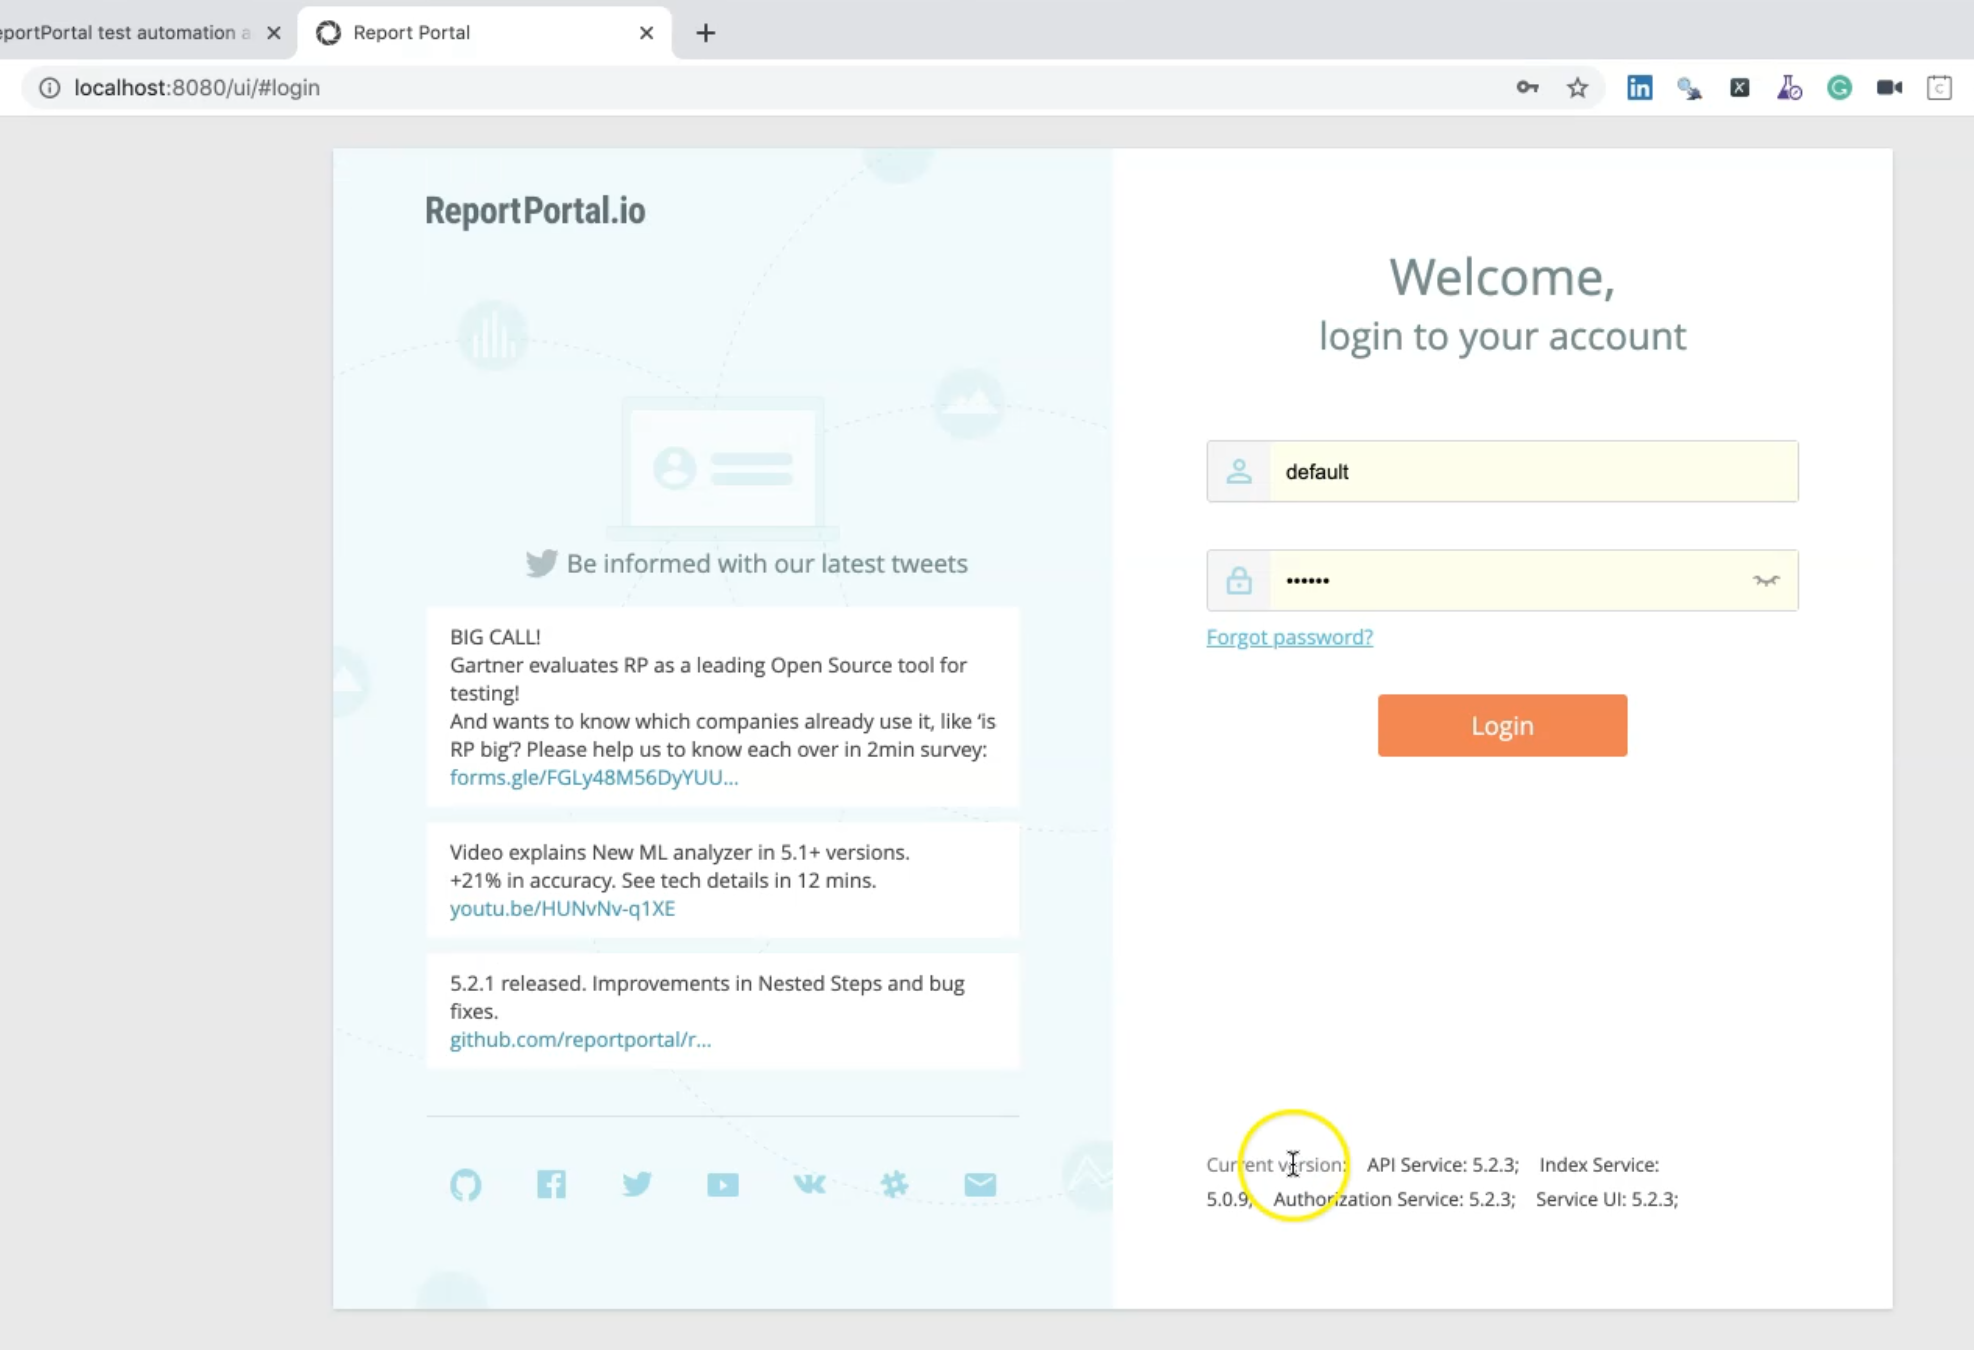
To be able to log in, you can use the default with this password, or you can use a super admin with this password.
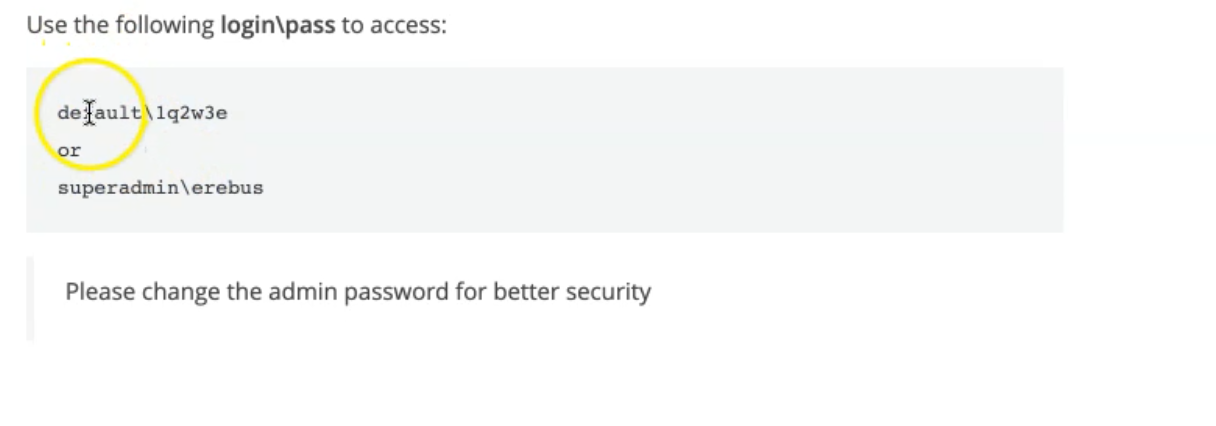
We can use the default account and the password for the default to login.
Here we are successfully signed in with the ReportPortal dashboard, and here we can find all the things.
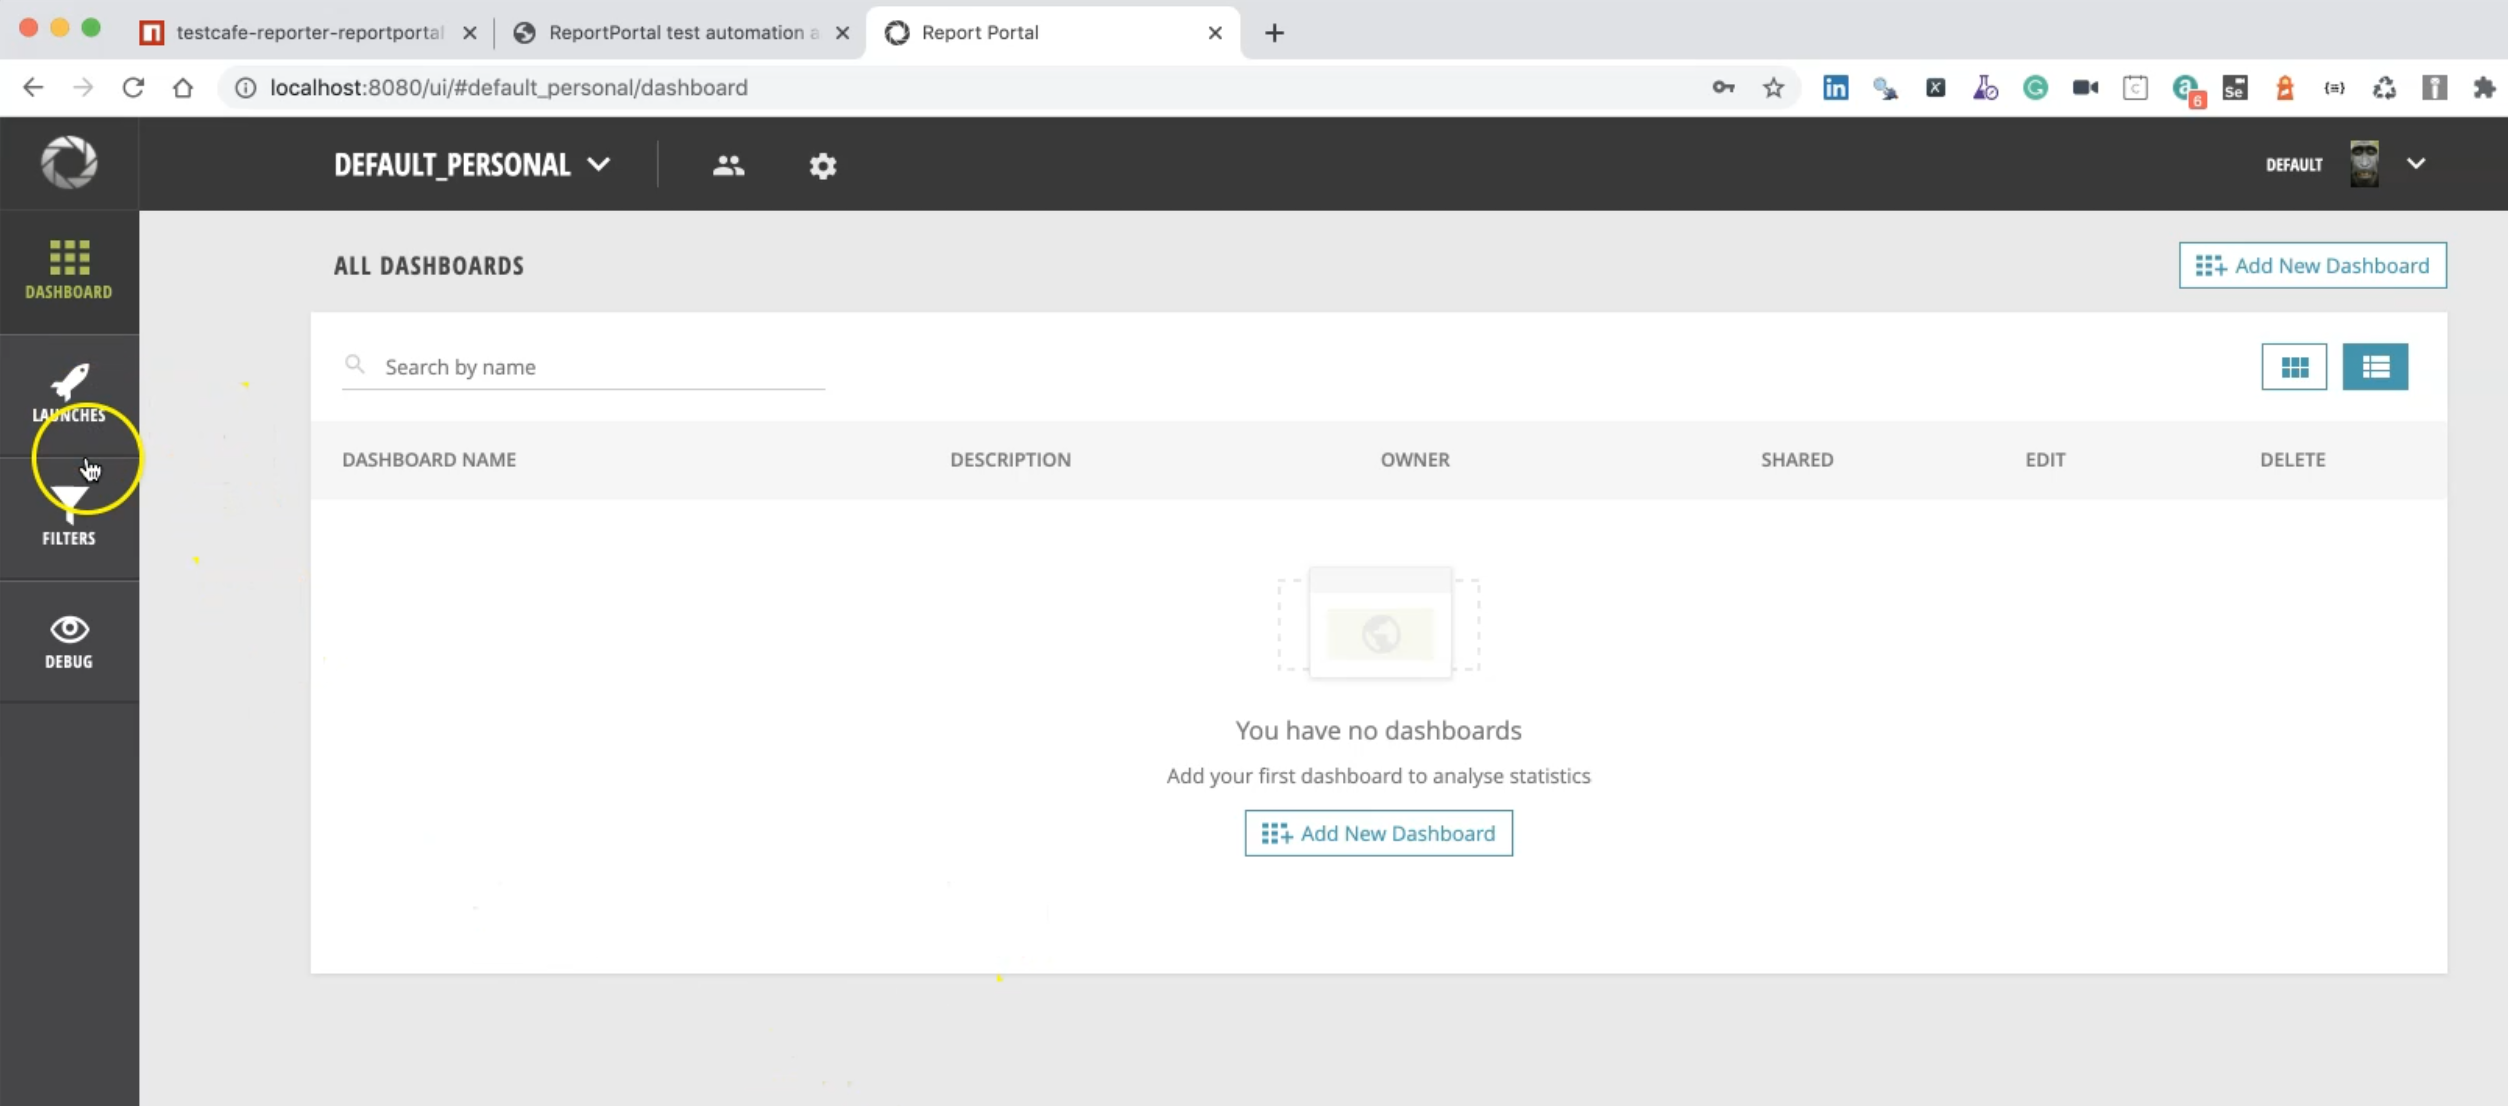
For example - launches, filters, debug, and the ReportPortal dashboard.
And this is for the project and you can refresh from here.
This is our account.
And what we need from the account is we need to go to the profile to check the access token.
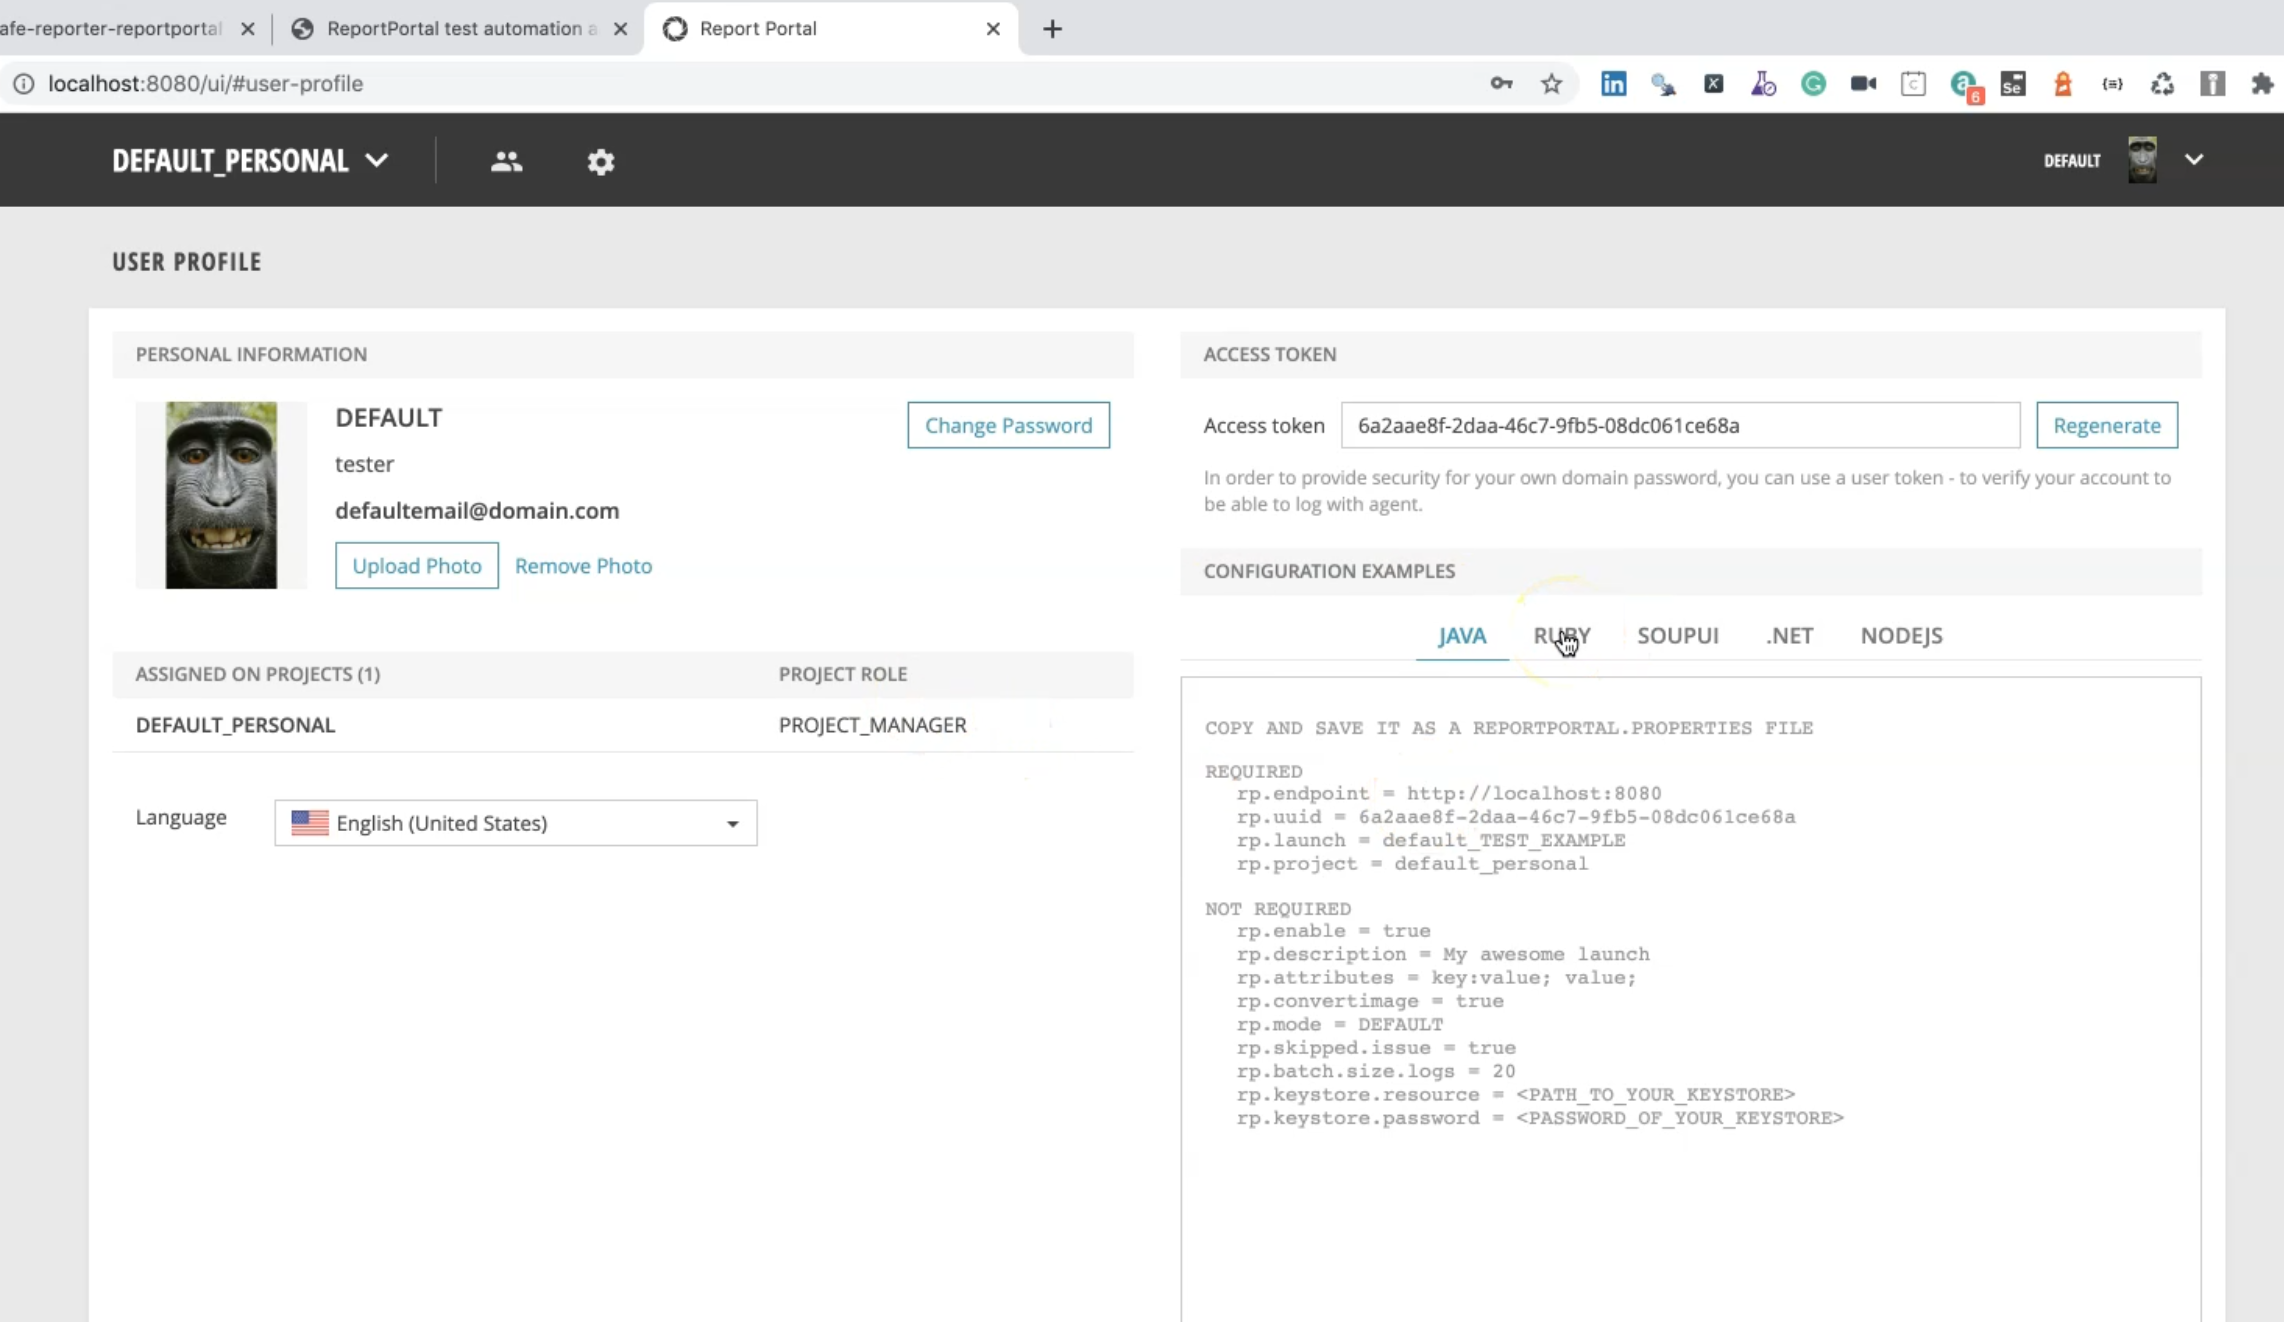
And here we have configuration examples - for Java, Ruby, SoupUI, .NET, and NodeJS.
So what we need, usually when we configure our project with TestCafe, is the access token and the endpoint, the launch name (optional), and the project name (required).
# Configure ReportPortal with TestCafe
After we install and run ReportPortal on our machine, it's time now to configure ReportPortal with TestCafe.
As a first step, as we know, we need to install the npm module for TestCafe ReportPortal with the command:
npm install testcafe-reporter-reportportal
Then, when you run this from the command line, it specifies a reporter name by using the --reporter option.
For example:
testcafe chrome 'path/to/test/file.js' --reporter reportportal
Also, we can edit or create a .env file by adding the following required variables for the ReportPortal:
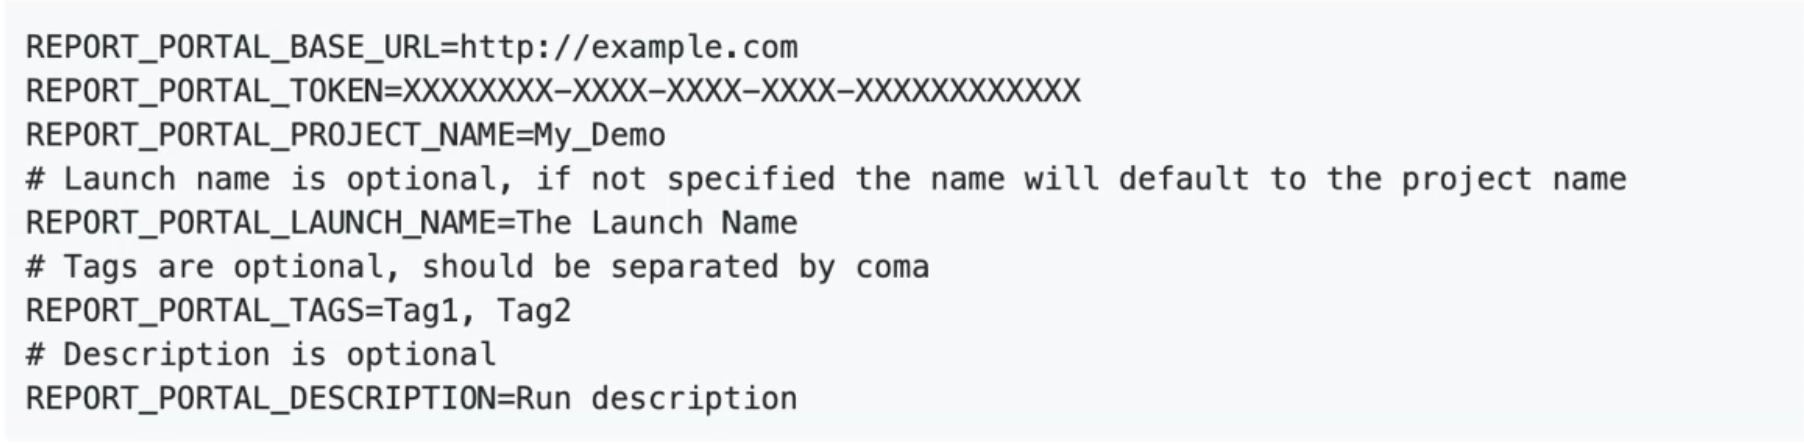
REPORT_PORTAL_BASE_URL which is usually localhost:8080.
REPORT_PORTAL_TOKEN - this we can find in the user.
REPORT_PORTAL_PROJECT_NAME, and here we have optional parameters - REPORT_PORTAL_LAUNCH_NAME, REPORT_PORTAL_TAGS, and REPORT_PORTAL_DESCRIPTION.
Resources
Quiz
The quiz for this chapter can be found in 15.2
