

Transcripted Summary
# How to work with iFrames and TestCafe
This is an example of iFrames from this URL.
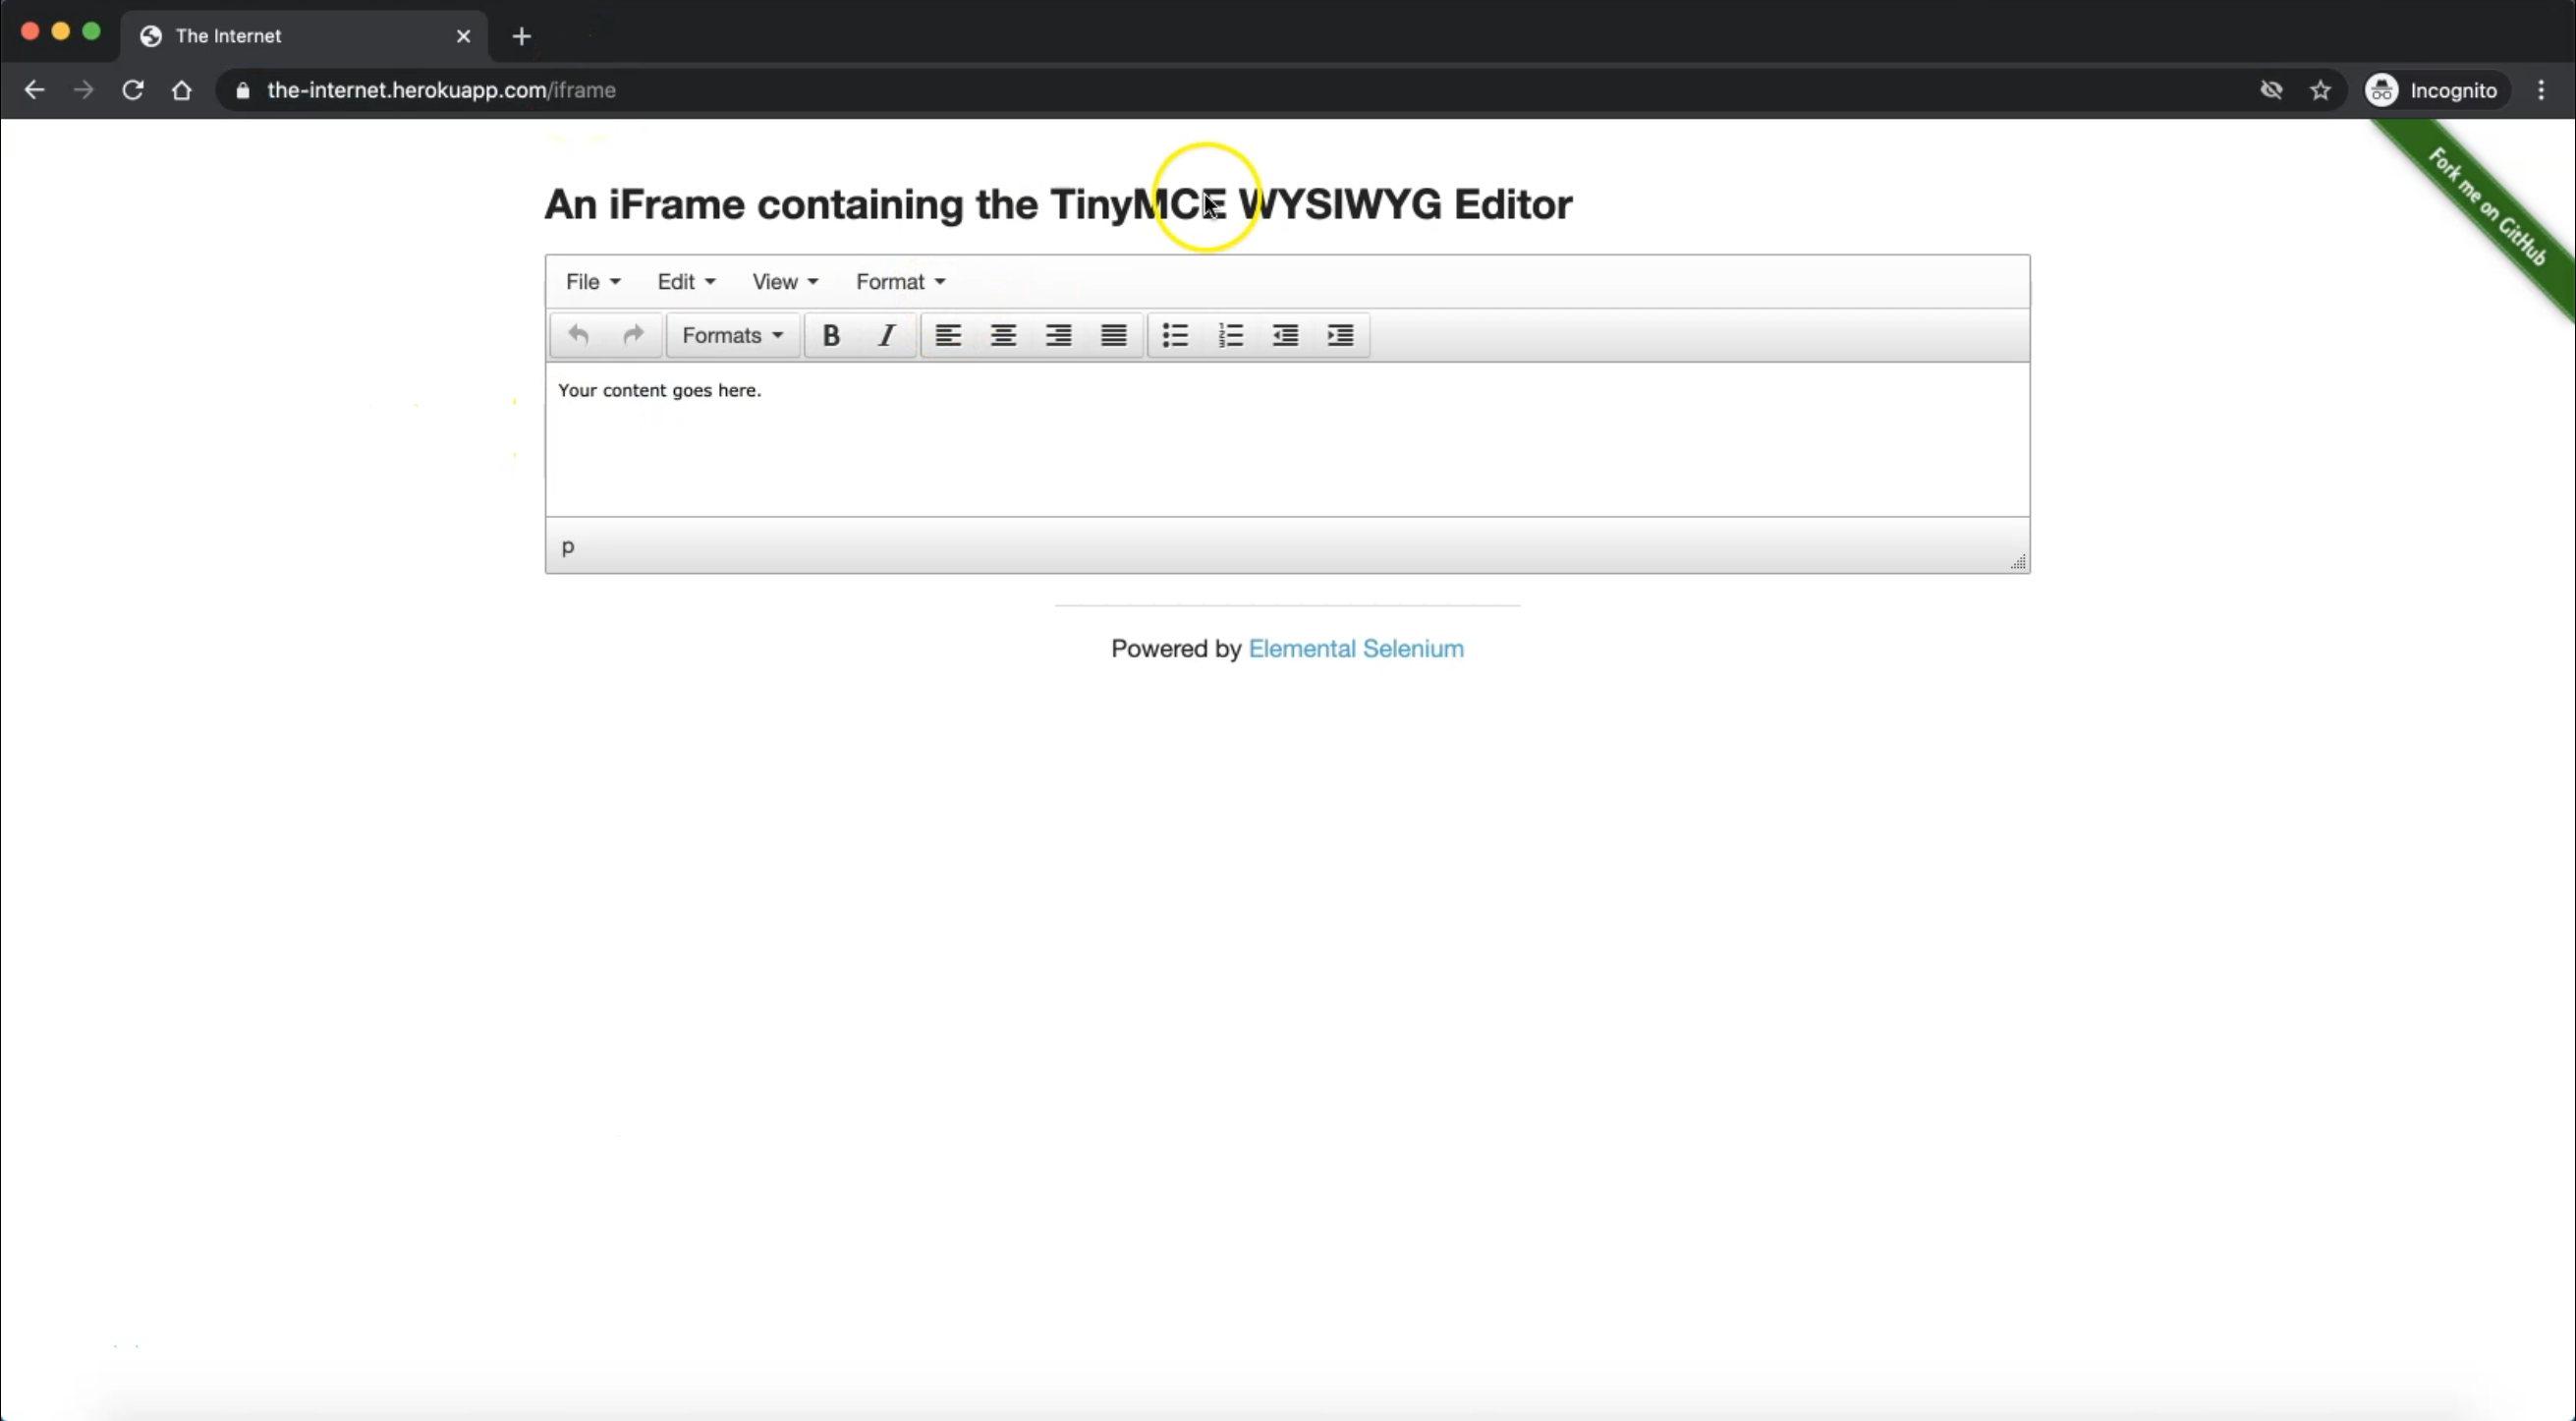
Here, we have this editor using iFrames.
In our demo, we need to:
Open this URL
Go to inside the iFrame
Remove the content
Add our content
For example, we need to add "TAU" or any string that we need to add. Then switch back to the main window or outside the iFrame.
Let's go to our application and create a new test under the tests packages and we can name it iframeTest.js.
After that, here we can add our imports. As usual, import the Selector from TestCafe.
After that, we need to add const and the iframeName, for example. Then we will use the Selector and add the iFrame.
So we will open the URL again, and inspect the elements so we can find the iFrame.
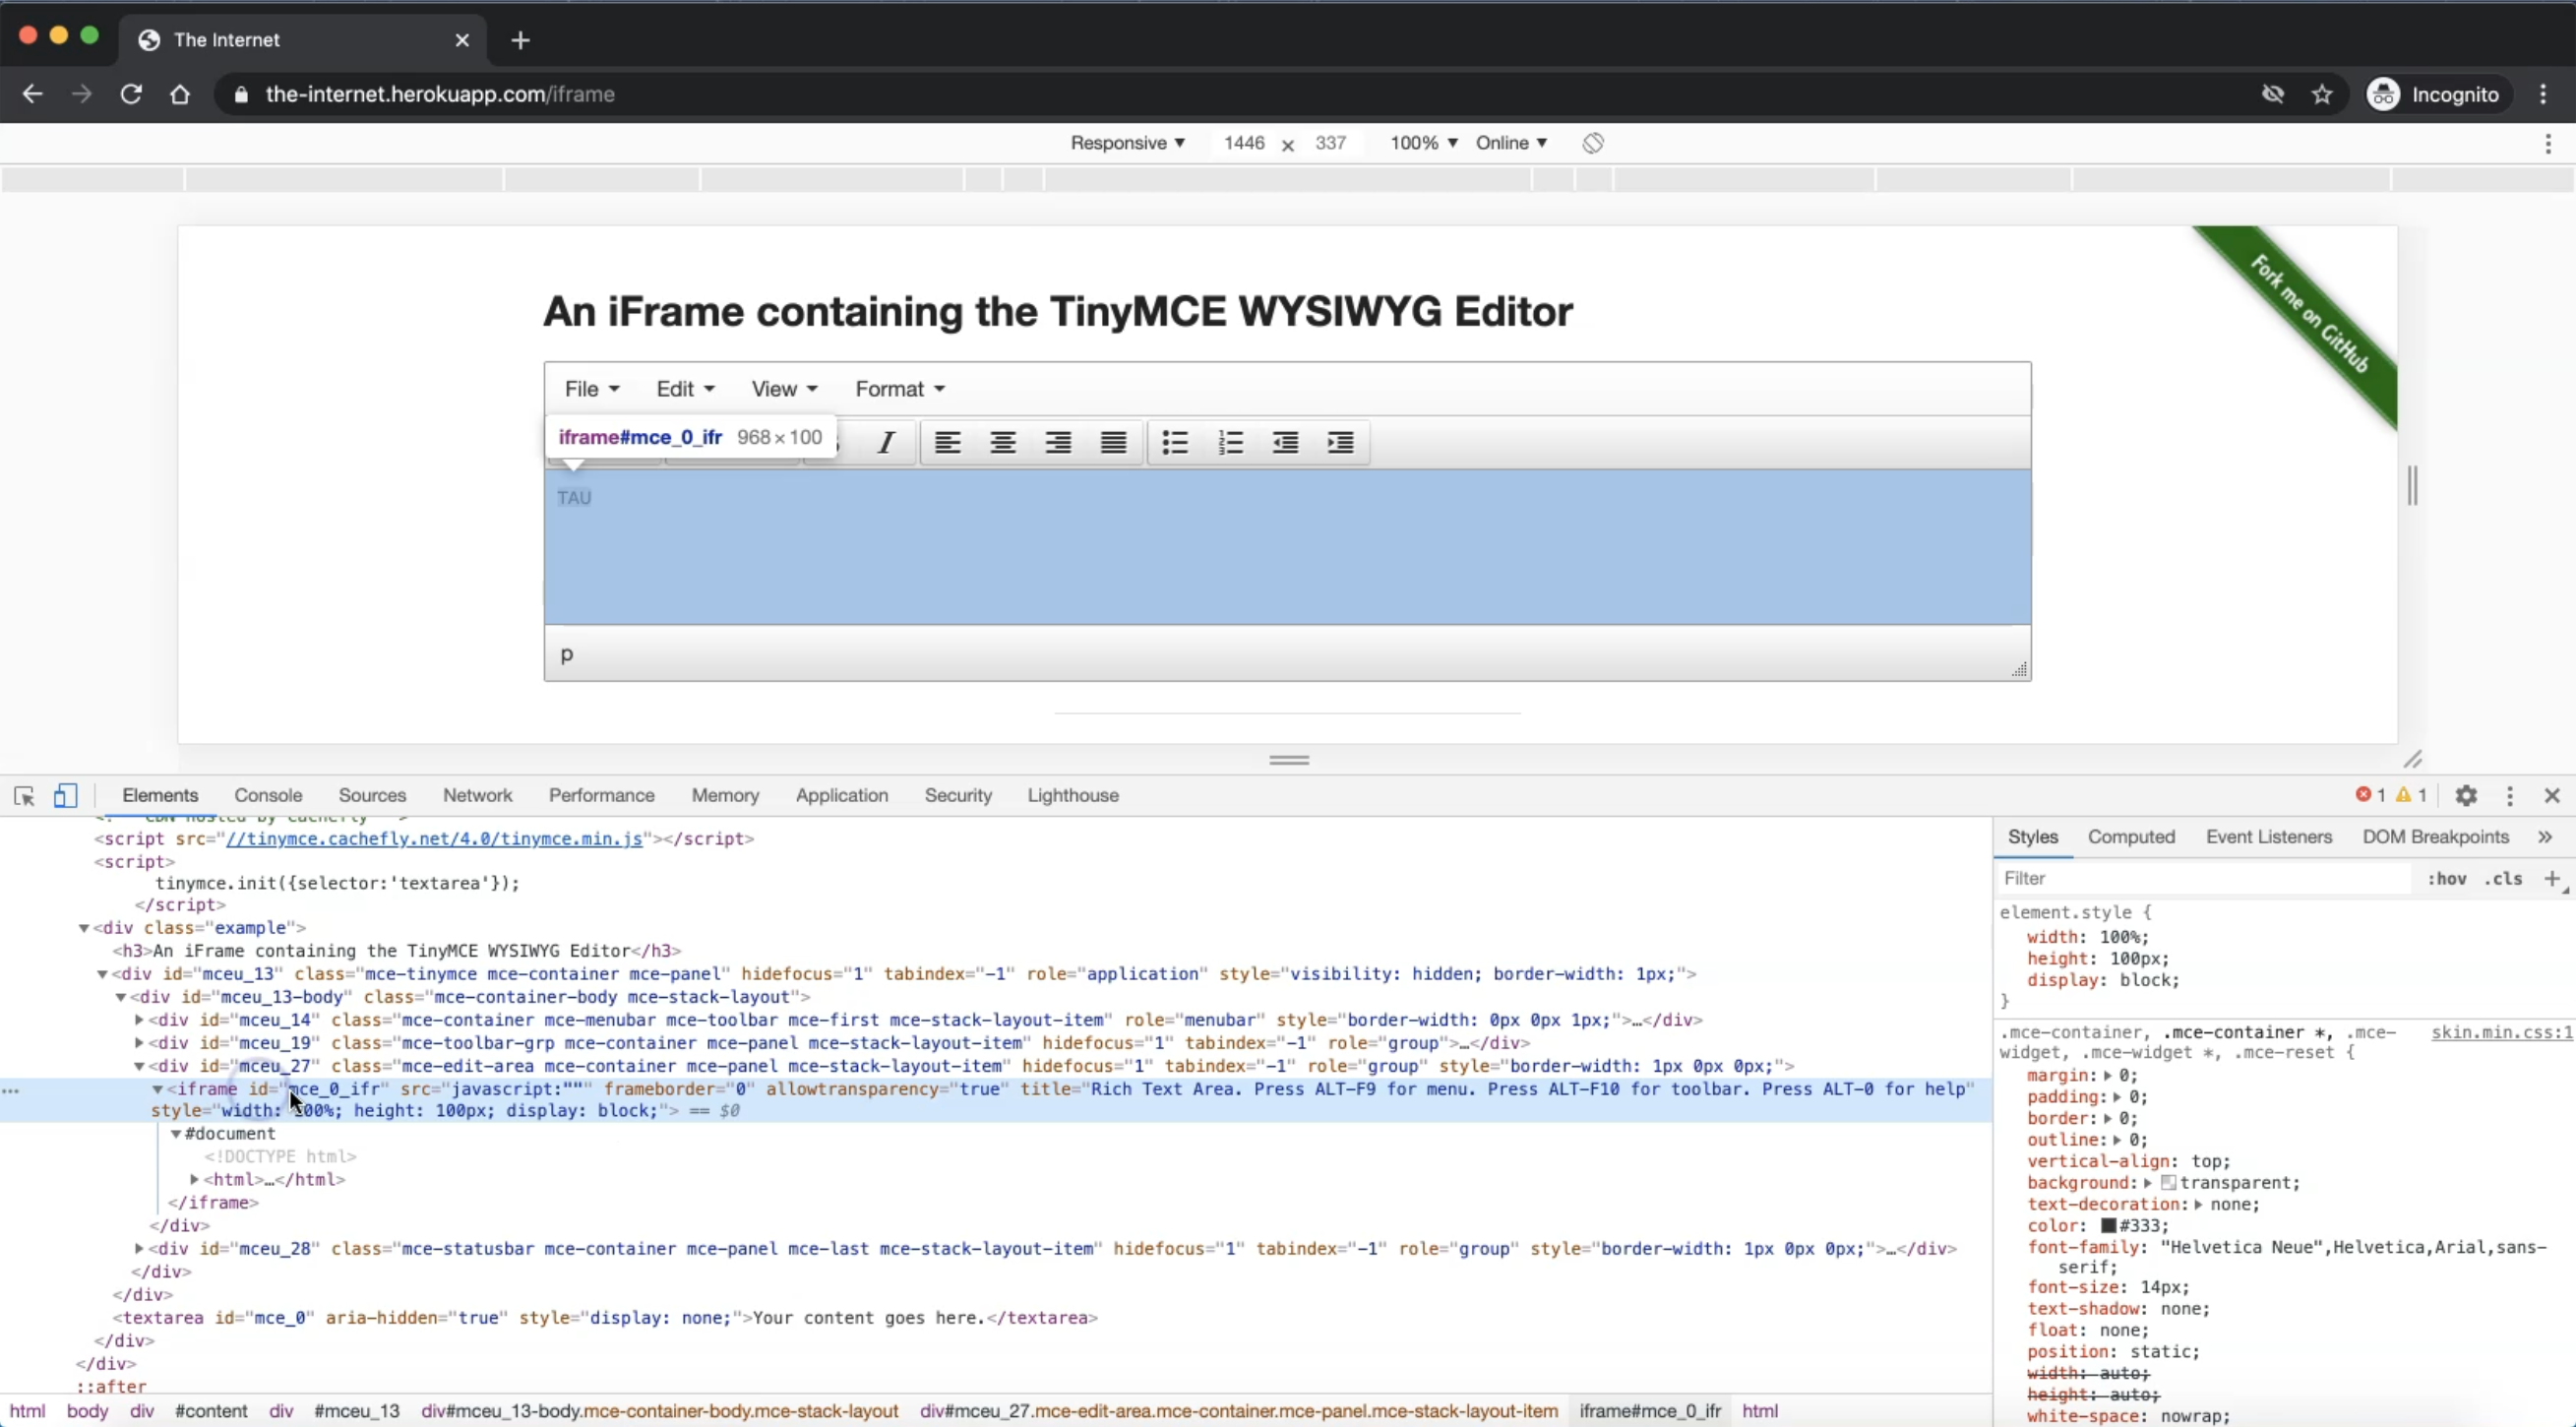
So the iFrame contains an ID so we can add the CSS selector iframe#mce_0_ifr to the Selector.
Also, we need to add an additional const with the text editor, or the text area itself. Inside the iFrame, we can find the text body that contains the text area.
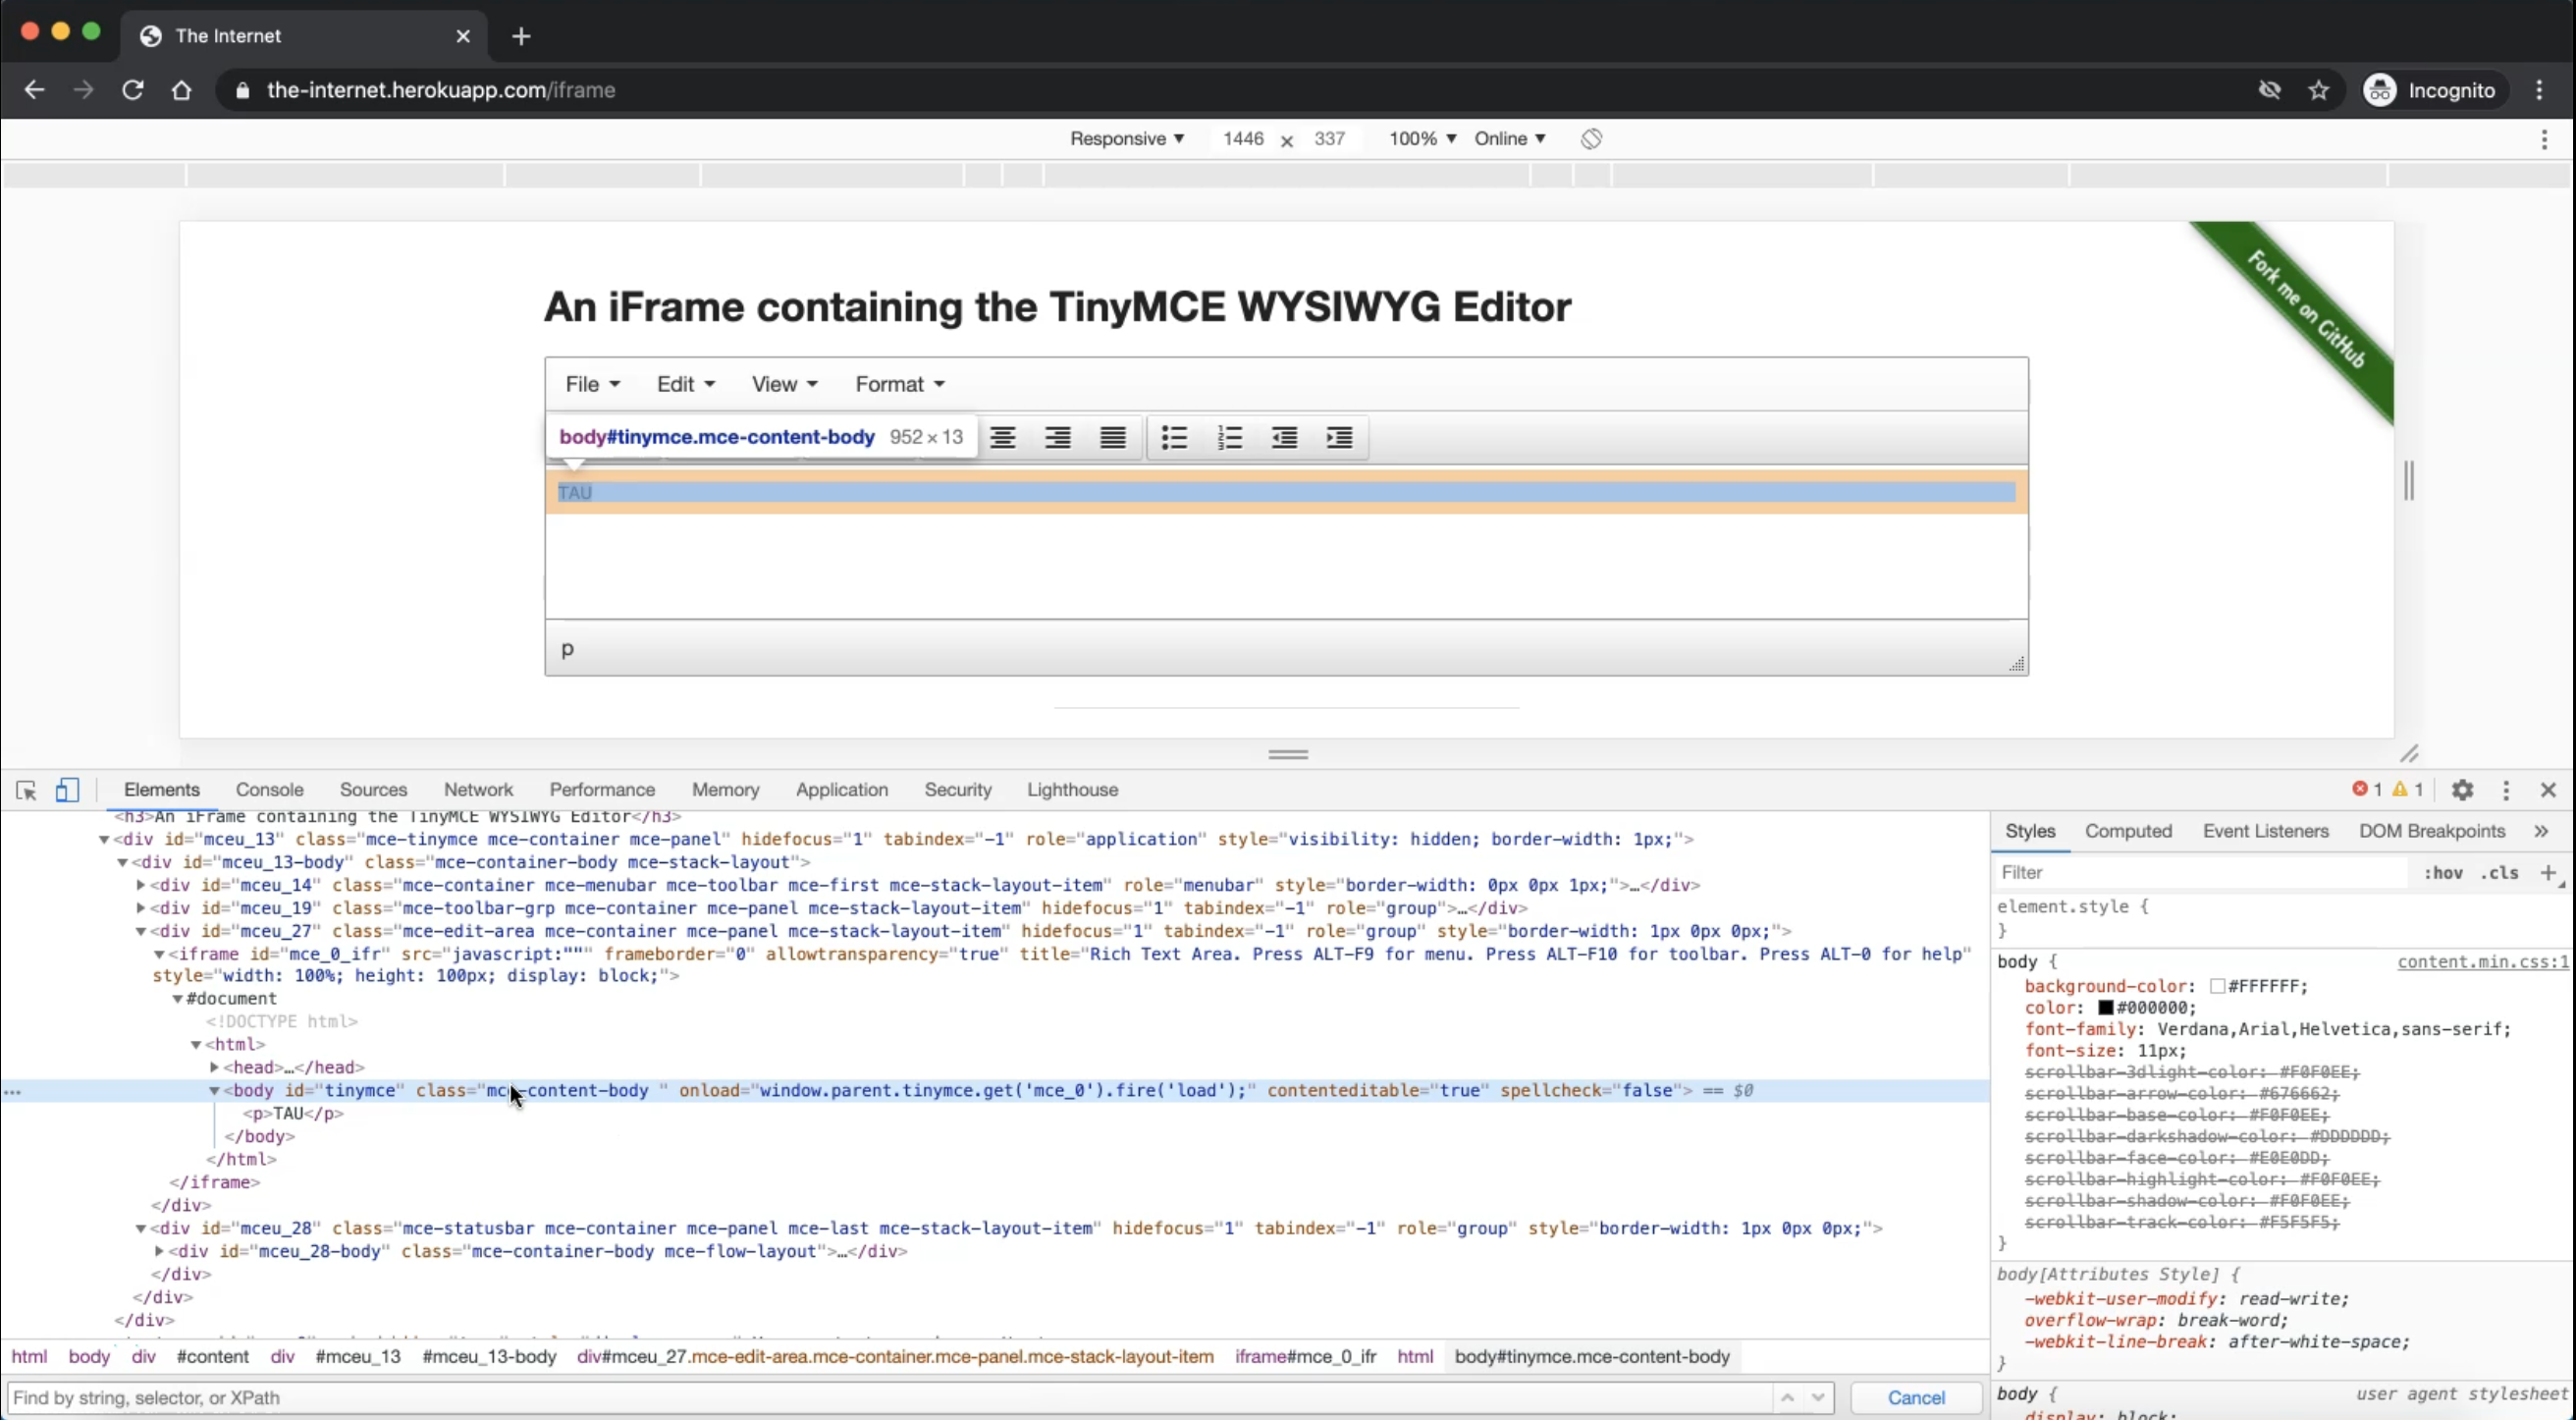
We can use the CSS selector body.mce-content-body or body#tinymce.mce-content-body. We'll use the one with the ID and class.
import {Selector} from 'testcafe';

const iframeName = Selector('iframe#mce_0_ifr');
const textArea = Selector('body#tinymce.mce-content-body');
So here we have the iFrame and the text area and after that, we need to work normally with this iFrame.
First thing, we need to switch into this iFrame, then remove the text from the text area, add our text, and after that switch back to the main window.
So after we get our elements or our selectors, we start writing our fixture and our test case.
We'll start with the fixture, and the fixture name would be "Iframe Fixture". Then we have page() and the page we will test.
After that, we can write our test.
Our test is the "iFrame test case". Then inside the test, we are passing an asynchronous controller with the arrow functions and adding the curly braces. Then we add the await t test controller so we can start working with our element.
So in the beginning, we need to switch to the iFrame. So we have here switchToIframe(), which switches the test's browsing context to the specified iFrame. We'll switch to the iFrame and we need to pass the iFrame - we already have the iFrame name here, or the controller or the selector.
import {Selector} from 'testcafe';

const iframeName = Selector('iframe#mce_0_ifr');
const textArea = Selector('body#tinymce.mce-content-body');

fixture("Iframe Fixutre")
.page("https://the-internet.herokuapp.com/iframe");

test("iFrame test", async t =>{
    await t
        .switchToIframe(iframeName)
});
Then .click(). After that, we need to click on the text area to be able to select all of the text and remove it. So click inside the text area, and we will work with a new command pressKey().
Why are we using .pressKey() here? Because we will simulate something like ctrl+a, to select all the text inside the text area. So we will use .pressKey(), and then we need to pass the key as a string. We can use something like ctrl+a, then we can add delete. This simulates selecting all the text with control+a and then delete to remove the text.
import {Selector} from 'testcafe';

const iframeName = Selector('iframe#mce_0_ifr');
const textArea = Selector('body#tinymce.mce-content-body');

fixture("Iframe Fixutre")
.page("https://the-internet.herokuapp.com/iframe");

test("iFrame test", async t =>{
    await t
        .switchToIframe(iframeName)
        .click(textArea)
        .pressKey('ctrl+a delete')
});
Then we need to type text inside this text. So we need to have inside the text area a string like "Hello from TAU", or from Test Automation University.
Then we need to expect that the inner text of the text area contains - for example - "hello" or "TAU".
import {Selector} from 'testcafe';

const iframeName = Selector('iframe#mce_0_ifr');
const textArea = Selector('body#tinymce.mce-content-body');

fixture("Iframe Fixutre")
.page("https://the-internet.herokuapp.com/iframe");

test("iFrame test", async t =>{
    await t
        .switchToIframe(iframeName)
        .click(textArea)
        .pressKey('ctrl+a delete')
        .typeText(textArea,'Hello from TAU')
        .expect(textArea.innerText).contains('TAU')
});
After we are finished inside the iFrame, we need to switch back to the main window if we need to continue with the page to do anything else.
So here we can call switchToMainWindow() and this is void, and after that, then we need to close this test and add a semicolon.
import {Selector} from 'testcafe';

const iframeName = Selector('iframe#mce_0_ifr');
const textArea = Selector('body#tinymce.mce-content-body');

fixture("Iframe Fixutre")
.page("https://the-internet.herokuapp.com/iframe");

test("iFrame test", async t =>{
    await t
        .switchToIframe(iframeName)
        .click(textArea)
        .pressKey('ctrl+a delete')
        .typeText(textArea,'Hello from TAU')
        .expect(textArea.innerText).contains('TAU')
        .switchToMainWindow();
});
So what are we doing in this test?
We are switching first to the iFrame
Click inside the text area
Press the key with a
control+Aanddeleteto delete all the text inside or the existing text inside this text areaThen type text. This is our string that we need to add - "Hello from TAU"
Assert that the inner text of the text area contains "TAU" from our insertion
After that, switch back to the main window.
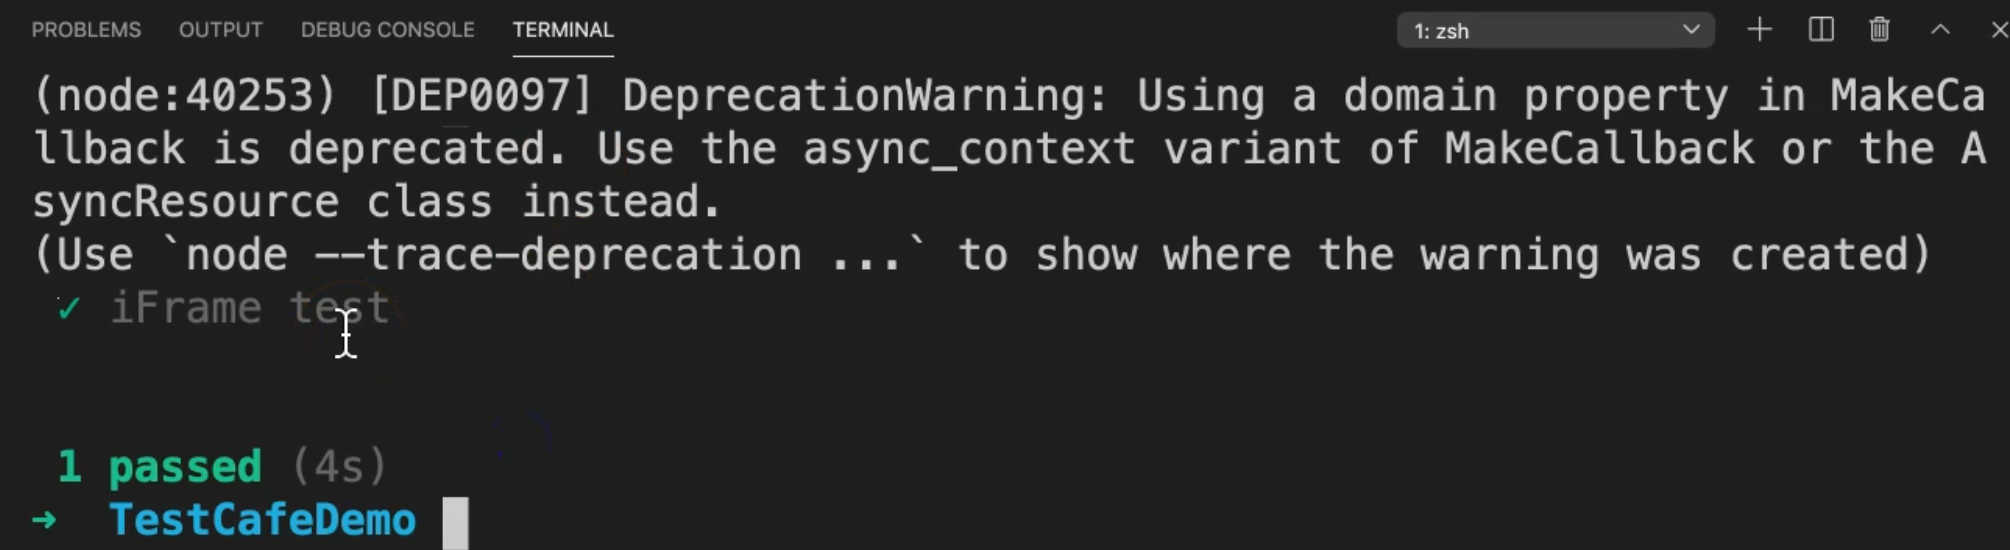
So let's go to the terminal and run our test.
testcafe chrome tests/IframeTest.js
So here we are using TestCafe locally. We will open the server, redirect to the URL, and will check our test case. So here we switched to the URL, go to the element, run the test, except as a result, and our test passed.
So in this demo, we learned two things - switch to iFrame and how we can use pressKey, and also switch to the main window.
Resources
Quiz
The quiz for this chapter can be found in 4.10
